 Tweet
Tweet
Been browsing on here on/off for some time now, got my wheels of here last year as well so time for a into I think!
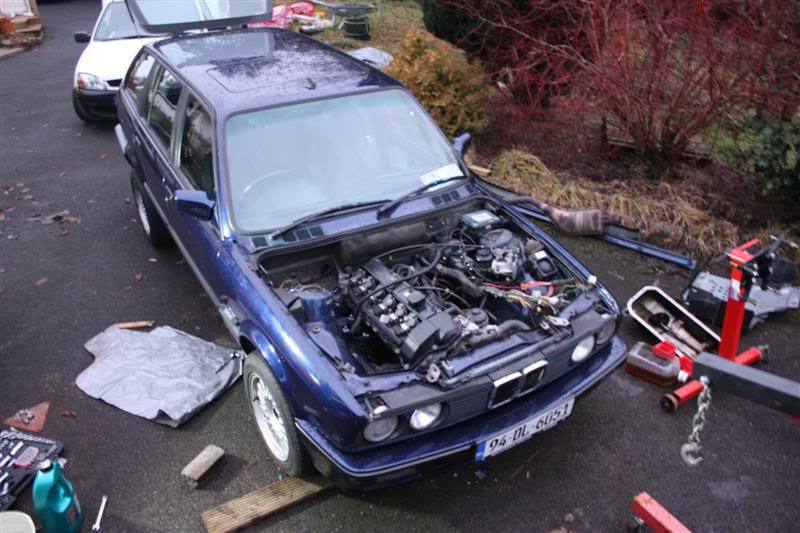
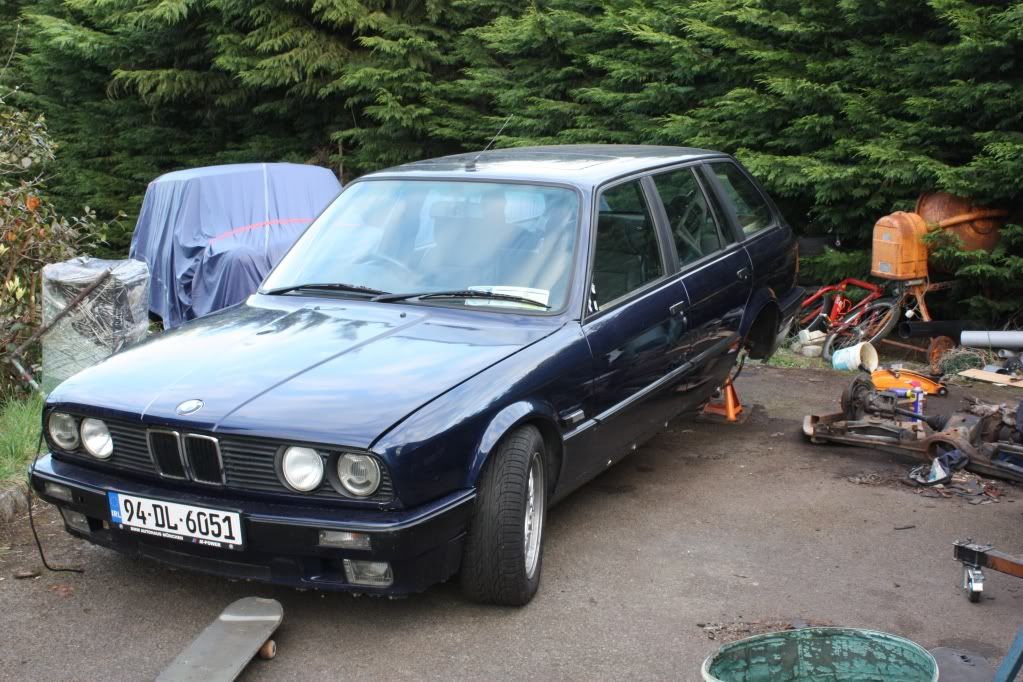
My love affair for E30 started a few years ago before going to college, however I couldn't afford to buy one until a few years ago when I was after 318iS, we have high tax rates on 325's. I eventually ended up with this

She had a bit of crash damage which got fixed over the course of 6 months or so and eventually looked a bit better:
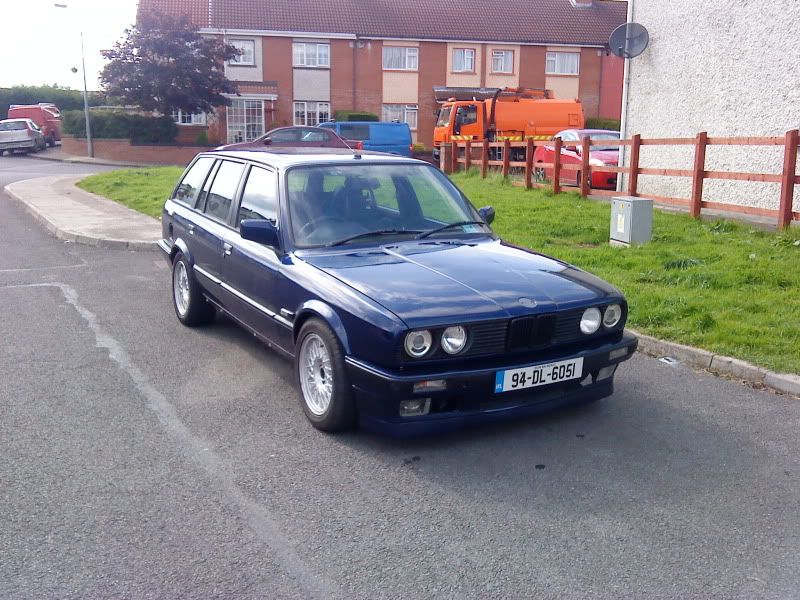
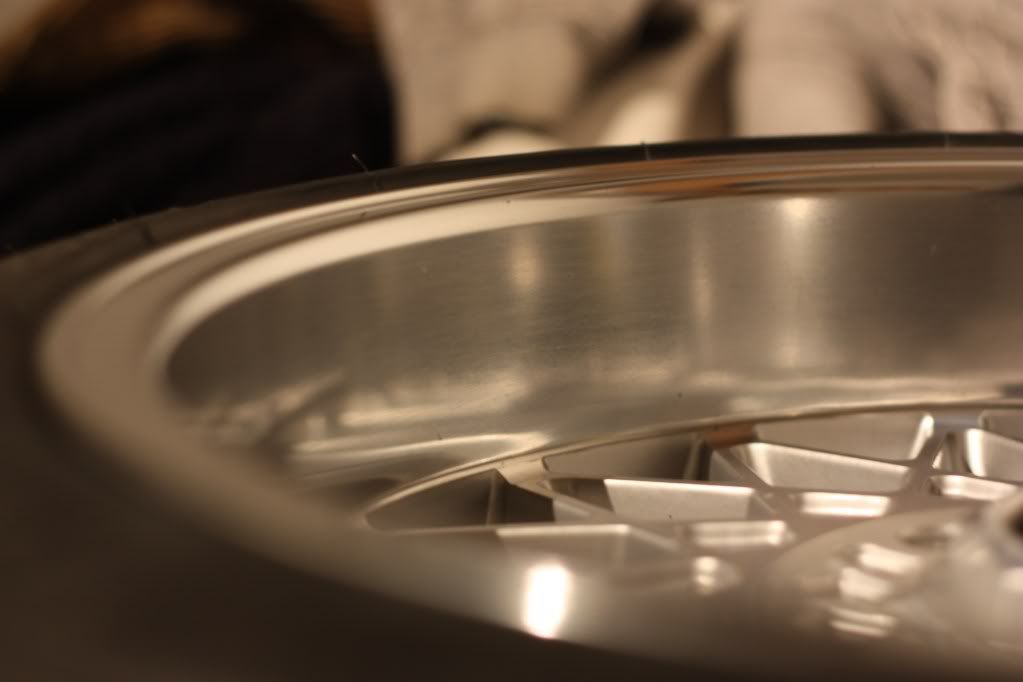
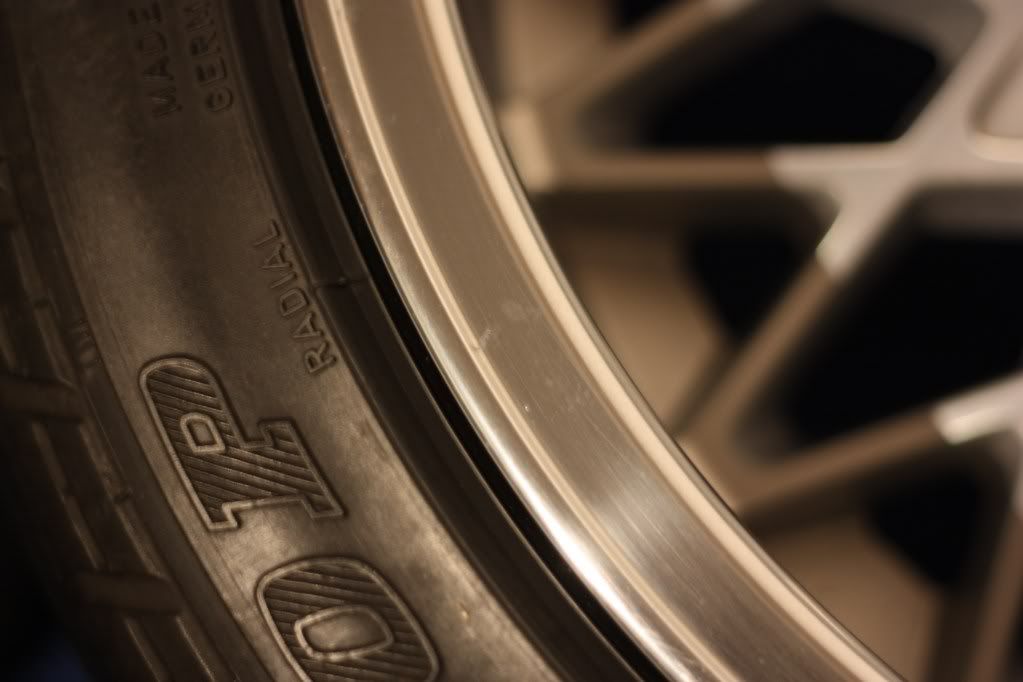
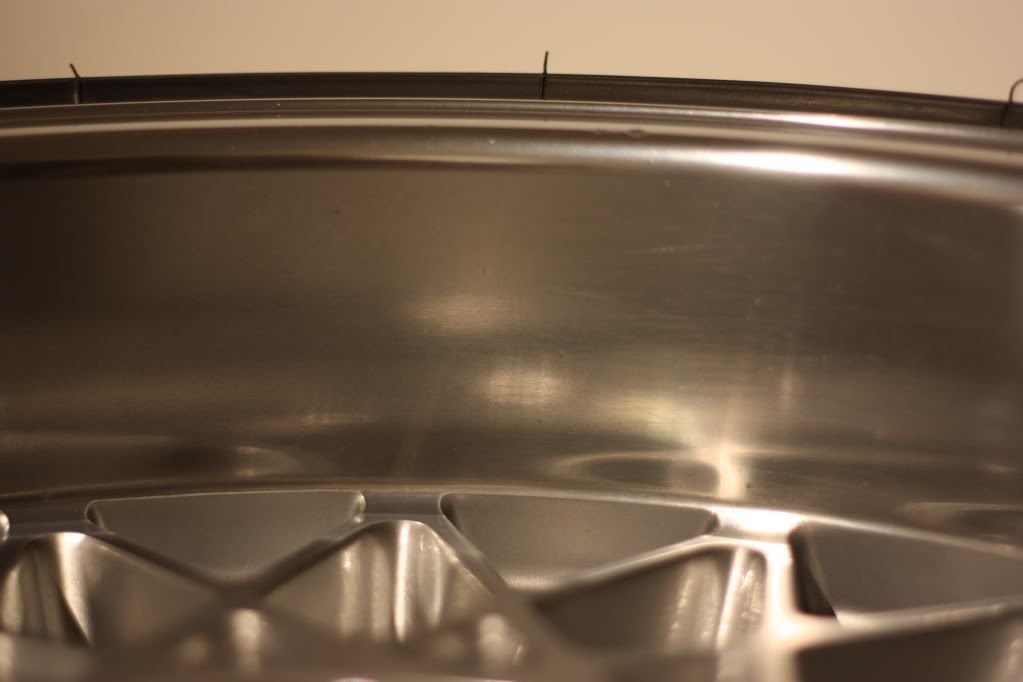
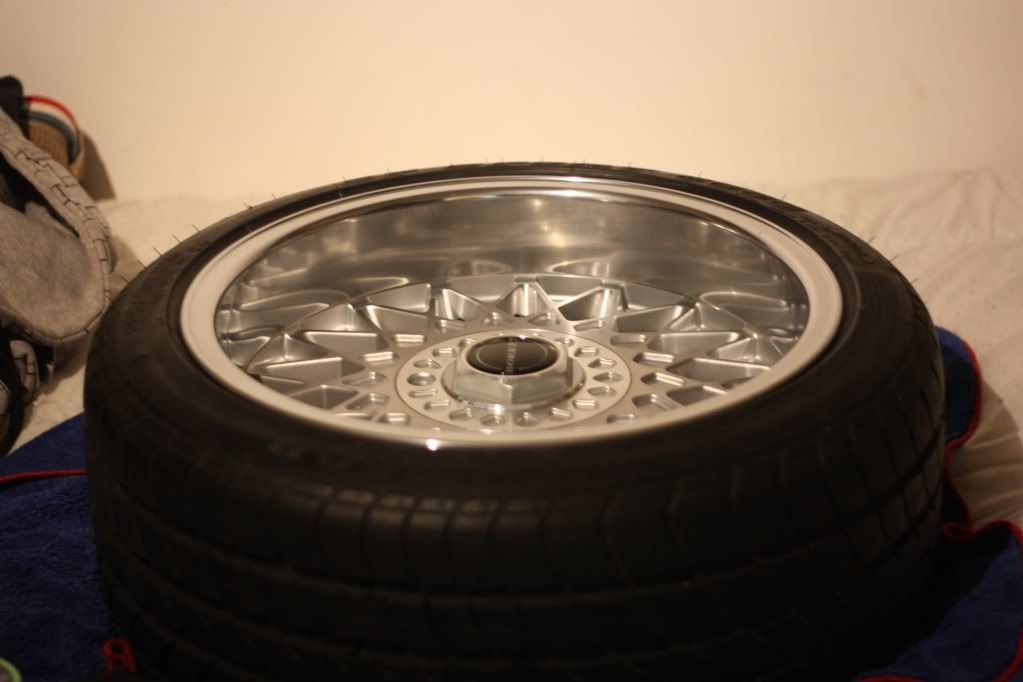
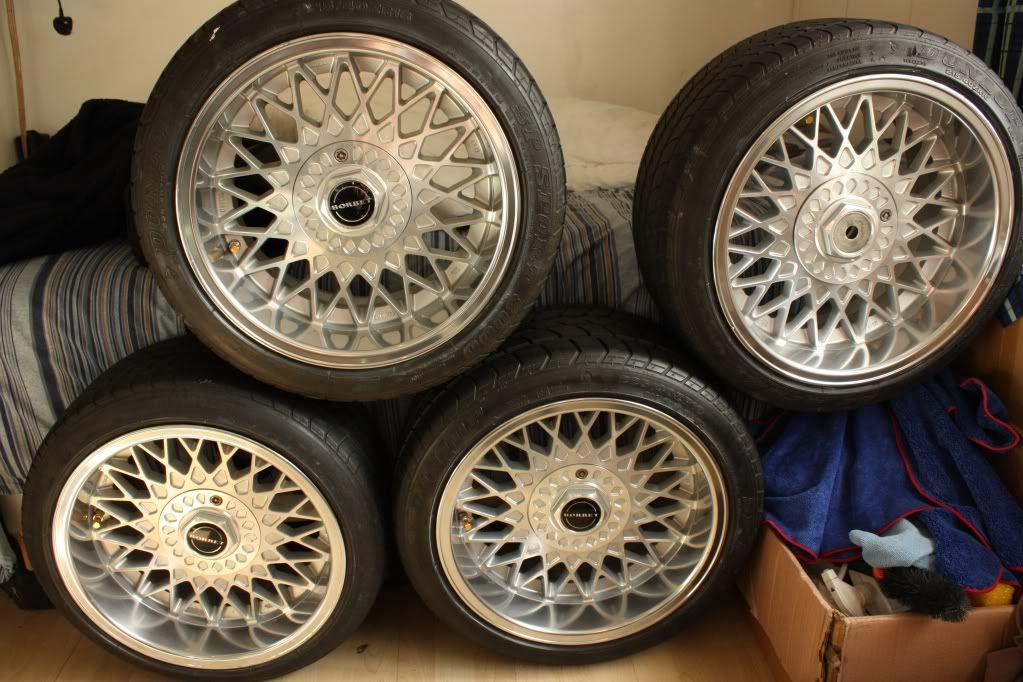
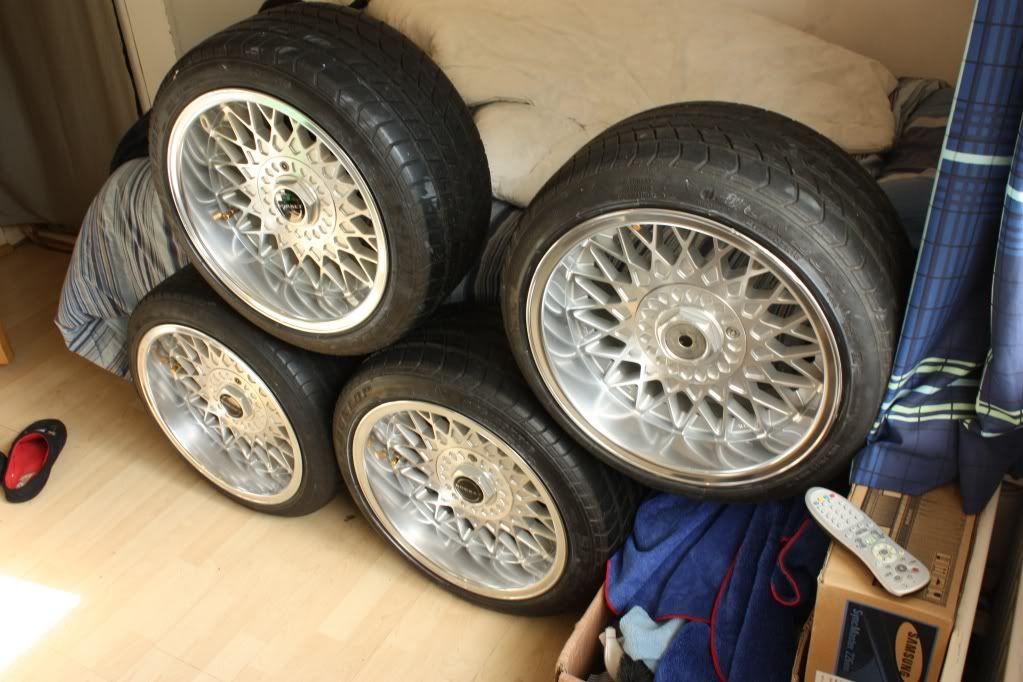
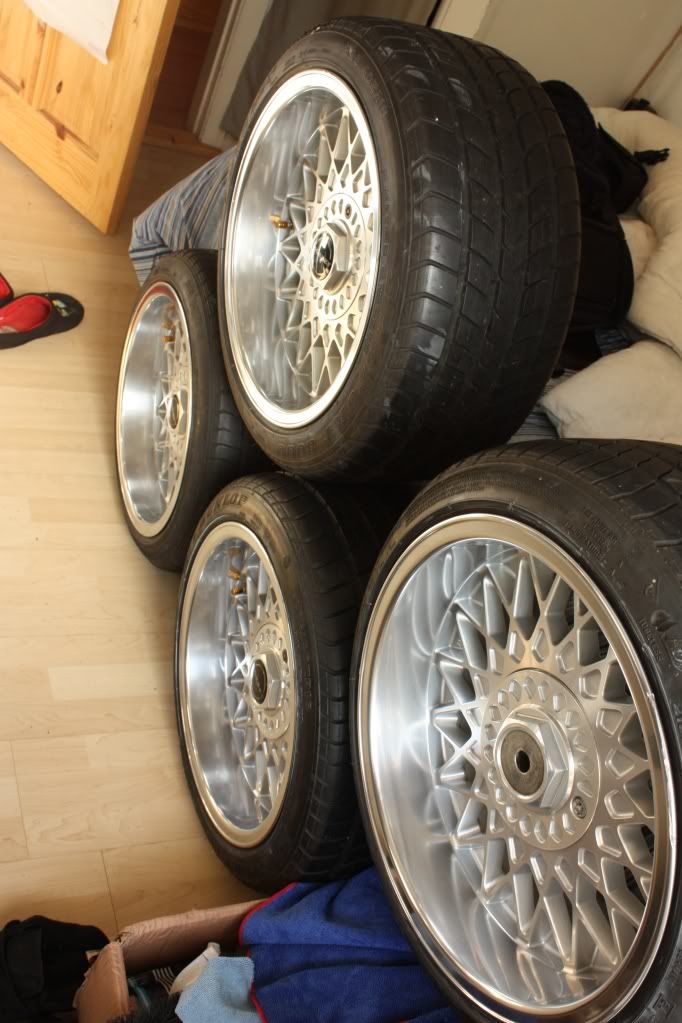
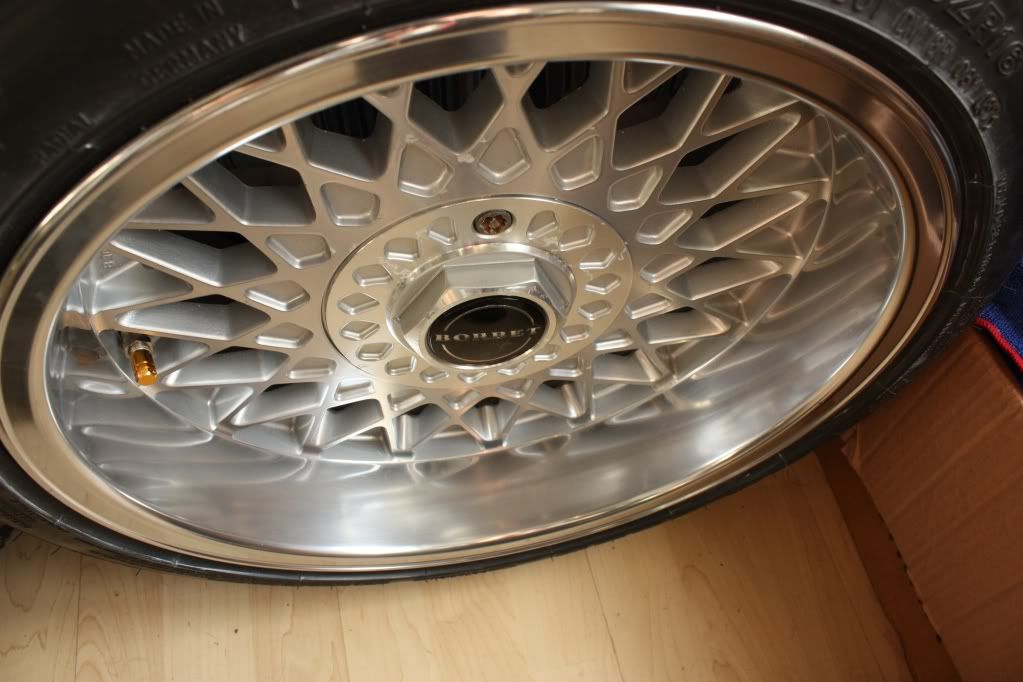
And later with some 16x7.5 Borbet B's
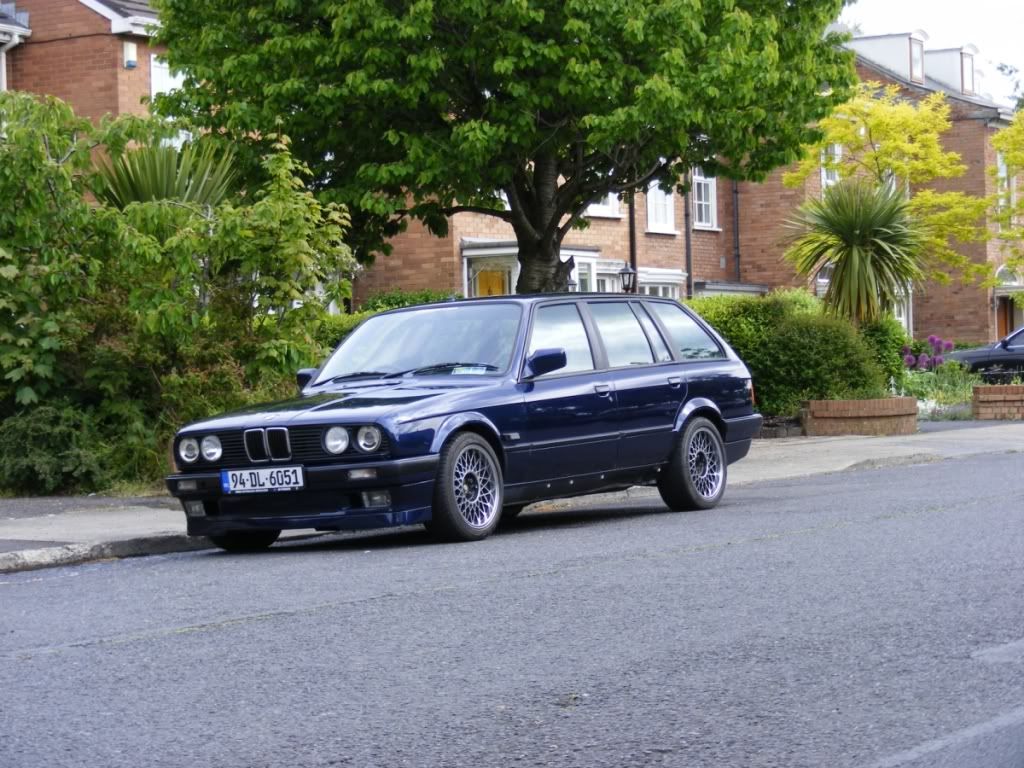
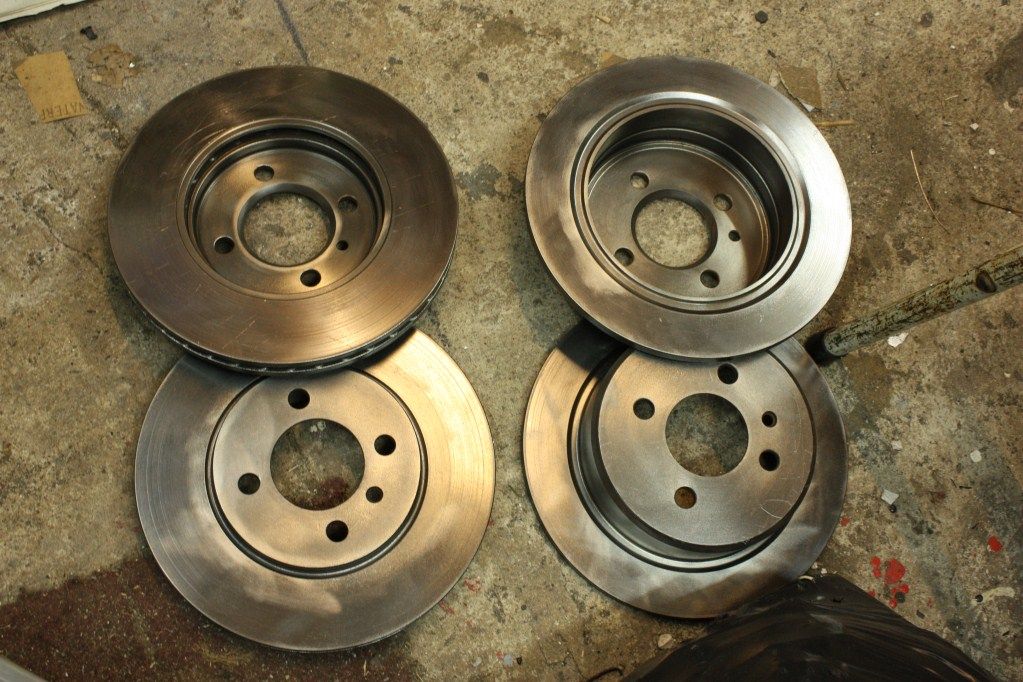
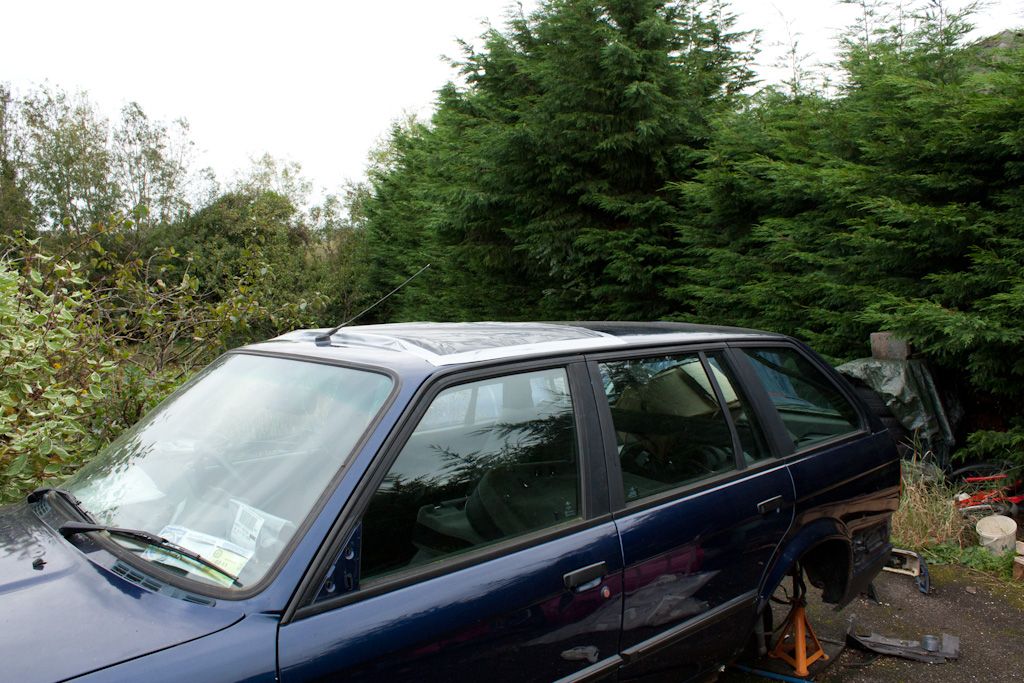
I never really finished her, hence skirts not being re-fitted, instead I just enjoyed her for a good year or so. During which a few additions were made, quicker rack, m3 bushes up front, new discs and red stuff pads allround. I was going to collect some parts for a nice tidy up, doors, boot lid and sort the sill rust when Oct last year the engine started leaking and I took her of the road for a mini resto. Not much happened until Jan this year when I got given a touring shell that was better than my own. Plans were hatched after lots of browsing for idea's and a more comprehensive resto started.
Spec will more or less be as follows
Engine & Drive train
M52B28 (e36 328 engine)
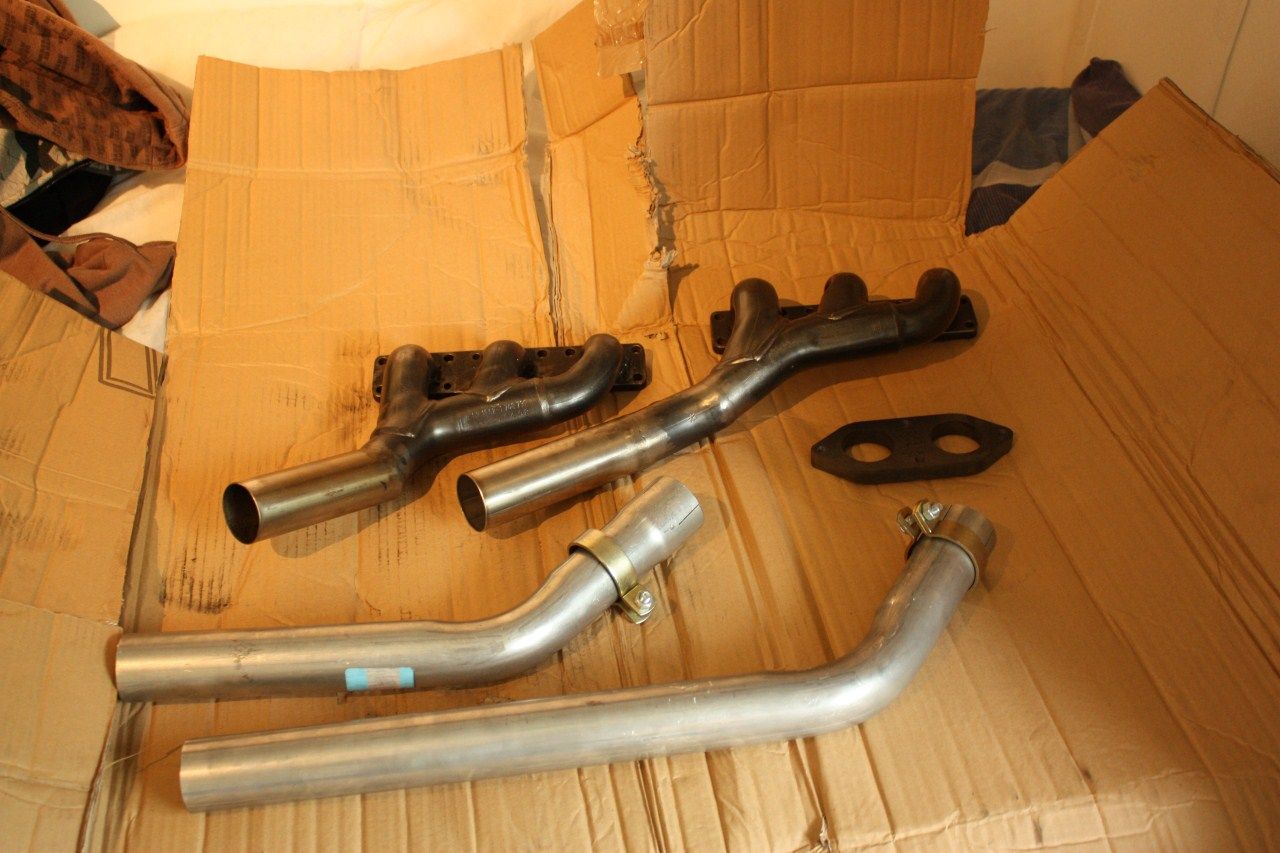
E30 M3 Scorpion exhaust to e modded with Le mans tips
M50 intake manifold
Modified exhaust to clear steering rack
S52 cams got but wont be fitted until I have enough money for a remap
M42 5spd box with short shifter (unsure which one, might be changing this for a quicker one)
3.64 LSD rebuilt with 40% lock
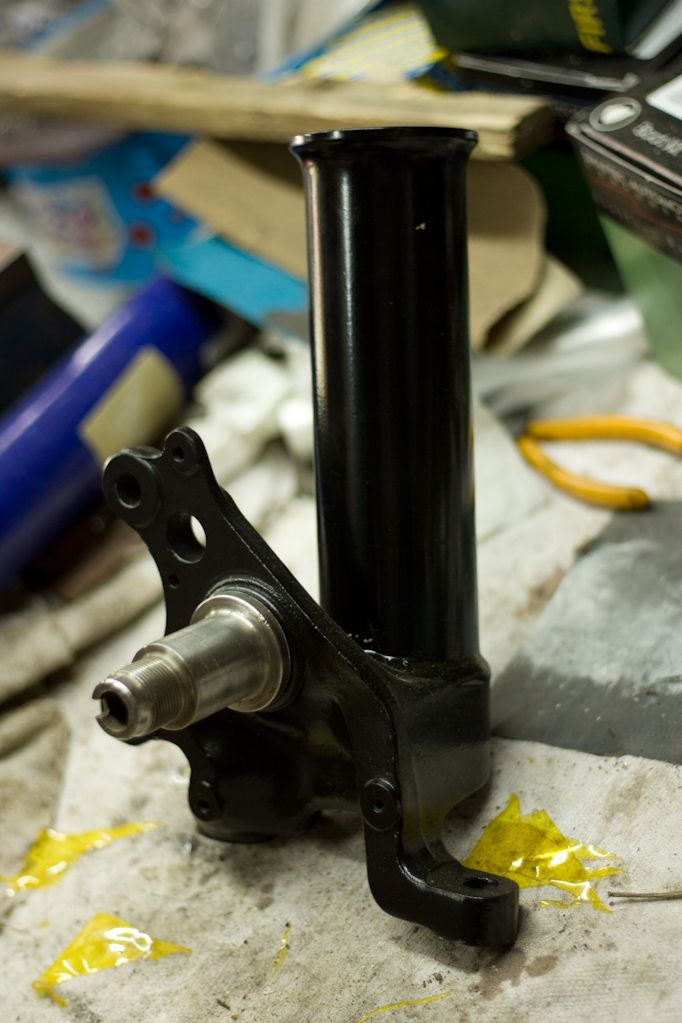
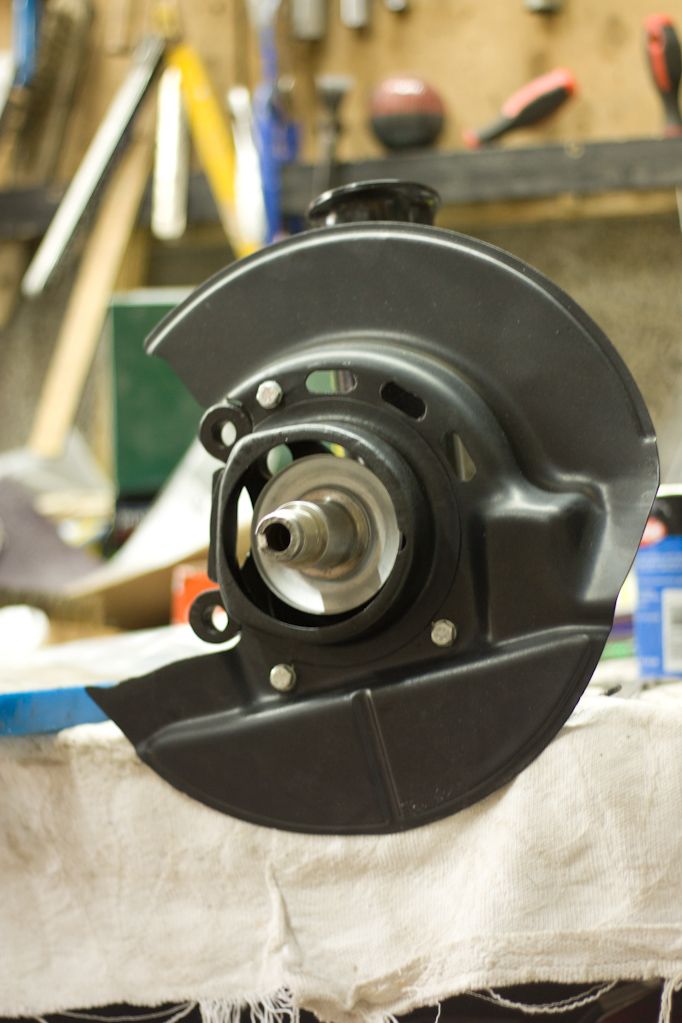
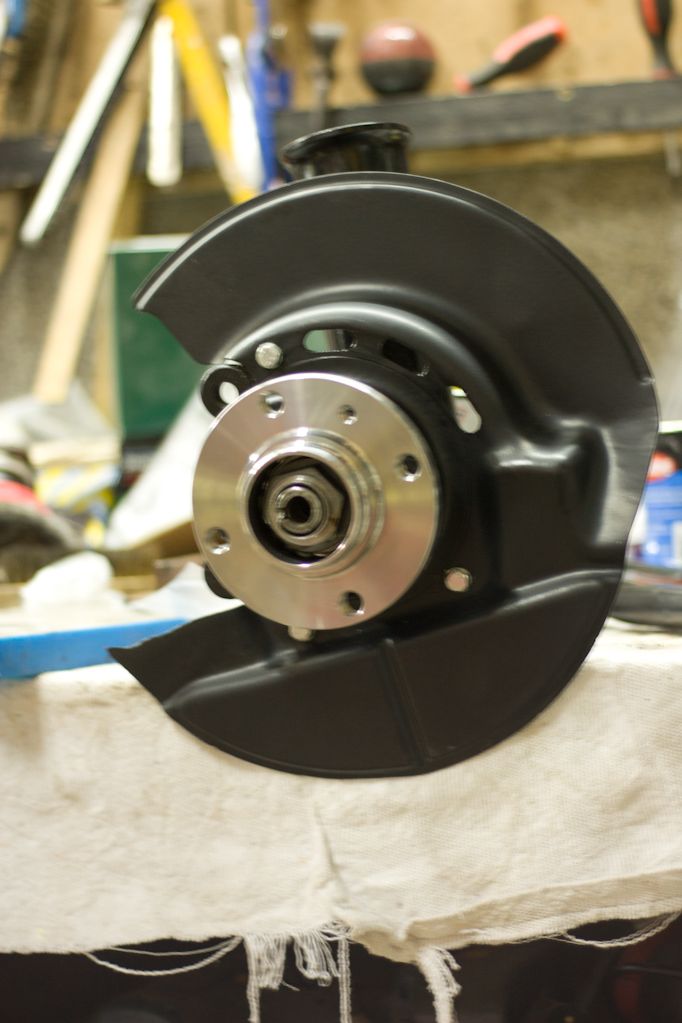
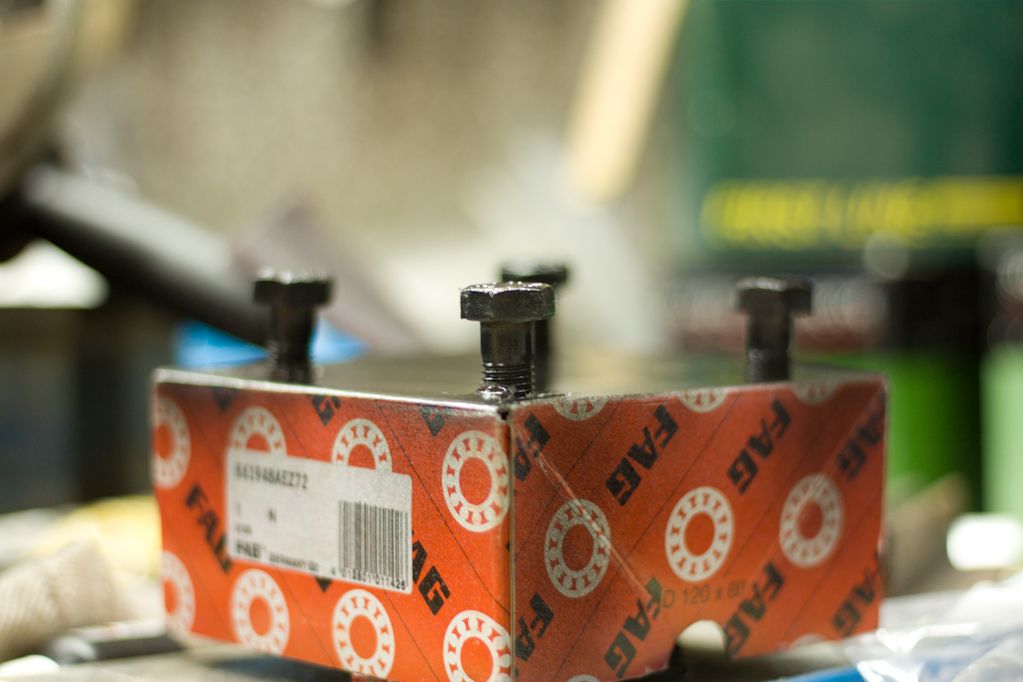
New bearings all round
Chassis stuff
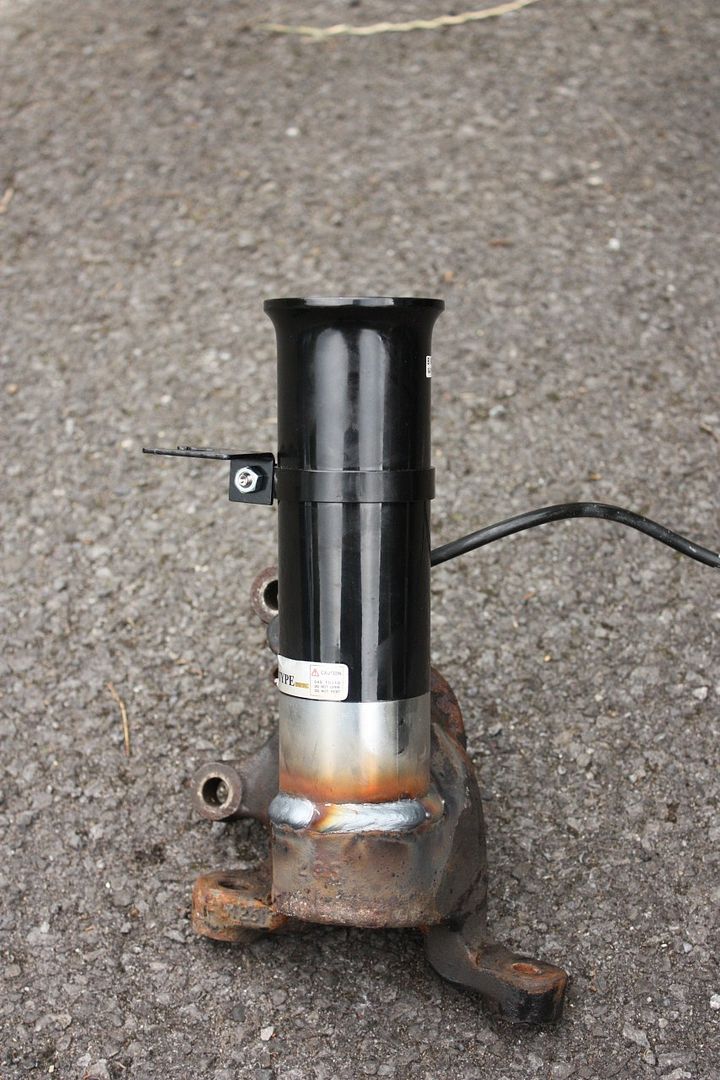
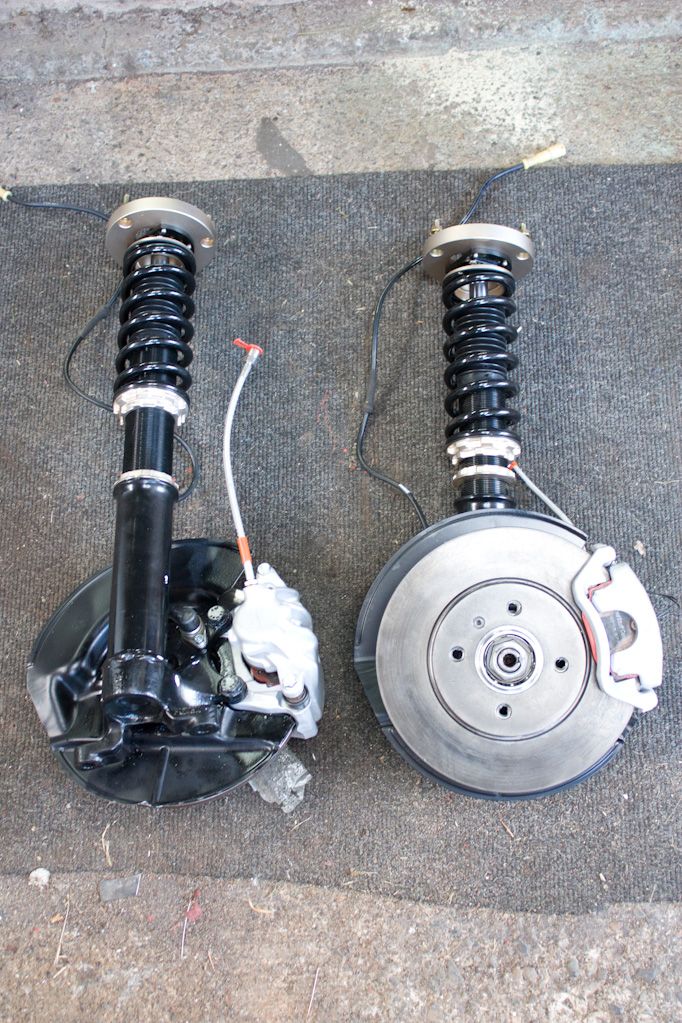
Bc Racing coilovers with front adjustable top mounts
Rear camber and toe plates
Rear beam bush void fillers
E30 M3 eccentric control arm bushes and new bushes all round
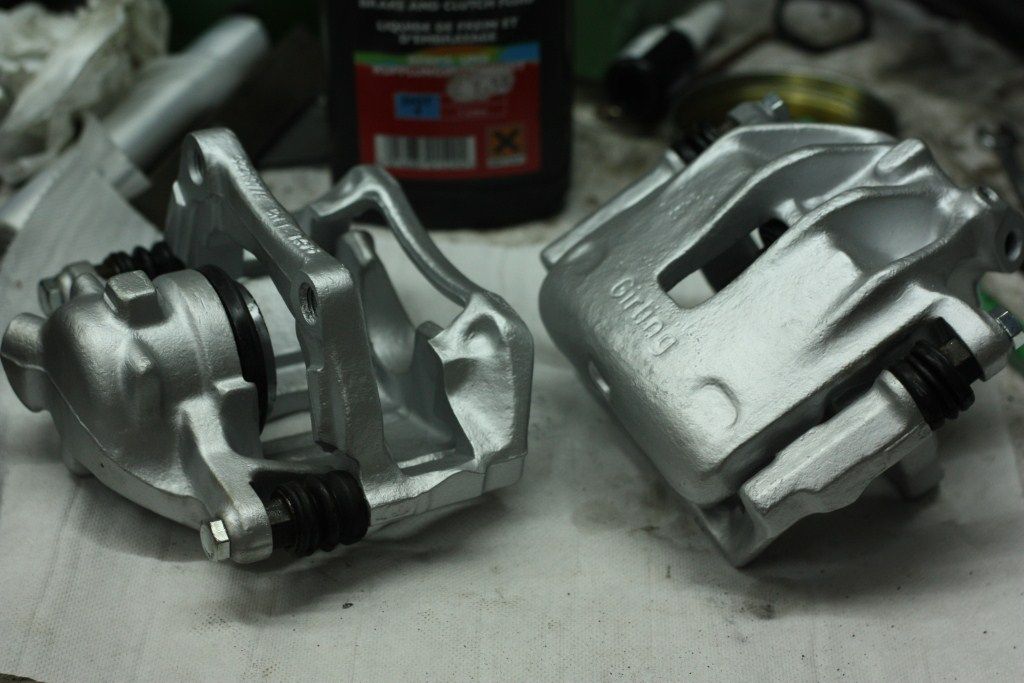
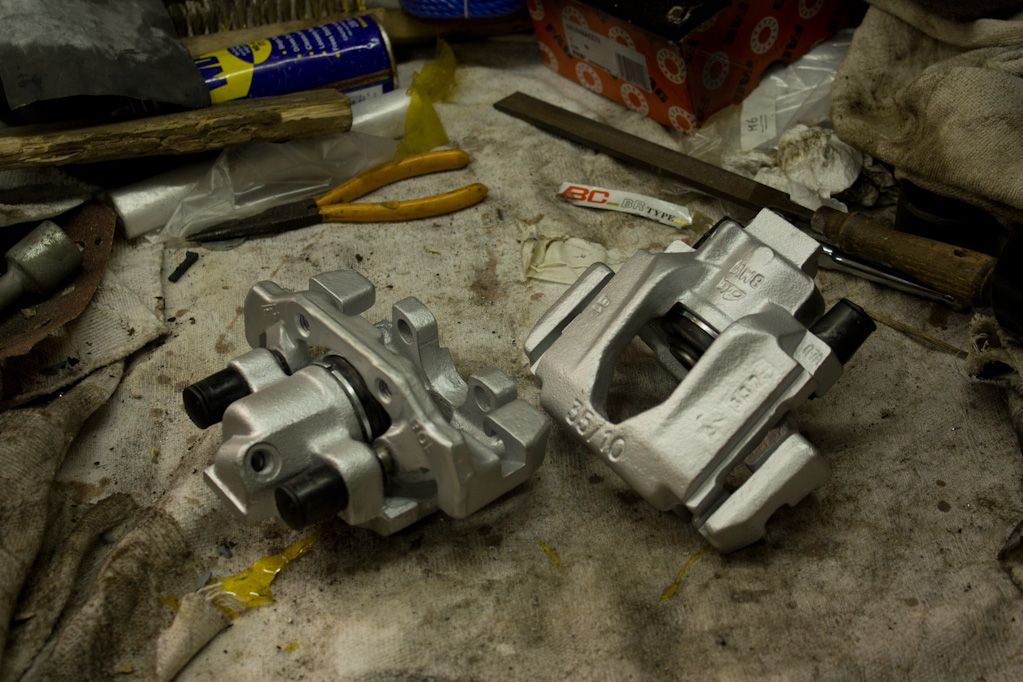
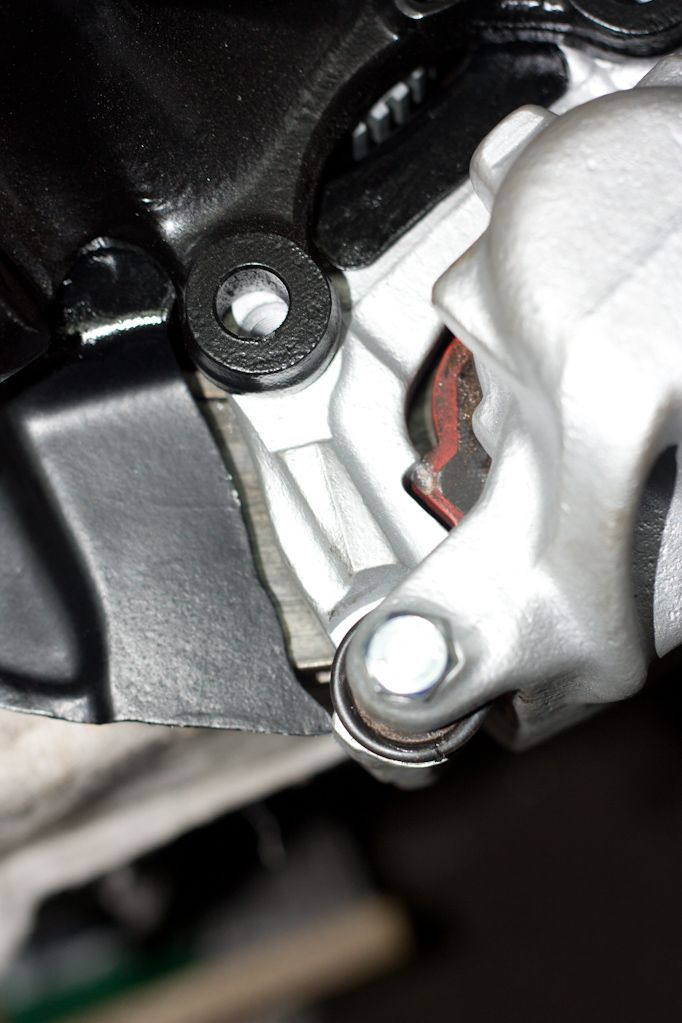
Standard brakes with EBC red stuff (carried over from the blue touring, not even a year old) callipers re-furbed again
E46 steering rack (quicker than the E30 one)
Exterior:
Metallic Blue - still undecided on exact colour, suggestions welcome
Mtec2 front and rear bumpers
Mtech2 touring spoiler
325 iX arch/fender flares and skirts
16x9 Borbet B all round with (if I can fit them) 225/40 rear and 215/40 front tires
Yellow Lamin-x film on main lights and fogs, clear indicators
De-locked (and prob remove the side repeater also)
Shadow line trim (already on the touring)
Interior
E30 Recaro Ls 4dr/touring seats (fitted before she came of the road)
370mm Tec1 steering wheel, the smaller one, also fitted quite while ago
black carpet - undecided but probably will happen
black headliner - also undecided probably will also happen
better speakers front and rear with tweeter pods for the mirror plates
leather re-upholstering - eventually as funds allow
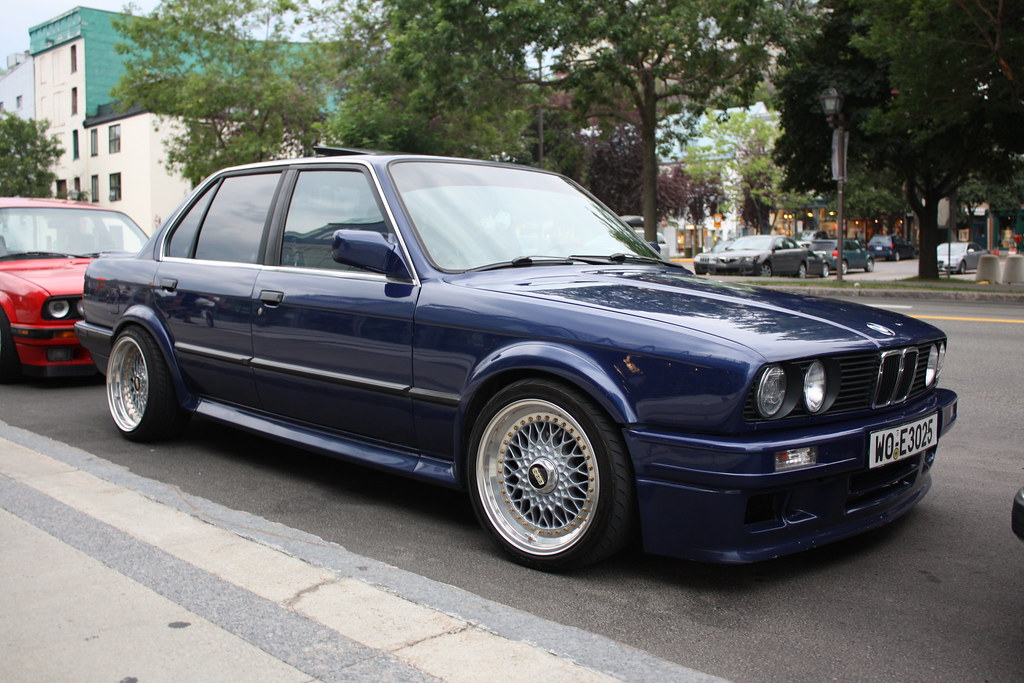
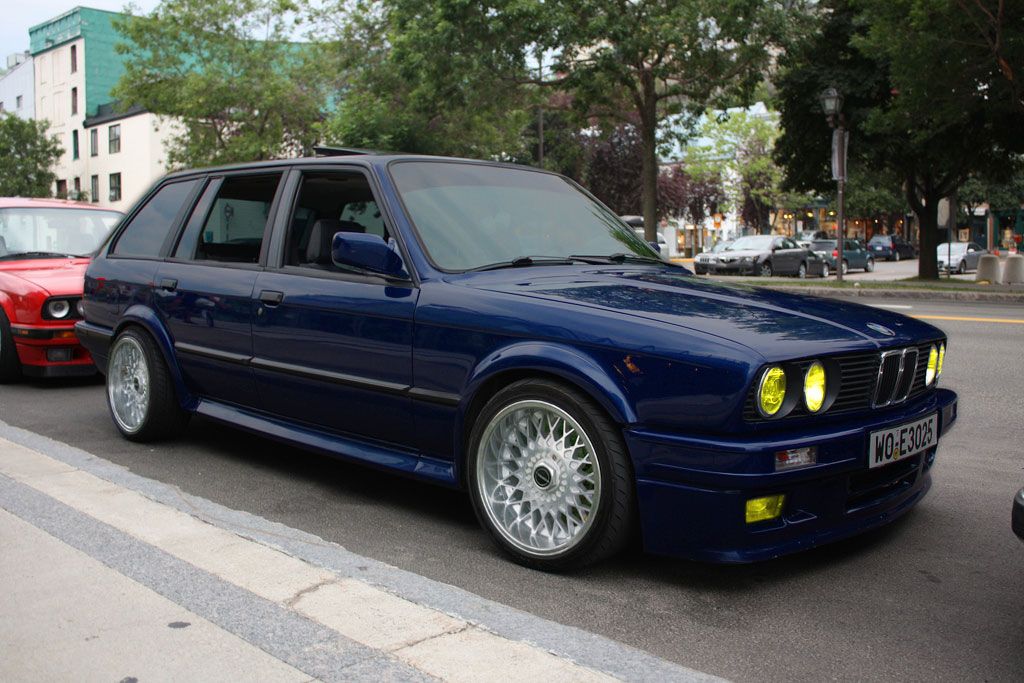
While searching the net trying to decided on a look I found a nice black 2dr and the 4dr below with the same exterior styling I was thinking of
Some photoshopage later
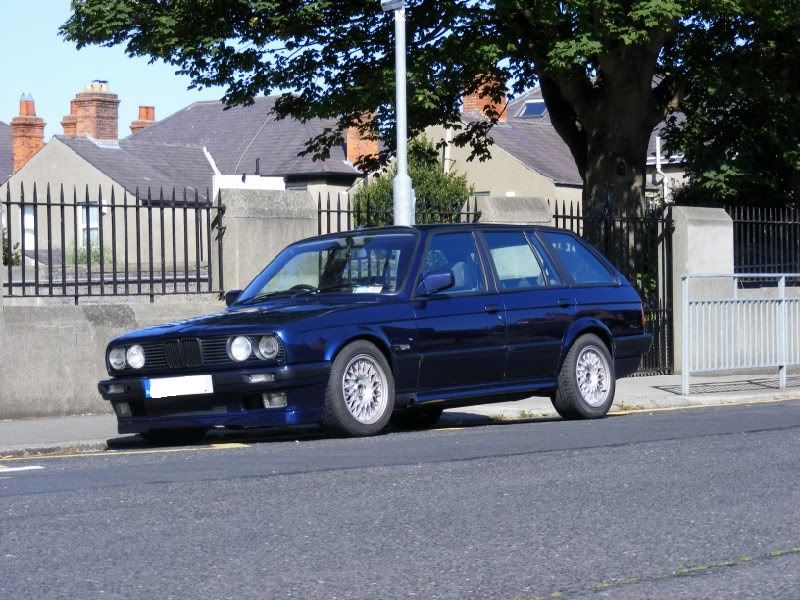
On thing I'm still very much decided on is what colour to paint her, or specifically what shade of blue My blue touring above is Mauritius Bleu (likely contender for colour choice)
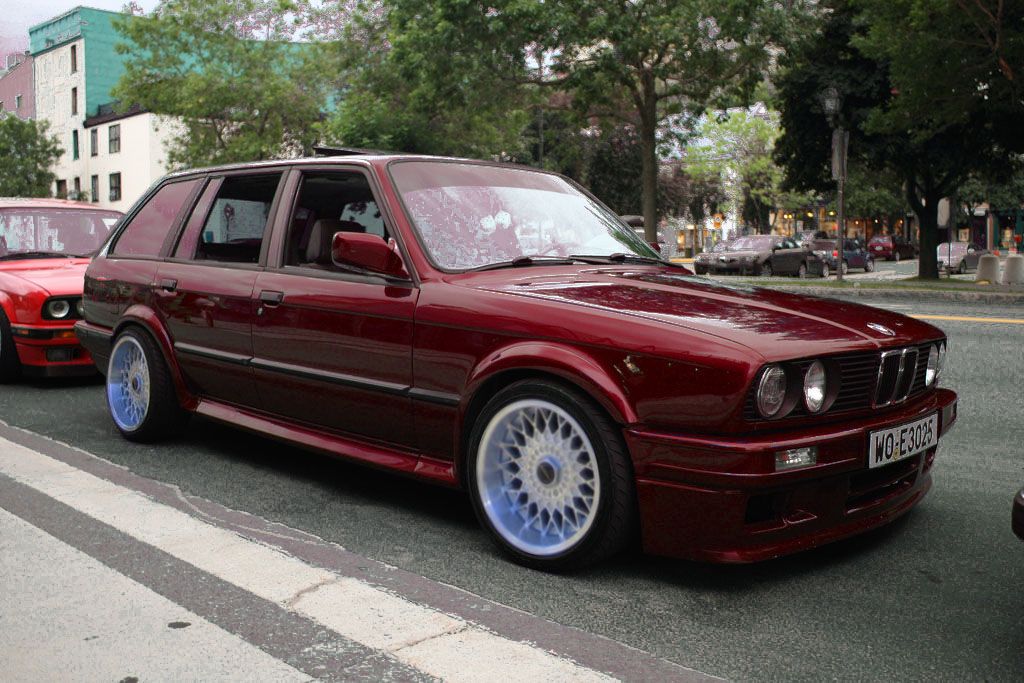
A few options that were tried

Calypso red (ish)
Lagoon Green

Marrakech Braun - ish,
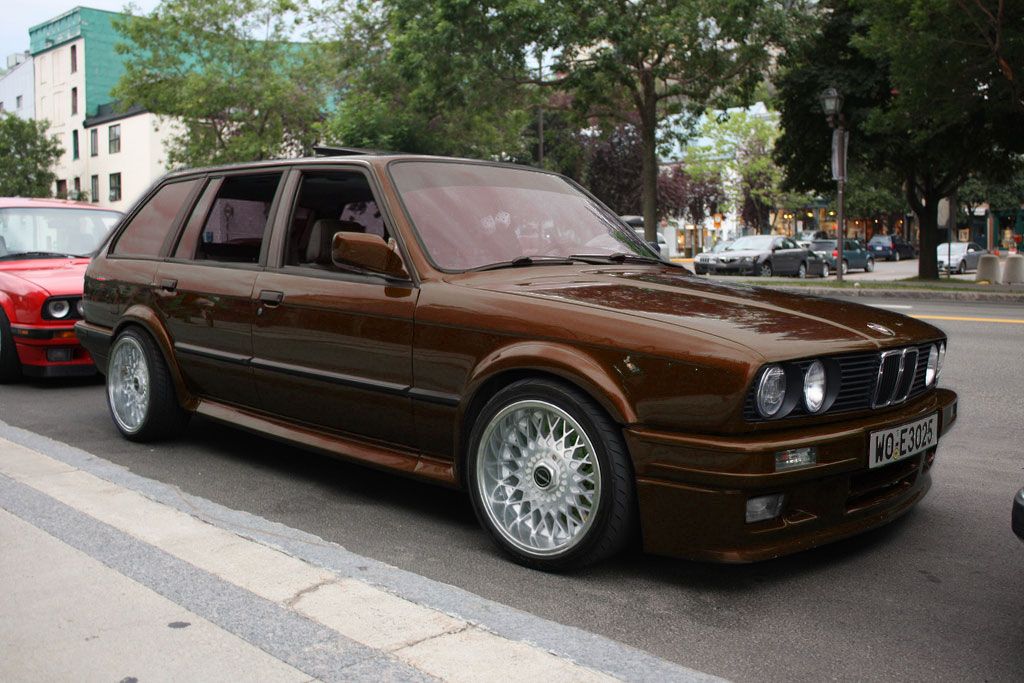

What I tried to copy: http://sphotos.ak.fbcdn.net/hphotos-..._4305298_n.jpg
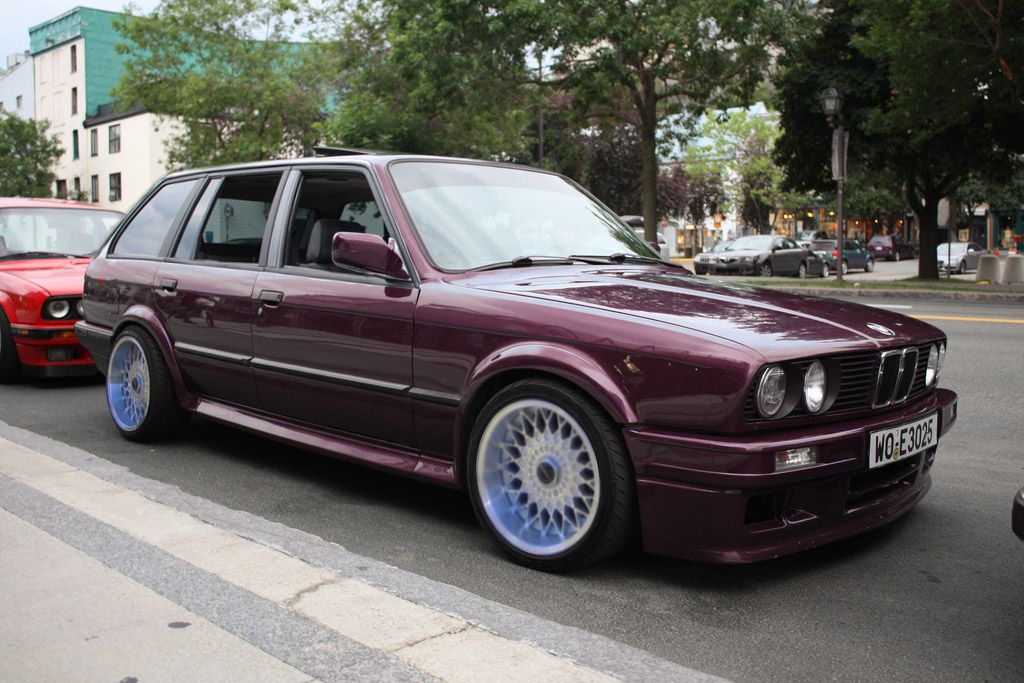
Porsche Amethyst
If anyone has any suggestions for a nice blue, I'd like to hear them. For now Mautitius blue is the likely contender (more examples: e36, e30 more. This Fiat colour and Interlagos blue look nice to
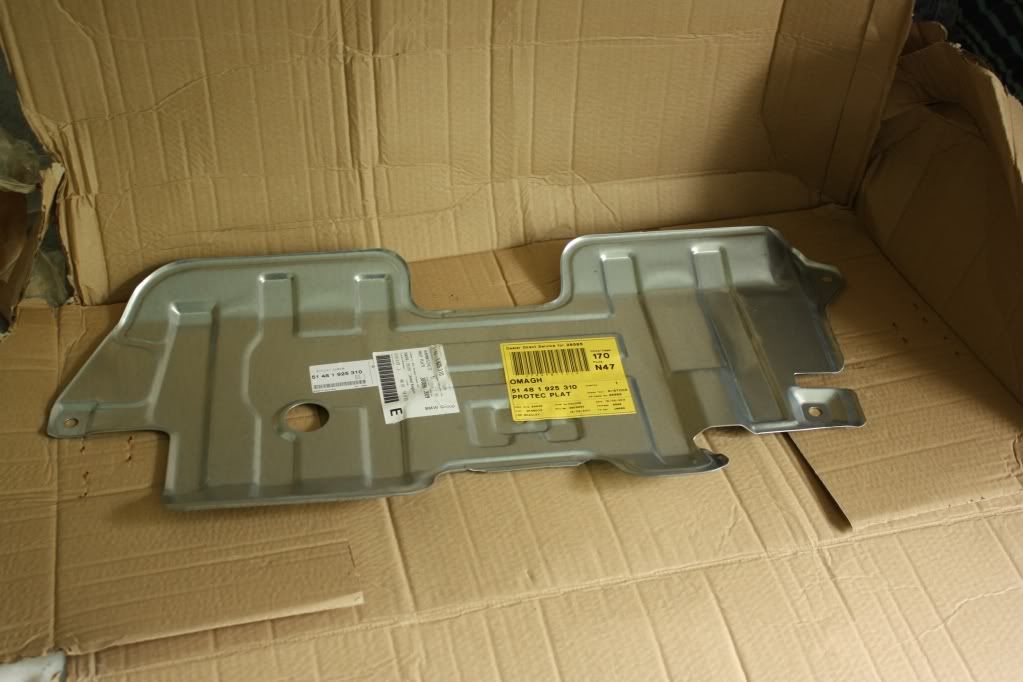
So thats my introduction and what I intend to build, I probably won't go all out low as I still want to be able to drive her and push on a bit without worrying about my sump (or sump guard) to much.
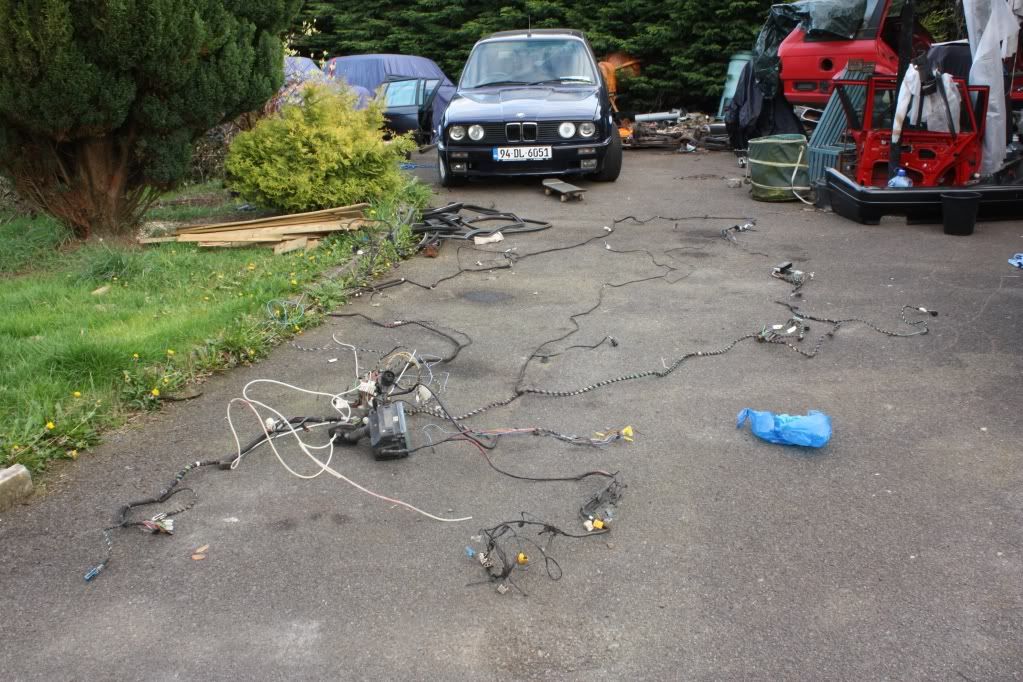
The following are copy and pasted posts from my project build over on E30owners.com which I'll copy across over the next few days starting with this:
Jan 2011:
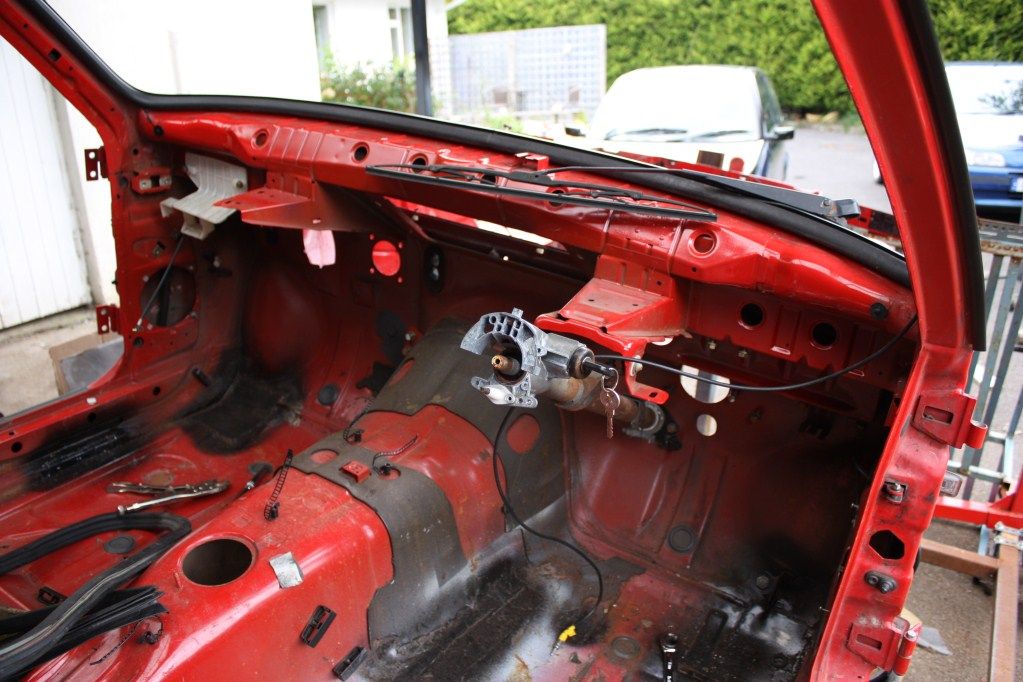
Little bit of progress today, after a bit of messing with the engine we got it sitting like this:
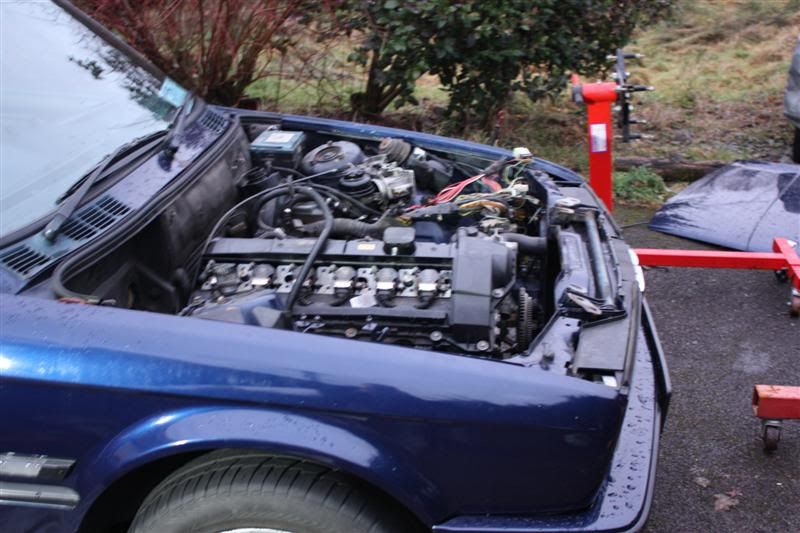
Bit of messing to get it on it's mounts in the sub frame but got there in the end. Can start mocking up the manifold next time I'm home and once I get some stainless tubing.
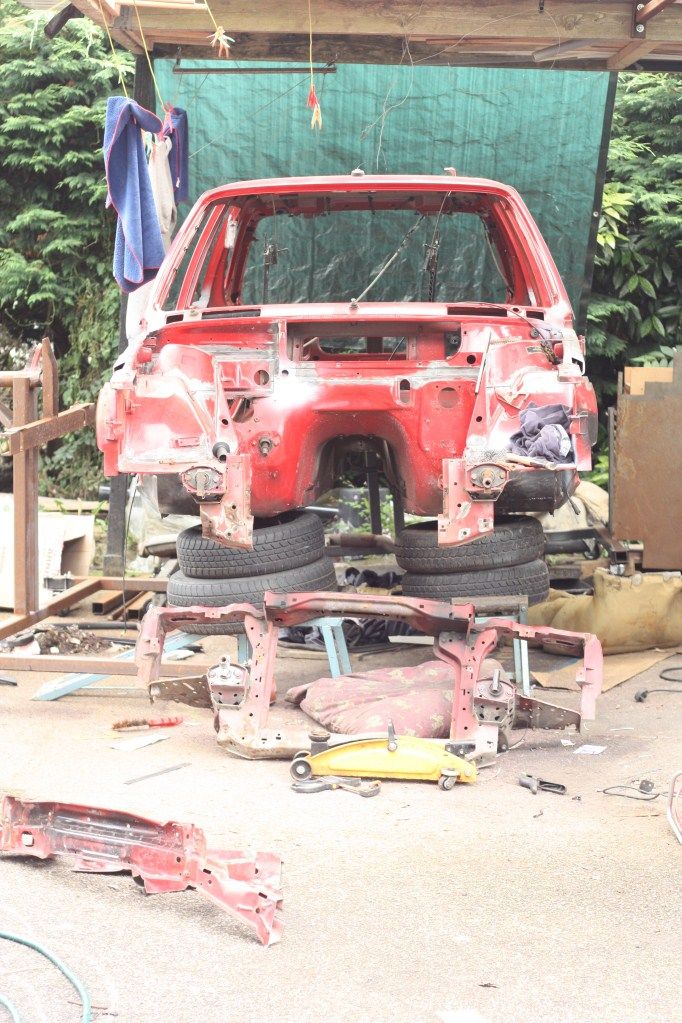
Won't be lifting this engine out though, probably drop the whole subframe, suspension etc and lift the car over the engine.
Got this done instead of getting the new shell today, couldn't go again because they guy lending the trialer and my uncle couldnt get lights working and didnt want to take a chance
Engine's normally this black on the inside:
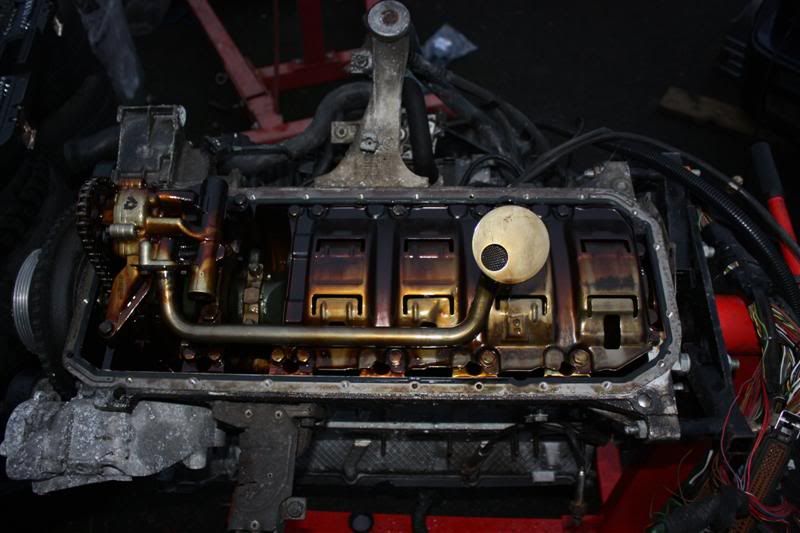
Exhaust ports have a nice thinck layer of black grime in them as well. Anyway of cleaning this out or what can you do about it?
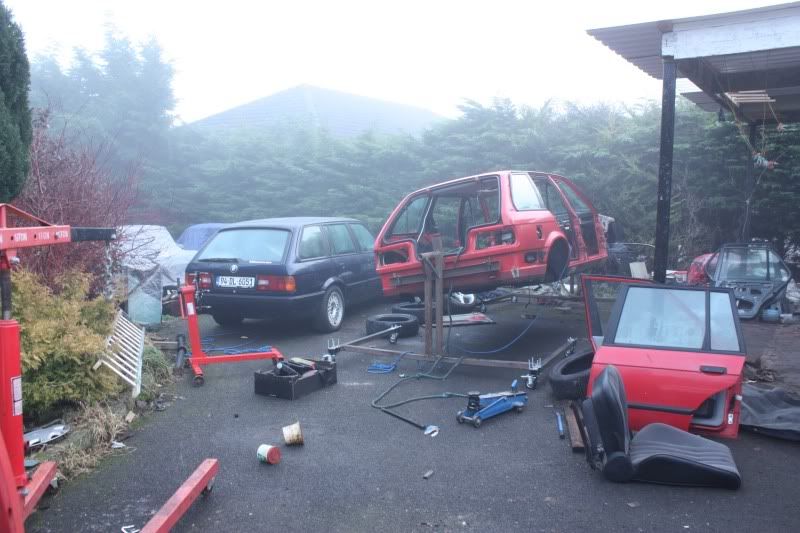
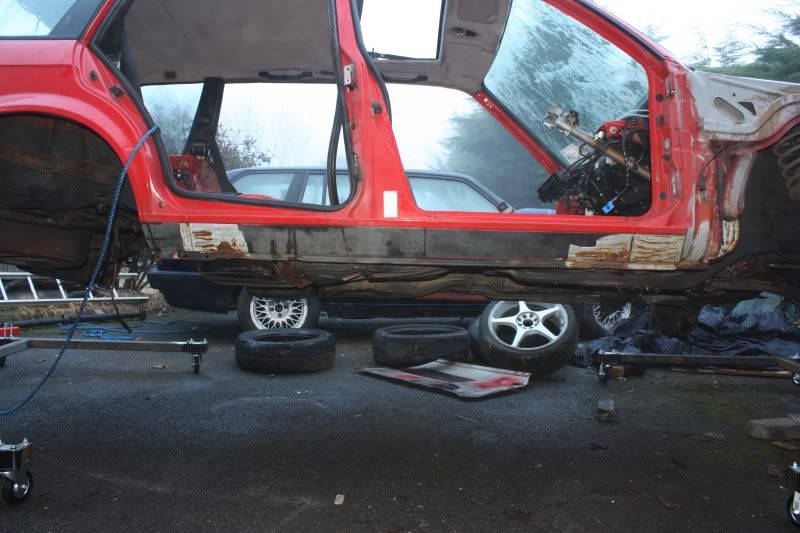
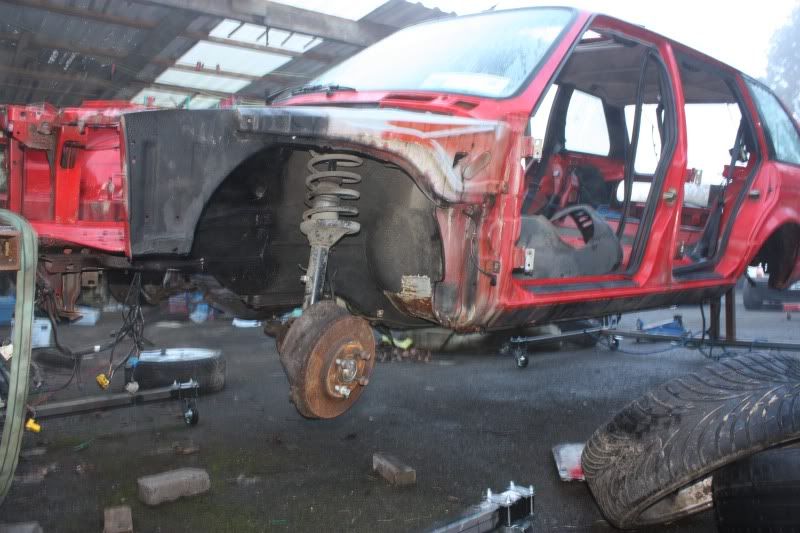
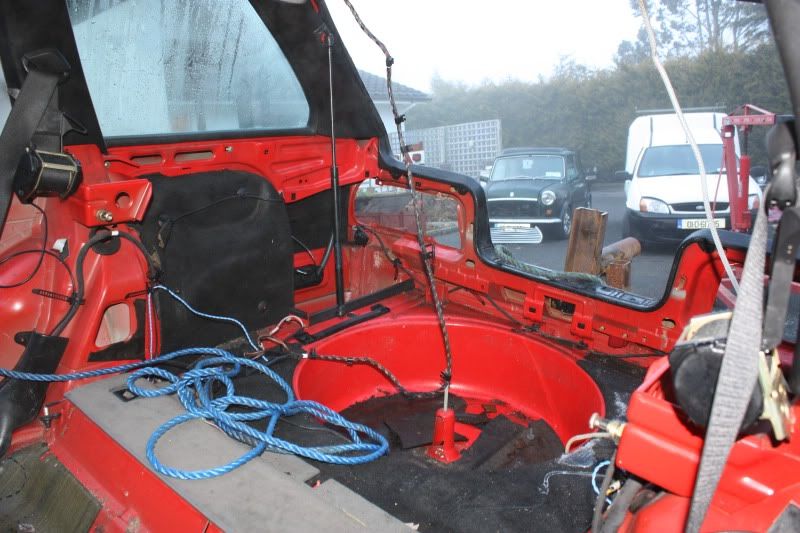
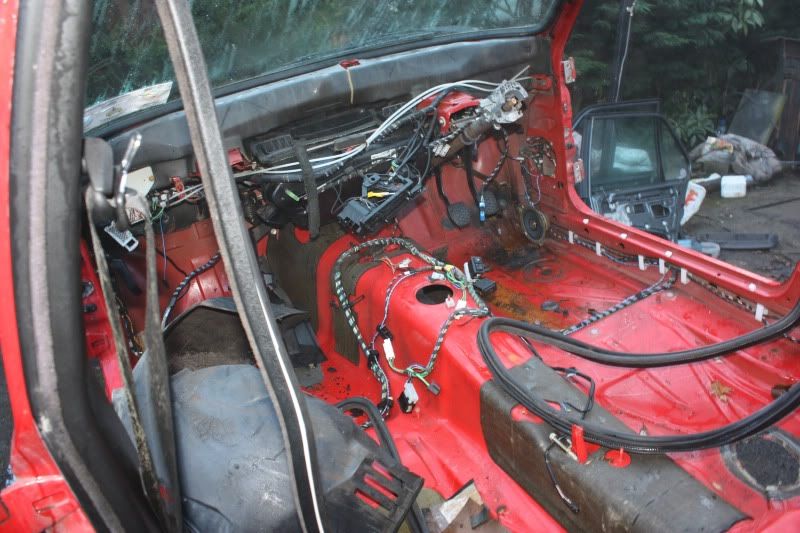
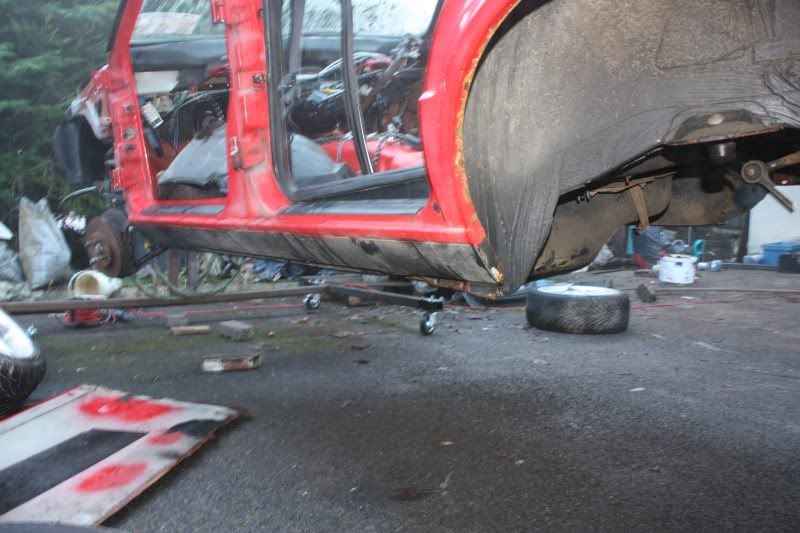
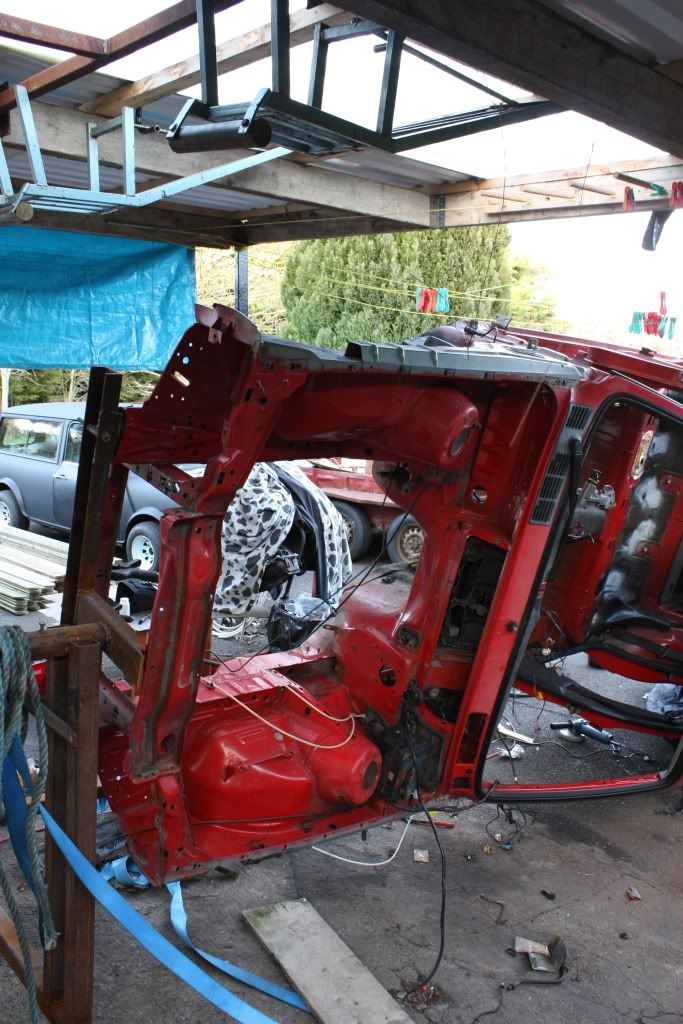
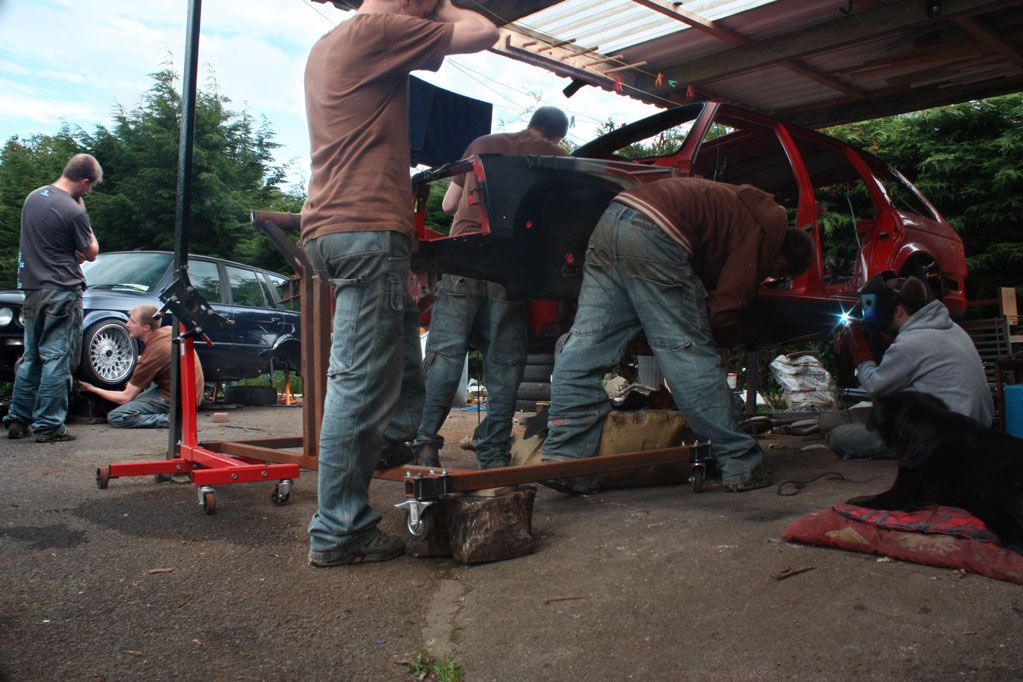
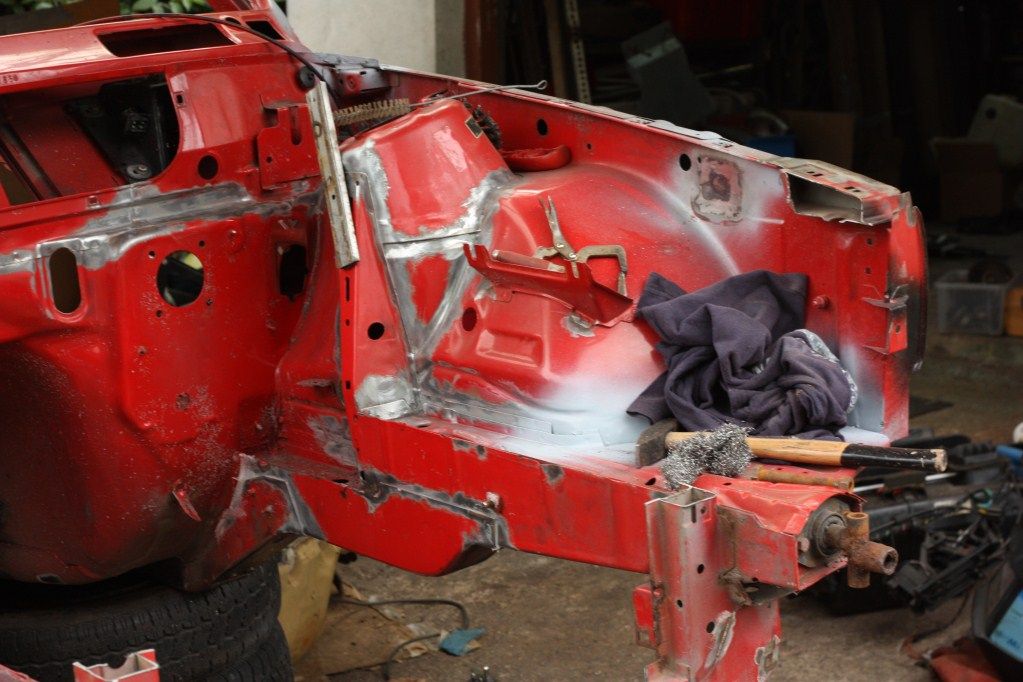
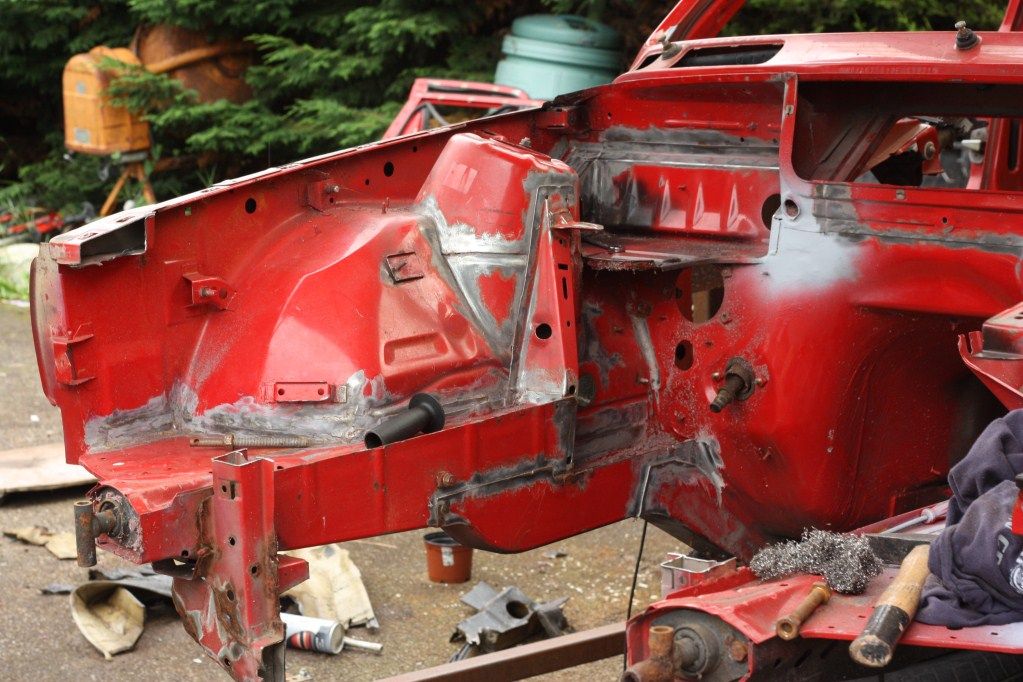
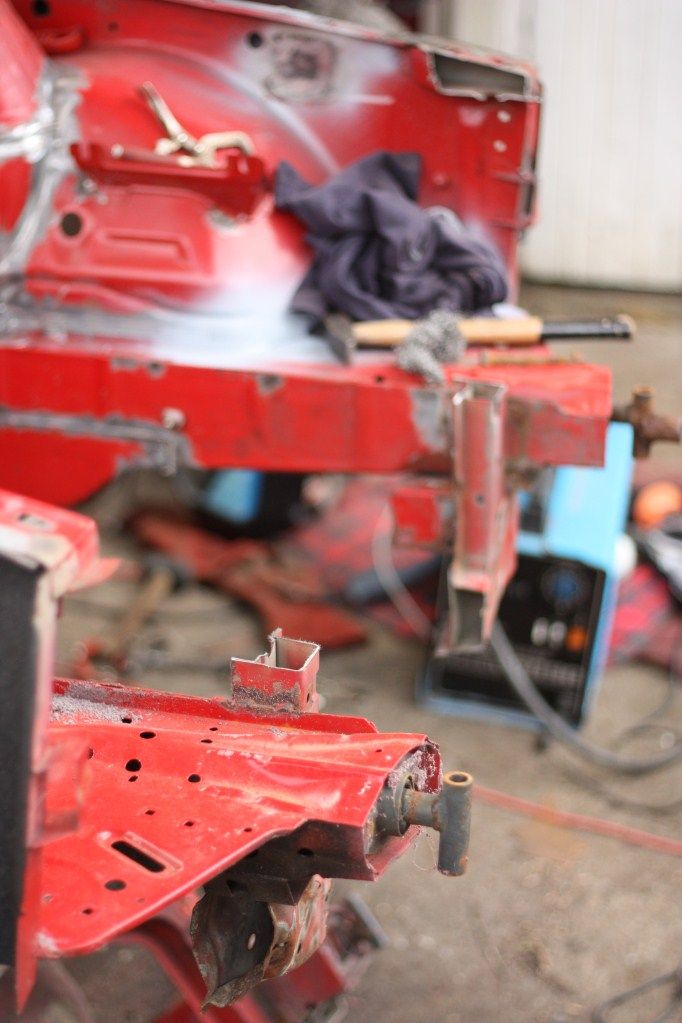
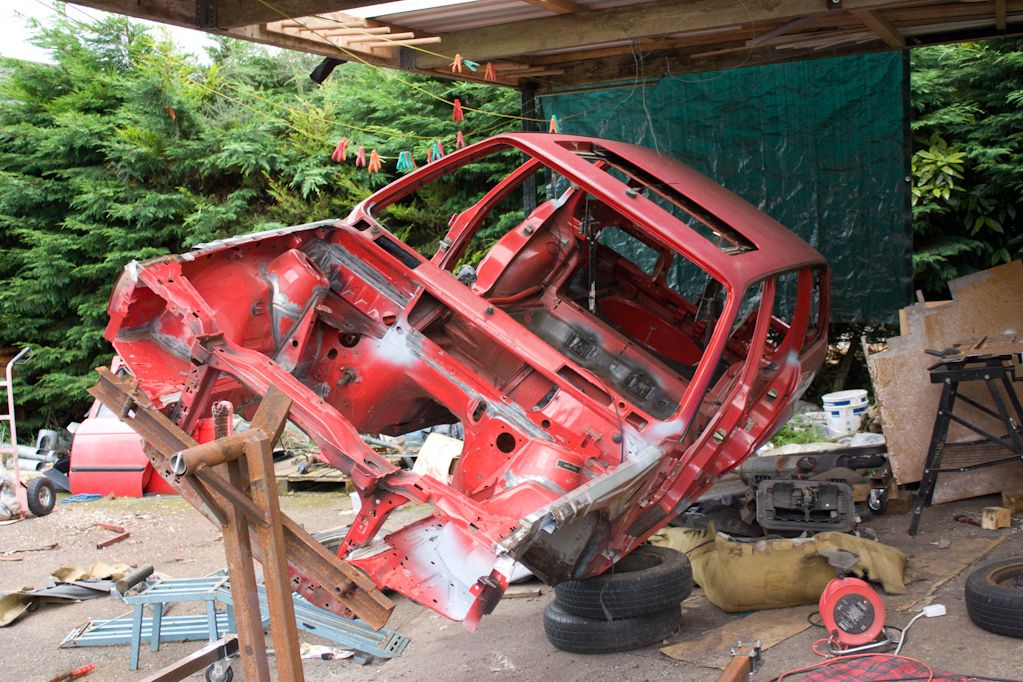
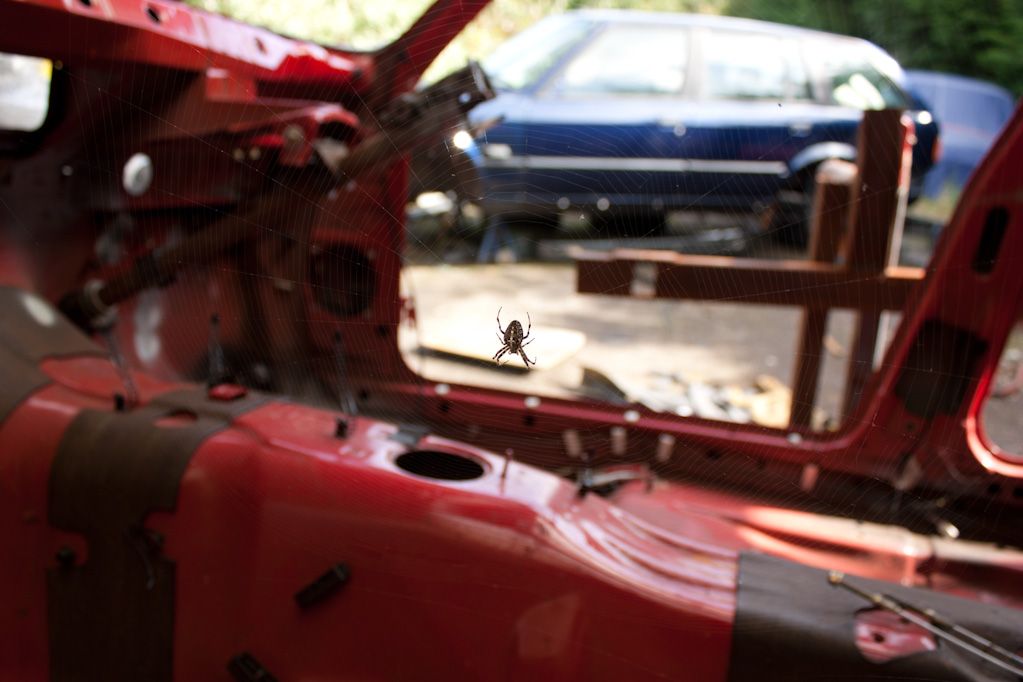
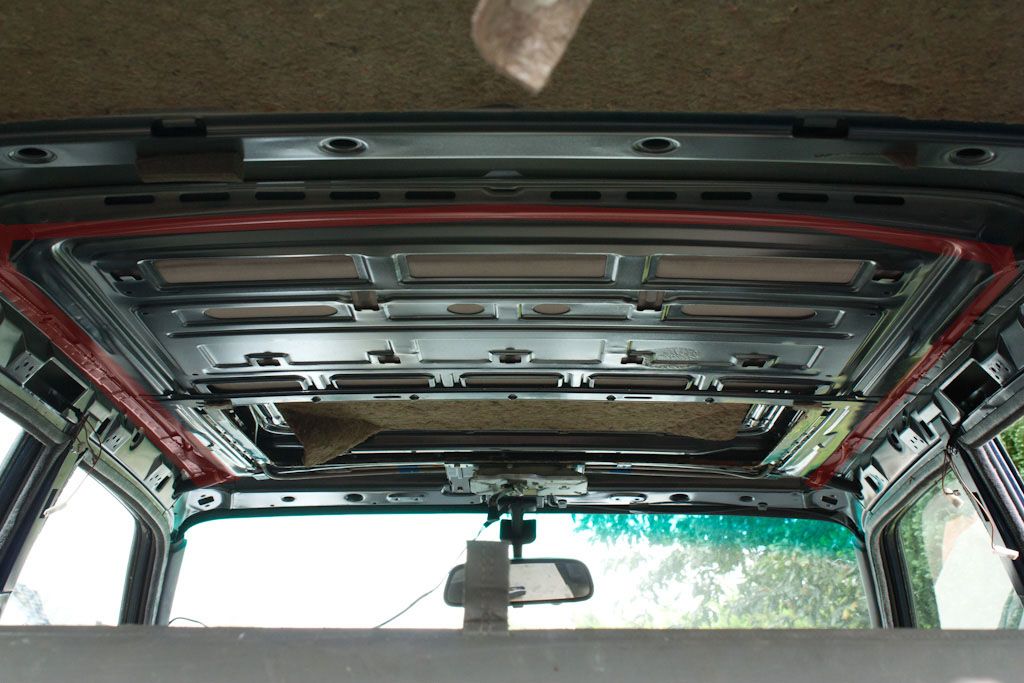
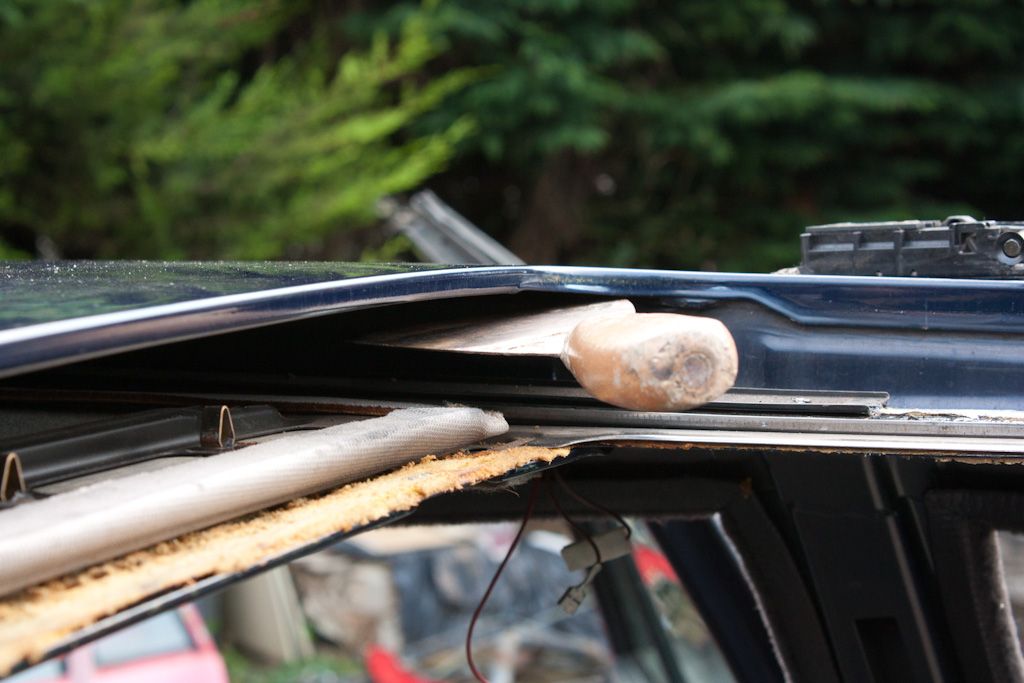
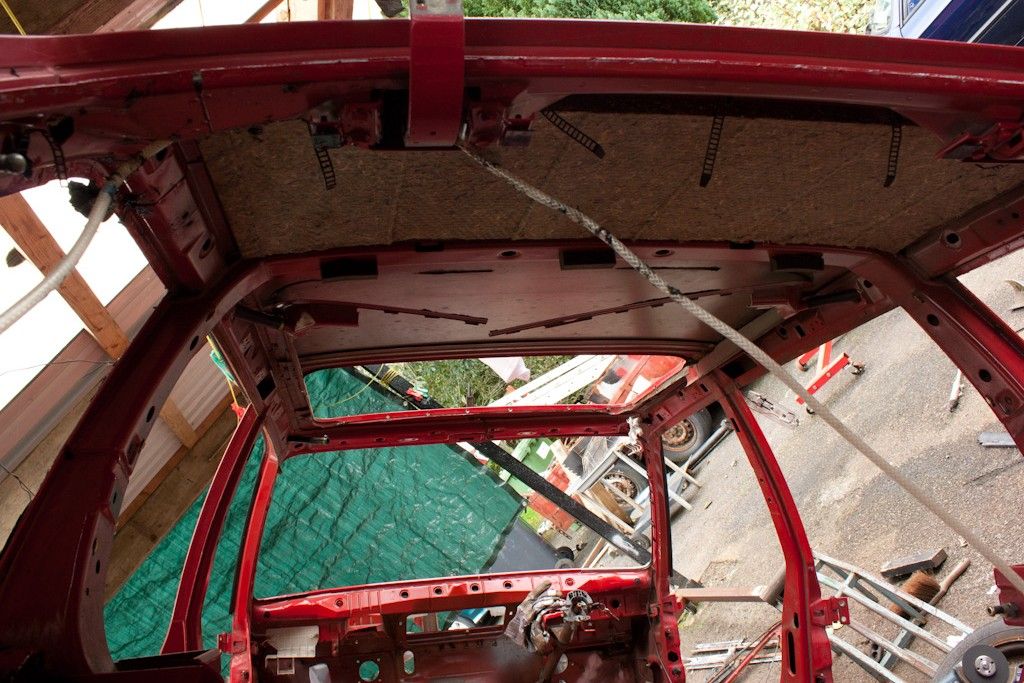
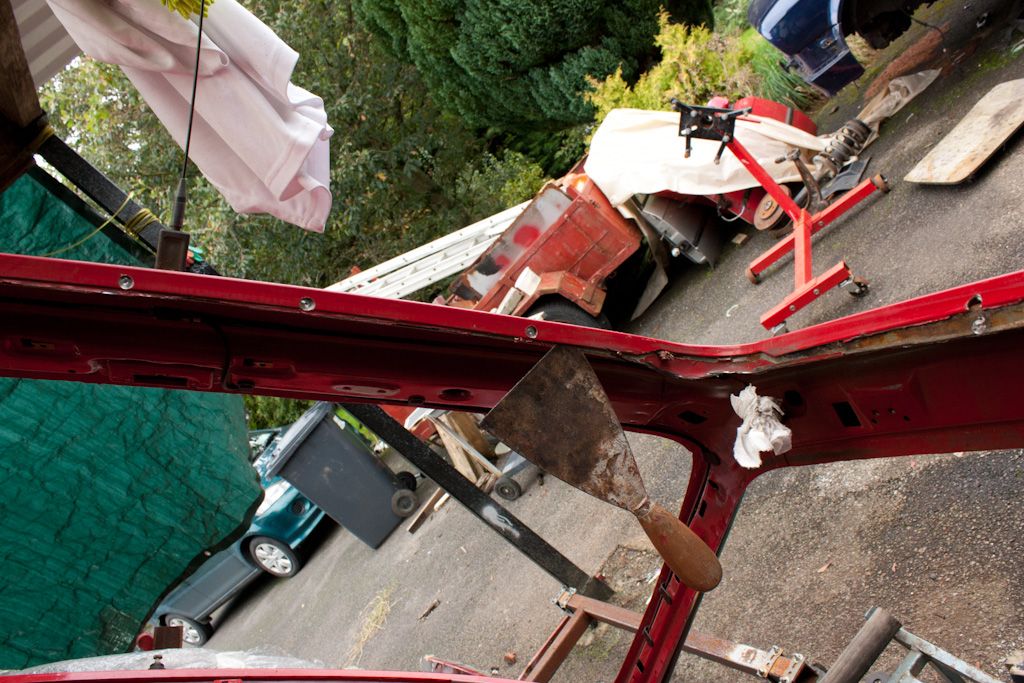
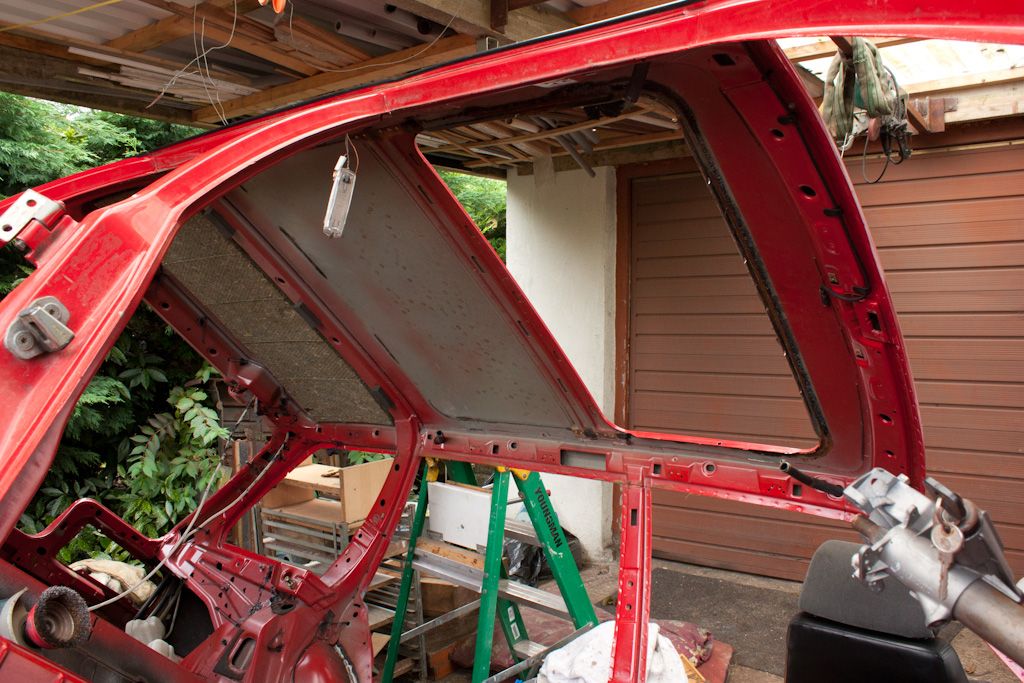
Bit of work done yesterday, we got the spit rolling and the car onto it. Had a quick look around the car with the cam, don't look bad at all :dance: Now to learn to weld
2 tourings keeping each other company
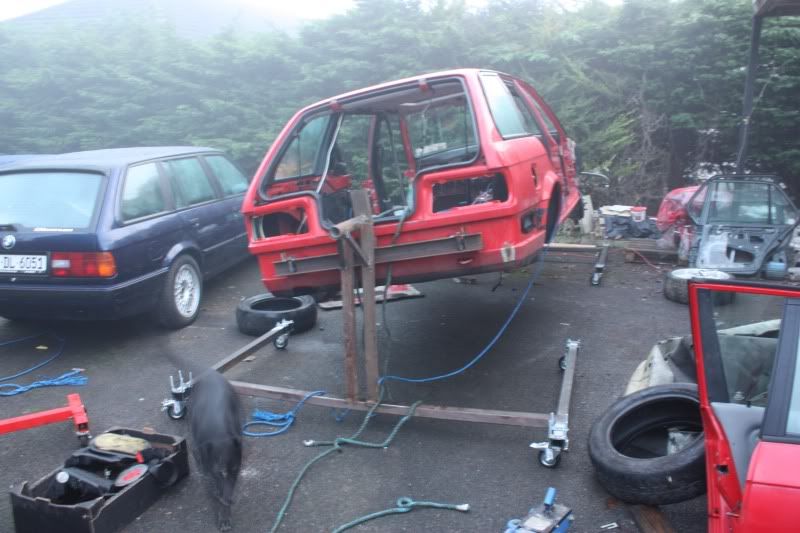
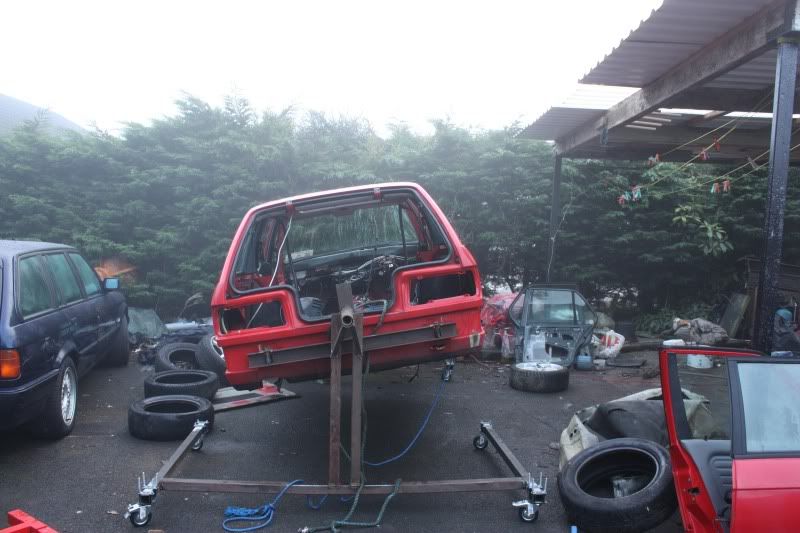
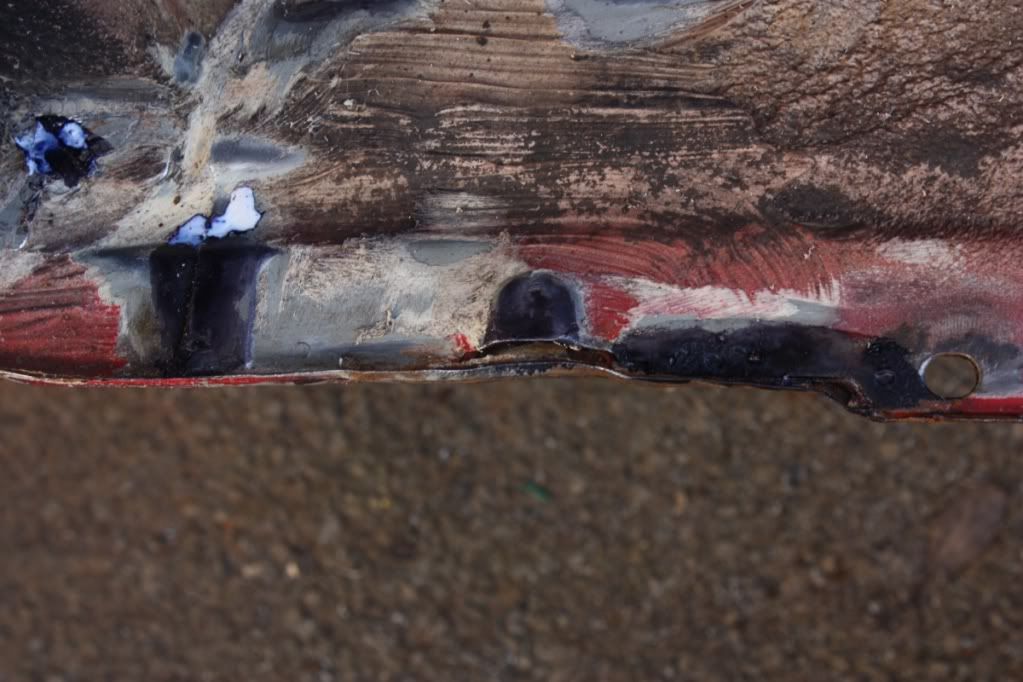
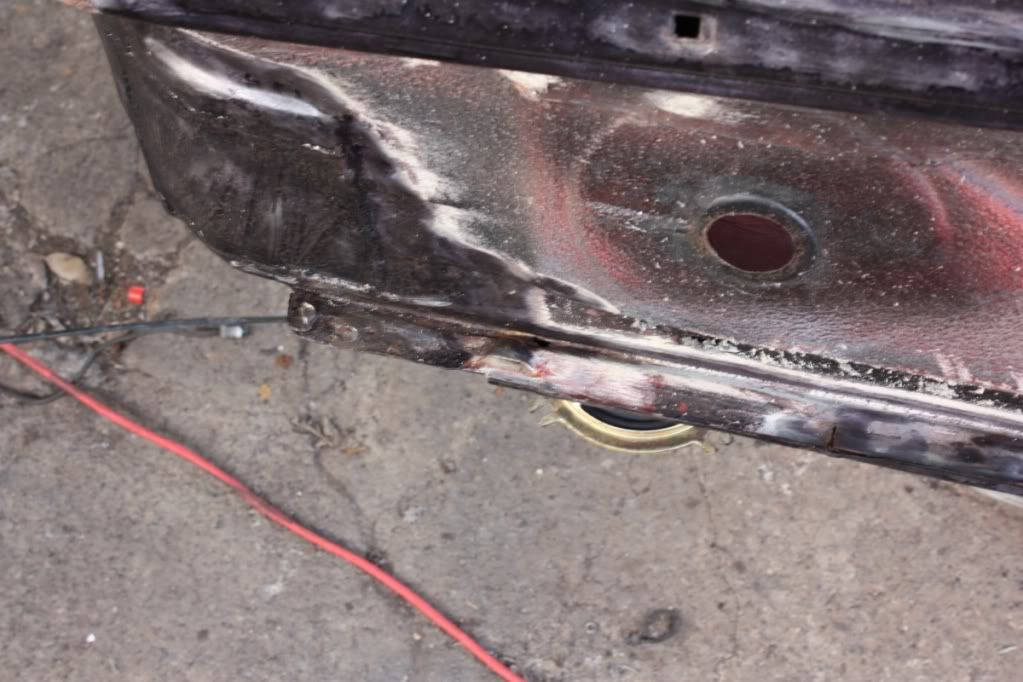
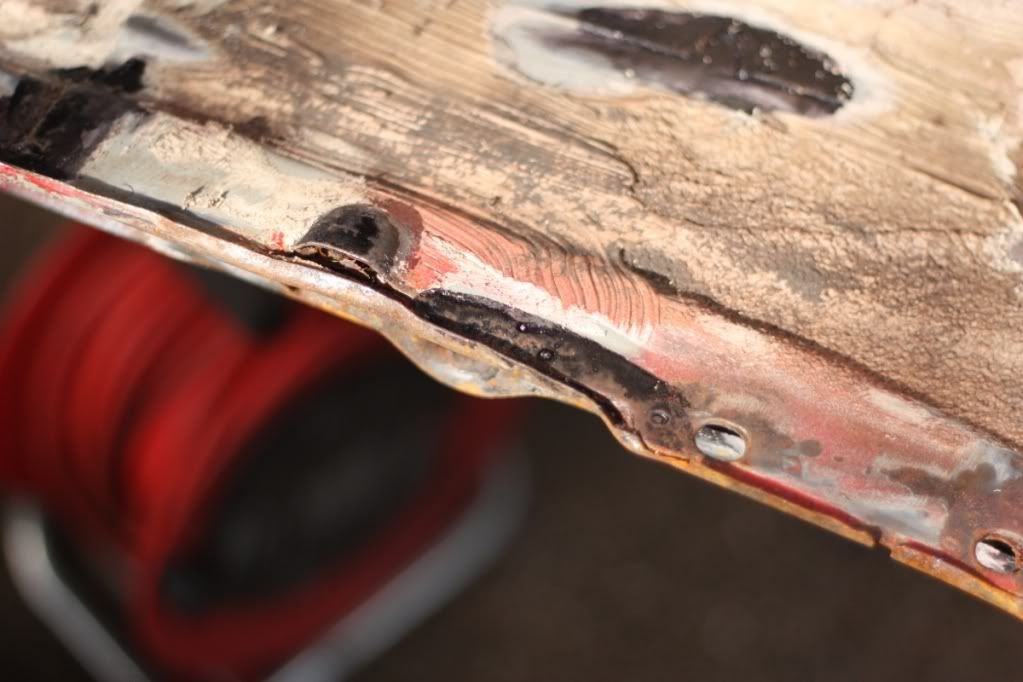
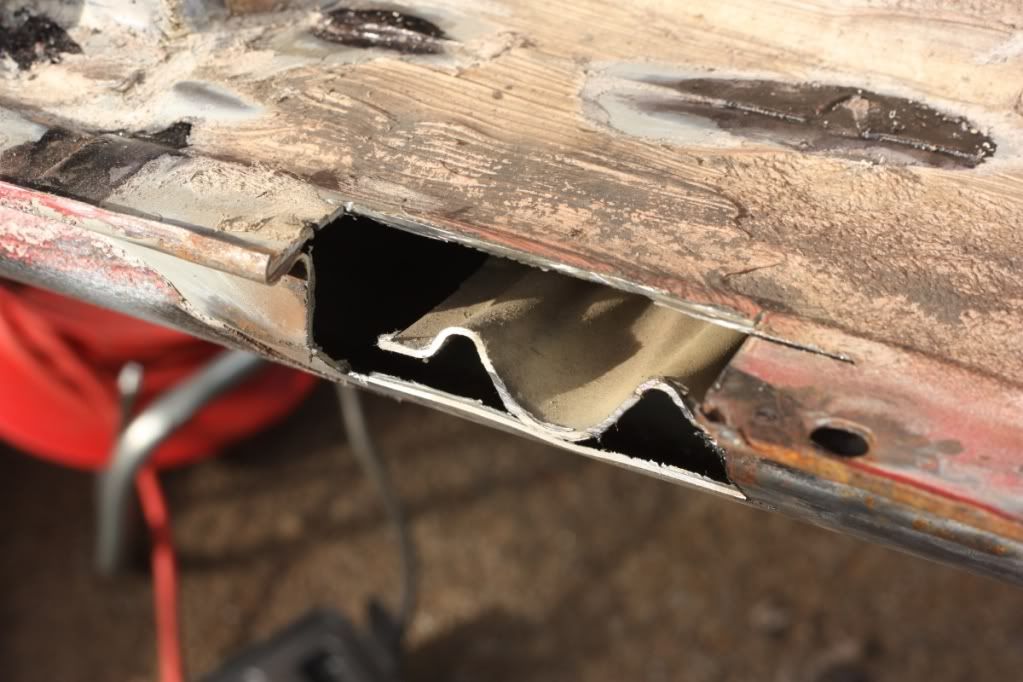
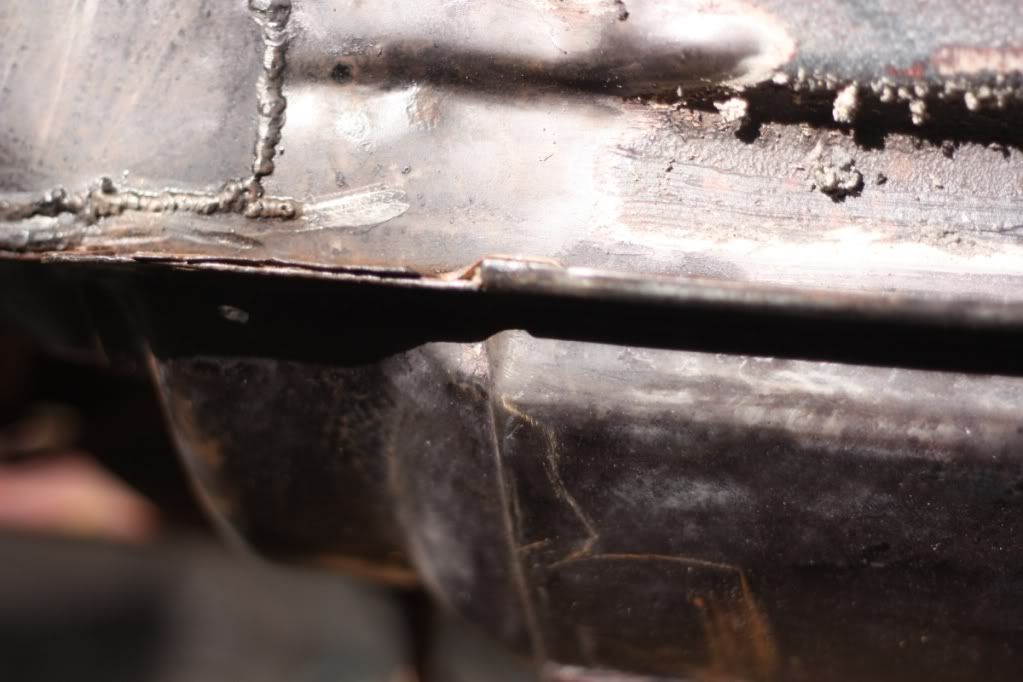
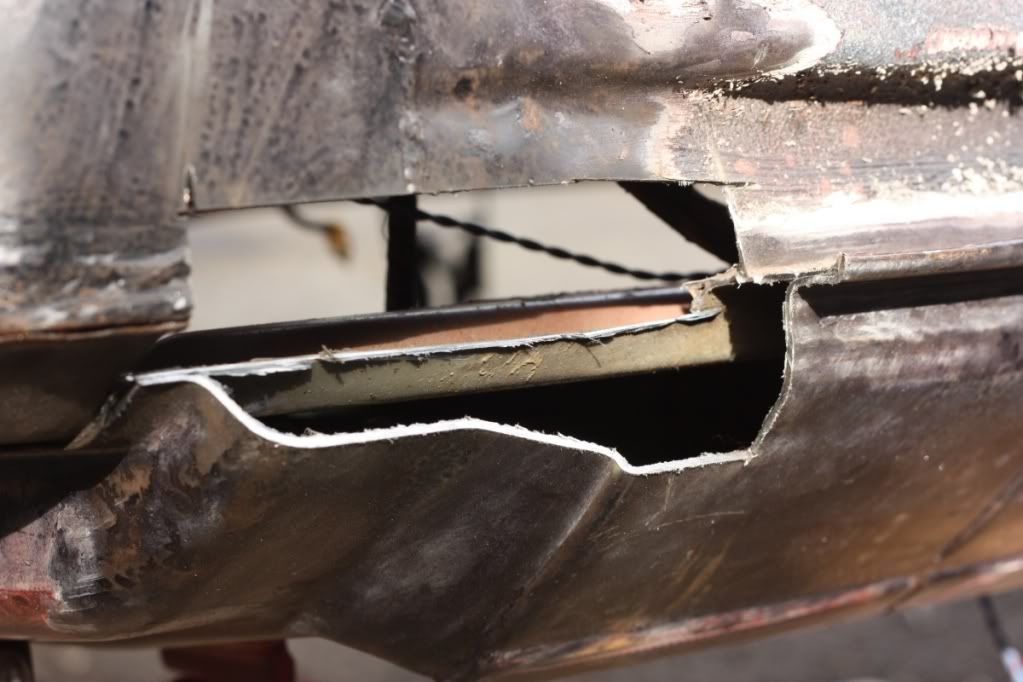
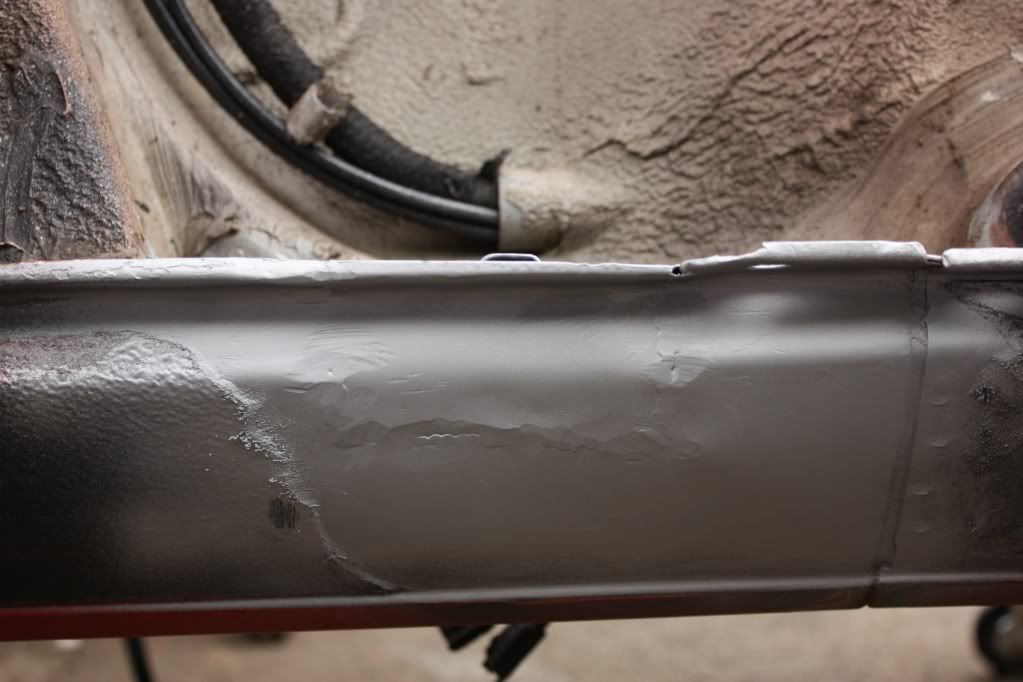
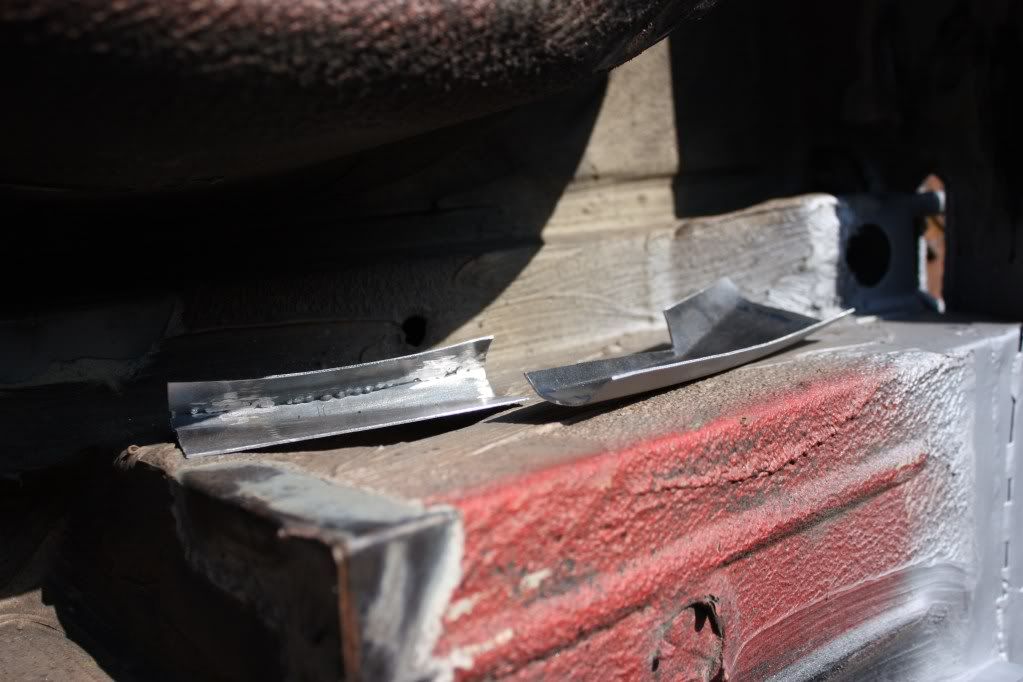
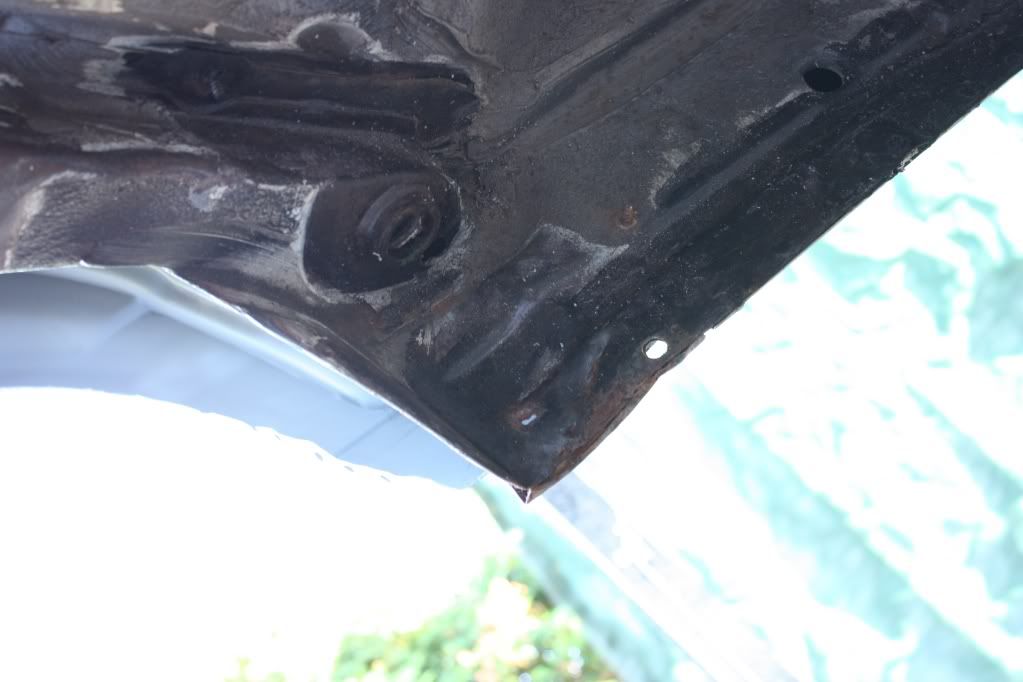
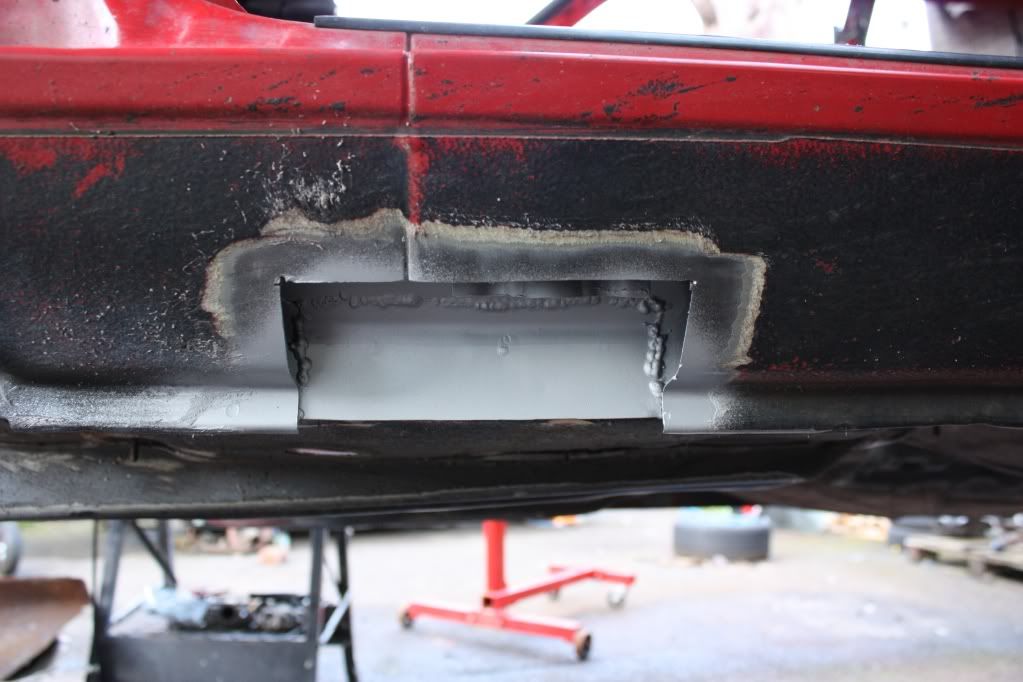
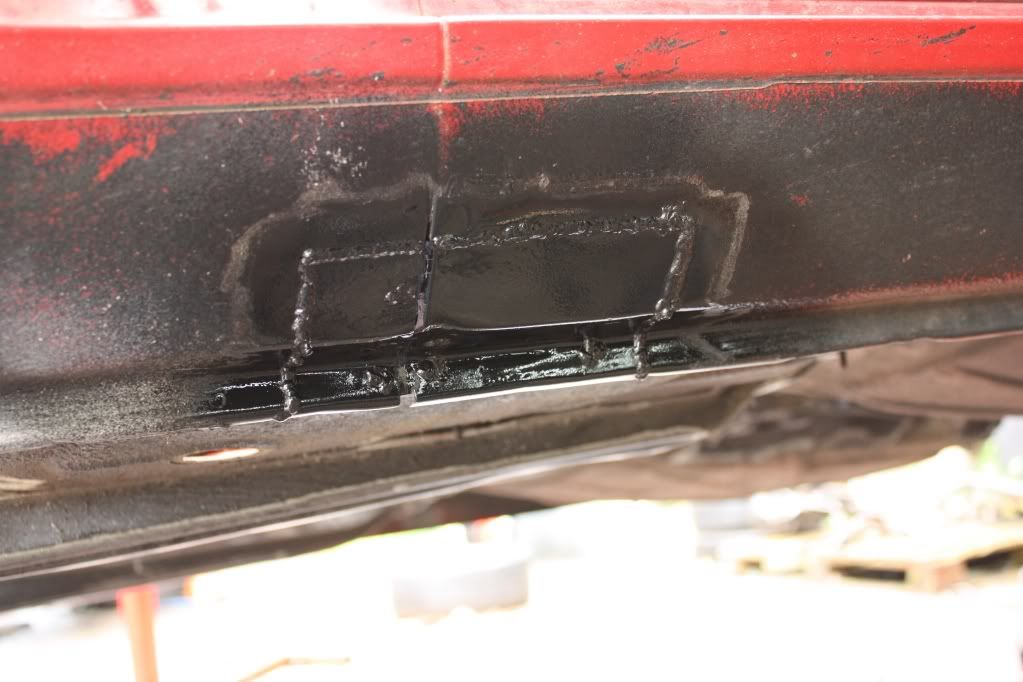
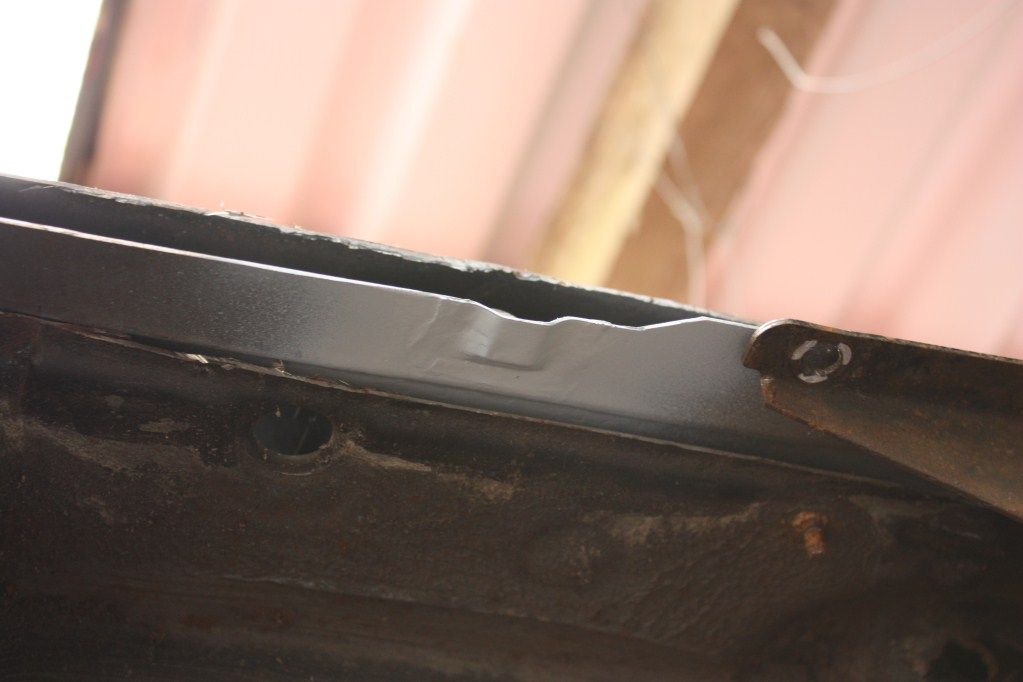
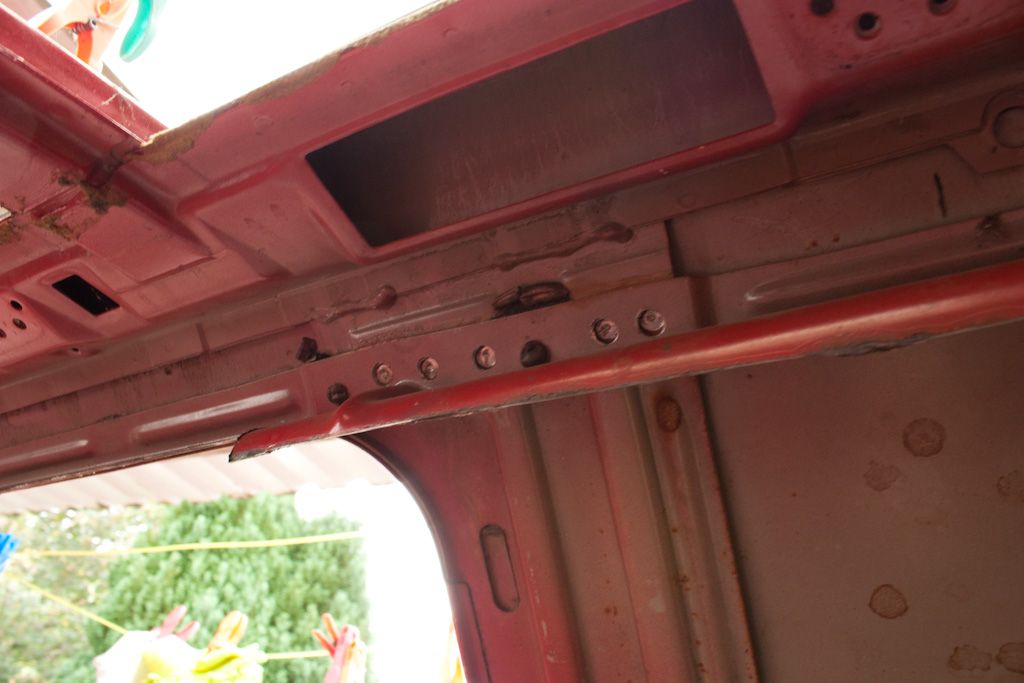
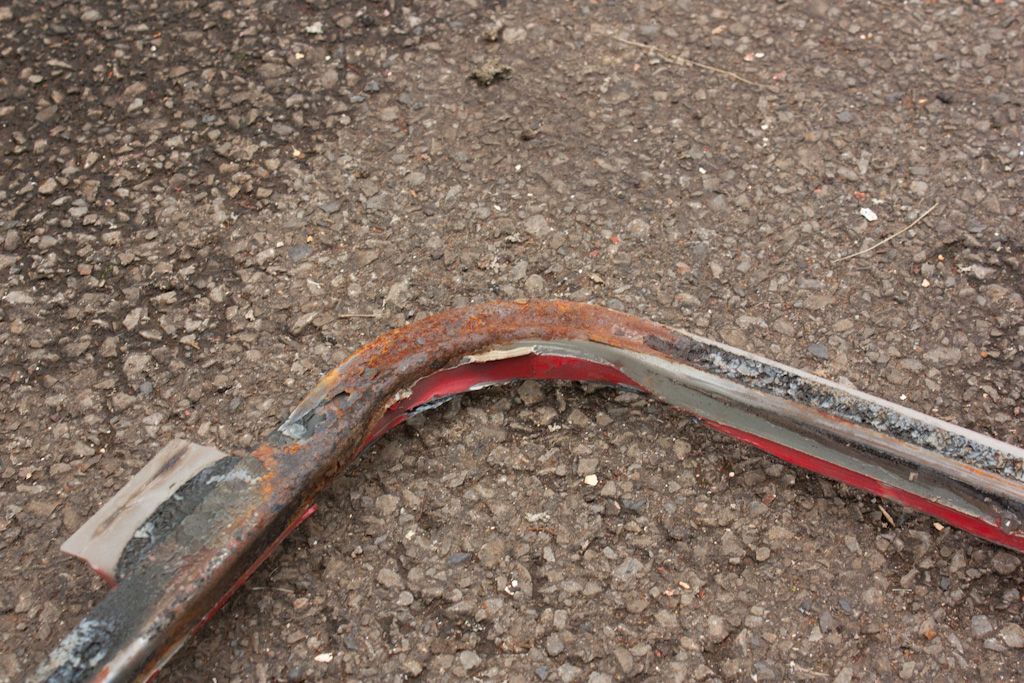
It's only bent because of how we lifted the whole car with the engine hoist resting on the box section
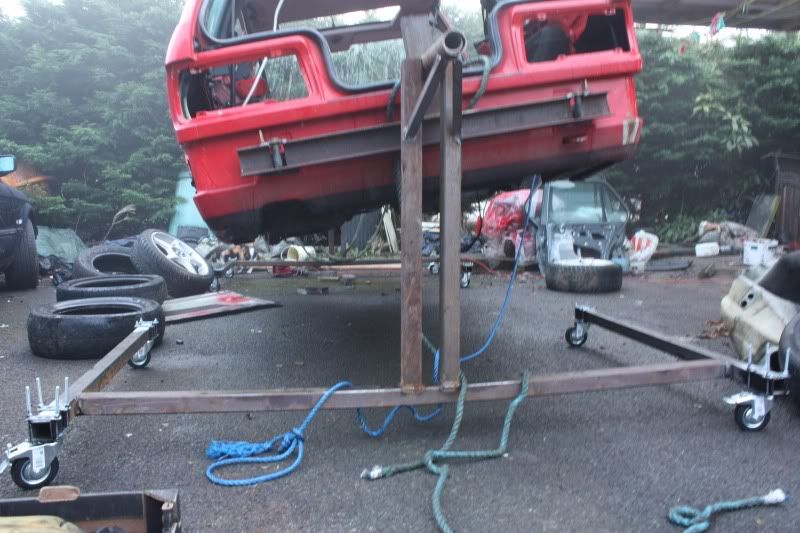
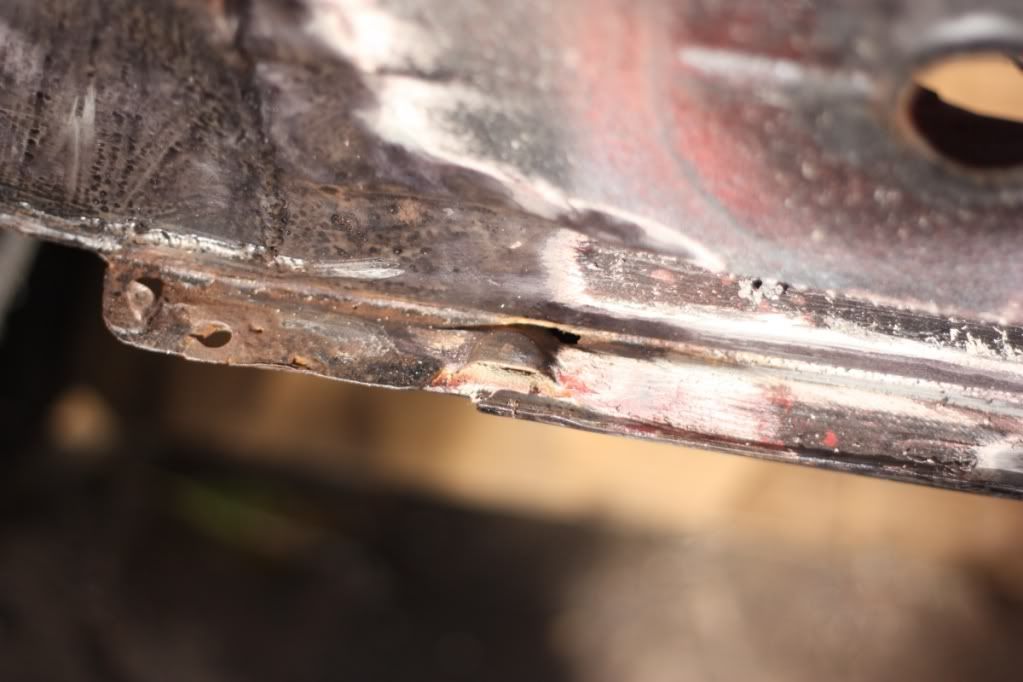
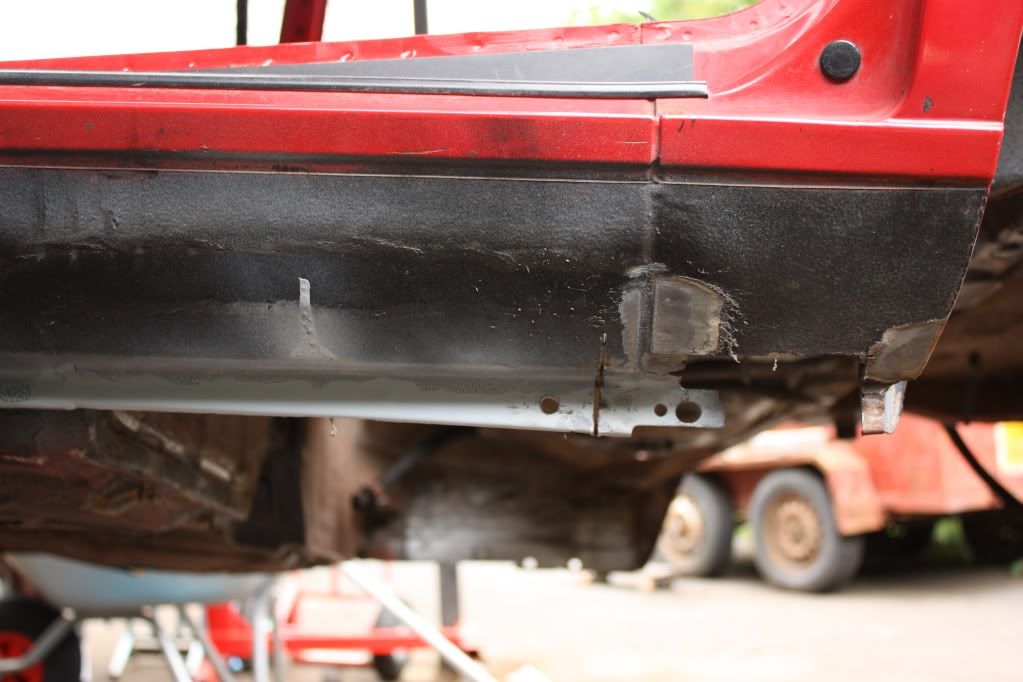
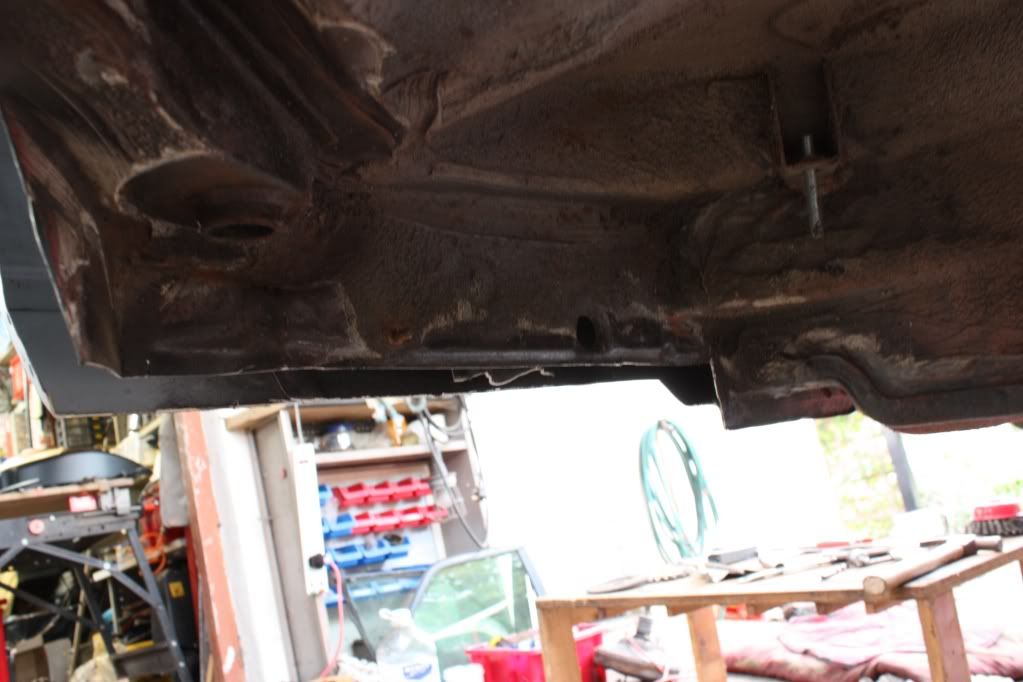
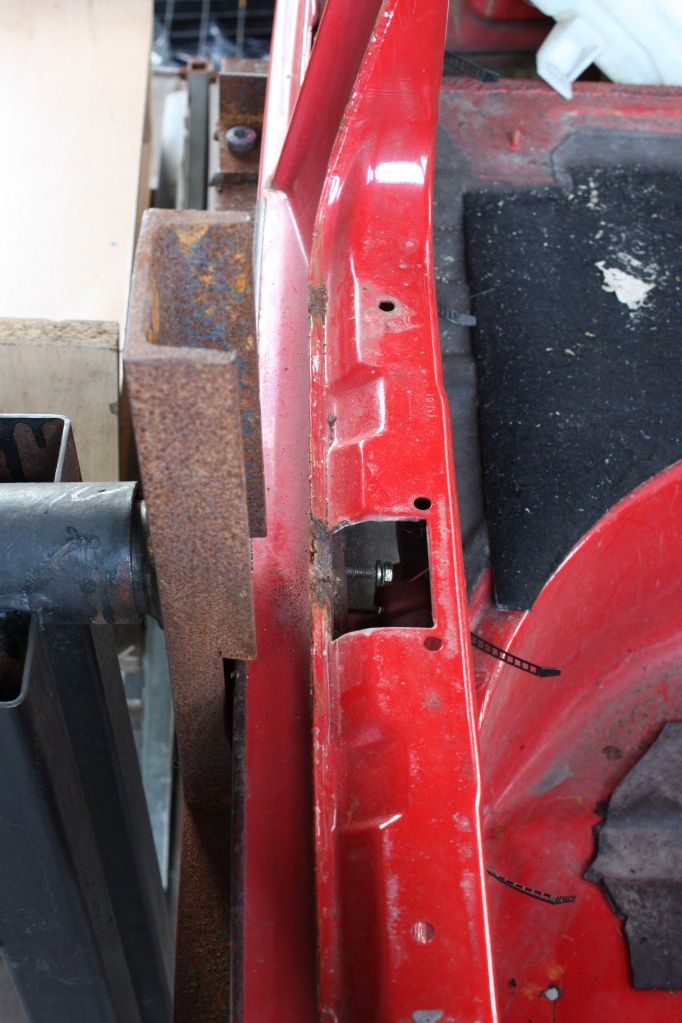
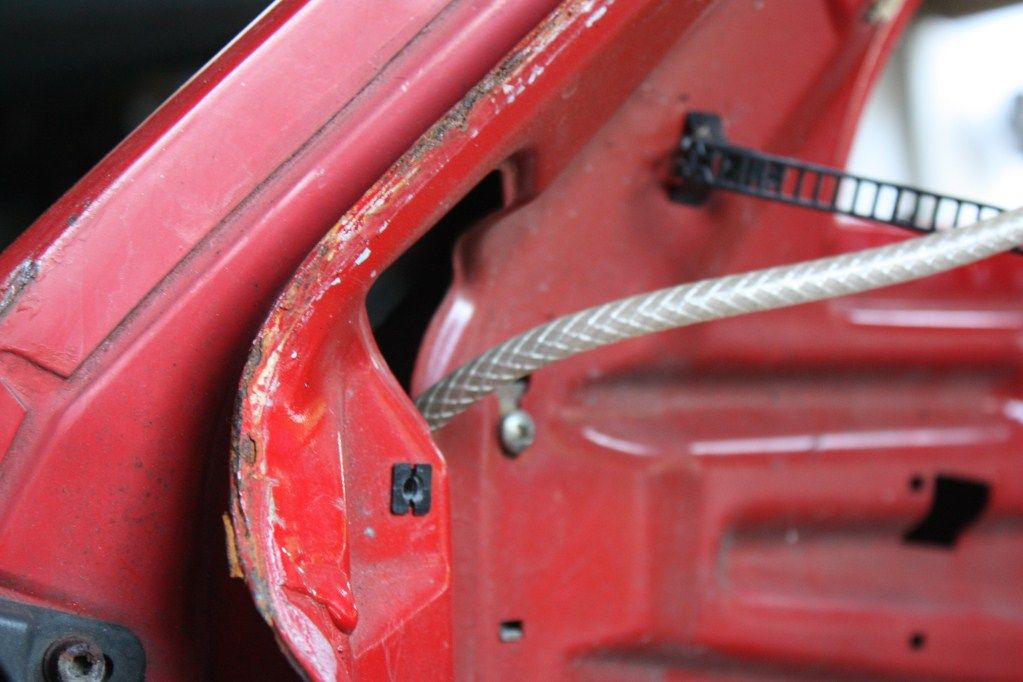
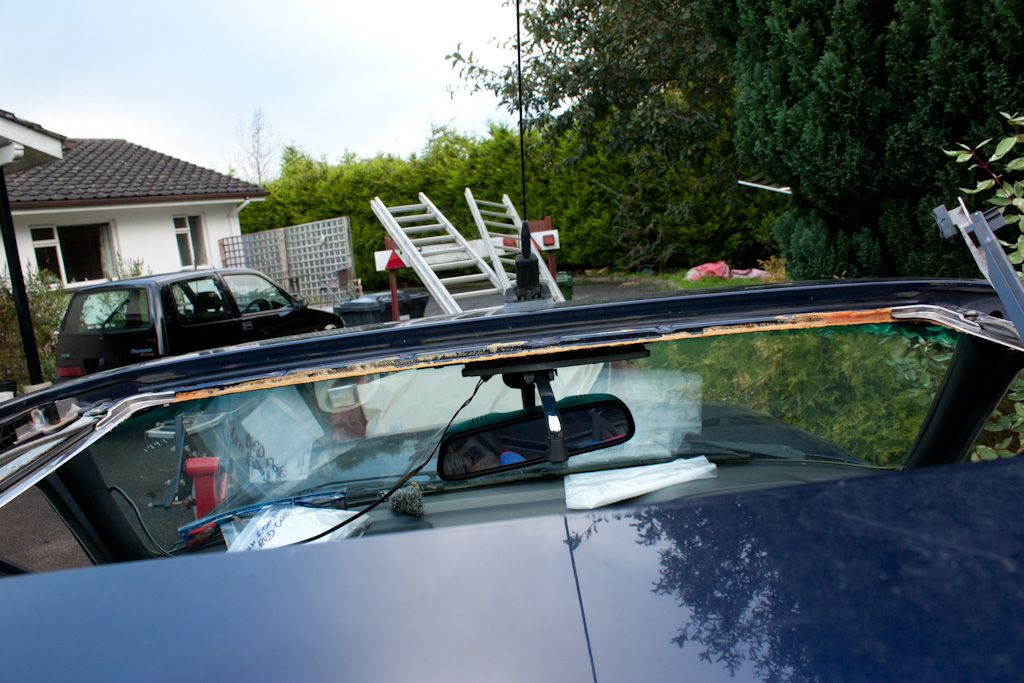
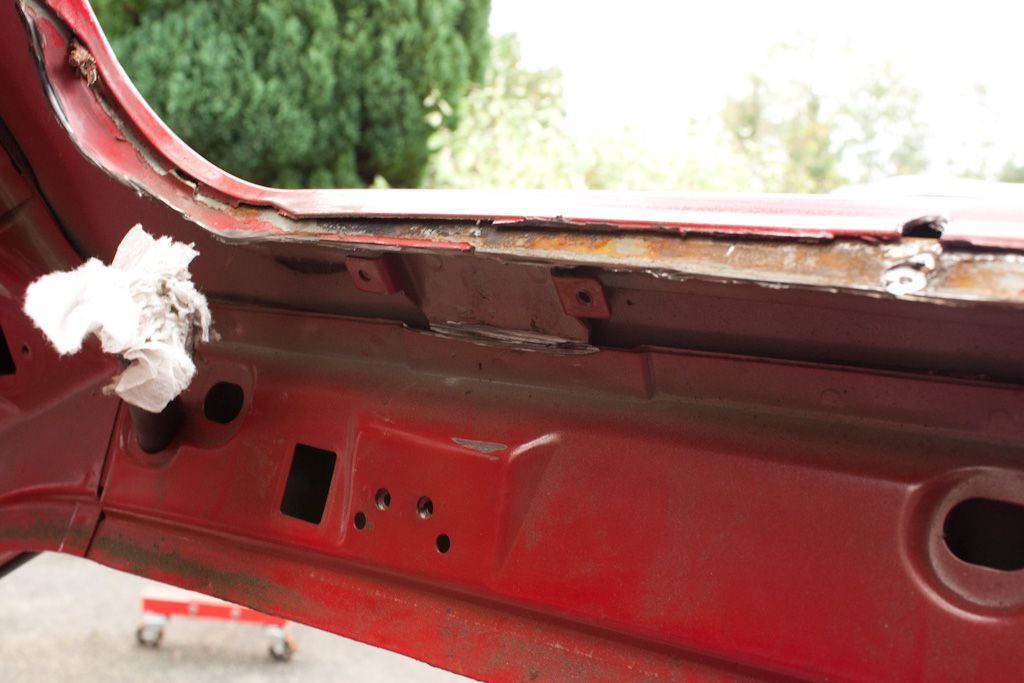
Bit of bent metal here from when we were putting the shell on the trailer using a tractor, sill got a slight ding as well
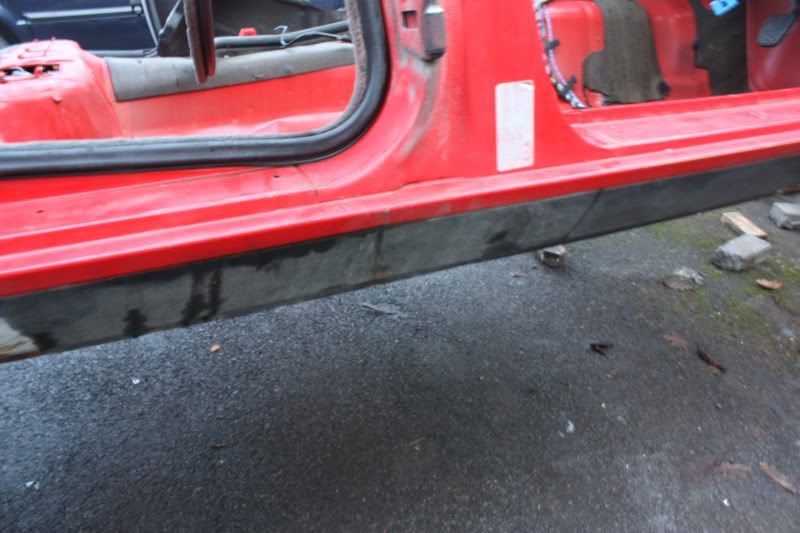
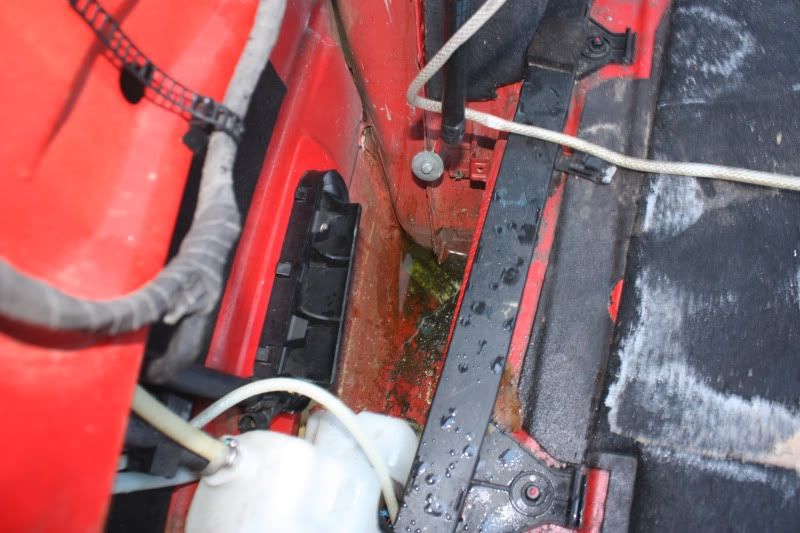
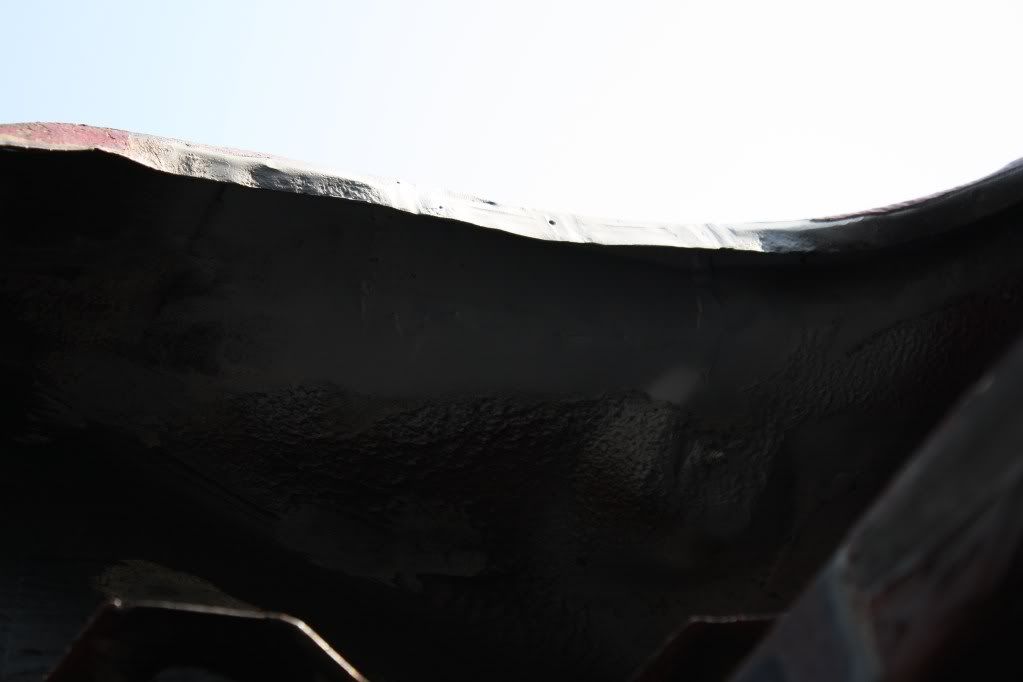
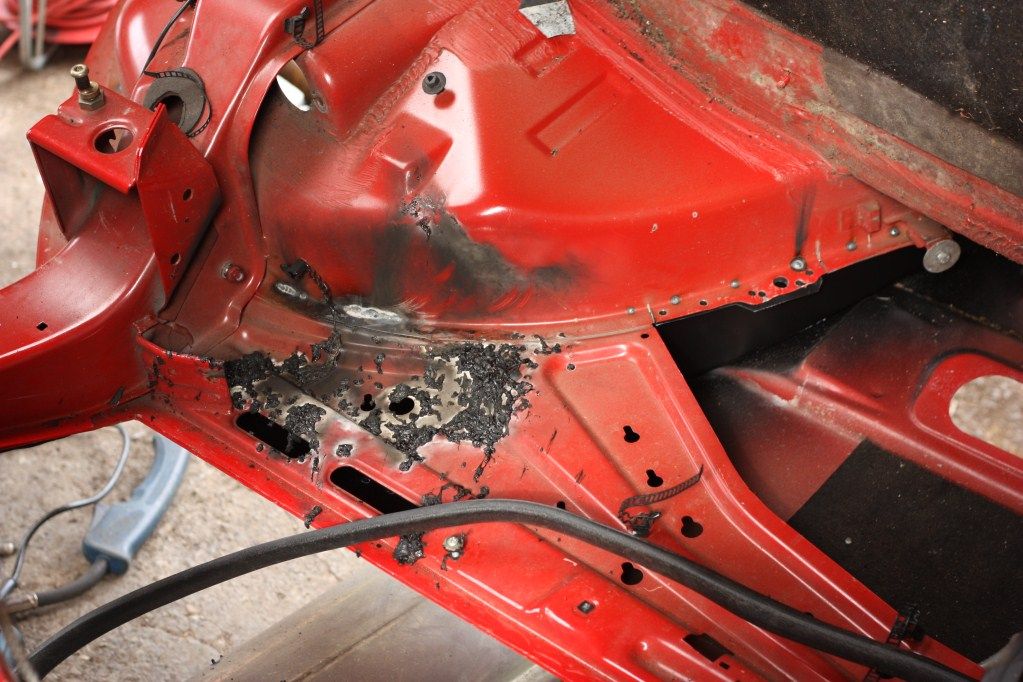
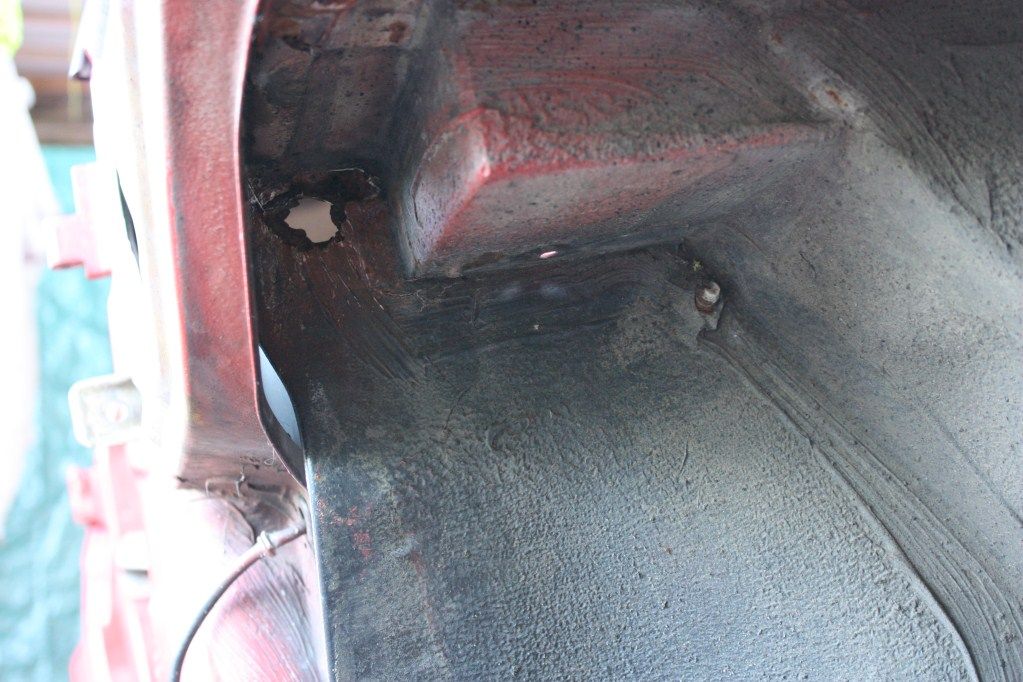
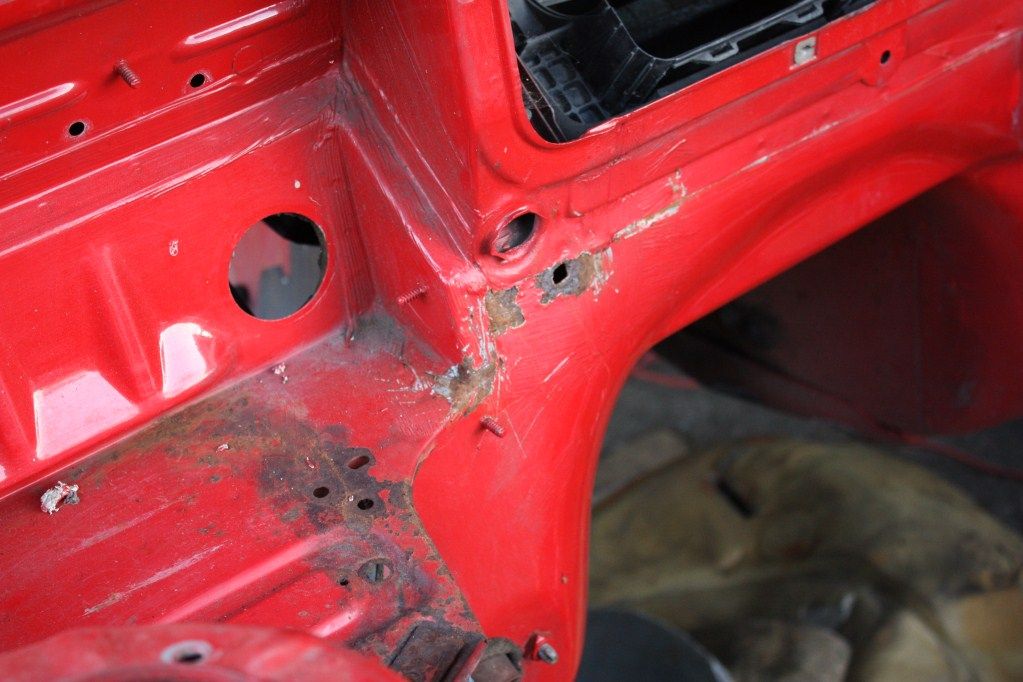
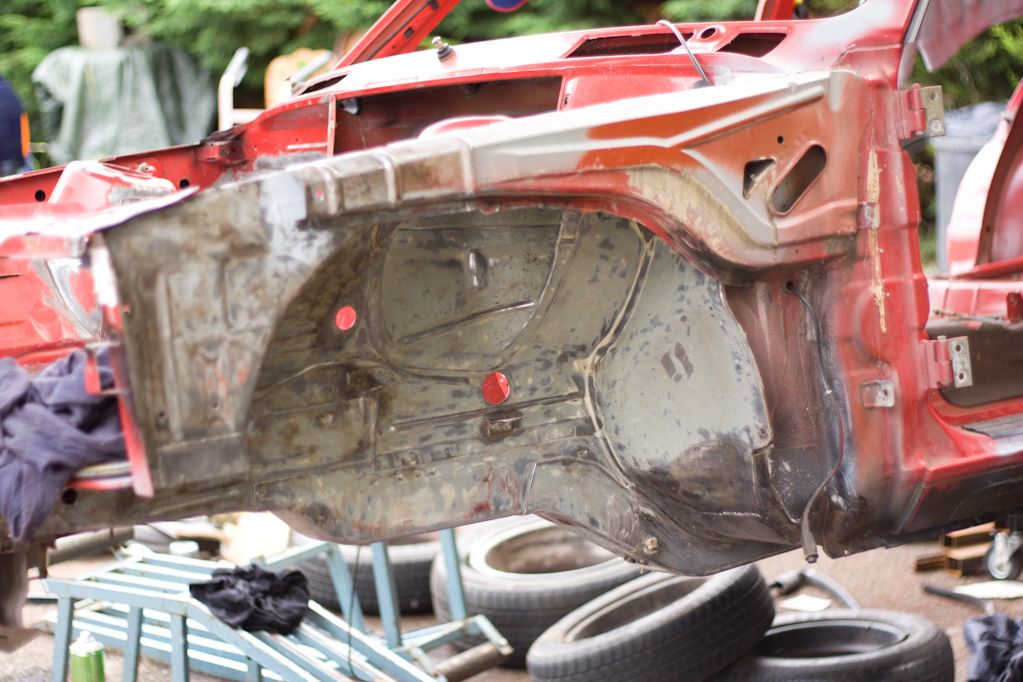
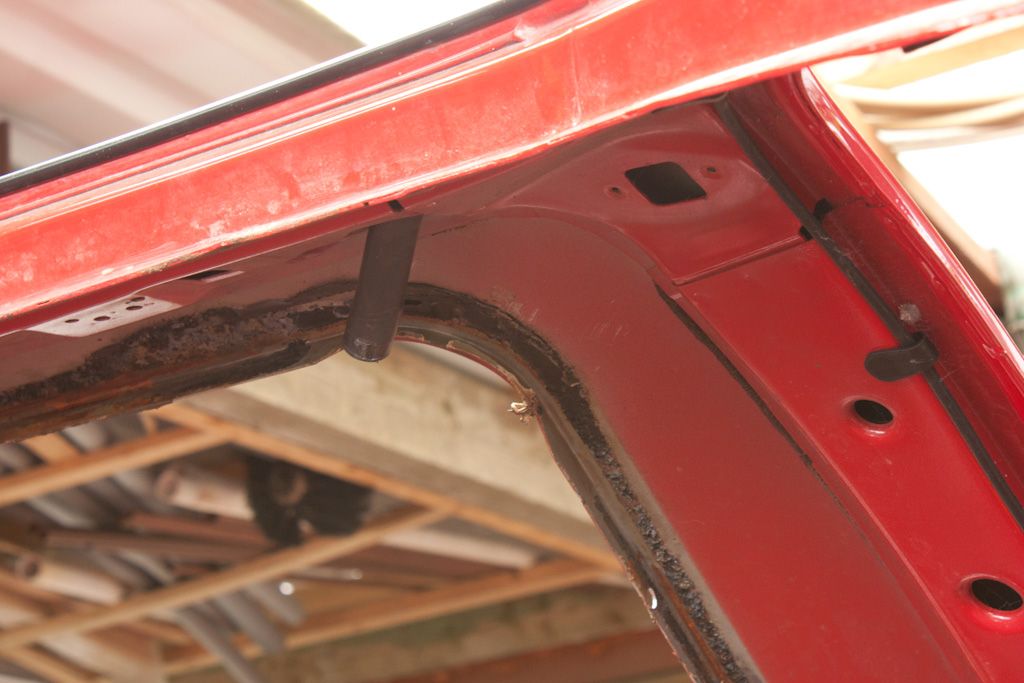
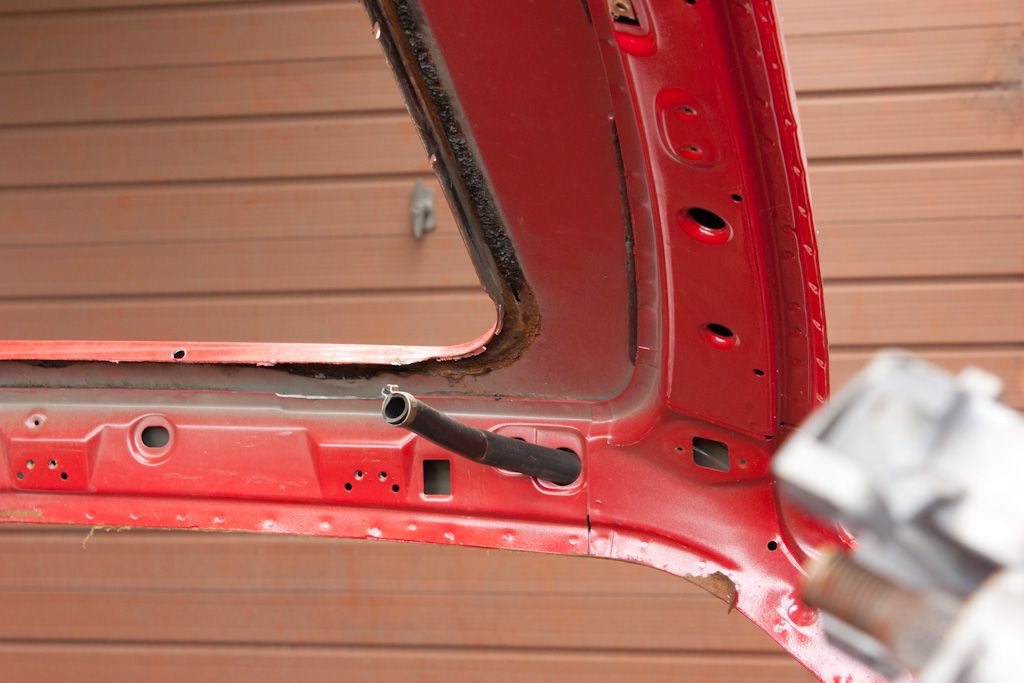
Bit of surface rust here
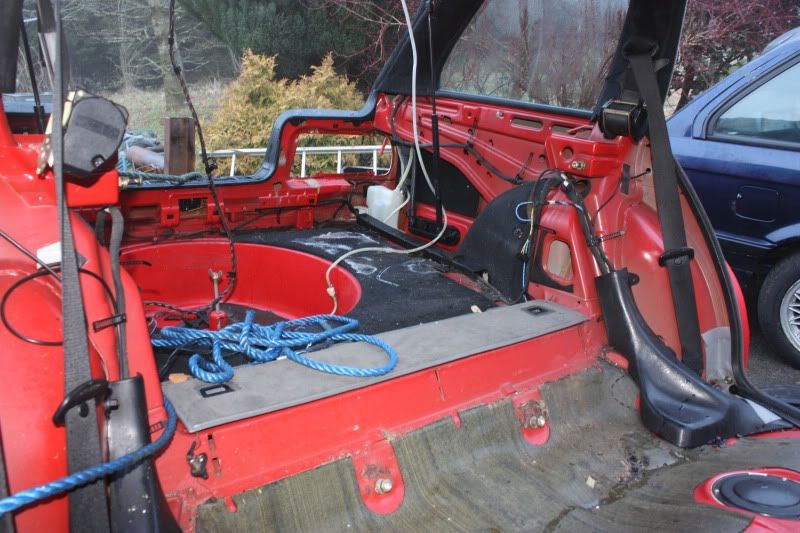


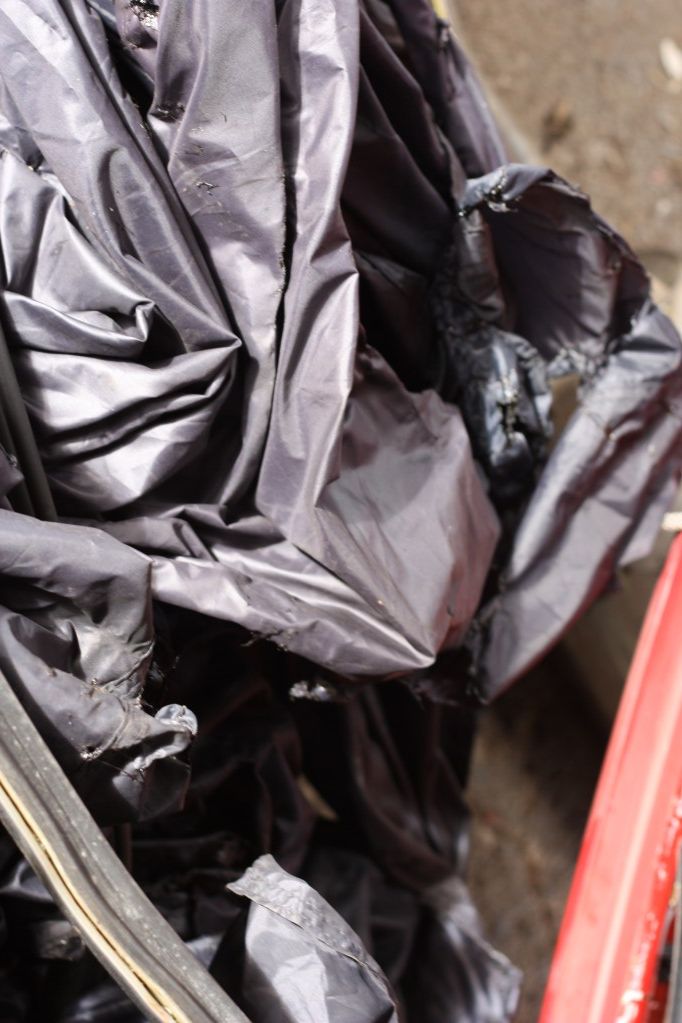
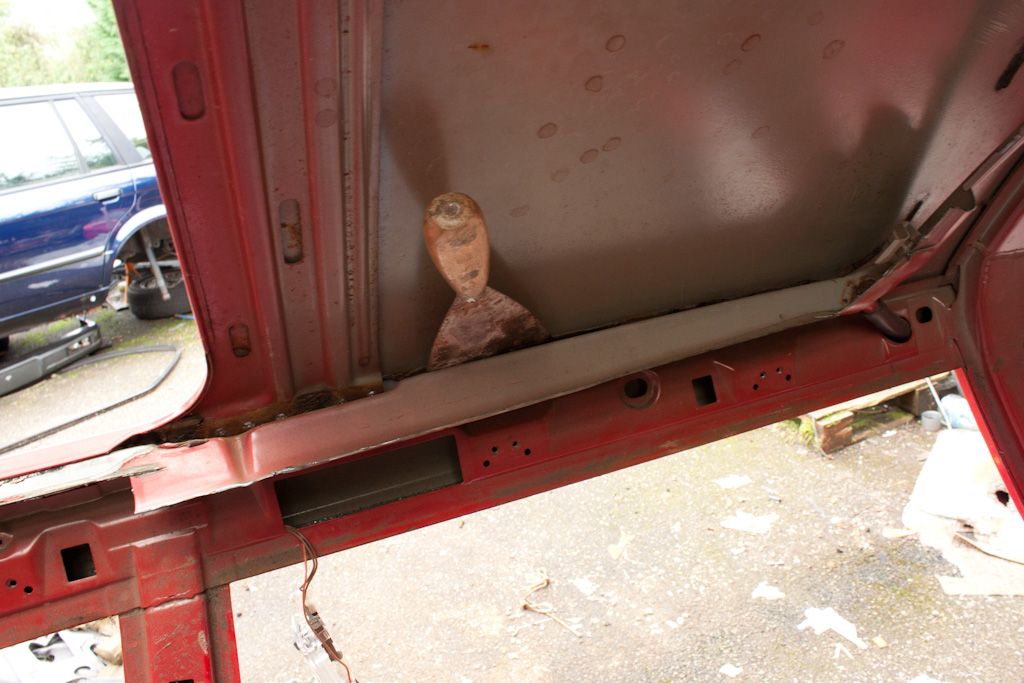
Both rear pockets were full of water when we got the shell home, sorted them drilling a small hole") :
:

Small update from last weekend, not much done because of my brother leaving for Oz.
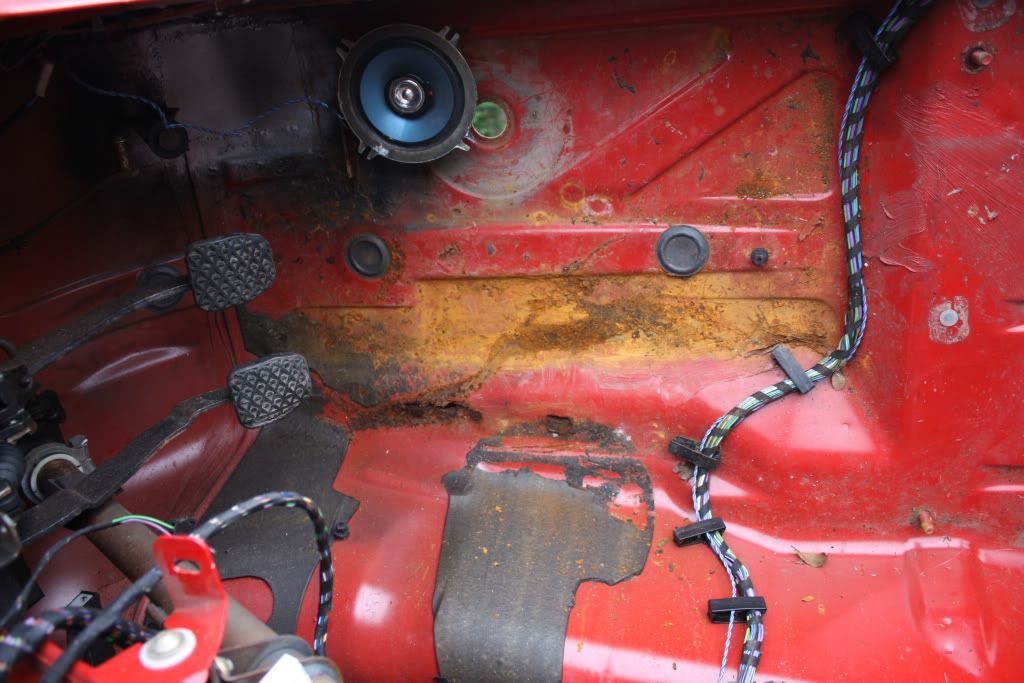
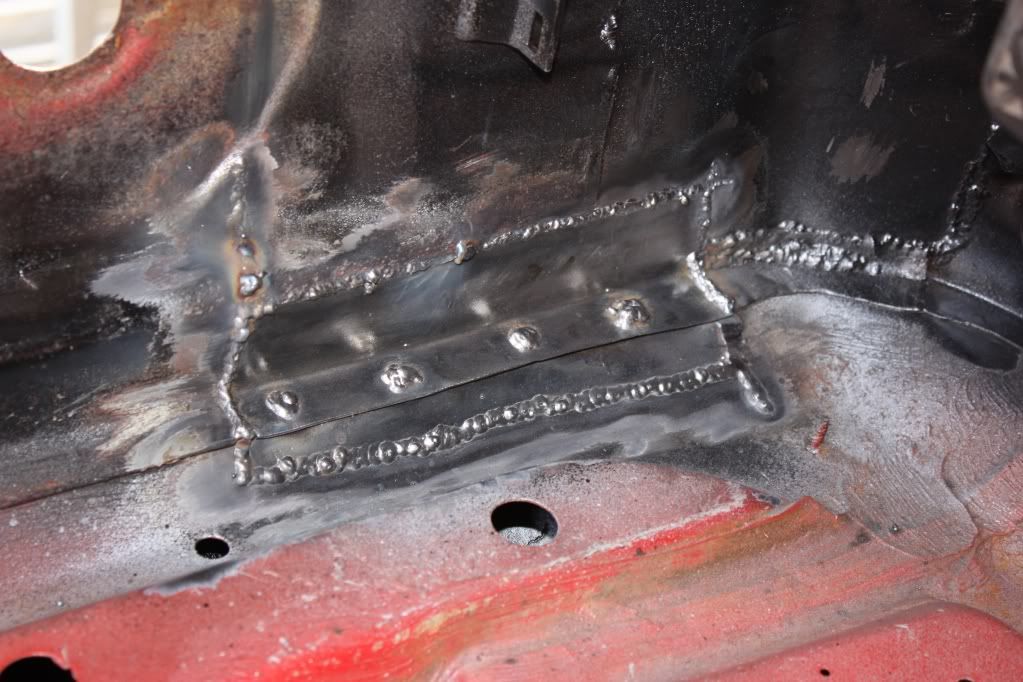
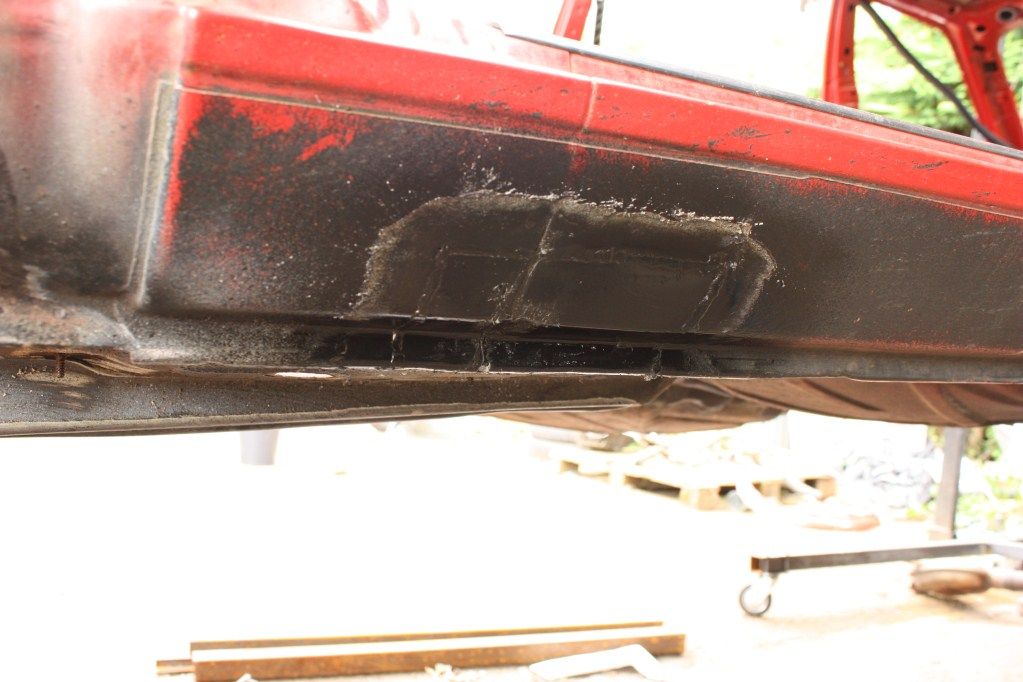
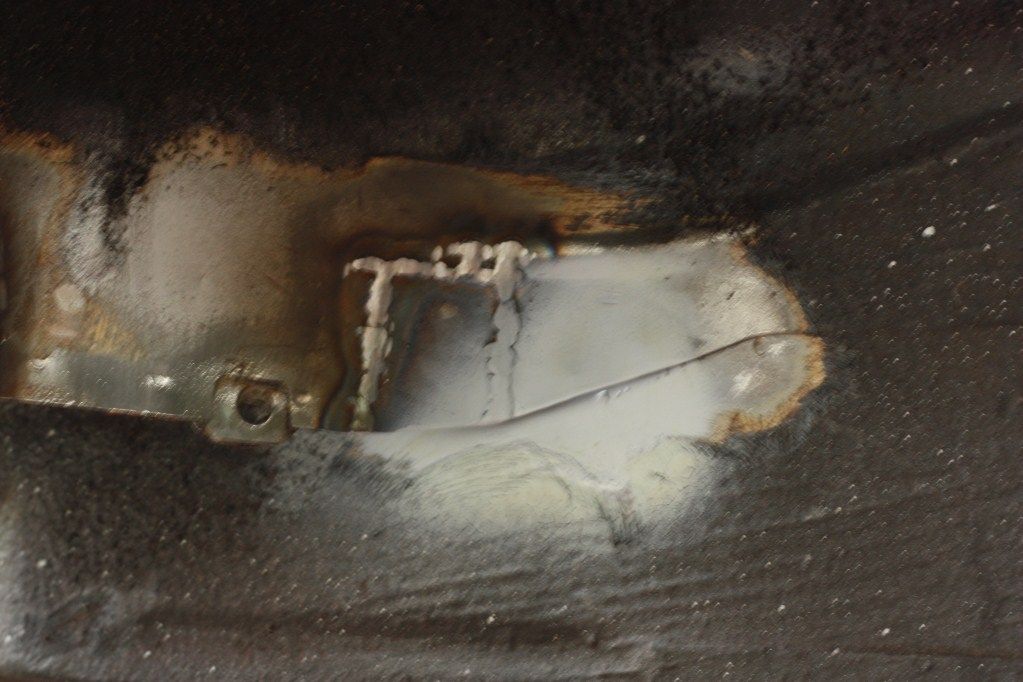
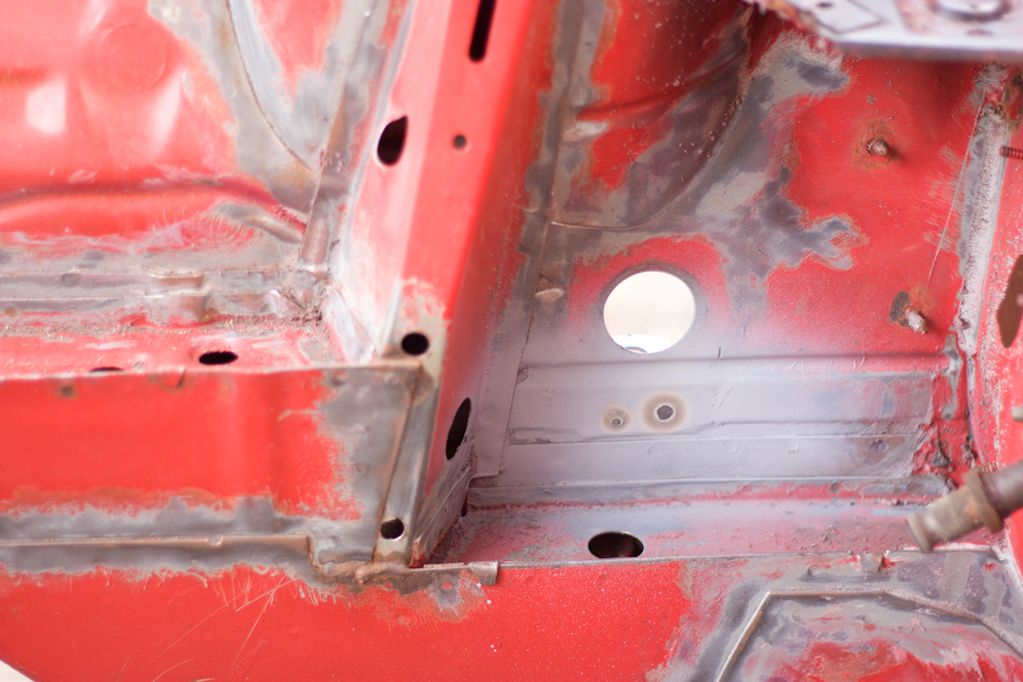
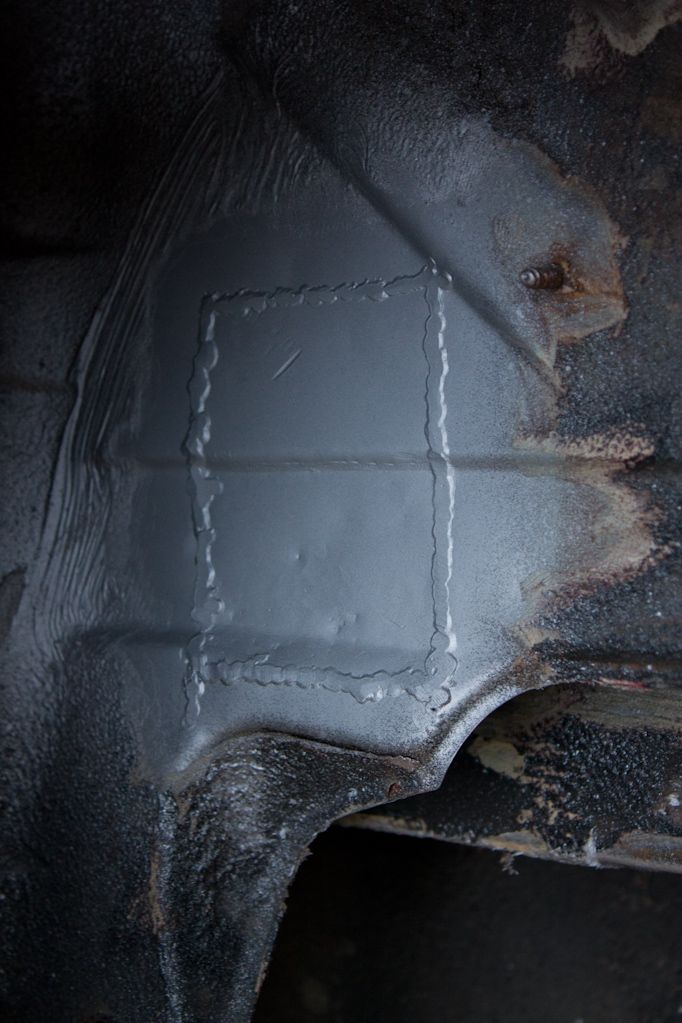
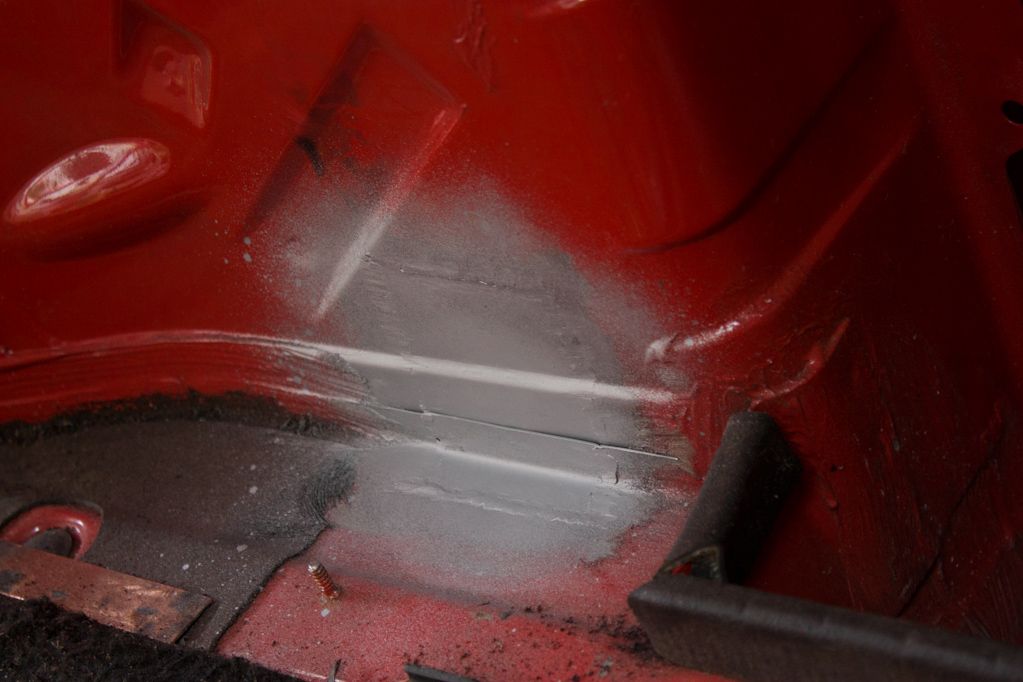
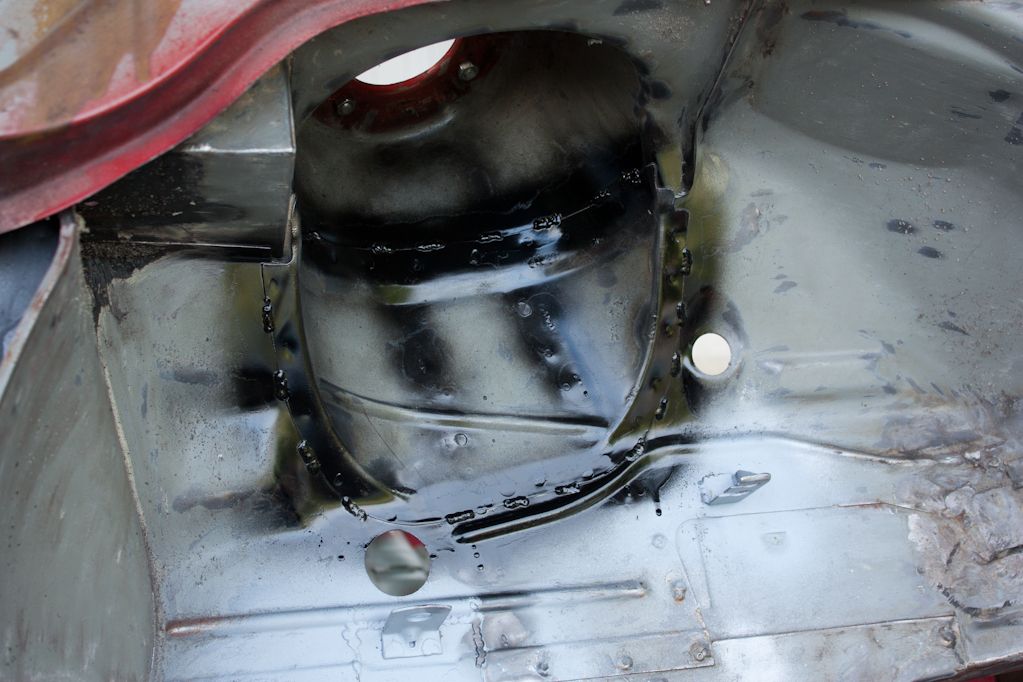
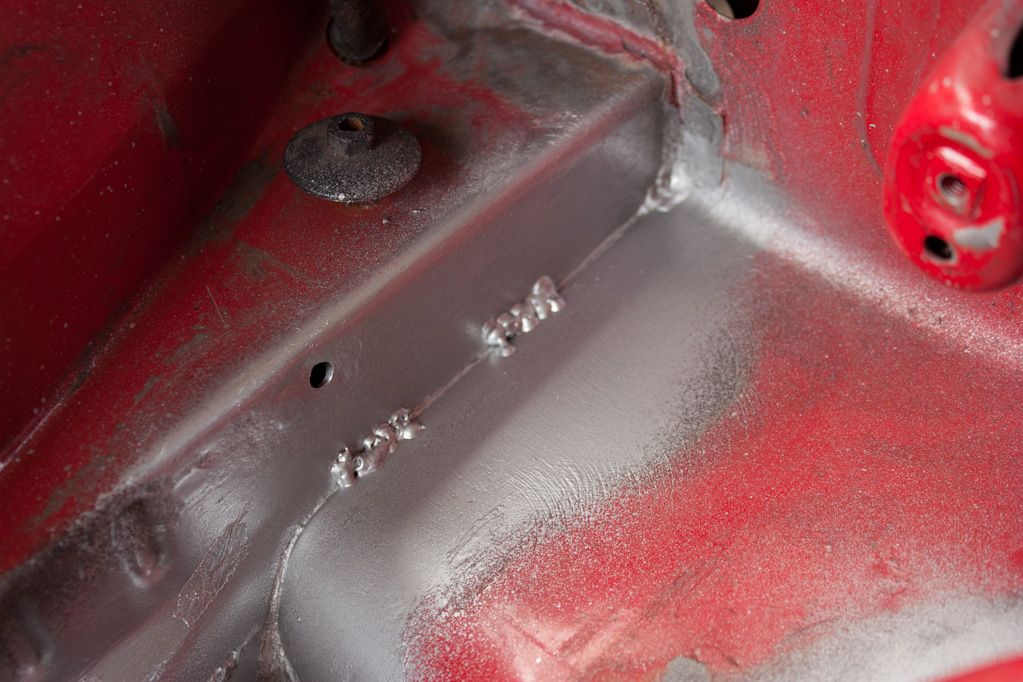
Got both jacking points cut out and welded up with some fresher looking steel.
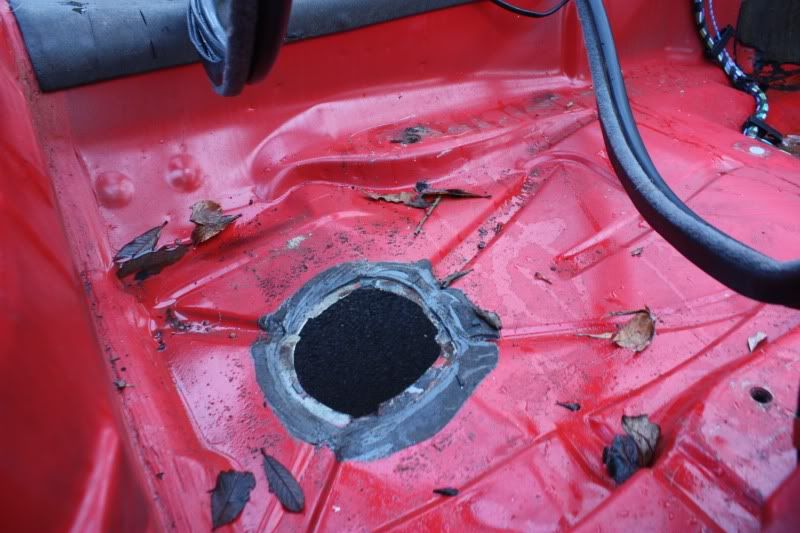
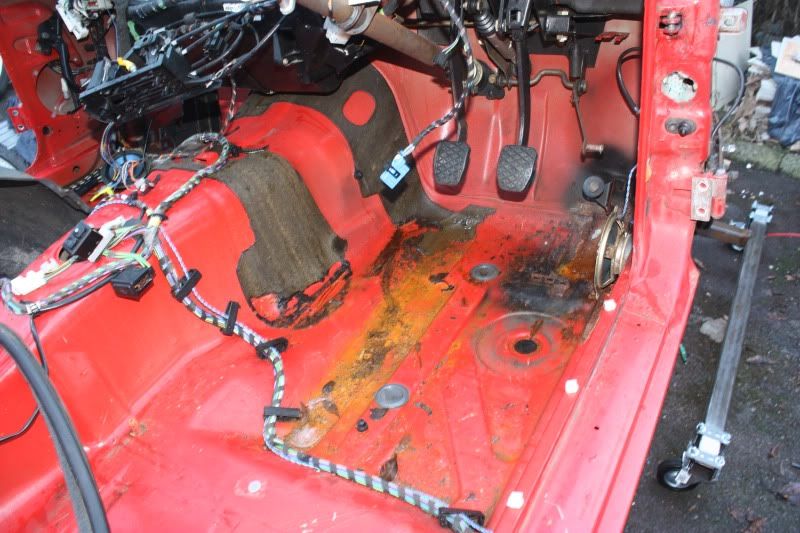
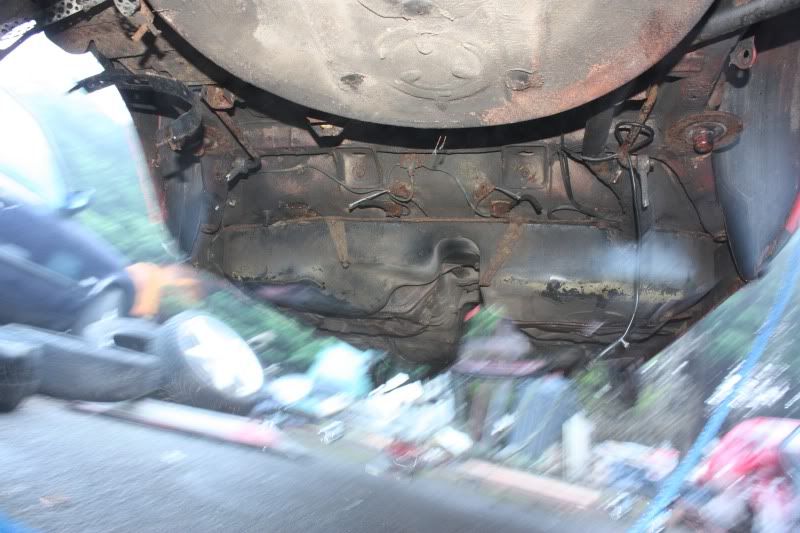
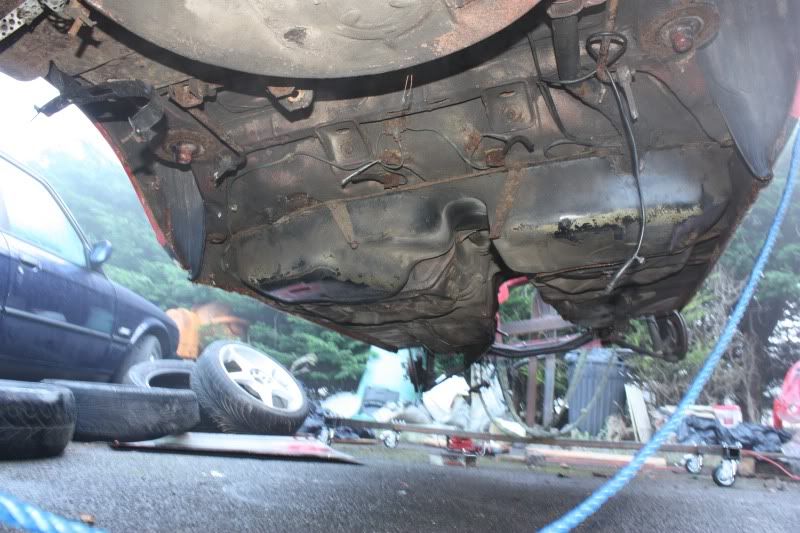
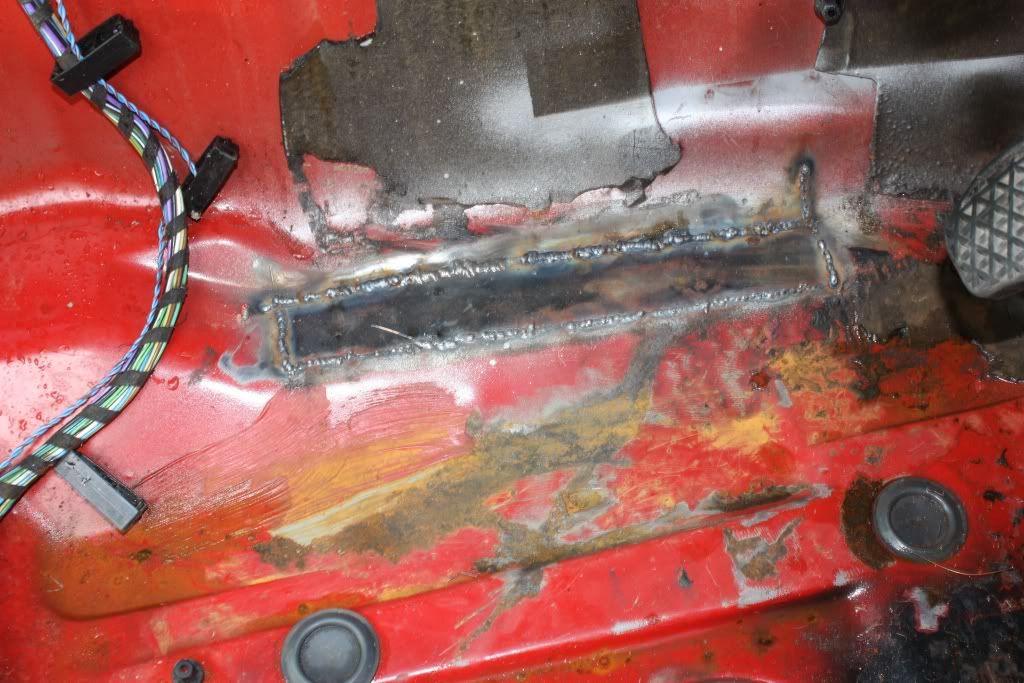
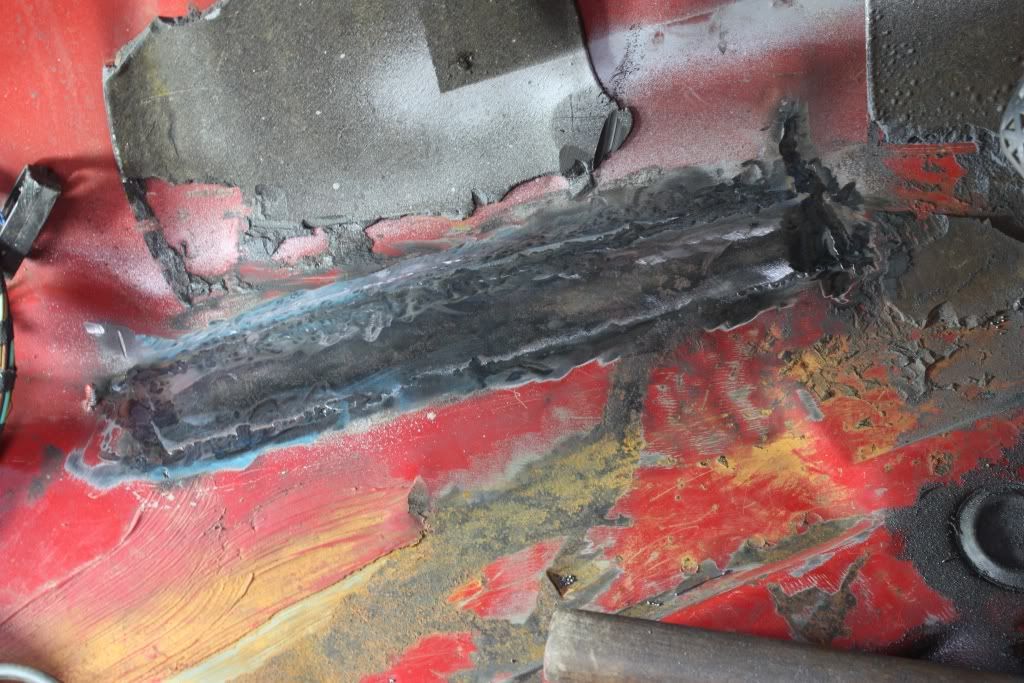
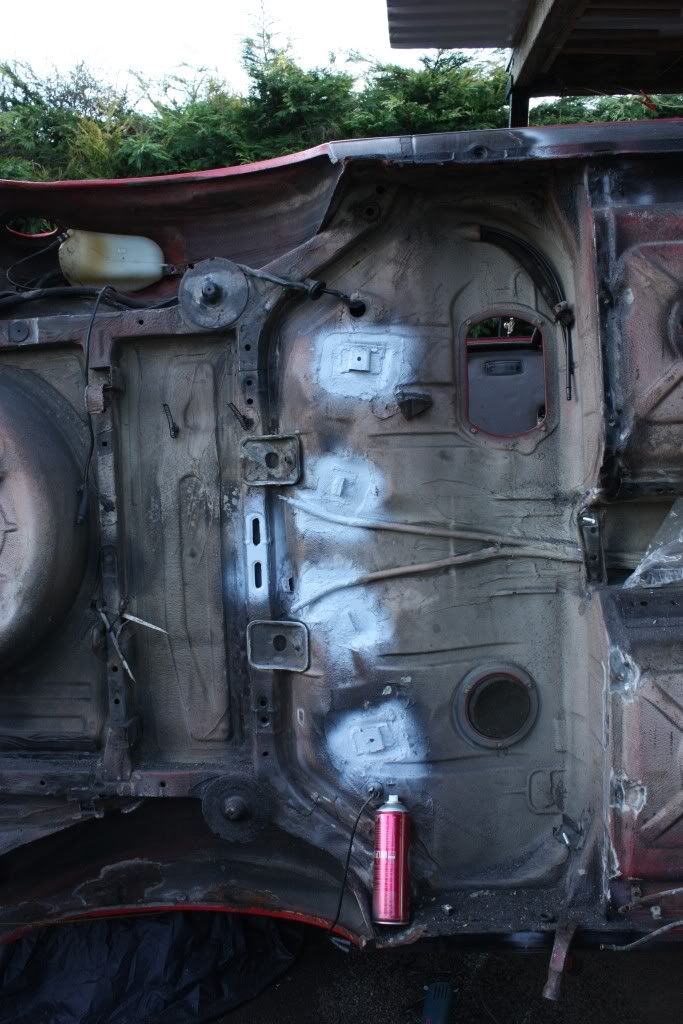
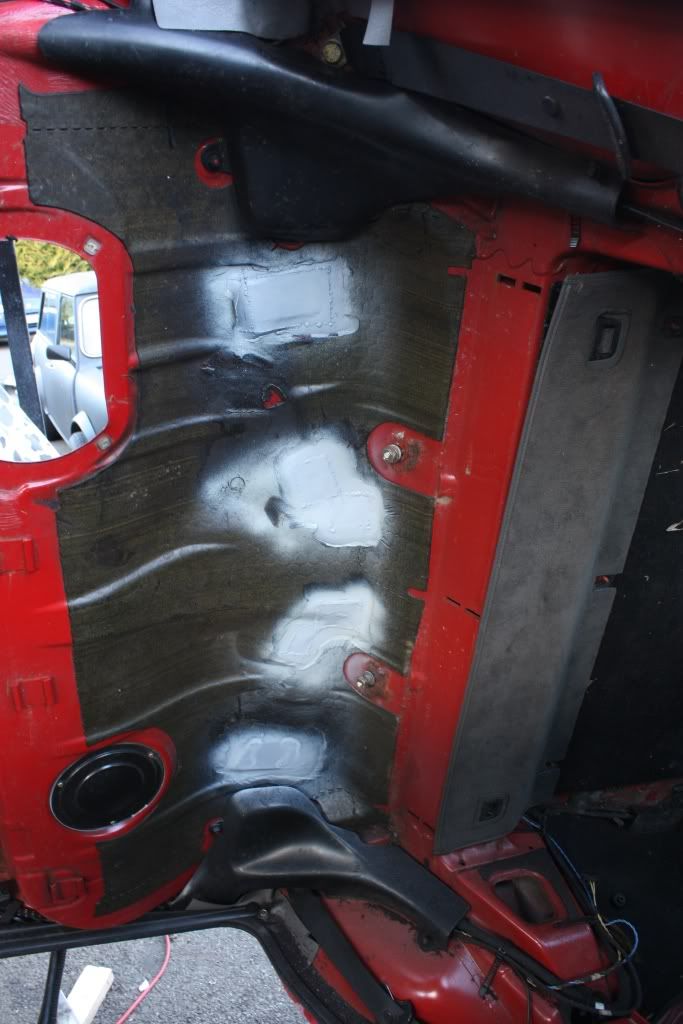
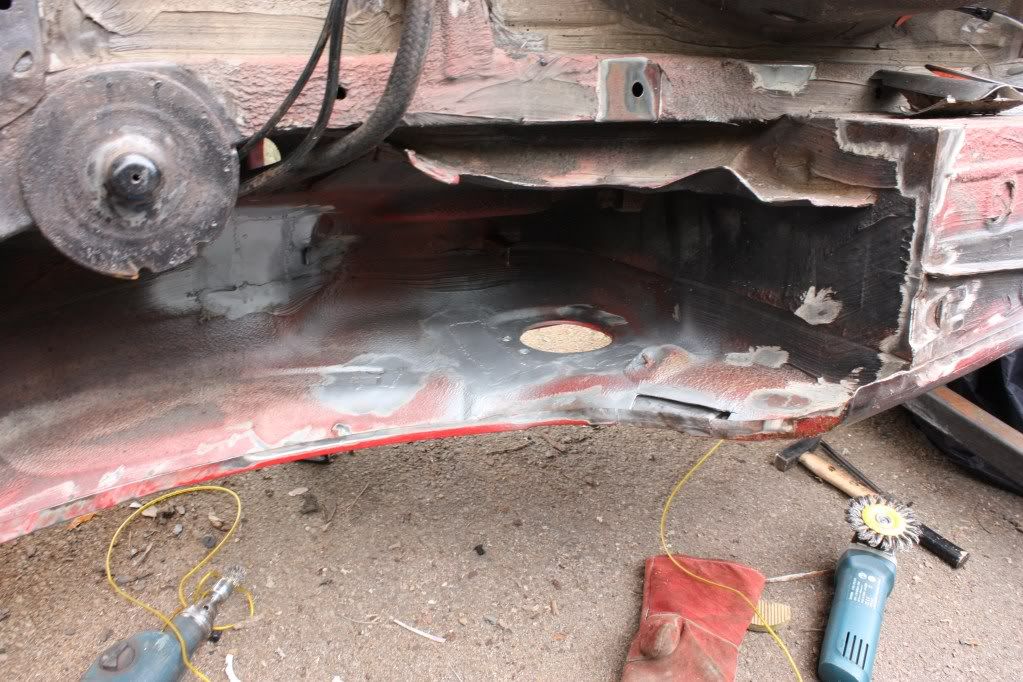
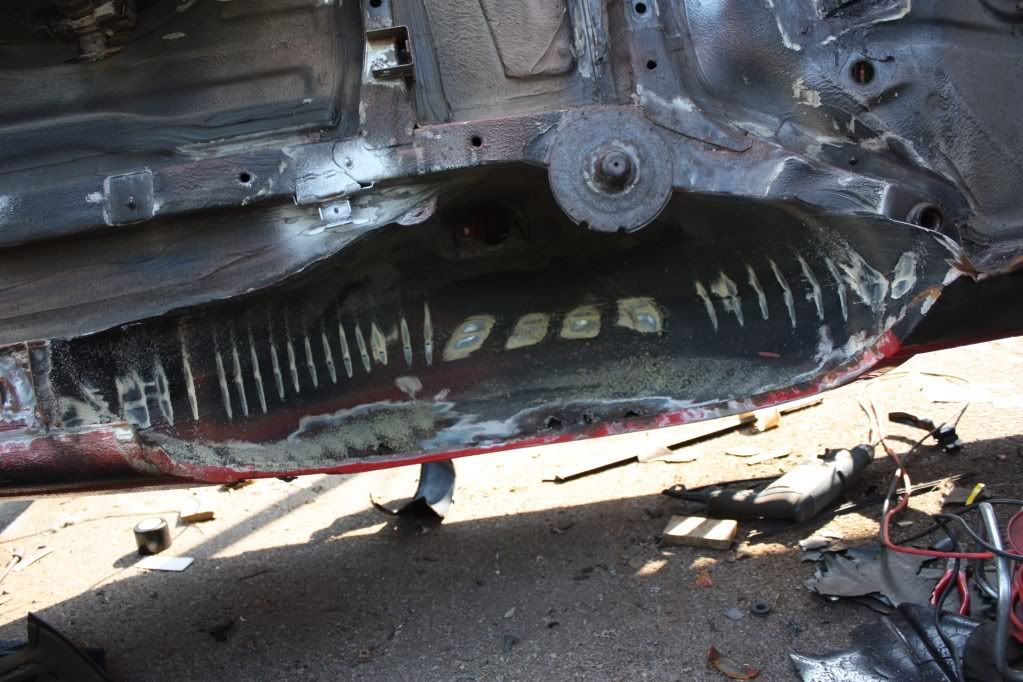
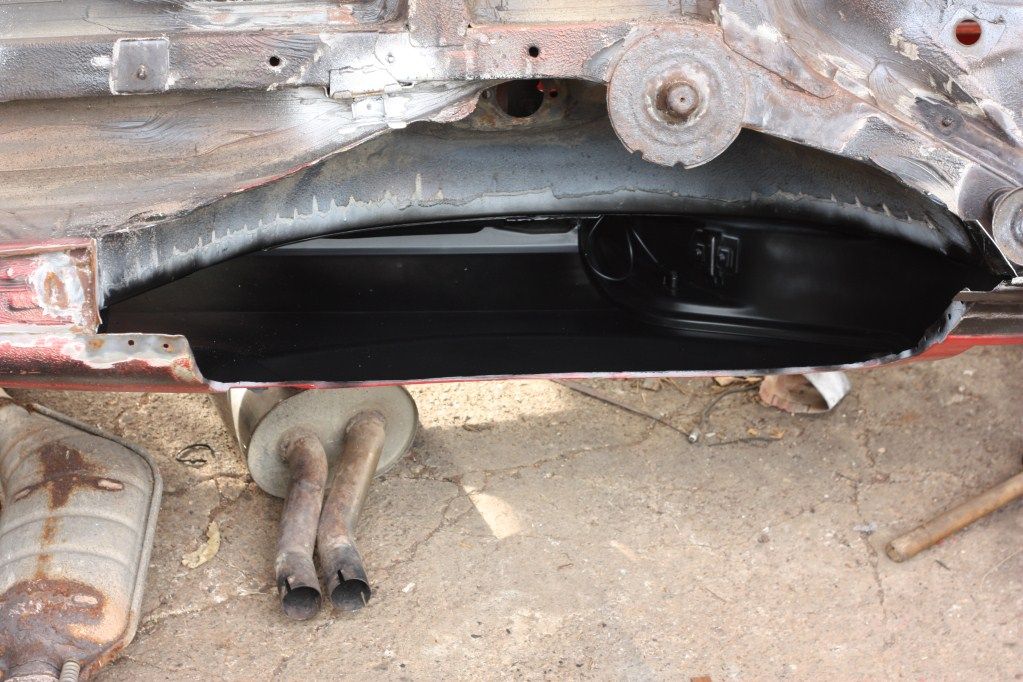
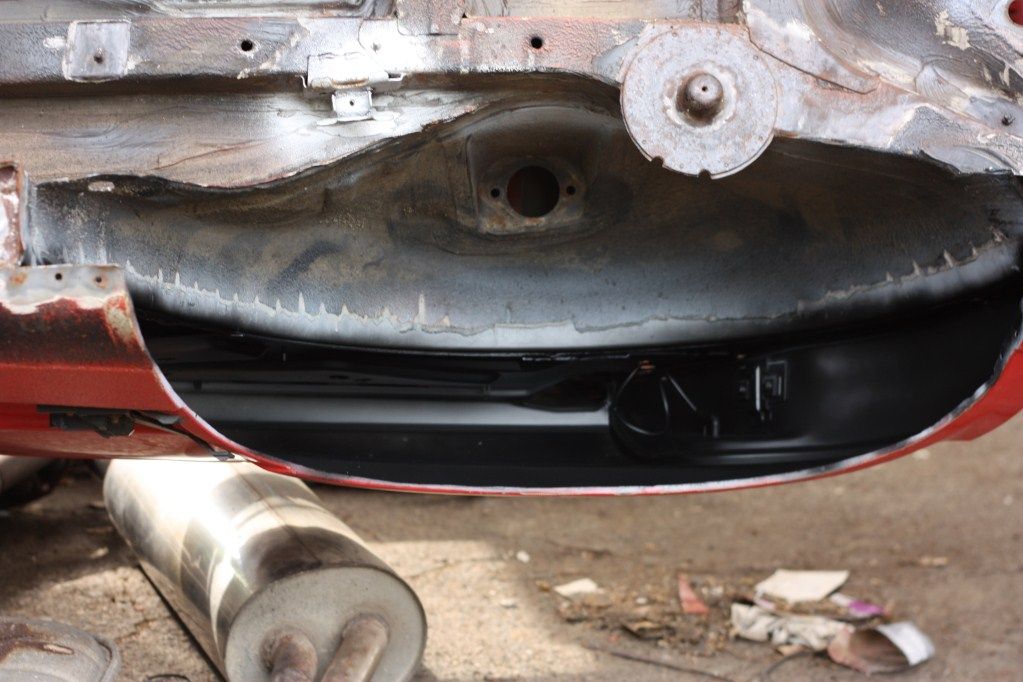
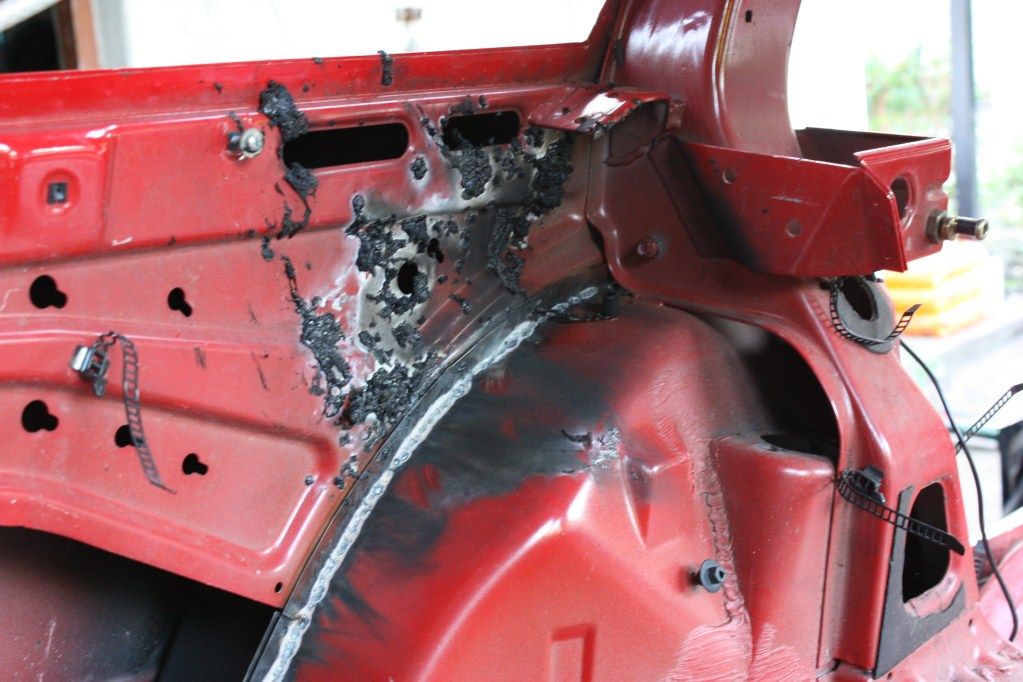
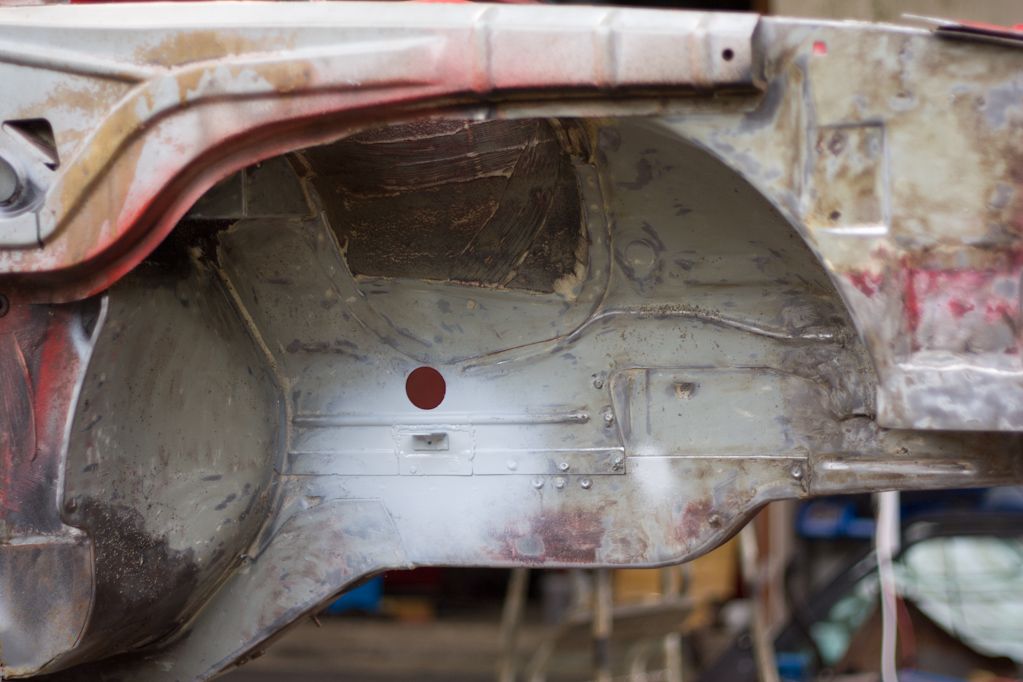
Started removing the heatshield to get a look at some rust on the floor, cut a nice hole and started welding it up then it got dark - have to finish this this weekend
Few pics of the floor
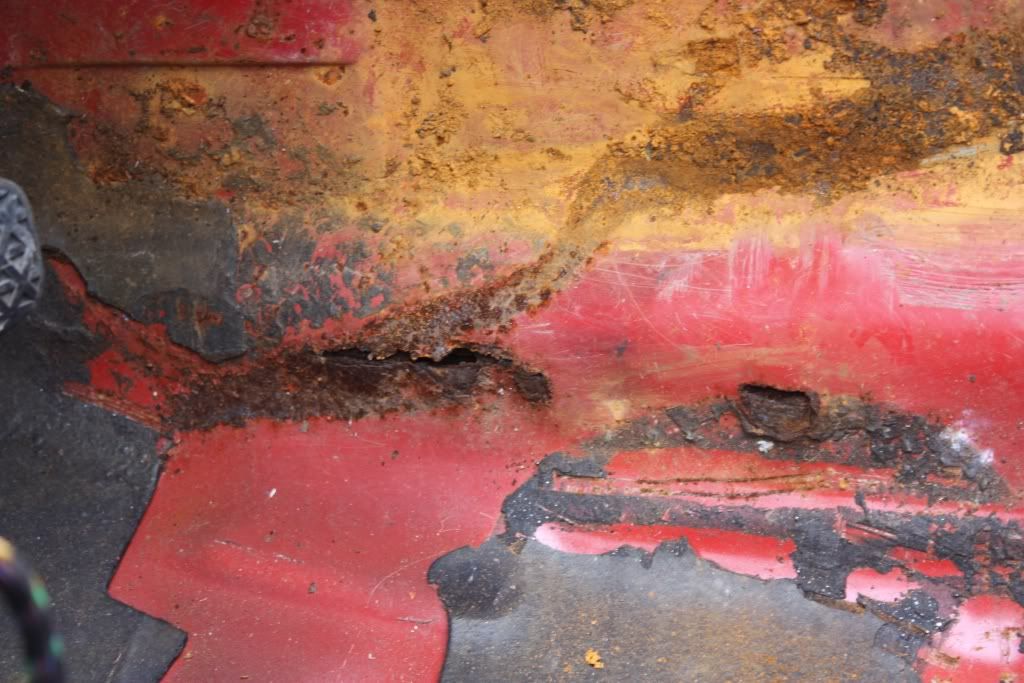
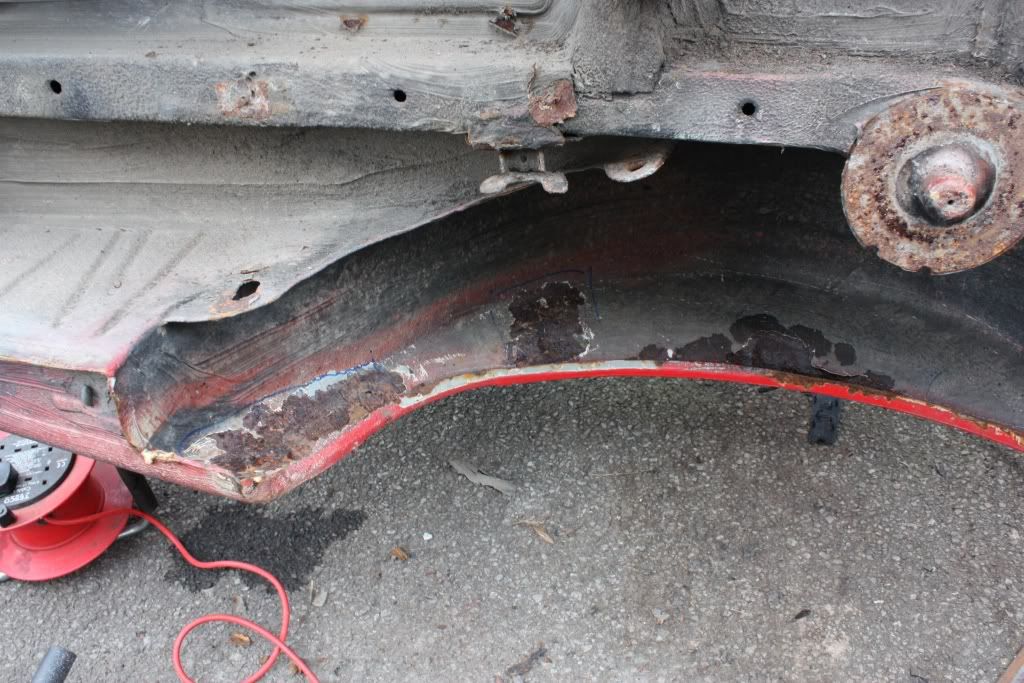
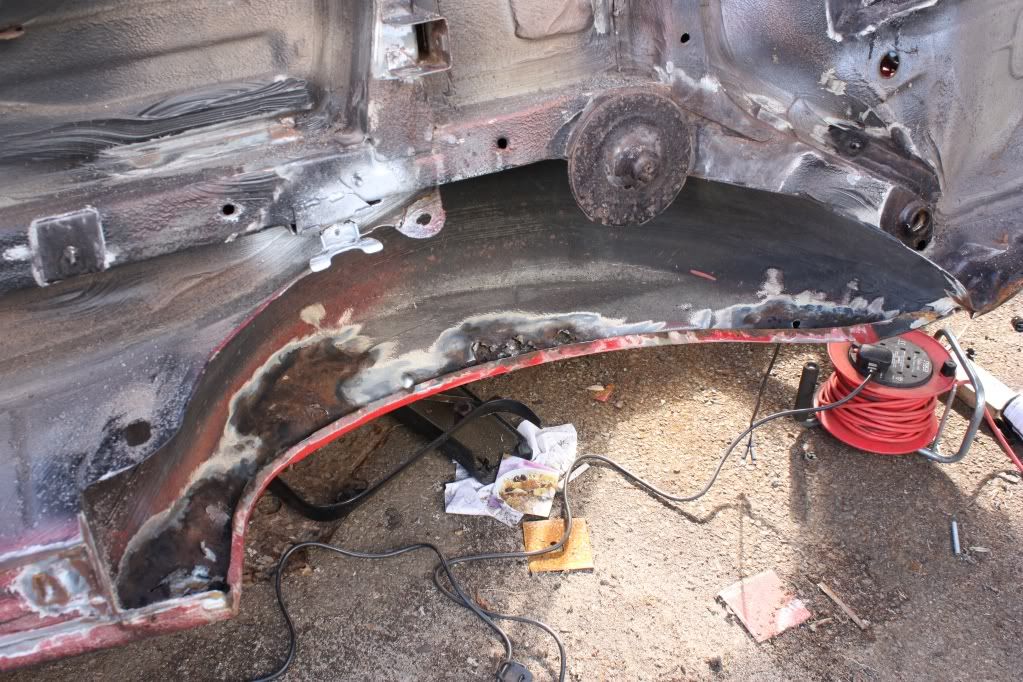
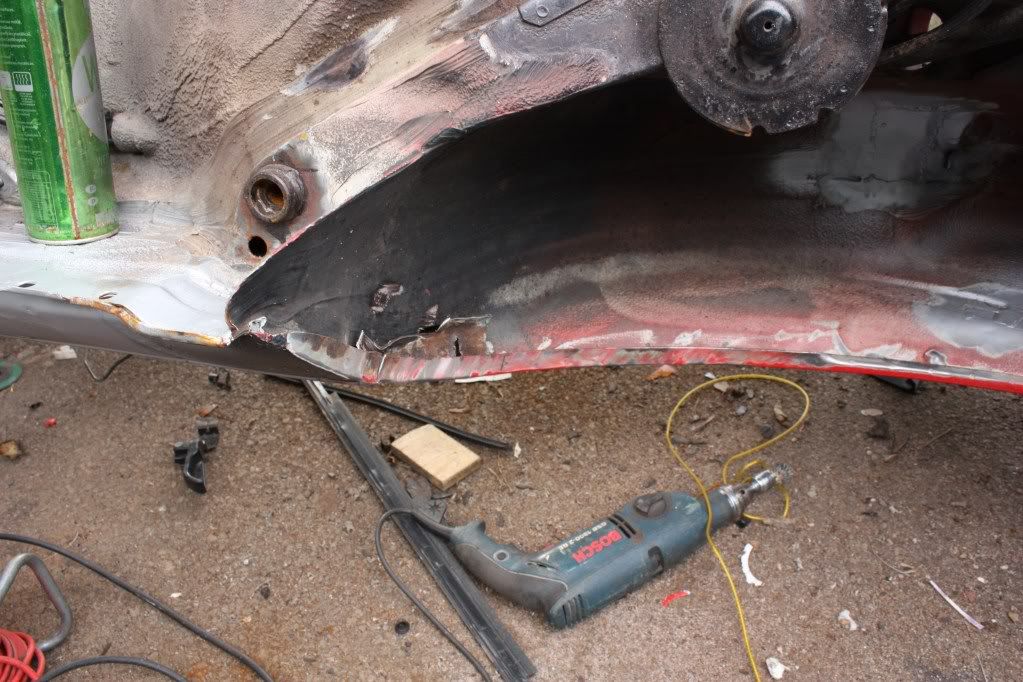
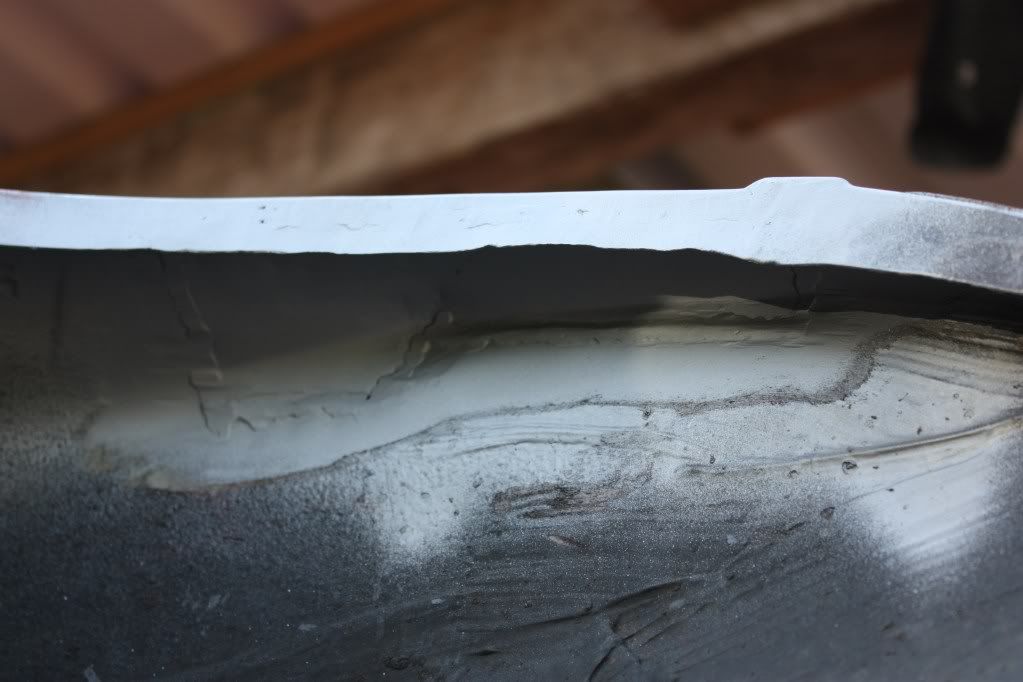
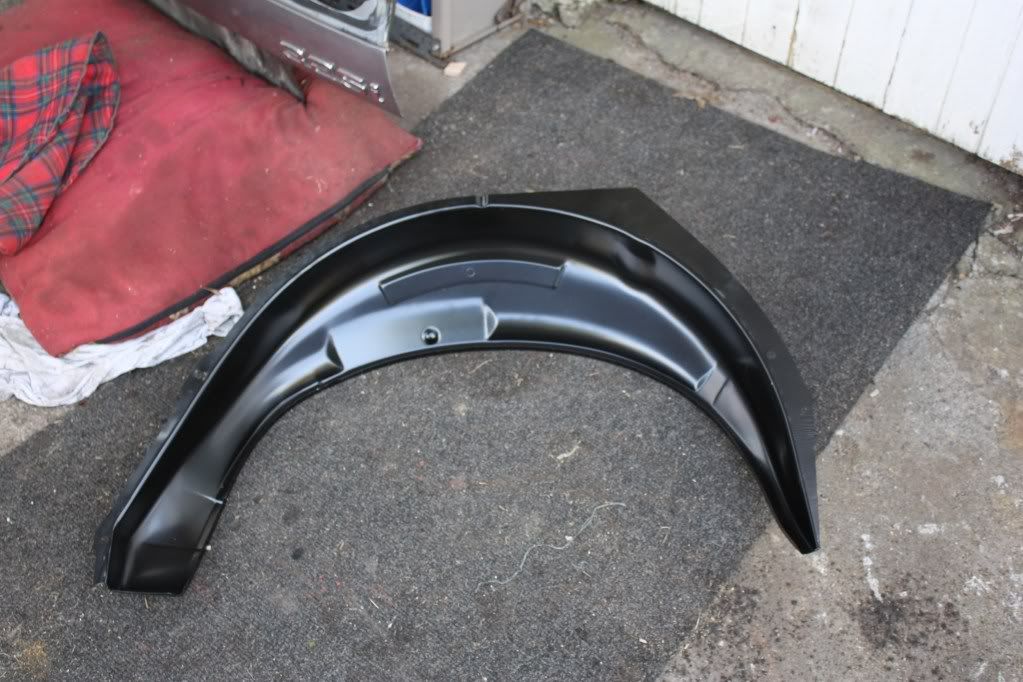
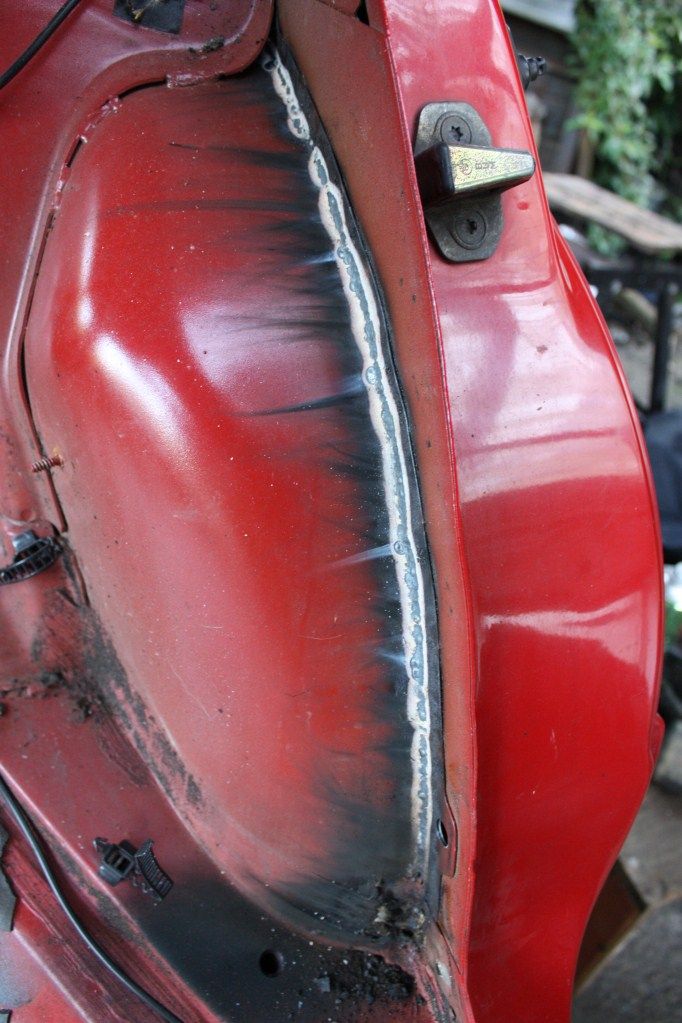
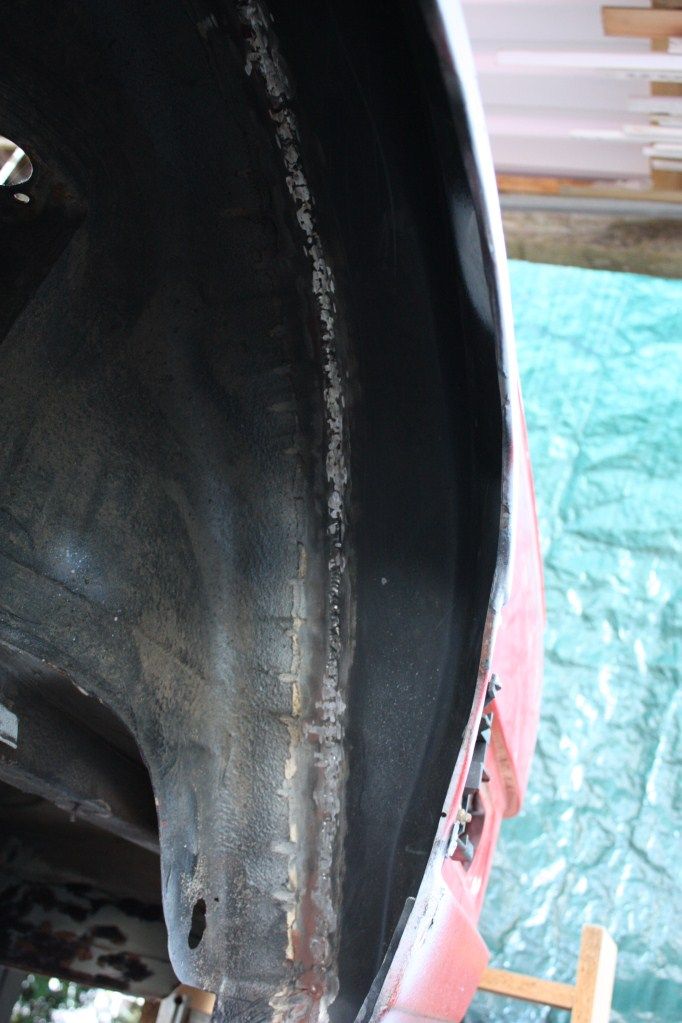
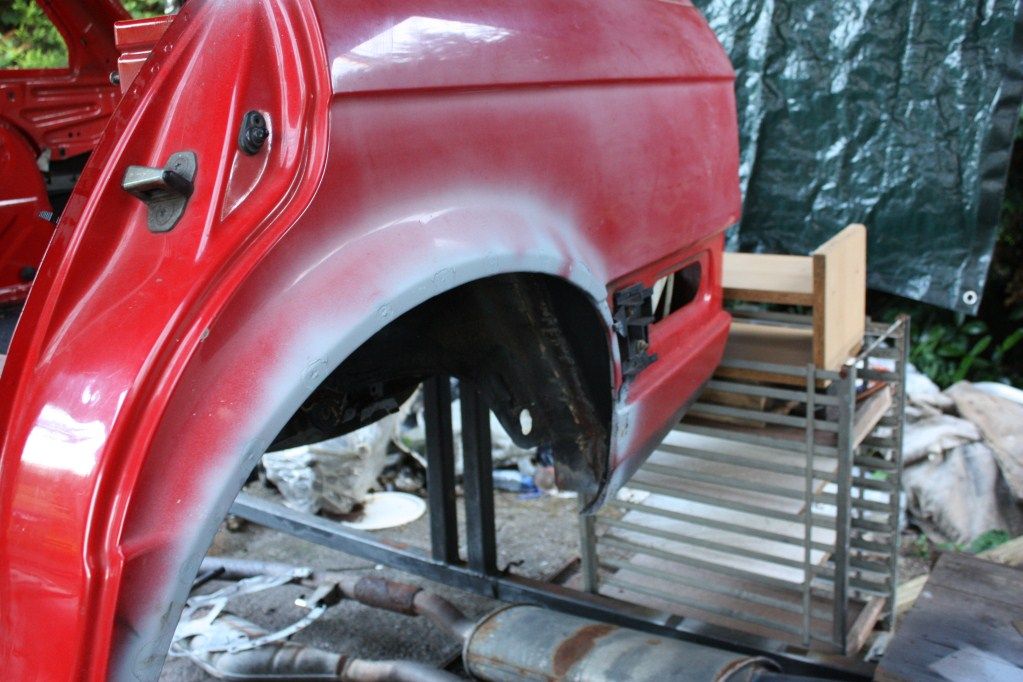
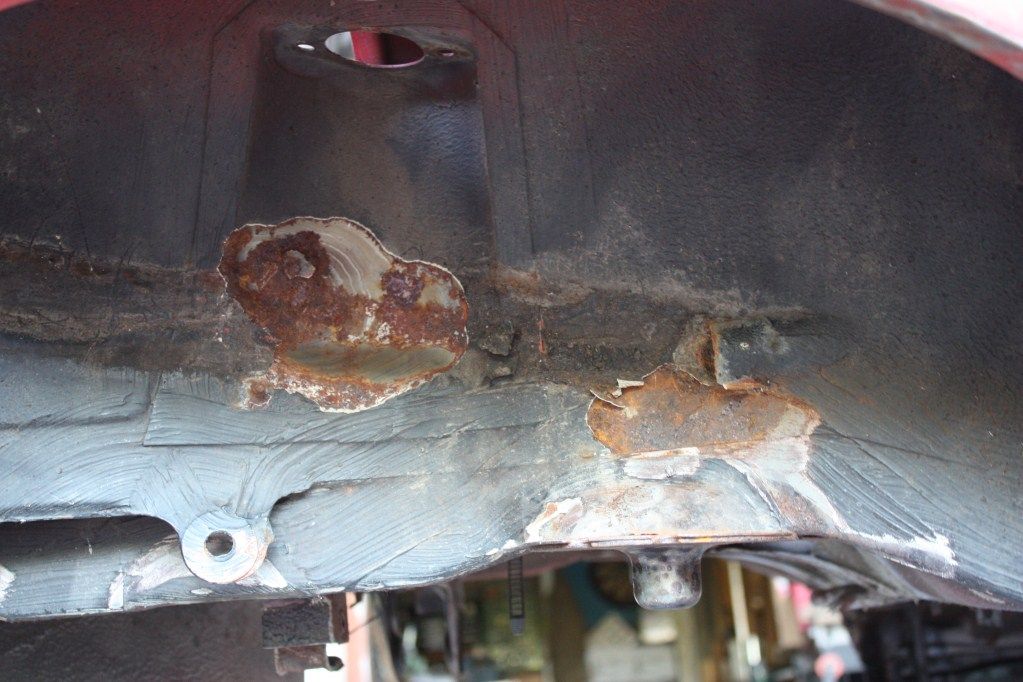
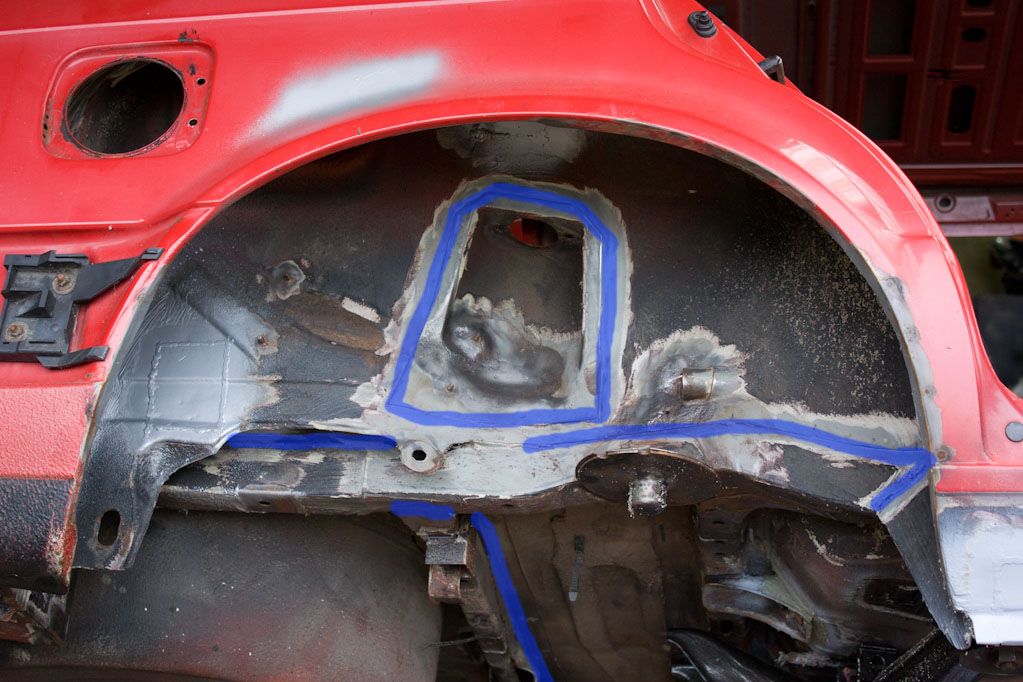
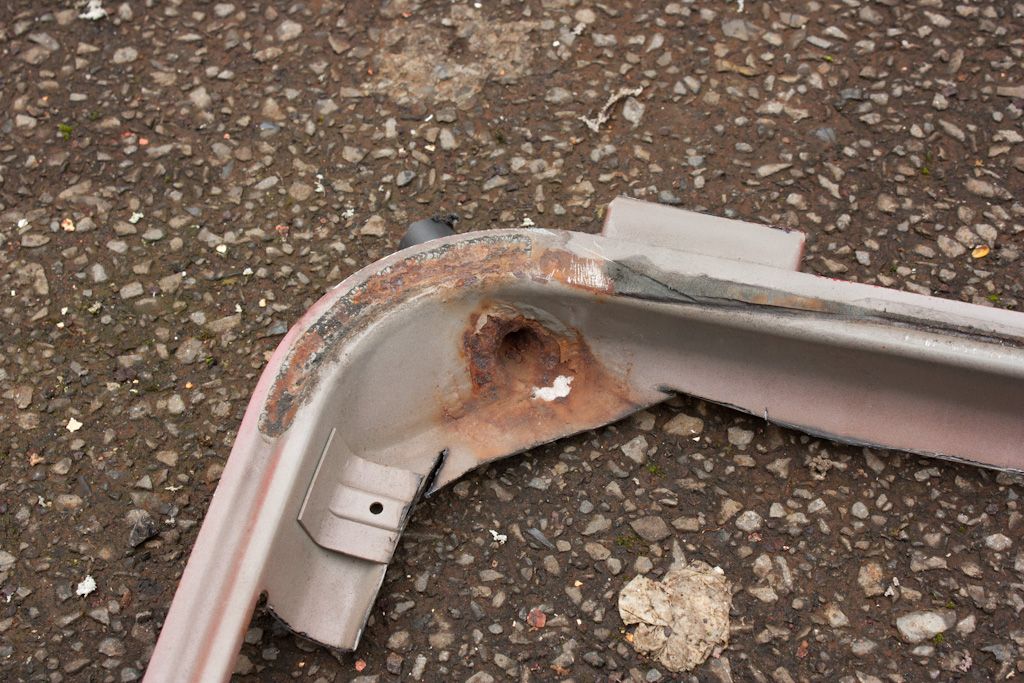
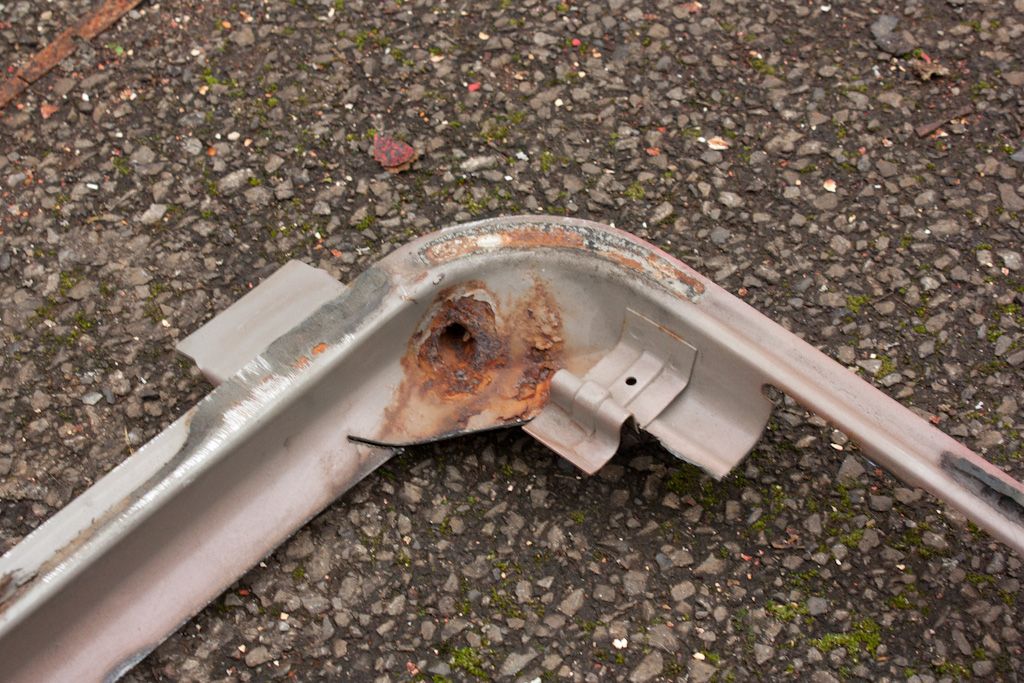
We had a look at the rear arch, prob the worst job to take car of, unsure of how to tackle it. Looks like the rust might have started eating at the outer arch

Very little work was done in February:
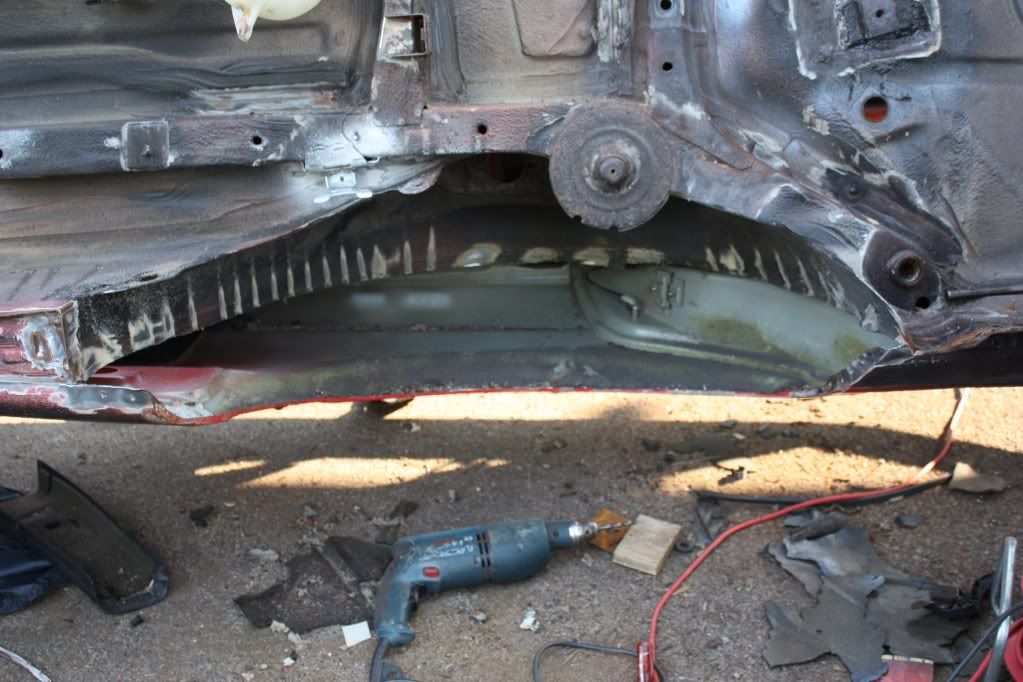
The hole that was made in the floor all welded up and ground smooth-ish
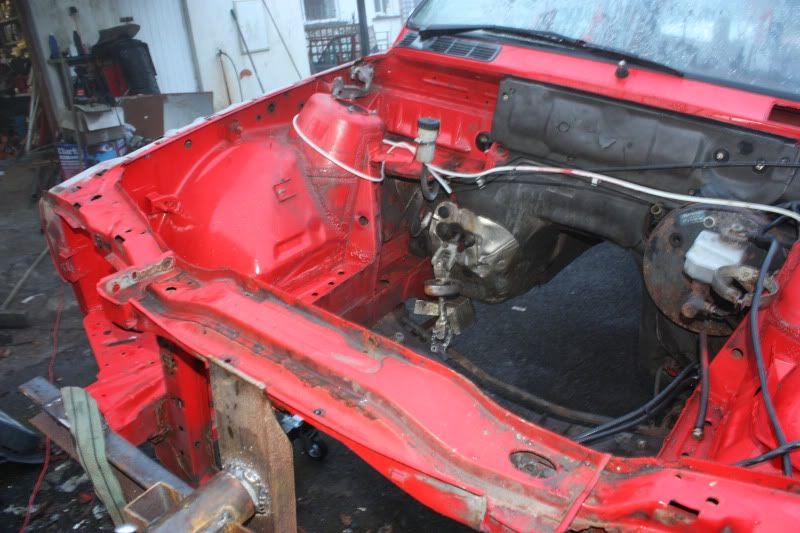
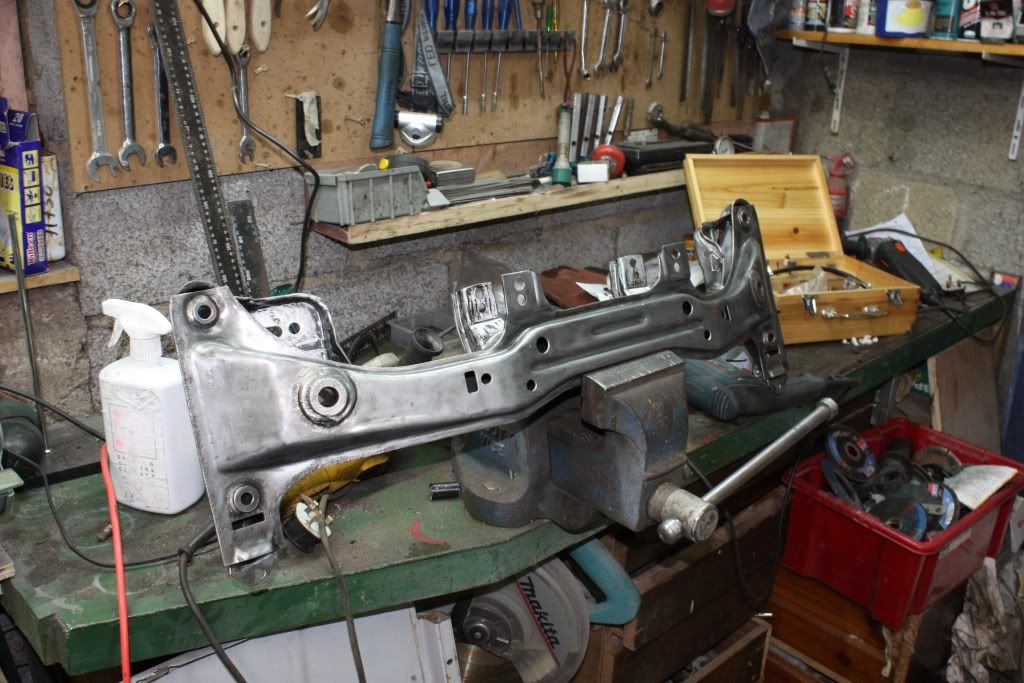
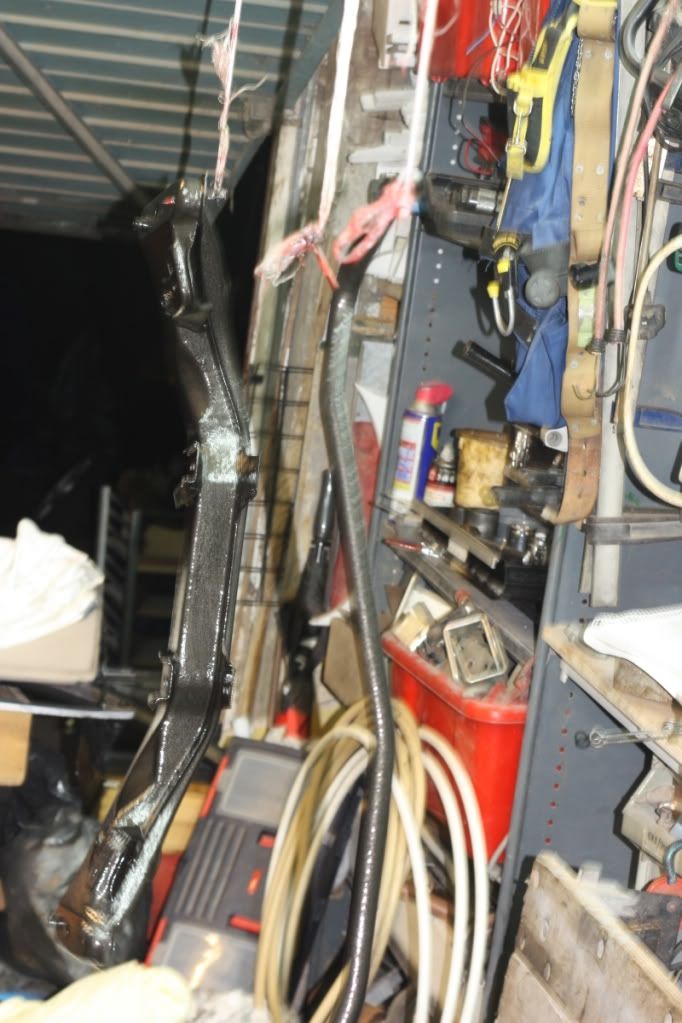
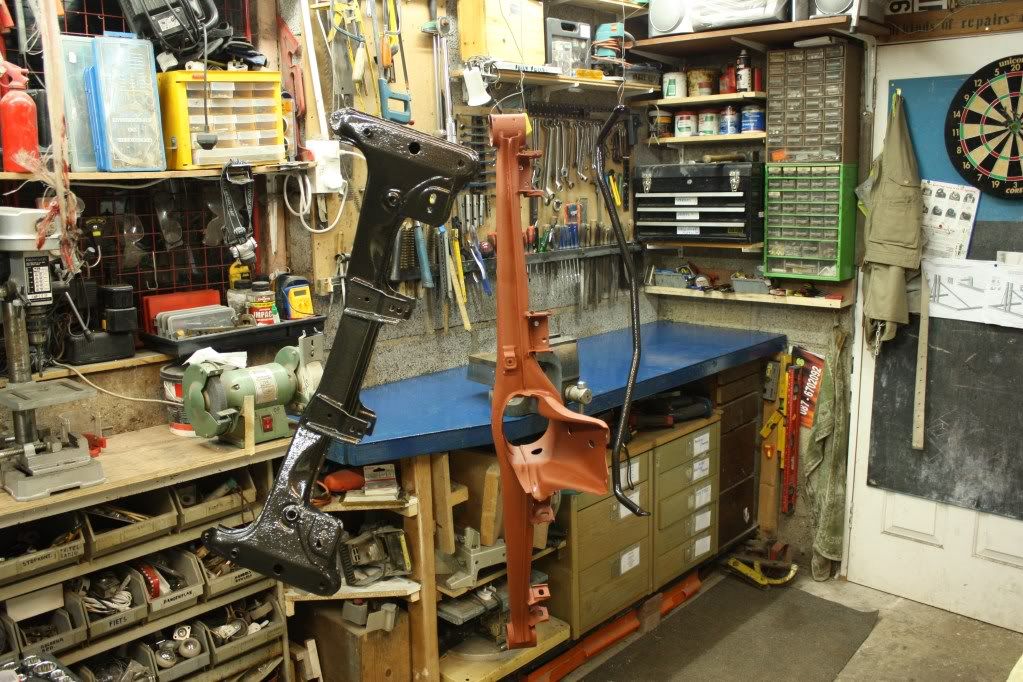
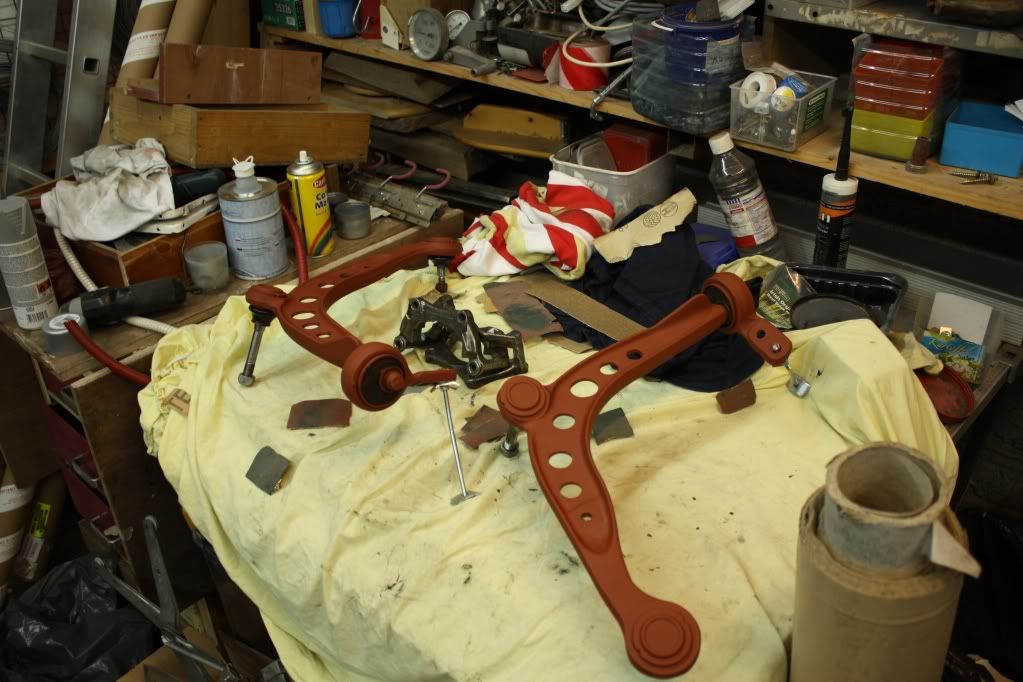
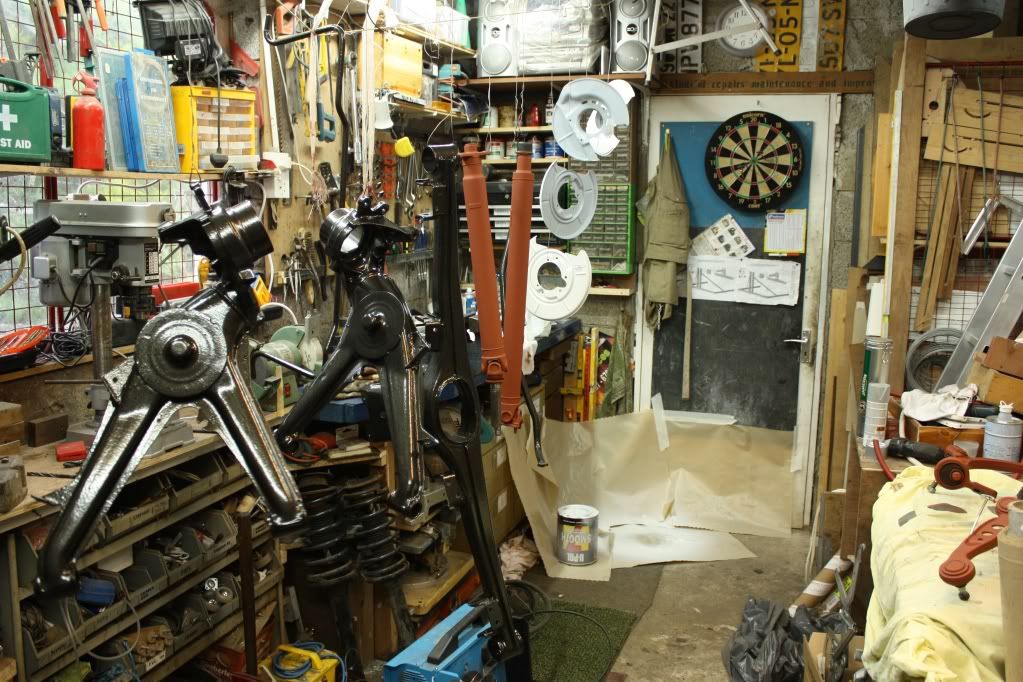
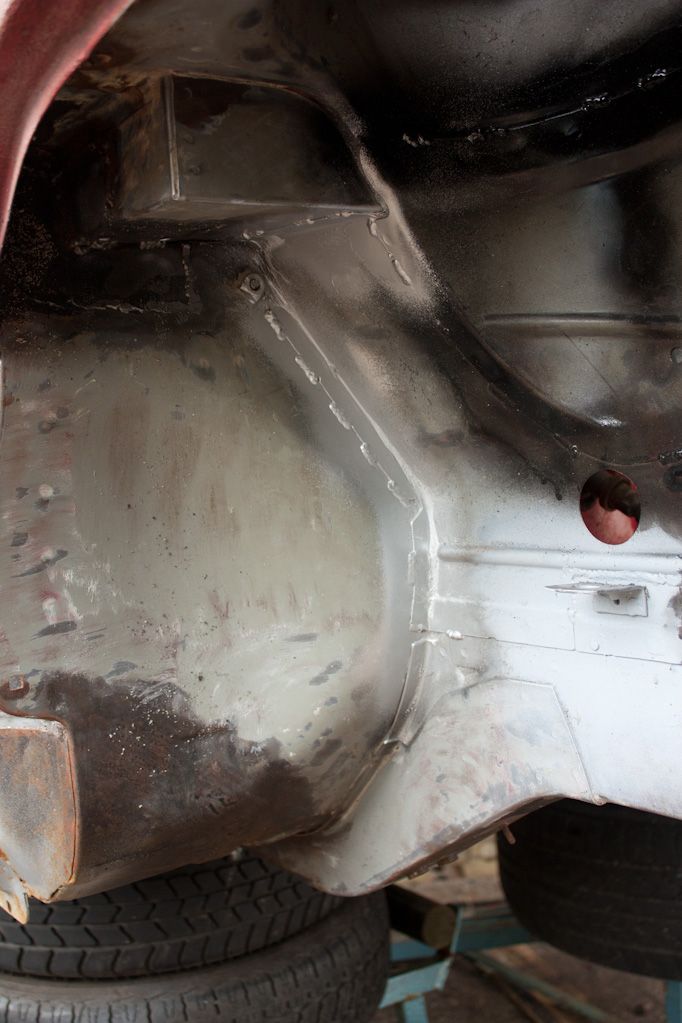
Introduced my front subframe to the wirewheel on the angle grinder, and evening of that and it was all bare metal. Have welded in subframe mount reinforcement plates, primed it 2x and 1 coat of hammerite smooth black. The front ARB got the same paint treatment, will add a few more coats once the body work is done and do the same with the rear beam and ARB.
This was like this when I got the shell
Rear jacking point got a coat of primer after meeting the angle grinder with wirewheel, might cut the jacking point out it tends to go a bit rotten there.
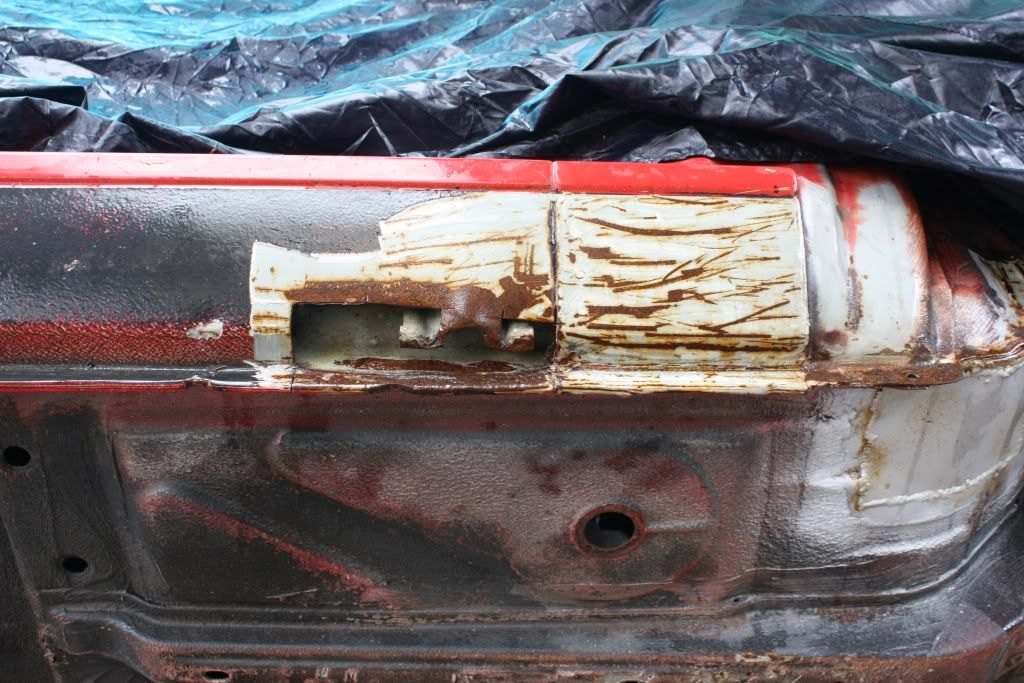
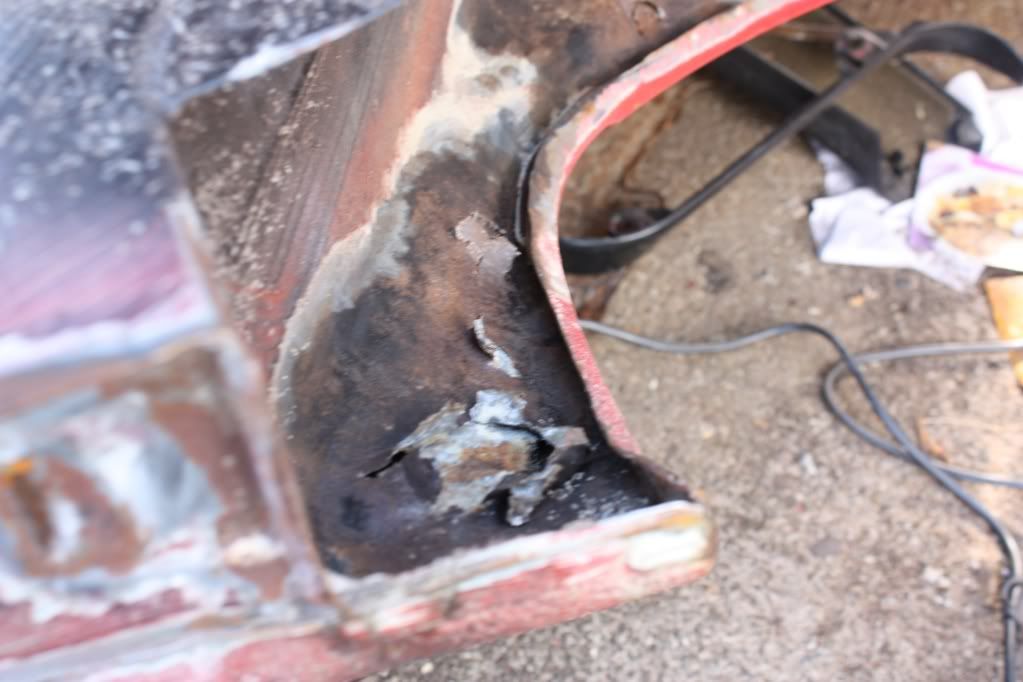
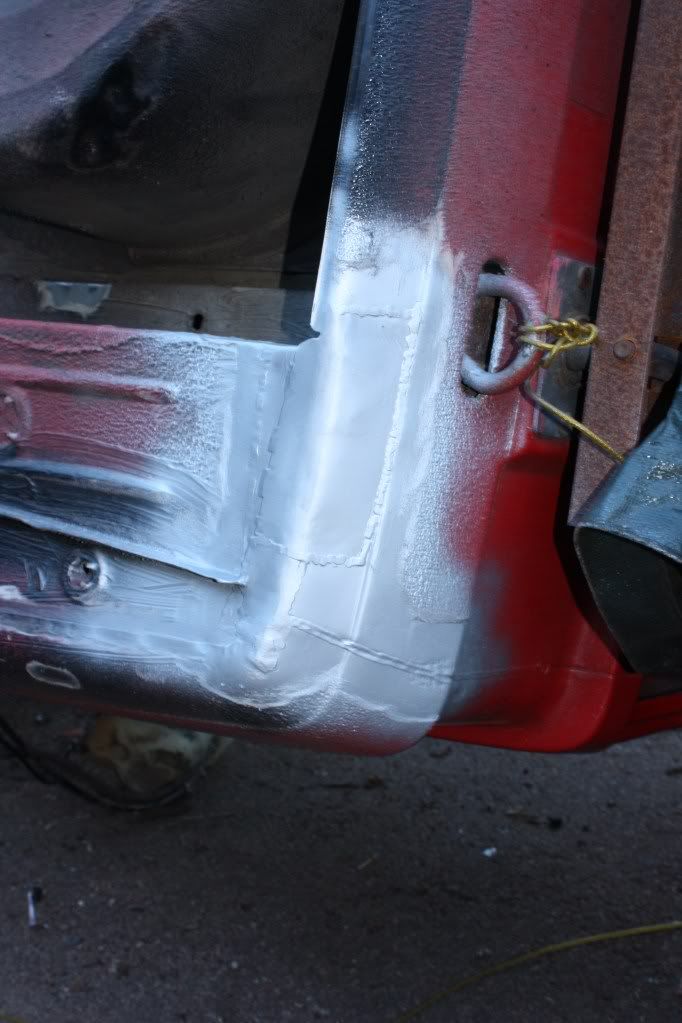
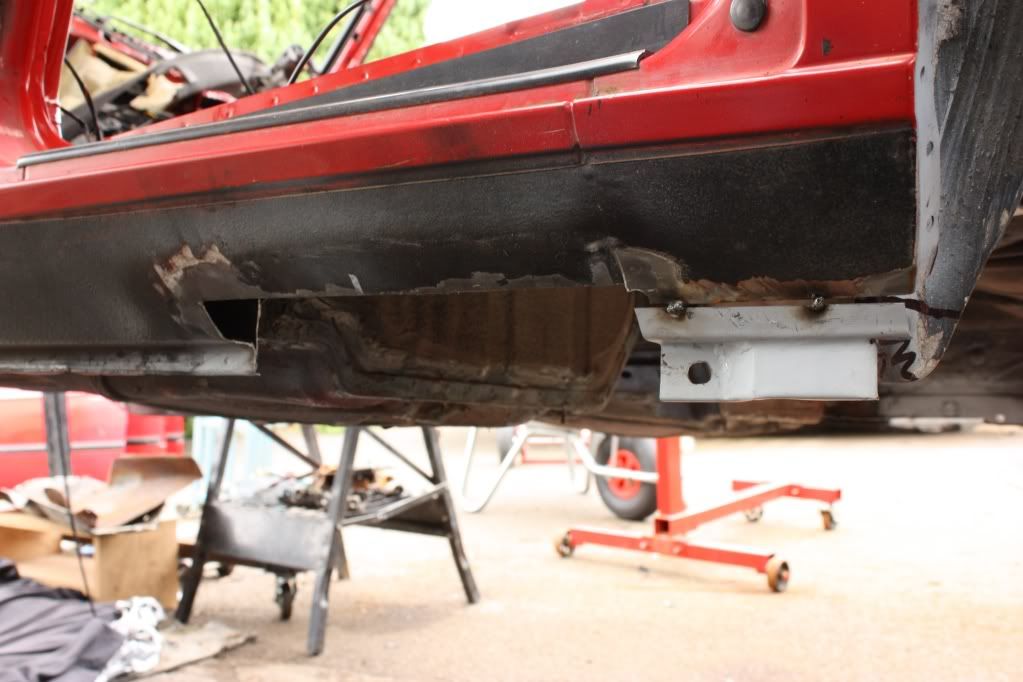
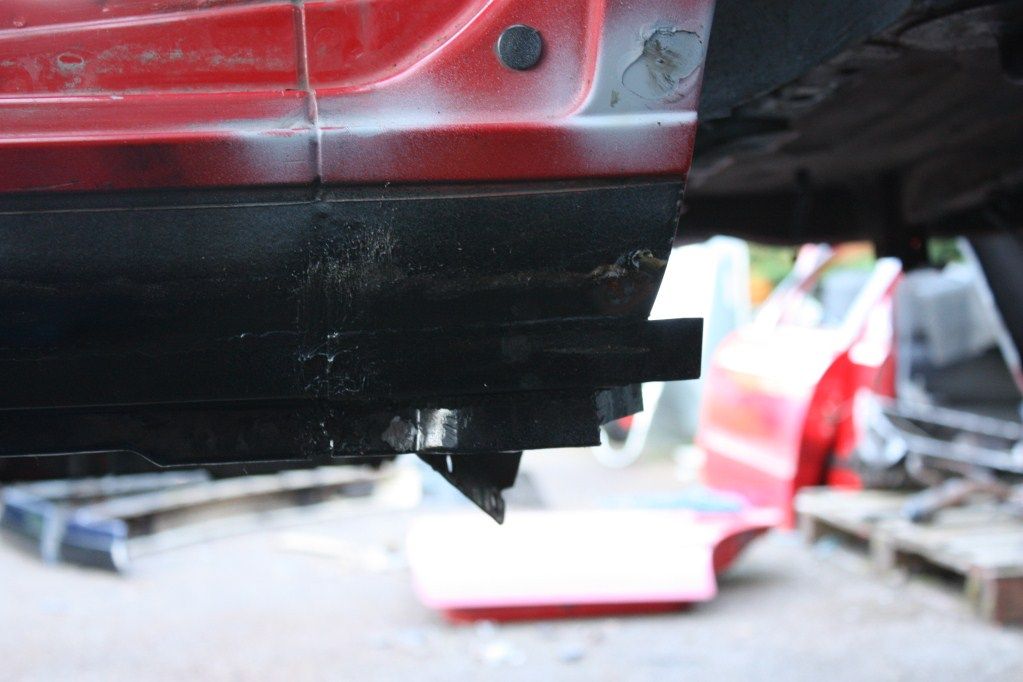
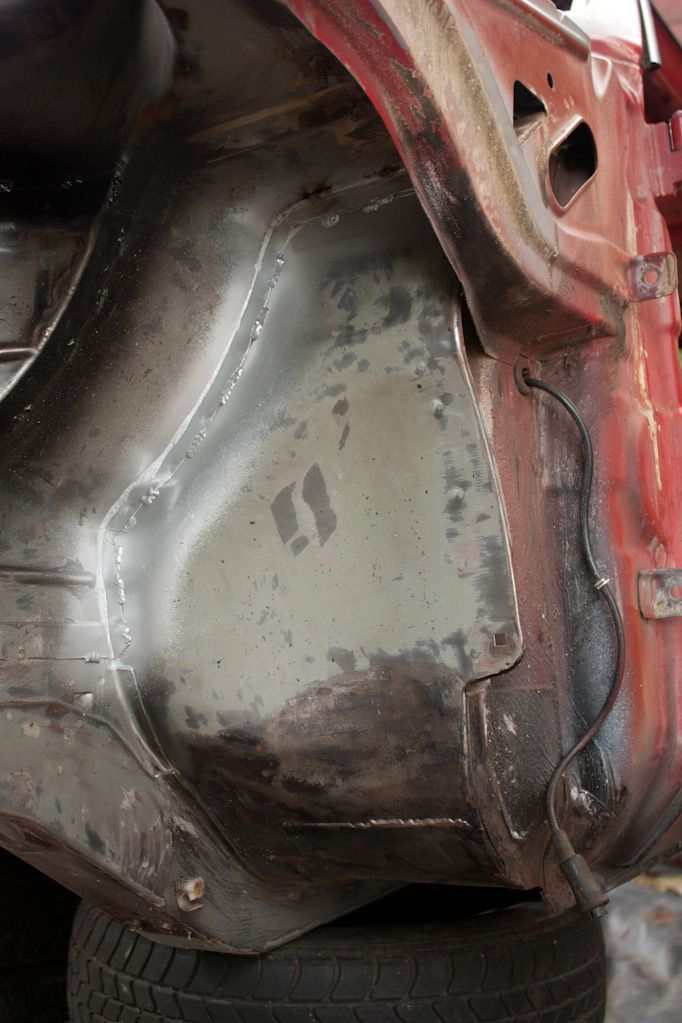
I had a picture of the drivers side rear cill, opposite as above, but I can't find it, here it is anyway with the rust cut out :
:
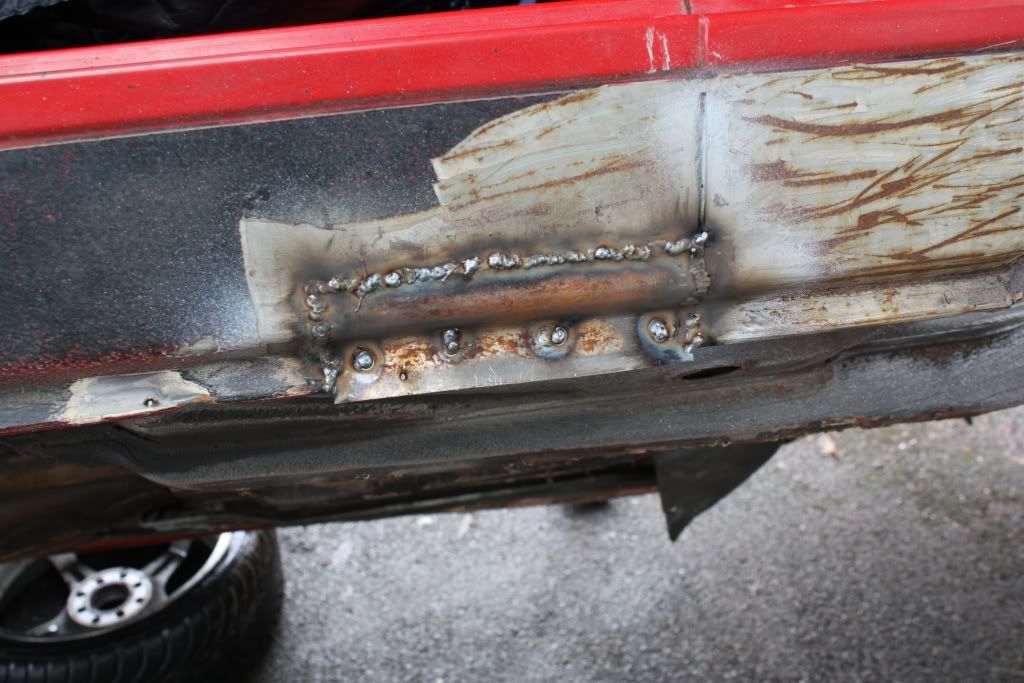
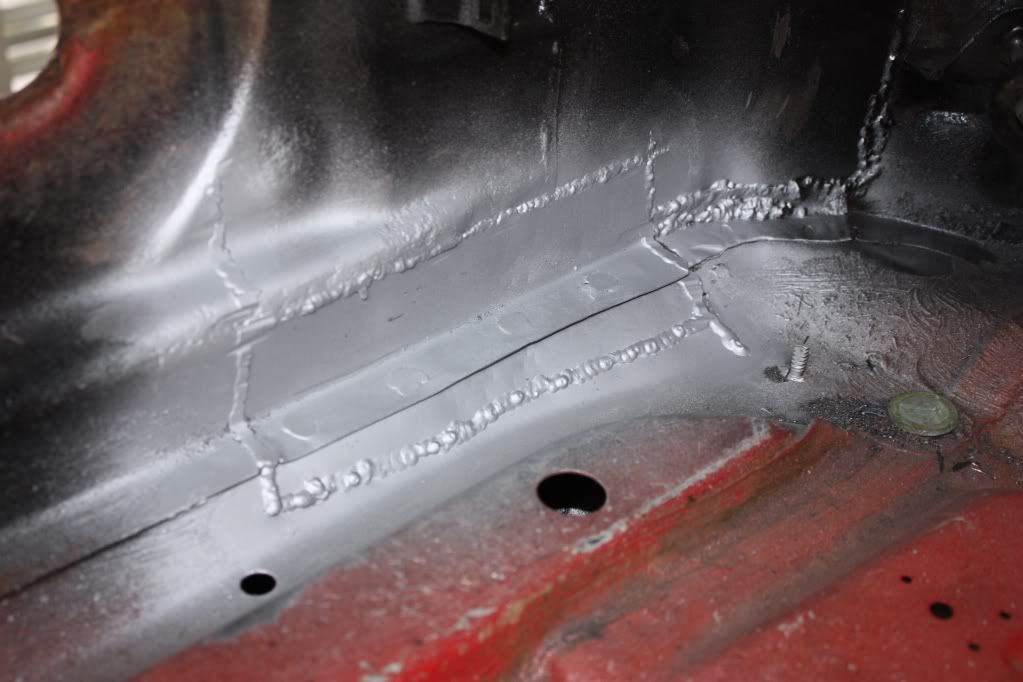
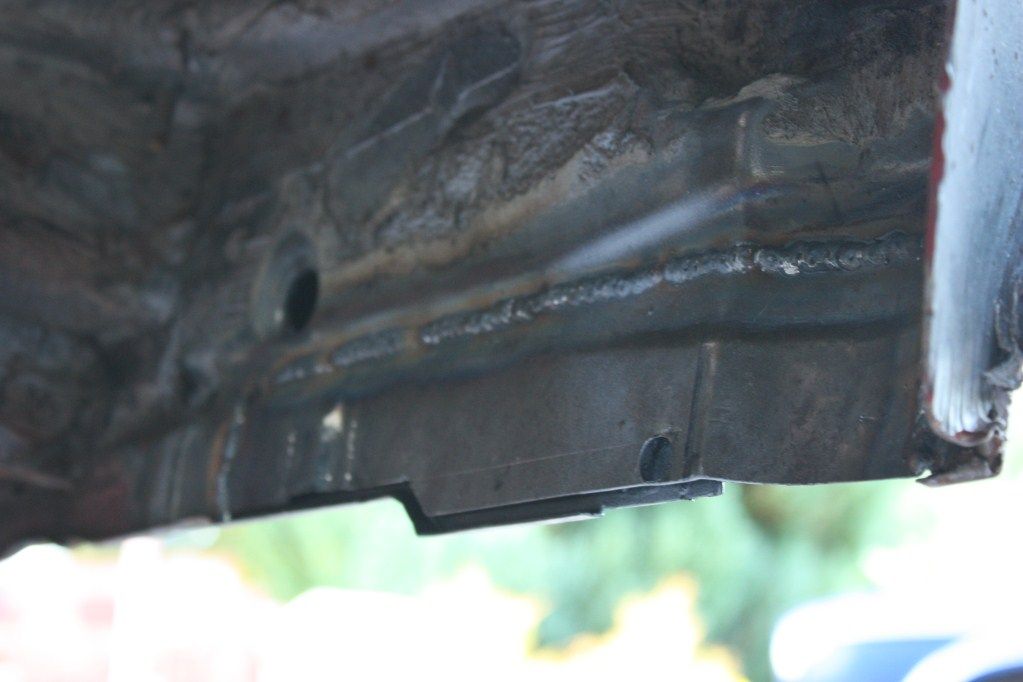
And 1 plate welded up

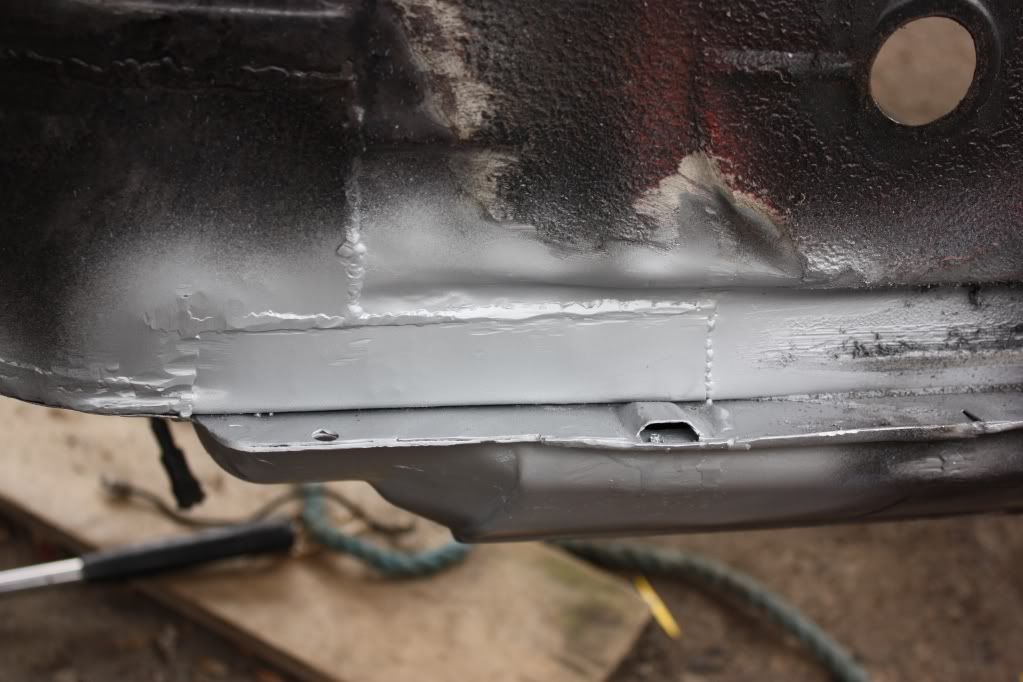
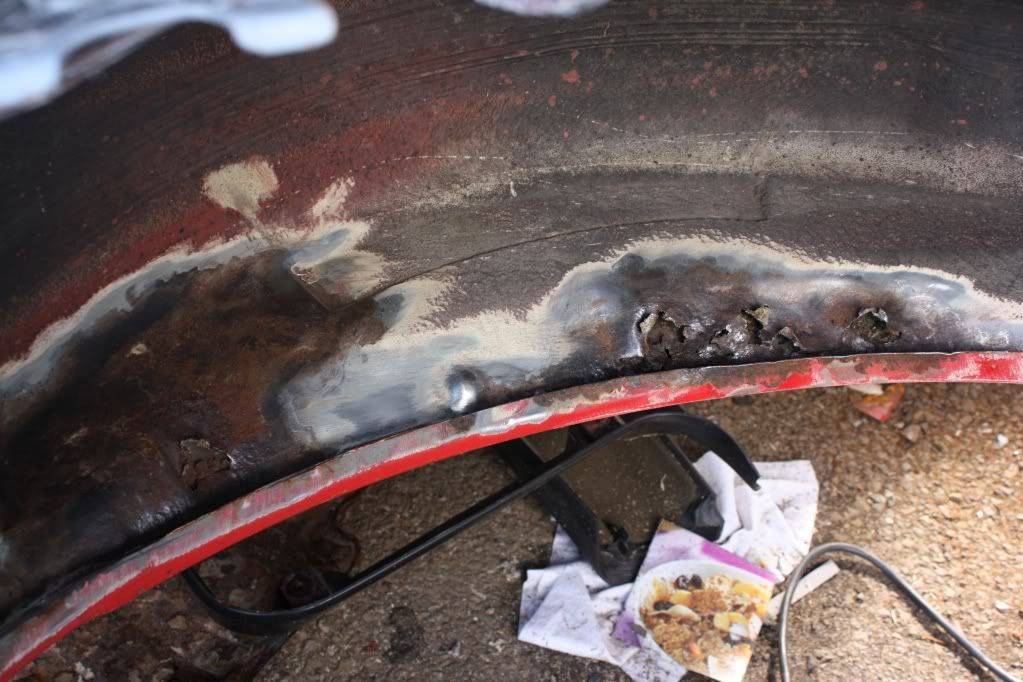
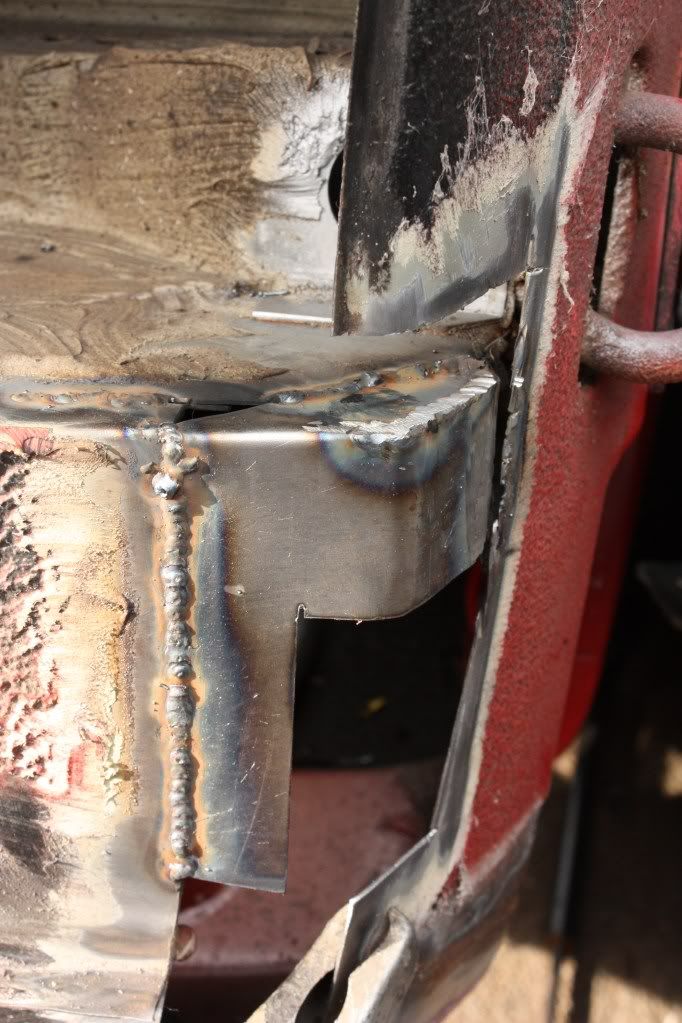
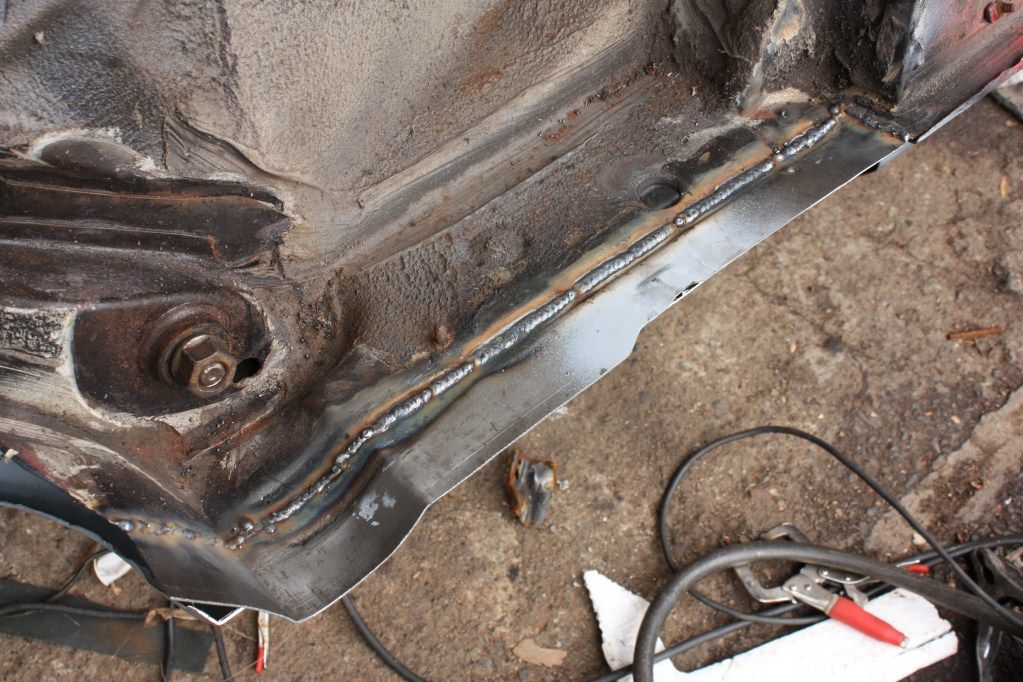
Ran out of light but got the plate on the inside of the arch nearly fully welded in, plug welds let go on me :
:
Anyone know should I have recreated the step or change of dept of the seam, only realised after having it all welded up there's a step. Will also drill the hole for the rear beam mounting once I fit the beam.
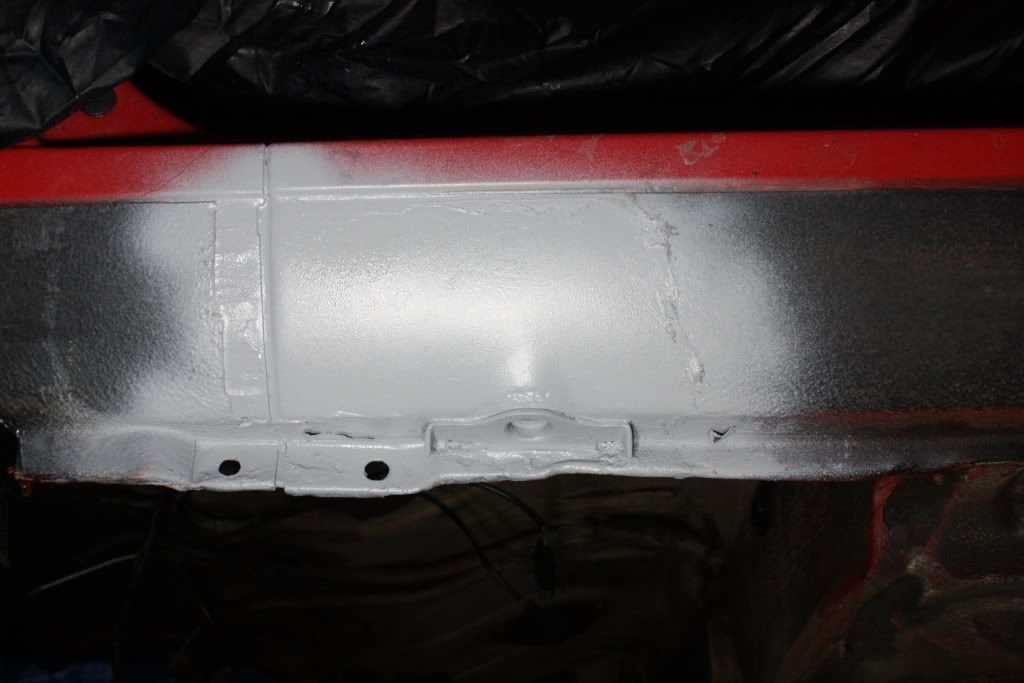
I patched up 2 other area's I'll get pics of them finish, no before pics of it though.
Thats all for now, will finish the above off tomorrow and then no more work on the car till Sat/Sun.
21/03/2011
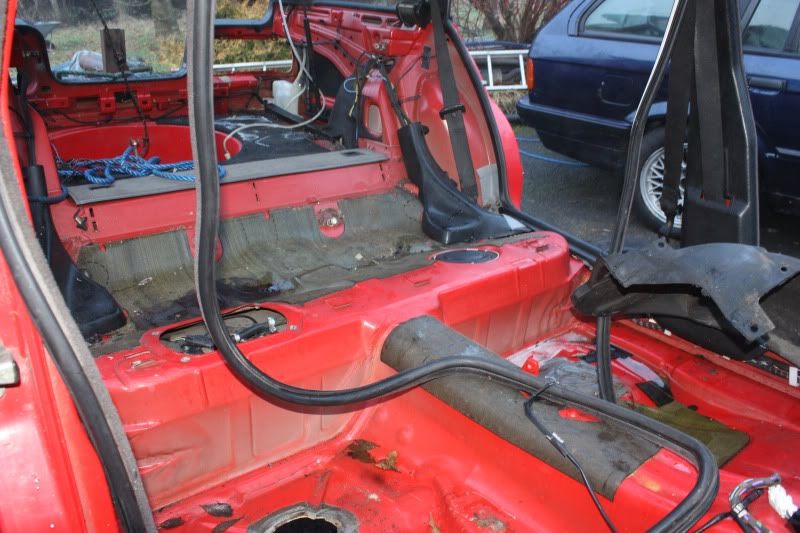
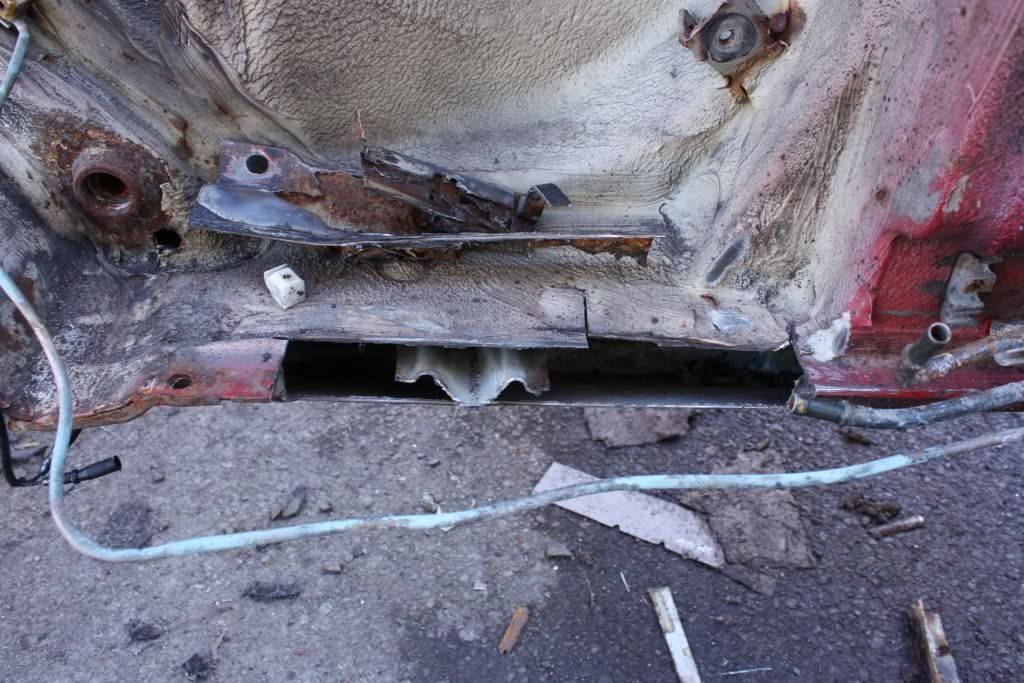
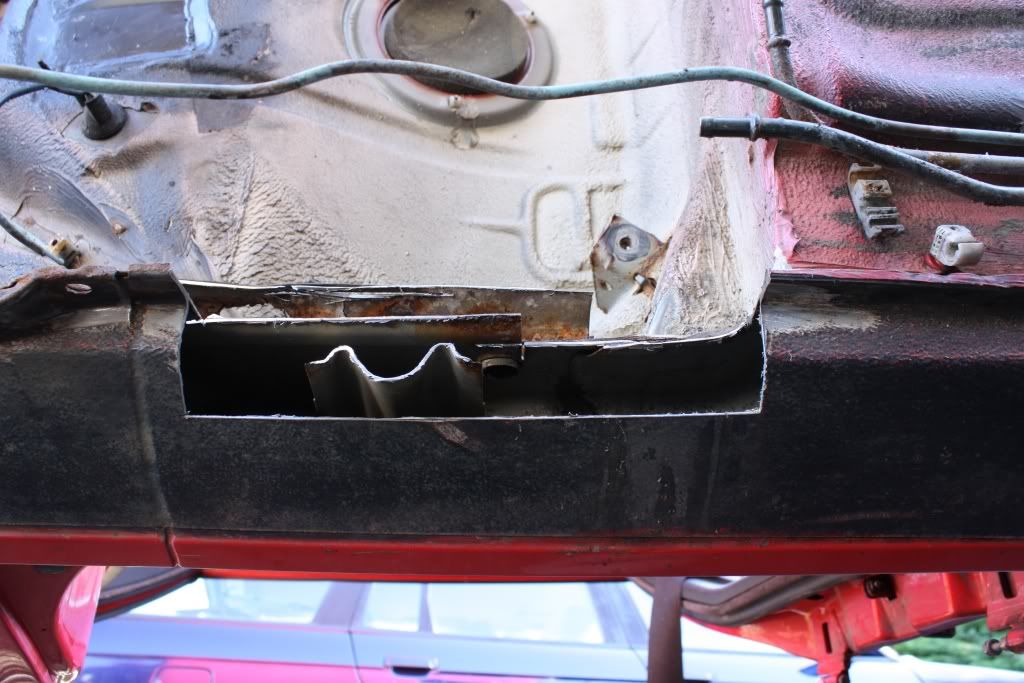
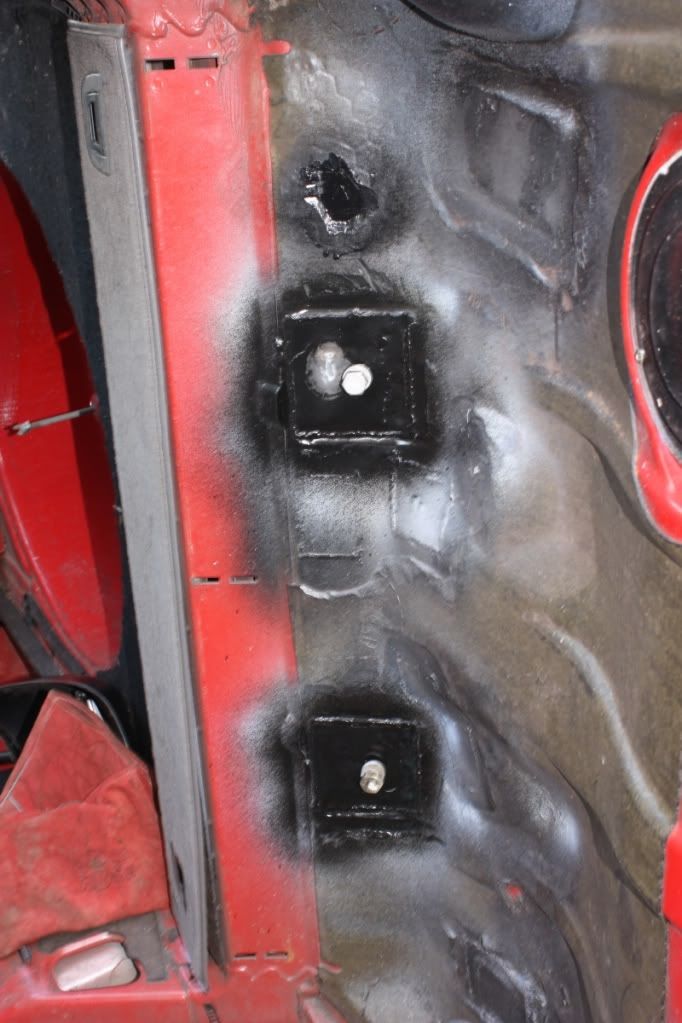
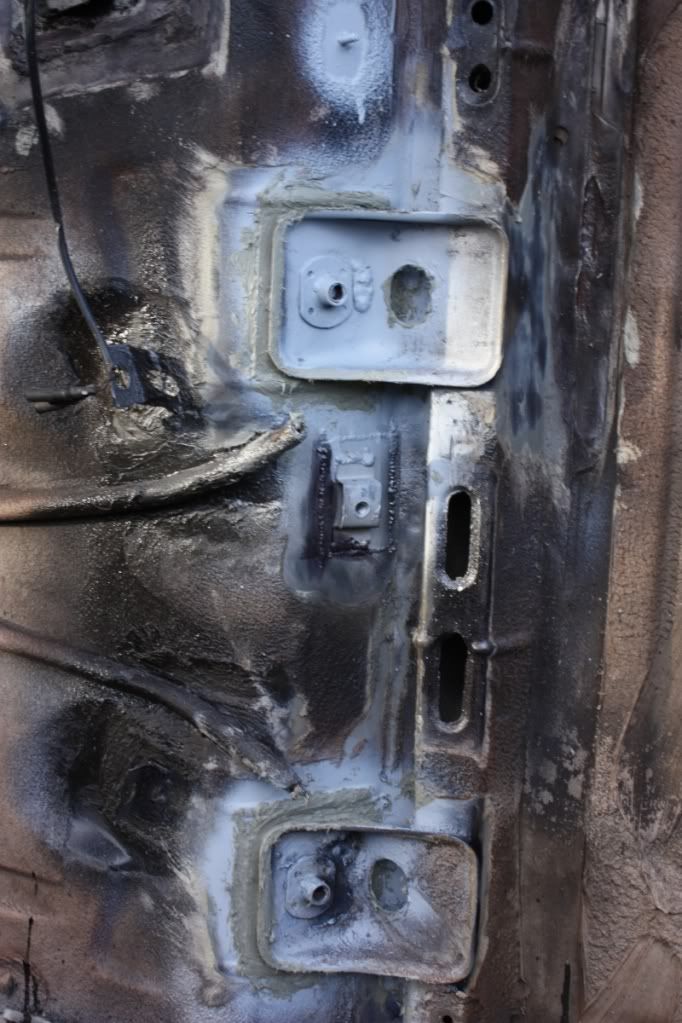
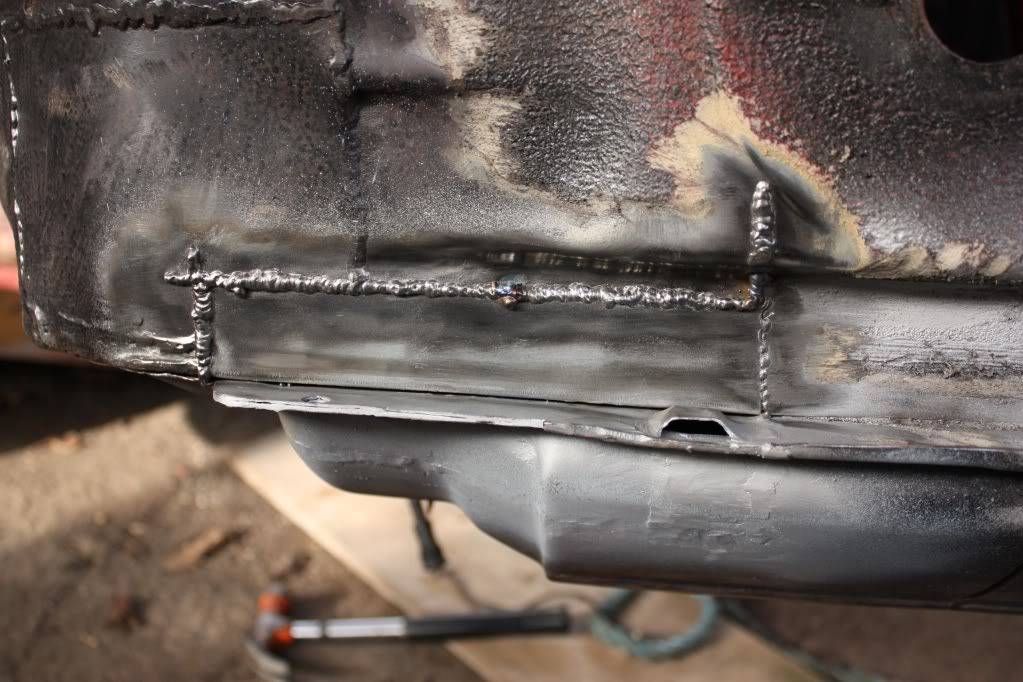
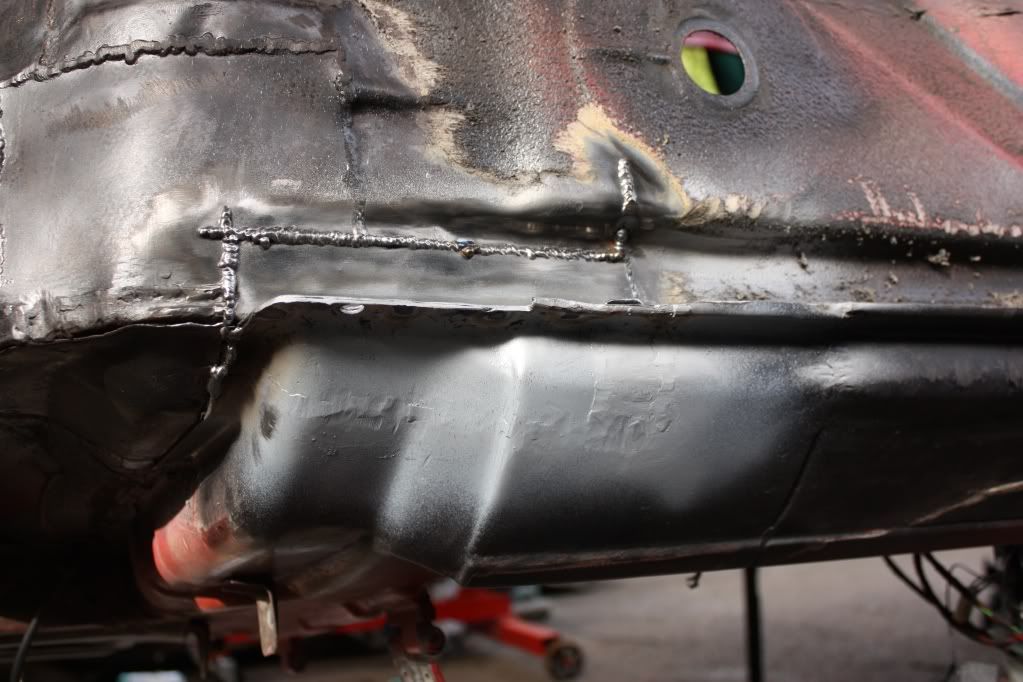
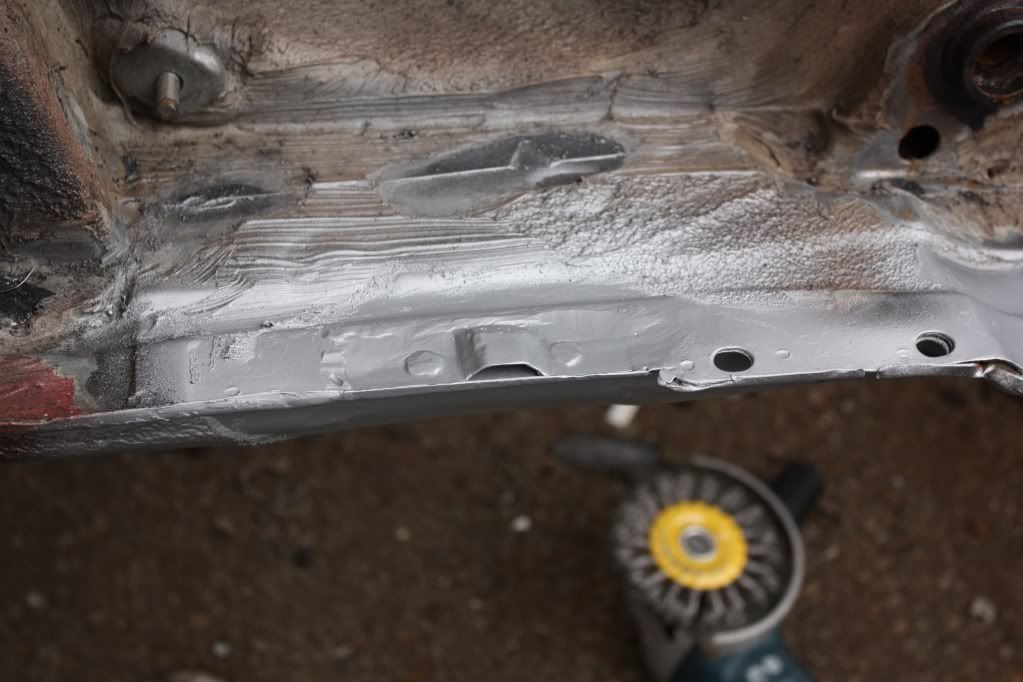
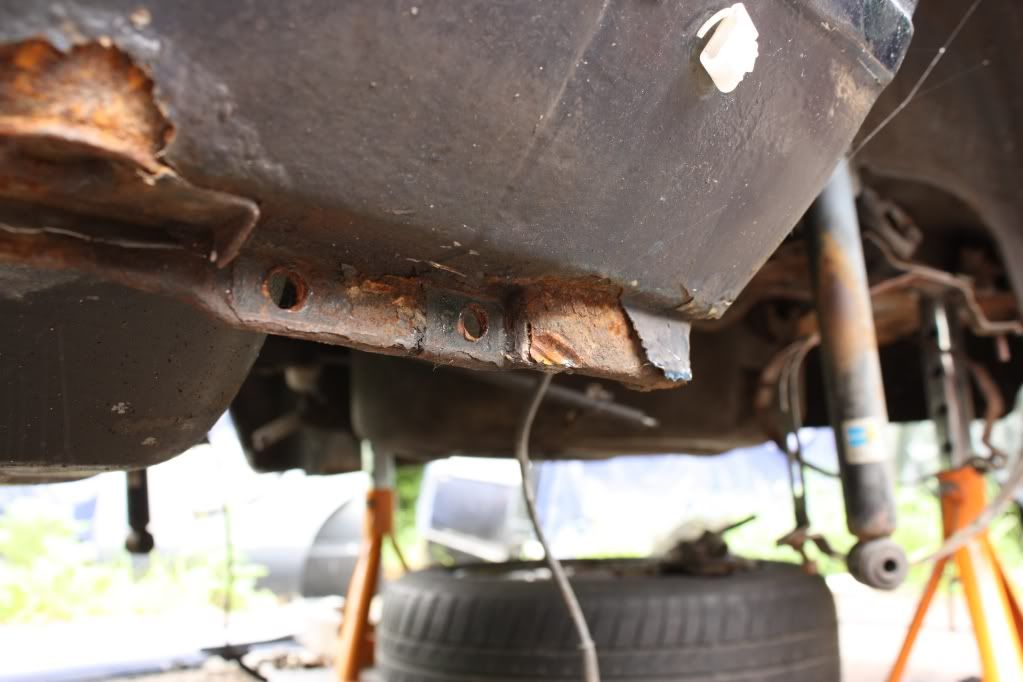
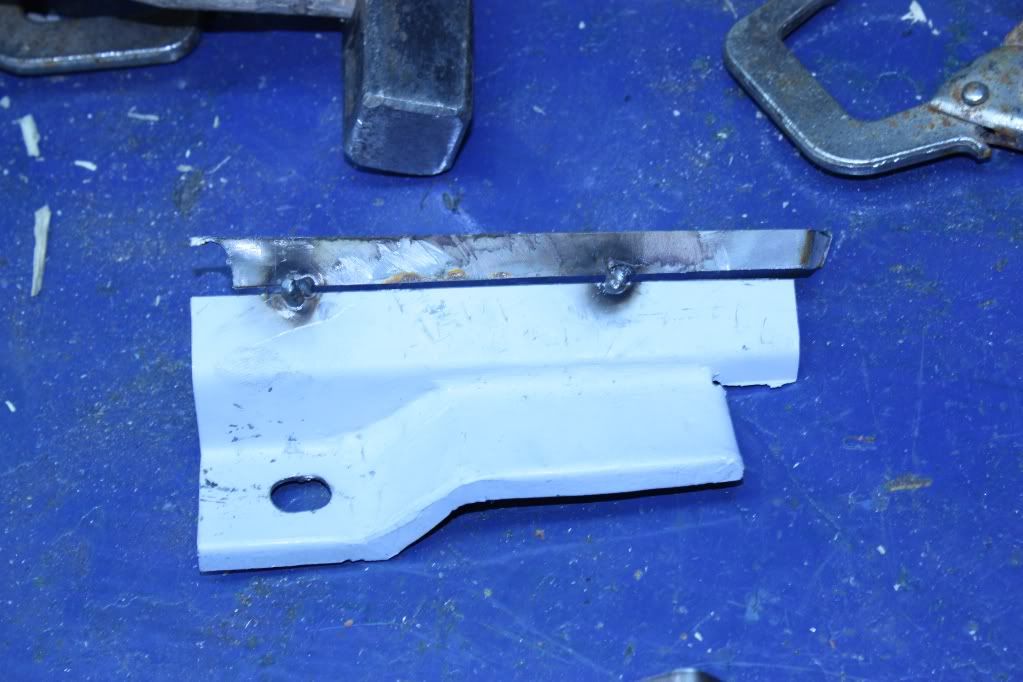
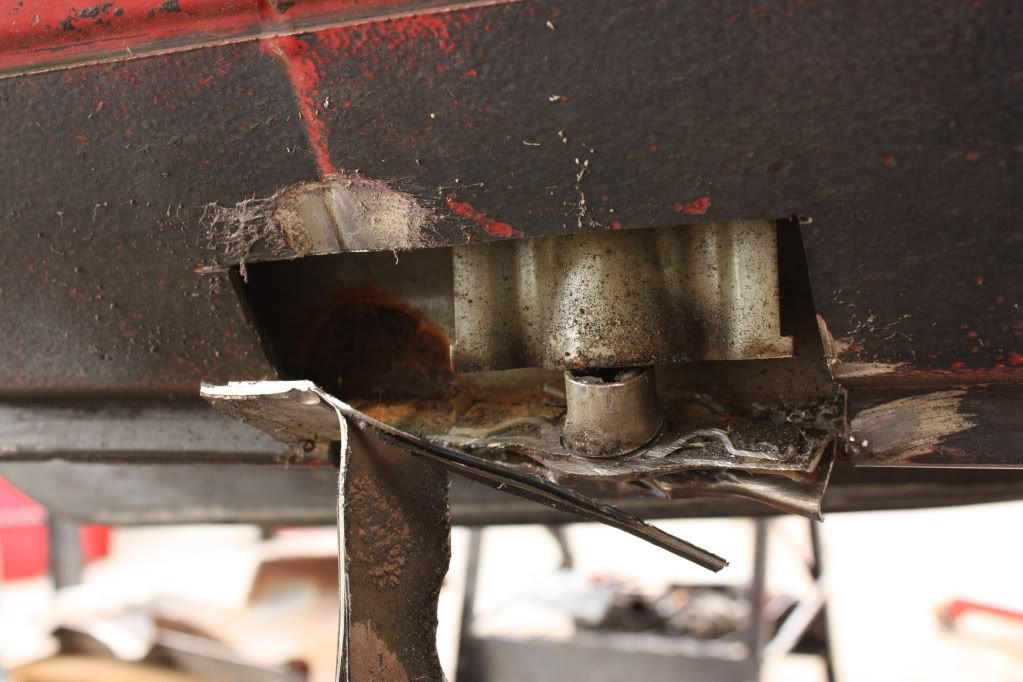
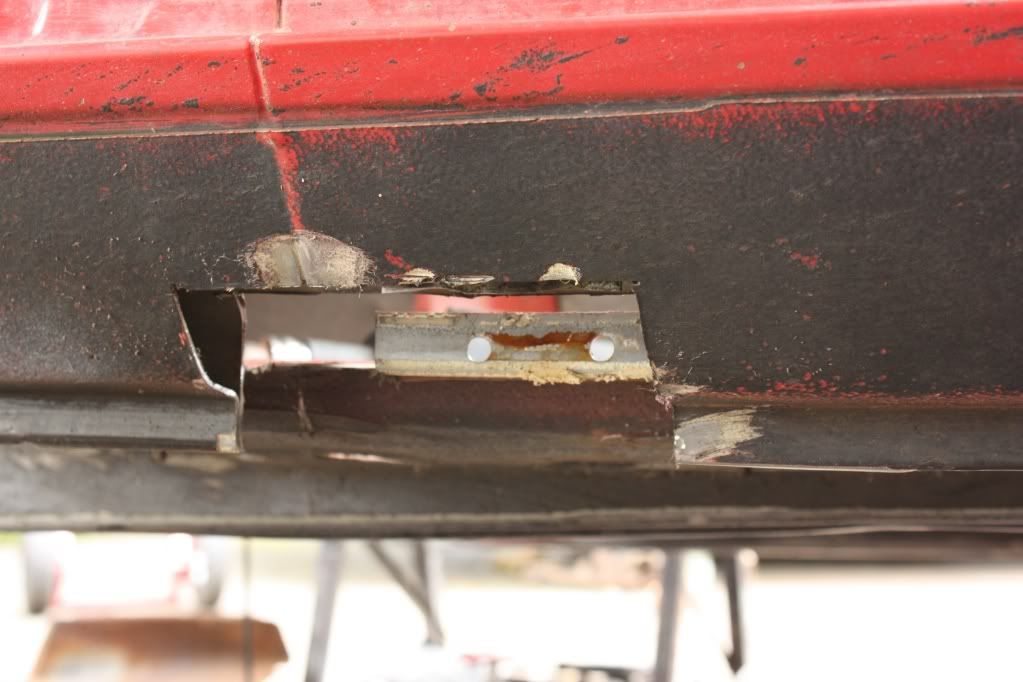
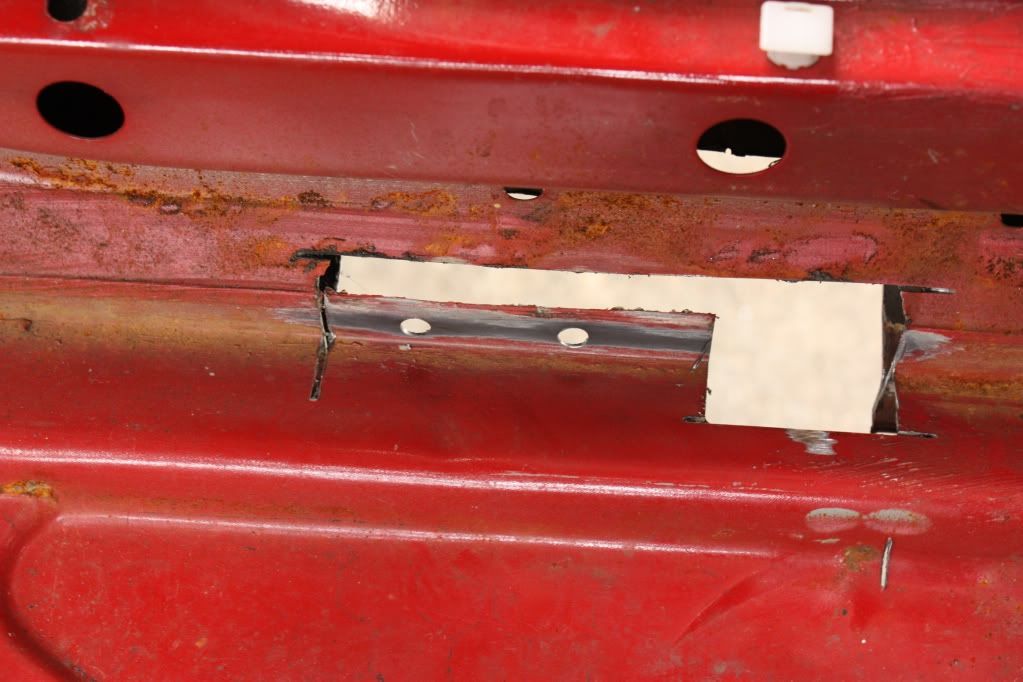
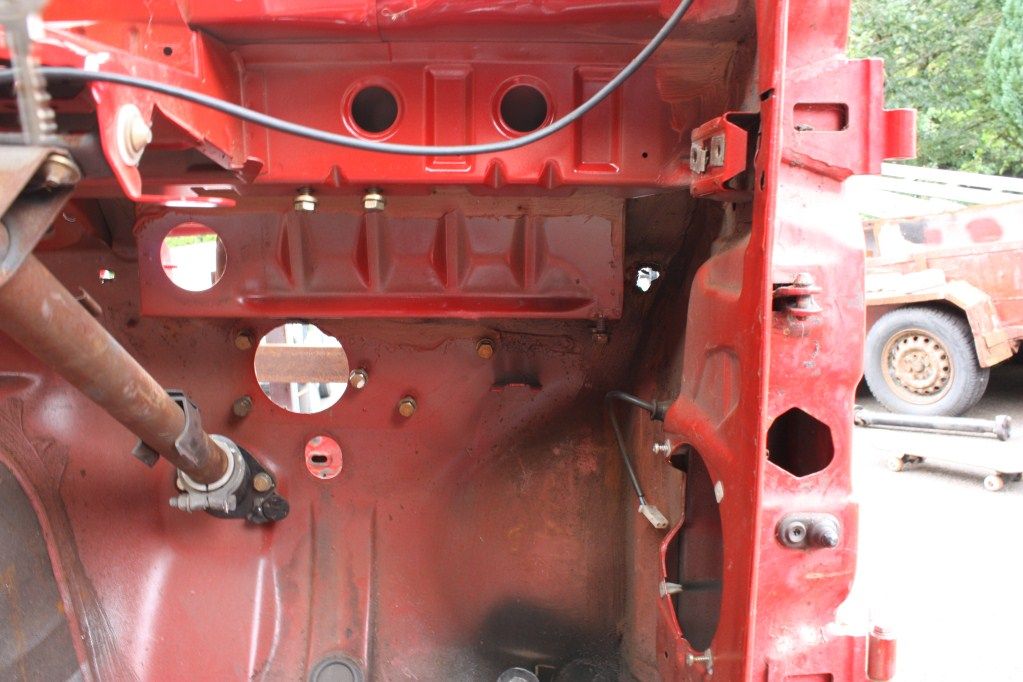
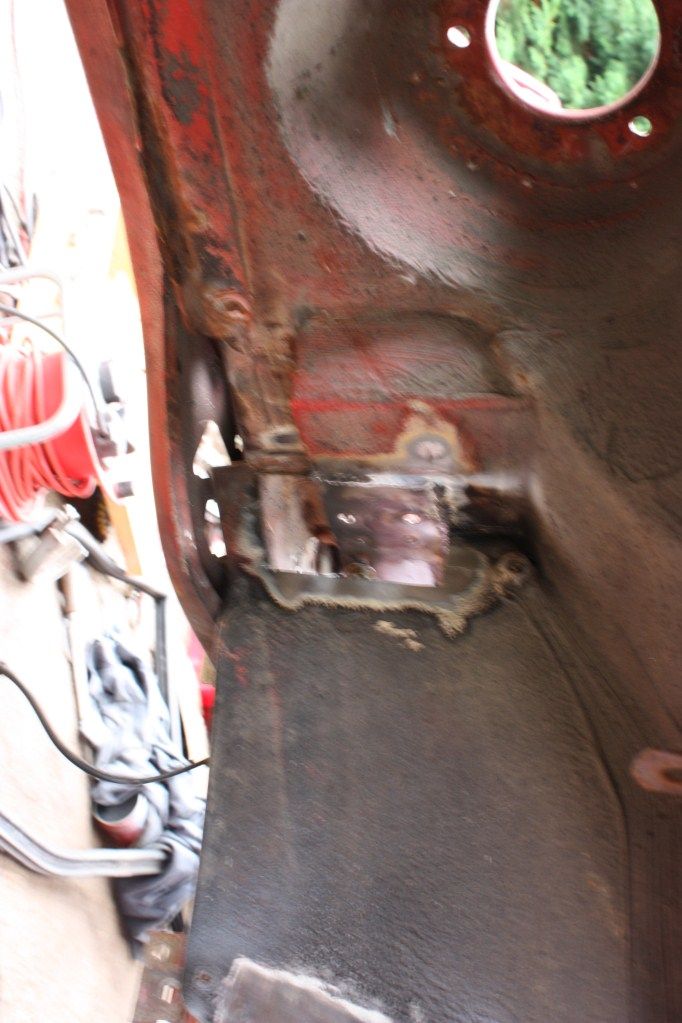
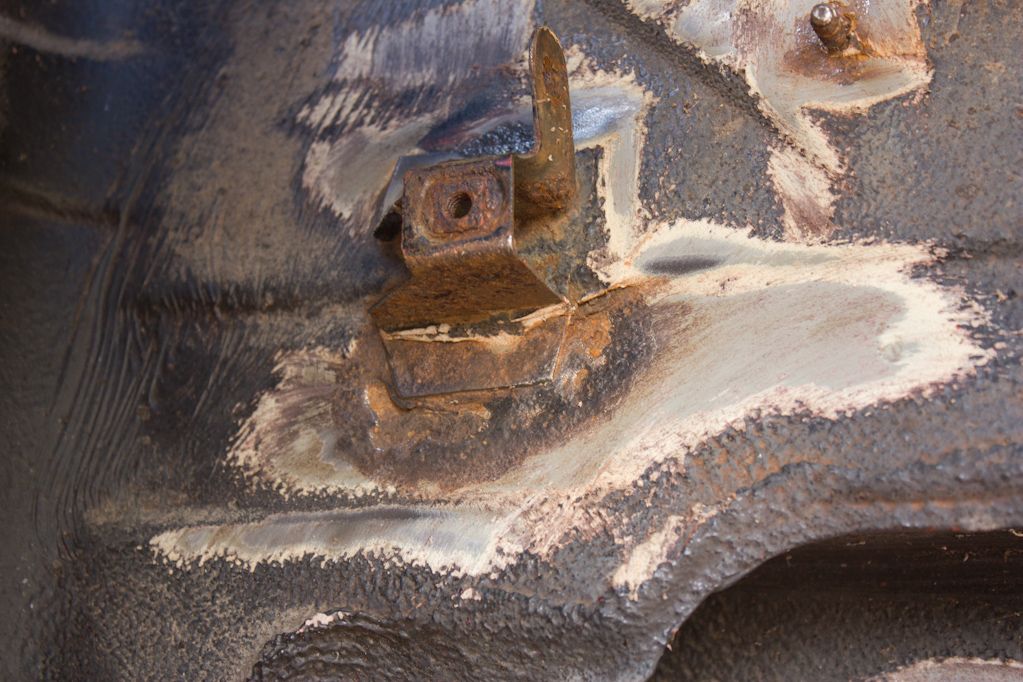
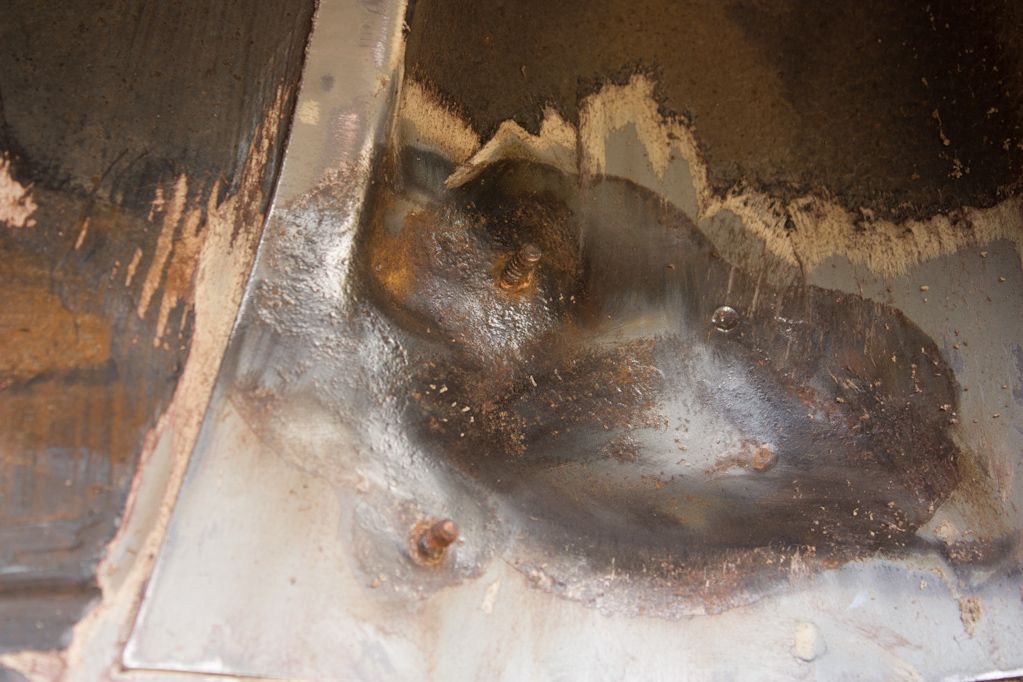
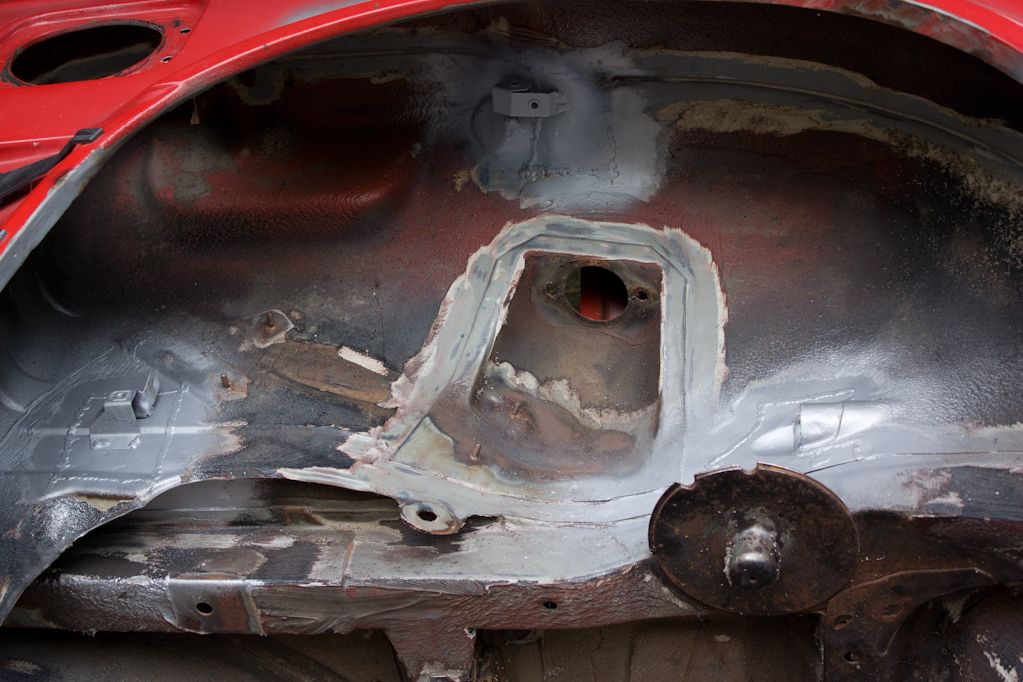
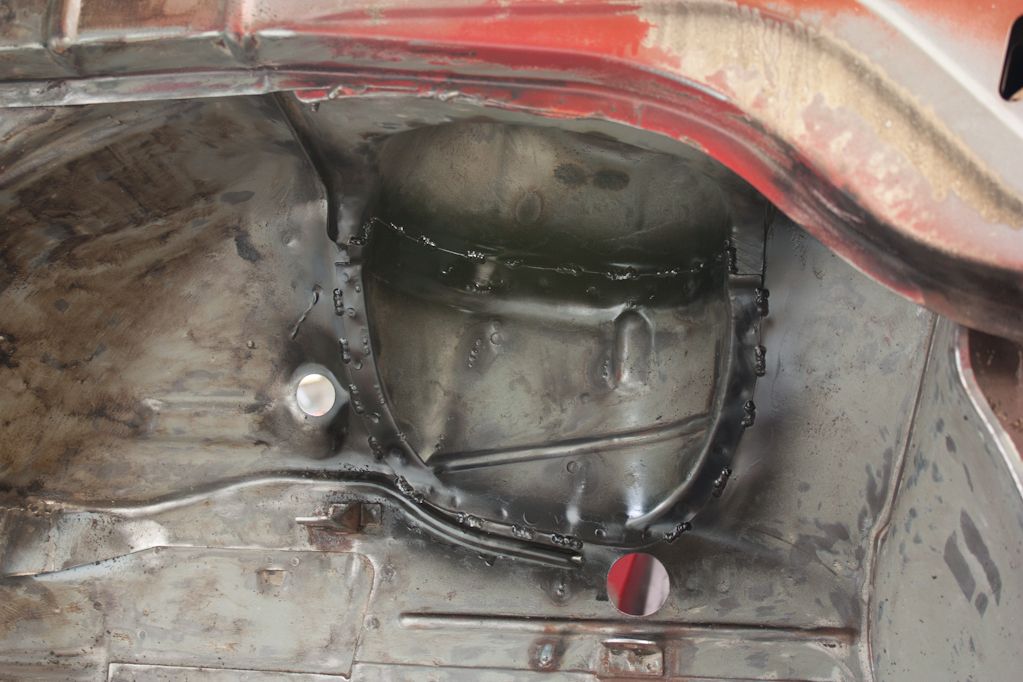
After a week+ of doing nothing I got the 2 fuel tank mounts cut out plated up and one new and the old bracket welded back on and seamsealed. Cut 2 other holes where the rear break lines go, will have to make up a new bracket or re-use the old ones tomorrow. Then it's onto the area where the handbrake cable is welded on, nice wee hole there as well.
23/03/2011
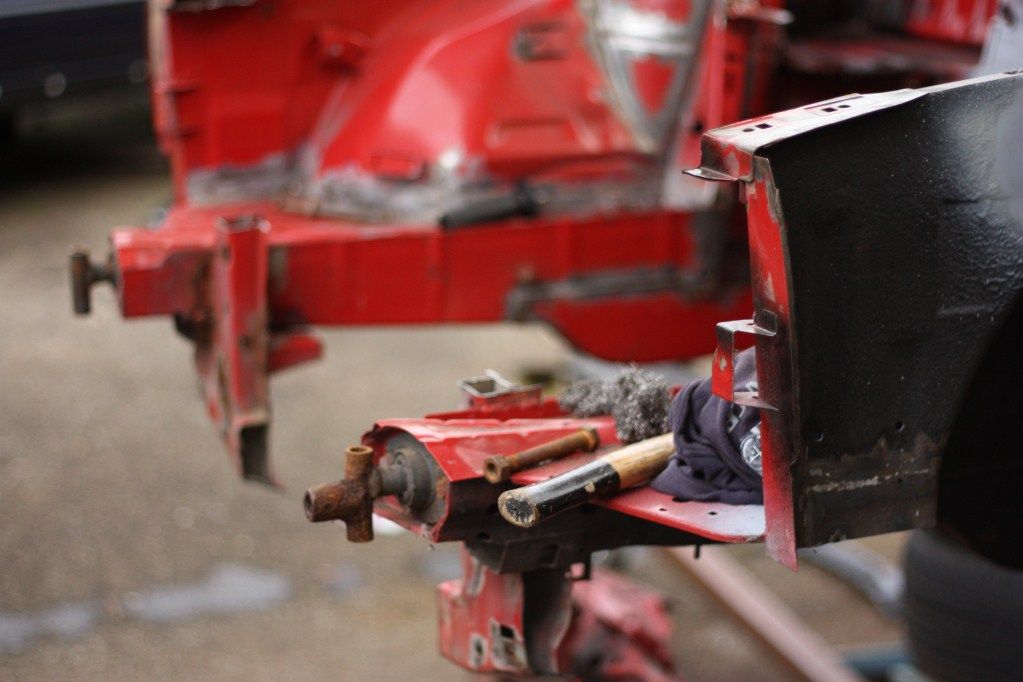
It's been 3 weeks now since any sort of real progress here's a few pics of the last two days worth of work. Had to make 1 new bracket to hold the tank, re-used the other and also the 2 brackets for the brake lines.
Up next

24/03/2011
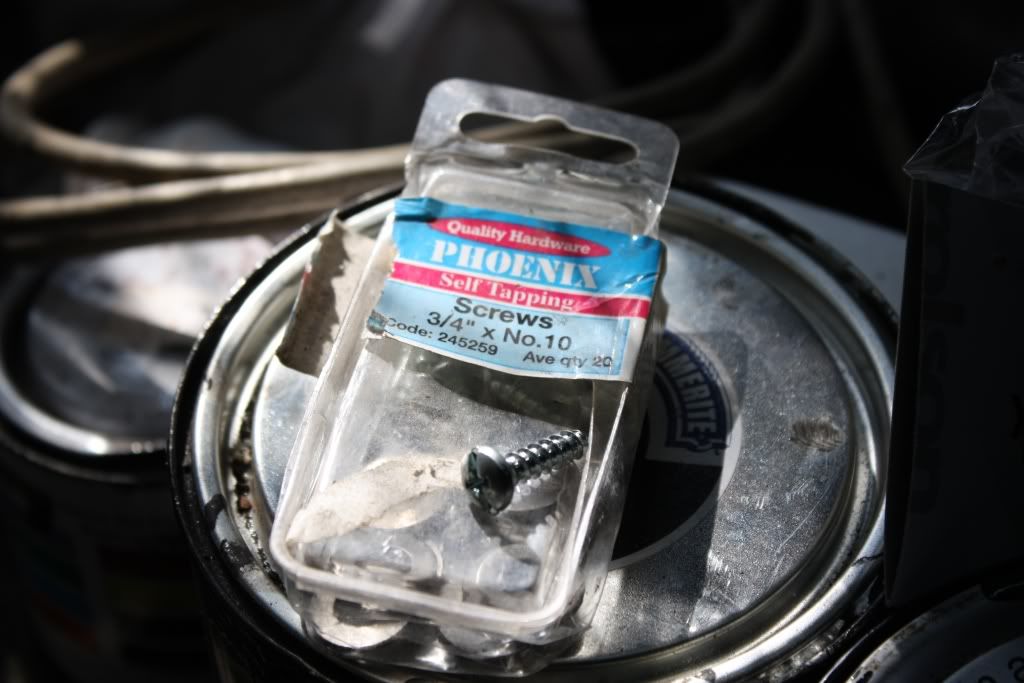
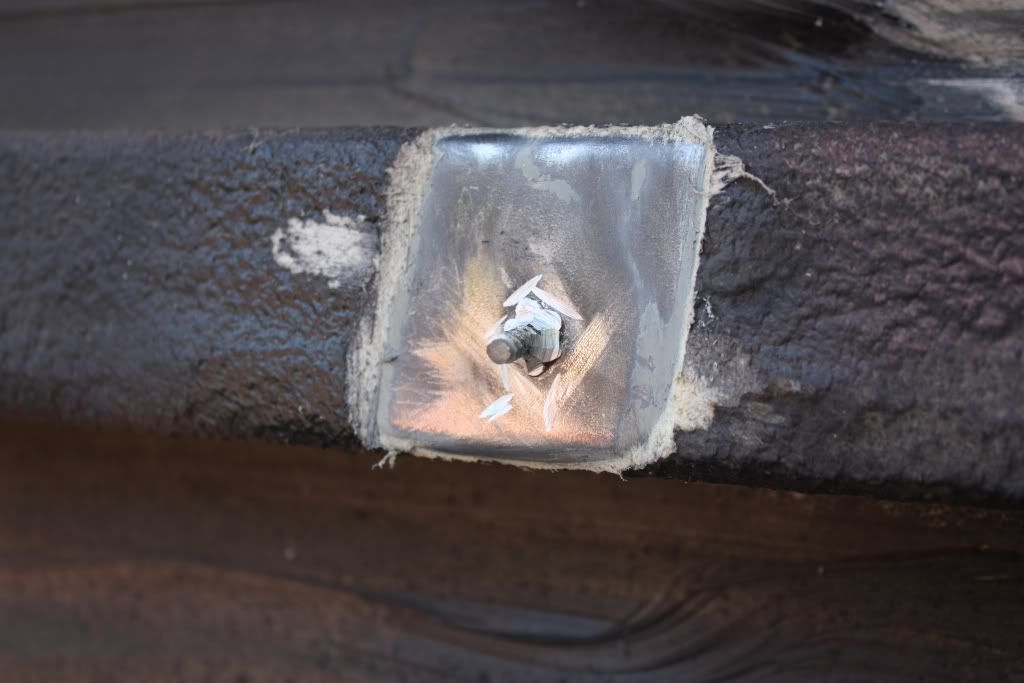
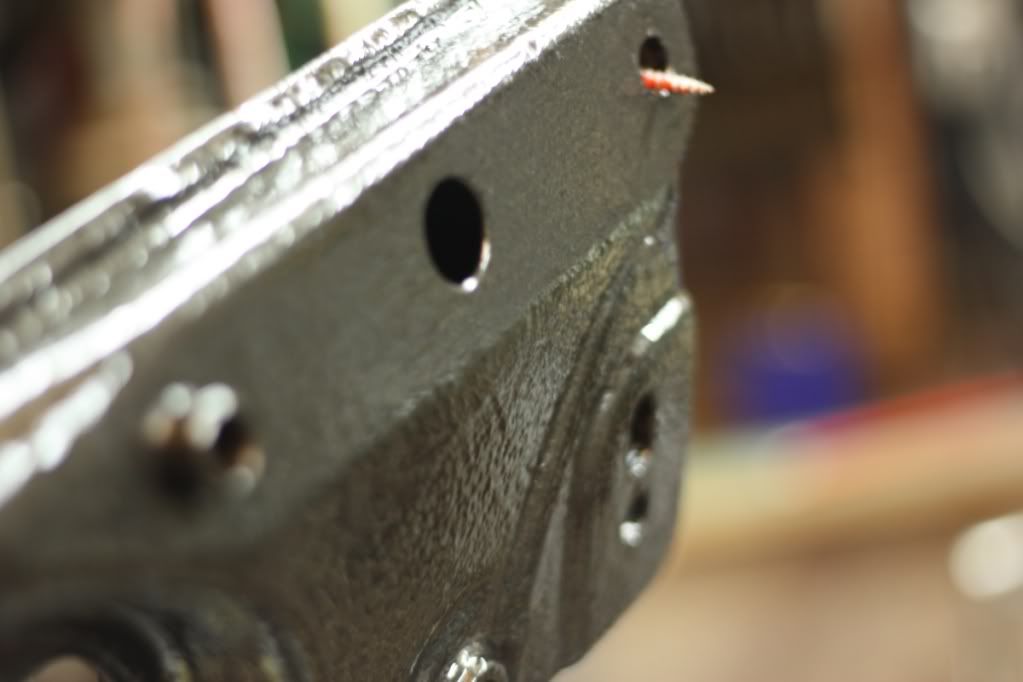
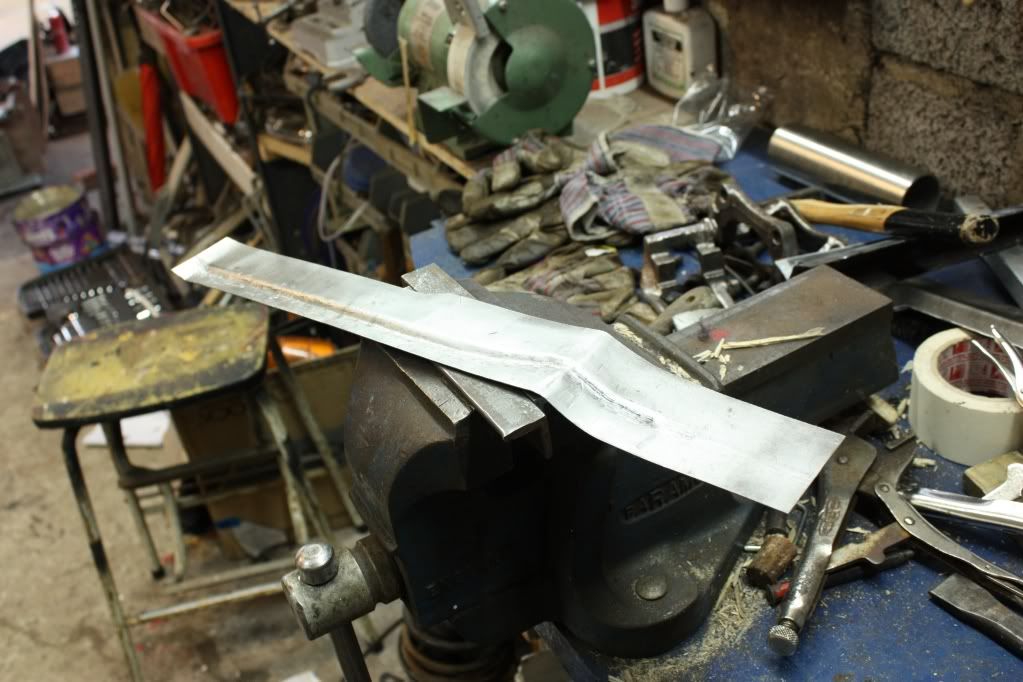
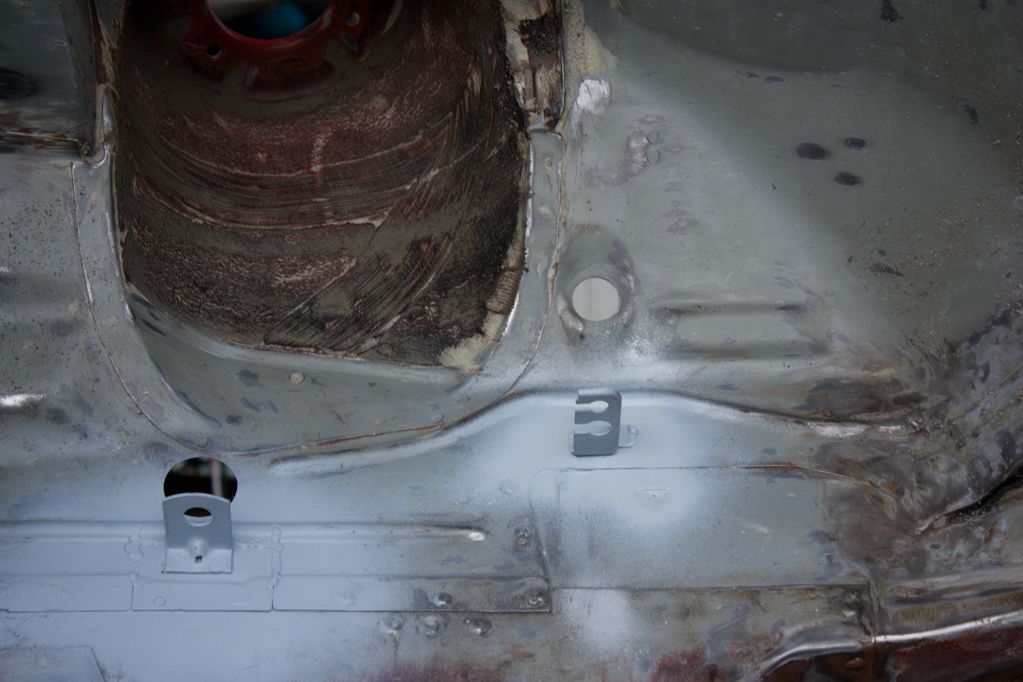
Started taking all the area's I touched up, removed rust or plated up back to bare metal yesterday with the intention of getting primer on it today. First up though, a few new studs.
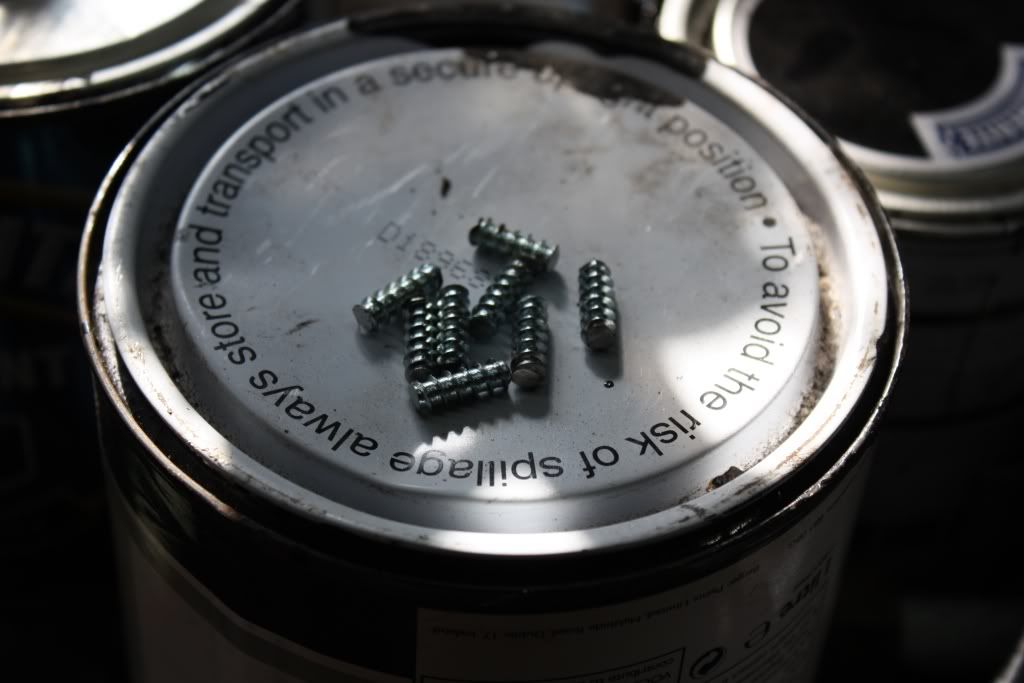
Screws I ended up using (found them in the shed after I got back from buying some that were to small)
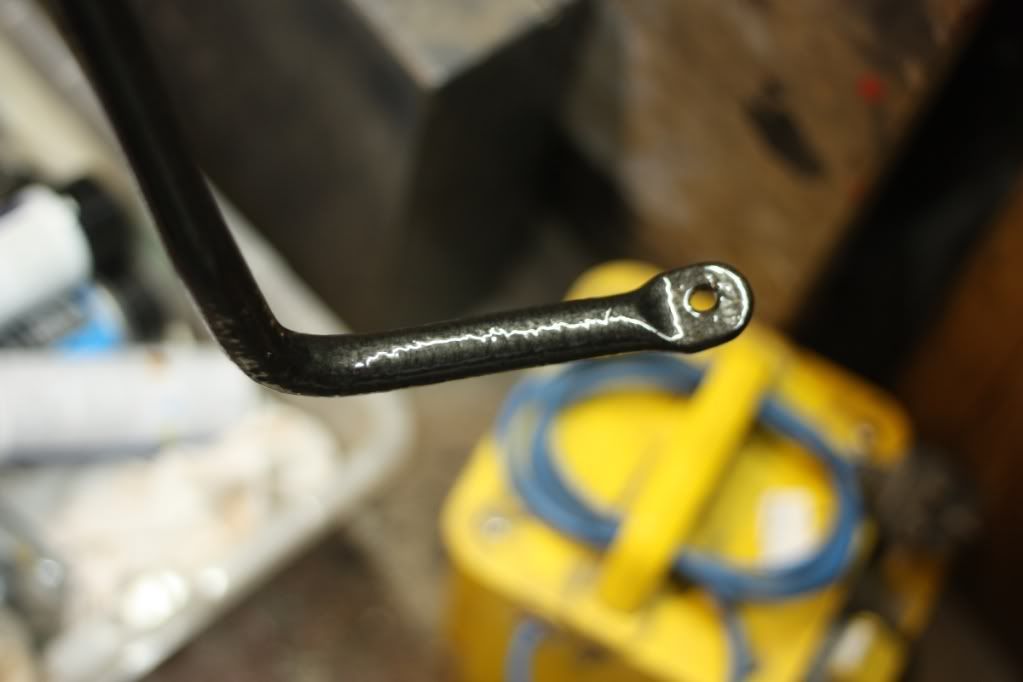
In the vice
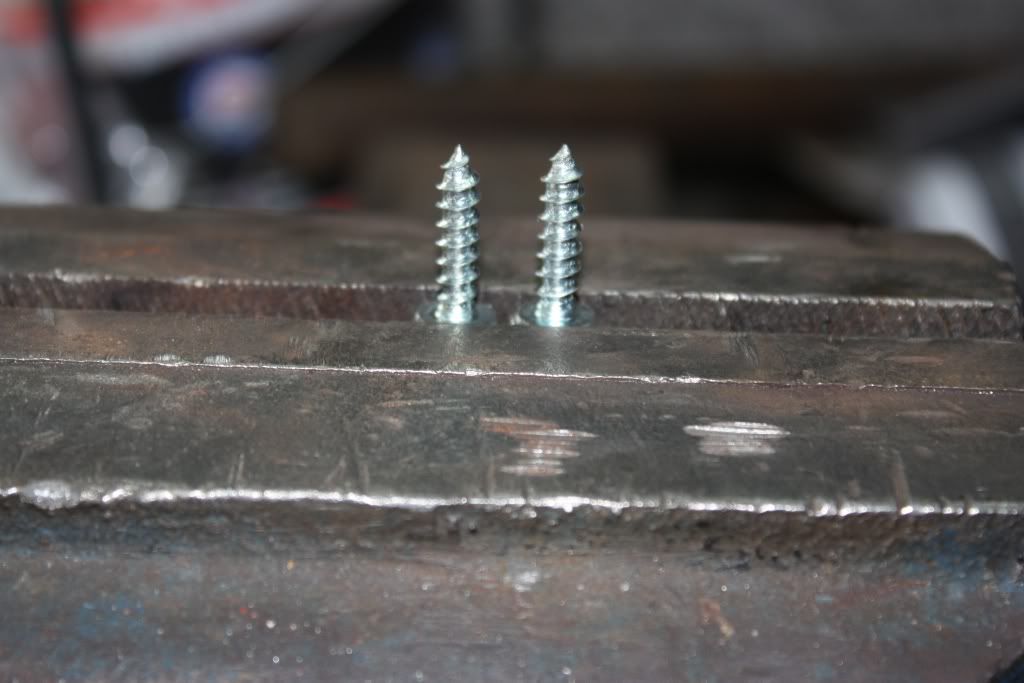
Flatten tip with the grinder
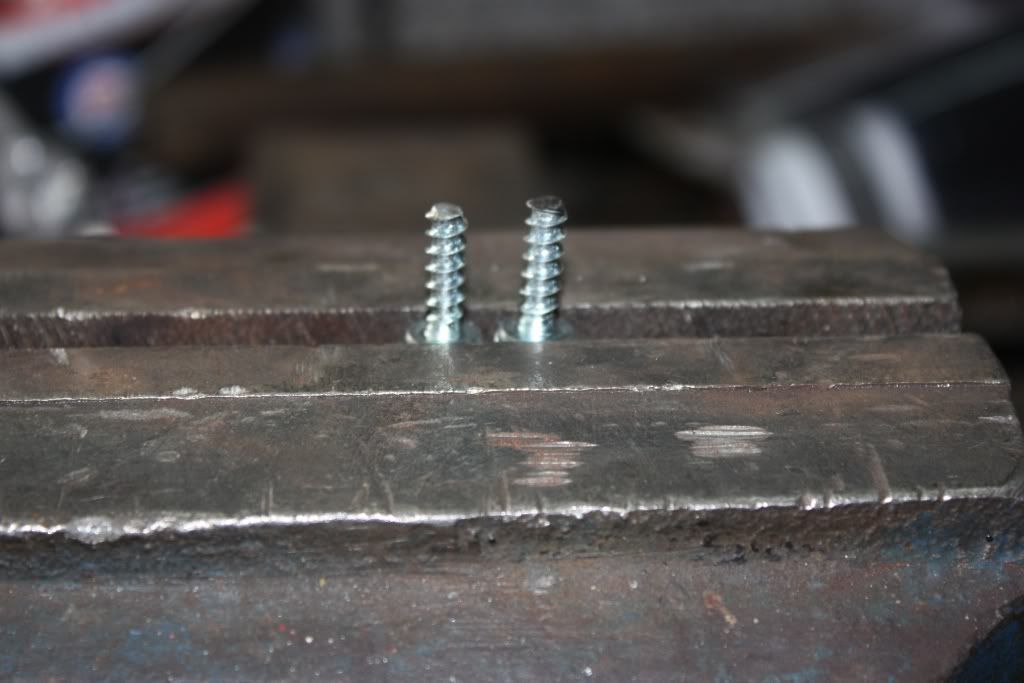
Flip it over
Cut the head of
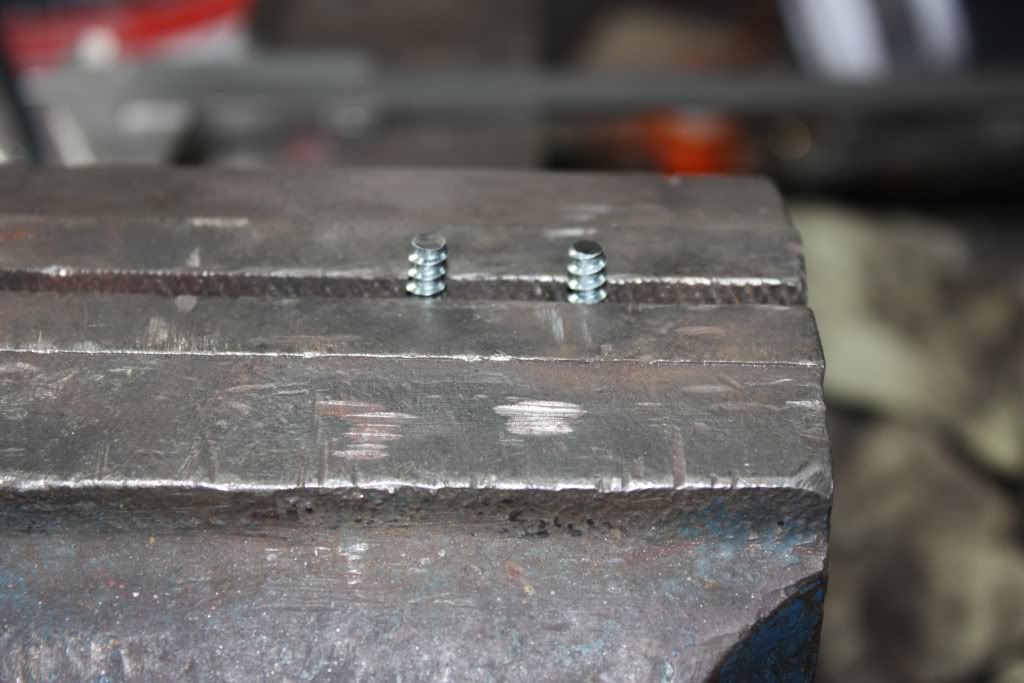
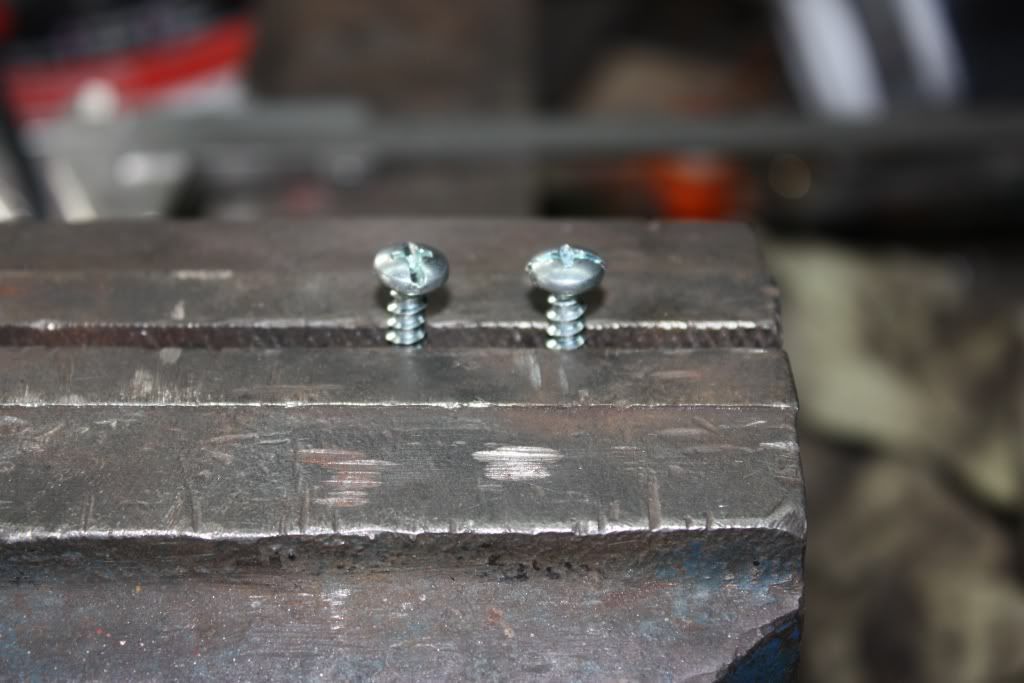
And here's a few of them
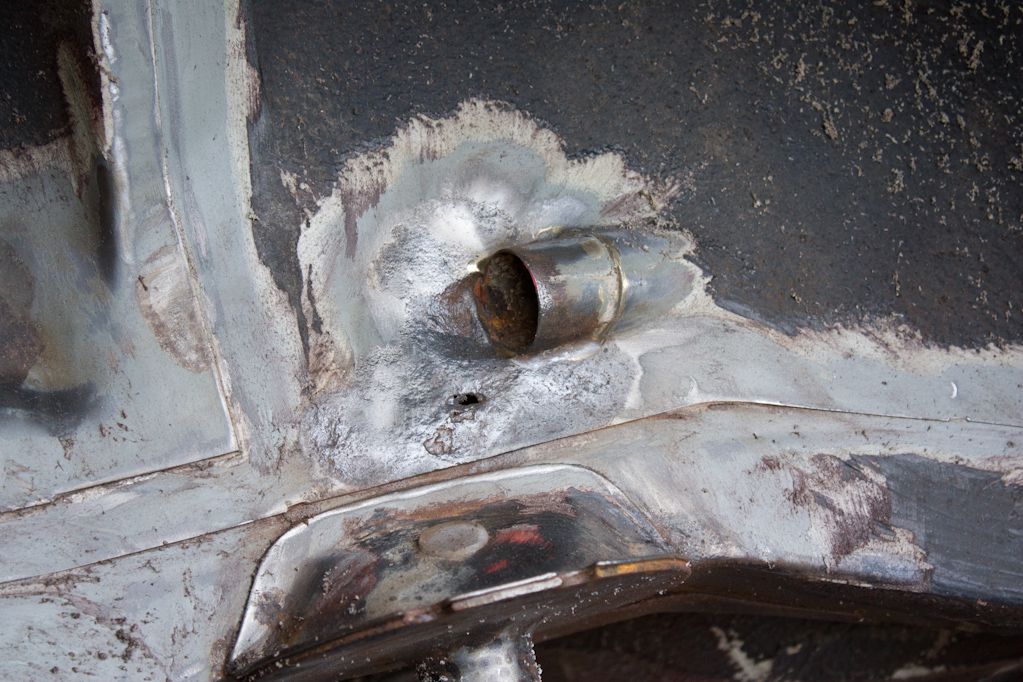
Rotten stud
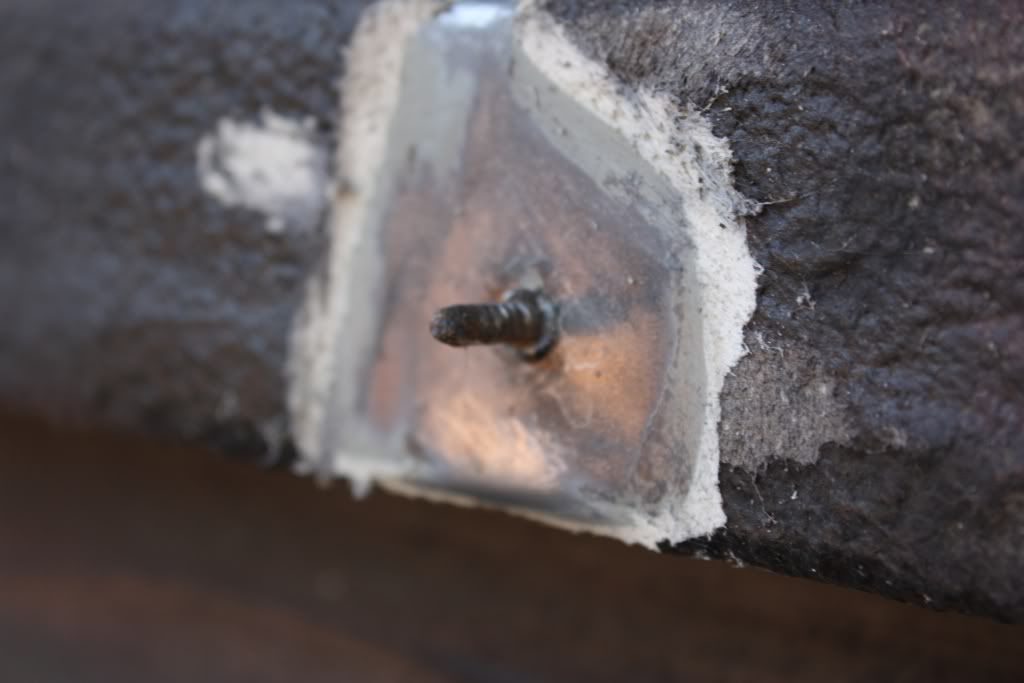
Cut of and area flattened a bit with the grinder
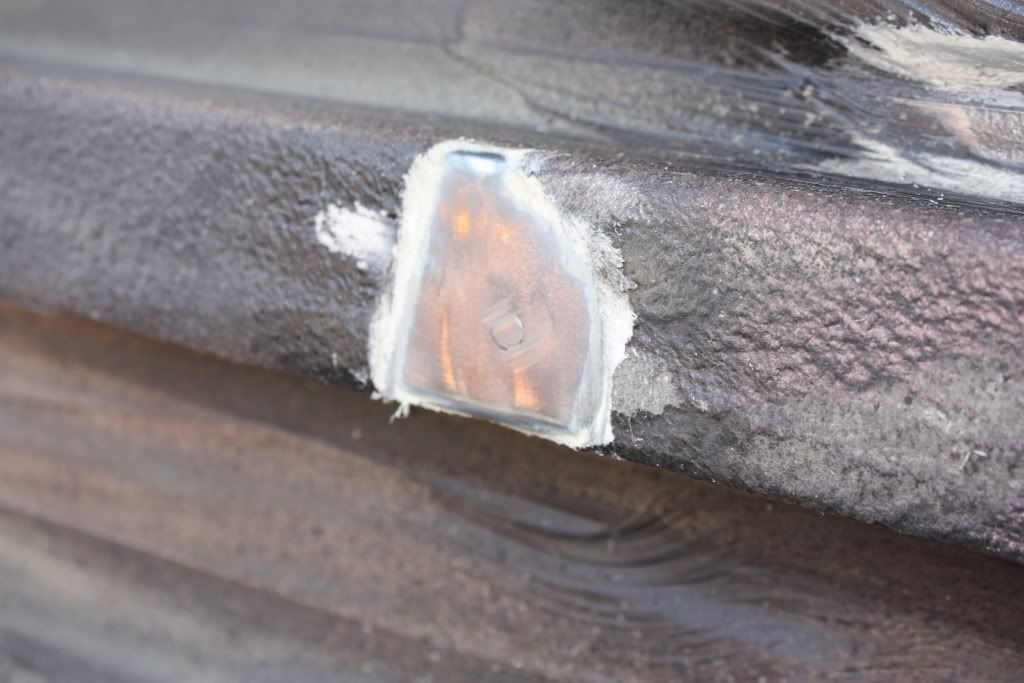
And one of the studs welded on
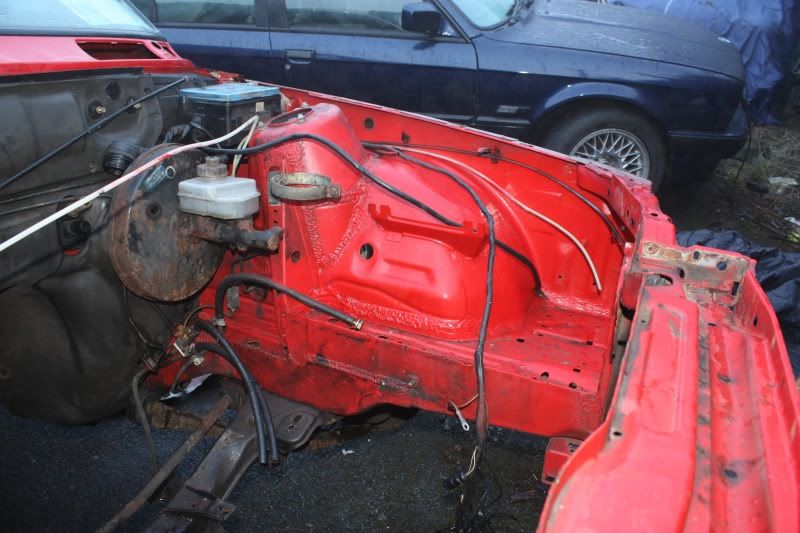
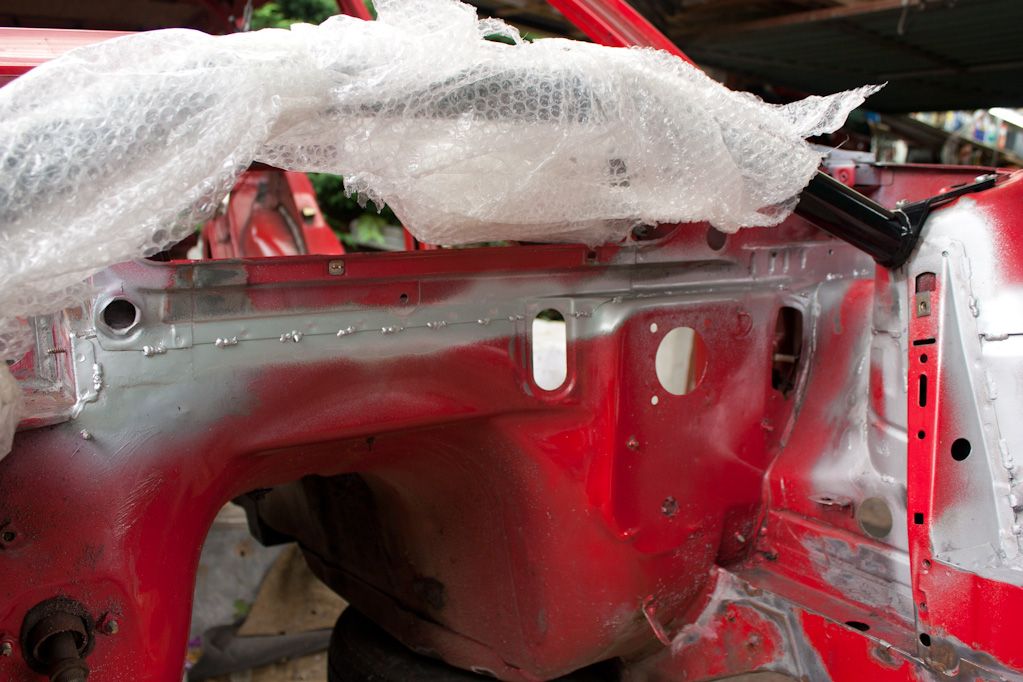
Here's where I'm at now, lots of bare metal
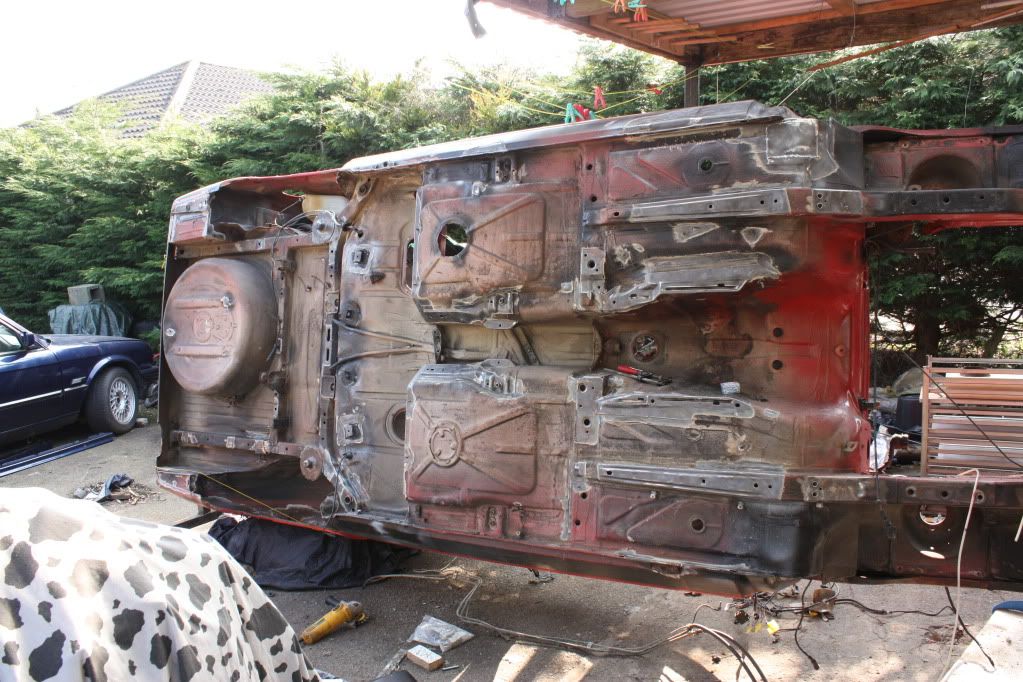
I was going to get sanding at the engine bay and have it primered as well, thinking I'll sand all the bare matal tomorrow and get some primer on it before moving on to the engine bay.
There's a couple of tricky brackets that need to be cleaned up by hand and the bolts holding the bumper mounts on will have to be replaced one it's of the spit.
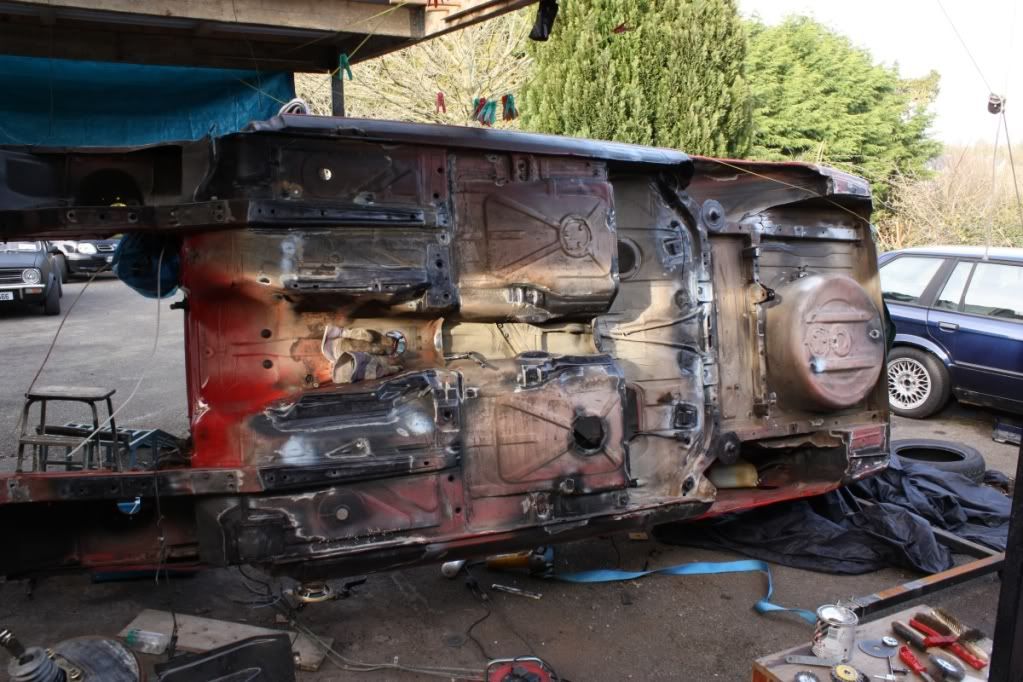
31/03/2011
I think I got all the cracked underseal removed and all the rust found, finally. Few new holes as well that I will start at this evening, the end looks to be insight! A good clean-up and a sand and I can get some primer and paint on all the area's I cleaned up.
Then engine bay... then interior... then I'm sure...
Haven't taken any pics in the last week or more, it's a bit time consuming and I'm not keen on the cam lying out all exposed.
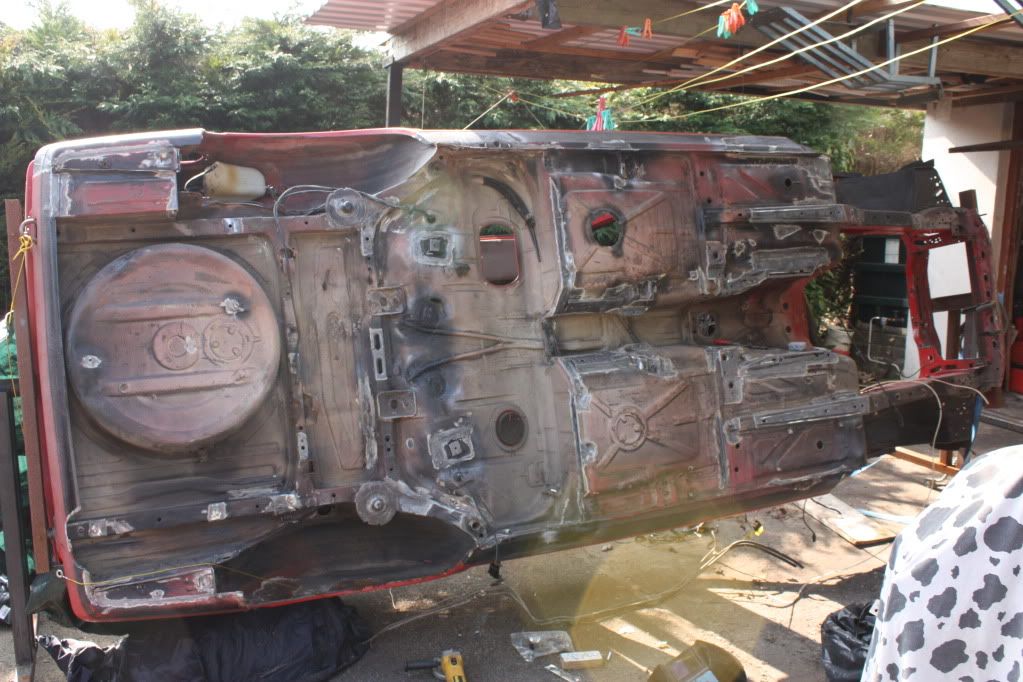
Took a few pics:
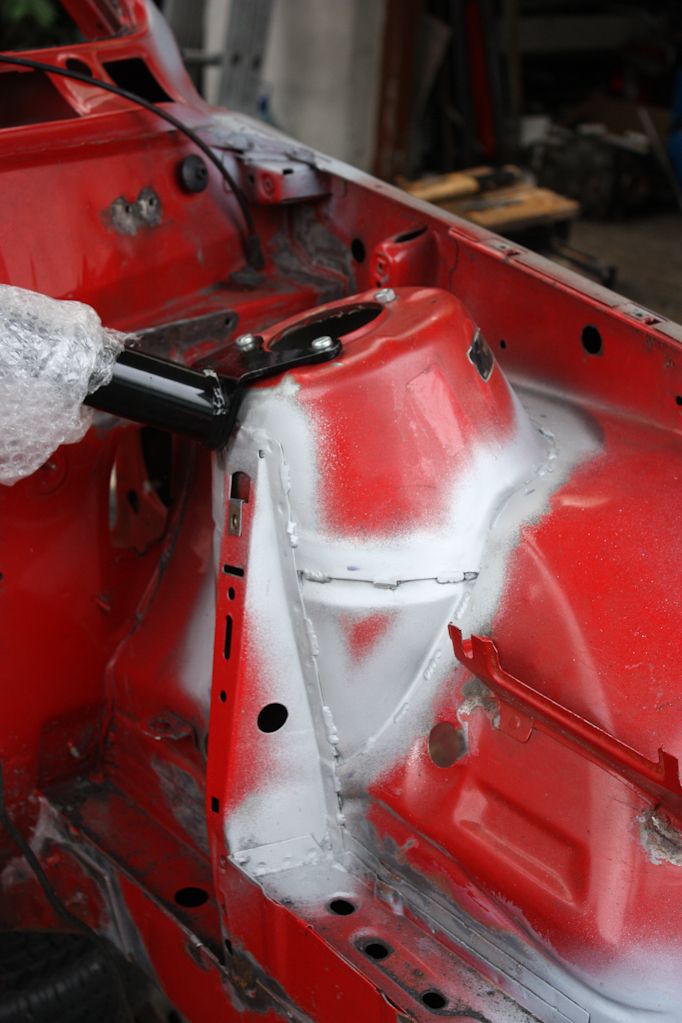
Here's where I'm at now, lots or bare metal all with a coat of kurust on it:

Soon to be primered and painted
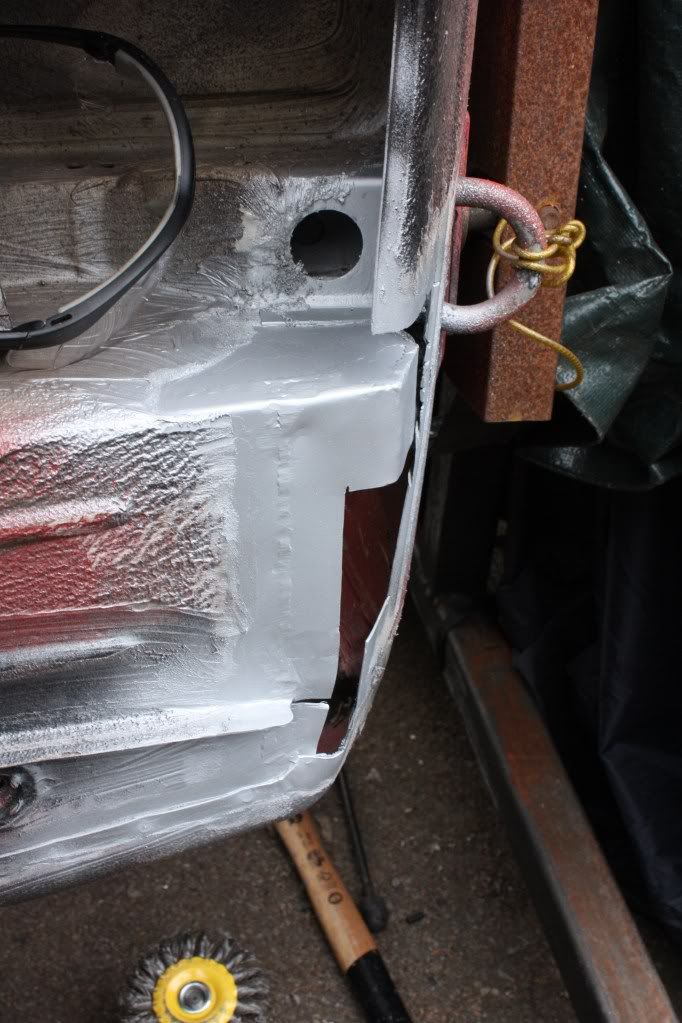
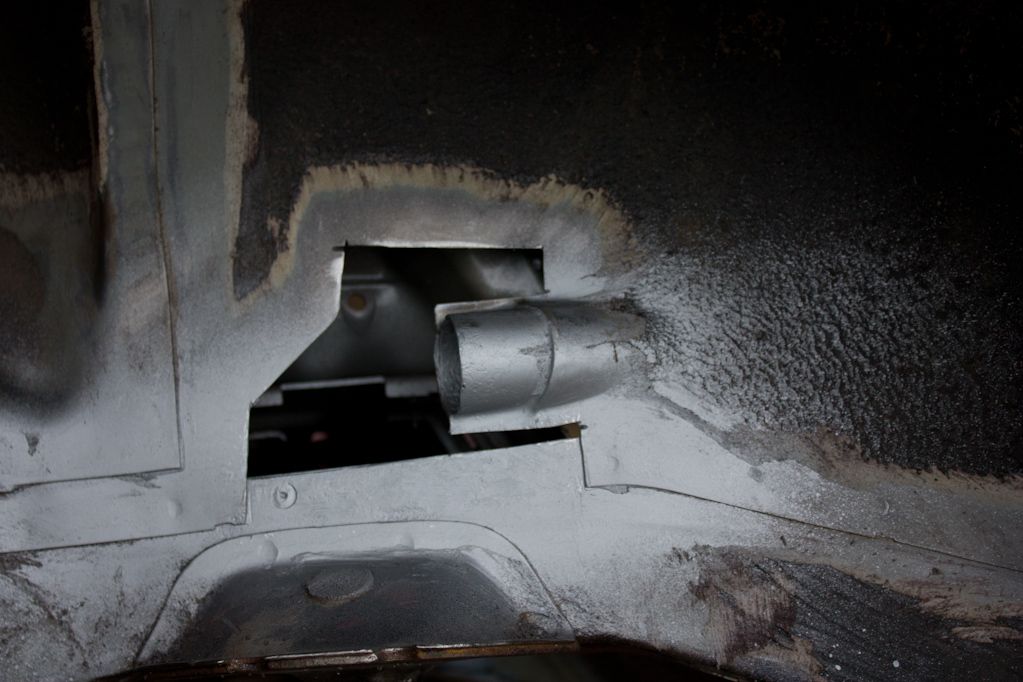
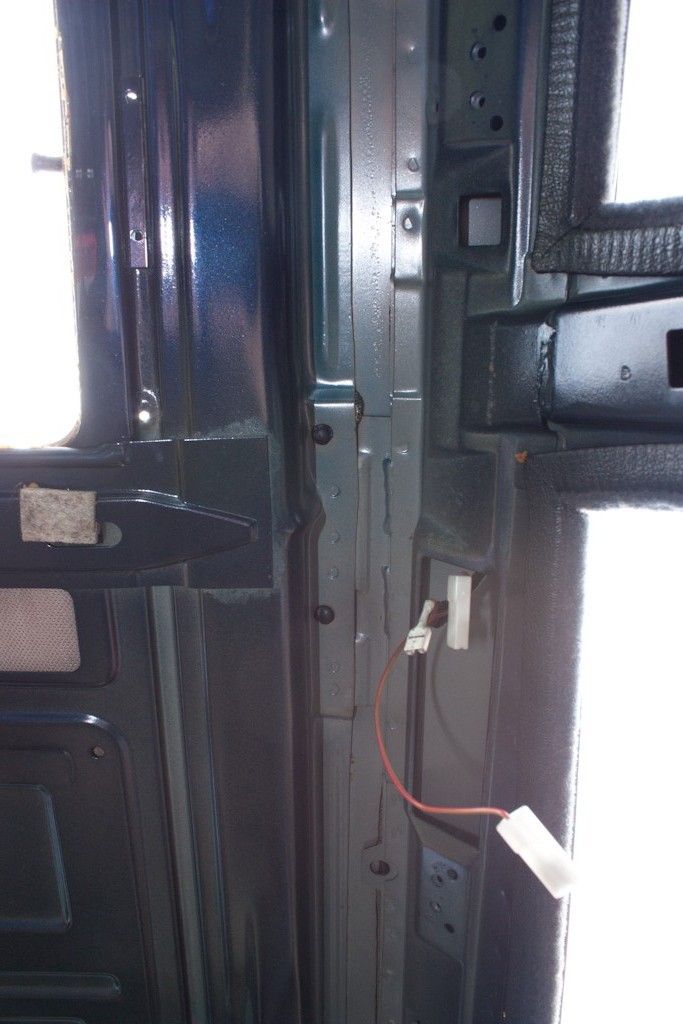
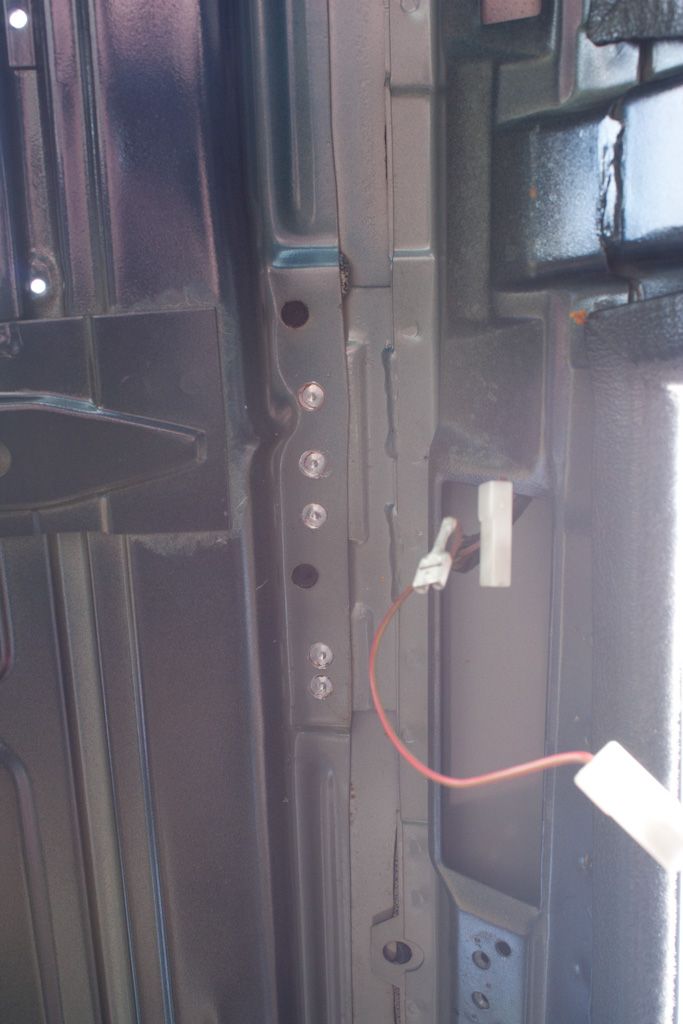
I decided to investigate why the seatbelt points? looked so flakey, 2mins later and not much metal left - another 2 holes:
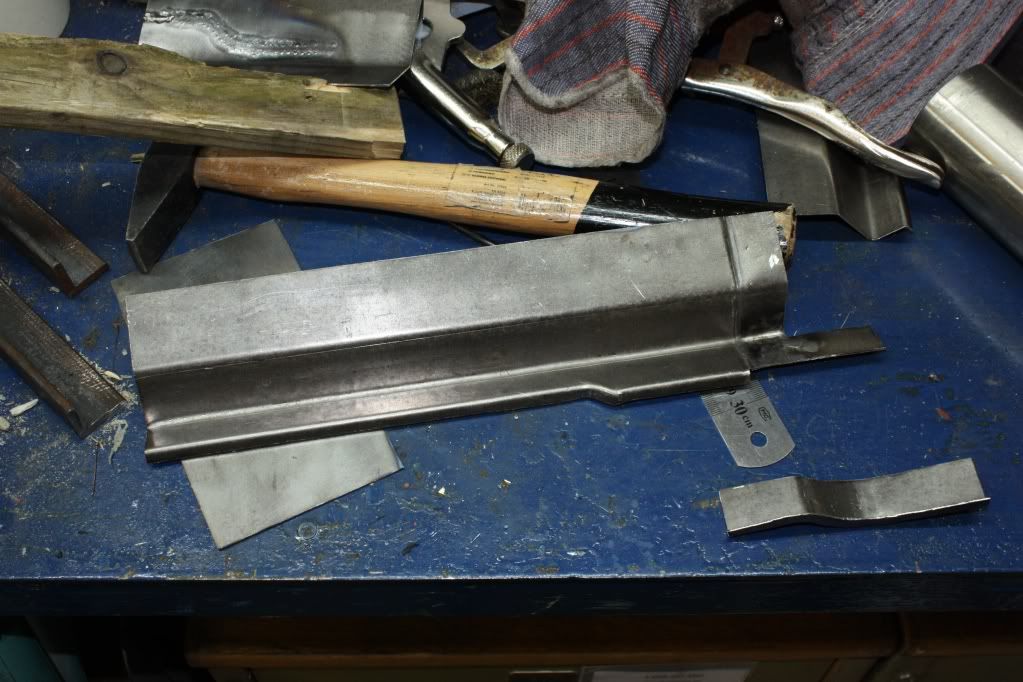
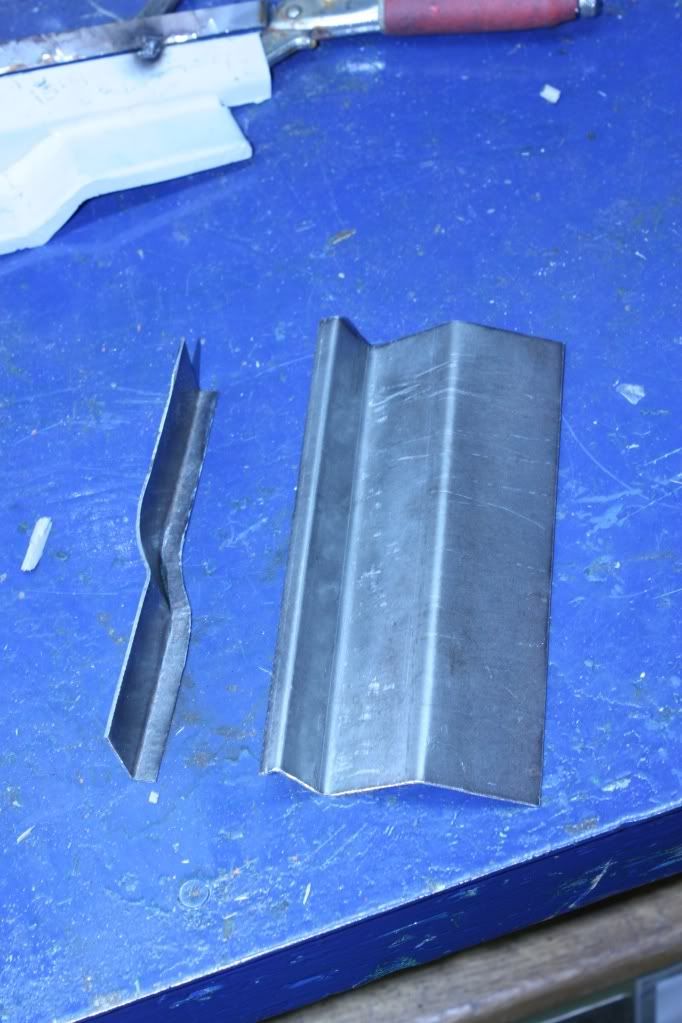
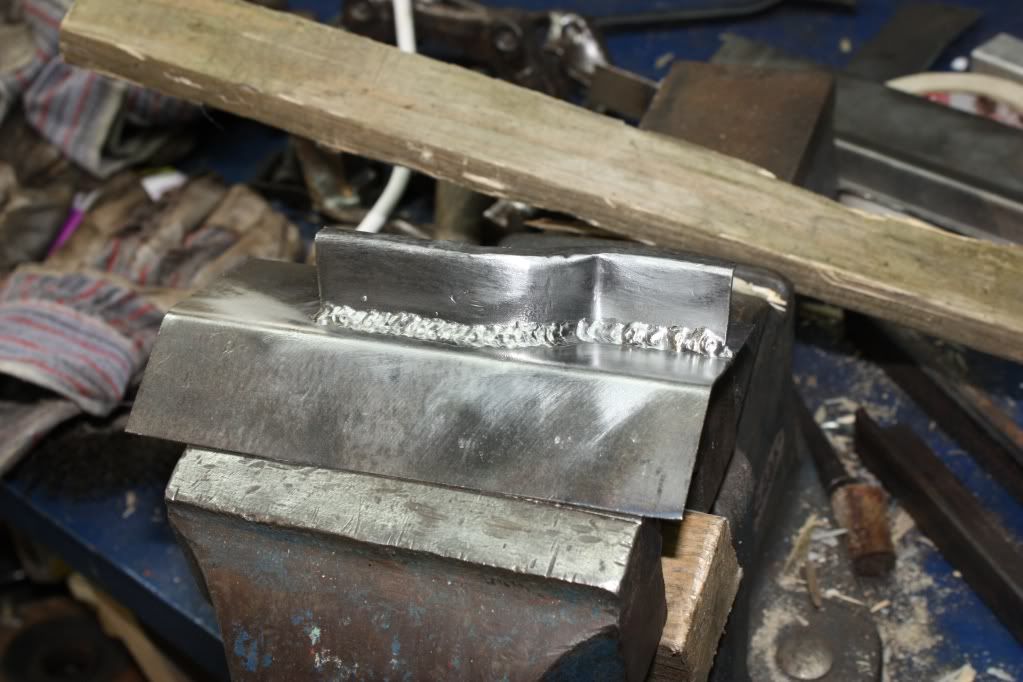
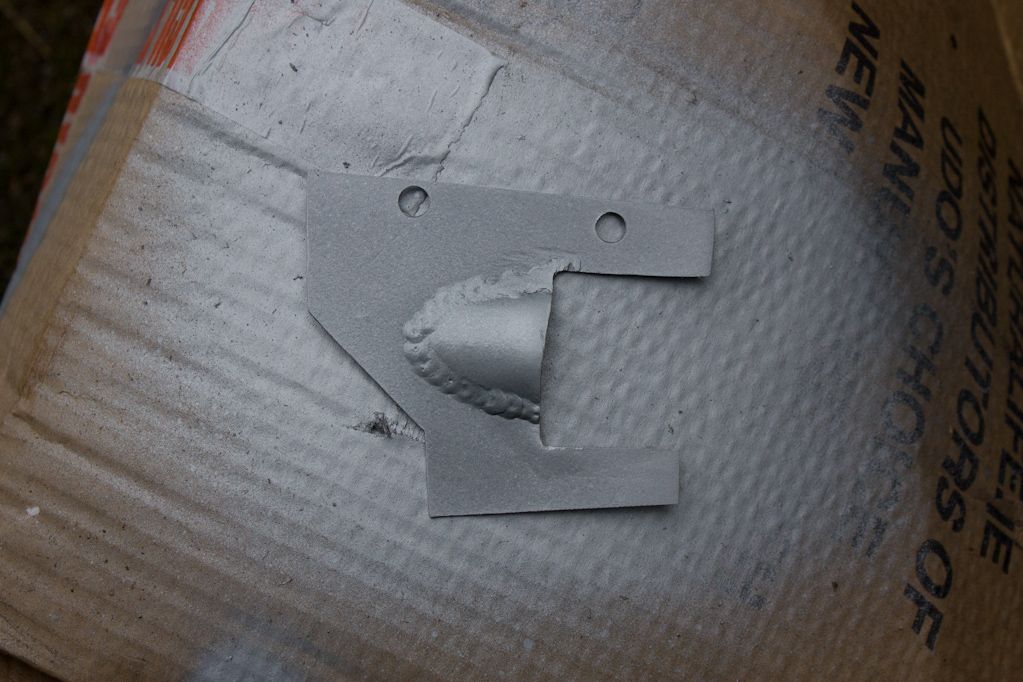
A few attempts at making a nice piece of metal later...
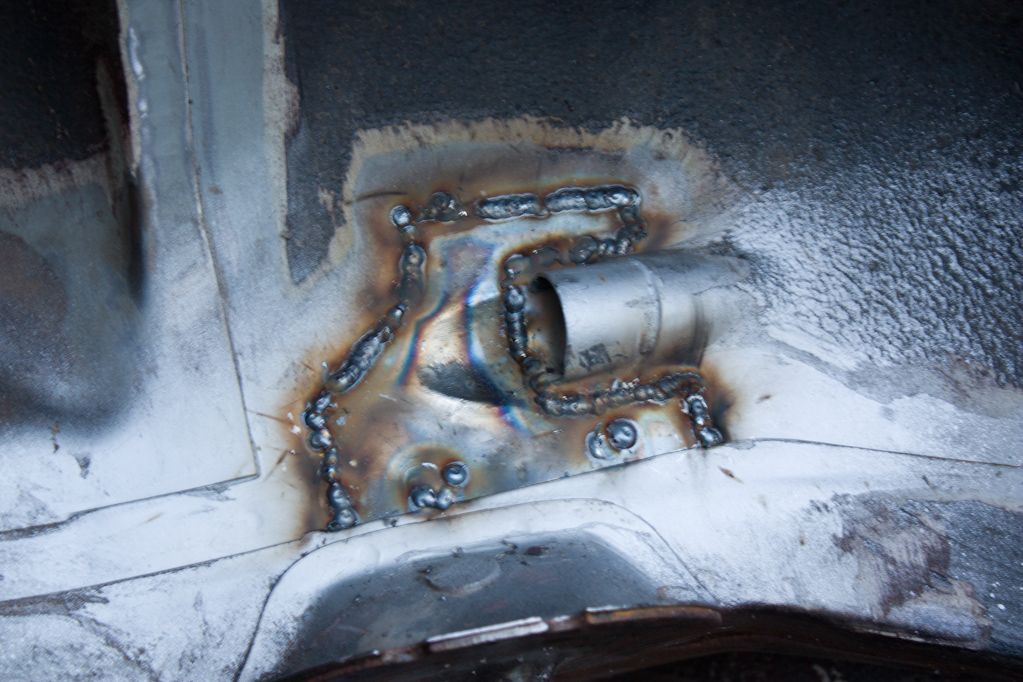
Getting better at the welding as well, got a few good runs of nice weld doing them 2 patches - not quite visible in the above pic. Both patches were also plug welded to the brackets behind them. Plug welds needed a bit of grinding to get them flat, prob could have done a bit more grinding on the other welds but didnt bother as it wont be seen.
Tried my best to seal the gap between the plate and the bracket with seam sealer. Trapped moisture here was prob the cause of the rot the had developed!
2 new holes, both on the cills at a drain opening, one by the front wing the other where the petrol tank is
Will get these plated up and then prep for primer, paint and when I get it underseal.
Next up then:

Getting there, slowly
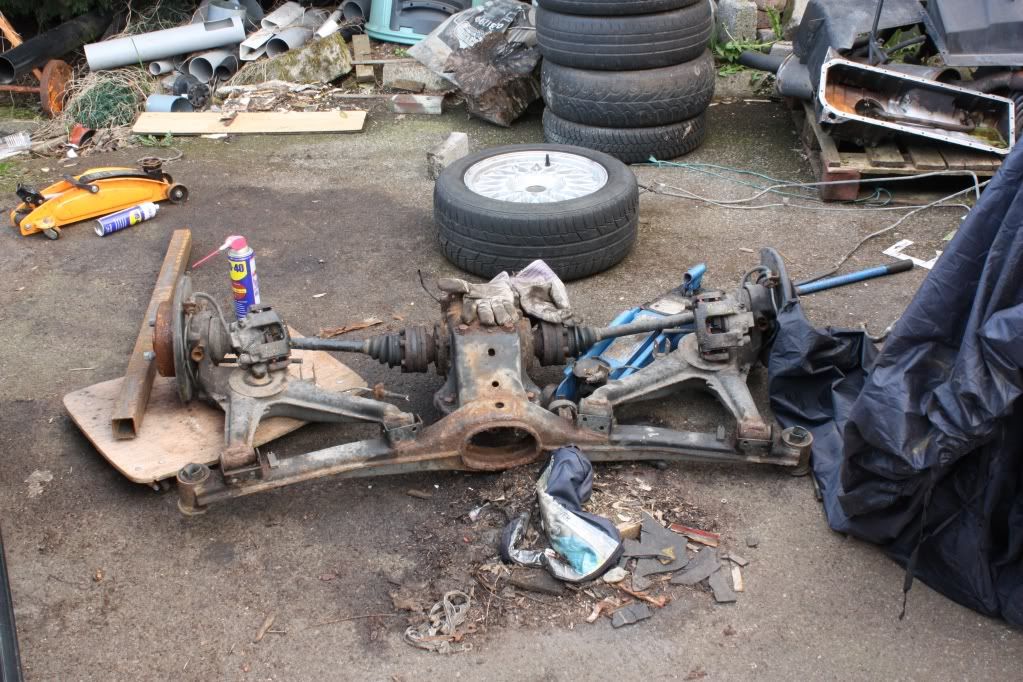
[04/04/2011[/i]
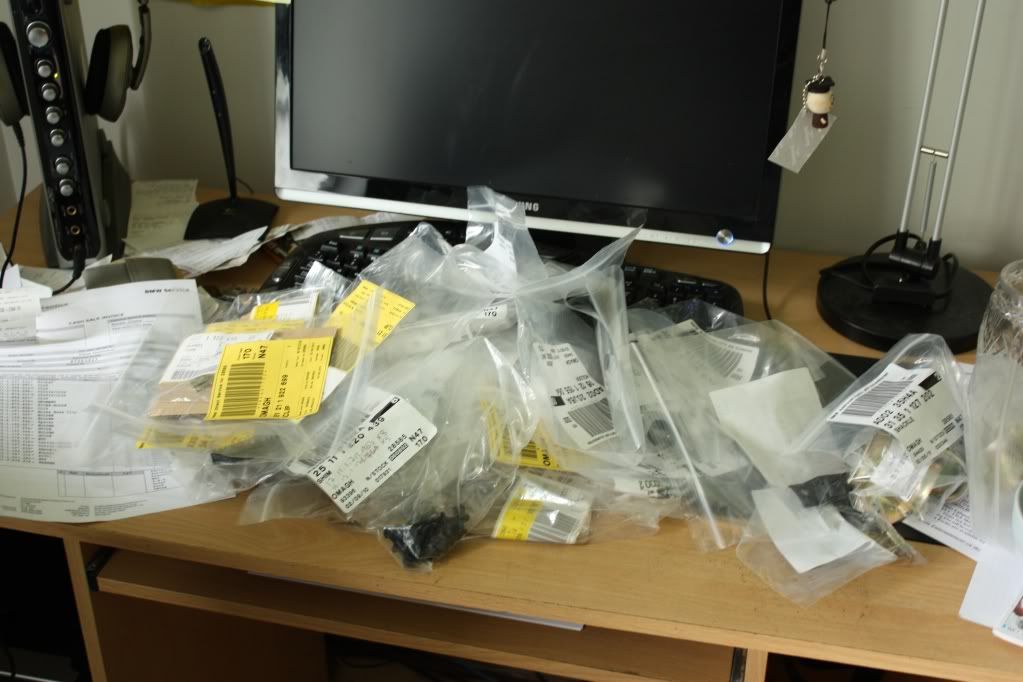
Some new parts collected at the weekend
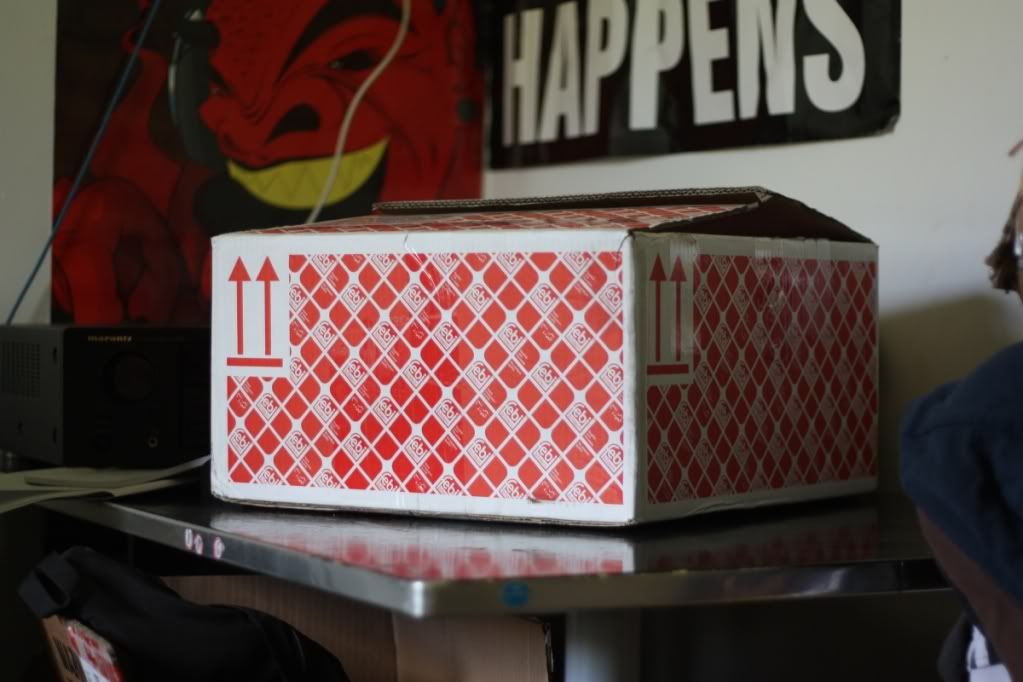
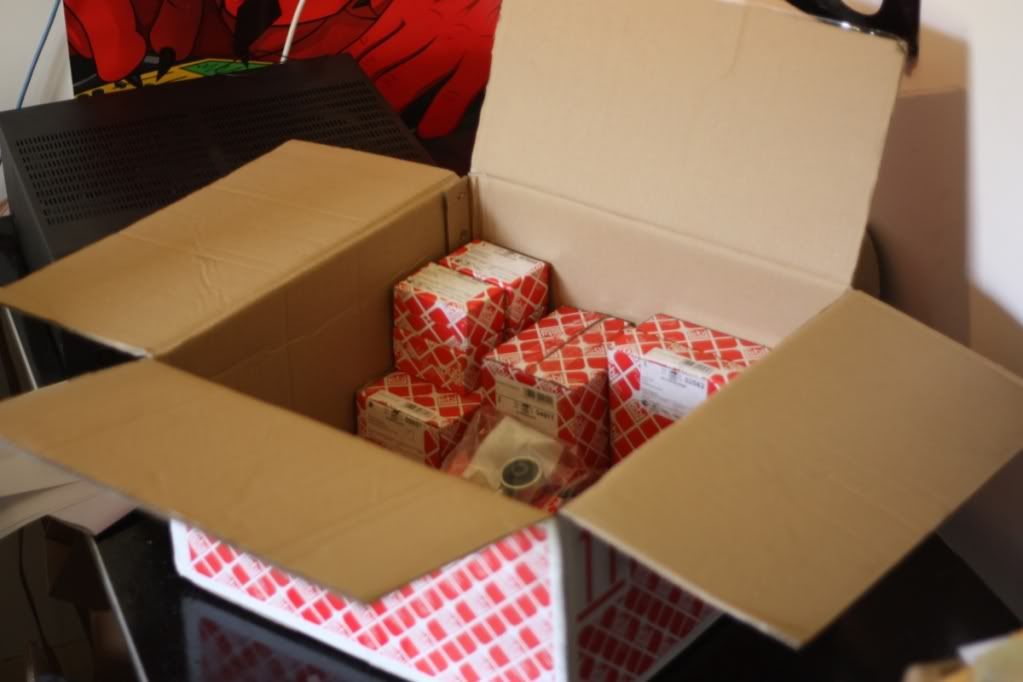
Rubber coupling (doughnut), Propshaft Bearing, Rear Subframe, Trailing Arm bushes, ARB Bushes (front and rear), Drop links (front and rear) and Gearbox Mounts. Eccentric control arm bushes will be carried over from the blue touring (attached to newish arms). No top mounts because I'm hoping to fit coilovers at some stage and had no trouble with them (as far as I could tell).
And I got this delivered just before the weekend

It's a rivnut tool with some rivnuts which will be used to hold on the brackets for the fuel lines and where ever else I can find a reason to use it :p
Break & fuel lines should be here this weekend as well, my to-get list (and wallet) is getting smaller and smaller (the amount of work to-do isnt though :p)
Brake lines also got delivered, two roles of kunifer pipe.[/i]
My love affair for E30 started a few years ago before going to college, however I couldn't afford to buy one until a few years ago when I was after 318iS, we have high tax rates on 325's. I eventually ended up with this
She had a bit of crash damage which got fixed over the course of 6 months or so and eventually looked a bit better:
And later with some 16x7.5 Borbet B's
I never really finished her, hence skirts not being re-fitted, instead I just enjoyed her for a good year or so. During which a few additions were made, quicker rack, m3 bushes up front, new discs and red stuff pads allround. I was going to collect some parts for a nice tidy up, doors, boot lid and sort the sill rust when Oct last year the engine started leaking and I took her of the road for a mini resto. Not much happened until Jan this year when I got given a touring shell that was better than my own. Plans were hatched after lots of browsing for idea's and a more comprehensive resto started.
Spec will more or less be as follows
Engine & Drive train
M52B28 (e36 328 engine)
E30 M3 Scorpion exhaust to e modded with Le mans tips
M50 intake manifold
Modified exhaust to clear steering rack
S52 cams got but wont be fitted until I have enough money for a remap
M42 5spd box with short shifter (unsure which one, might be changing this for a quicker one)
3.64 LSD rebuilt with 40% lock
New bearings all round
Chassis stuff
Bc Racing coilovers with front adjustable top mounts
Rear camber and toe plates
Rear beam bush void fillers
E30 M3 eccentric control arm bushes and new bushes all round
Standard brakes with EBC red stuff (carried over from the blue touring, not even a year old) callipers re-furbed again
E46 steering rack (quicker than the E30 one)
Exterior:
Metallic Blue - still undecided on exact colour, suggestions welcome
Mtec2 front and rear bumpers
Mtech2 touring spoiler
325 iX arch/fender flares and skirts
16x9 Borbet B all round with (if I can fit them) 225/40 rear and 215/40 front tires
Yellow Lamin-x film on main lights and fogs, clear indicators
De-locked (and prob remove the side repeater also)
Shadow line trim (already on the touring)
Interior
E30 Recaro Ls 4dr/touring seats (fitted before she came of the road)
370mm Tec1 steering wheel, the smaller one, also fitted quite while ago
black carpet - undecided but probably will happen
black headliner - also undecided probably will also happen
better speakers front and rear with tweeter pods for the mirror plates
leather re-upholstering - eventually as funds allow
While searching the net trying to decided on a look I found a nice black 2dr and the 4dr below with the same exterior styling I was thinking of
Some photoshopage later
On thing I'm still very much decided on is what colour to paint her, or specifically what shade of blue
My blue touring above is Mauritius Bleu (likely contender for colour choice)A few options that were tried
Calypso red (ish)
Lagoon Green
Marrakech Braun - ish,
What I tried to copy: http://sphotos.ak.fbcdn.net/hphotos-..._4305298_n.jpg
Porsche Amethyst
If anyone has any suggestions for a nice blue, I'd like to hear them. For now Mautitius blue is the likely contender (more examples: e36, e30 more. This Fiat colour and Interlagos blue look nice to
So thats my introduction and what I intend to build, I probably won't go all out low as I still want to be able to drive her and push on a bit without worrying about my sump (or sump guard) to much.
The following are copy and pasted posts from my project build over on E30owners.com which I'll copy across over the next few days starting with this:
Jan 2011:
Little bit of progress today, after a bit of messing with the engine we got it sitting like this:
Bit of messing to get it on it's mounts in the sub frame but got there in the end. Can start mocking up the manifold next time I'm home and once I get some stainless tubing.
Won't be lifting this engine out though, probably drop the whole subframe, suspension etc and lift the car over the engine.
Got this done instead of getting the new shell today, couldn't go again because they guy lending the trialer and my uncle couldnt get lights working and didnt want to take a chance
Engine's normally this black on the inside:
Exhaust ports have a nice thinck layer of black grime in them as well. Anyway of cleaning this out or what can you do about it?
Bit of work done yesterday, we got the spit rolling and the car onto it. Had a quick look around the car with the cam, don't look bad at all :dance: Now to learn to weld
2 tourings keeping each other company
It's only bent because of how we lifted the whole car with the engine hoist resting on the box section
Bit of bent metal here from when we were putting the shell on the trailer using a tractor, sill got a slight ding as well
Bit of surface rust here
Both rear pockets were full of water when we got the shell home, sorted them drilling a small hole
:Small update from last weekend, not much done because of my brother leaving for Oz.
Got both jacking points cut out and welded up with some fresher looking steel.
Started removing the heatshield to get a look at some rust on the floor, cut a nice hole and started welding it up then it got dark - have to finish this this weekend
Few pics of the floor
We had a look at the rear arch, prob the worst job to take car of, unsure of how to tackle it. Looks like the rust might have started eating at the outer arch
Very little work was done in February:
The hole that was made in the floor all welded up and ground smooth-ish
Introduced my front subframe to the wirewheel on the angle grinder, and evening of that and it was all bare metal. Have welded in subframe mount reinforcement plates, primed it 2x and 1 coat of hammerite smooth black. The front ARB got the same paint treatment, will add a few more coats once the body work is done and do the same with the rear beam and ARB.
This was like this when I got the shell
Rear jacking point got a coat of primer after meeting the angle grinder with wirewheel, might cut the jacking point out it tends to go a bit rotten there.
I had a picture of the drivers side rear cill, opposite as above, but I can't find it, here it is anyway with the rust cut out
:And 1 plate welded up
Ran out of light but got the plate on the inside of the arch nearly fully welded in, plug welds let go on me
:Anyone know should I have recreated the step or change of dept of the seam, only realised after having it all welded up there's a step. Will also drill the hole for the rear beam mounting once I fit the beam.
I patched up 2 other area's I'll get pics of them finish, no before pics of it though.
Thats all for now, will finish the above off tomorrow and then no more work on the car till Sat/Sun.
21/03/2011
After a week+ of doing nothing I got the 2 fuel tank mounts cut out plated up and one new and the old bracket welded back on and seamsealed. Cut 2 other holes where the rear break lines go, will have to make up a new bracket or re-use the old ones tomorrow. Then it's onto the area where the handbrake cable is welded on, nice wee hole there as well.
23/03/2011
It's been 3 weeks now since any sort of real progress
here's a few pics of the last two days worth of work. Had to make 1 new bracket to hold the tank, re-used the other and also the 2 brackets for the brake lines.Up next
24/03/2011
Started taking all the area's I touched up, removed rust or plated up back to bare metal yesterday with the intention of getting primer on it today. First up though, a few new studs.
Screws I ended up using (found them in the shed after I got back from buying some that were to small)
In the vice
Flatten tip with the grinder
Flip it over
Cut the head of
And here's a few of them
Rotten stud
Cut of and area flattened a bit with the grinder
And one of the studs welded on
Here's where I'm at now, lots of bare metal
I was going to get sanding at the engine bay and have it primered as well, thinking I'll sand all the bare matal tomorrow and get some primer on it before moving on to the engine bay.
There's a couple of tricky brackets that need to be cleaned up by hand and the bolts holding the bumper mounts on will have to be replaced one it's of the spit.
31/03/2011
I think I got all the cracked underseal removed and all the rust found, finally. Few new holes as well that I will start at this evening, the end looks to be insight! A good clean-up and a sand and I can get some primer and paint on all the area's I cleaned up.
Then engine bay... then interior... then I'm sure...
Haven't taken any pics in the last week or more, it's a bit time consuming and I'm not keen on the cam lying out all exposed.
Took a few pics:
Here's where I'm at now, lots or bare metal all with a coat of kurust on it:
Soon to be primered and painted
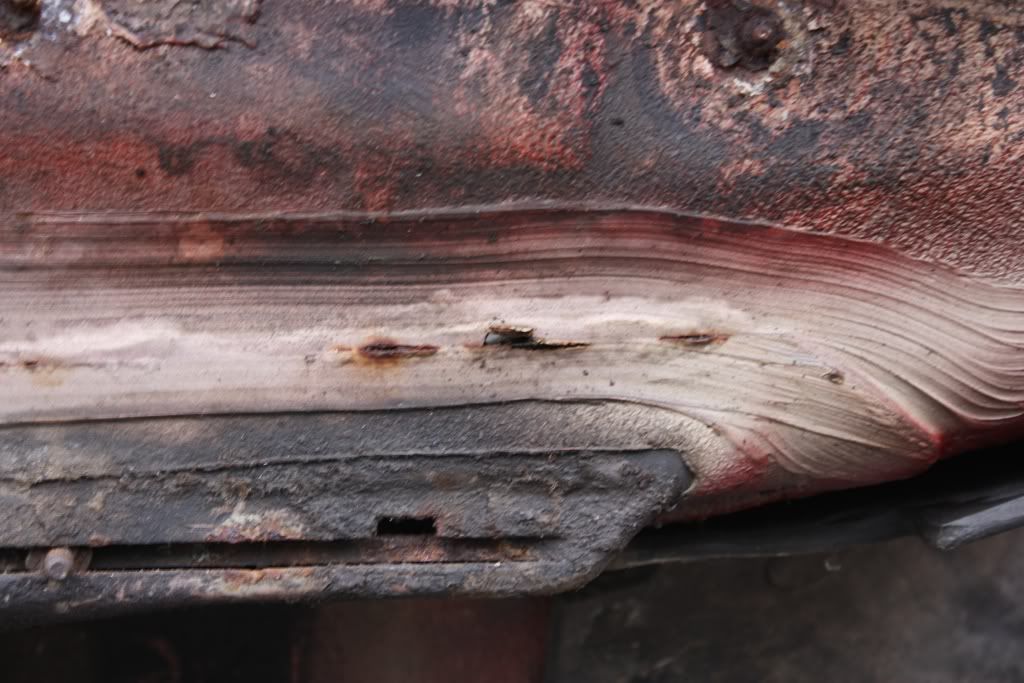
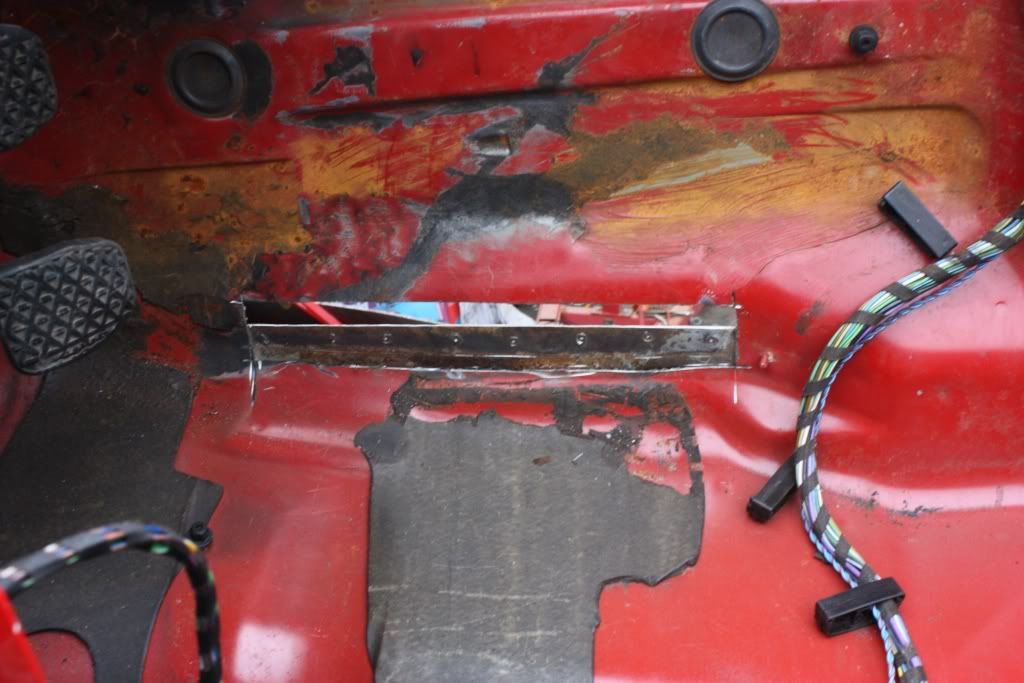
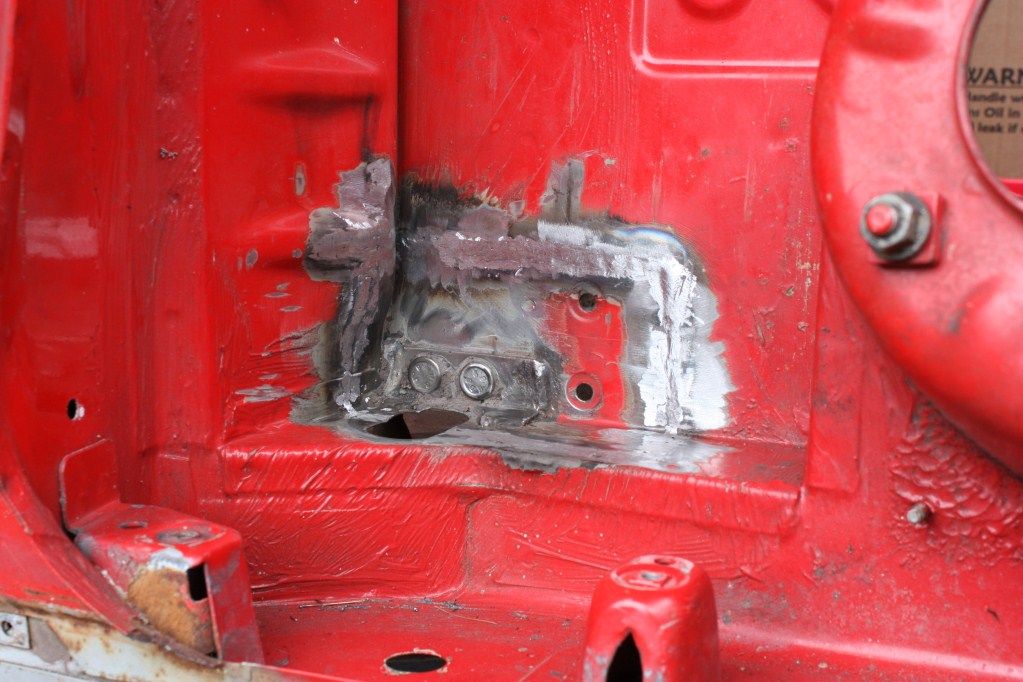
I decided to investigate why the seatbelt points? looked so flakey, 2mins later and not much metal left - another 2 holes
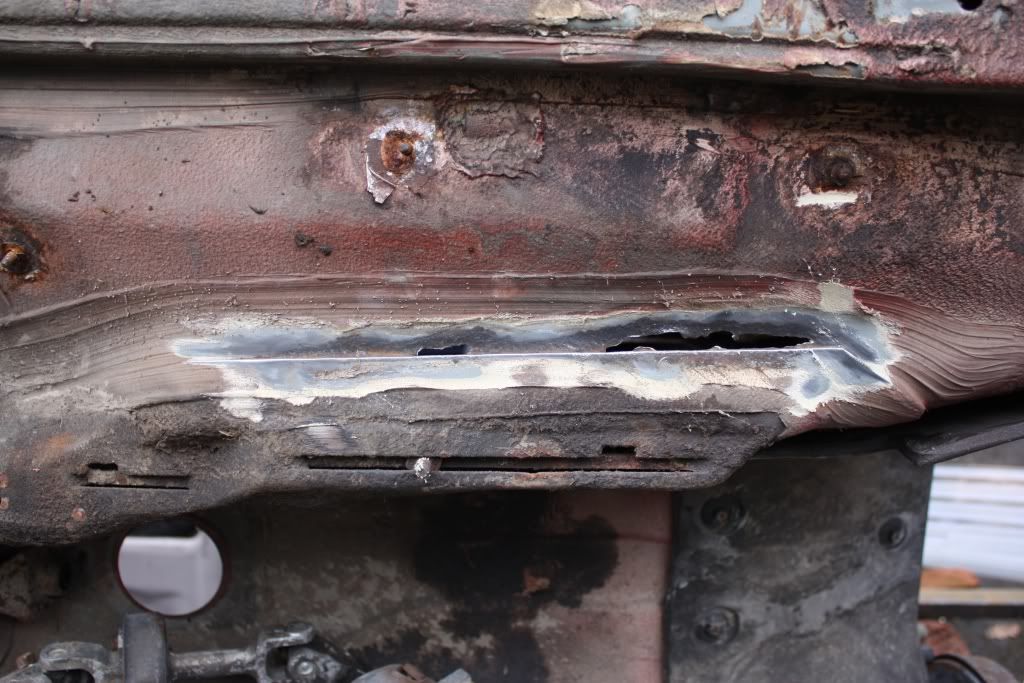
:A few attempts at making a nice piece of metal later...
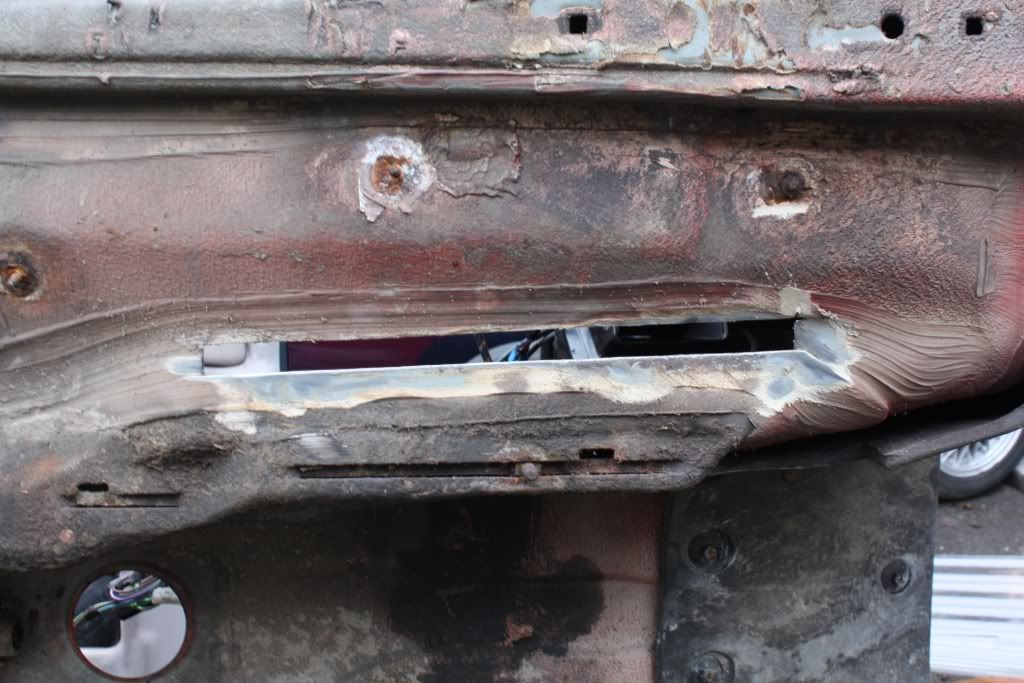
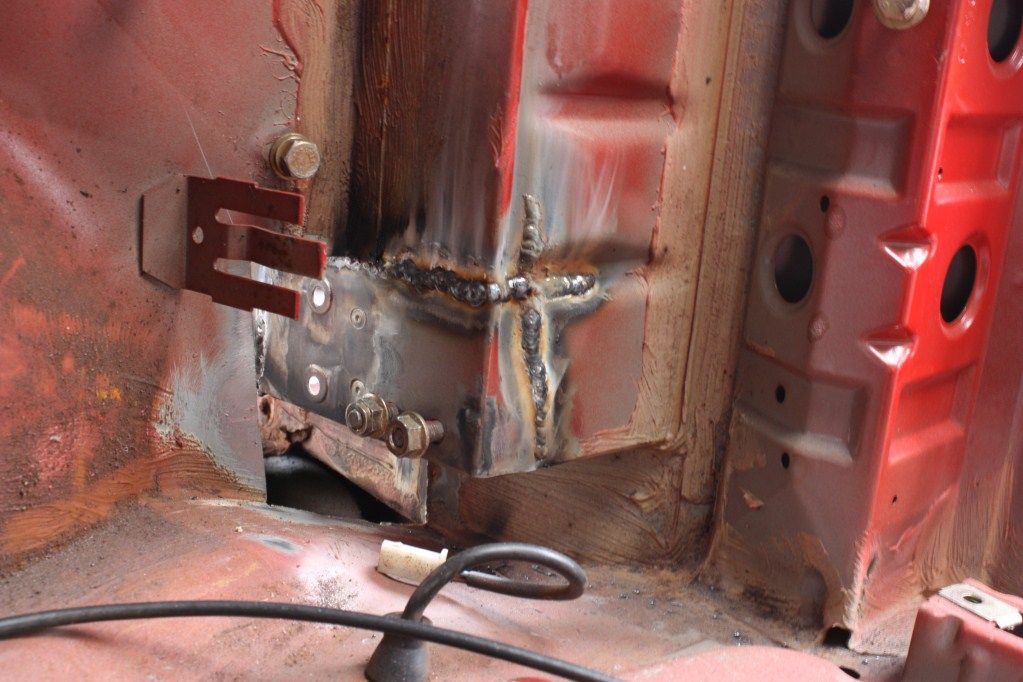
Getting better at the welding as well, got a few good runs of nice weld doing them 2 patches - not quite visible in the above pic. Both patches were also plug welded to the brackets behind them. Plug welds needed a bit of grinding to get them flat, prob could have done a bit more grinding on the other welds but didnt bother as it wont be seen.
Tried my best to seal the gap between the plate and the bracket with seam sealer. Trapped moisture here was prob the cause of the rot the had developed!
2 new holes, both on the cills at a drain opening, one by the front wing the other where the petrol tank is
Will get these plated up and then prep for primer, paint and when I get it underseal.
Next up then:
Getting there, slowly
[04/04/2011[/i]
Some new parts collected at the weekend
Rubber coupling (doughnut), Propshaft Bearing, Rear Subframe, Trailing Arm bushes, ARB Bushes (front and rear), Drop links (front and rear) and Gearbox Mounts. Eccentric control arm bushes will be carried over from the blue touring (attached to newish arms). No top mounts because I'm hoping to fit coilovers at some stage and had no trouble with them (as far as I could tell).
And I got this delivered just before the weekend
It's a rivnut tool with some rivnuts which will be used to hold on the brackets for the fuel lines and where ever else I can find a reason to use it :p
Break & fuel lines should be here this weekend as well, my to-get list (and wallet) is getting smaller and smaller (the amount of work to-do isnt though :p)
Brake lines also got delivered, two roles of kunifer pipe.[/i]


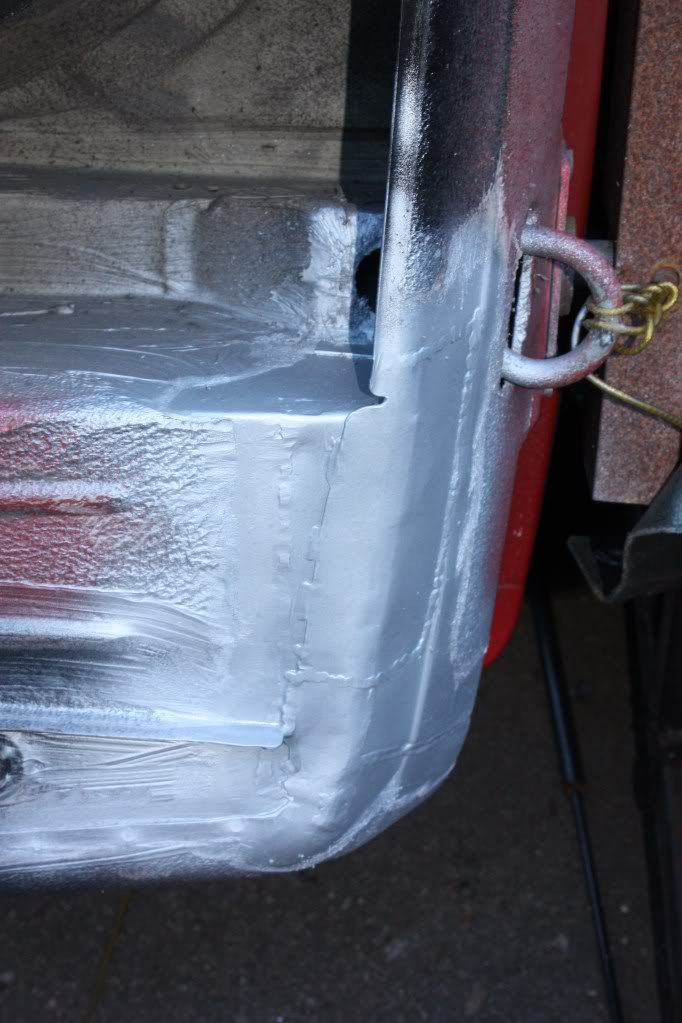


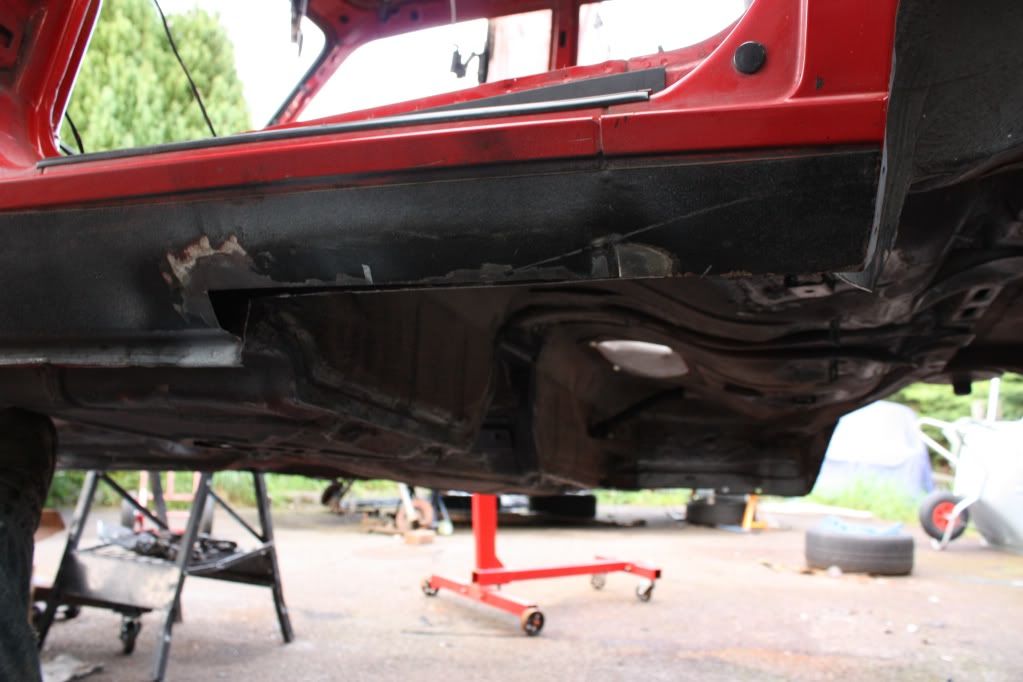


 : will come back and grind down the welds after the weekend and get back to the rear cill on both side. Feels like there's not much left to do body wise D :
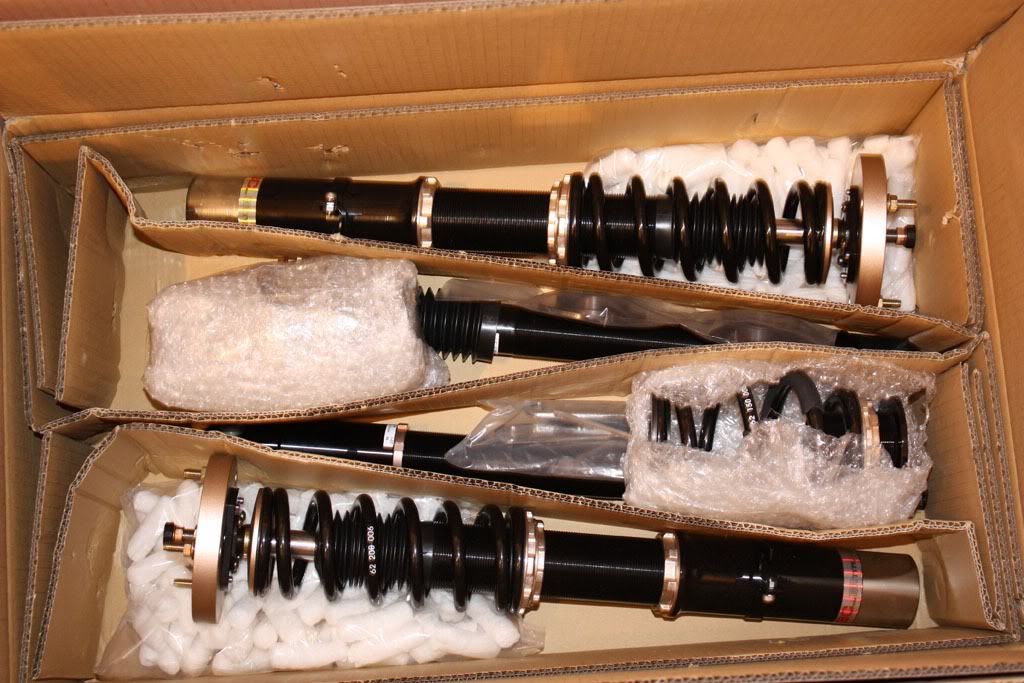

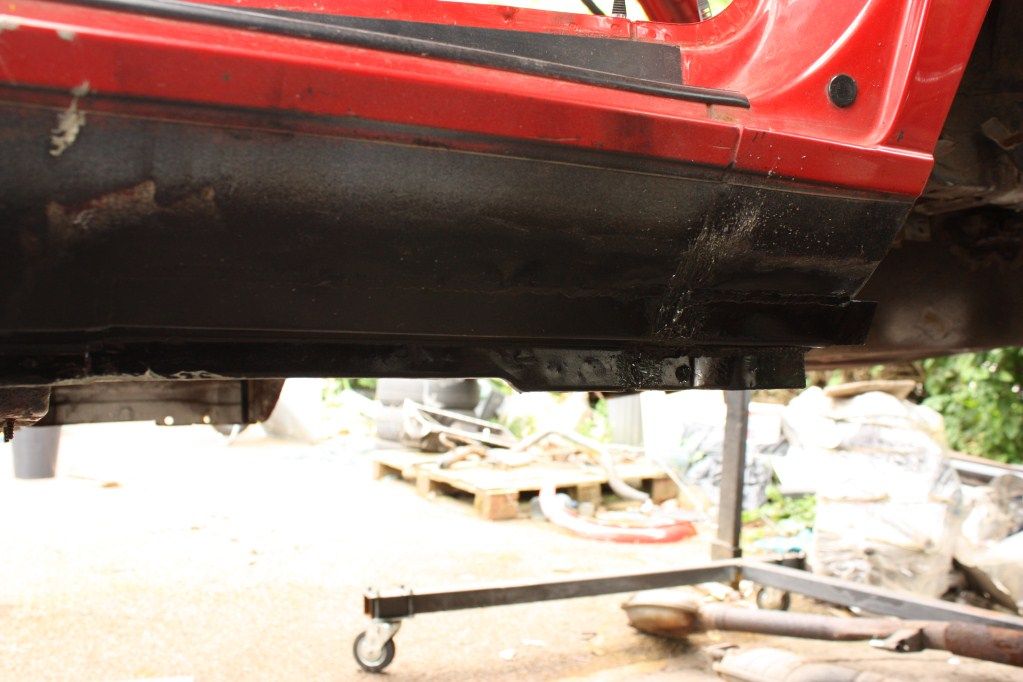


 Had to remake the last piece again, not perfect but close enough
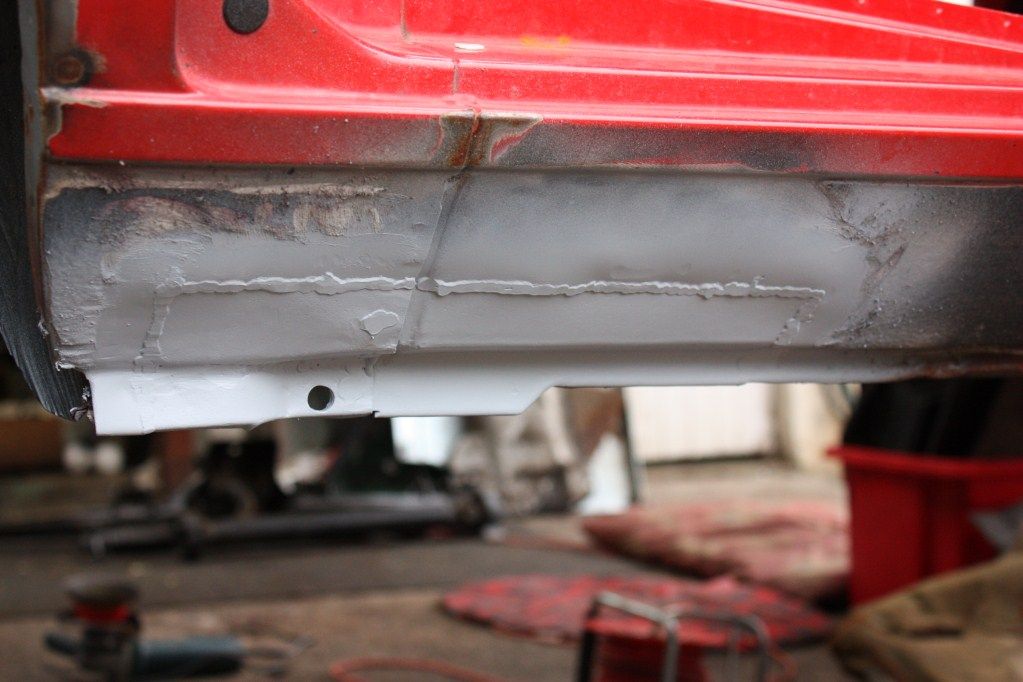


 Instagram@jdjurhuus

 x 100
x 100
Comment