 Tweet
Tweet
Third e36 build thread. 
Story time.
With only about ten coupes in all of Faroe Island. Yes you read that correctly, only ten. When one pops up for sale, its important to take the chance. I've bin trying to get a hold of one for about a year.
This one was bought from a friend, that hit a wall with it, smashed the front end on the right side so it needs a bit of work. Its a 320i mauritusblau.
Plan is
-New hood (ordered)
-New front fenders (ordered)
-New front bars, that hold the lights (ordered)
-New cross bar (ordered)
-New bumper (ordered)
-Misc parts (ordered)
etc etc, all bought from a BMW dealership.
-Full respray
Mods that i have.
Stance|Works zero clearance coil overs
AC Schnitzer Type I racing
Vorshlag camber plates
E46 M3 rear shock mounts
Z3 rear shock plates
Picture time.

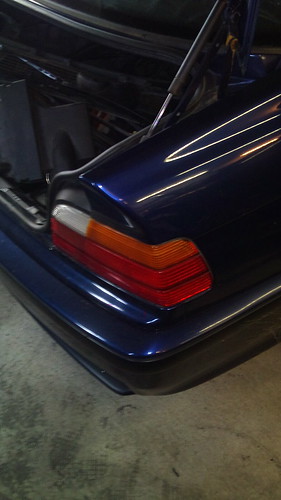
DSC00773 by Djurhuus zic, on Flickr
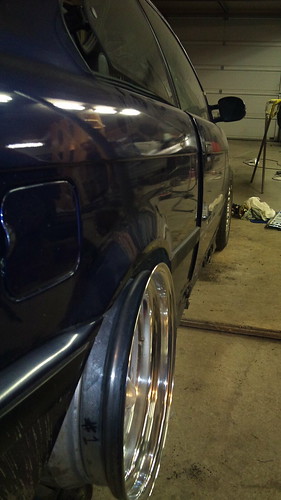
Day that i picked it up, Old setup 215/45's on a 10" and not low enough.
DSC00774 by Djurhuus zic, on Flickr
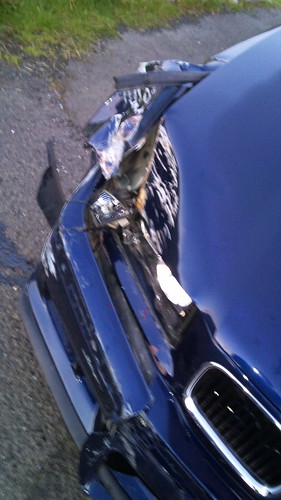
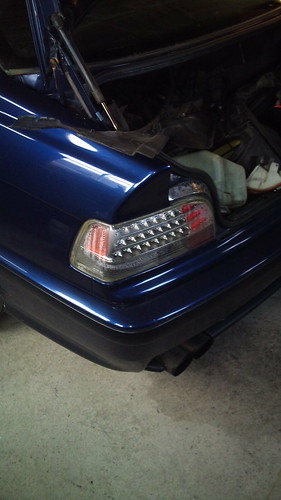
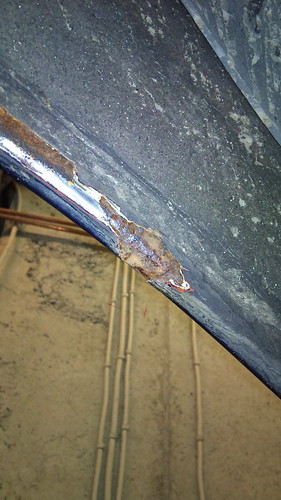
Damage.
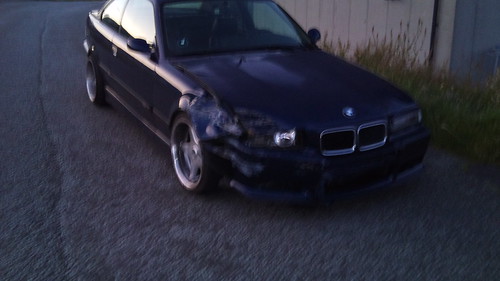
DSC00775 by Djurhuus zic, on Flickr
Picture of the damage. Drove it like that across town. Even got stopped by a police man, we talked about 10-15mins, then he let me drive off. gotta love the cops here. Wheels are brocks b1's.
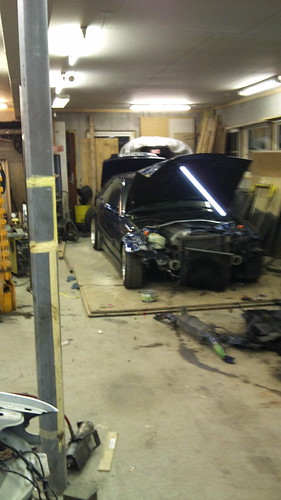
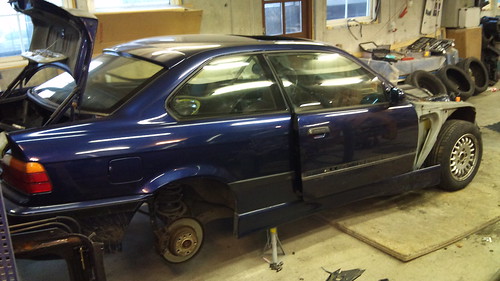
DSC00776 by Djurhuus zic, on Flickr
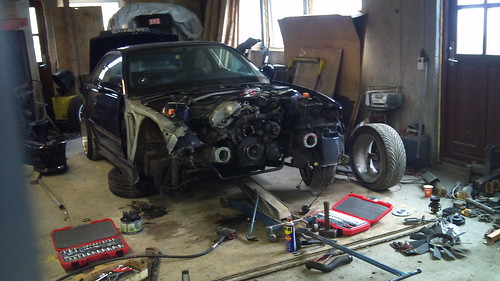
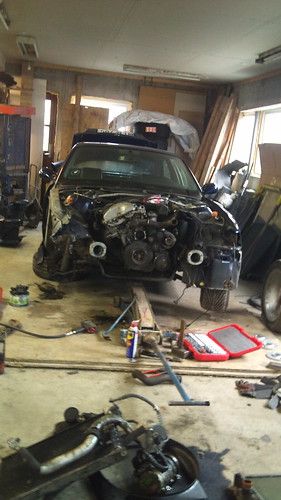
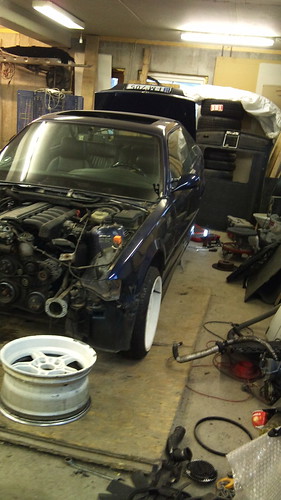
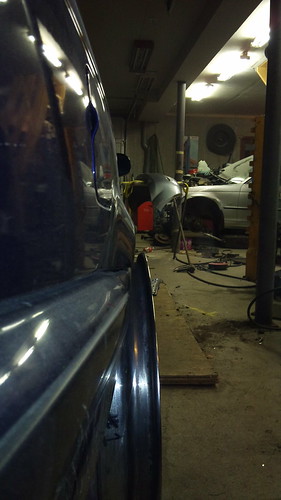
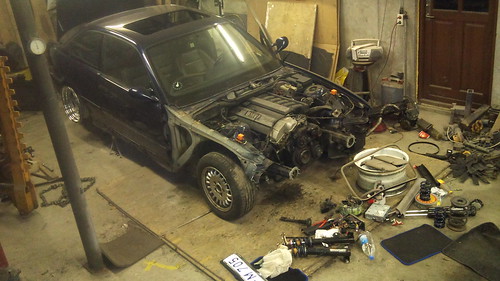
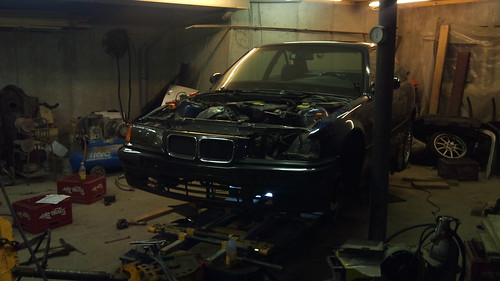
In the garage, were its gonna spend a bit of time. Started to disassemble the front.
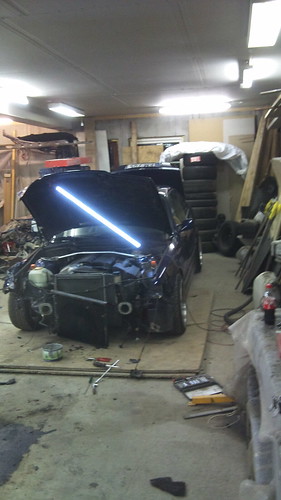
DSC00778 by Djurhuus zic, on Flickr
DSC00780 by Djurhuus zic, on Flickr
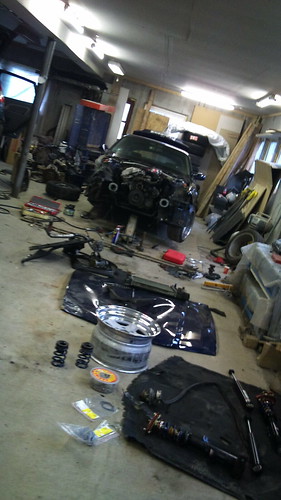
DSC00781 by Djurhuus zic, on Flickr
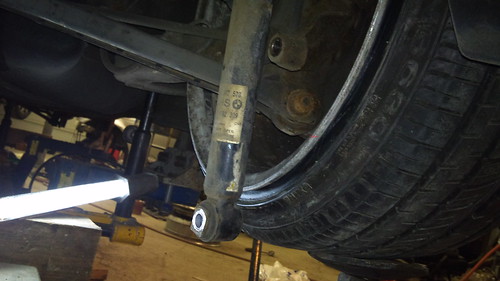
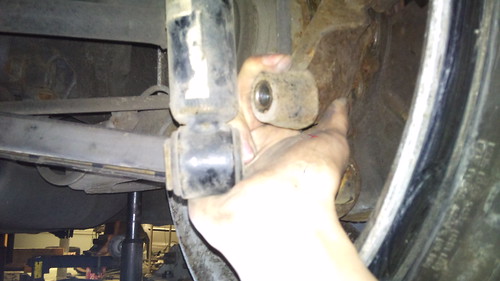
Need to replace the control arm.
DSC00785 by Djurhuus zic, on Flickr
I spy
DSC00783 by Djurhuus zic, on Flickr
Some before and after, take a wild guess on what is the after.
DSC00782 by Djurhuus zic, on Flickr
DSC00788 by Djurhuus zic, on Flickr
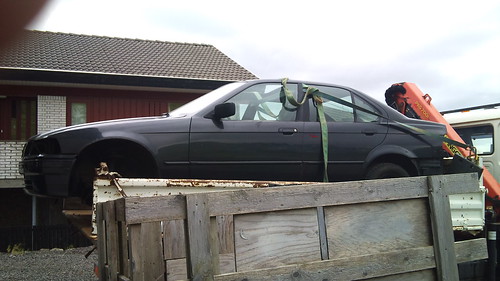
Parts car, you make know it from build thread v2
Gonna use the control arm, that is about it. Tho using the front end parts to line up my car, then they are getting replaced with brand new oem parts.
DSC00789 by Djurhuus zic, on Flickr
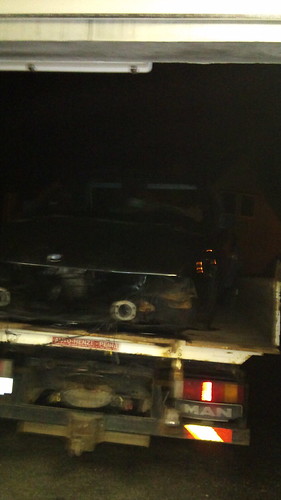
Parts taken off, car is headed for the scrapper.
DSC00792 by Djurhuus zic, on Flickr
got the car on its front wheels, replaced the bent control arm. started doing the rear hand break.
DSC00793 by Djurhuus zic, on Flickr
DSC00804 by Djurhuus zic, on Flickr
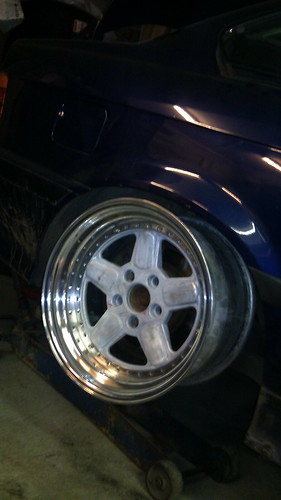
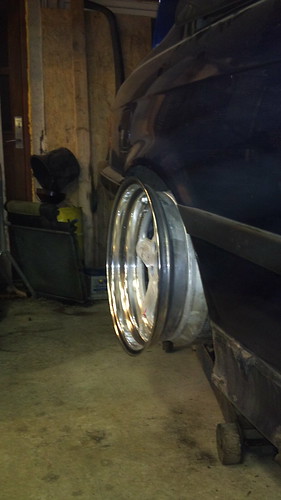
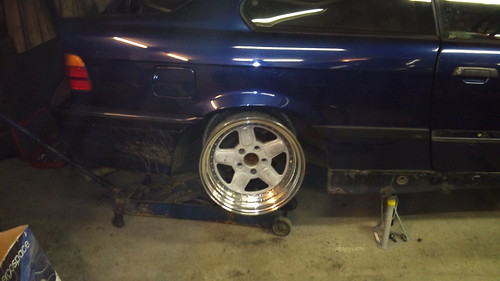
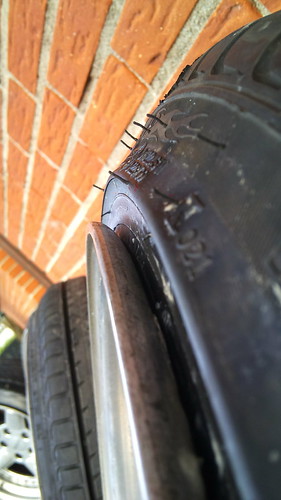
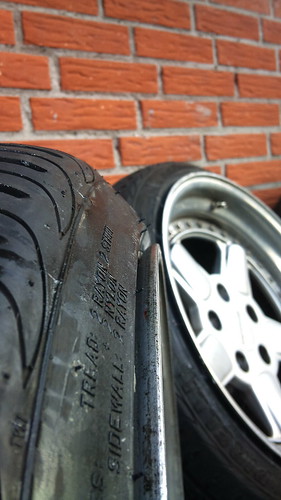
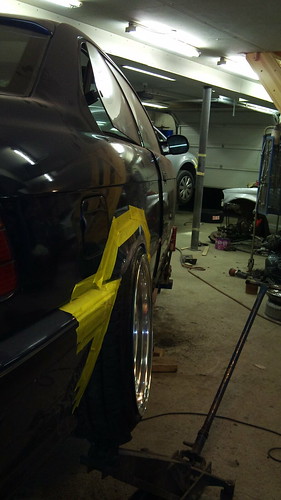
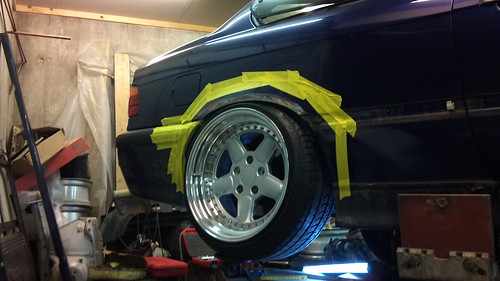
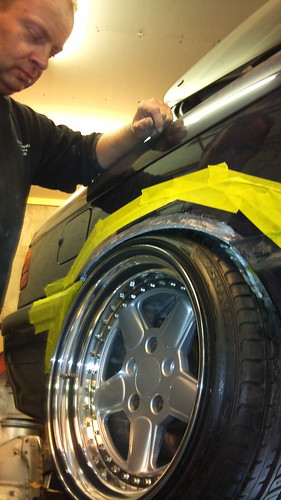
rear breaks done, time to test fit the wheels. No rear camber was adjusted.
DSC00795 by Djurhuus zic, on Flickr
DSC00797 by Djurhuus zic, on Flickr
DSC00798 by Djurhuus zic, on Flickr

DSC00808 by Djurhuus zic, on Flickr
DSC00809 by Djurhuus zic, on Flickr
DSC00814 by Djurhuus zic, on Flickr
DSC00815 by Djurhuus zic, on Flickr
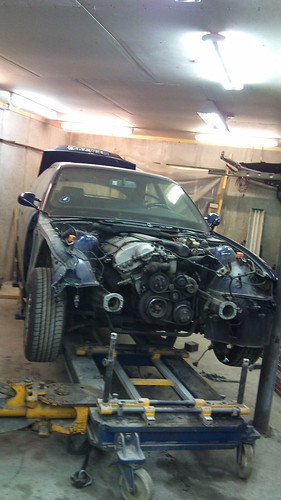
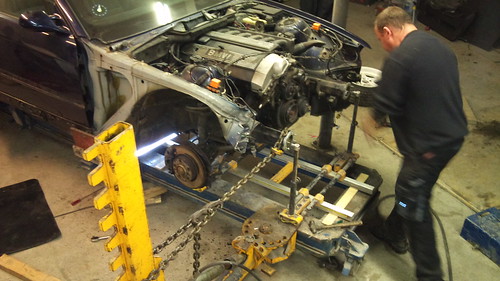
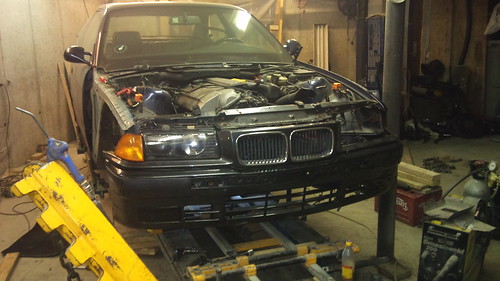
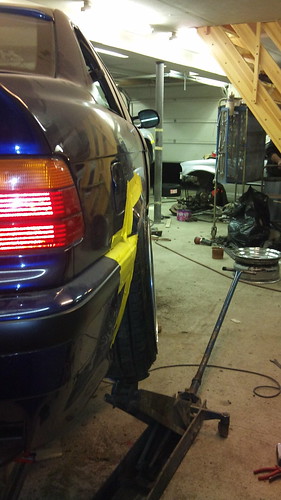
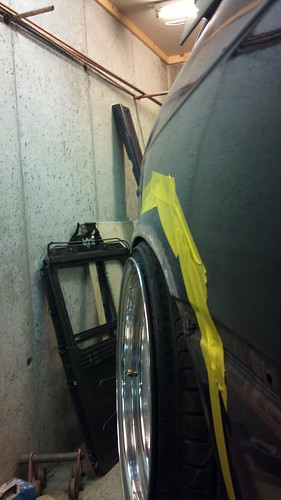
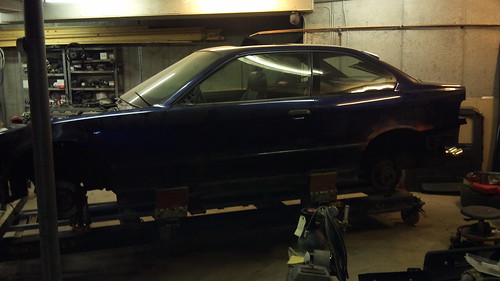
Car up in the bench, you lock the car to the bench, then you take a measuring sled, slide it under. afterwards you build up these measuring points, shown in the next picture.
You can also see how of the right side is.
DSC00791 by Djurhuus zic, on Flickr
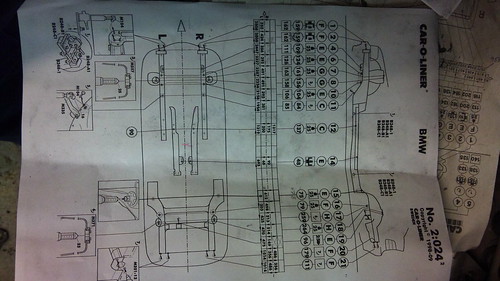
shown here, are the measurements, you set up a zero point, and everything works of there. You can either chose the front or the rear, in this case its the rear that is gonna be the zero point.
DSC00817 by Djurhuus zic, on Flickr
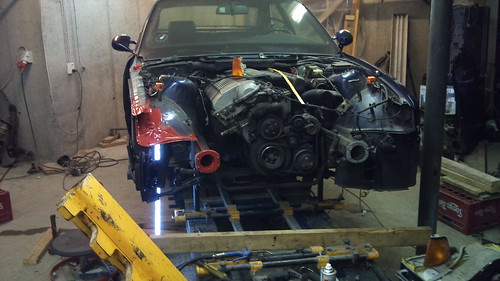
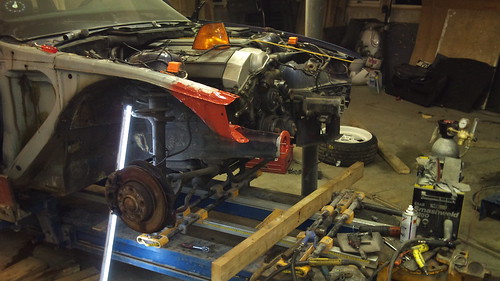
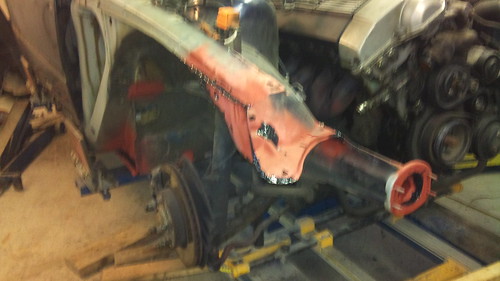
with everything setup, its time to start pulling. you can see those vertical bars in front of the car, those are measuring points, you can see the right side not lining up.
When the chain is tight and pulling the metal, you need to bash it with a hammer, to take out the stress in the metal.
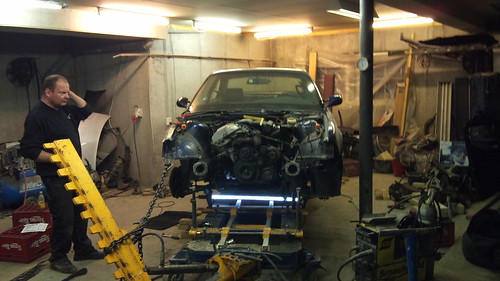
DSC00818 by Djurhuus zic, on Flickr
DSC00819 by Djurhuus zic, on Flickr
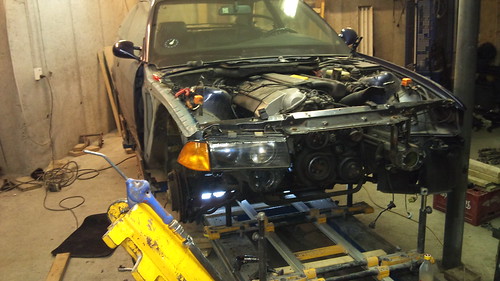
test fitting the bar that hold the lights.
DSC00823 by Djurhuus zic, on Flickr
why stop there right?
DSC00821 by Djurhuus zic, on Flickr
DSC00827 by Djurhuus zic, on Flickr
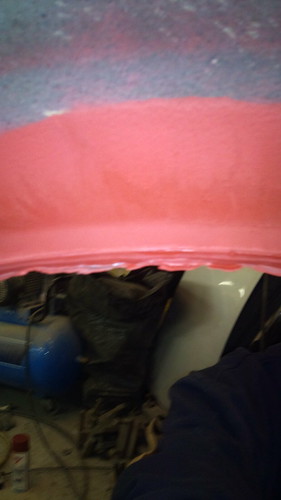
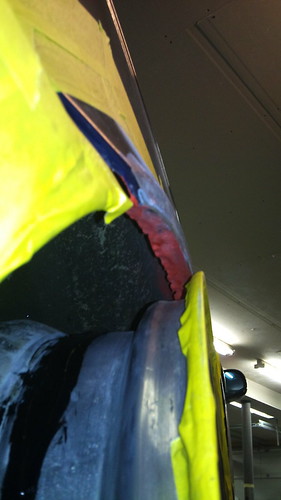
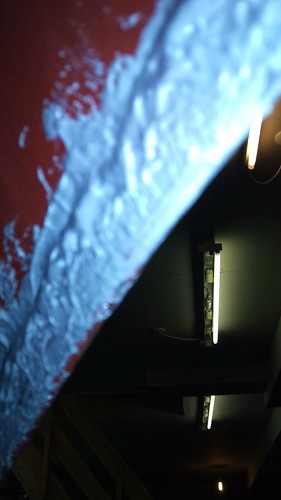
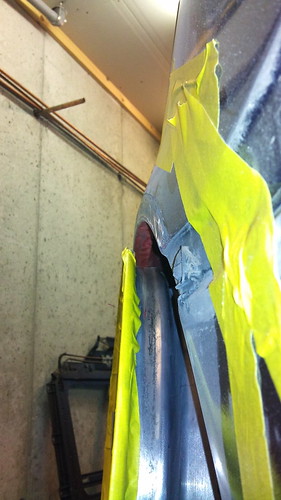
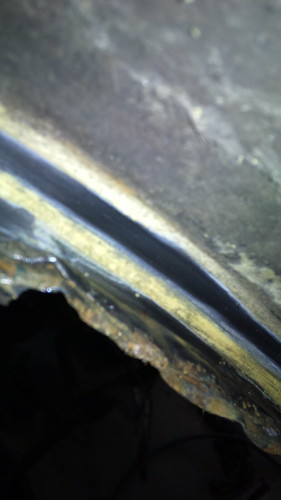
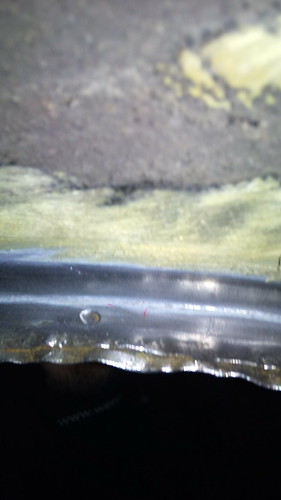
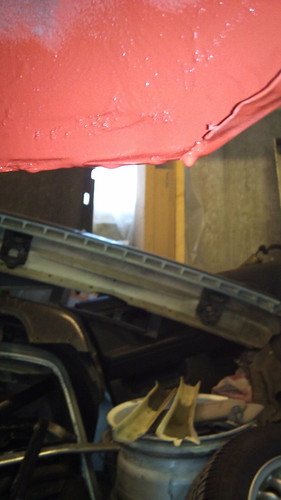
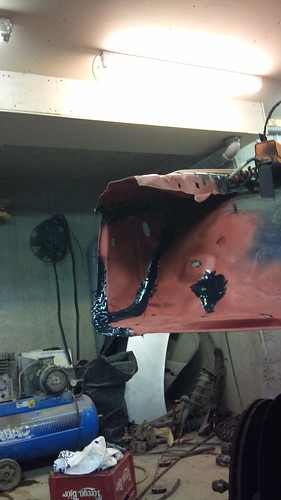
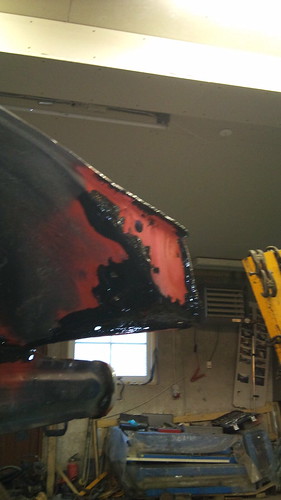
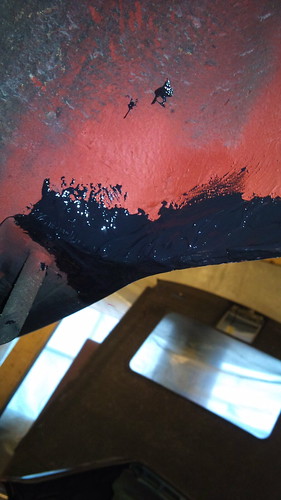
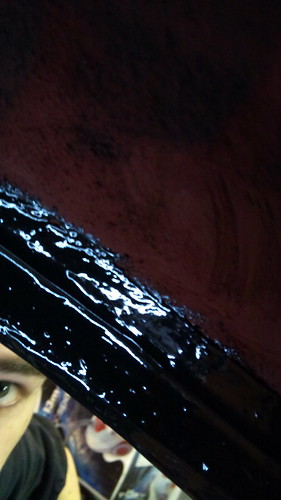
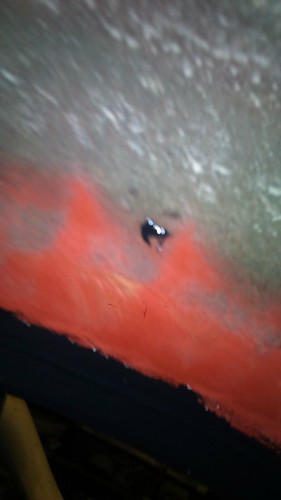
time to protect the bare metal.
DSC00828 by Djurhuus zic, on Flickr
DSC00829 by Djurhuus zic, on Flickr
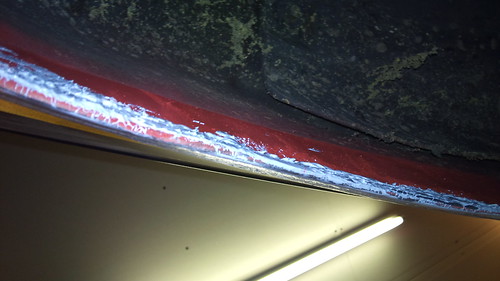
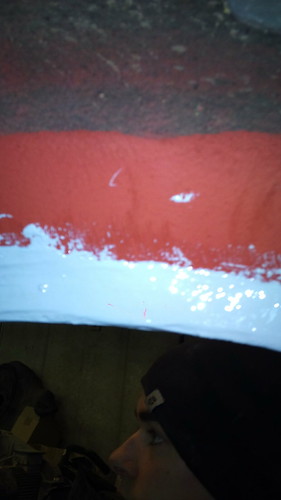
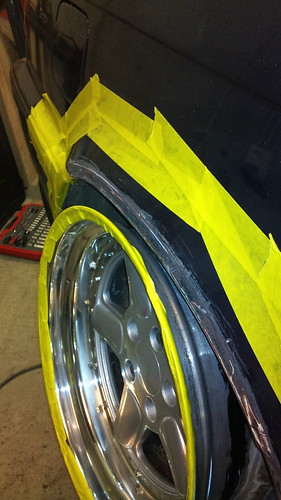
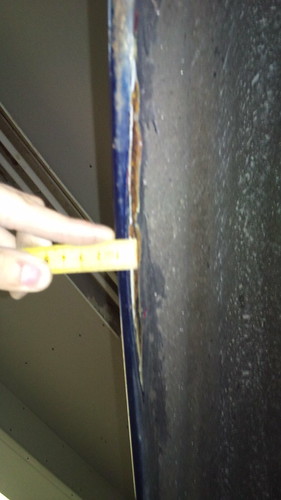
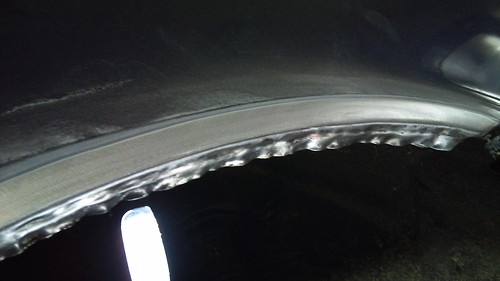
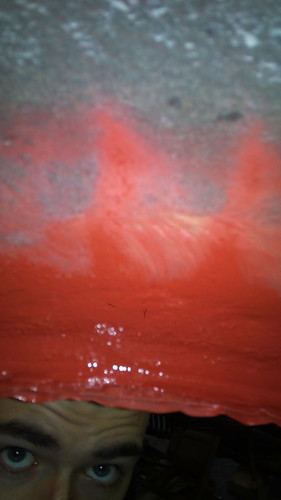
starting to work the rear fenders.

DSC00830 by Djurhuus zic, on Flickr
That is were i'm at now. Ill post pictures, as progress goes on.
Story time.
With only about ten coupes in all of Faroe Island. Yes you read that correctly, only ten. When one pops up for sale, its important to take the chance. I've bin trying to get a hold of one for about a year.
This one was bought from a friend, that hit a wall with it, smashed the front end on the right side so it needs a bit of work. Its a 320i mauritusblau.
Plan is
-New hood (ordered)
-New front fenders (ordered)
-New front bars, that hold the lights (ordered)
-New cross bar (ordered)
-New bumper (ordered)
-Misc parts (ordered)
etc etc, all bought from a BMW dealership.
-Full respray
Mods that i have.
Stance|Works zero clearance coil overs
AC Schnitzer Type I racing
Vorshlag camber plates
E46 M3 rear shock mounts
Z3 rear shock plates
Picture time.
DSC00773 by Djurhuus zic, on Flickr
Day that i picked it up, Old setup 215/45's on a 10" and not low enough.
DSC00774 by Djurhuus zic, on Flickr
Damage.
DSC00775 by Djurhuus zic, on Flickr
Picture of the damage. Drove it like that across town. Even got stopped by a police man, we talked about 10-15mins, then he let me drive off. gotta love the cops here. Wheels are brocks b1's.
DSC00776 by Djurhuus zic, on Flickr
In the garage, were its gonna spend a bit of time. Started to disassemble the front.
DSC00778 by Djurhuus zic, on Flickr
DSC00780 by Djurhuus zic, on Flickr
DSC00781 by Djurhuus zic, on Flickr
Need to replace the control arm.
DSC00785 by Djurhuus zic, on Flickr
I spy
DSC00783 by Djurhuus zic, on Flickr
Some before and after, take a wild guess on what is the after.
DSC00782 by Djurhuus zic, on Flickr
DSC00788 by Djurhuus zic, on Flickr
Parts car, you make know it from build thread v2
Gonna use the control arm, that is about it. Tho using the front end parts to line up my car, then they are getting replaced with brand new oem parts.
DSC00789 by Djurhuus zic, on Flickr
Parts taken off, car is headed for the scrapper.
DSC00792 by Djurhuus zic, on Flickr
got the car on its front wheels, replaced the bent control arm. started doing the rear hand break.
DSC00793 by Djurhuus zic, on Flickr
DSC00804 by Djurhuus zic, on Flickr
rear breaks done, time to test fit the wheels. No rear camber was adjusted.
DSC00795 by Djurhuus zic, on Flickr
DSC00797 by Djurhuus zic, on Flickr
DSC00798 by Djurhuus zic, on Flickr
DSC00808 by Djurhuus zic, on Flickr
DSC00809 by Djurhuus zic, on Flickr
DSC00814 by Djurhuus zic, on Flickr
DSC00815 by Djurhuus zic, on Flickr
Car up in the bench, you lock the car to the bench, then you take a measuring sled, slide it under. afterwards you build up these measuring points, shown in the next picture.
You can also see how of the right side is.
DSC00791 by Djurhuus zic, on Flickr
shown here, are the measurements, you set up a zero point, and everything works of there. You can either chose the front or the rear, in this case its the rear that is gonna be the zero point.
DSC00817 by Djurhuus zic, on Flickr
with everything setup, its time to start pulling. you can see those vertical bars in front of the car, those are measuring points, you can see the right side not lining up.
When the chain is tight and pulling the metal, you need to bash it with a hammer, to take out the stress in the metal.
DSC00818 by Djurhuus zic, on Flickr
DSC00819 by Djurhuus zic, on Flickr
test fitting the bar that hold the lights.
DSC00823 by Djurhuus zic, on Flickr
why stop there right?
DSC00821 by Djurhuus zic, on Flickr
DSC00827 by Djurhuus zic, on Flickr
time to protect the bare metal.
DSC00828 by Djurhuus zic, on Flickr
DSC00829 by Djurhuus zic, on Flickr
starting to work the rear fenders.
DSC00830 by Djurhuus zic, on Flickr
That is were i'm at now. Ill post pictures, as progress goes on.
 Instagram@jdjurhuus


 In for more!


Comment