 Tweet
Tweet
Hi, i can't be bothered rewriting alot of this stuff to make sense here, so i'm just going to drop all the info and stuff from my other threads here.
Hey, most of you already know me but for those who don't my name is Jordan i'm currently a 17 year old highschool student in year 12. I'm just about to start my trials so this is me procrastinating/rewarding myself for not doing anything. I earn little to nothing a week so progress is slow but well thought out (usually).
I have always been a VW guy, originally i wanted a beetle or a Kombi but for the money i had i couldn't afford anything without it being a major project which i didn't have the time, resources or knowledge to take on such a task. So i ended buying my first car which was this lovely Black Magic Four door GL.
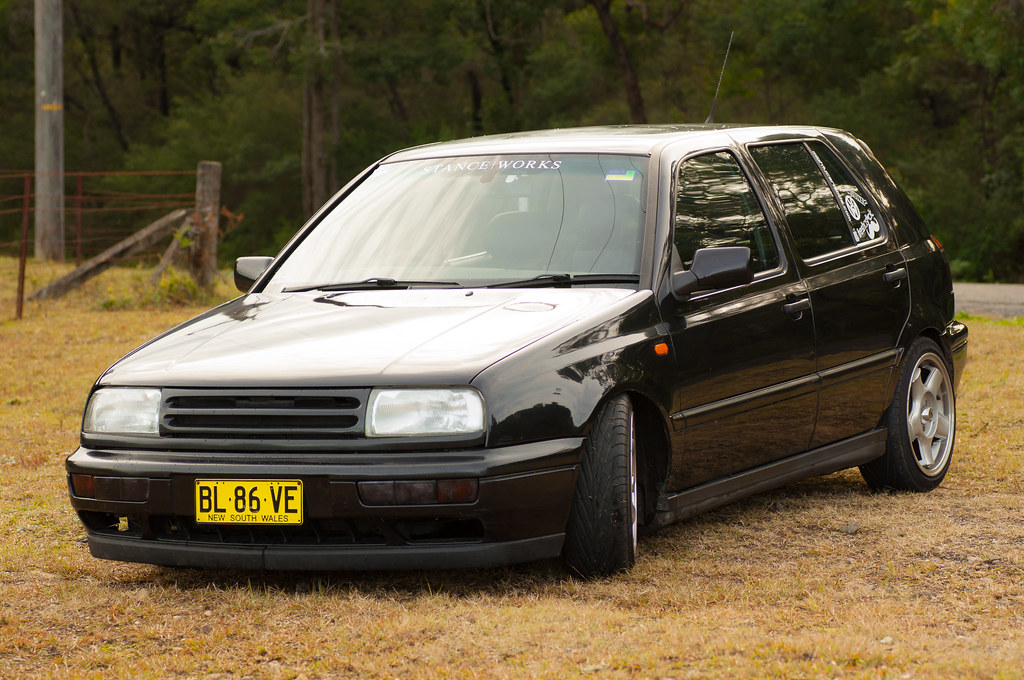
DSC_0306 by Smeeeb, on Flickr
It was getting to a stage of completeness and only needed a little here and there. Unfortunately i was being stupid and going to fast in the rain and span which caused me the break several important parts of the car.
DSC_0345 by Smeeeb, on Flickr
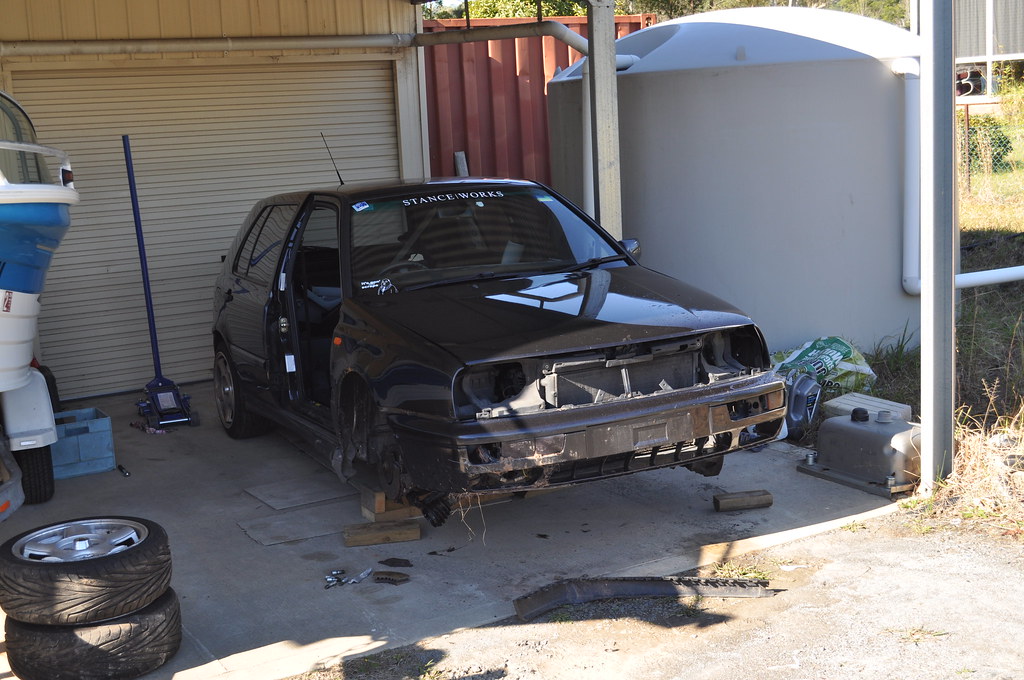
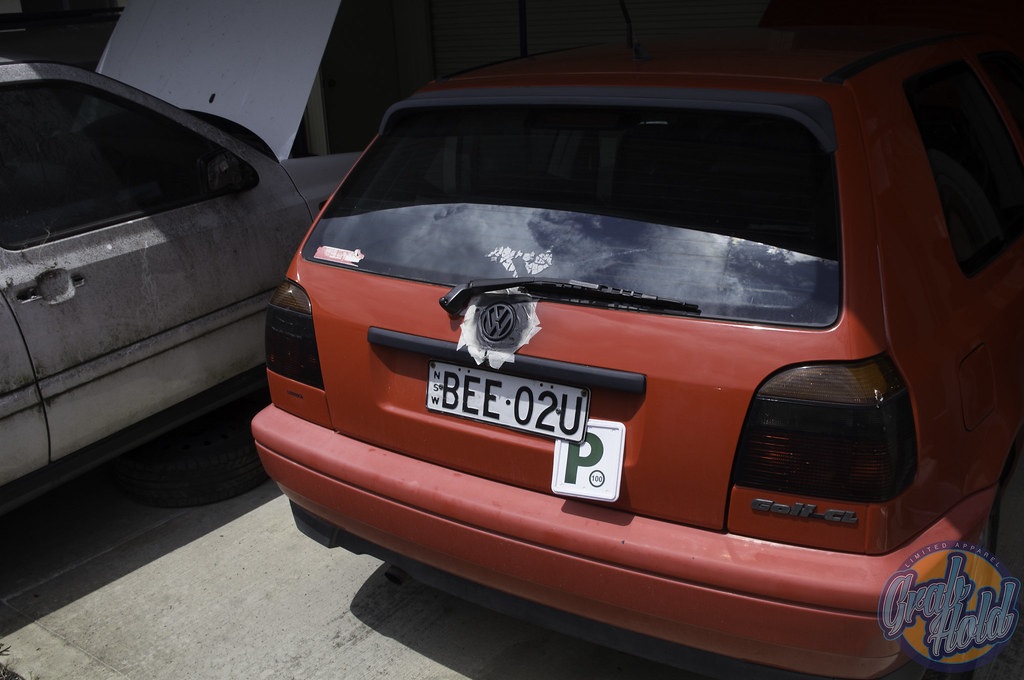
These things made dad and i decide it would be easier to just buy a new car and start again rather than repair everything that was broken. So i set off on the various car sale sites and started searching for a nice little golf to drop my parts on or start again. I hadn't decided yet. Whilst browsing eBay auctions one night my father stumbled upon a very poorly worded ad for this little gem.

DSC_0350 by Smeeeb, on Flickr

DSC_0349 by Smeeeb, on Flickr
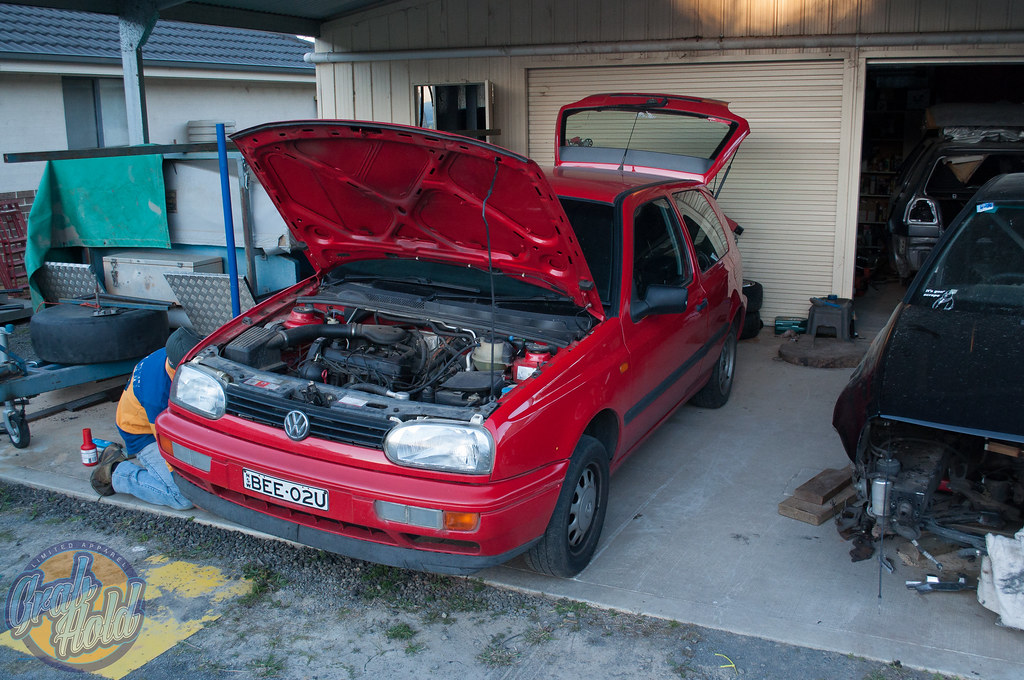
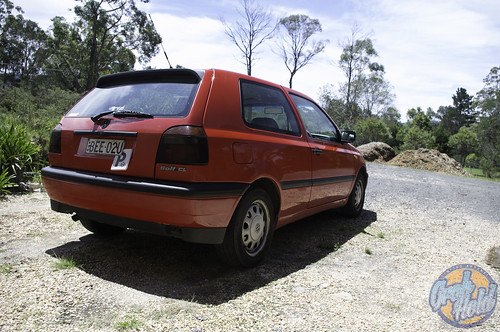
Both dad and i messaged the man via eBay then the day after the next we set off the a little settlement 20kms out of Canberra to the old girl in the metal. After some inspection the came up pretty clean apart from a scratch here and there, some odd dents. We took for a test drive, and Christ this thing is slow in comparison the VR we drove down it literally feels like it will never be able to get to 100kph but everything worked the engine seemed well maintained for the most part. It being an eBay auction the man didn't want to part ways with the car till the auction was over, so we set back off home and deliberated as to whether or not we wanted the car. I made the decision i didn't want it originally being an auto and all. So i put my dreams of owning a two door aside and continued our search into other fields.
Alas the night of the end of the auction came and my father reminded about the car and said **** it lets see what happens, we put a bid for $1000 on the car and left if we were outbid, we were outbid. To my honest content we weren't outbid. Again the day after the next we set off on another trip to a little settlement 20kms outside of Canberra and met the man again, who owned a new TDI Toureg i may add. We swapped money for documents that state the car was now under our ownership shook hands and i drove the little two door terror the way home. I then proclaimed myself the new owner of this lovely 1995 Red two door CL.
The drive home was terrifying seeing i had to pull out onto the highway from a standstill, the car seems to hit the barrier at about 30kph which is terrfying pulling out into holiday traffic in your newly purchased child. the drive home apart from that was drama free and very relaxed thanks to an aftermarket cruise control unit installed by the owner before the one i bought the car off.
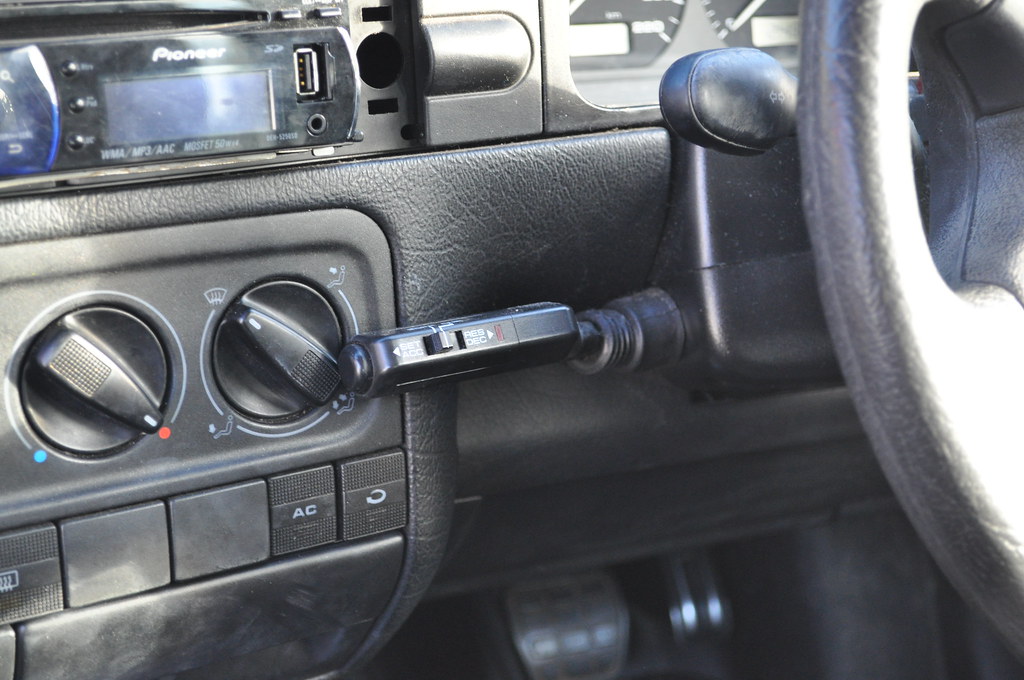
DSC_0357 by Smeeeb, on Flickr
Odd little thing it is, very easy to work to my delite though.
Since arriving home i haven't done much to her apart from today, just drove around the place enjoying my last school holidays as a public school student.a
Today though i was sick of not having a working headunit and pulled the old one to discover after some electrotherapy that it had a blown fuse. I then installed the old headunit out of my car.
I went from this old retro and radbutnotworkingness.
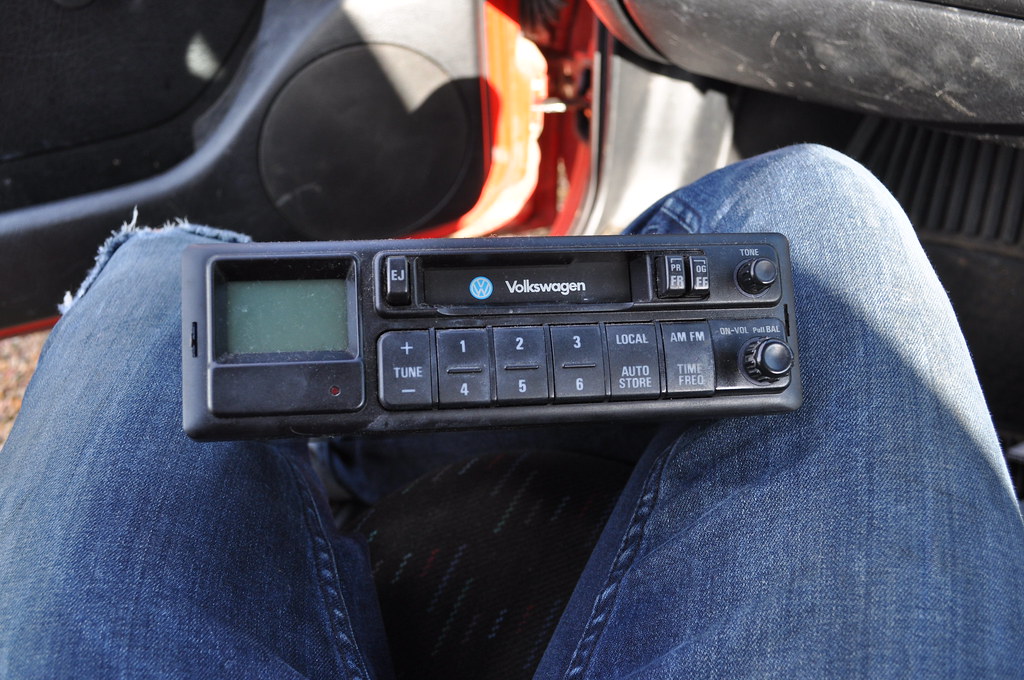
DSC_0348 by Smeeeb, on Flickr
To my relatively new working pioneer headunit.
DSC_0360 by Smeeeb, on Flickr
As for plans for the car the always the basics, low, wheels and loud. Apart from that i have a almost perfect 2.0 manual engine with timing chains, belts and waterpump recently done sitting there collecting dust, so after i figure out what i need, i shall be enlisting the help of a few friends and attempting to smash that out over a weekend. I also have my lovely vento front which will most likely grace the front end of my car but needs painting again....
I also have a mass number of bumpers sitting around so i shall be attempting my hand at making a shaved bumper. How that will go i am unsure of but i hope well.
That will be it for a couple of weeks seeing i am about to start my trials and commit suicide in the english essay portion of the exams, who's smart idea was it to make 17 and 18 year old write 3 essays on different topics and authors in a crowded hall in 2 and half hours. Who ever came up with it, i **** you.
For now i am off to destroy my liver at my best friends 18th birthday. :emo_baghead:
Thank you for reading, chow until next time.
:banana::banana::banana:
Hello again,
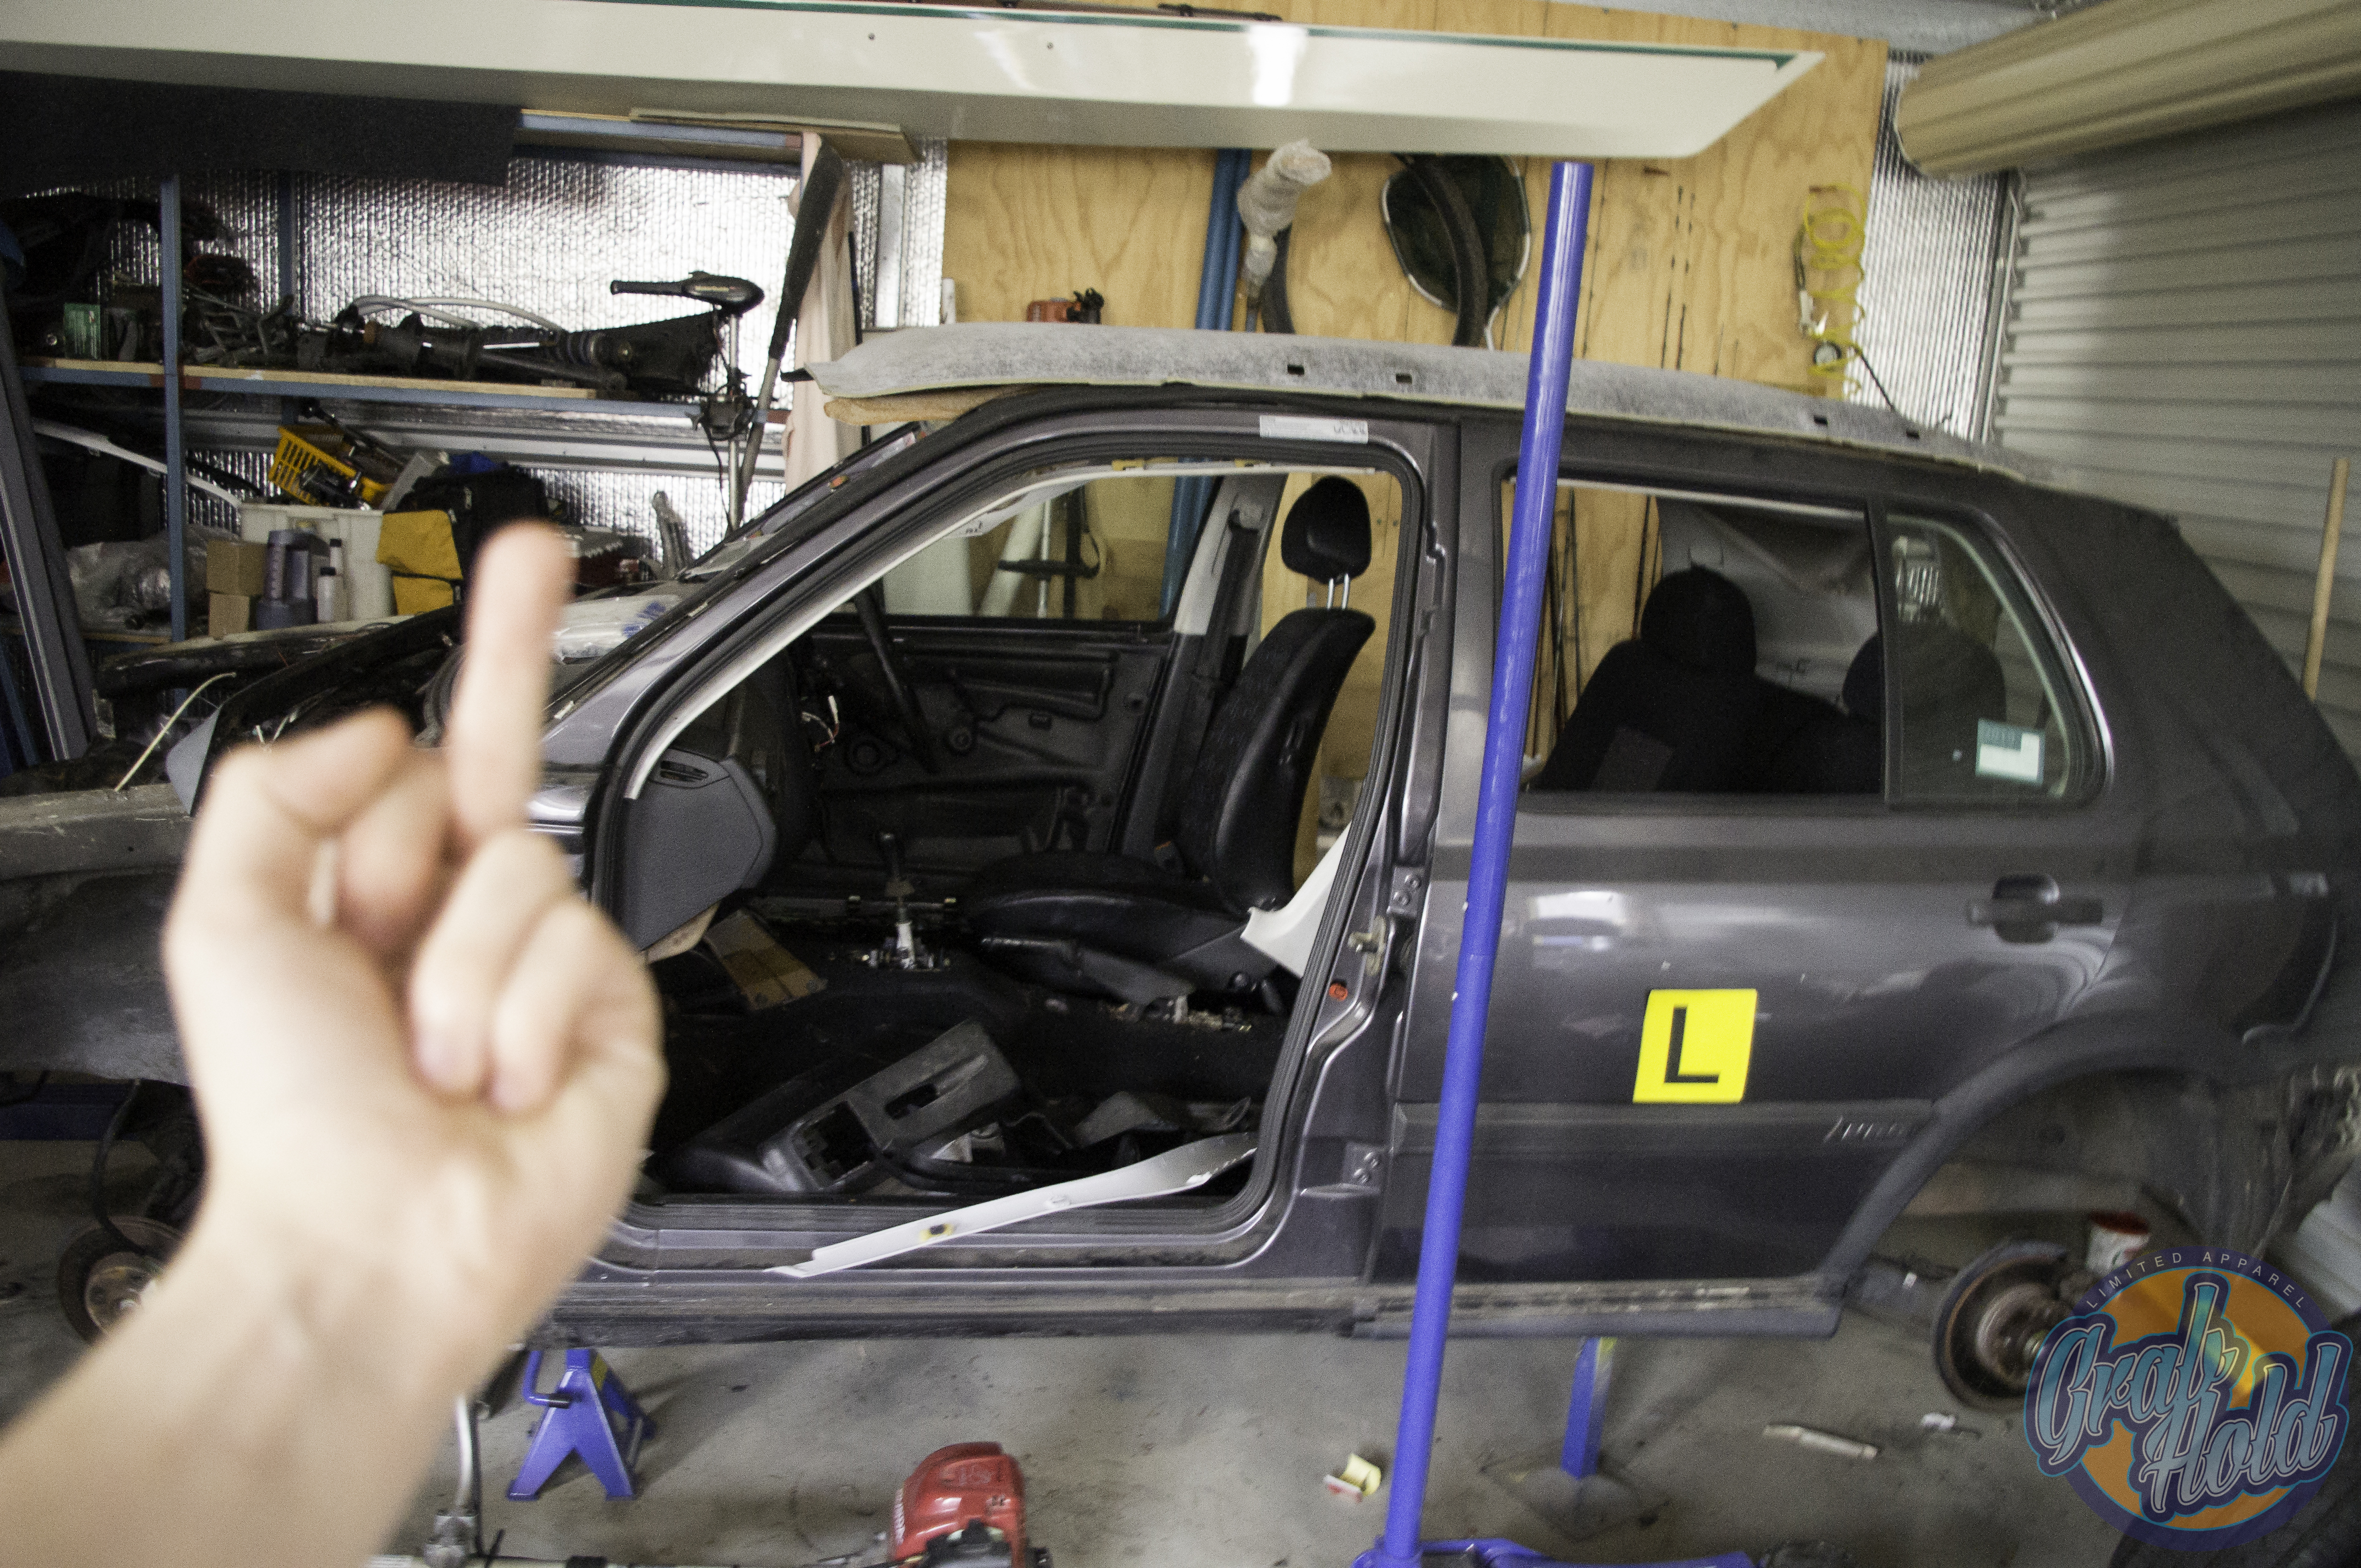
So since my father wants to get all the wrecks off our property so our house looks less like a scrapyard. This caused us to start properly stripping down everything we will be using for the two door. This meant removing the engine, this is the second engine removal i have done and the third time I've been properly pulling apart the engine bay. The others being putting a clutch in when i got the car and the second the being a swapping the front engine mount not that long ago.
As a whole the removal went quite easy without to many dramas apart from some bent engine mount bolts :emo_baghead:
It has been so cold here lately that working past 6-7pm is not happening the temperature drops down to close to zero degrees so this whole process was done in three afternoons with the assistance of my father of course.
Day 1 - Unplugging things removing hoses
DSC_0380 by Smeeeb, on Flickr
Day 1 End - Everything unplugged front bar removed, radiator air con
DSC_0382 by Smeeeb, on Flickr
Day 2 - Undoing engine mounts and undoing exhaust manifold bolts
(I don't have a picture of this for some reason, it looked pretty much the same as the above picture)
So if you have never removed a 2.0 i'm not 100% whether it is the same for the 1.8 and VR. Getting the down pipe from the exhaust manifold off is dumb and should feel bad about it self. For one of the bolts we had to put the fitting on the bolts then feed an extension between the exhaust pipes to reach the bolts and have a decent amount of leverage to crack the nuts. So after had done this all and cracked everything and undone them we called it a night as it was 0 degrees.
Day 3 - The removal
Now everything was off and the engine was ready to come out. I came home from work ready to get it done but my grandparents were down for lunch so this delayed it a few hours, lucky my granddad decided he wanted to give a hand so we had some extra brain power and muscle to help us along the way.
One problem we had was the positioning of the car, it was facing towards the dirt driveway which is quite steep so we couldn't really get the engine crane up there. This created a problem.

DSC_0388 by Smeeeb, on Flickr
Which was solved my a use of a swing sort of motion, which worked the second time :emo_baghead:
THE ENGINE IS OUT YAY
DSC_0390 by Smeeeb, on Flickr
It's surprising how substantial the engine seems once you actually get it out, it takes up basically the same room as the VR engine in the shed. Which is both good and bad.
There's so much room for activities!
DSC_0392 by Smeeeb, on Flickr
This means the engine swap will be happening some time soon hopefully, i just have to sort out what else i need for it to just drop in and what needs replacing on my old engine.
Also thanks to my old man for being a source of knowledge and cracking all the nuts i couldn't.
DSC_0383 by Smeeeb, on Flickr
Till next time.
:banana::banana::banana:
Hey there,
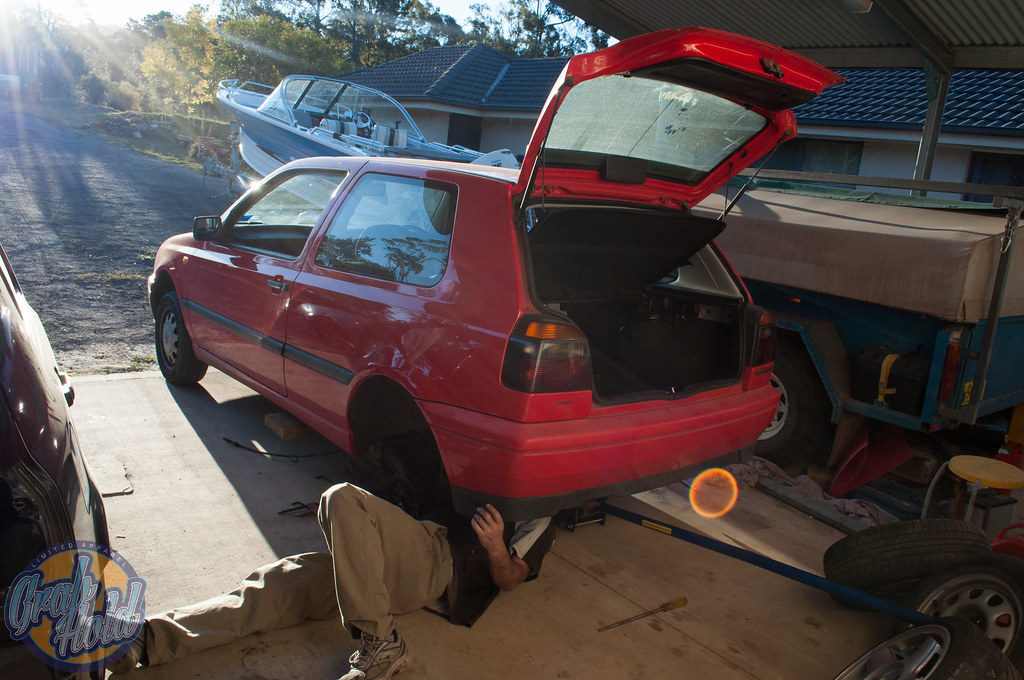
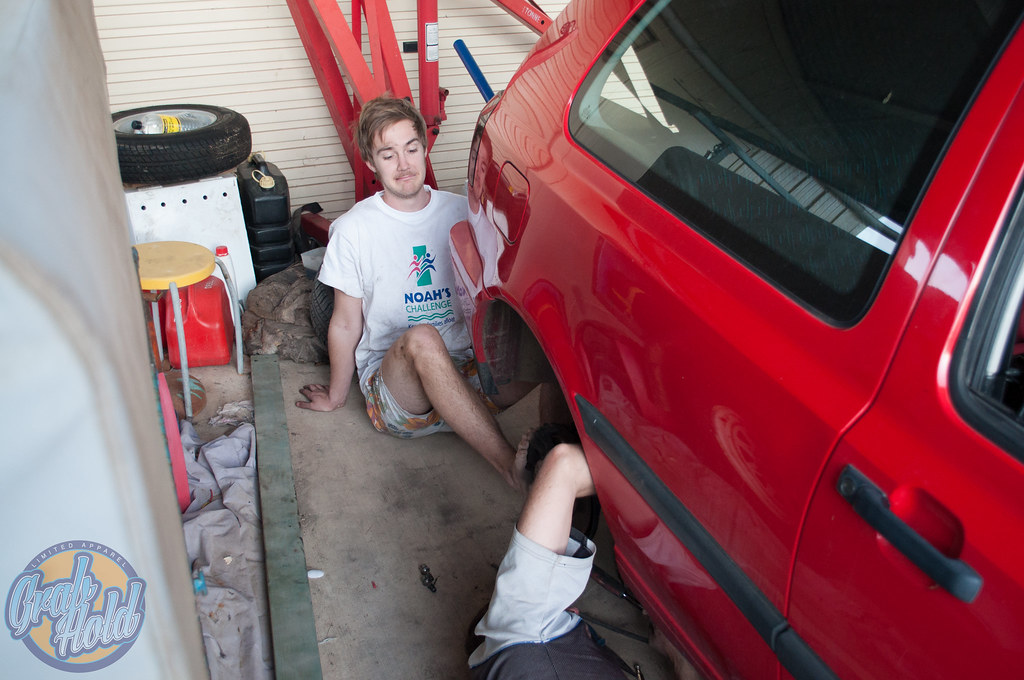
So on Sunday last weekend, Stathi or DruceJNR came down to get a front bumper off me. I decided to take advantage of this and make him help my Father and I swap the stock CL rear beam with a VR rear beam out of one of the many wrecks i have at my house.
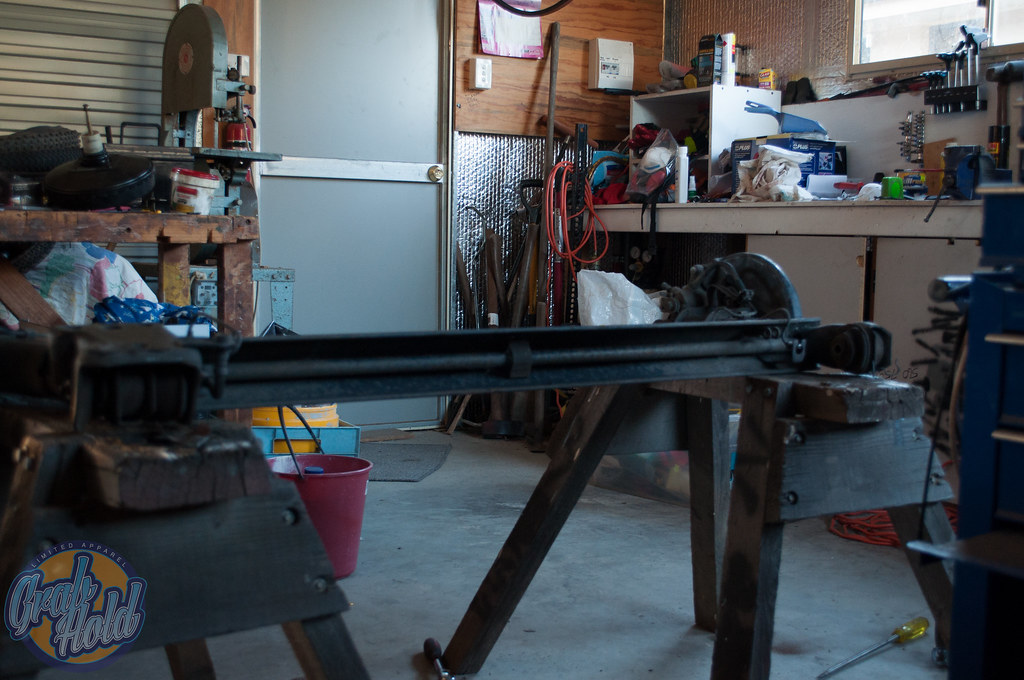
We did the usually jacking up and prep, unfortunately seeing we have two other cars on jack we had no spare jacks to hold my little red Golf up so we used timber we had laying around to support the car.
Rear Beam Swap (3 of 12) by Smeeeb, on Flickr
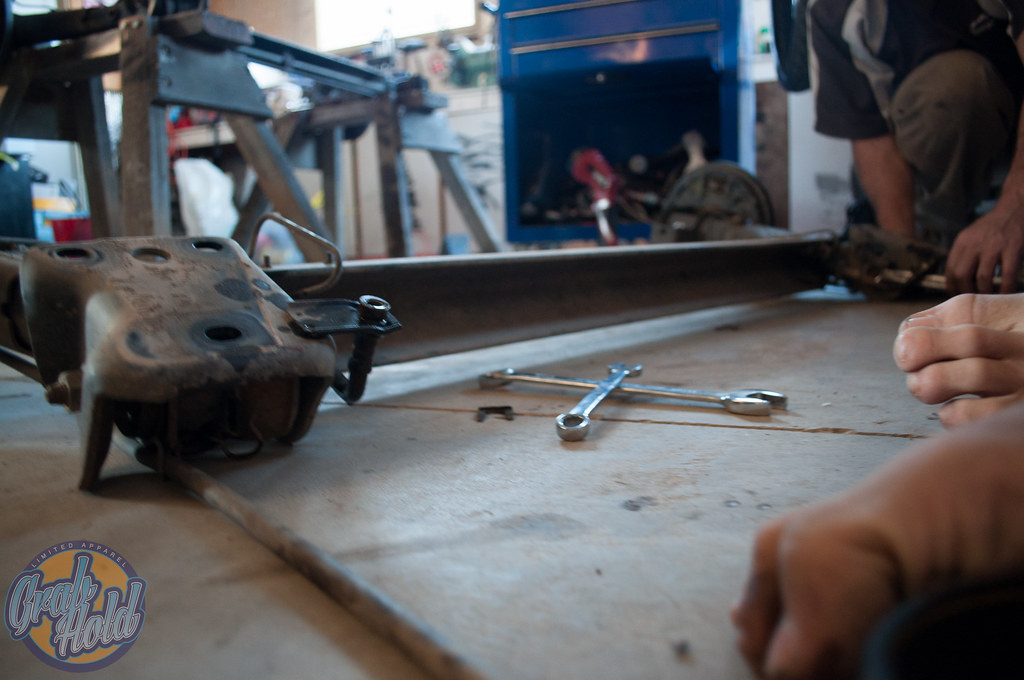
Removing the original rear beam was straight forward, it was only a matter of taking the wheels off, disconnecting the brake hydrolics line, the handbrake cable. The bolt connect the suspension in, which is a nut a bolt in the CL in comparison to a bolt and nut welded in spot or something of the sort in both the VR and the GL rear beams. The only thing left connecting the rear beam to the car were three bolts, which is only a 17mm socket with a breaker bar and some elbow grease away from not being attached anymore, they are pretty seized.
Rear Beam Swap (4 of 12) by Smeeeb, on Flickr
To get to the handbrake cable you have to completely pull apart the barrel, it's a good opportunity to see the inner workings of a drum brake. A silly design really, was really fidily getting it off. You had pull the whole mechanism out the unattach the cable.
Rear Beam Swap (5 of 12) by Smeeeb, on Flickr
The rear beam i was using is from the first VR dad and i bought which was originally all destined for the black car. Those plans had changed obviously as the gearbox ended up in dads VR and the rest of the car apart from the engine and rear beam were left at Camden GTI when they converted his car from auto to manual.
Dad and i did all the prep on the new beam the night before, all pretty straight forward stuff. New bearings, new discs, new brake pads.
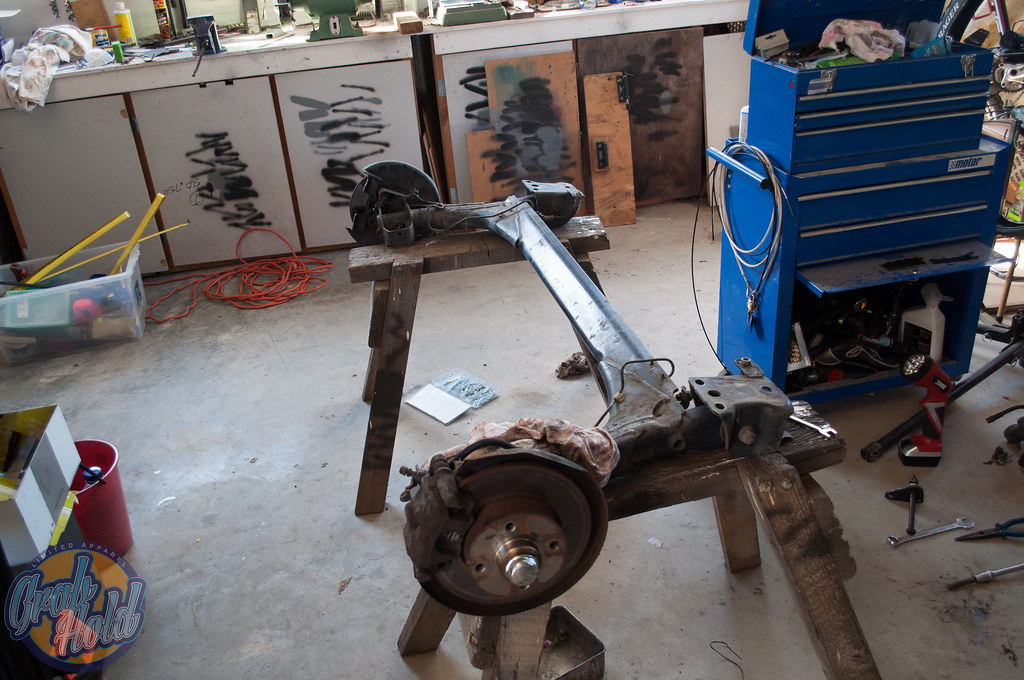
Rear Beam Swap (1 of 12) by Smeeeb, on Flickr
We used the brake callipers out of the black seeing they had been reconditioned to an extent not that long ago.
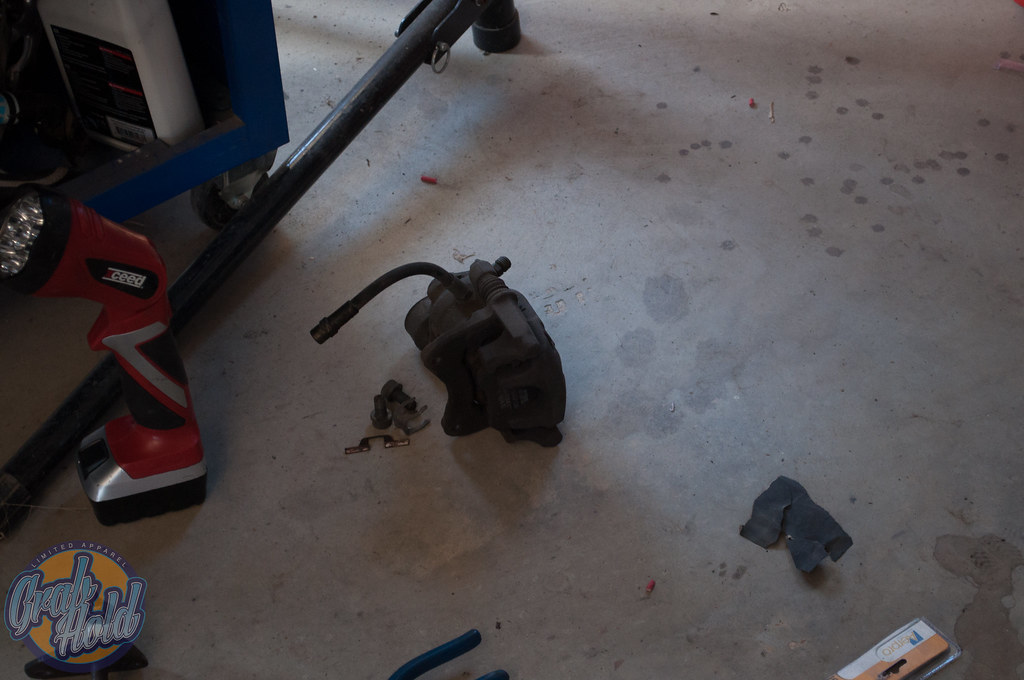
Rear Beam Swap (2 of 12) by Smeeeb, on Flickr
Now the main reason we swapped the rear beams and not just put the calipers on
The stock CL Rear beam - No sway bar at all
Rear Beam Swap (9 of 12) by Smeeeb, on Flickr
Stock VR rear beam - massive sway bar
Rear Beam Swap (8 of 12) by Smeeeb, on Flickr
Another major difference between the CL and VR is the VR has ABS and the CL doesn't.
"Wouldn't affect much" you say well there you are very wrong, Because the CL doesn't have ABS they have a brake distributor valve which controls how much pressure is being applied to the rear brakes and stopping them to lock up, essentially doing the same job as ABS except alot more primitive.
This was a big difference between the two beams because the CL beam had the little bracket that is used to hold the distributor valve and the VR does not.
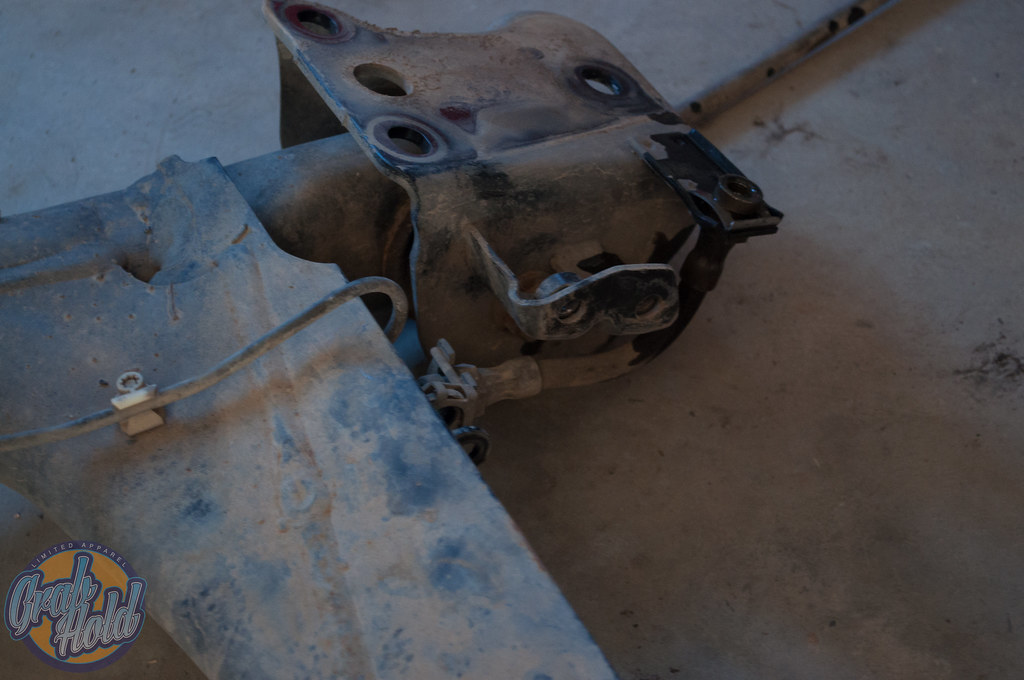
VR beam - no bracket
Rear Beam Swap (7 of 12) by Smeeeb, on Flickr
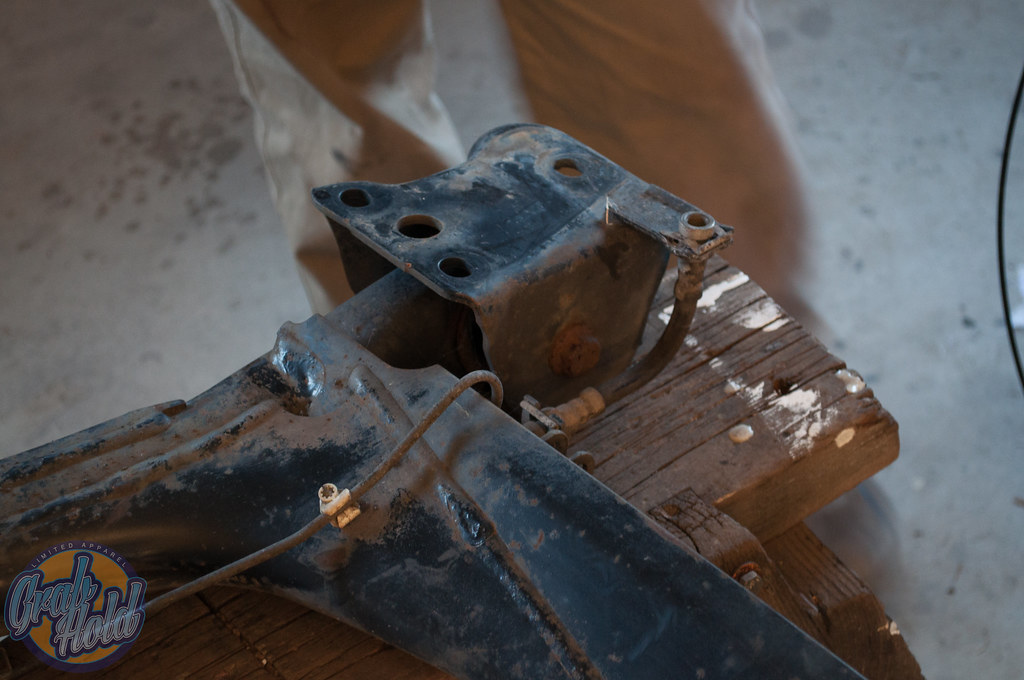
CL beam - Bracket
Rear Beam Swap (6 of 12) by Smeeeb, on Flickr
Luckily it was an easy change as we only had to swap the foot per say of the beams over. I would not have known this at all and would have just swapped the rear beams over as they were, luckily my father knows all and spotted to problem before i went through with it completely.
Putting the new beam is was simple as putting bolts into there holes and connecting up lines, except the plates on the new rear beam were in a different place to the CL one as the car it is off was on lowering springs changing the geometry on the suspension making the plate face up more. These plates aren't very easy to re-position without lots of grunt.
Rear Beam Swap (10 of 12) by Smeeeb, on Flickr
It was a two man job for sure, no way you could position the plate and bolt it up at the same time.
By the time we had everything bolted and ready to bleed the brakes we discovered we had a major lack of brake fluid in the shed...

Rear Beam Swap (12 of 12) by Smeeeb, on Flickr
So we called it a night and went down the pub for dinner and had some delicious burgers and a beer.
Also my old car is quite dirty seeing it's been sitting stationary in the shed.
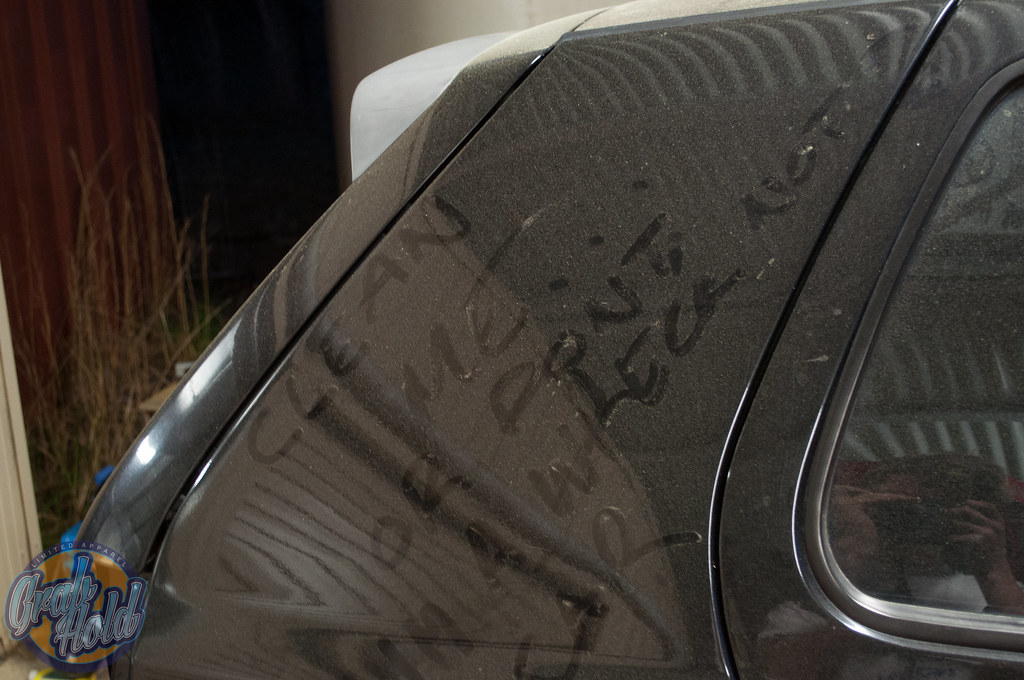
Rear Beam Swap (11 of 12) by Smeeeb, on Flickr
(it says "wash me or don't i'm a wreck not a car" i lol'd)
Last night dad and i got back to it and bled the brakes and adjusted the handbrake cable, i'm sure you all know how to do that so i won't go into massive amounts of detail.
Rear Beam Swap2 (1 of 2) by Smeeeb, on Flickr
After that we went for a little drive to test the brakes on some of the brake roads around the place, they work pretty much the same :P
We swapped around the tyres on the car seeing the ones i bought it with are now pretty much bald...
Having an effective wreckers of MK3 is becoming a great thing.
Rear Beam Swap2 (2 of 2) by Smeeeb, on Flickr
Except the sway makes hugely noticeable difference to corner going back and forth over the mountain to school today.
Till next time - (which will most likely be an engine swap)
:banana::banana::banana:
Here is a much needed update and dumb stuff i've been doing.
I'll start with the engine, that is planned for this coming week hopefully. Now i have finish school and exams and everything so it'll radddicallll (hopefully).
All i really have to do now i have moved my old car, build the trailer and gather all the parts that could be required. I just have to move a stupid POS vr6 shell my dad bought, biggest time waste.
More parts-7 by Smeeeb, on Flickr
Now seeing i've had a tonne a golf shell sitting around my house i've hoarded quite a large collection of bumpers. I've even sold three or four i don't remember. Anyway because i have so many sitting around i decided i should try my hand and doing a shaved bumper for the golf, which i was stocked on the idea
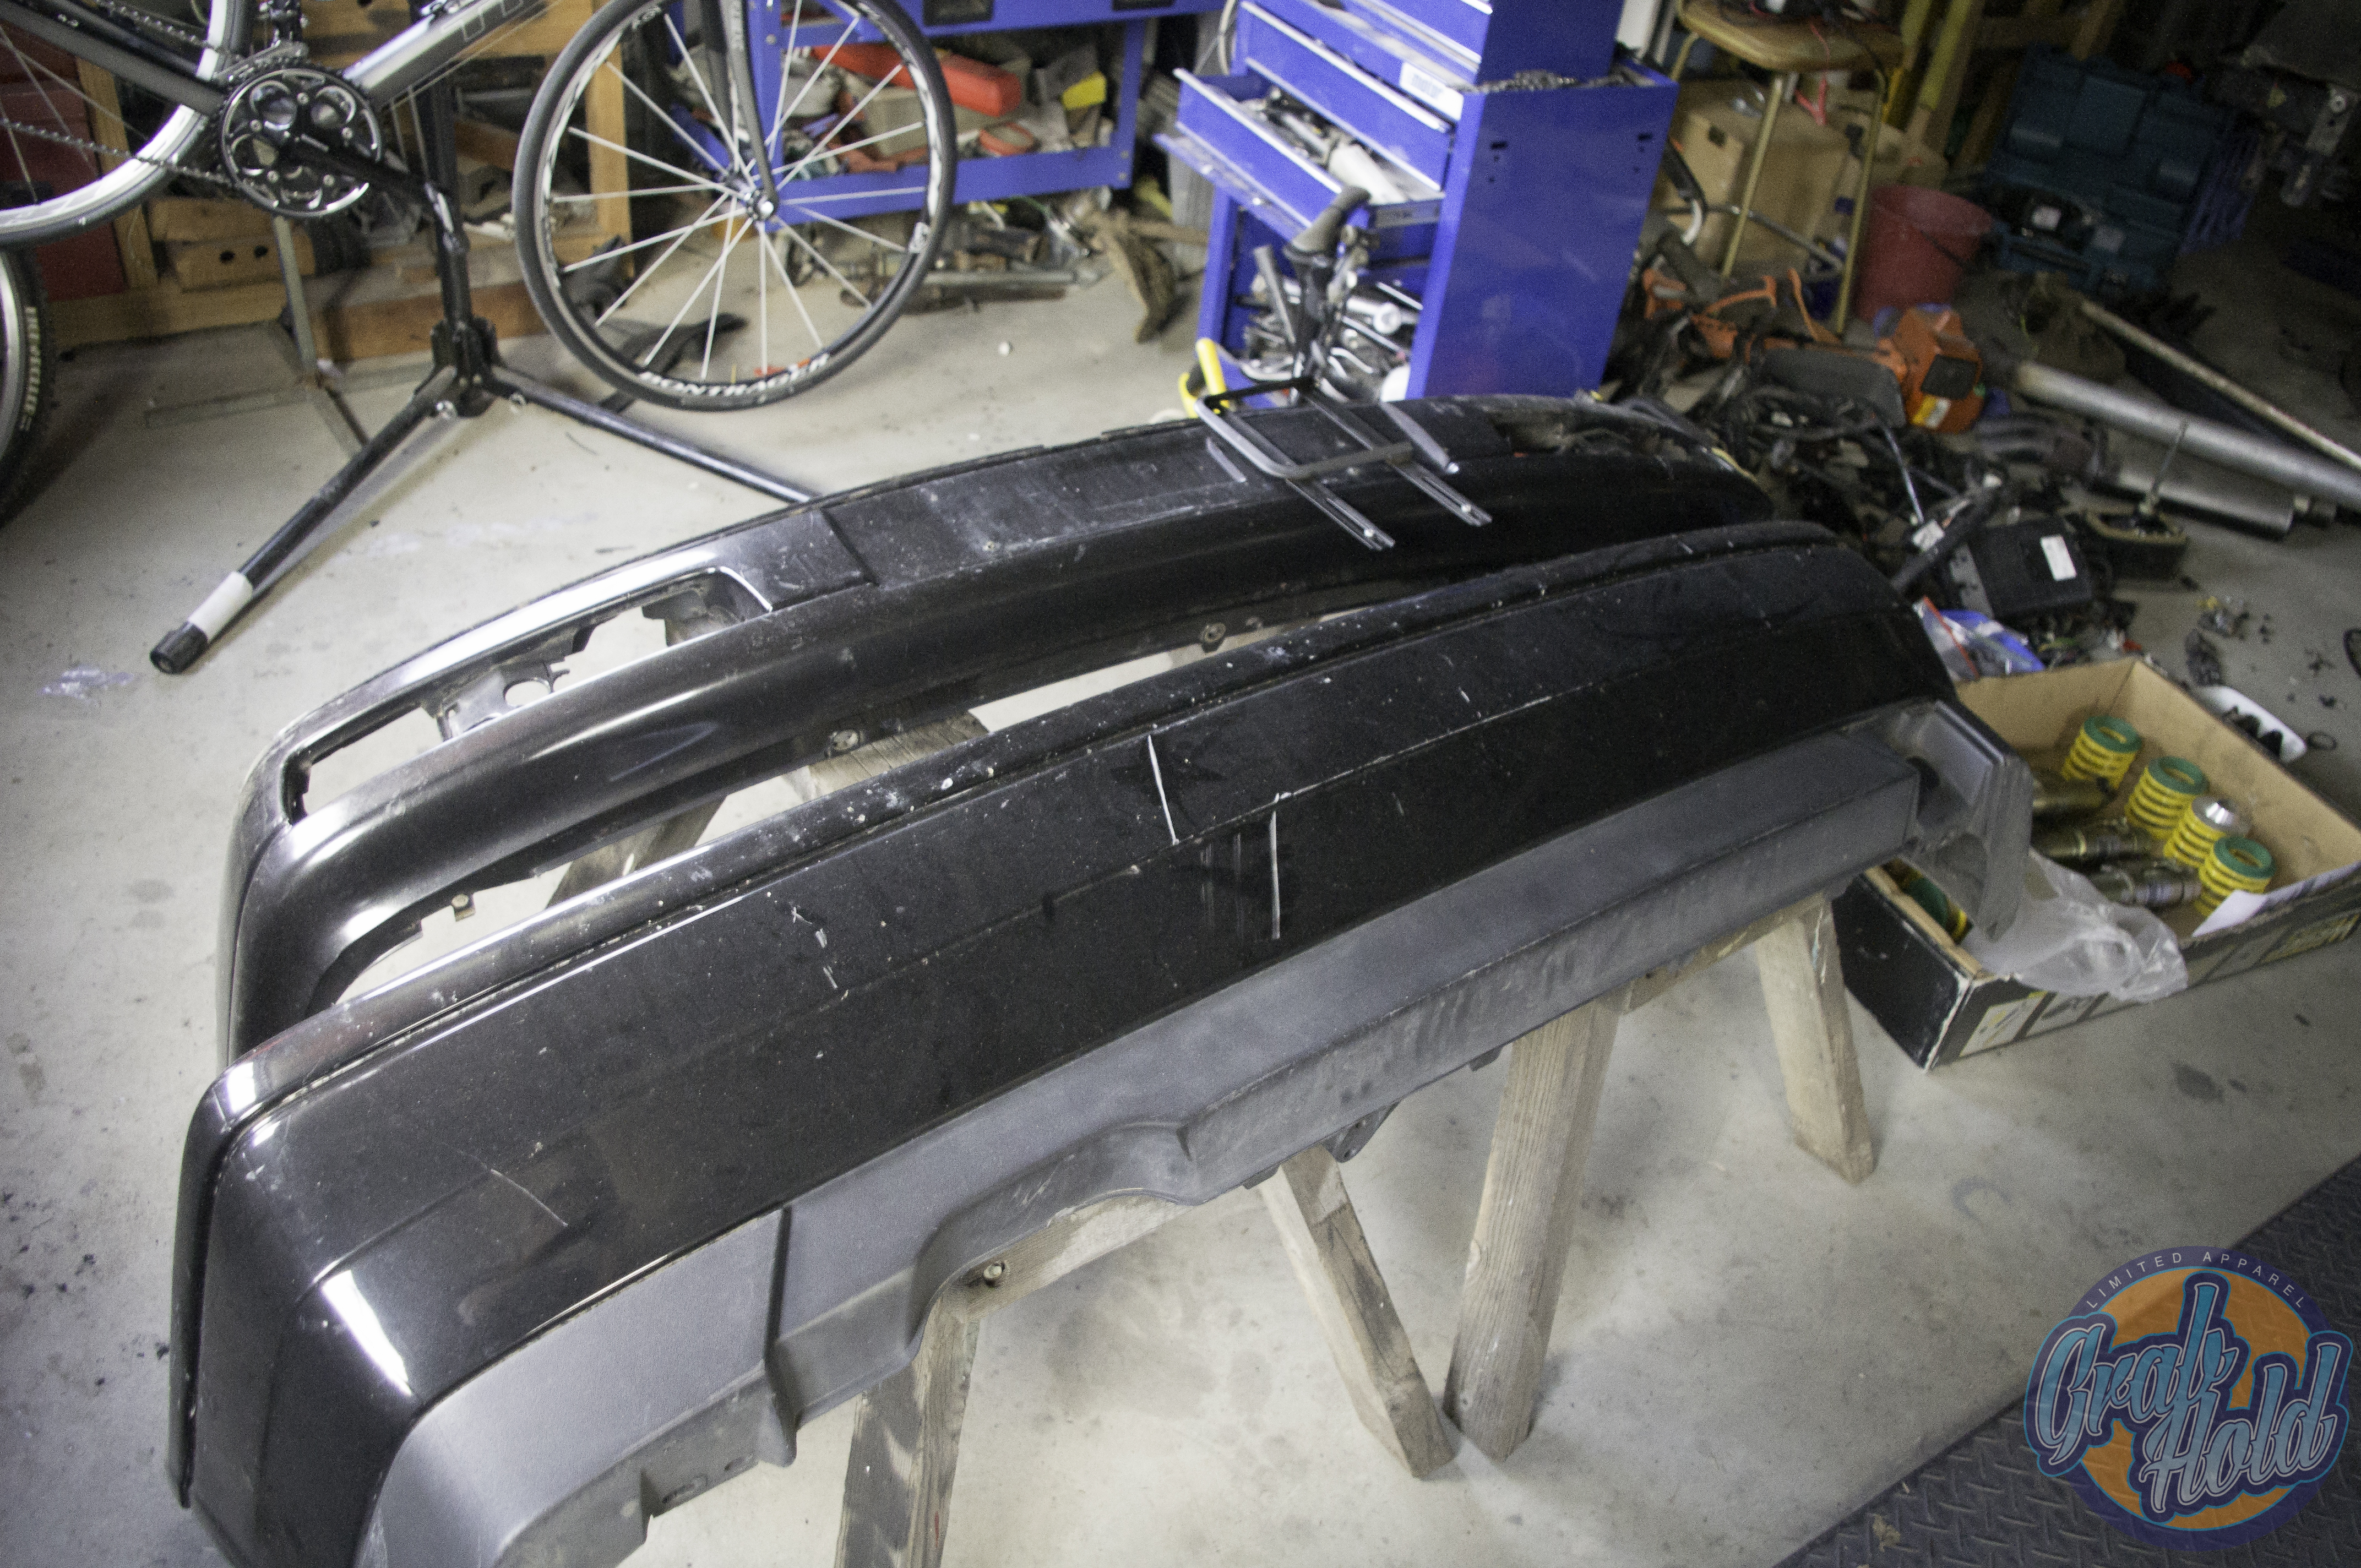
More parts by Smeeeb, on Flickr
until i looked a red golfs more and more. Eventually i came to the decision that it was just to red with colour coded everything, so i bought foffs old rear bumper texture bumper (my car has a sprayed texture top front bar atm) as well a few other goodies (which will be mentioned later).

More parts-2 by Smeeeb, on Flickr
On Saturday i was visited by my good friend Samuel *whip crack* Hewitt and he delivered to me a MK3 goodie bag that not many could compare to.
Firstly a set of Weitec Coilovers, they already and helpers taken out and bump stops cut :
:
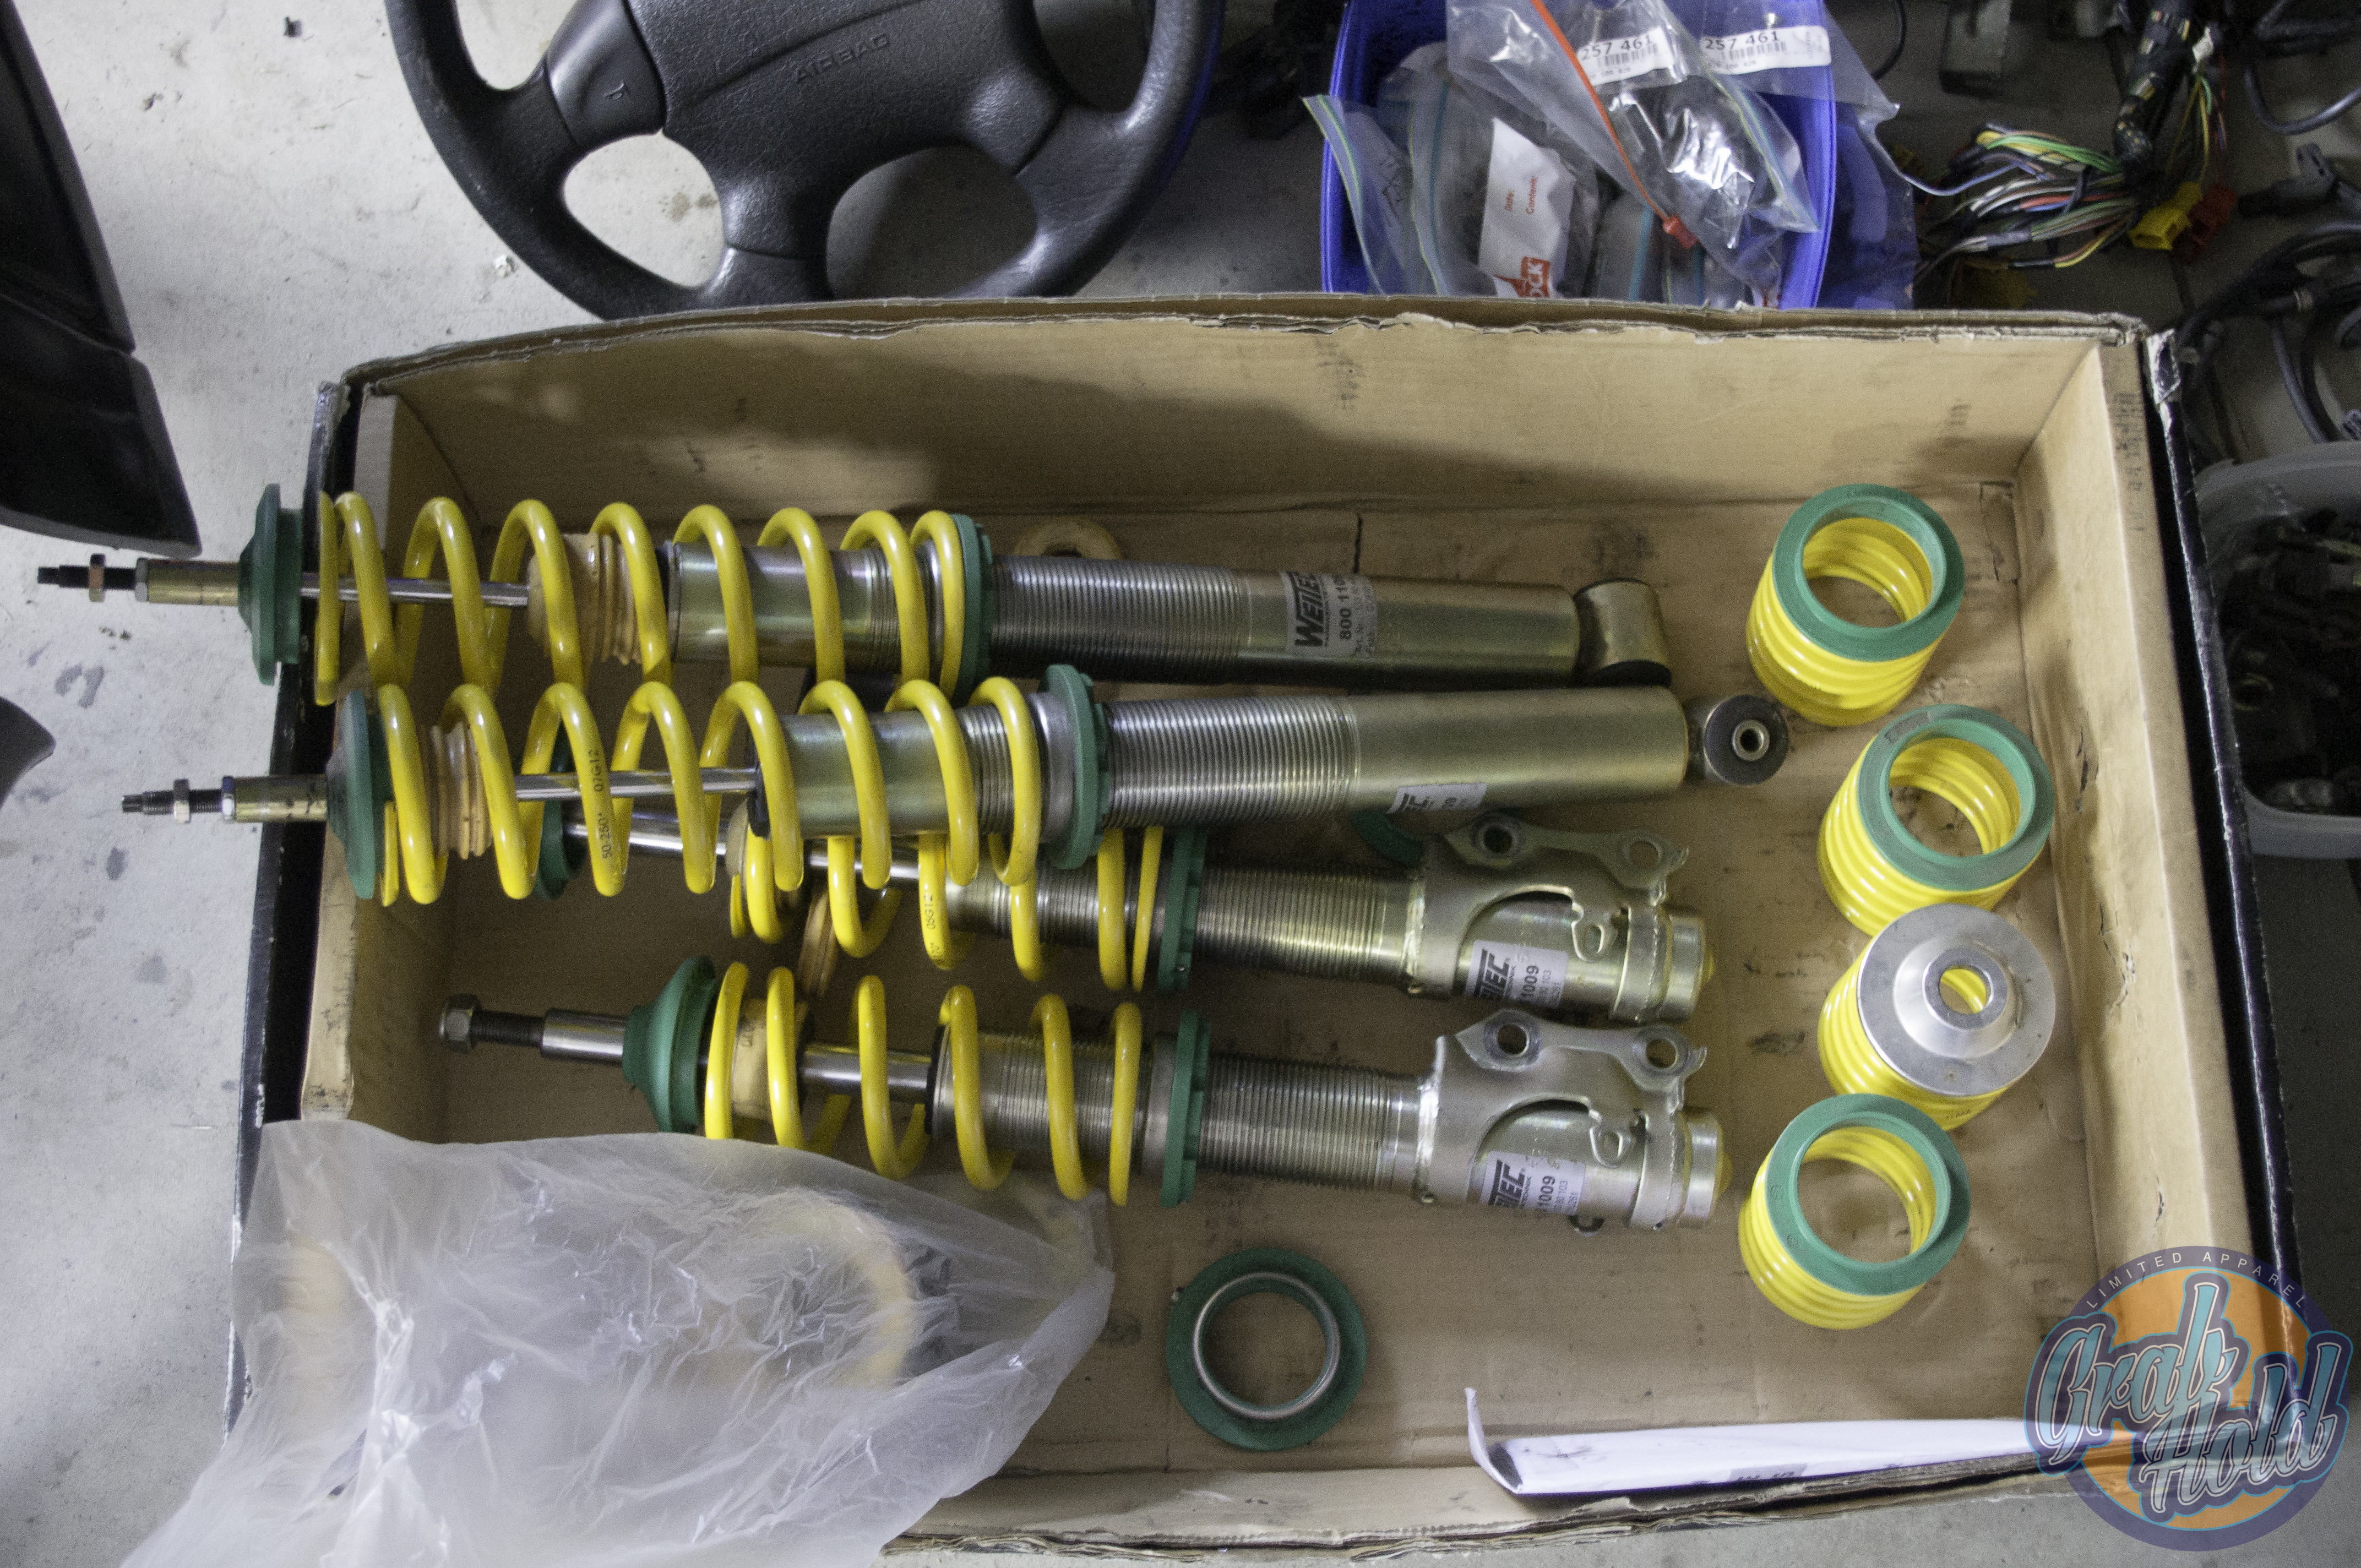
More parts-3 by Smeeeb, on Flickr
Secondly his old exhaust, which reads high flow cat > Hot Dog resonater > sports muffler, this all be connected by 2.5" stainless piping. This exhaust in my opinion makes a glorious excessively loud noise.
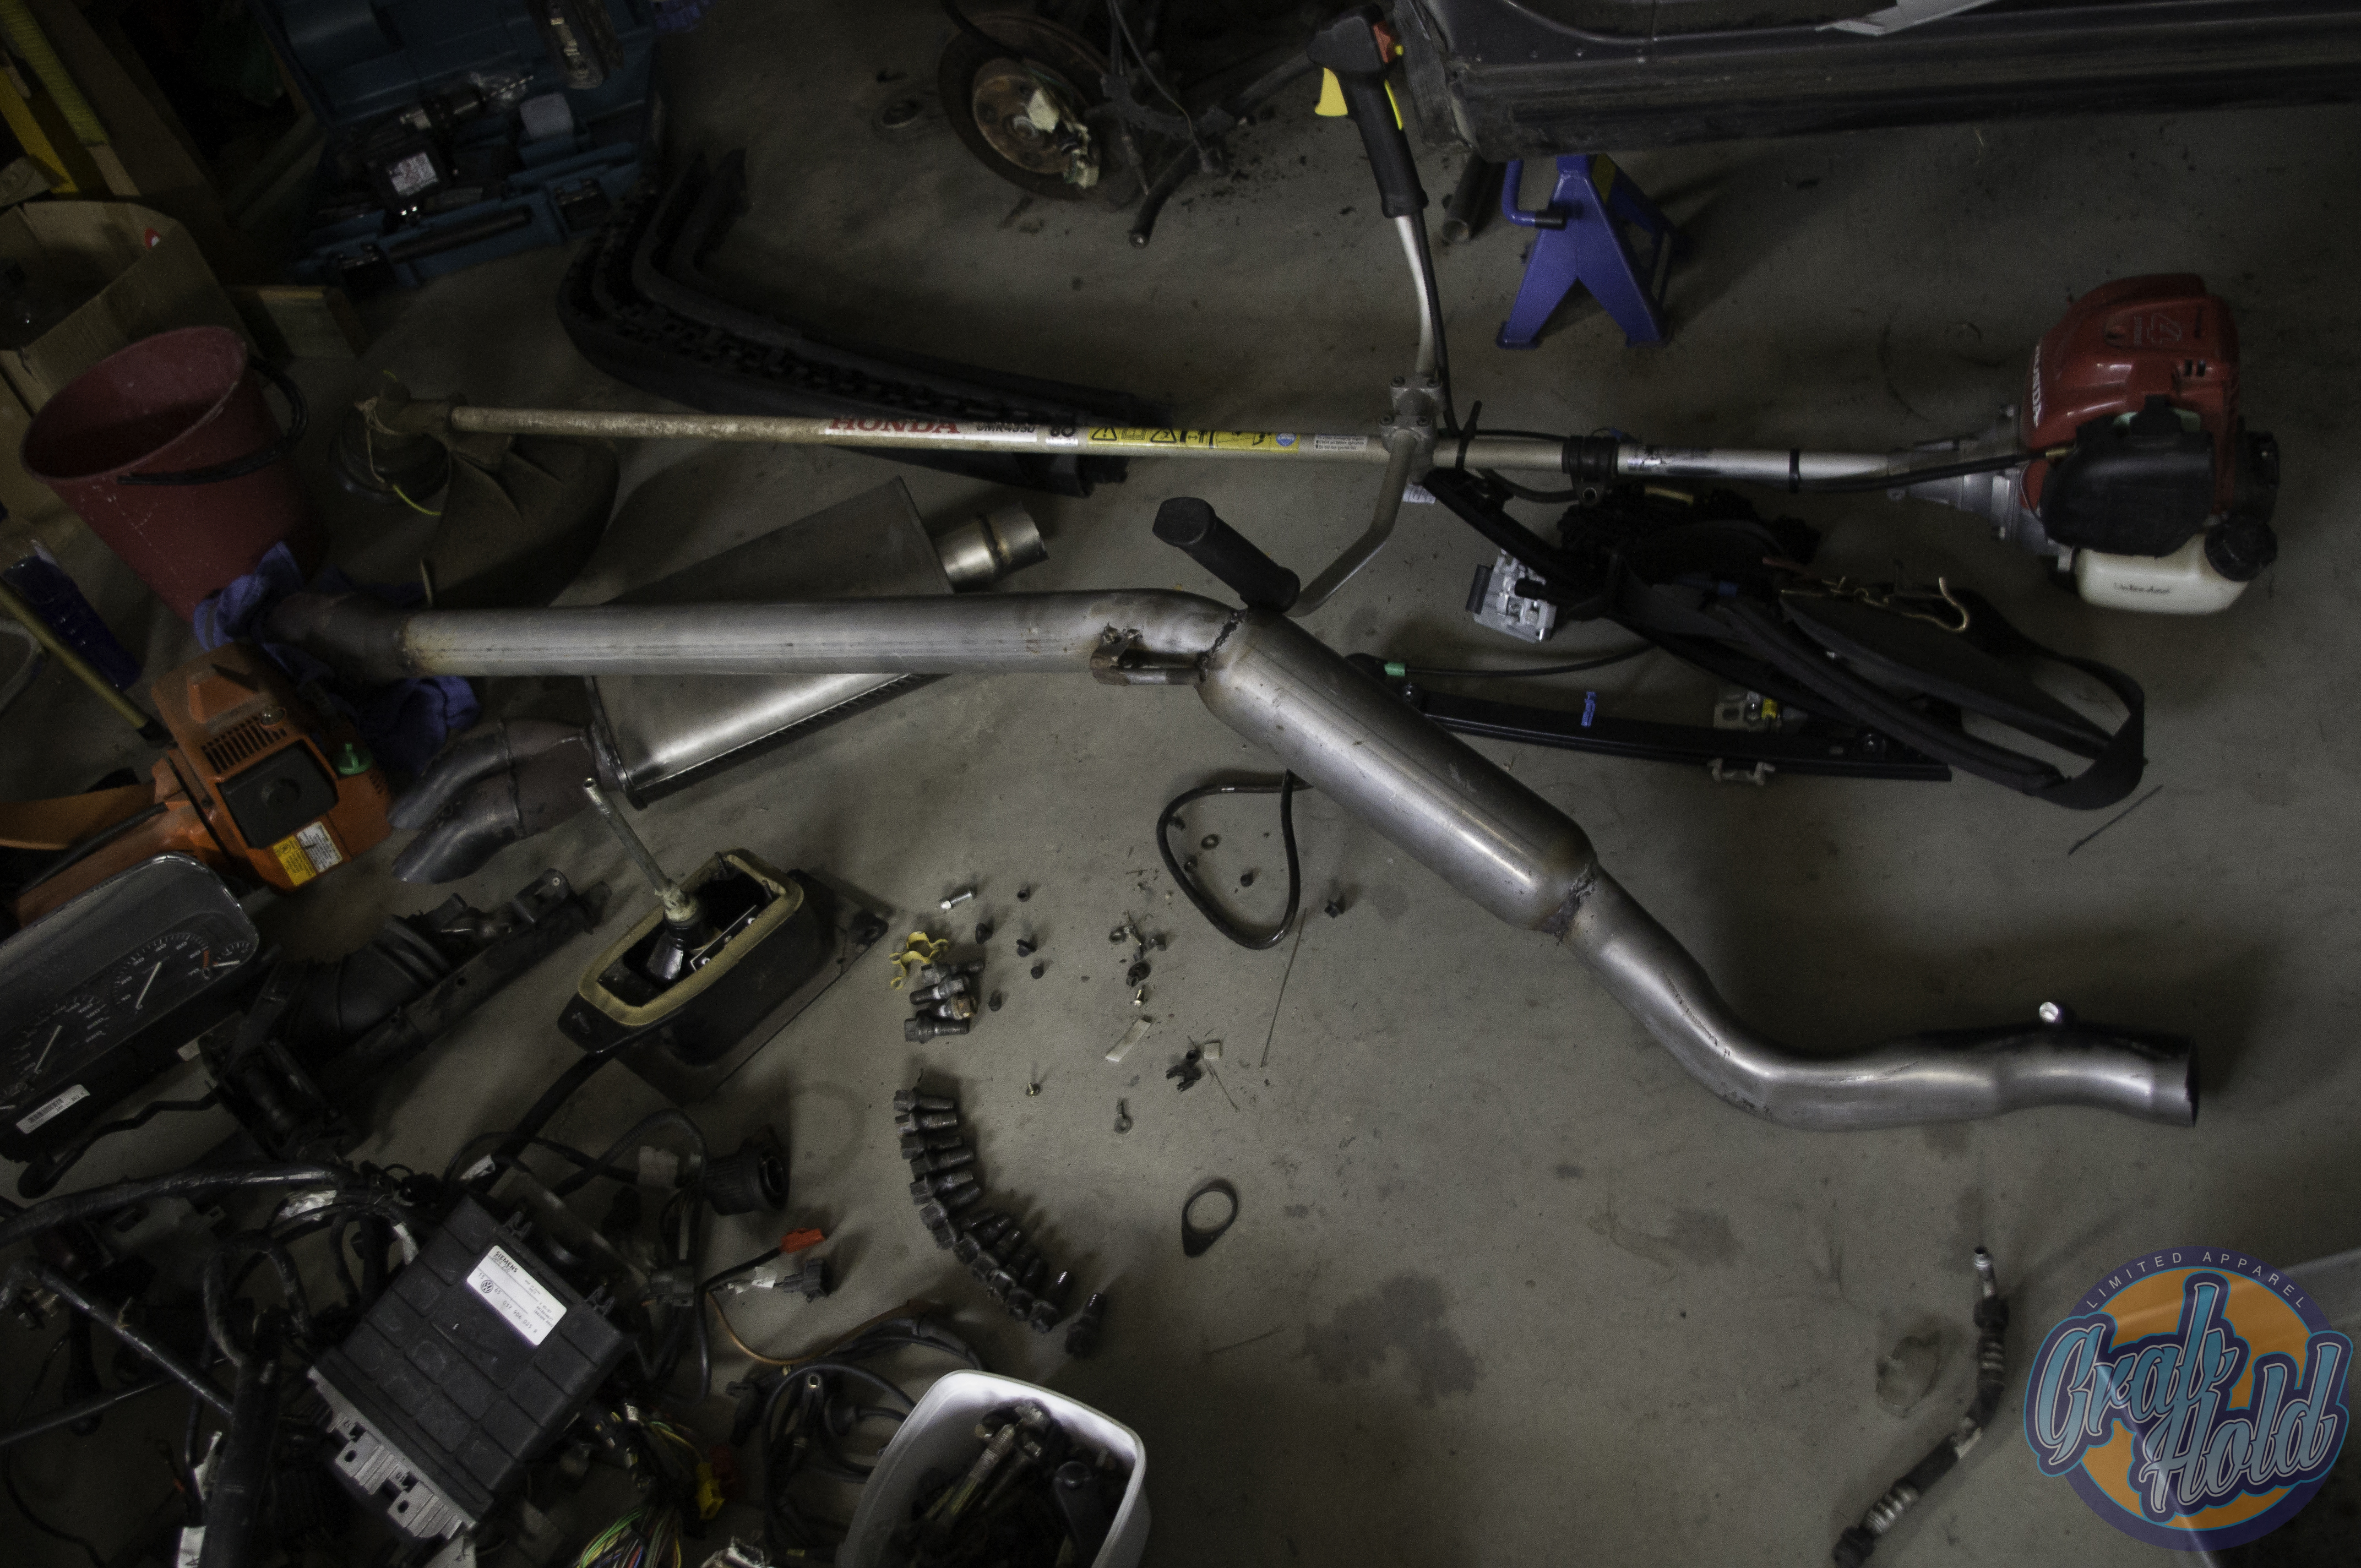
More parts-5 by Smeeeb, on Flickr
And last but not least his old steelies. The specs are 15x8 et15 and et20. They are baby blue originally then faces painted gold then faces painted matte black by Sam himself. These wheels have perfect mk3 fitment and i am quite happy i am now in possession of them.
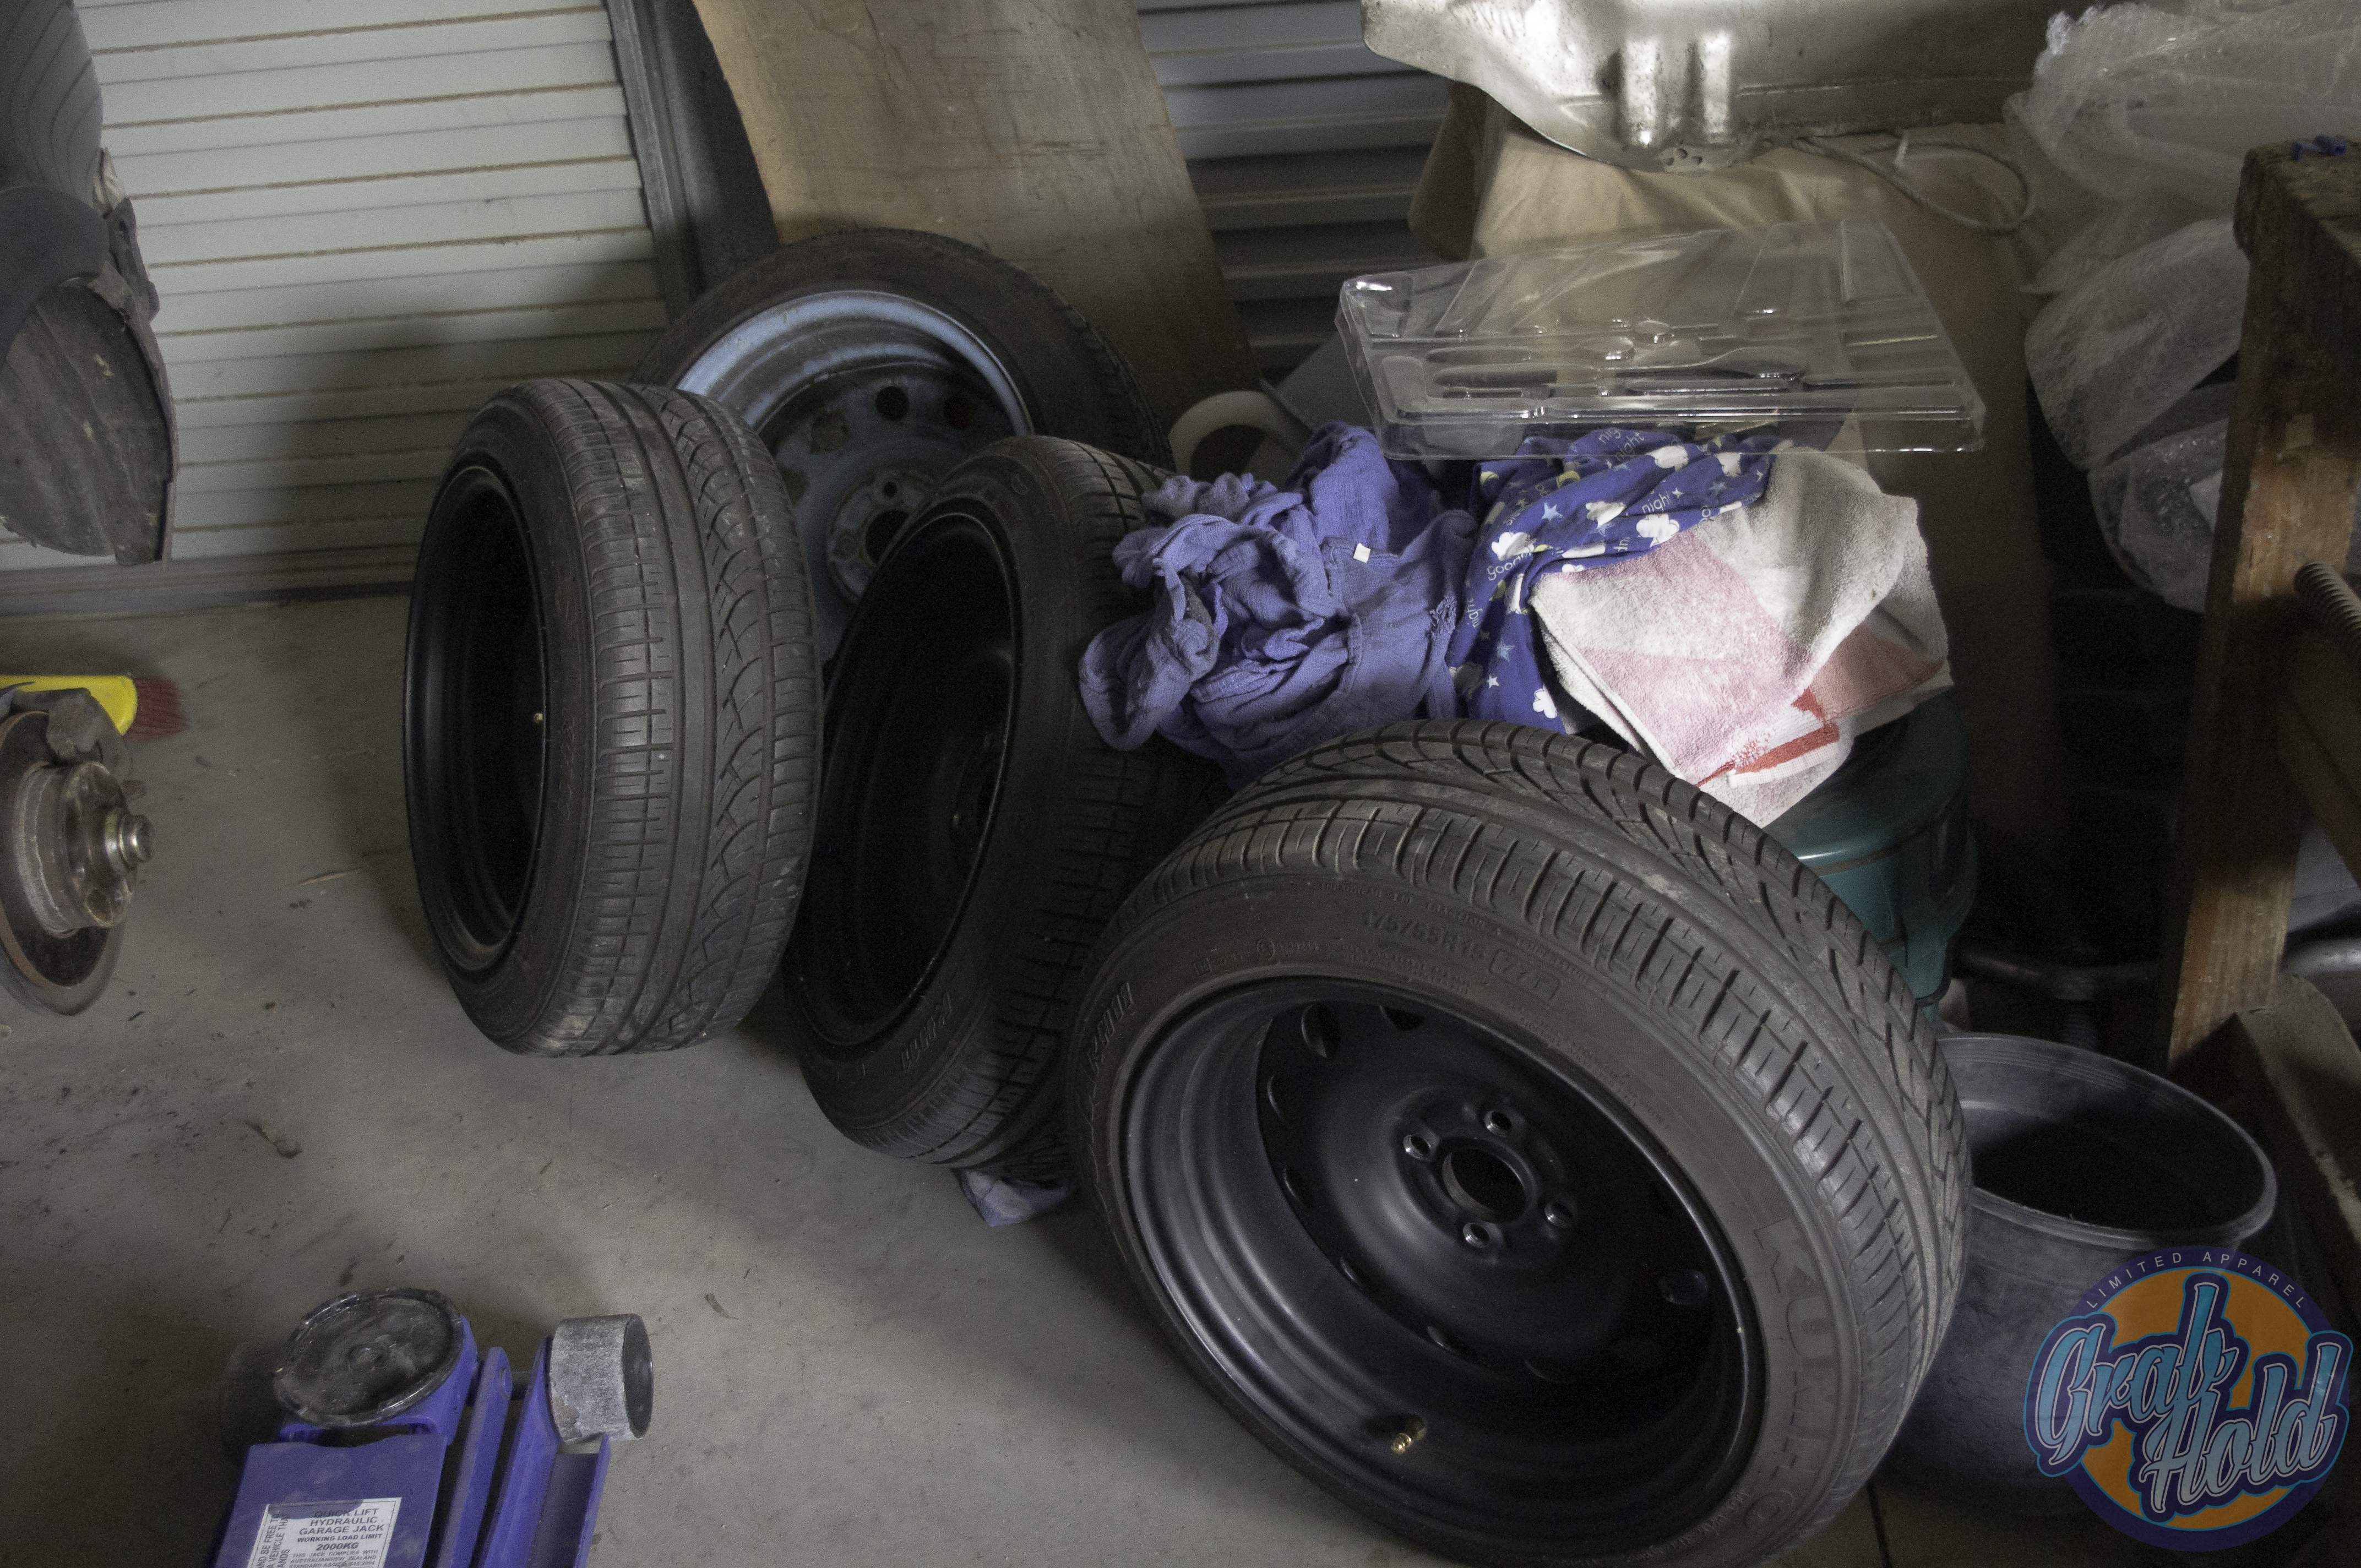
More parts-6 by Smeeeb, on Flickr
These are also the 5th set of wheels i have bought for this dumb car. I swear i won't just sell these on this time (unless someone makes me a handsome offer.
So back to foff, the other things he brought me were his old front 5 stud set up which i don't know if i'll use or not. It was sort of an impulse buy... He also brought me a set of D90s 16x8 et652418, i have no photos of these because they are in my storage room. p.s these are already sold because i'm dumb.
but he also bought what he described as "The MK3 Bible".

More parts-9 by Smeeeb, on Flickr
The Bently MK3 manual. It's has SOOOOOOO much stuff in it, it's actually mental. Anything thing you could ever want to do in reference to OEM stuff it has a indepth guide to how to do it. I am very excited about it. It has a few war injuries and what not. It's still a cool piece to have in the garage.
Hears a pile of my crap ready to do the swap.
More parts-4 by Smeeeb, on Flickr
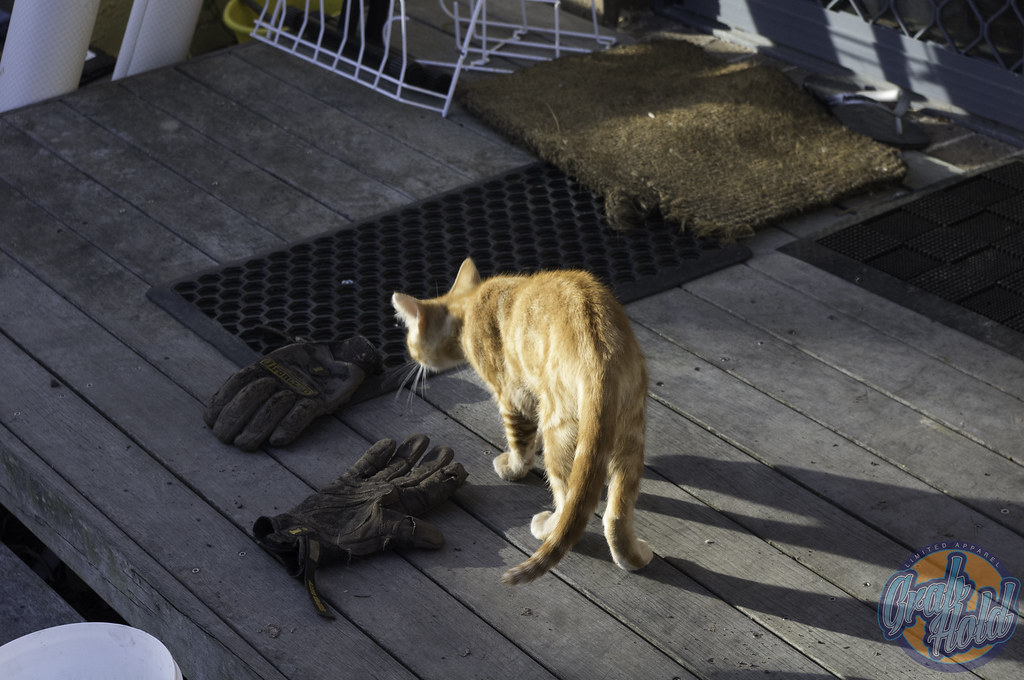
Here's my cat looking really cute as always, ps his name MR Meowgi because he catches flies all the time.

More parts-8 by Smeeeb, on Flickr
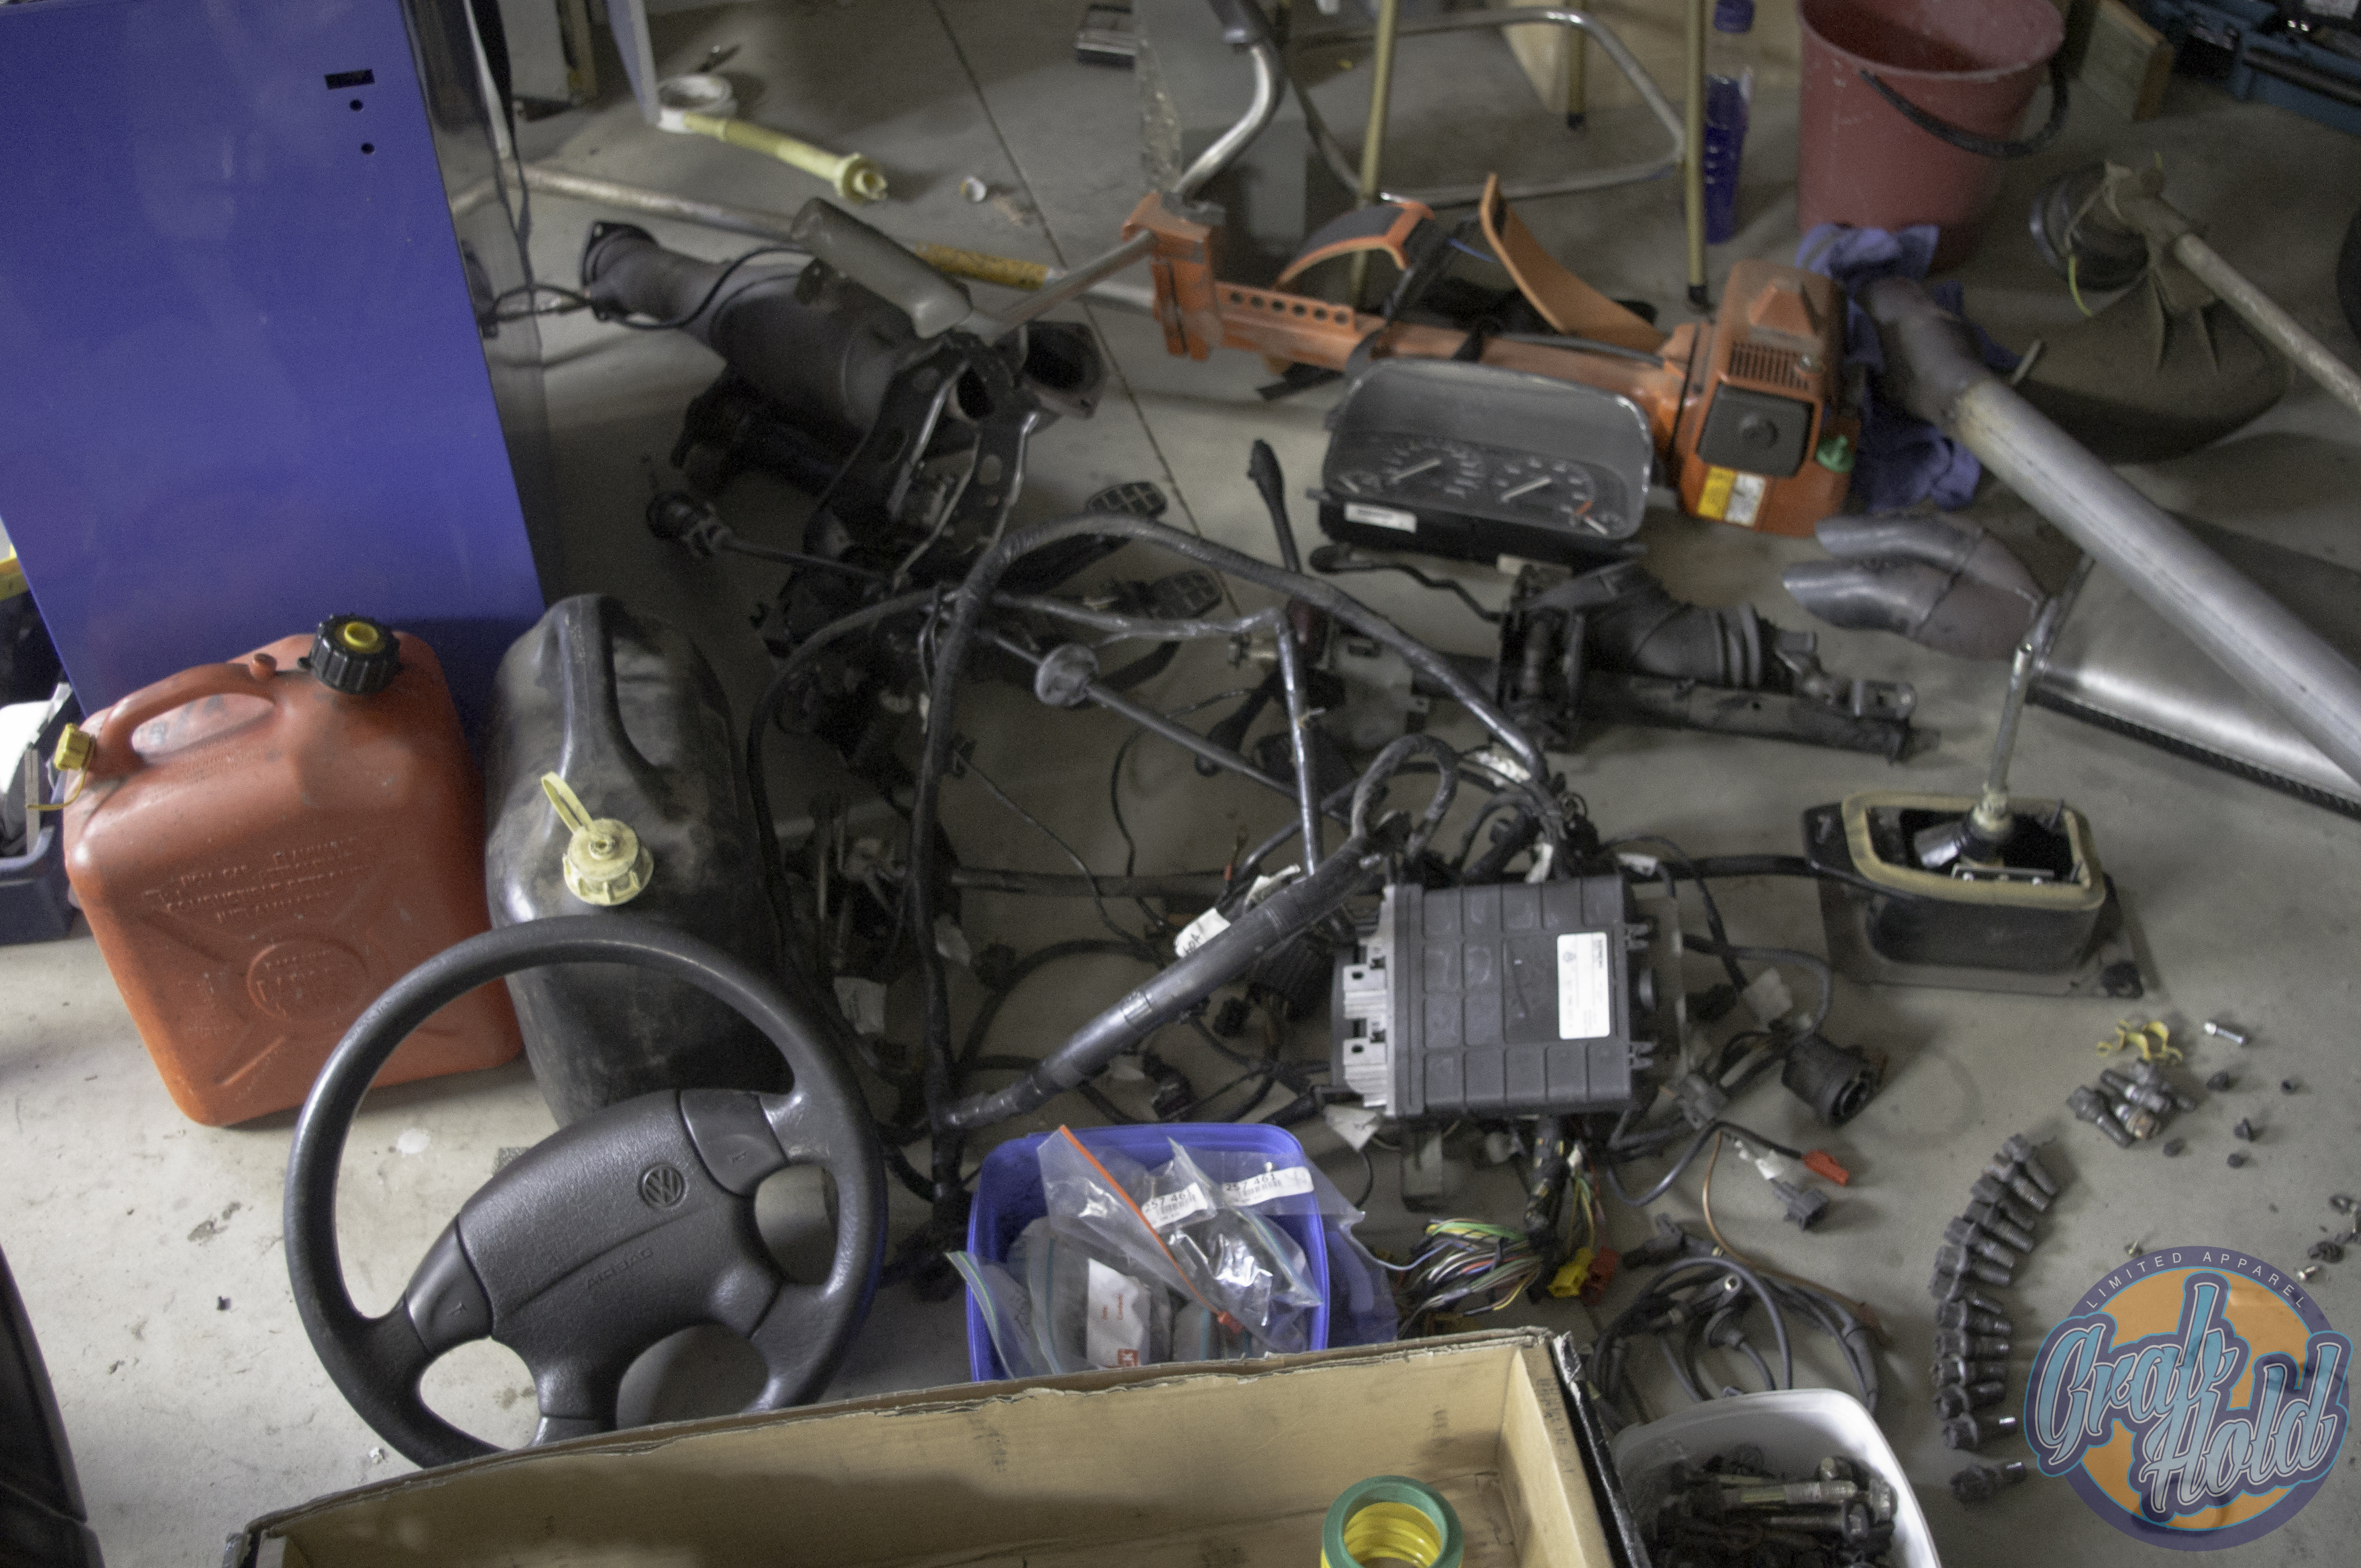
I found this little piece under the carpet when i as stripping my car, i had a good giggle.
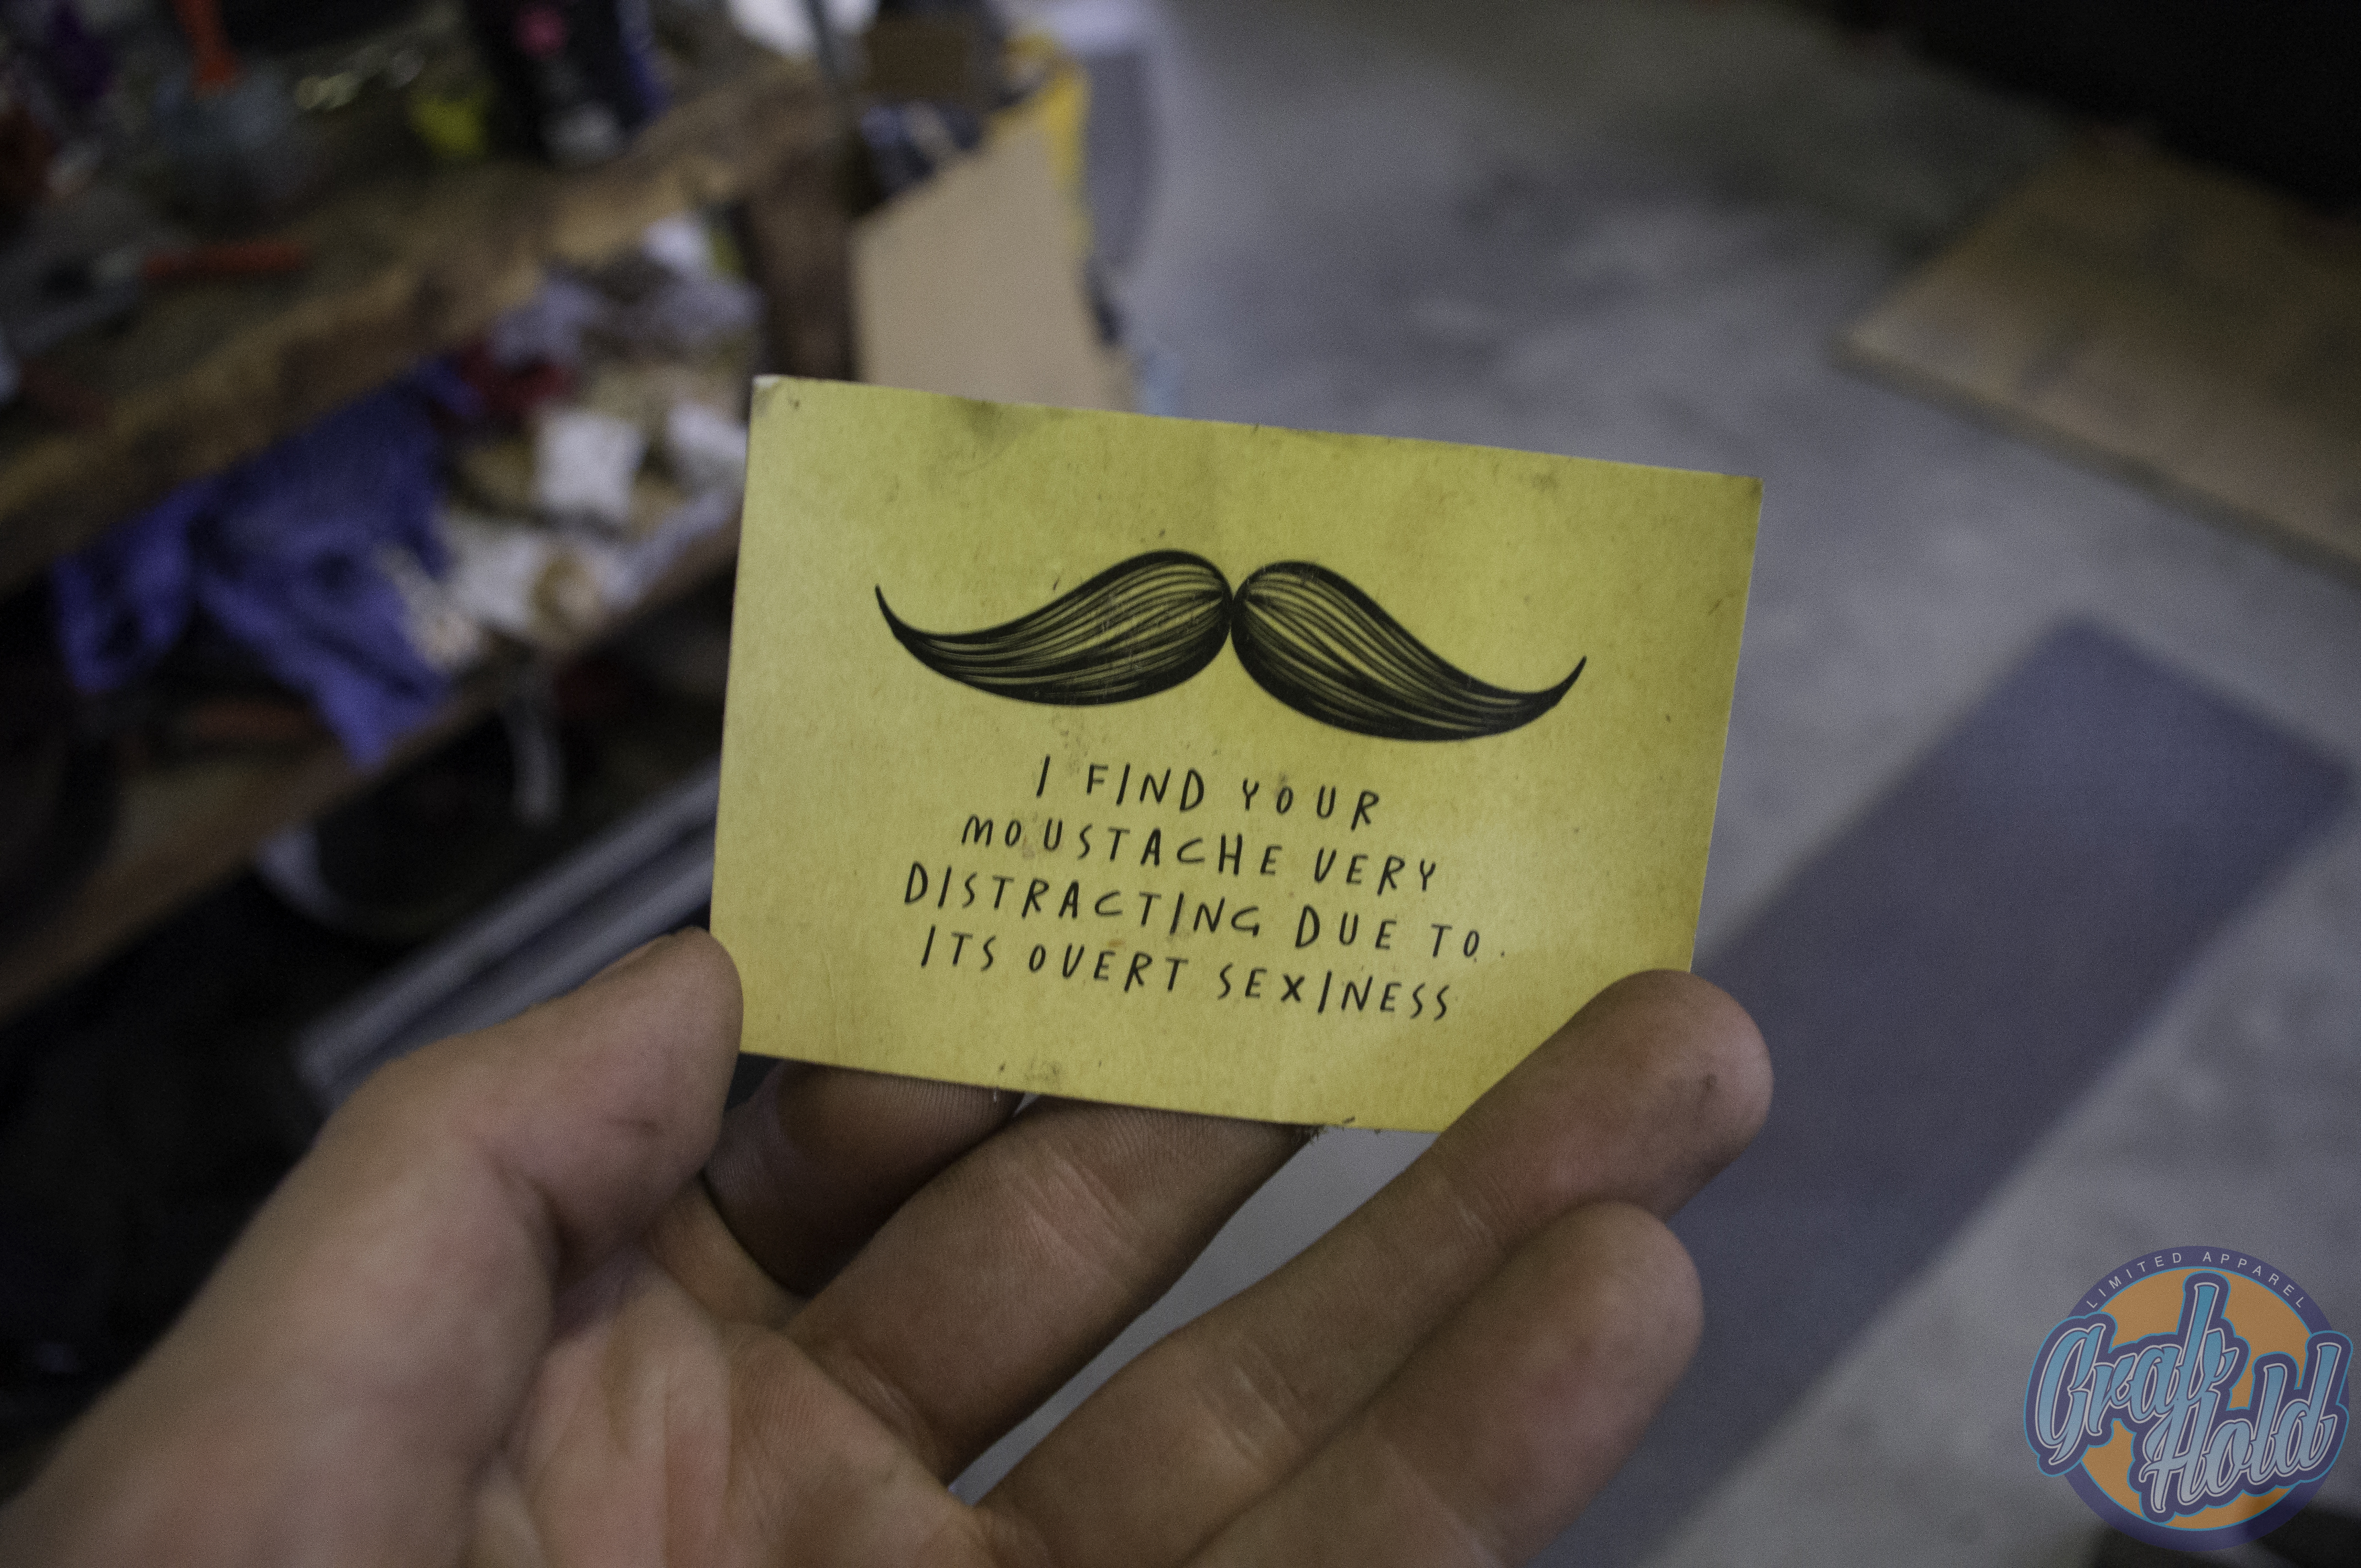
More parts-10 by Smeeeb, on Flickr
Anyway, till the next time. Hopefully i'll have real progress.
:banana::banana::banana:
Ok, here is somewhat of an update.
I ordered everything i need for the swap now, basically just a bunch of gaskets and a few other goodies.
For the time being i have been doing some painting and aesthetic work to the car to get it looking smick. The improve the look of the car i have decided to go textured over colour coded because i felt that the full red look was a tad overwhelming and the textured strips would break up the red nicely. Now this unfortunately was a problem as i had sold all of my textured bumpers and what not... so i had to source them myself which was annoying and money comsuming...
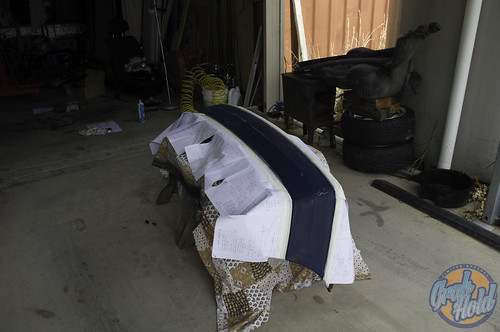
alas i only had to get a rear as who ever owned the car before me decided that painting a texture top will look fine and noone will notice...
So i gave the top of my bumper a light sand and spray canned it matte black.
I used my old math notes as masking paper because they are not needed anymore.
Sitting on saw horses.
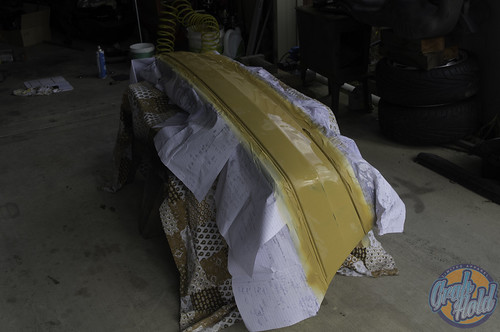
Coat 1

Coat 2, let it sit over night.
Finished product unmasked and what not.
It looks better than i thought it would, granted there are some pretty terrible drip lines due to sitting like it was but i think it looks good :P
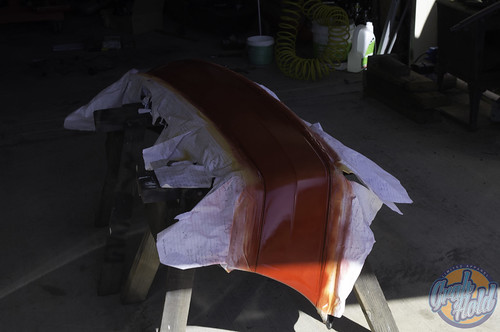
I also sat outside for like three hours sanding down the rear bumper whilst listening the Js. I got he bumper of foff, it feels wrong sanding back that lovely windsor blue for crappy red...
I sanded it back with 400 grit,
before
after

Gave it a nice matte, a few bits i still need to go over again in this photo. They have been done since then.
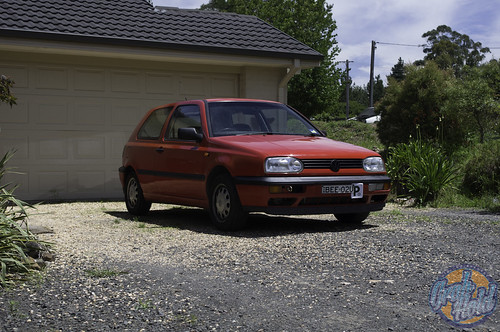
I also pulled apart the whole front end for a bit of an overdue update do dual chamber headlights and some other this's and that's.
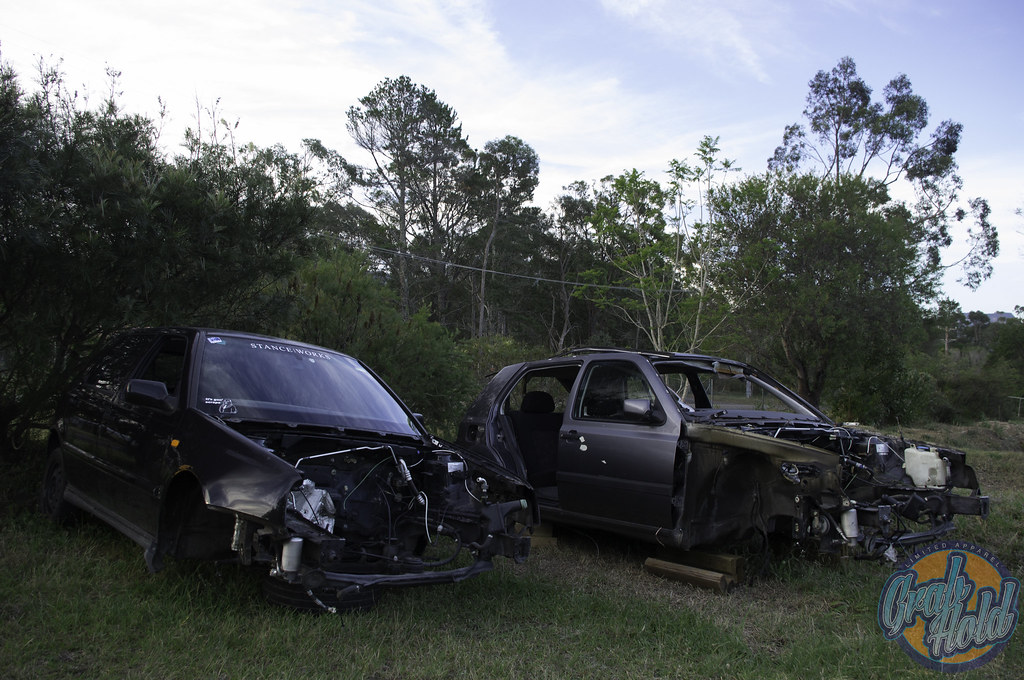
Notice you can see all three of my shells in this photo...
#myhouseisactuallyagraveyard
I also painted the rear badge matte black.
Masked and painted, didn't get any real before pictures because it was late at night and this area is unlit so the photos would turn out poopy.
Masking tape off and dried all that jazz.

There is bit of overspray from where i got past the tape but ain't care.
Here's a photo of my cat enjoy being outside.
Here's a close up photo of the graveyard..
I also have lots of lipstick prints on my car inside and out, i think it was from tuesday when i was deso at friends 17th...
Anyway, i have to go work now. I'll have full picks of how the car looks monday or so mostly..
:banana::banana::banana:
Ok, i have some photos uploading at the moment so i'll just leave this here.
Hey, most of you already know me but for those who don't my name is Jordan i'm currently a 17 year old highschool student in year 12. I'm just about to start my trials so this is me procrastinating/rewarding myself for not doing anything. I earn little to nothing a week so progress is slow but well thought out (usually).
I have always been a VW guy, originally i wanted a beetle or a Kombi but for the money i had i couldn't afford anything without it being a major project which i didn't have the time, resources or knowledge to take on such a task. So i ended buying my first car which was this lovely Black Magic Four door GL.
DSC_0306 by Smeeeb, on Flickr
It was getting to a stage of completeness and only needed a little here and there. Unfortunately i was being stupid and going to fast in the rain and span which caused me the break several important parts of the car.
DSC_0345 by Smeeeb, on Flickr
These things made dad and i decide it would be easier to just buy a new car and start again rather than repair everything that was broken. So i set off on the various car sale sites and started searching for a nice little golf to drop my parts on or start again. I hadn't decided yet. Whilst browsing eBay auctions one night my father stumbled upon a very poorly worded ad for this little gem.
DSC_0350 by Smeeeb, on Flickr
DSC_0349 by Smeeeb, on Flickr
Both dad and i messaged the man via eBay then the day after the next we set off the a little settlement 20kms out of Canberra to the old girl in the metal. After some inspection the came up pretty clean apart from a scratch here and there, some odd dents. We took for a test drive, and Christ this thing is slow in comparison the VR we drove down it literally feels like it will never be able to get to 100kph but everything worked the engine seemed well maintained for the most part. It being an eBay auction the man didn't want to part ways with the car till the auction was over, so we set back off home and deliberated as to whether or not we wanted the car. I made the decision i didn't want it originally being an auto and all. So i put my dreams of owning a two door aside and continued our search into other fields.
Alas the night of the end of the auction came and my father reminded about the car and said **** it lets see what happens, we put a bid for $1000 on the car and left if we were outbid, we were outbid. To my honest content we weren't outbid. Again the day after the next we set off on another trip to a little settlement 20kms outside of Canberra and met the man again, who owned a new TDI Toureg i may add. We swapped money for documents that state the car was now under our ownership shook hands and i drove the little two door terror the way home. I then proclaimed myself the new owner of this lovely 1995 Red two door CL.
The drive home was terrifying seeing i had to pull out onto the highway from a standstill, the car seems to hit the barrier at about 30kph which is terrfying pulling out into holiday traffic in your newly purchased child. the drive home apart from that was drama free and very relaxed thanks to an aftermarket cruise control unit installed by the owner before the one i bought the car off.
DSC_0357 by Smeeeb, on Flickr
Odd little thing it is, very easy to work to my delite though.
Since arriving home i haven't done much to her apart from today, just drove around the place enjoying my last school holidays as a public school student.a
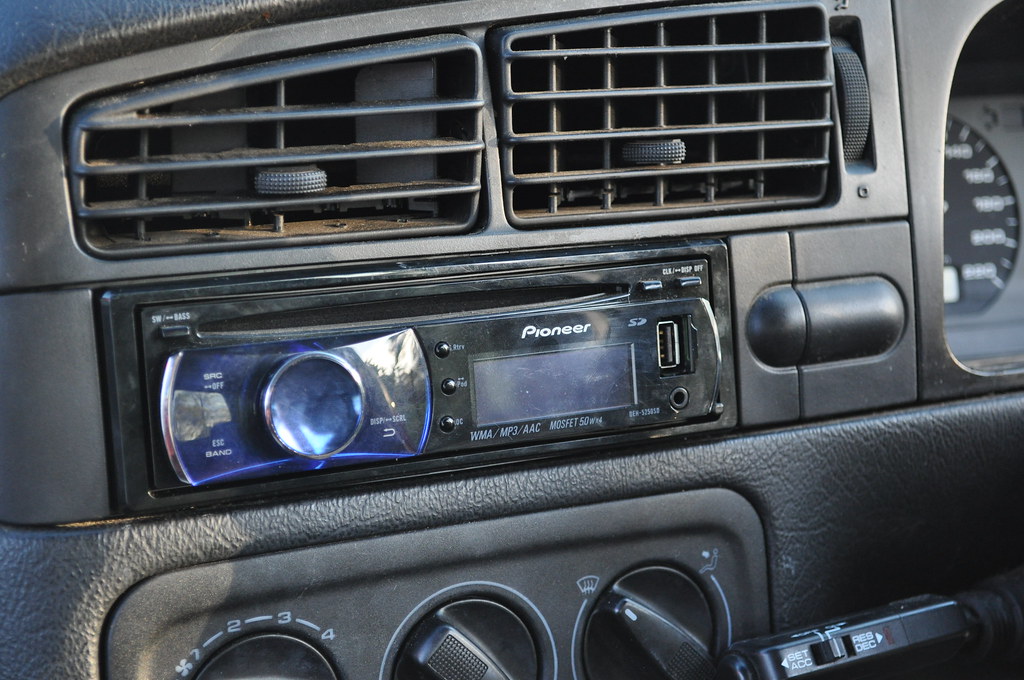
Today though i was sick of not having a working headunit and pulled the old one to discover after some electrotherapy that it had a blown fuse. I then installed the old headunit out of my car.
I went from this old retro and radbutnotworkingness.
DSC_0348 by Smeeeb, on Flickr
To my relatively new working pioneer headunit.
DSC_0360 by Smeeeb, on Flickr
As for plans for the car the always the basics, low, wheels and loud. Apart from that i have a almost perfect 2.0 manual engine with timing chains, belts and waterpump recently done sitting there collecting dust, so after i figure out what i need, i shall be enlisting the help of a few friends and attempting to smash that out over a weekend. I also have my lovely vento front which will most likely grace the front end of my car but needs painting again....
I also have a mass number of bumpers sitting around so i shall be attempting my hand at making a shaved bumper. How that will go i am unsure of but i hope well.
That will be it for a couple of weeks seeing i am about to start my trials and commit suicide in the english essay portion of the exams, who's smart idea was it to make 17 and 18 year old write 3 essays on different topics and authors in a crowded hall in 2 and half hours. Who ever came up with it, i **** you.
For now i am off to destroy my liver at my best friends 18th birthday. :emo_baghead:
Thank you for reading, chow until next time.
:banana::banana::banana:
Hello again,
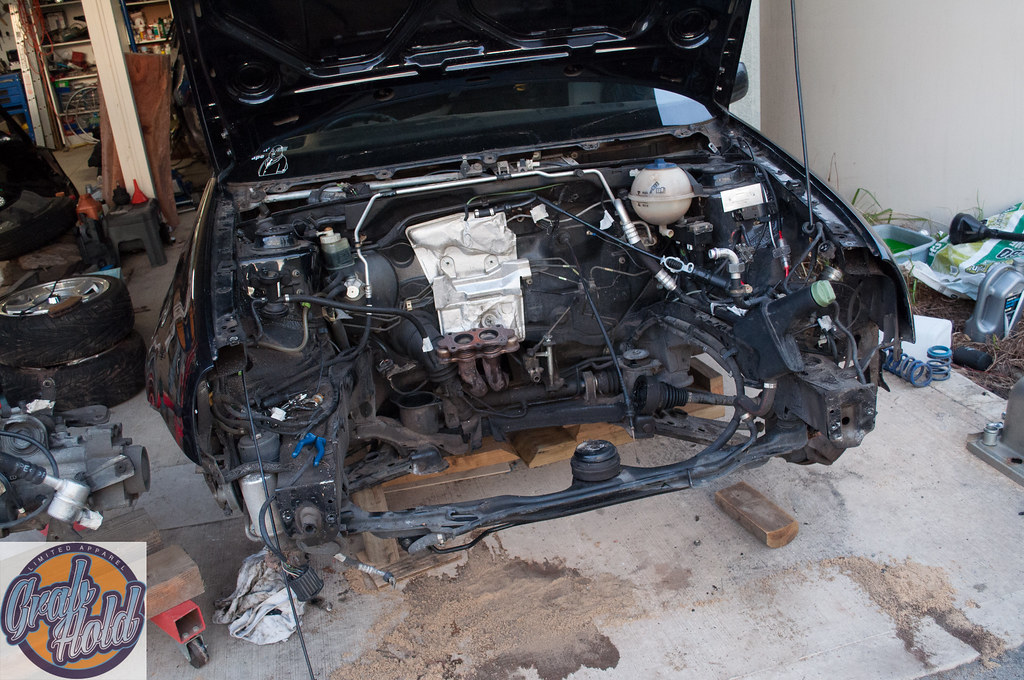
So since my father wants to get all the wrecks off our property so our house looks less like a scrapyard. This caused us to start properly stripping down everything we will be using for the two door. This meant removing the engine, this is the second engine removal i have done and the third time I've been properly pulling apart the engine bay. The others being putting a clutch in when i got the car and the second the being a swapping the front engine mount not that long ago.
As a whole the removal went quite easy without to many dramas apart from some bent engine mount bolts :emo_baghead:
It has been so cold here lately that working past 6-7pm is not happening the temperature drops down to close to zero degrees so this whole process was done in three afternoons with the assistance of my father of course.
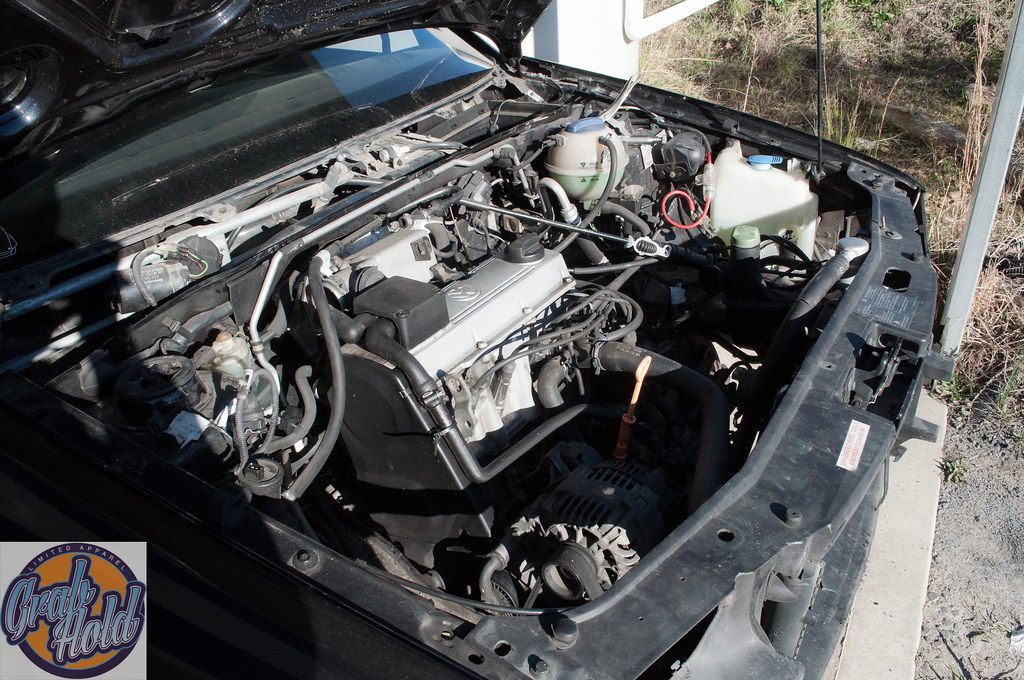
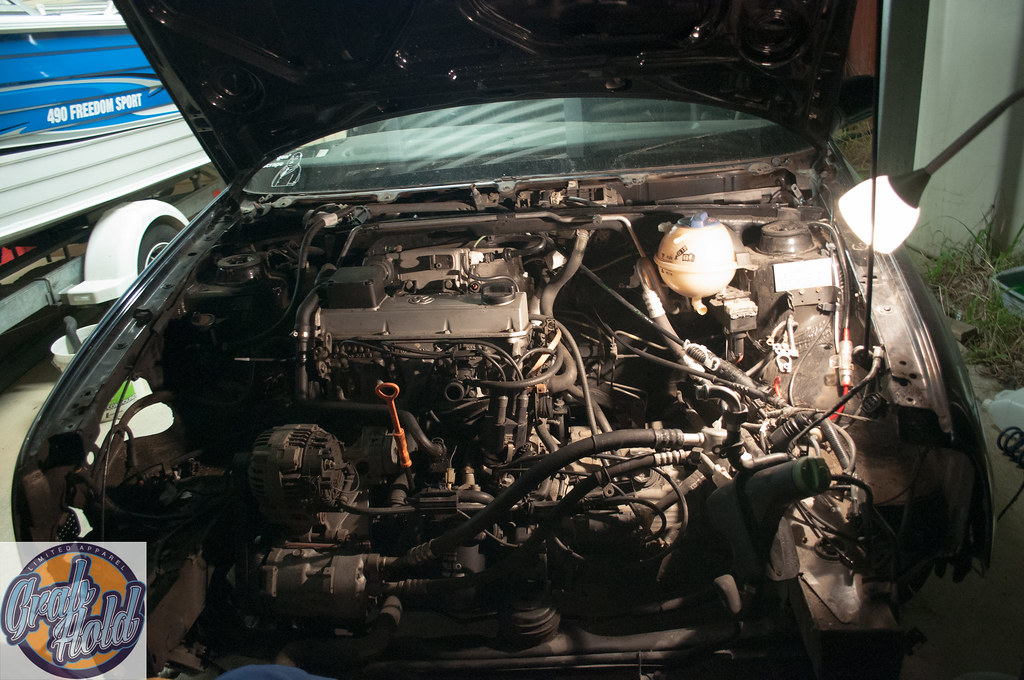
Day 1 - Unplugging things removing hoses
DSC_0380 by Smeeeb, on Flickr
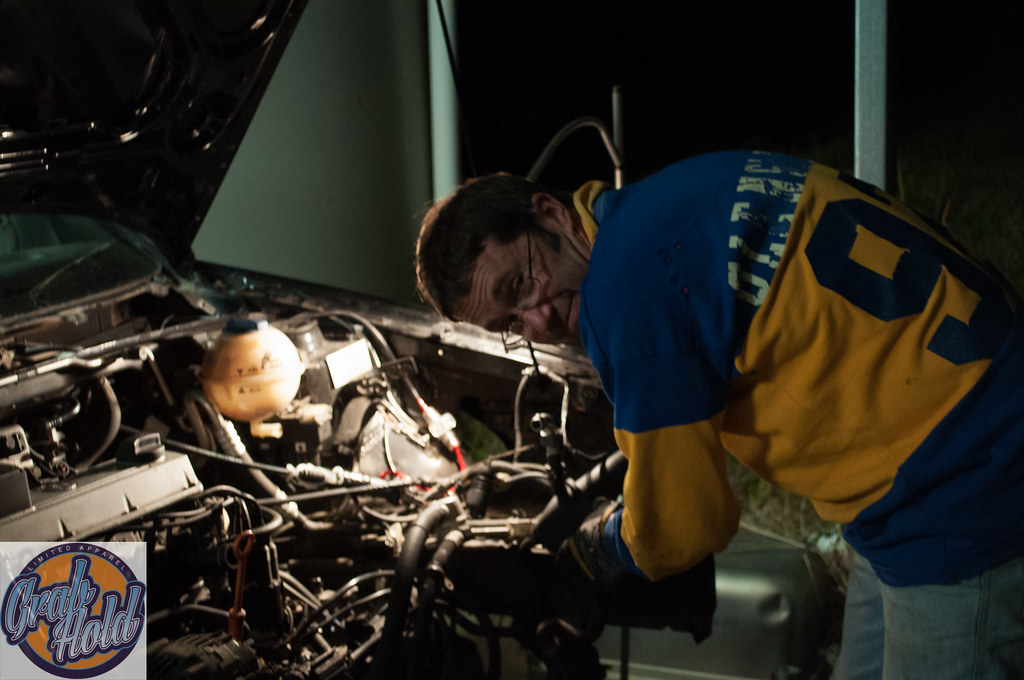
Day 1 End - Everything unplugged front bar removed, radiator air con
DSC_0382 by Smeeeb, on Flickr
Day 2 - Undoing engine mounts and undoing exhaust manifold bolts
(I don't have a picture of this for some reason, it looked pretty much the same as the above picture)
So if you have never removed a 2.0 i'm not 100% whether it is the same for the 1.8 and VR. Getting the down pipe from the exhaust manifold off is dumb and should feel bad about it self. For one of the bolts we had to put the fitting on the bolts then feed an extension between the exhaust pipes to reach the bolts and have a decent amount of leverage to crack the nuts. So after had done this all and cracked everything and undone them we called it a night as it was 0 degrees.
Day 3 - The removal
Now everything was off and the engine was ready to come out. I came home from work ready to get it done but my grandparents were down for lunch so this delayed it a few hours, lucky my granddad decided he wanted to give a hand so we had some extra brain power and muscle to help us along the way.
One problem we had was the positioning of the car, it was facing towards the dirt driveway which is quite steep so we couldn't really get the engine crane up there. This created a problem.
DSC_0388 by Smeeeb, on Flickr
Which was solved my a use of a swing sort of motion, which worked the second time :emo_baghead:
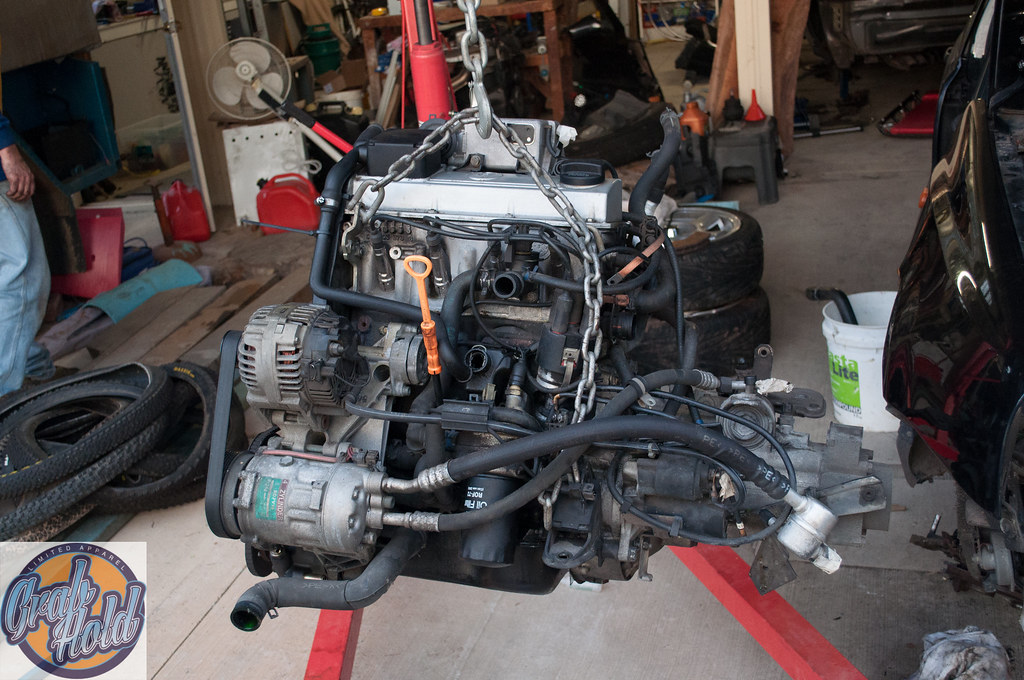
THE ENGINE IS OUT YAY
DSC_0390 by Smeeeb, on Flickr
It's surprising how substantial the engine seems once you actually get it out, it takes up basically the same room as the VR engine in the shed. Which is both good and bad.
There's so much room for activities!
DSC_0392 by Smeeeb, on Flickr
This means the engine swap will be happening some time soon hopefully, i just have to sort out what else i need for it to just drop in and what needs replacing on my old engine.
Also thanks to my old man for being a source of knowledge and cracking all the nuts i couldn't.
DSC_0383 by Smeeeb, on Flickr
Till next time.
:banana::banana::banana:
Hey there,
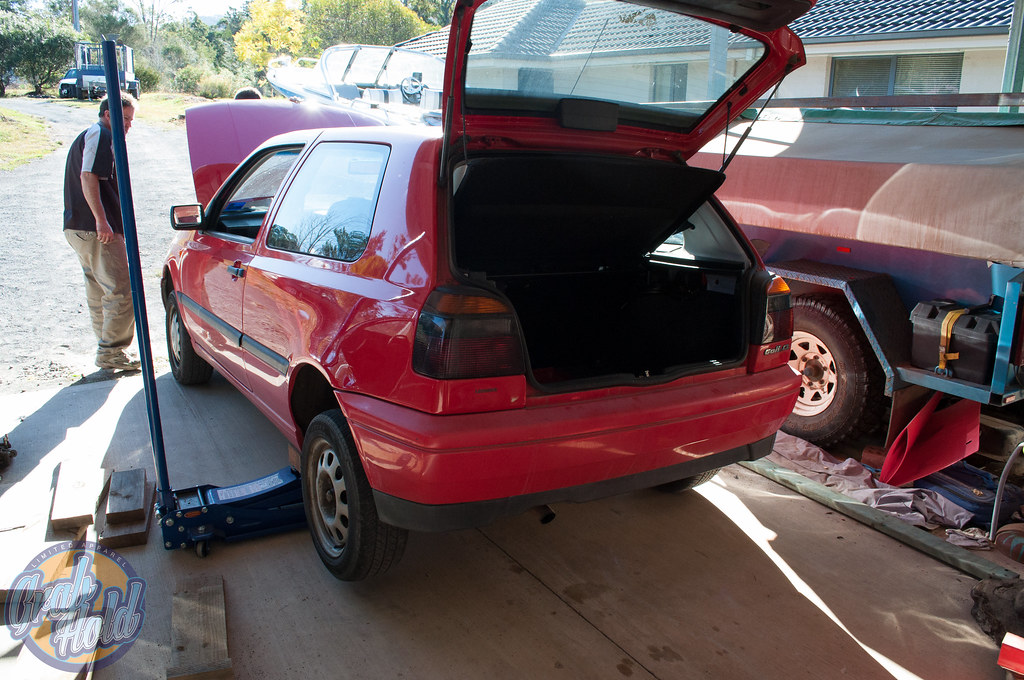
So on Sunday last weekend, Stathi or DruceJNR came down to get a front bumper off me. I decided to take advantage of this and make him help my Father and I swap the stock CL rear beam with a VR rear beam out of one of the many wrecks i have at my house.
We did the usually jacking up and prep, unfortunately seeing we have two other cars on jack we had no spare jacks to hold my little red Golf up so we used timber we had laying around to support the car.
Rear Beam Swap (3 of 12) by Smeeeb, on Flickr
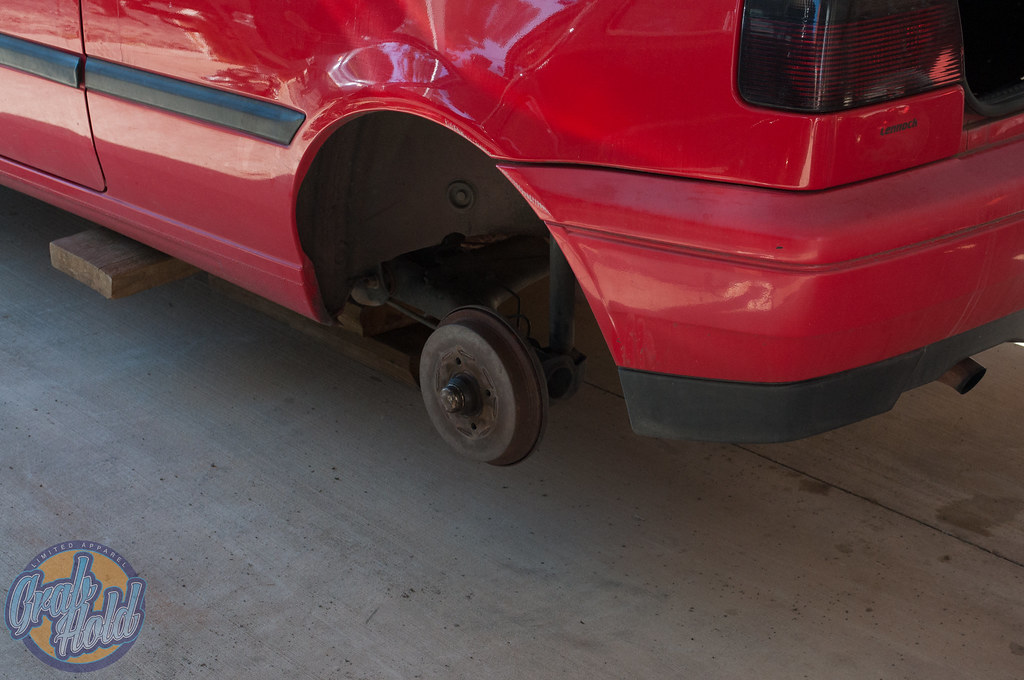
Removing the original rear beam was straight forward, it was only a matter of taking the wheels off, disconnecting the brake hydrolics line, the handbrake cable. The bolt connect the suspension in, which is a nut a bolt in the CL in comparison to a bolt and nut welded in spot or something of the sort in both the VR and the GL rear beams. The only thing left connecting the rear beam to the car were three bolts, which is only a 17mm socket with a breaker bar and some elbow grease away from not being attached anymore, they are pretty seized.
Rear Beam Swap (4 of 12) by Smeeeb, on Flickr
To get to the handbrake cable you have to completely pull apart the barrel, it's a good opportunity to see the inner workings of a drum brake. A silly design really, was really fidily getting it off. You had pull the whole mechanism out the unattach the cable.
Rear Beam Swap (5 of 12) by Smeeeb, on Flickr
The rear beam i was using is from the first VR dad and i bought which was originally all destined for the black car. Those plans had changed obviously as the gearbox ended up in dads VR and the rest of the car apart from the engine and rear beam were left at Camden GTI when they converted his car from auto to manual.
Dad and i did all the prep on the new beam the night before, all pretty straight forward stuff. New bearings, new discs, new brake pads.
Rear Beam Swap (1 of 12) by Smeeeb, on Flickr
We used the brake callipers out of the black seeing they had been reconditioned to an extent not that long ago.
Rear Beam Swap (2 of 12) by Smeeeb, on Flickr
Now the main reason we swapped the rear beams and not just put the calipers on
The stock CL Rear beam - No sway bar at all
Rear Beam Swap (9 of 12) by Smeeeb, on Flickr
Stock VR rear beam - massive sway bar
Rear Beam Swap (8 of 12) by Smeeeb, on Flickr
Another major difference between the CL and VR is the VR has ABS and the CL doesn't.
"Wouldn't affect much" you say well there you are very wrong, Because the CL doesn't have ABS they have a brake distributor valve which controls how much pressure is being applied to the rear brakes and stopping them to lock up, essentially doing the same job as ABS except alot more primitive.
This was a big difference between the two beams because the CL beam had the little bracket that is used to hold the distributor valve and the VR does not.
VR beam - no bracket
Rear Beam Swap (7 of 12) by Smeeeb, on Flickr
CL beam - Bracket
Rear Beam Swap (6 of 12) by Smeeeb, on Flickr
Luckily it was an easy change as we only had to swap the foot per say of the beams over. I would not have known this at all and would have just swapped the rear beams over as they were, luckily my father knows all and spotted to problem before i went through with it completely.
Putting the new beam is was simple as putting bolts into there holes and connecting up lines, except the plates on the new rear beam were in a different place to the CL one as the car it is off was on lowering springs changing the geometry on the suspension making the plate face up more. These plates aren't very easy to re-position without lots of grunt.
Rear Beam Swap (10 of 12) by Smeeeb, on Flickr
It was a two man job for sure, no way you could position the plate and bolt it up at the same time.
By the time we had everything bolted and ready to bleed the brakes we discovered we had a major lack of brake fluid in the shed...
Rear Beam Swap (12 of 12) by Smeeeb, on Flickr
So we called it a night and went down the pub for dinner and had some delicious burgers and a beer.
Also my old car is quite dirty seeing it's been sitting stationary in the shed.
Rear Beam Swap (11 of 12) by Smeeeb, on Flickr
(it says "wash me or don't i'm a wreck not a car" i lol'd)
Last night dad and i got back to it and bled the brakes and adjusted the handbrake cable, i'm sure you all know how to do that so i won't go into massive amounts of detail.
Rear Beam Swap2 (1 of 2) by Smeeeb, on Flickr
After that we went for a little drive to test the brakes on some of the brake roads around the place, they work pretty much the same :P
We swapped around the tyres on the car seeing the ones i bought it with are now pretty much bald...
Having an effective wreckers of MK3 is becoming a great thing.
Rear Beam Swap2 (2 of 2) by Smeeeb, on Flickr
Except the sway makes hugely noticeable difference to corner going back and forth over the mountain to school today.
Till next time - (which will most likely be an engine swap)
:banana::banana::banana:
Here is a much needed update and dumb stuff i've been doing.
I'll start with the engine, that is planned for this coming week hopefully. Now i have finish school and exams and everything so it'll radddicallll (hopefully).
All i really have to do now i have moved my old car, build the trailer and gather all the parts that could be required. I just have to move a stupid POS vr6 shell my dad bought, biggest time waste.
More parts-7 by Smeeeb, on Flickr
Now seeing i've had a tonne a golf shell sitting around my house i've hoarded quite a large collection of bumpers. I've even sold three or four i don't remember. Anyway because i have so many sitting around i decided i should try my hand and doing a shaved bumper for the golf, which i was stocked on the idea
More parts by Smeeeb, on Flickr
until i looked a red golfs more and more. Eventually i came to the decision that it was just to red with colour coded everything, so i bought foffs old rear bumper texture bumper (my car has a sprayed texture top front bar atm) as well a few other goodies (which will be mentioned later).
More parts-2 by Smeeeb, on Flickr
On Saturday i was visited by my good friend Samuel *whip crack* Hewitt and he delivered to me a MK3 goodie bag that not many could compare to.
Firstly a set of Weitec Coilovers, they already and helpers taken out and bump stops cut
:More parts-3 by Smeeeb, on Flickr
Secondly his old exhaust, which reads high flow cat > Hot Dog resonater > sports muffler, this all be connected by 2.5" stainless piping. This exhaust in my opinion makes a glorious excessively loud noise.
More parts-5 by Smeeeb, on Flickr
And last but not least his old steelies. The specs are 15x8 et15 and et20. They are baby blue originally then faces painted gold then faces painted matte black by Sam himself. These wheels have perfect mk3 fitment and i am quite happy i am now in possession of them.
More parts-6 by Smeeeb, on Flickr
These are also the 5th set of wheels i have bought for this dumb car. I swear i won't just sell these on this time (unless someone makes me a handsome offer.
So back to foff, the other things he brought me were his old front 5 stud set up which i don't know if i'll use or not. It was sort of an impulse buy... He also brought me a set of D90s 16x8 et652418, i have no photos of these because they are in my storage room. p.s these are already sold because i'm dumb.
but he also bought what he described as "The MK3 Bible".
More parts-9 by Smeeeb, on Flickr
The Bently MK3 manual. It's has SOOOOOOO much stuff in it, it's actually mental. Anything thing you could ever want to do in reference to OEM stuff it has a indepth guide to how to do it. I am very excited about it. It has a few war injuries and what not. It's still a cool piece to have in the garage.
Hears a pile of my crap ready to do the swap.
More parts-4 by Smeeeb, on Flickr
Here's my cat looking really cute as always, ps his name MR Meowgi because he catches flies all the time.
More parts-8 by Smeeeb, on Flickr
I found this little piece under the carpet when i as stripping my car, i had a good giggle.
More parts-10 by Smeeeb, on Flickr
Anyway, till the next time. Hopefully i'll have real progress.
:banana::banana::banana:
Ok, here is somewhat of an update.
I ordered everything i need for the swap now, basically just a bunch of gaskets and a few other goodies.
For the time being i have been doing some painting and aesthetic work to the car to get it looking smick. The improve the look of the car i have decided to go textured over colour coded because i felt that the full red look was a tad overwhelming and the textured strips would break up the red nicely. Now this unfortunately was a problem as i had sold all of my textured bumpers and what not... so i had to source them myself which was annoying and money comsuming...
alas i only had to get a rear as who ever owned the car before me decided that painting a texture top will look fine and noone will notice...
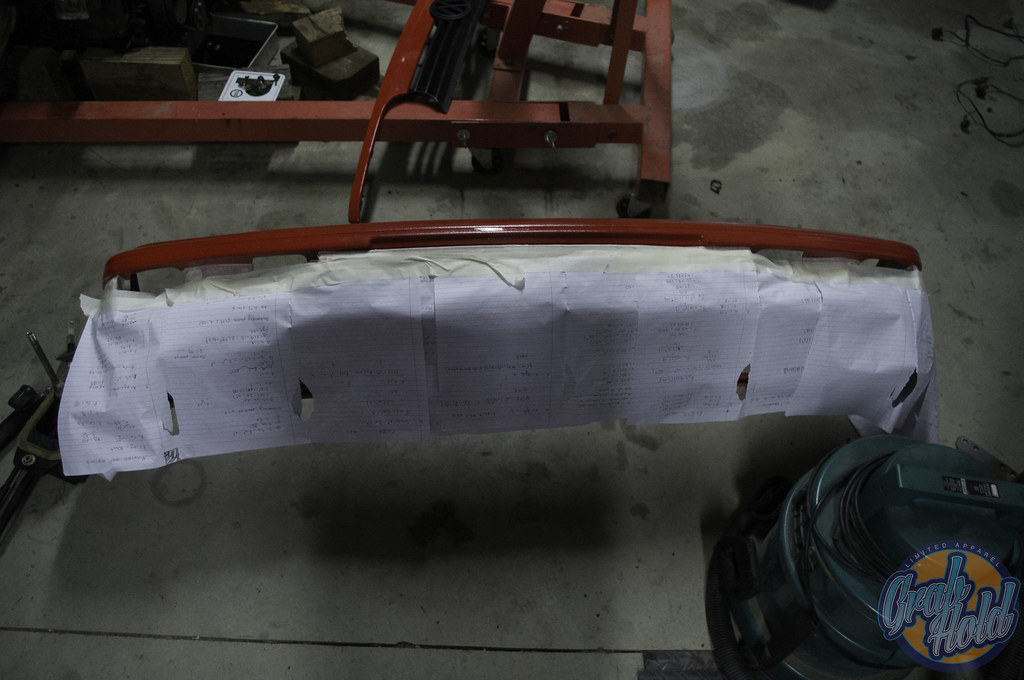
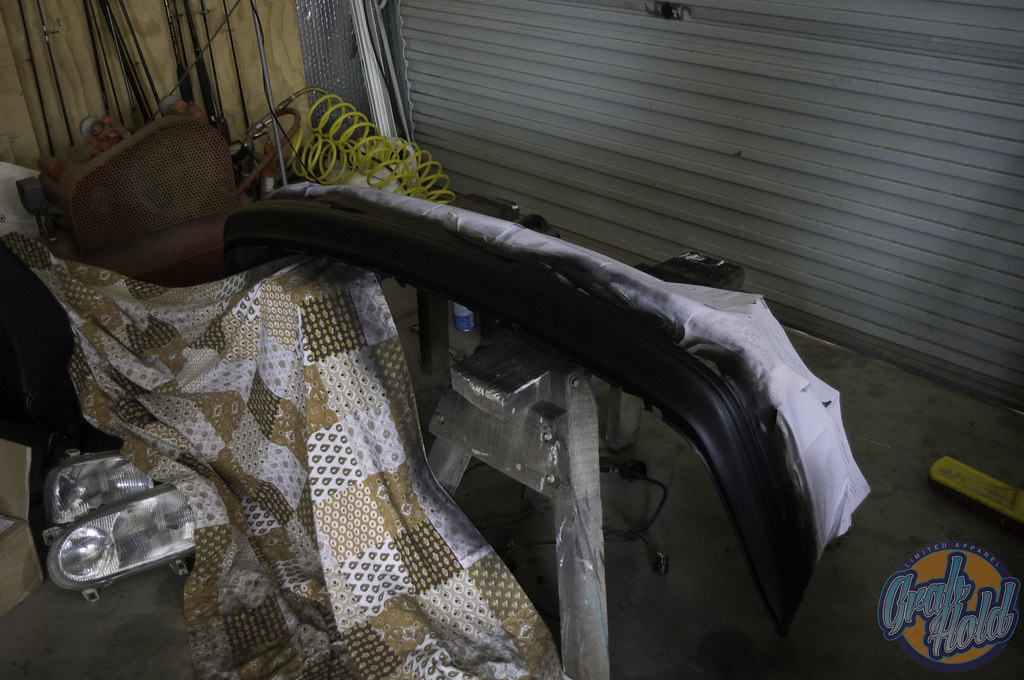
So i gave the top of my bumper a light sand and spray canned it matte black.
I used my old math notes as masking paper because they are not needed anymore.
Sitting on saw horses.
Coat 1
Coat 2, let it sit over night.
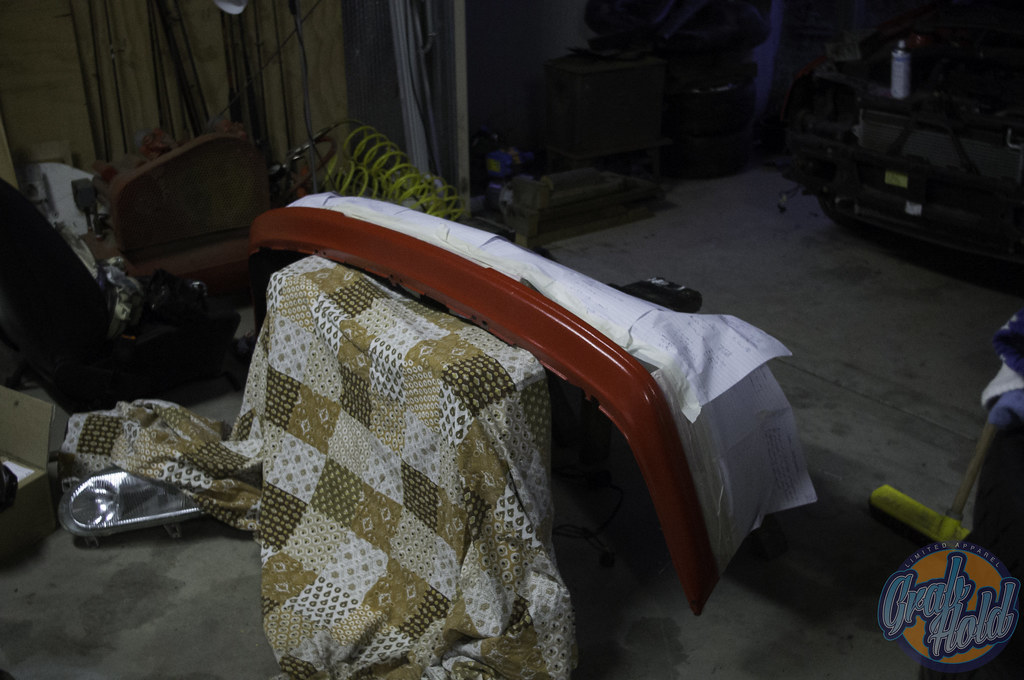
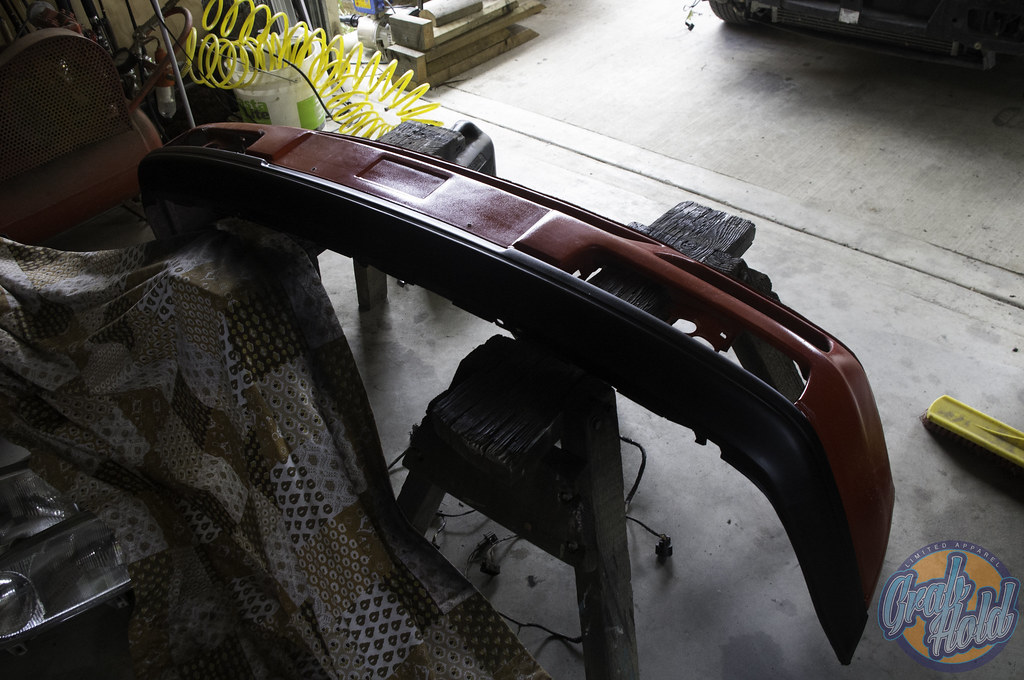
Finished product unmasked and what not.
It looks better than i thought it would, granted there are some pretty terrible drip lines due to sitting like it was but i think it looks good :P
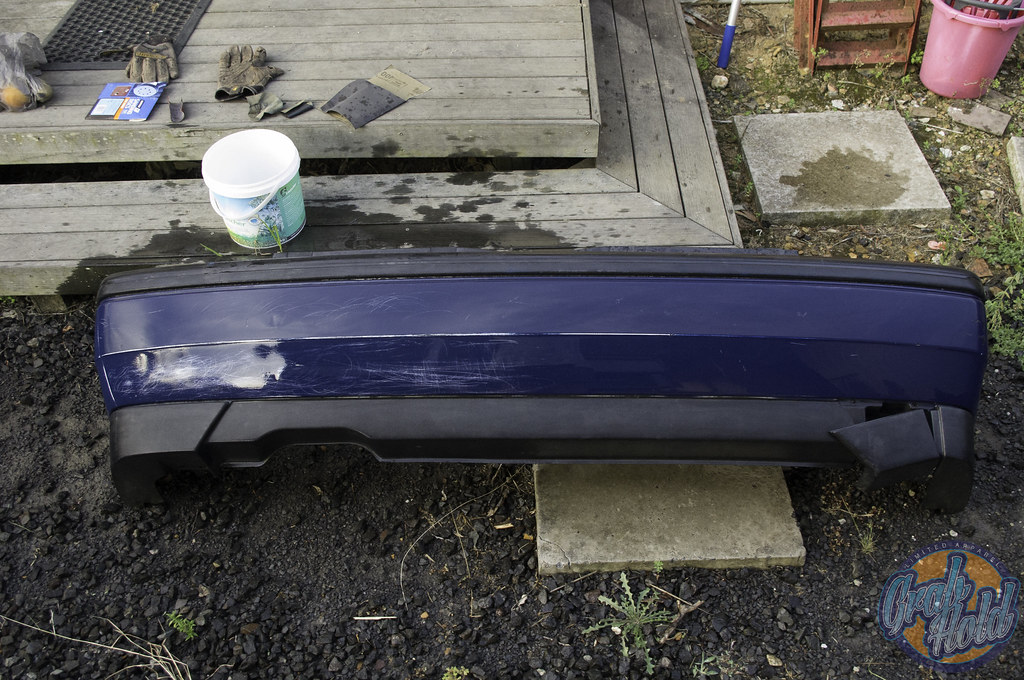
I also sat outside for like three hours sanding down the rear bumper whilst listening the Js. I got he bumper of foff, it feels wrong sanding back that lovely windsor blue for crappy red...
I sanded it back with 400 grit,
before
after
Gave it a nice matte, a few bits i still need to go over again in this photo. They have been done since then.
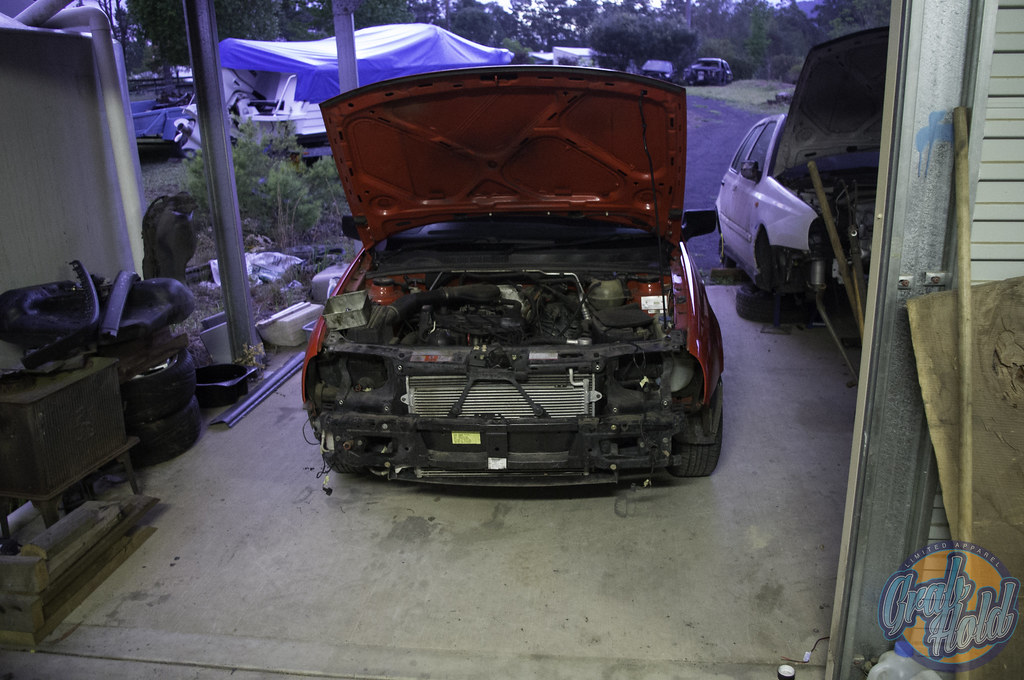
I also pulled apart the whole front end for a bit of an overdue update do dual chamber headlights and some other this's and that's.
Notice you can see all three of my shells in this photo...
#myhouseisactuallyagraveyard
I also painted the rear badge matte black.
Masked and painted, didn't get any real before pictures because it was late at night and this area is unlit so the photos would turn out poopy.
Masking tape off and dried all that jazz.
There is bit of overspray from where i got past the tape but ain't care.
Here's a photo of my cat enjoy being outside.
Here's a close up photo of the graveyard..
I also have lots of lipstick prints on my car inside and out, i think it was from tuesday when i was deso at friends 17th...
Anyway, i have to go work now. I'll have full picks of how the car looks monday or so mostly..
:banana::banana::banana:
Ok, i have some photos uploading at the moment so i'll just leave this here.


Comment