 Tweet
Tweet
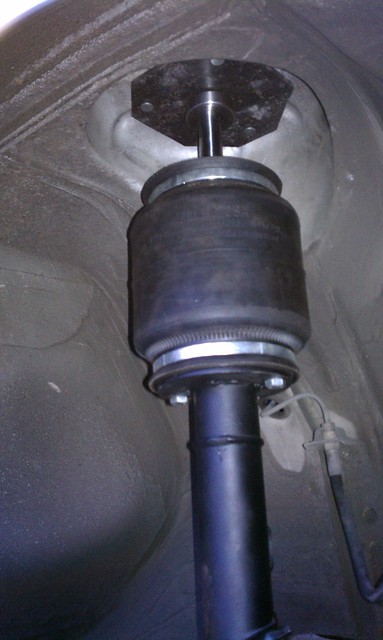
I know these updates are all over the place, but back to the coilovers I was making. Brennan got me some scrap metal to make the top hats out of. These aren't necessary to run the different springs, but the design frees up almost 2" of shock travel, which is nice because Hank is just about bottomed out as is, and I'll need travel if I want ride quality or the ability to go lower. Got the idea from helping Mike and Chuck do a similar setup on Rusty.
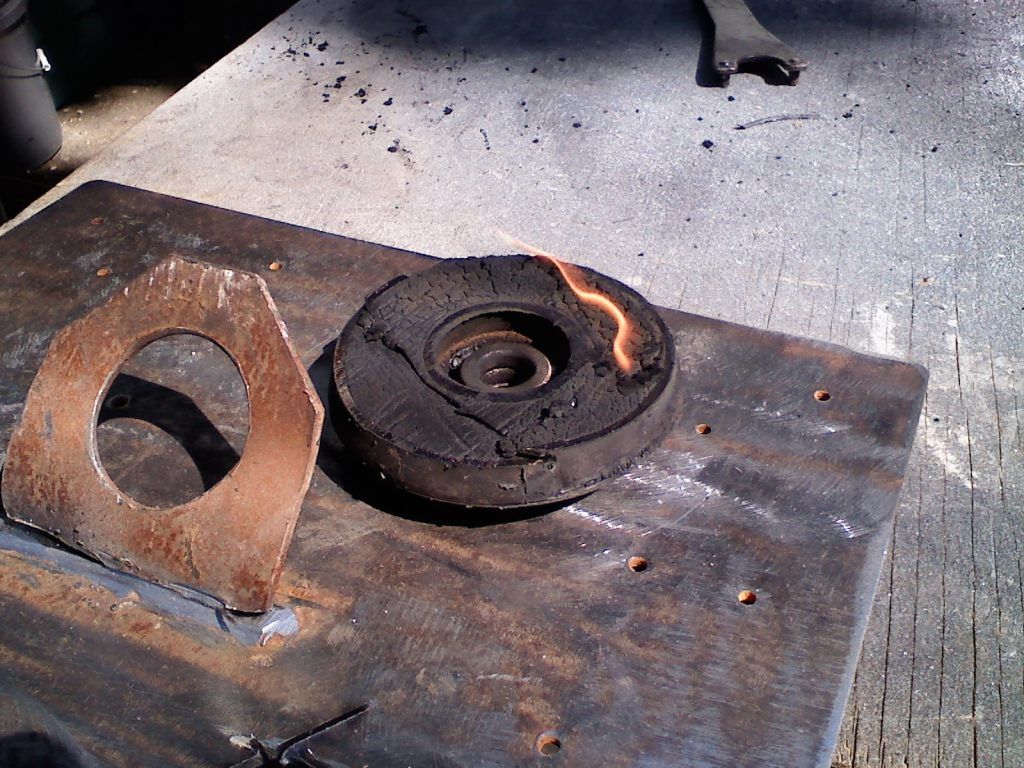
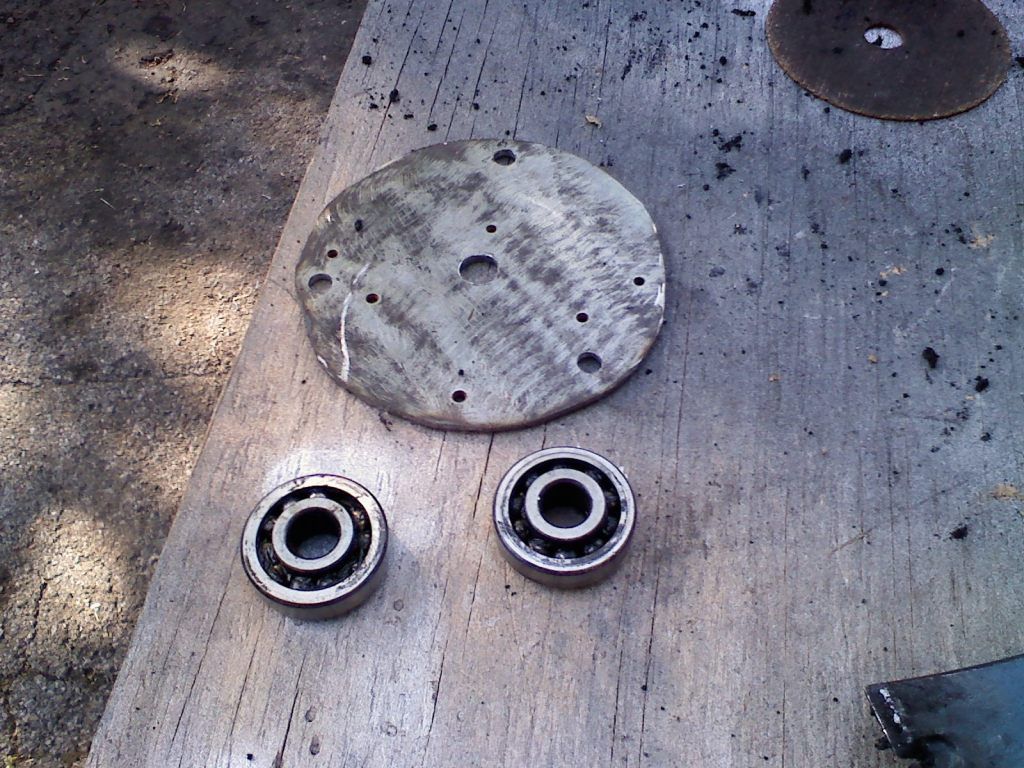
The stock top hats have the shock bearing thing buried in a big hunk of vulcanized rubber. I wanted to re-use the bearings because finding new ones in the right diameters with the offset inner race was going to be tough. So I went through a lot of totally unnecessary steps to get them out...
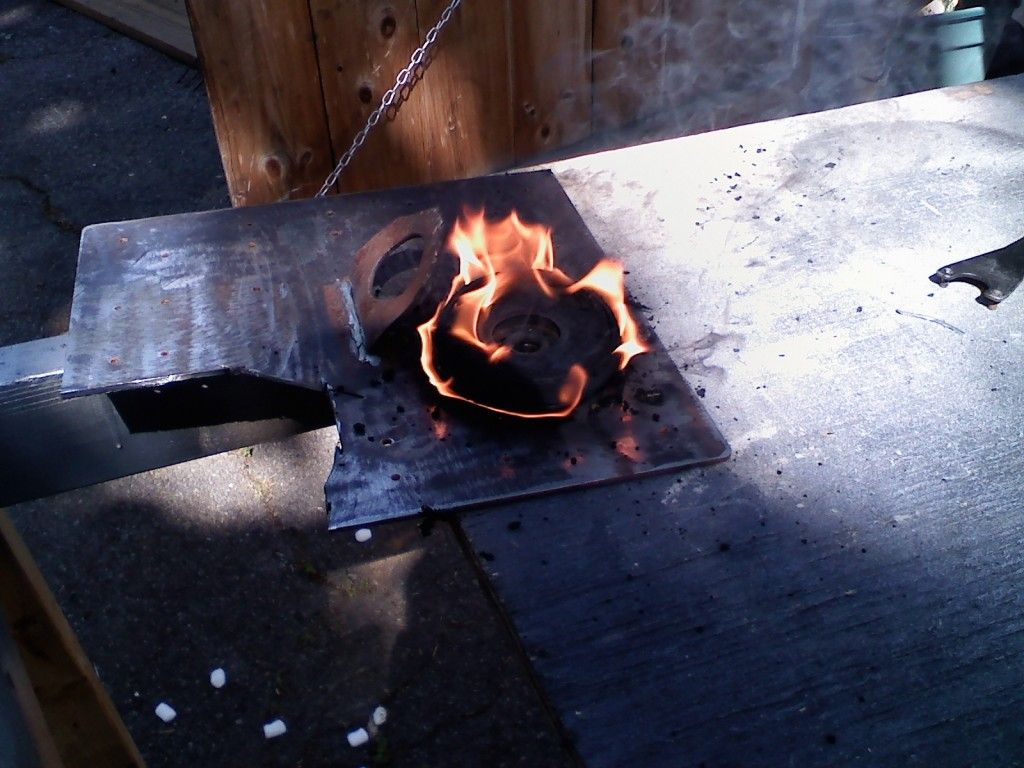
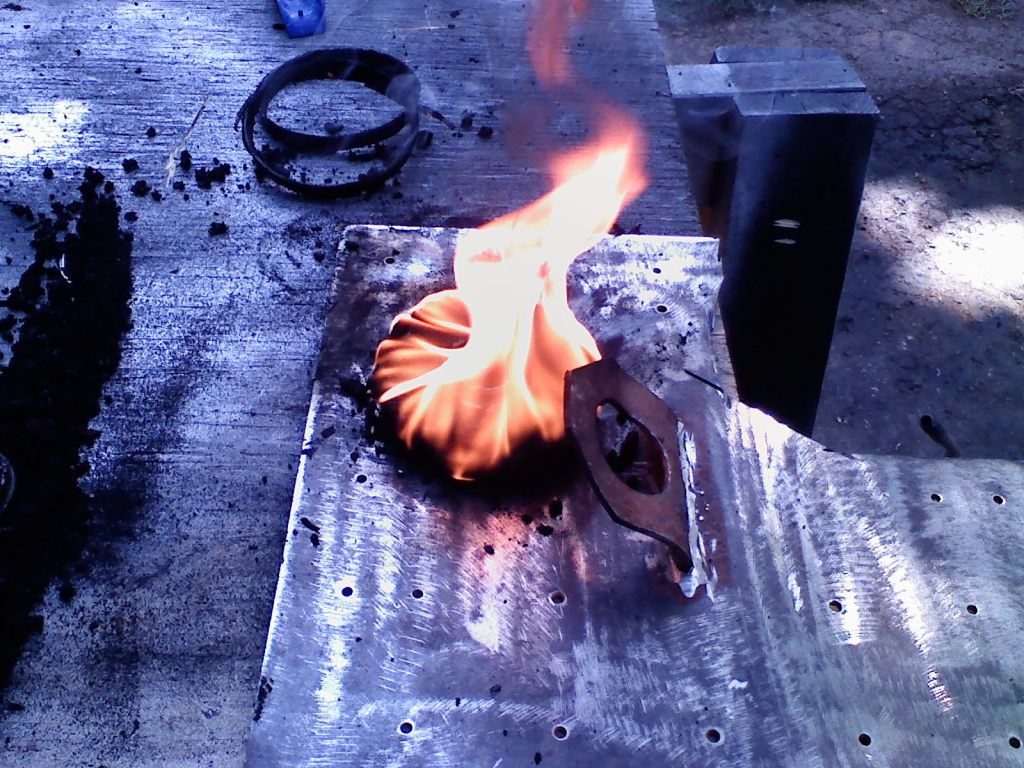
first I cut the top hats in half, then I set the rubber on fire to burn it off of the bearing housing thing (this was before i realized that I could have just pressed the bearings out the entire time. let's not talk about it) Here you see the scrap metal I used as well.

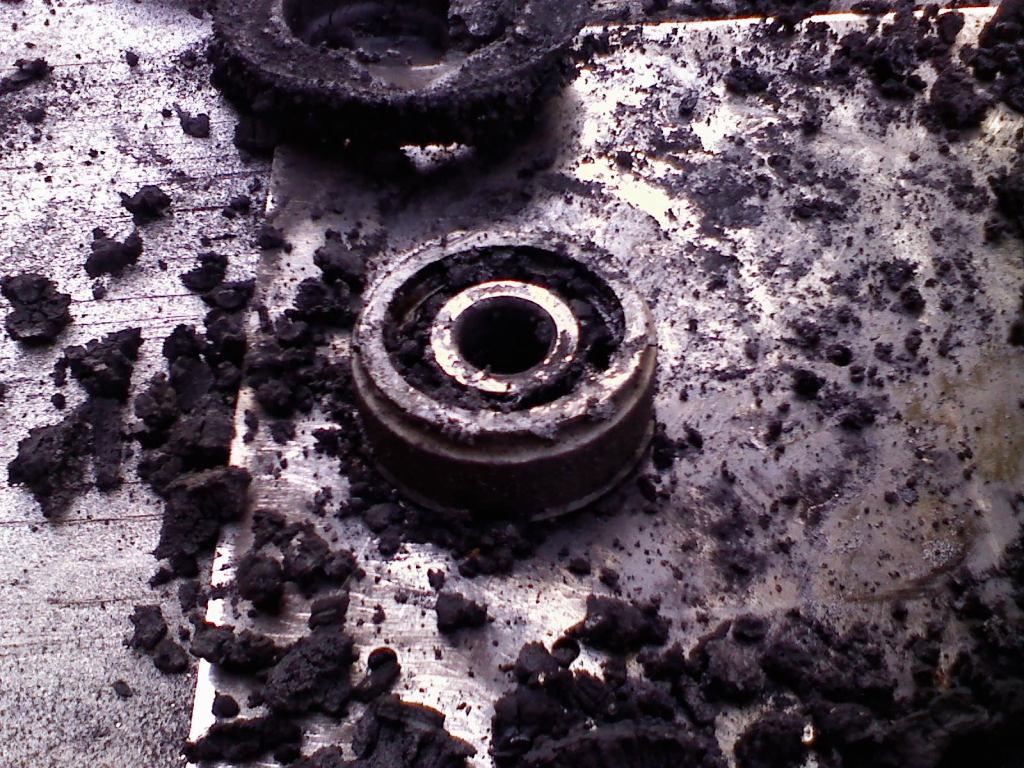
At least my method worked... Then I traced out the top hat dimensions onto the new metal after hitting it with a flap wheel to remove the surface rust. I cut out basic circle shape I needed and transferred the mounting holes then headed to the drill press in the shed.

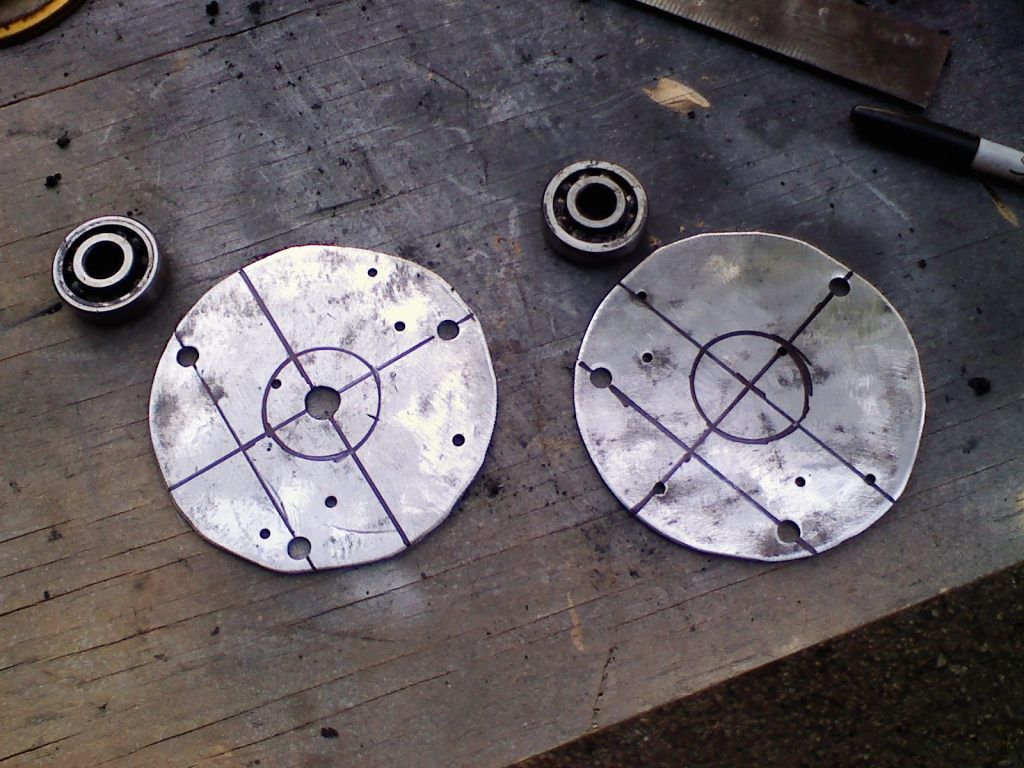
that left me with a base to work with and some bearings to weld in.
The measurements for the position of the bearing centers the caster and camber, so I had to be fairly precise with it. I used a square to draw a line between the two mounting holes that were closest to each other, then measured that distance and marked the center. I then drew a line from the third hole to the mark between the other two. Then I measured that distance and marked the center, giving me the perfect point for the center of the bearing. (pay attention in geometry, kids.)
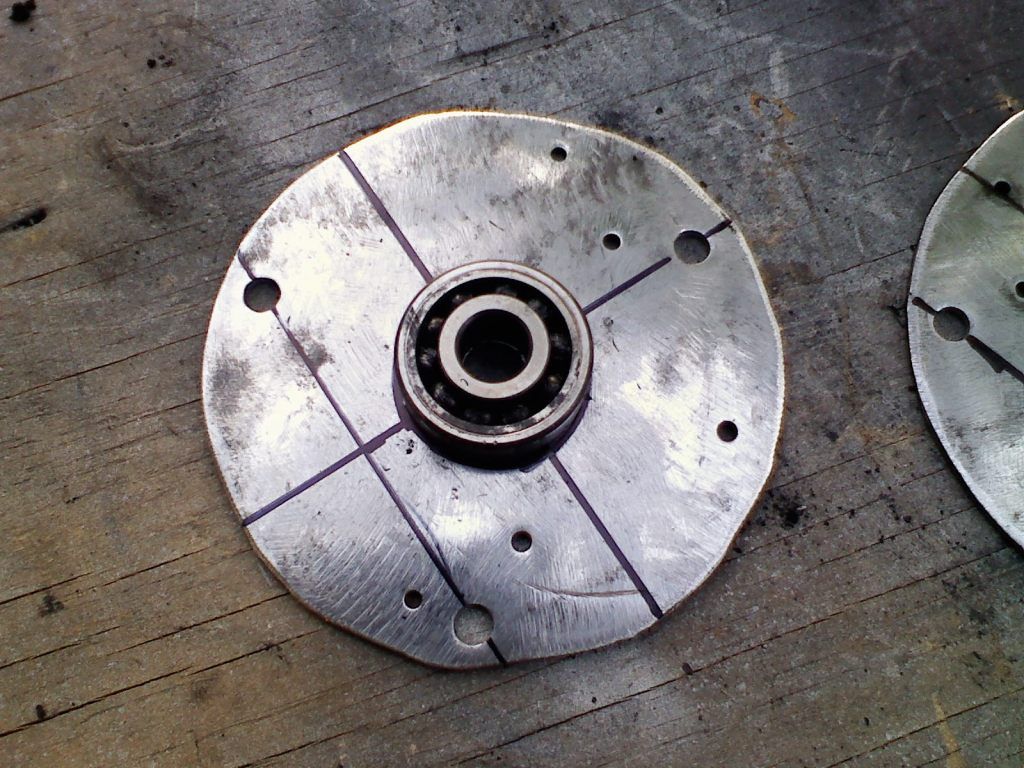
Now I just need to get my hole saw back from Rodney and weld these bad boys up!
The stock top hats have the shock bearing thing buried in a big hunk of vulcanized rubber. I wanted to re-use the bearings because finding new ones in the right diameters with the offset inner race was going to be tough. So I went through a lot of totally unnecessary steps to get them out...
first I cut the top hats in half, then I set the rubber on fire to burn it off of the bearing housing thing (this was before i realized that I could have just pressed the bearings out the entire time. let's not talk about it) Here you see the scrap metal I used as well.
At least my method worked... Then I traced out the top hat dimensions onto the new metal after hitting it with a flap wheel to remove the surface rust. I cut out basic circle shape I needed and transferred the mounting holes then headed to the drill press in the shed.
that left me with a base to work with and some bearings to weld in.
The measurements for the position of the bearing centers the caster and camber, so I had to be fairly precise with it. I used a square to draw a line between the two mounting holes that were closest to each other, then measured that distance and marked the center. I then drew a line from the third hole to the mark between the other two. Then I measured that distance and marked the center, giving me the perfect point for the center of the bearing. (pay attention in geometry, kids.)
Now I just need to get my hole saw back from Rodney and weld these bad boys up!


Comment