Announcement

Collapse
No announcement yet.

WagonWorks - Aussie Avant: '06 Audi B7 A4 Build

Collapse
X
 
  • Filter
  • Time
  • Show
Clear All
new posts

  • WagonWorks - Aussie Avant: '06 Audi B7 A4 Build

    G'day blokes,

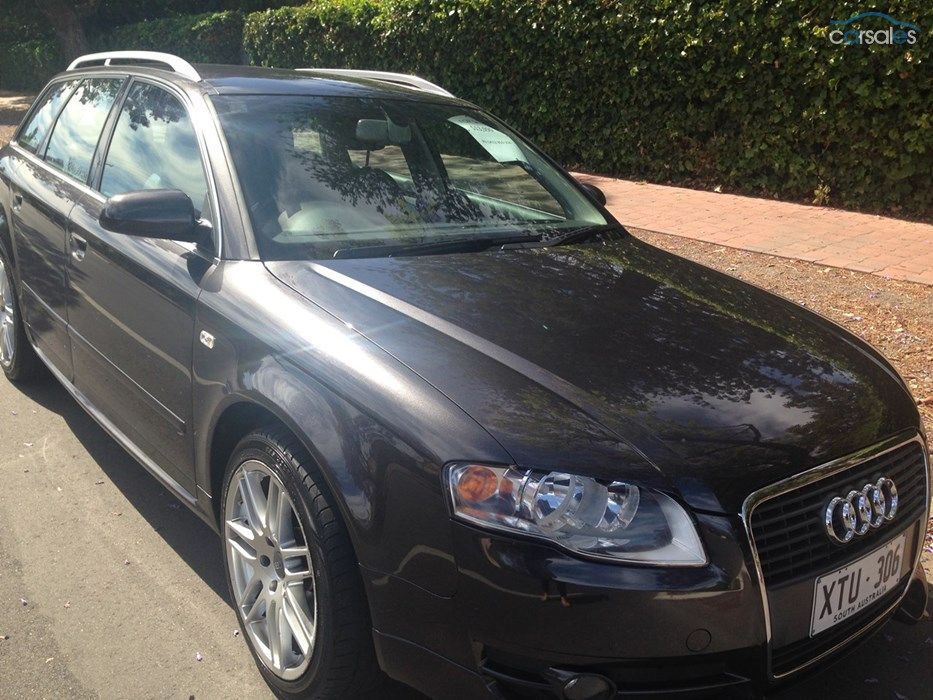
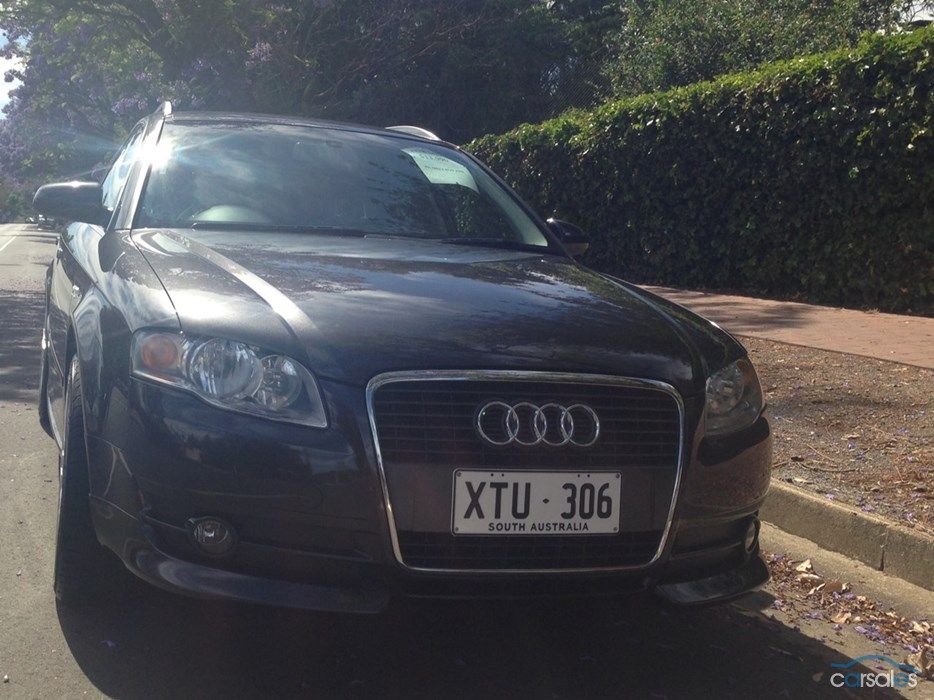
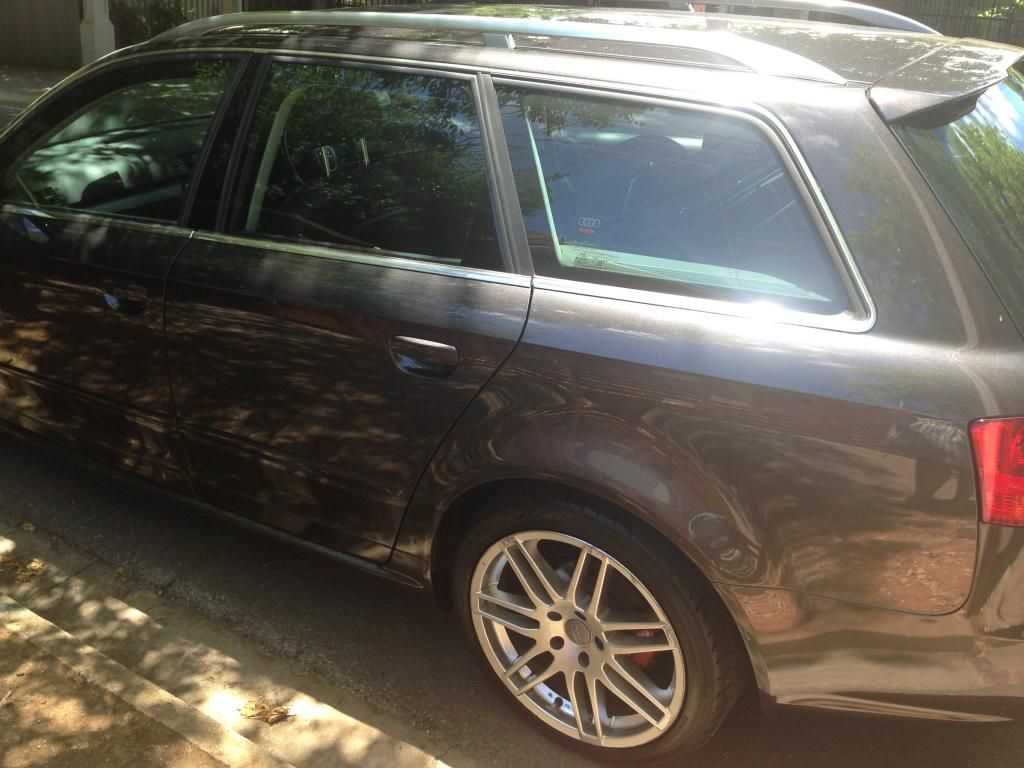
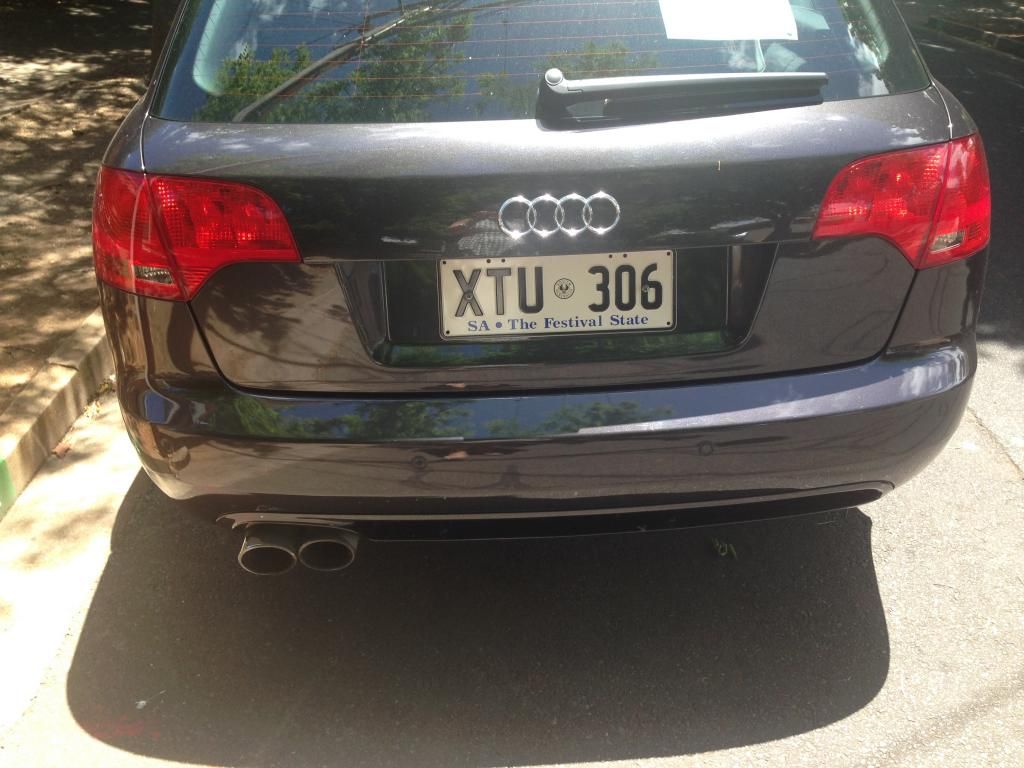
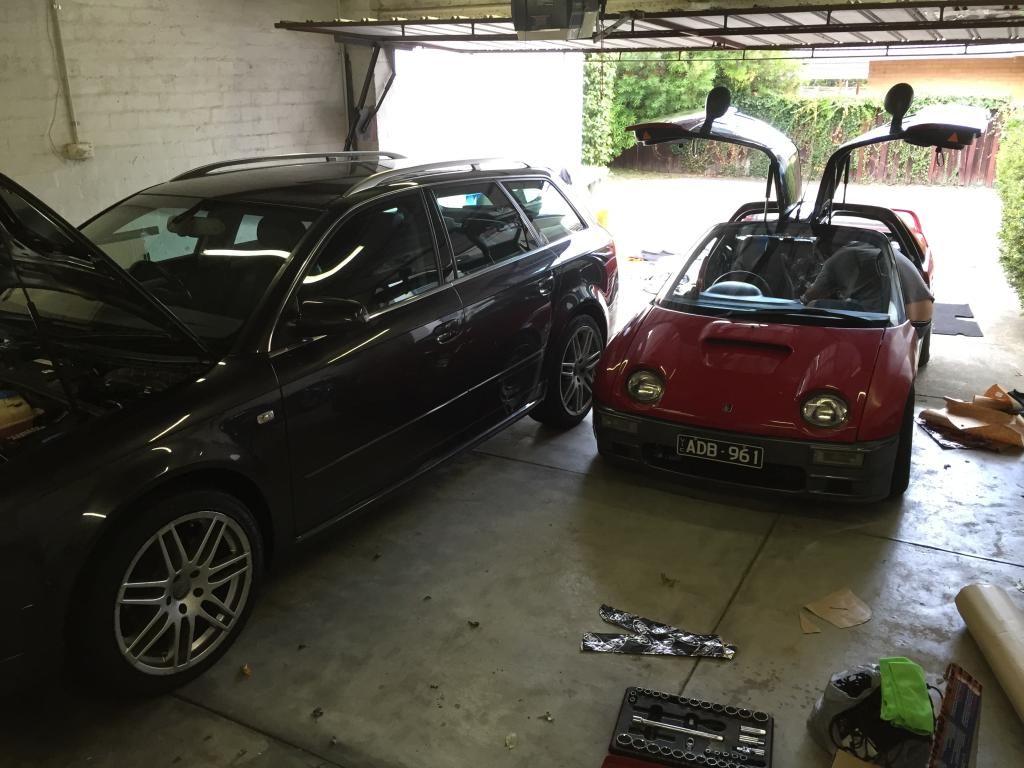
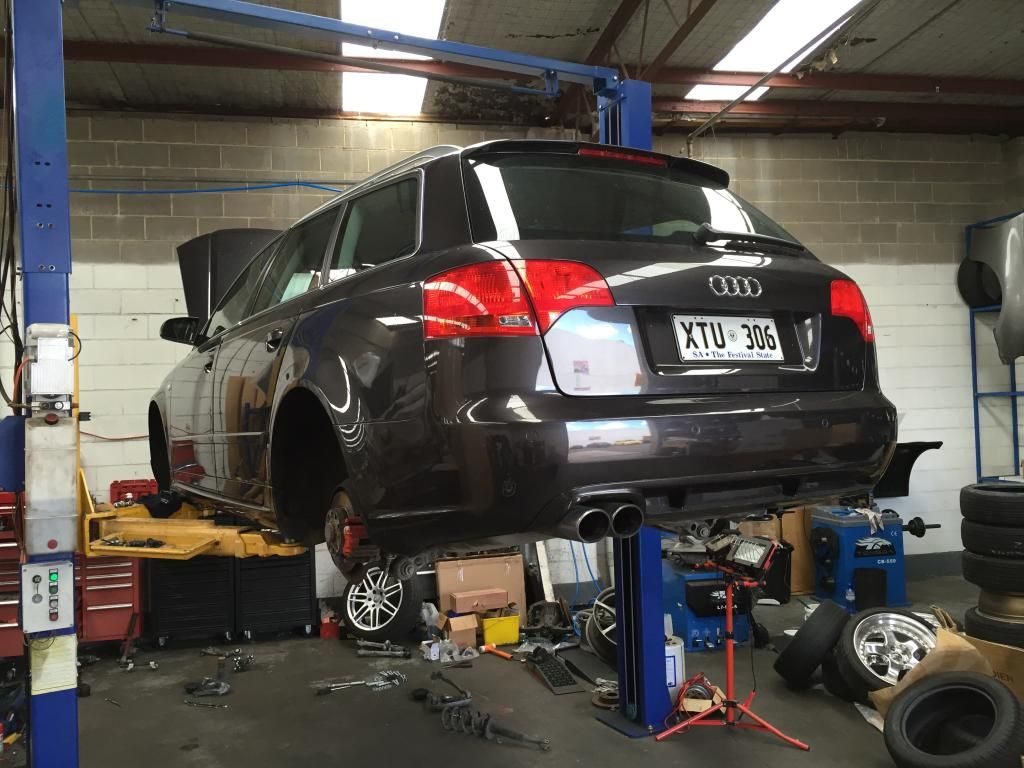
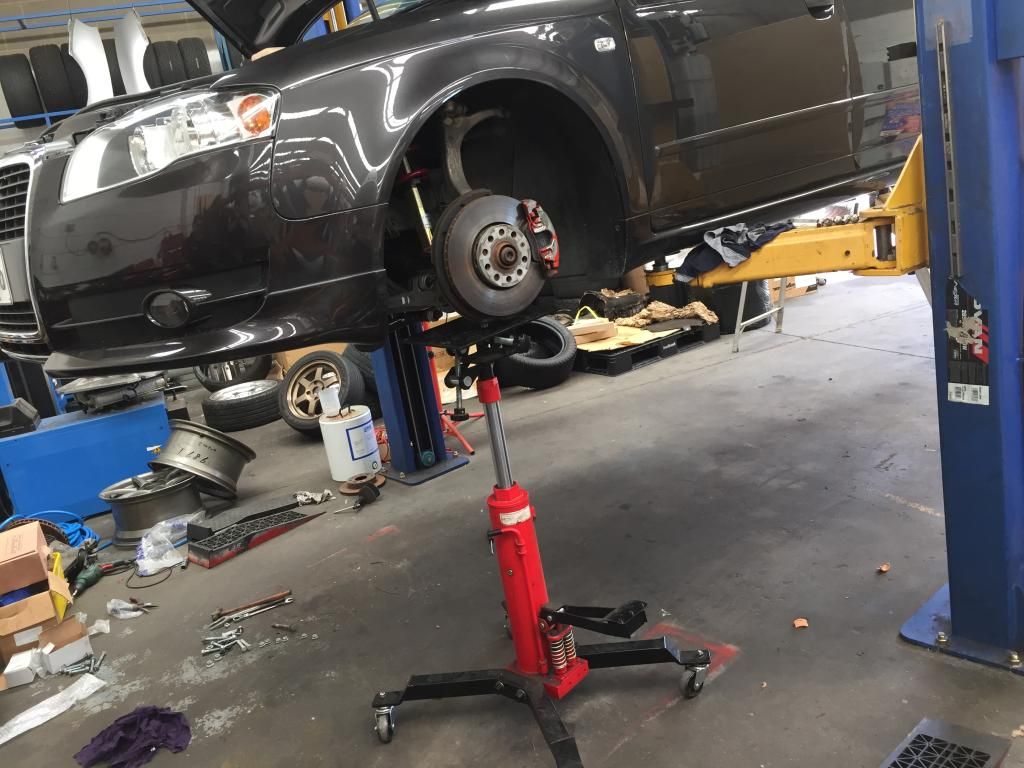
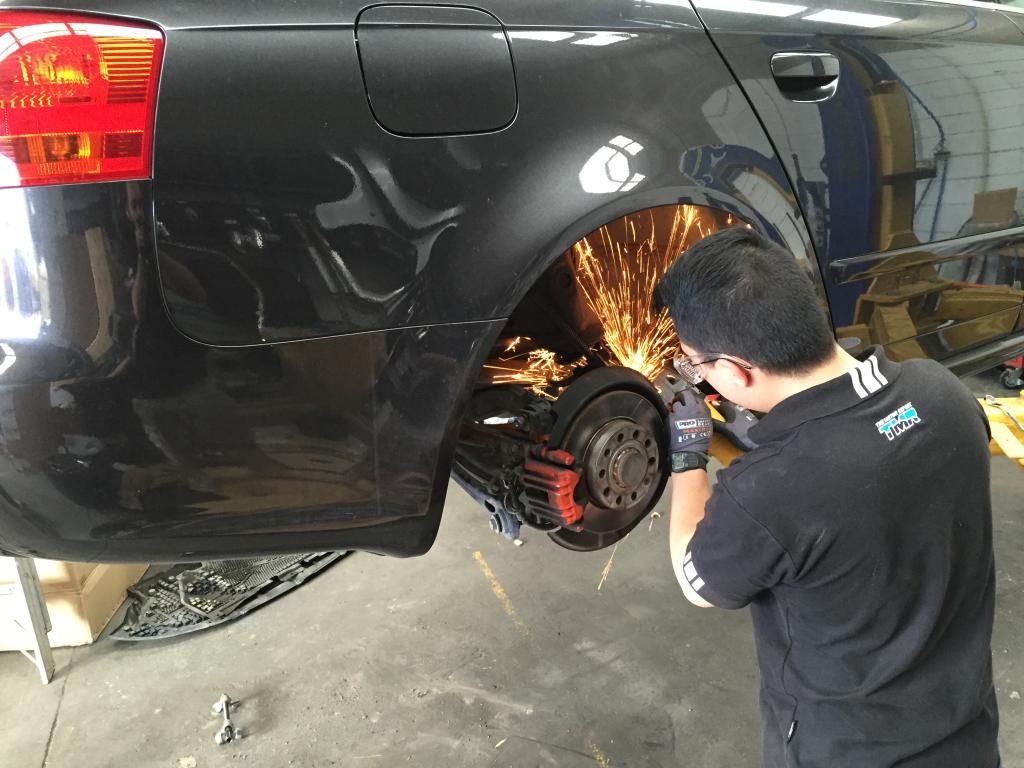
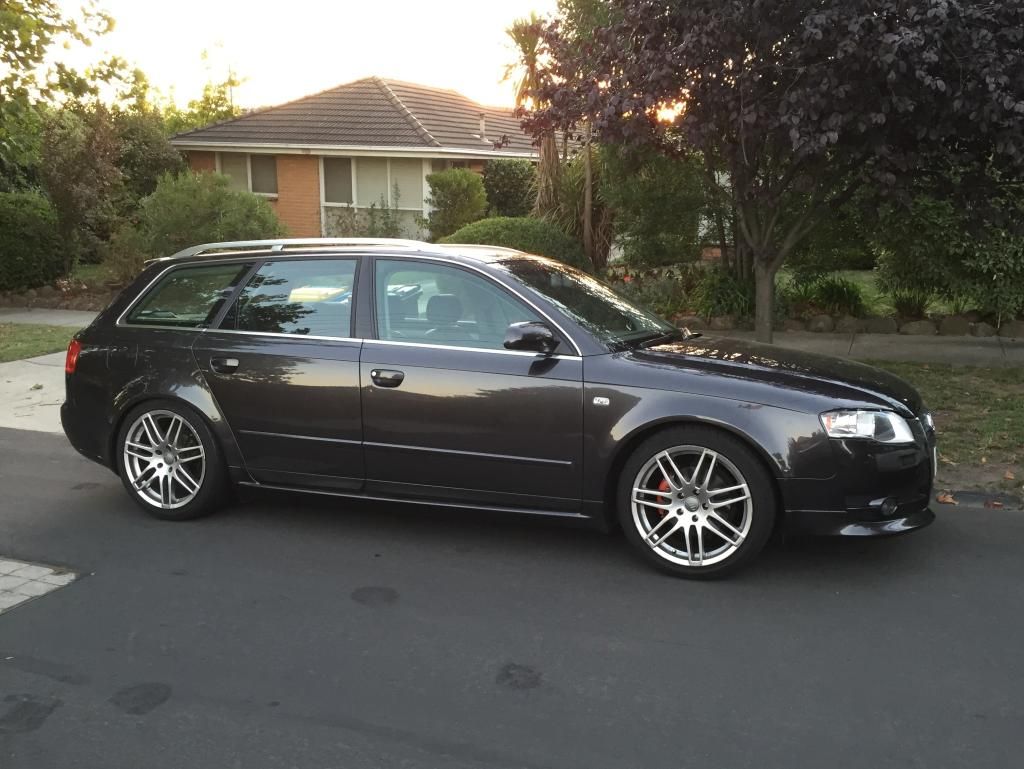
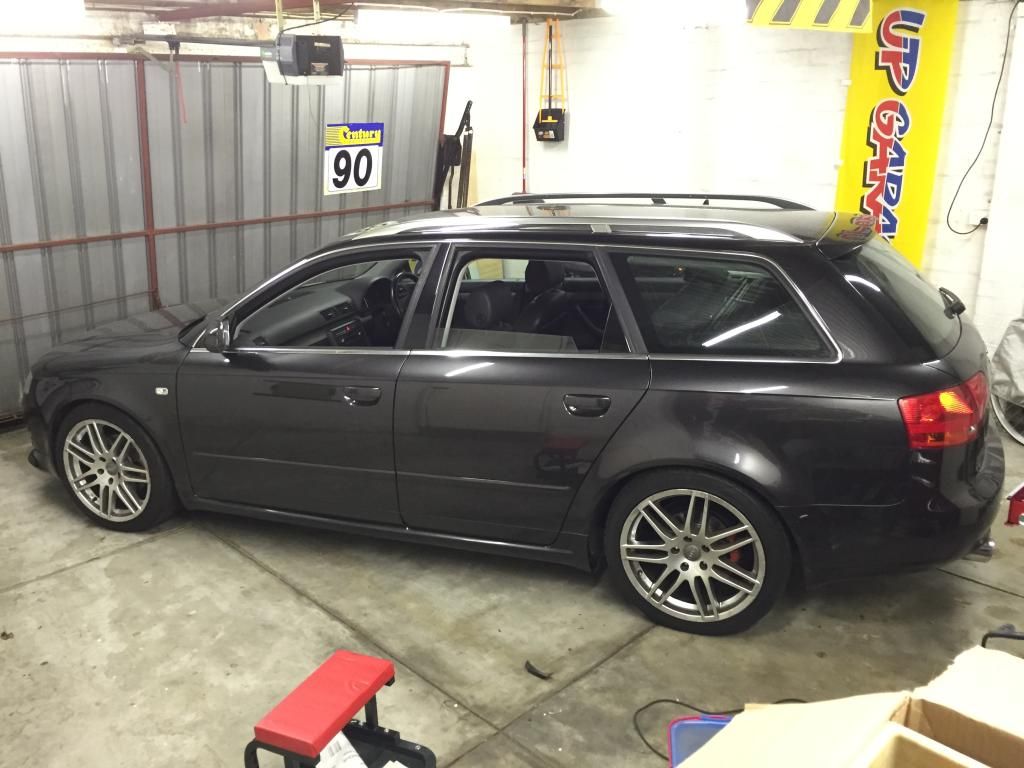
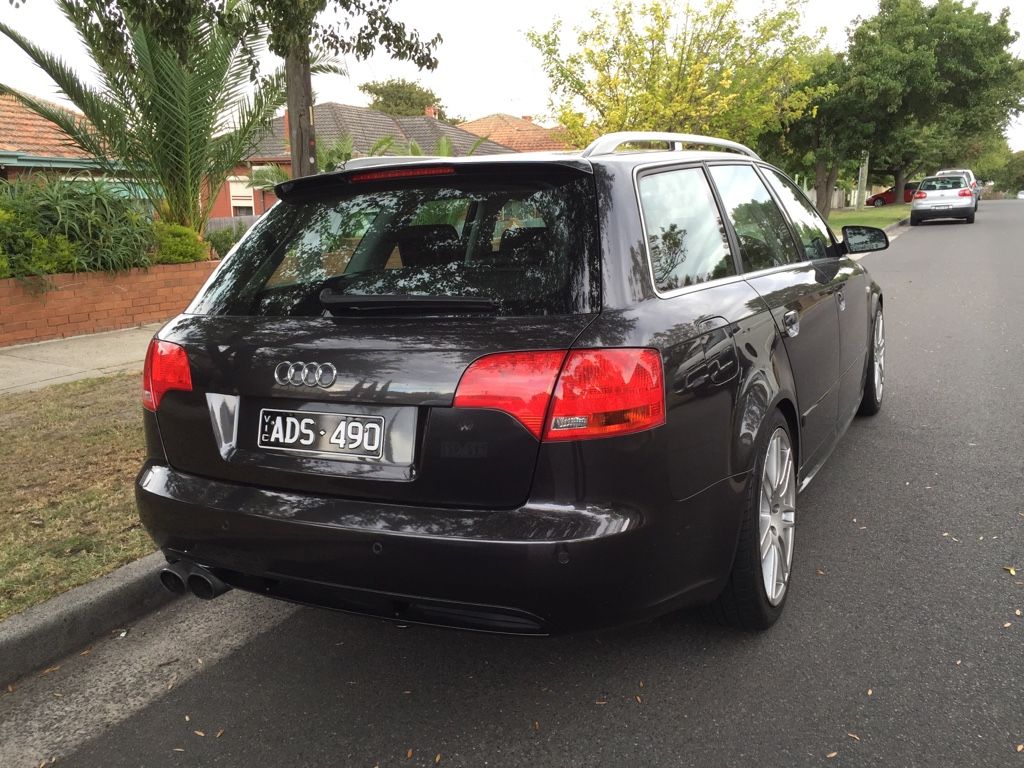
    I thought I'd start a thread to keep track of my progress. Late last year I bought a 2006 B7 A4 Avant. This is my first Audi in a long line of project cars and it had to be a wagon! I'll be putting a lot of time into getting it spot on.

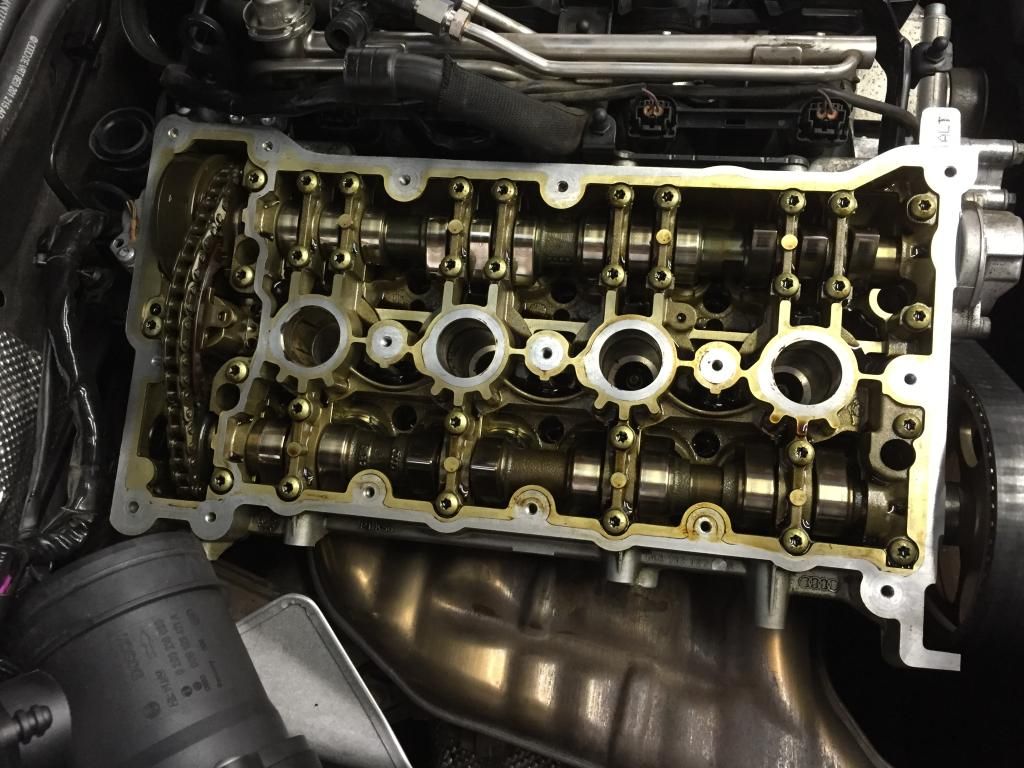
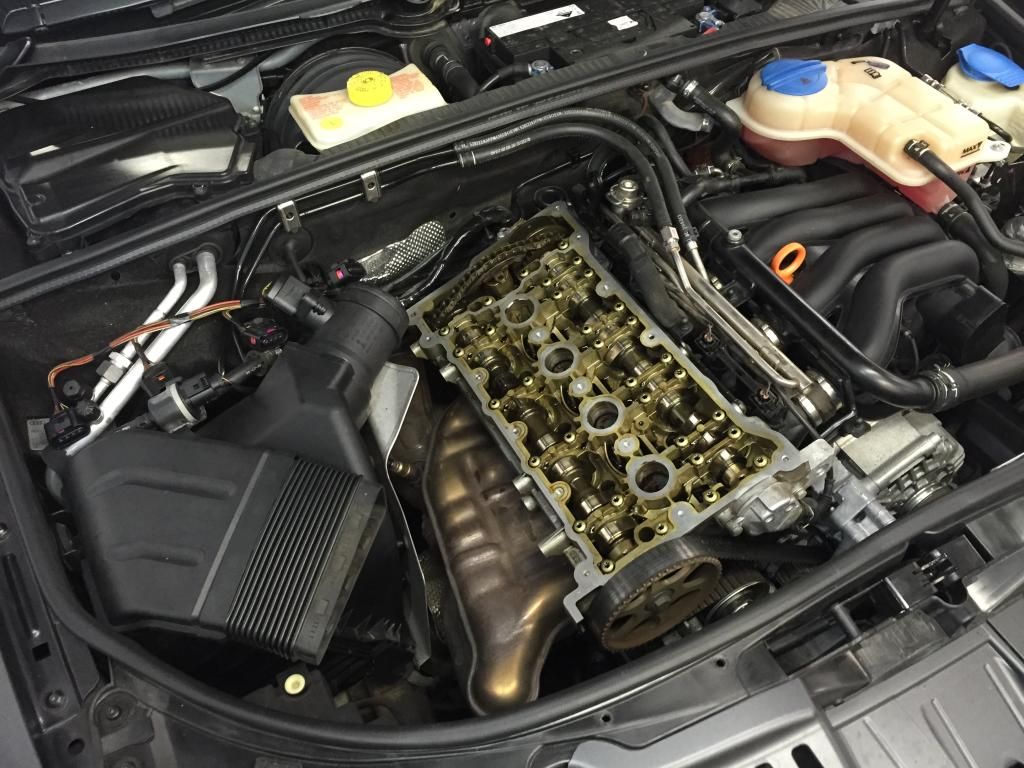
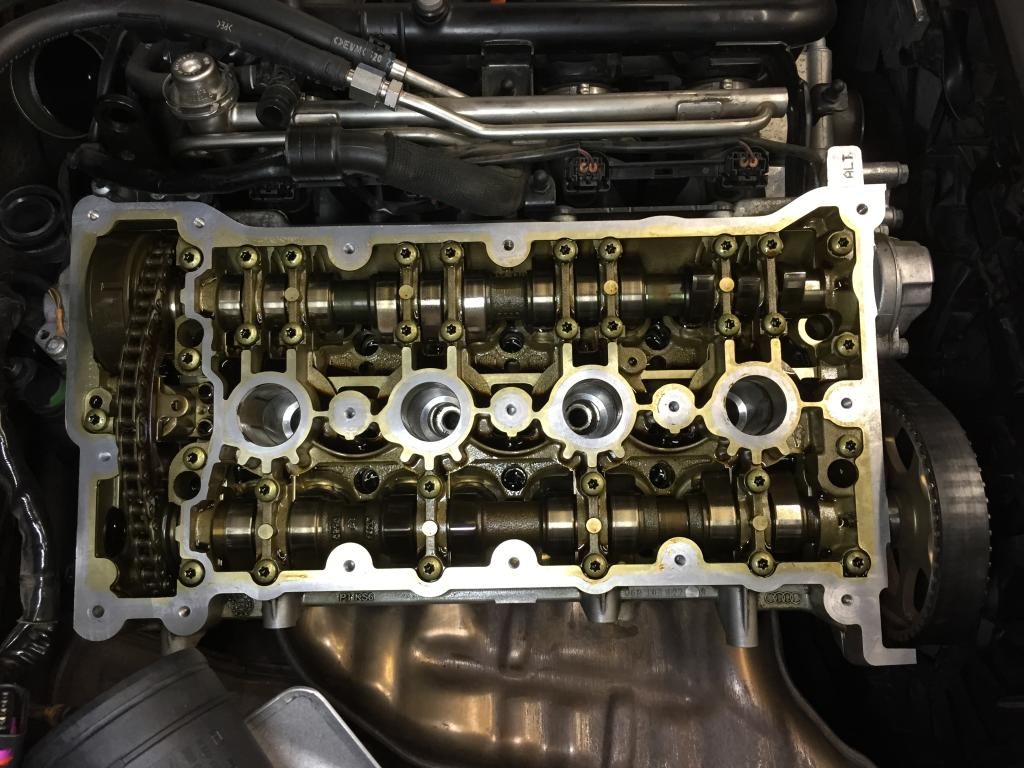
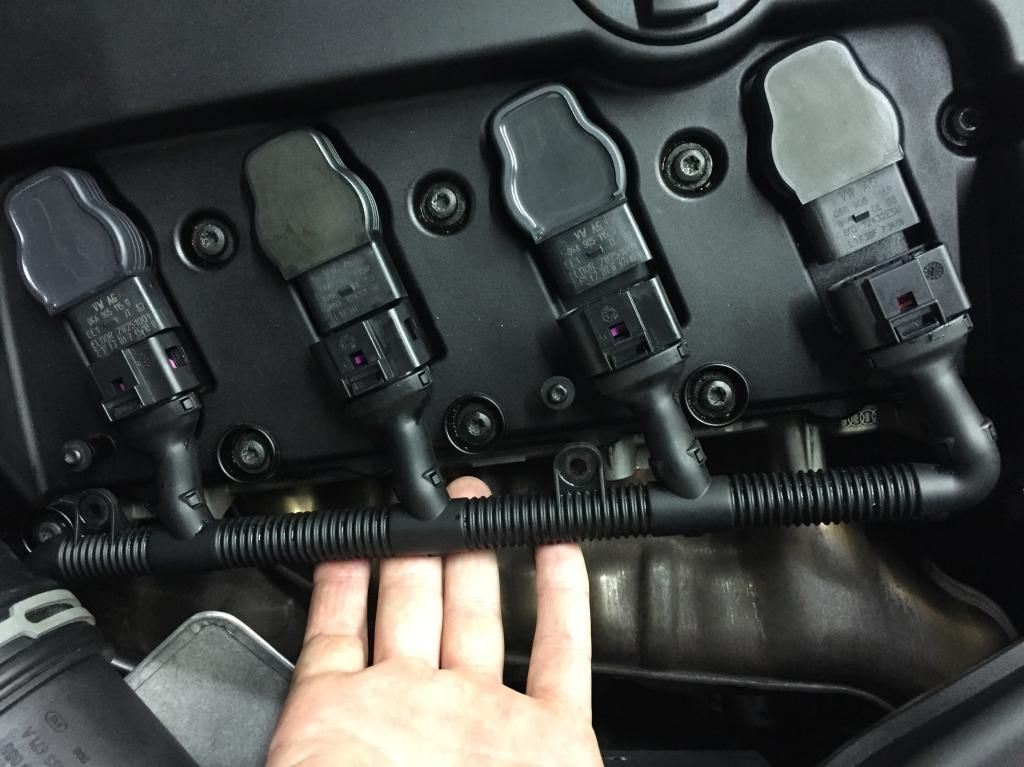
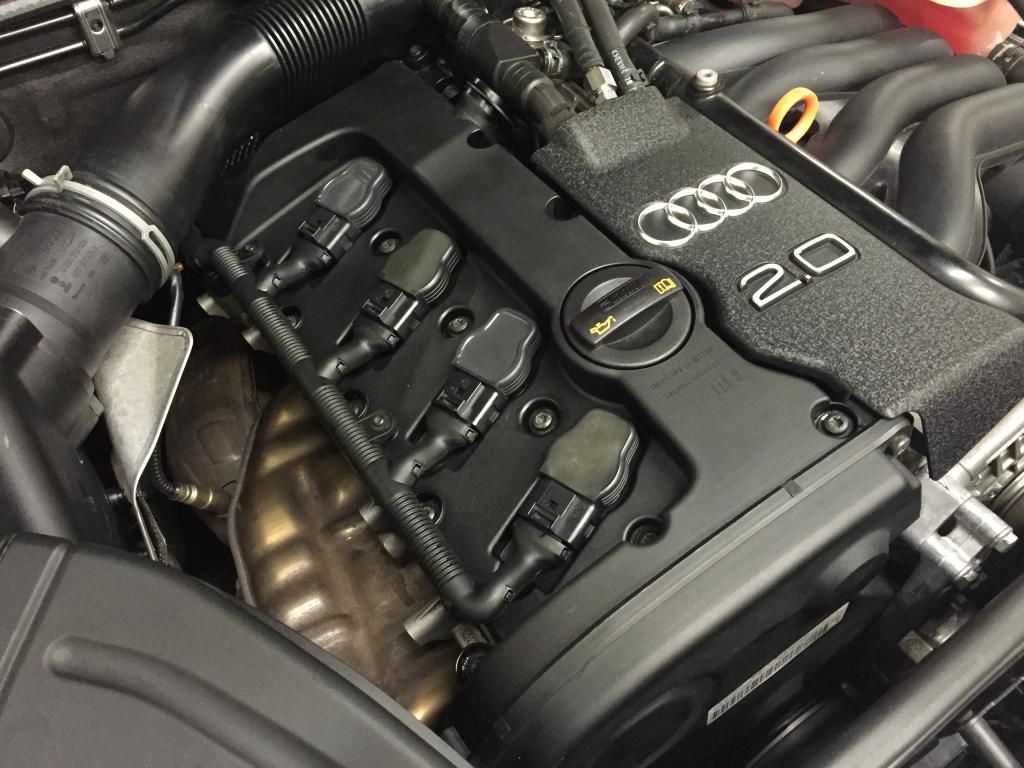
    The car is a Lava Grey 2.0i 20V model. I don't think you had any A4s sold with the ALT motor in North America? It's not a powerhouse performer, but it's perfect for my needs. As a daily driver slow is fine.

    Back in 2005 Audi released a 'Sport Edition' of the A4 in Australia (maybe elsewhere too?) separate from the S-Line. It was limited to 200 units and all of them came with unique bumpers, side skirts and roof spoiler, plus a Nokia 8800 mobile phone and built in Bluetooth. Classic marketing gimmick. My car is too late to be one of those 200, but has the same body add-ons.

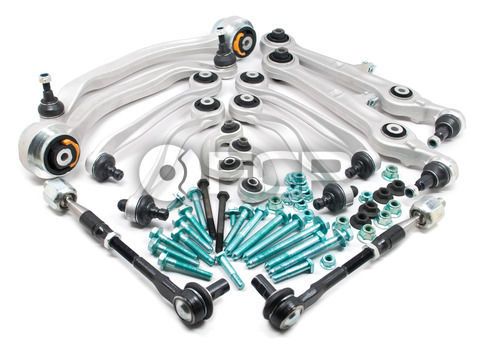
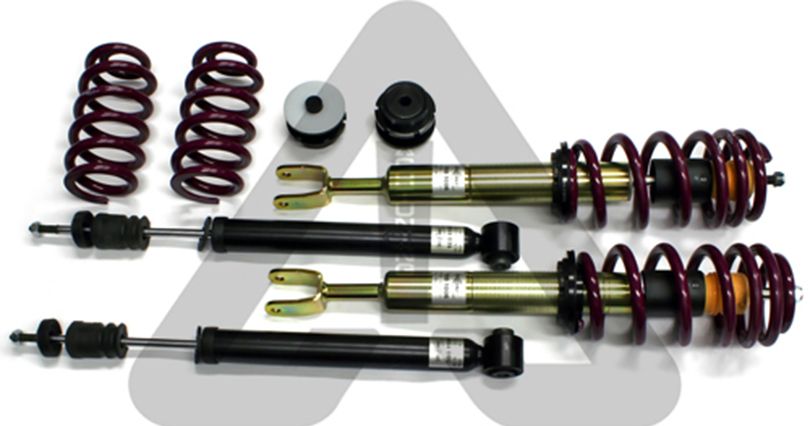
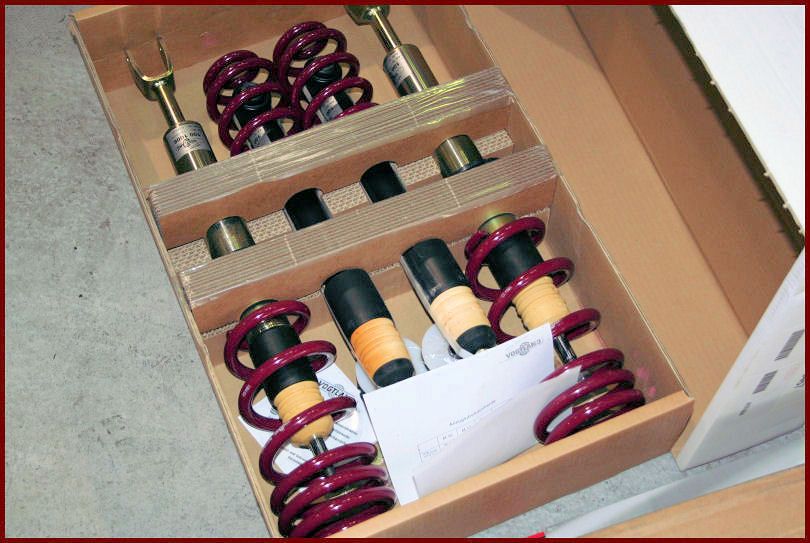
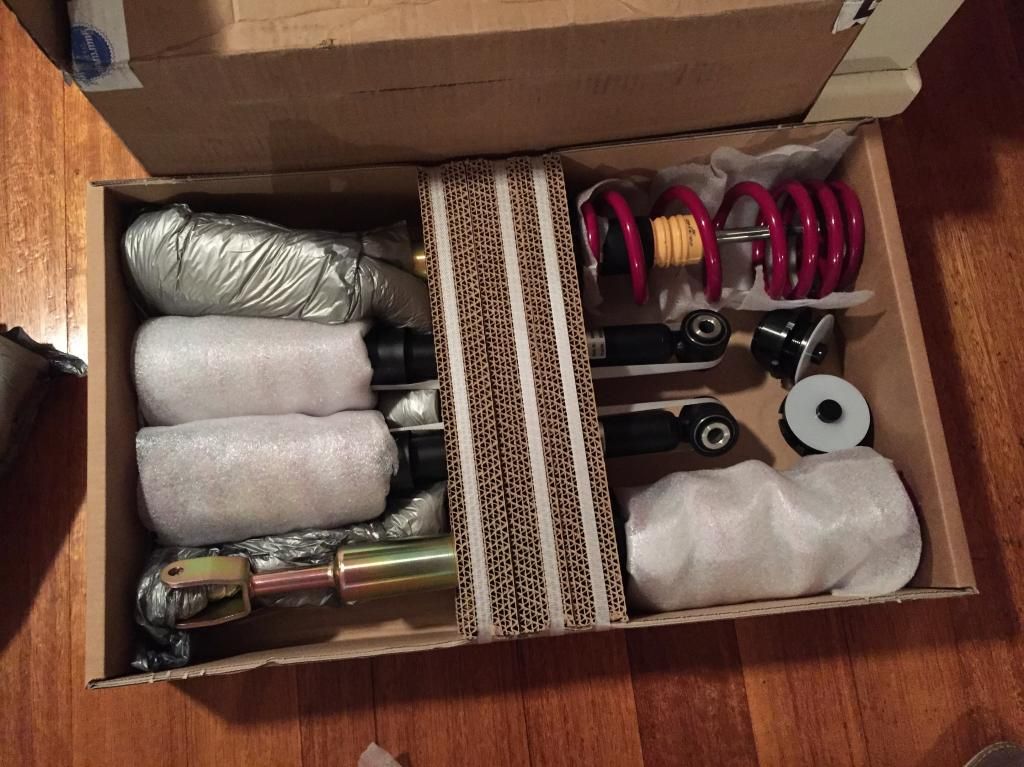
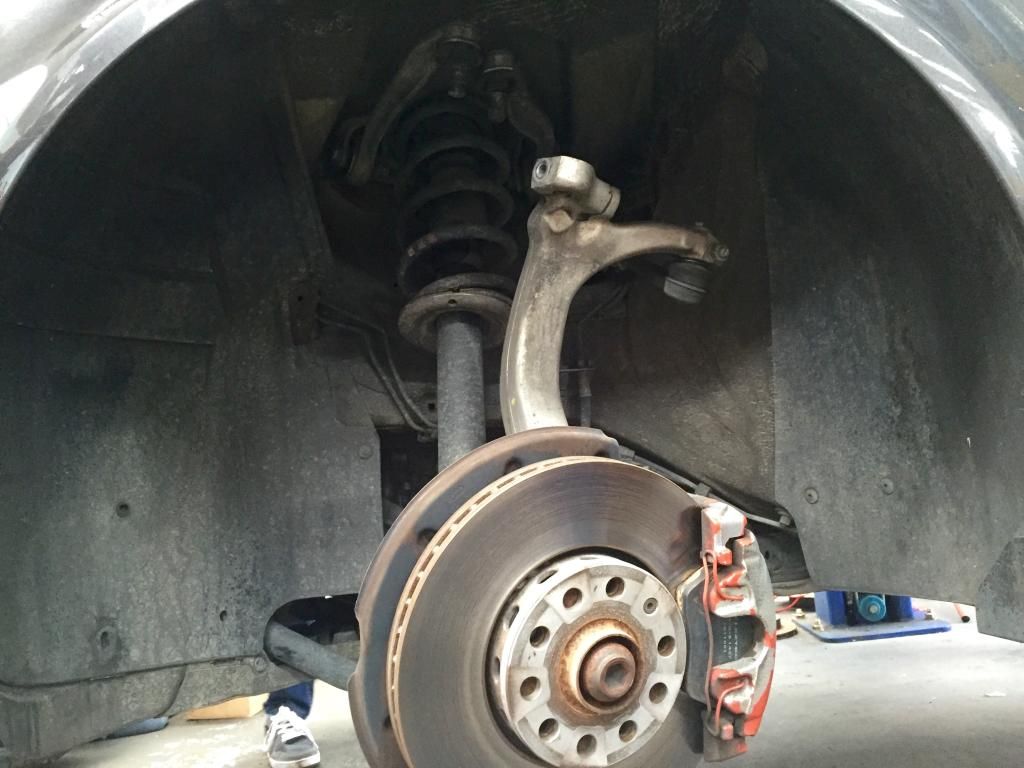
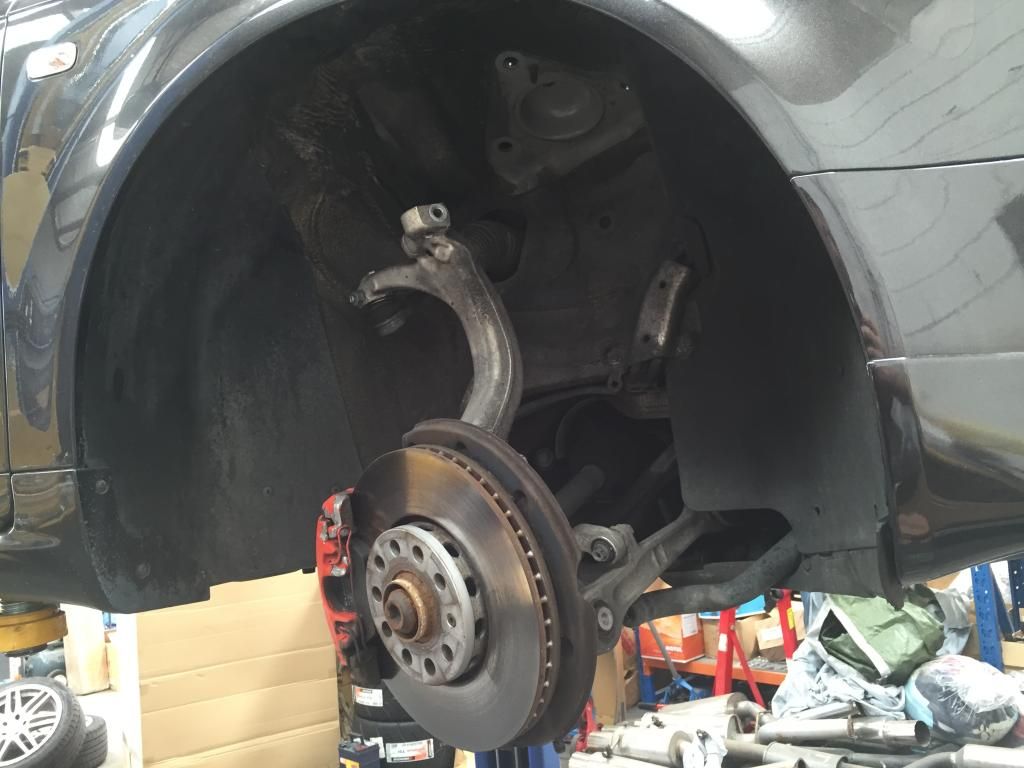
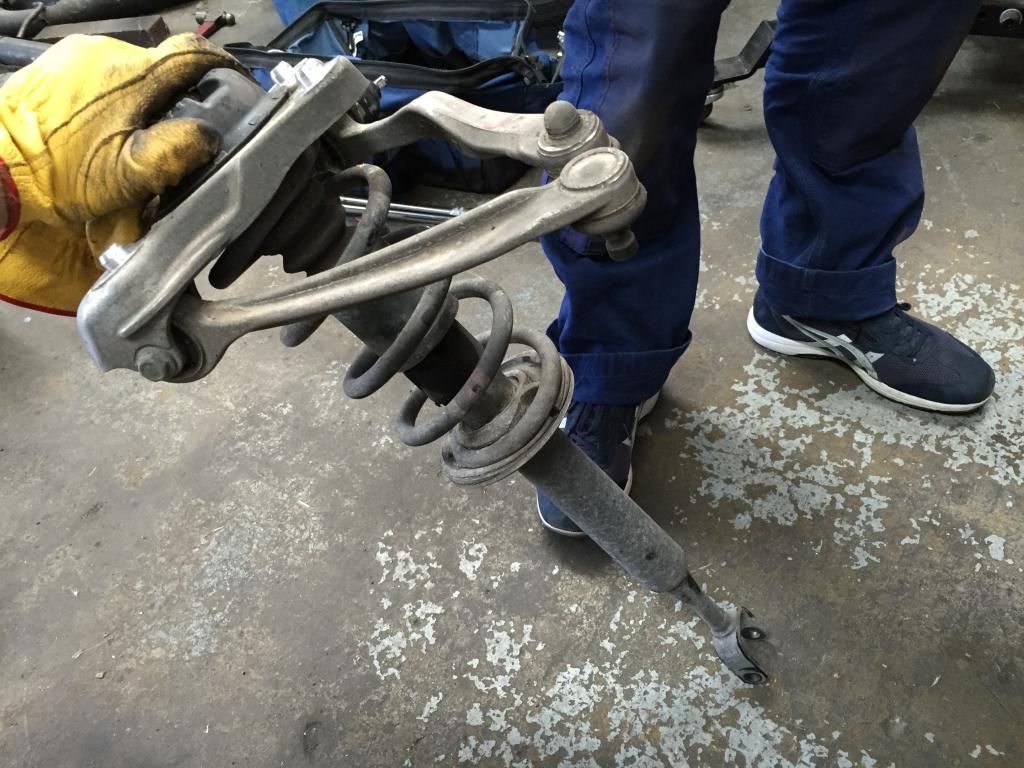
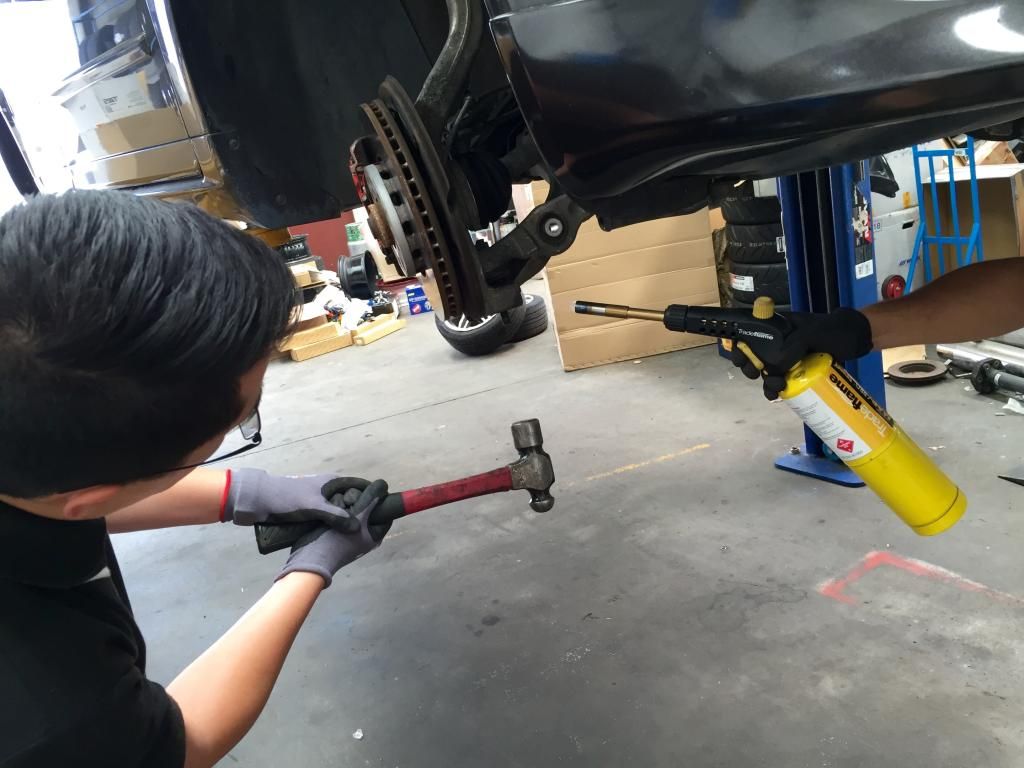
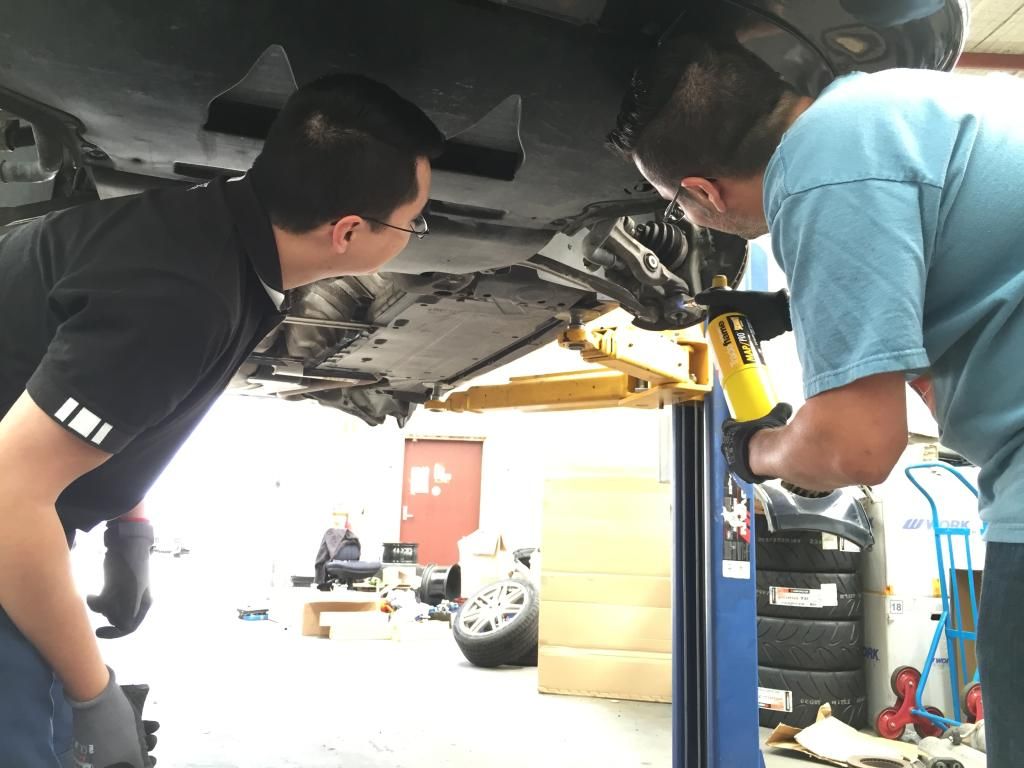
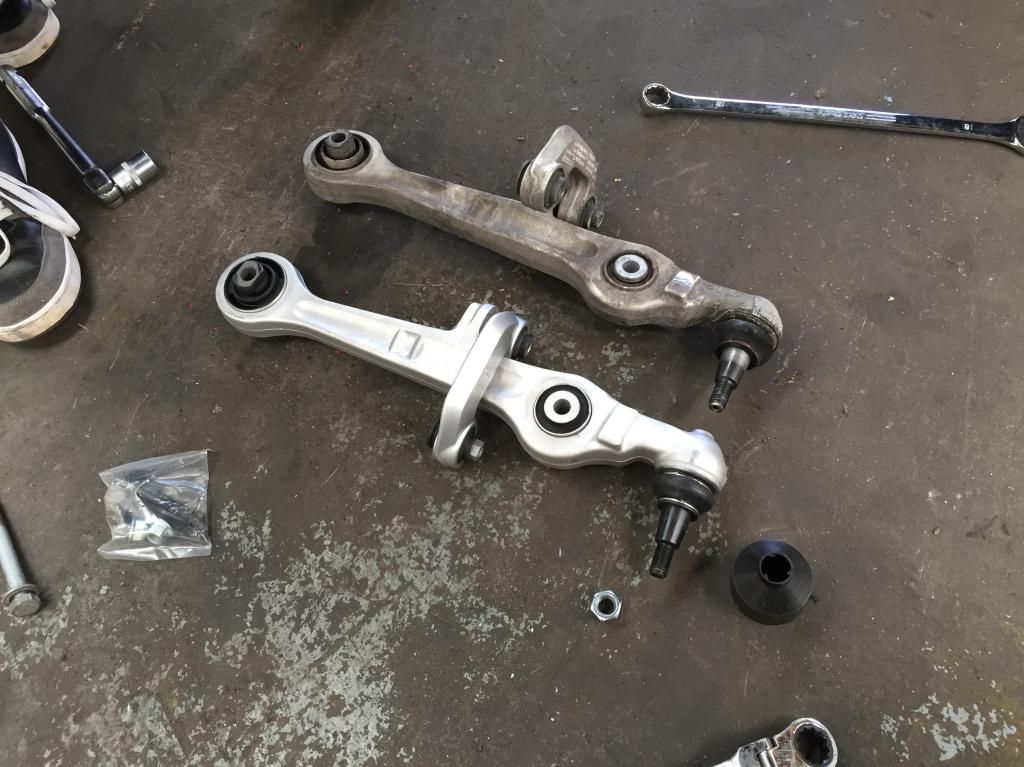
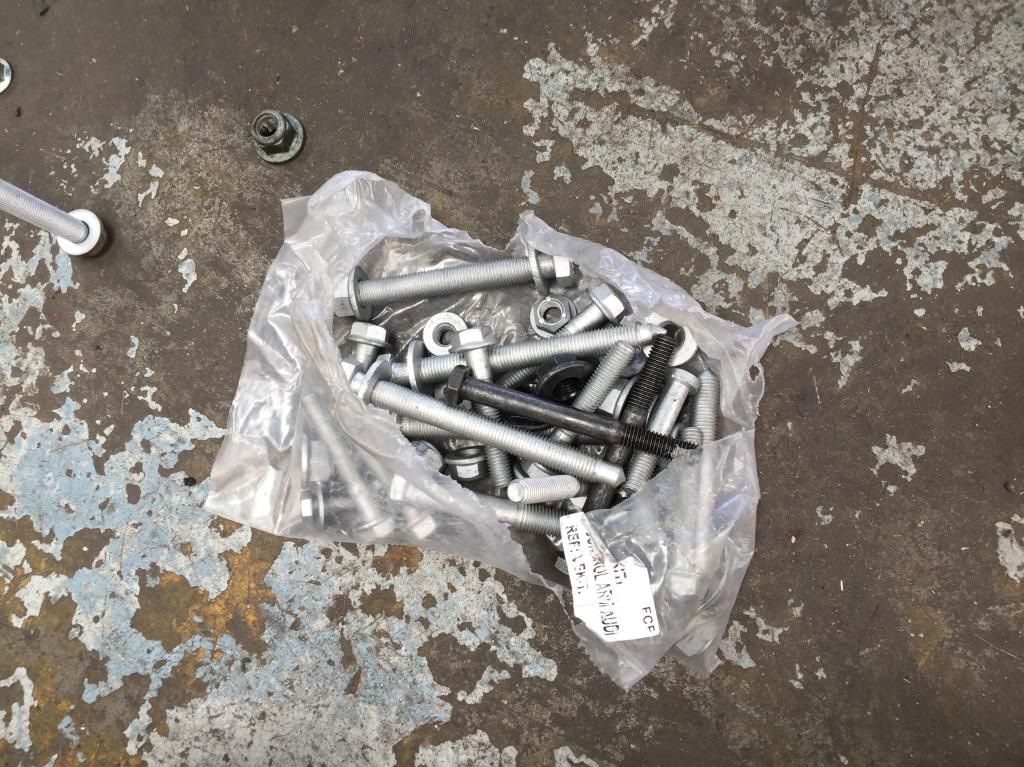
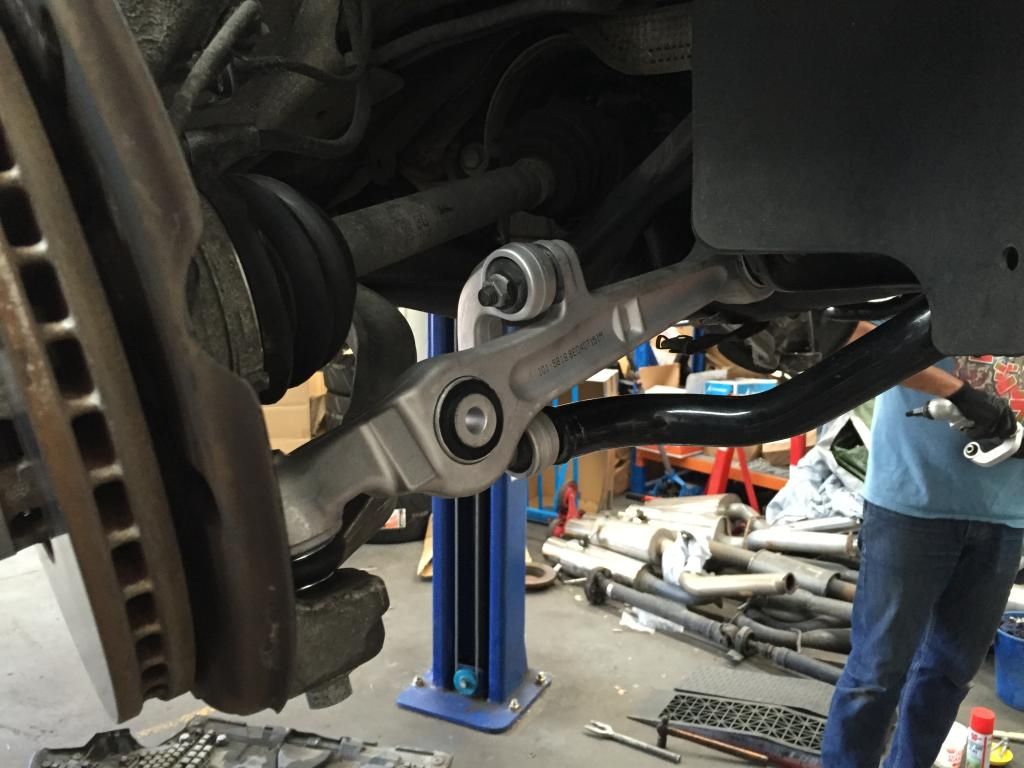
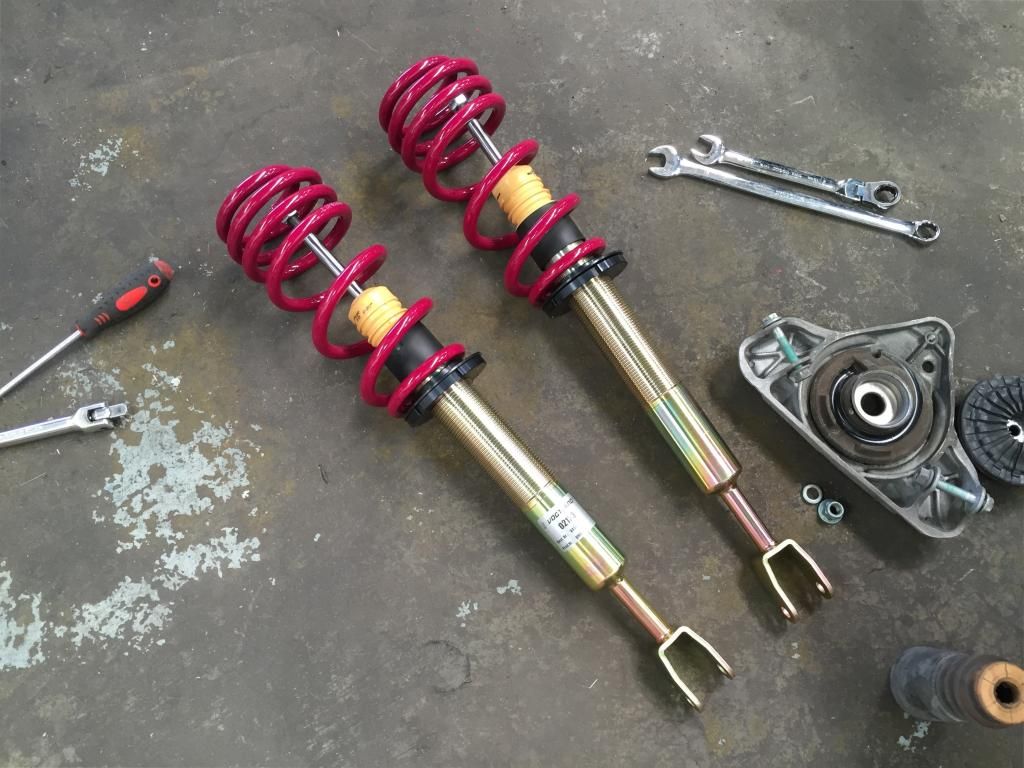
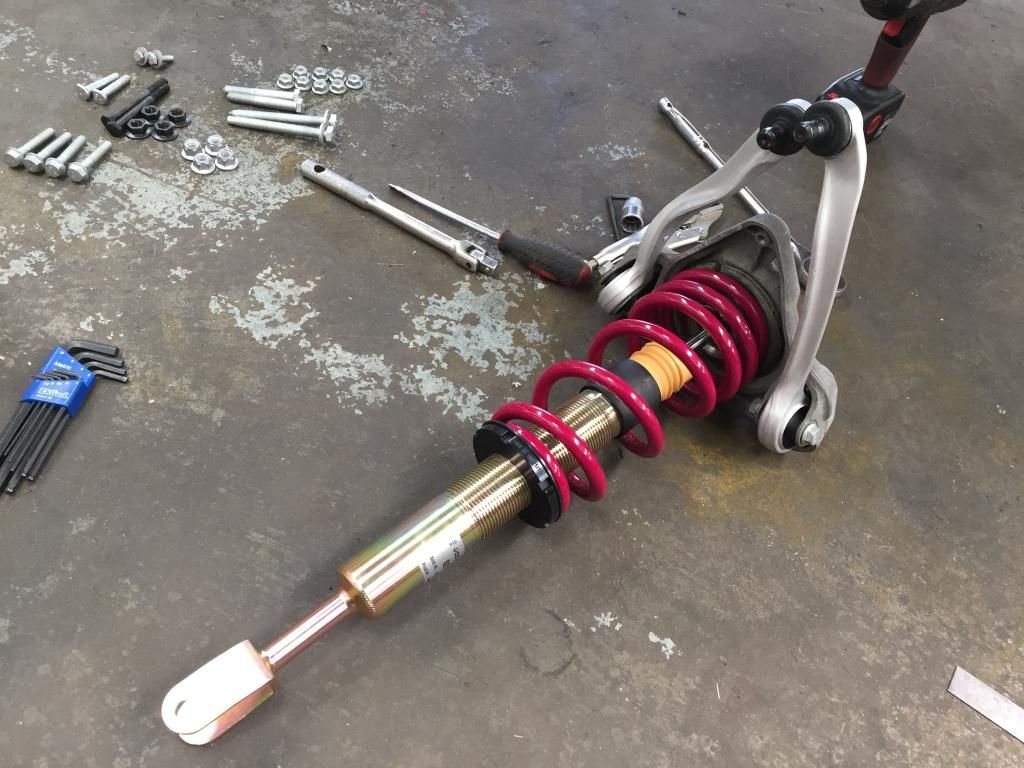
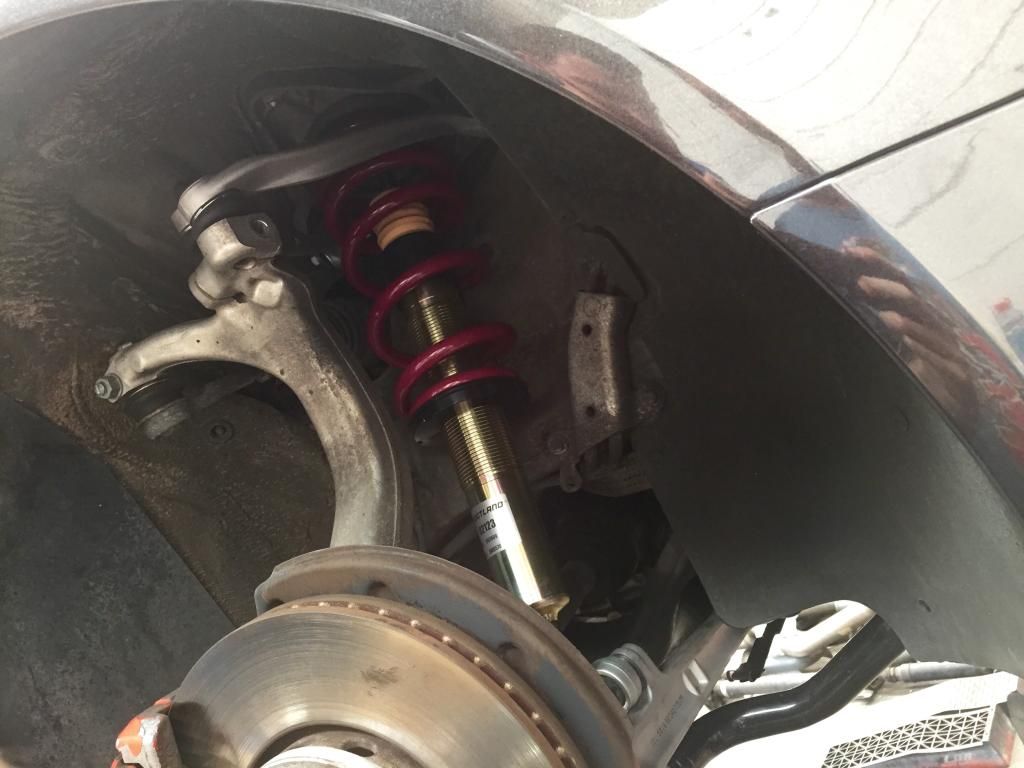
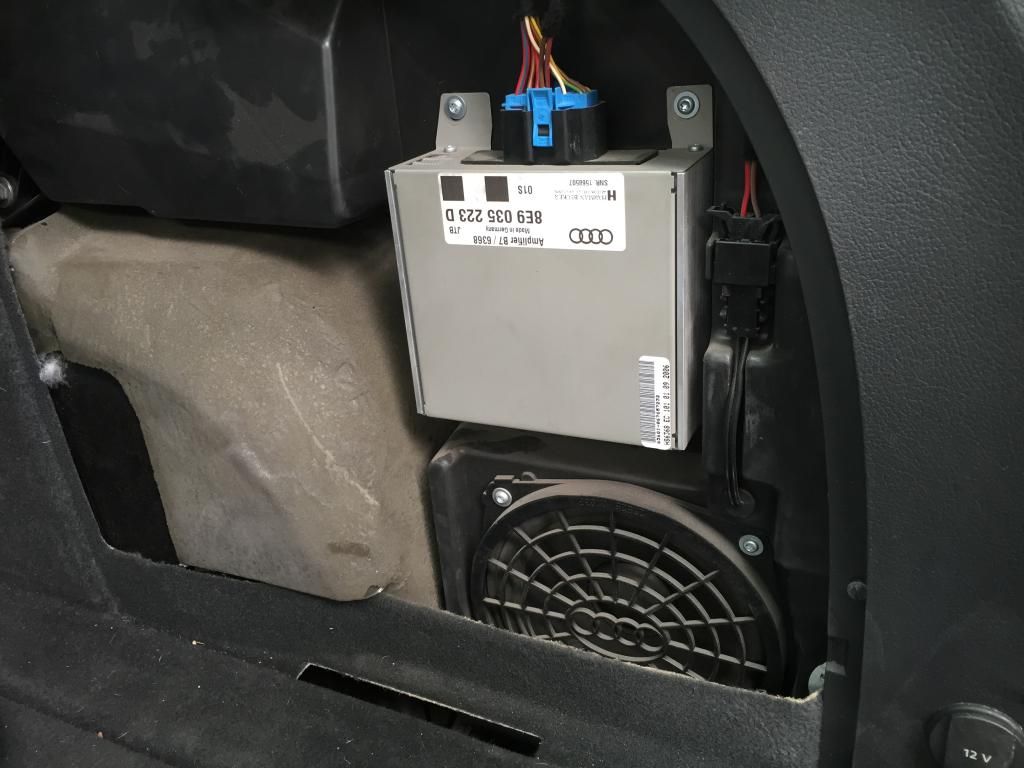
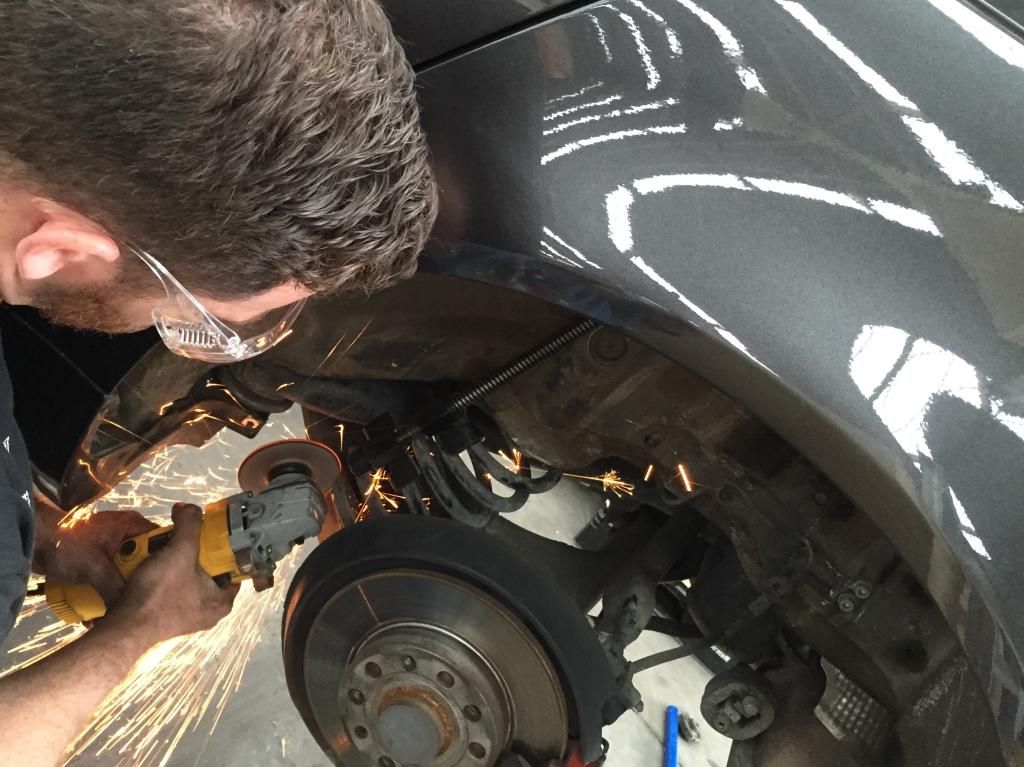
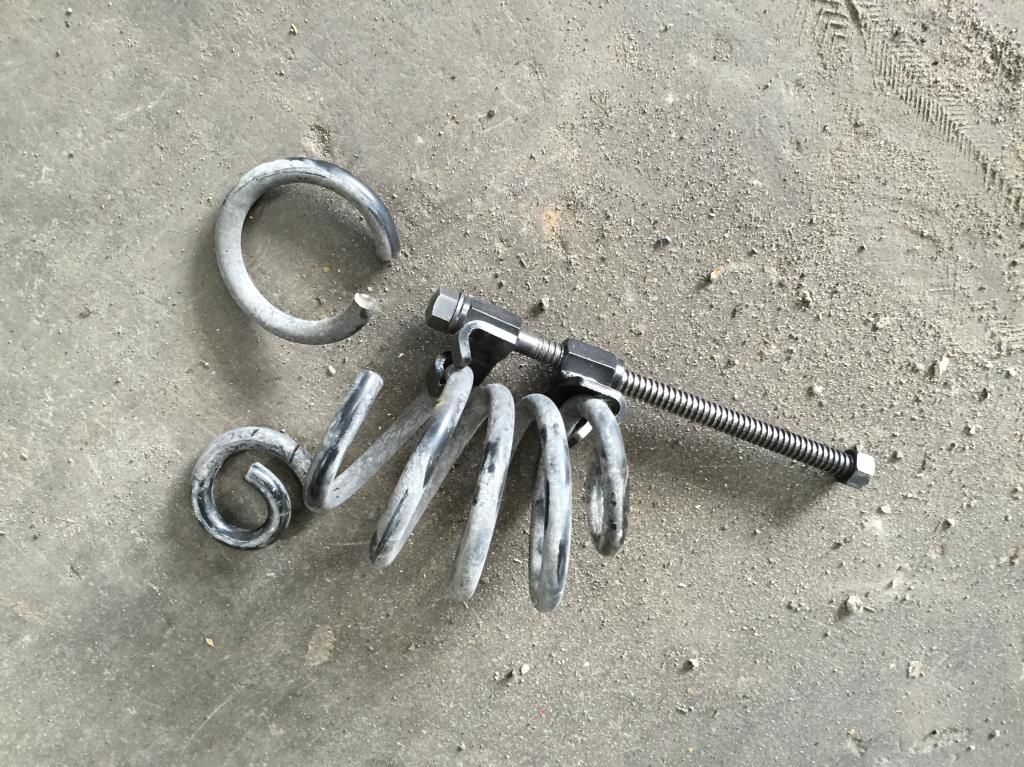
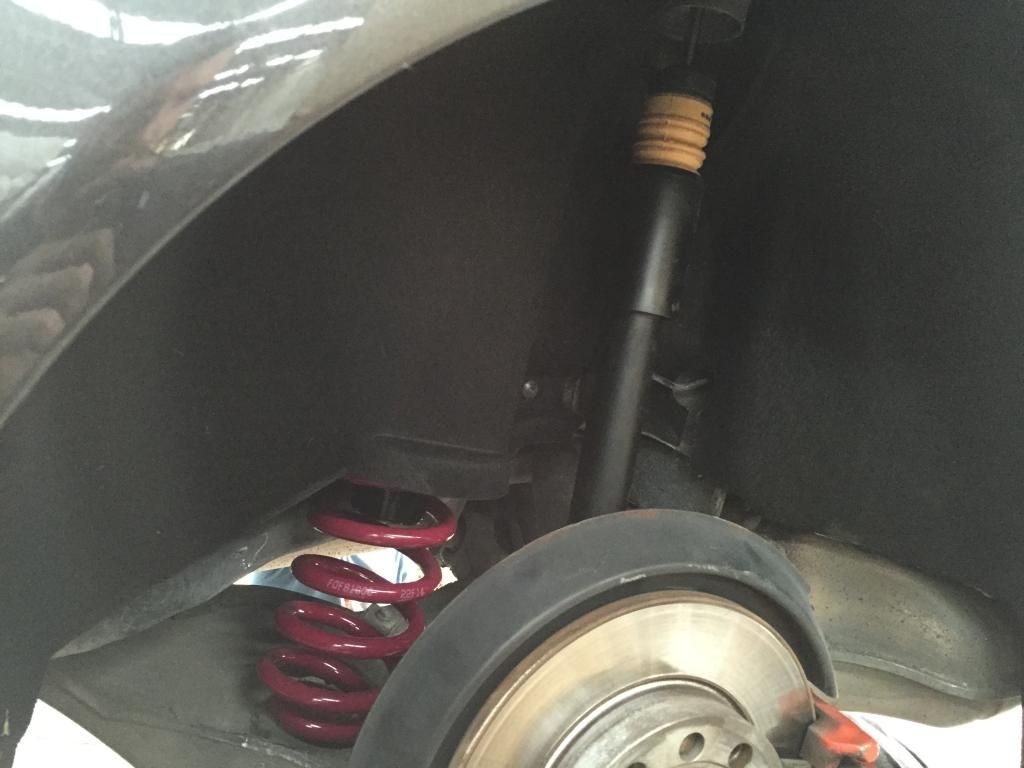
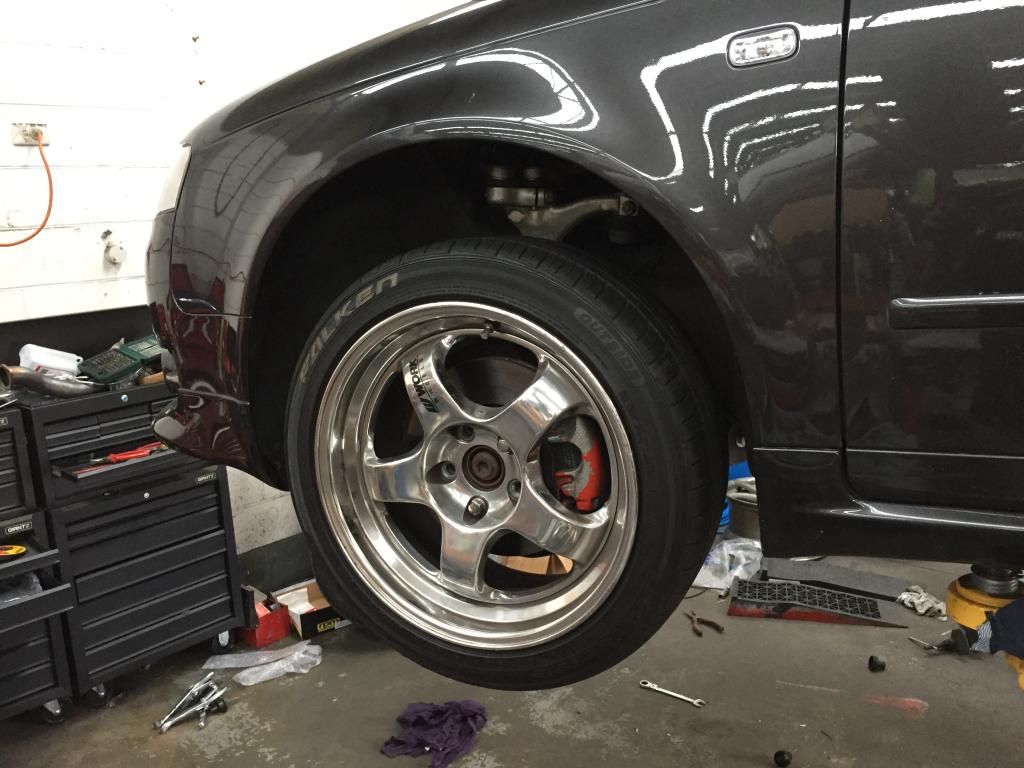
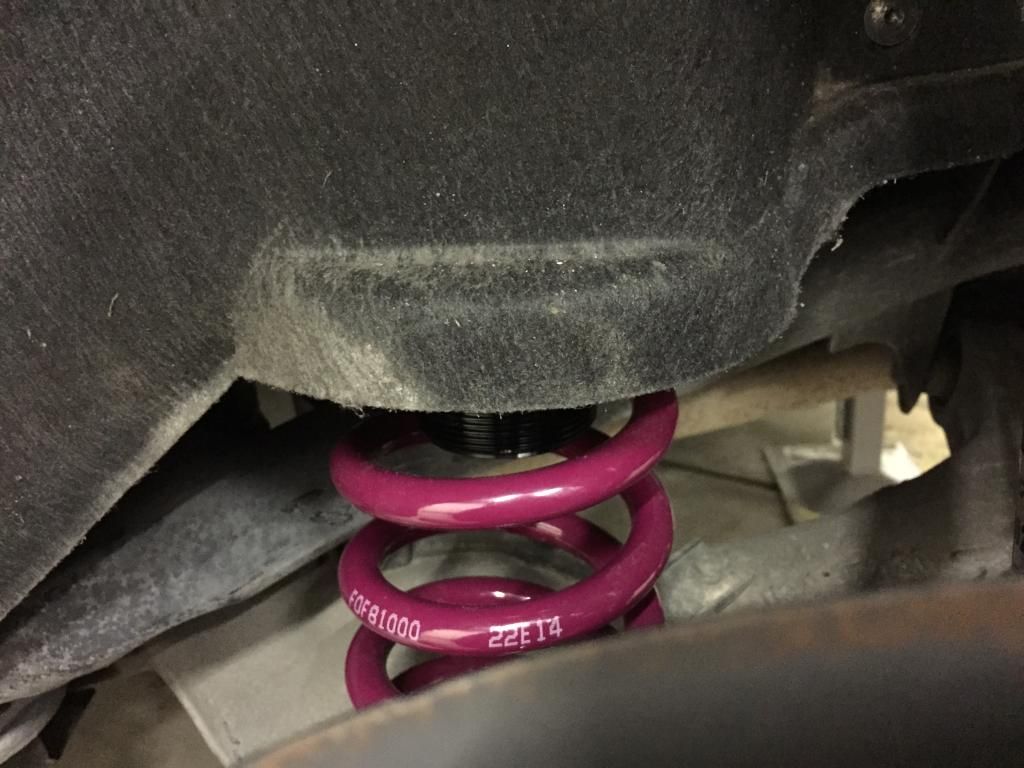
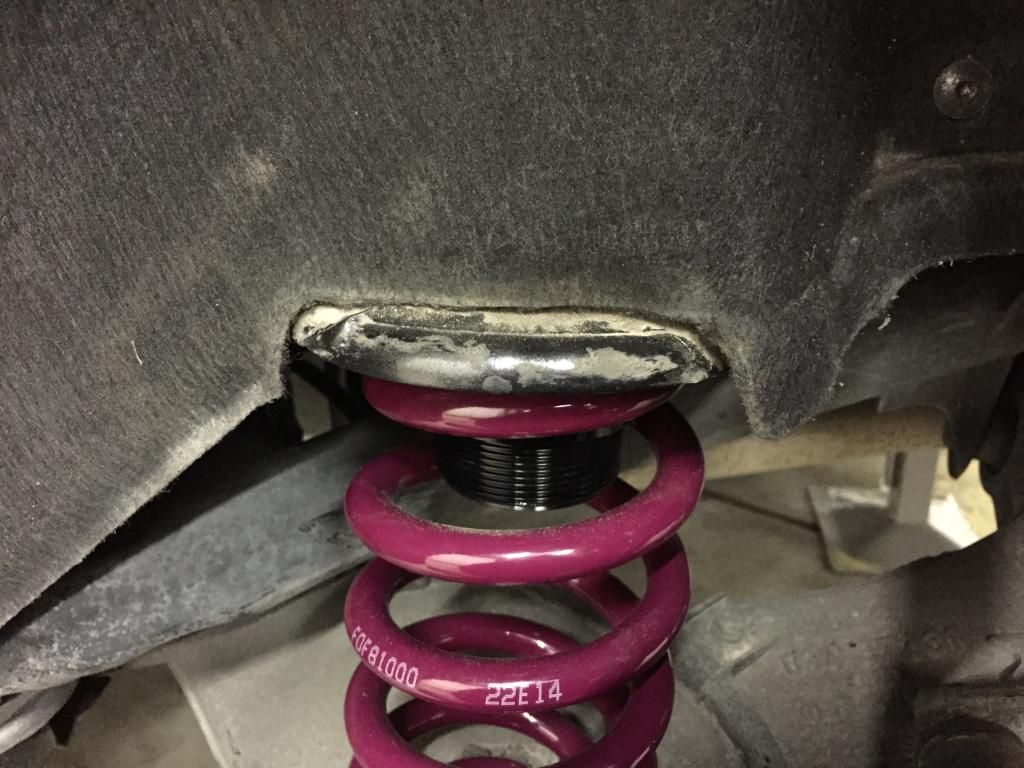
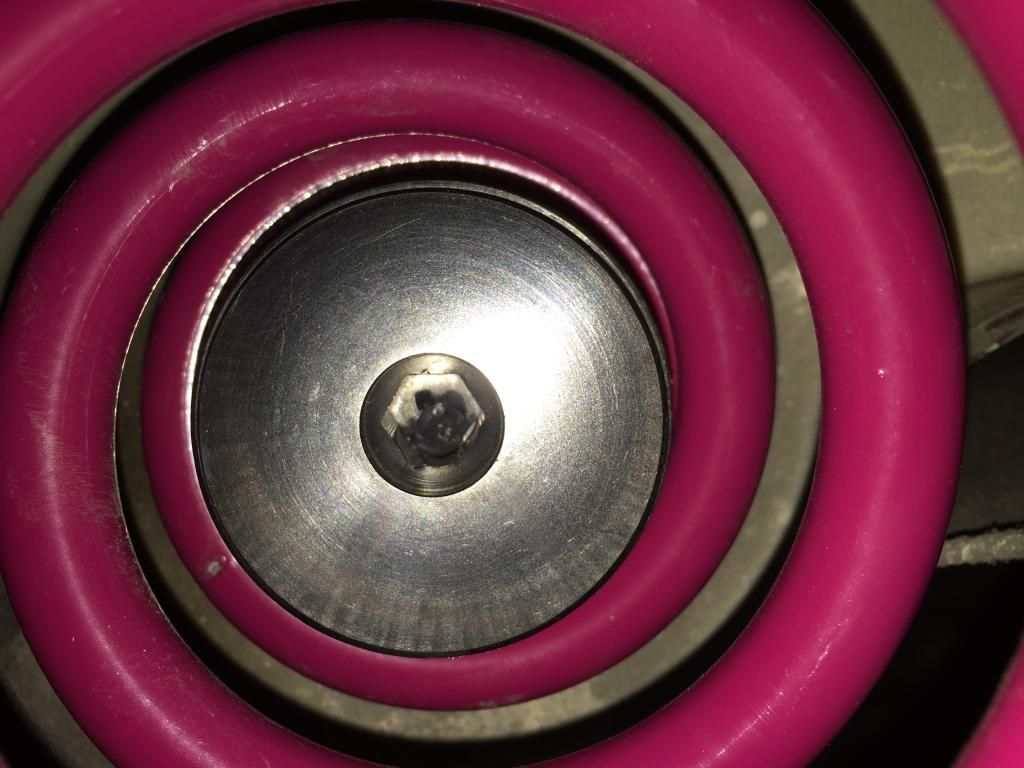
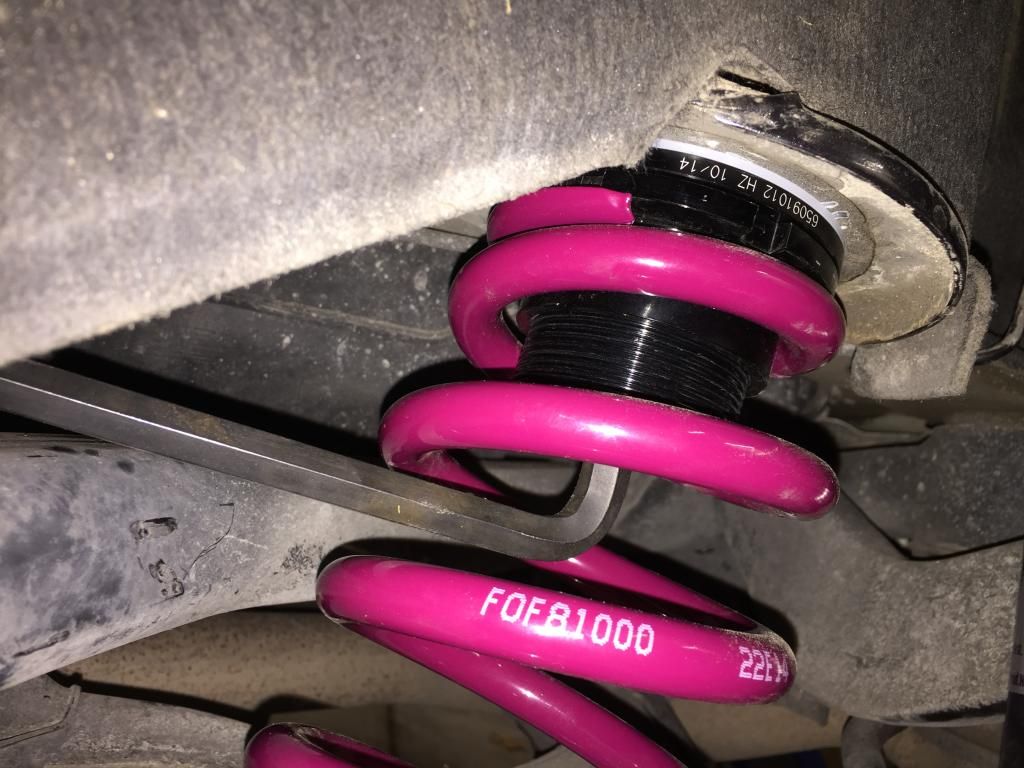
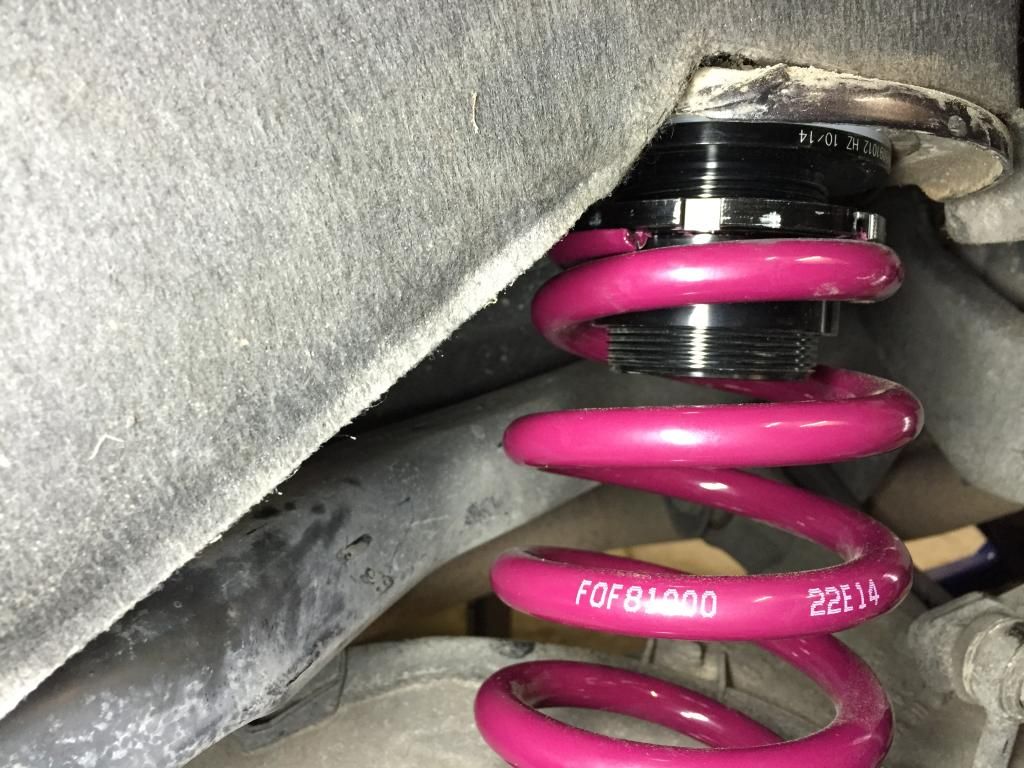
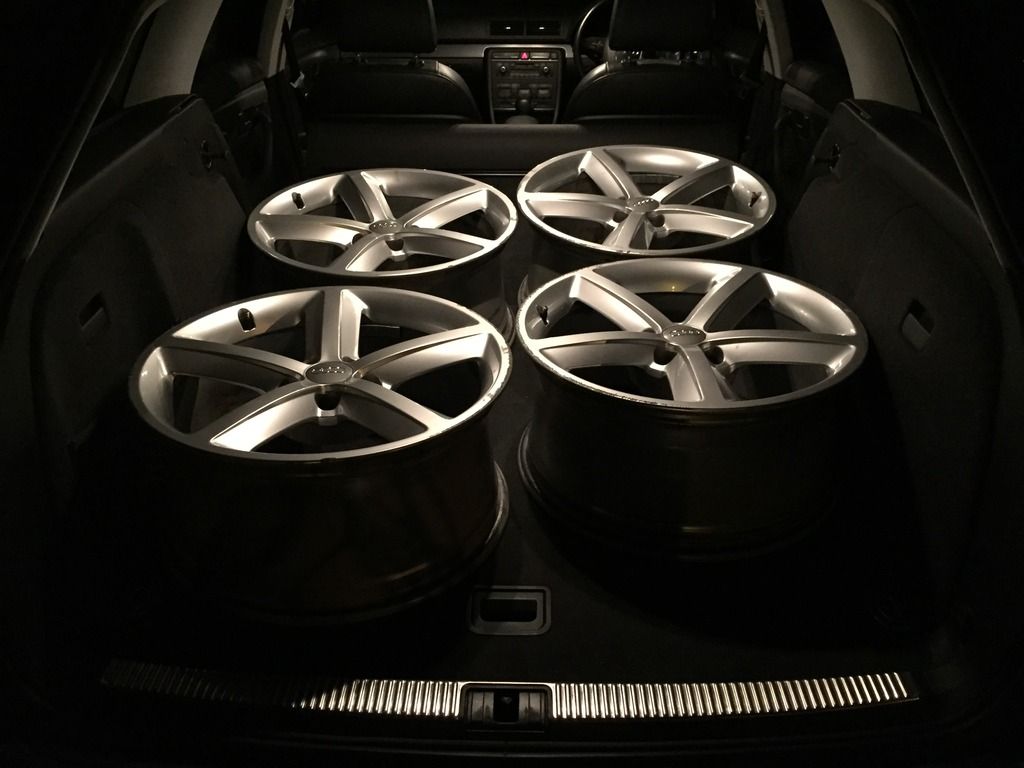
    The plan is to get the car mint inside and out. Coilovers and wheels will follow and a few more ideas I've got in my head.

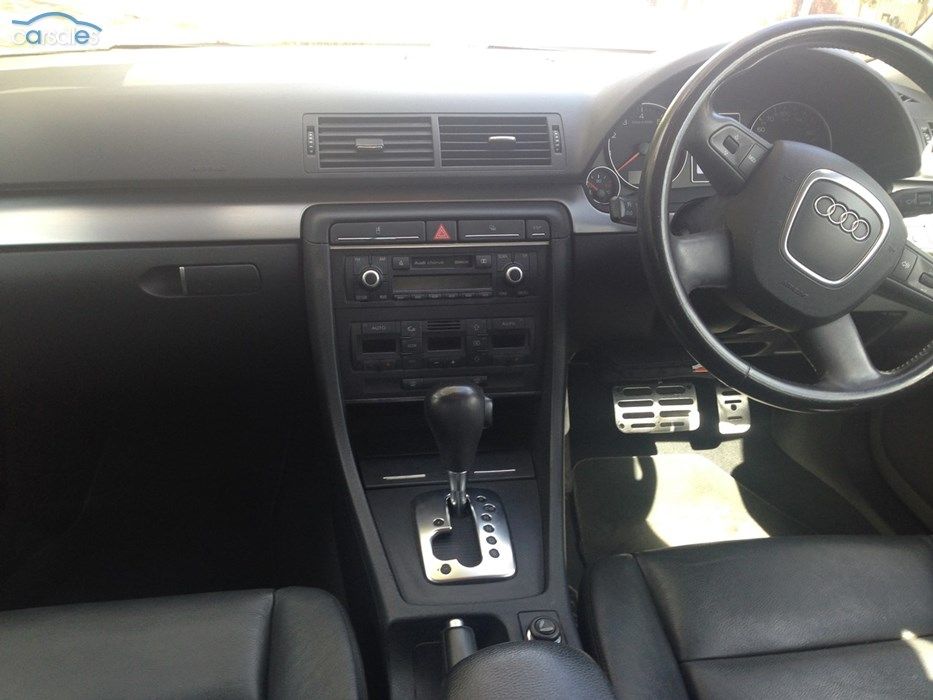
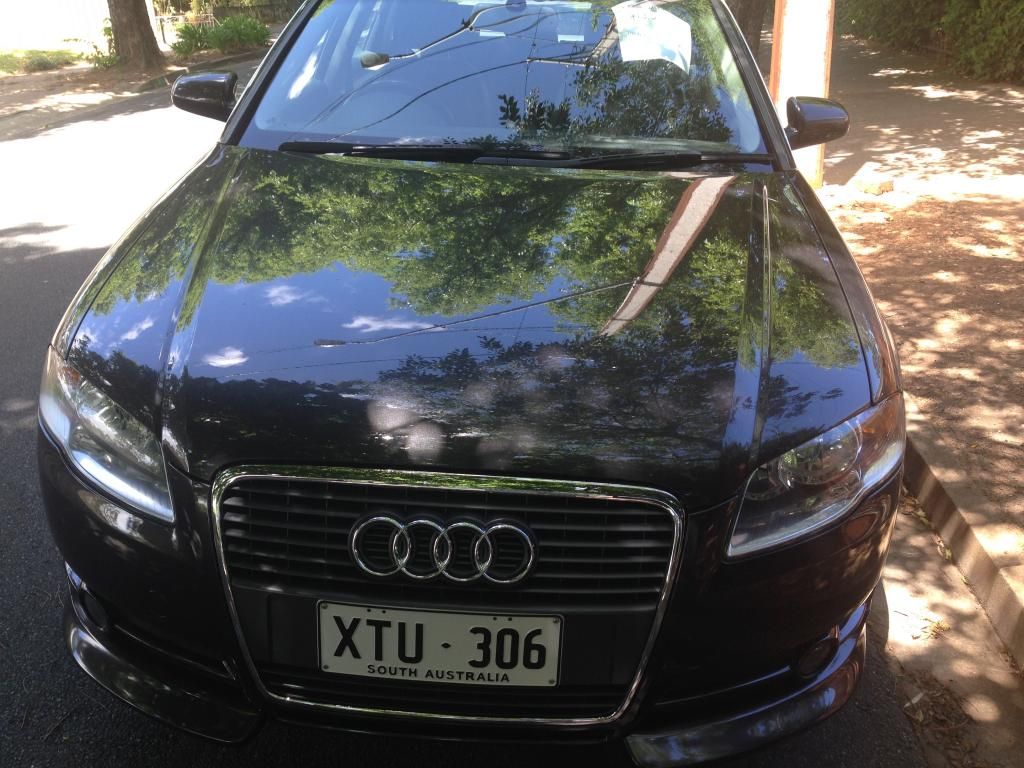
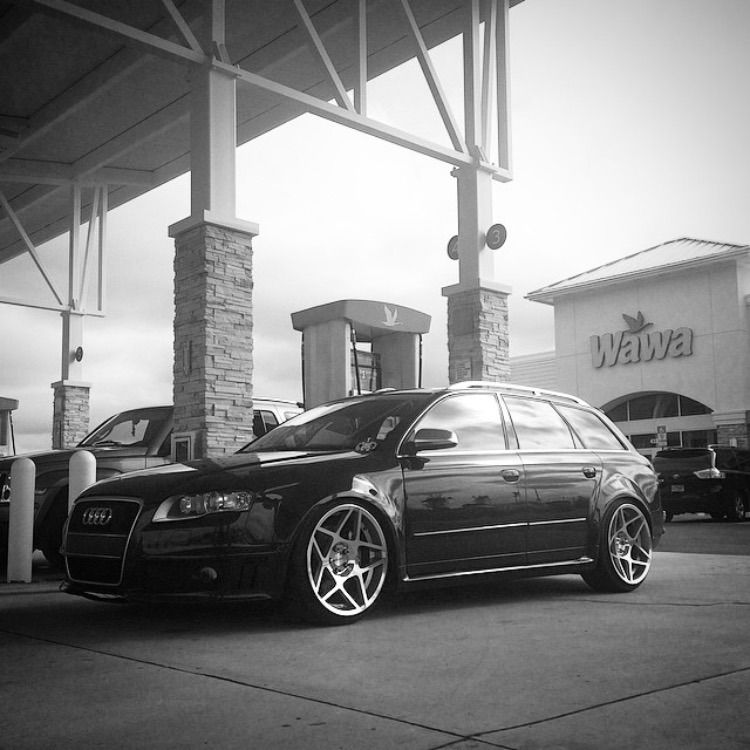
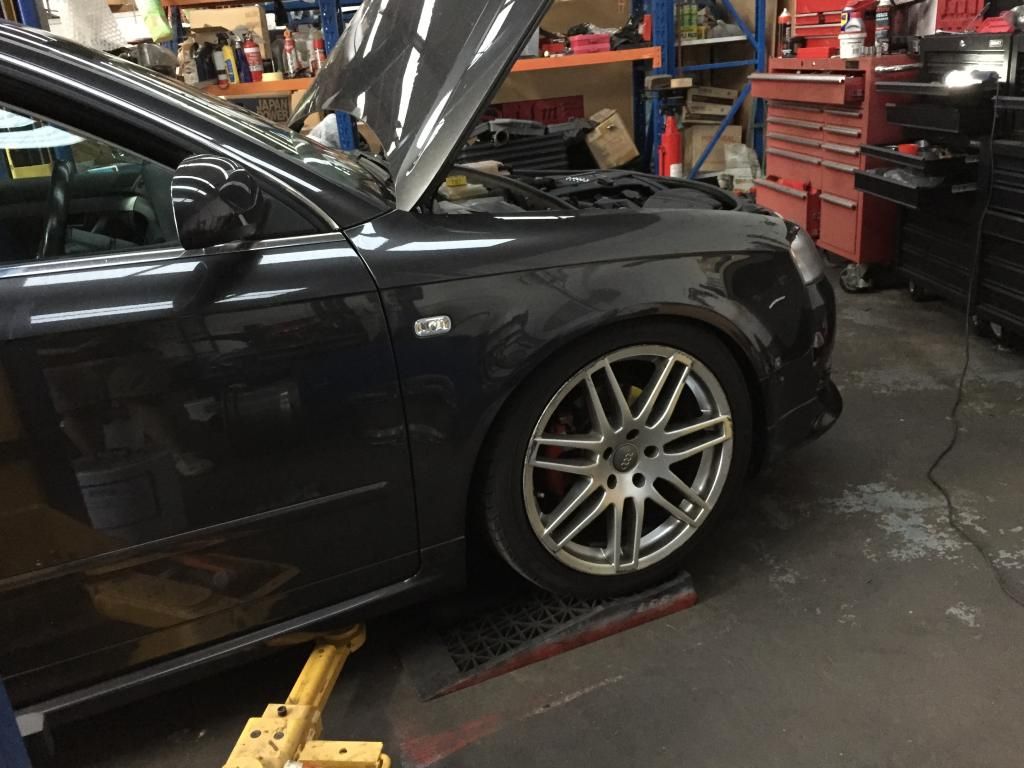
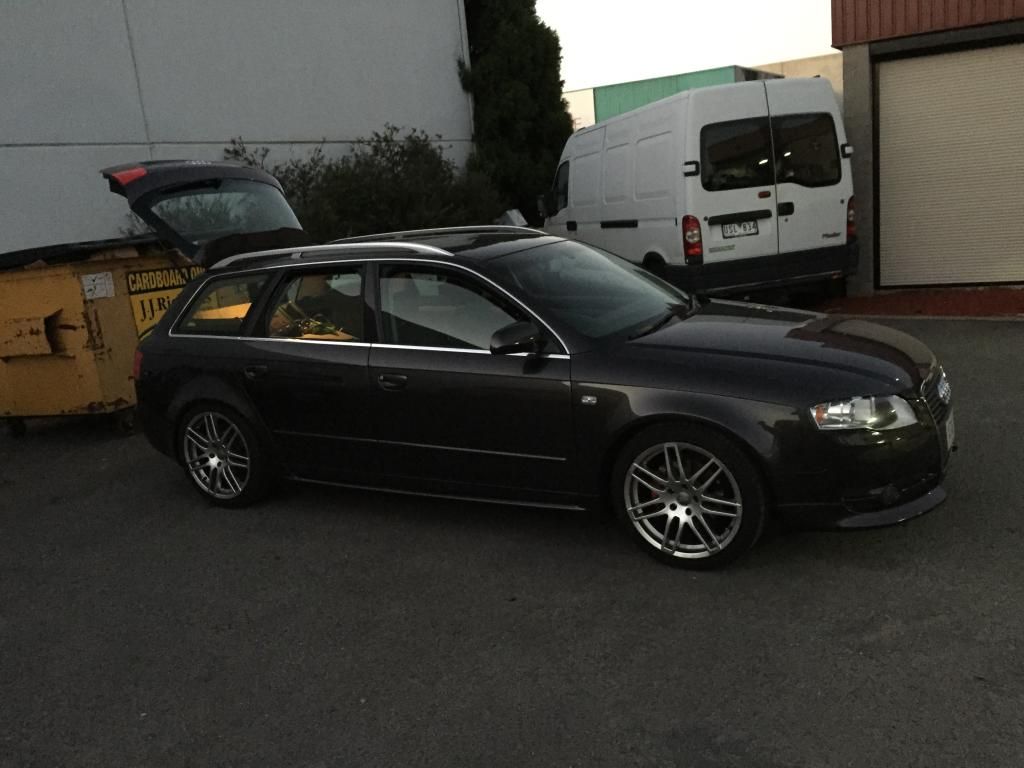
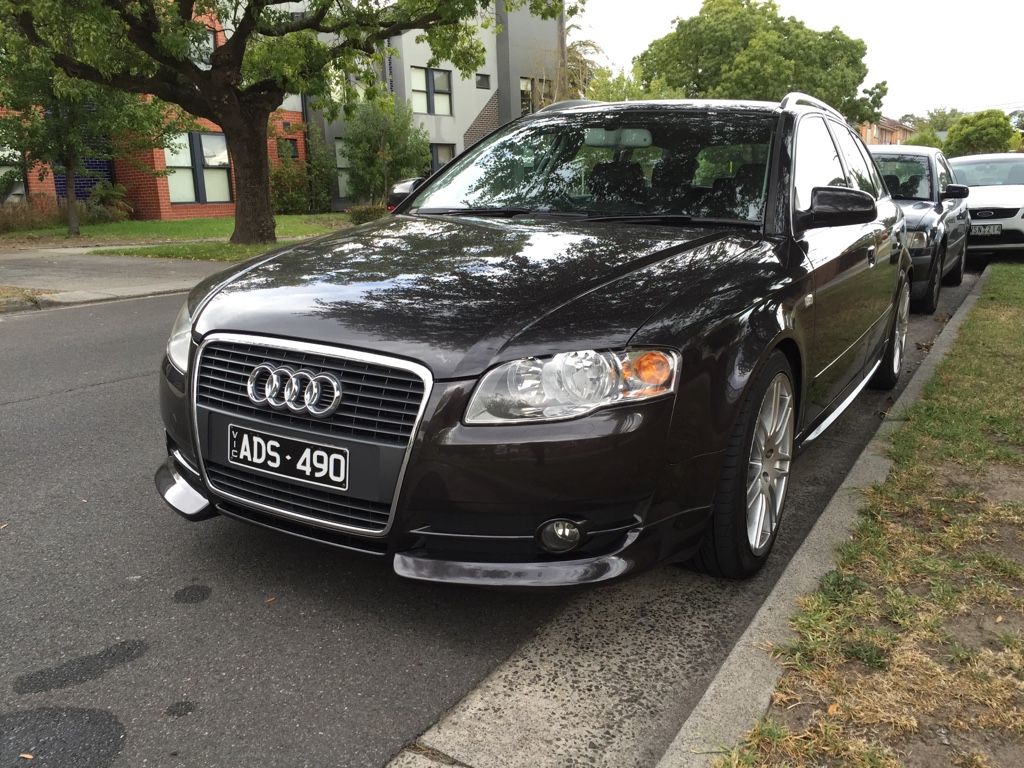
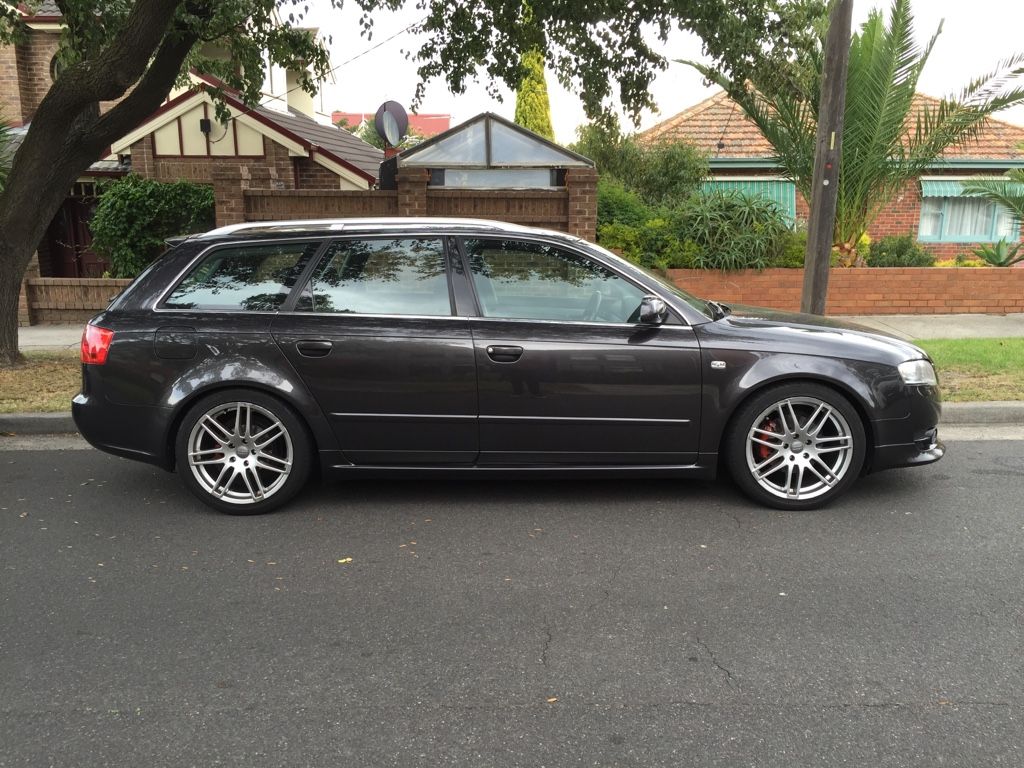
    Here are some weak pics from before I bought it. I'll snap some better ones soon.


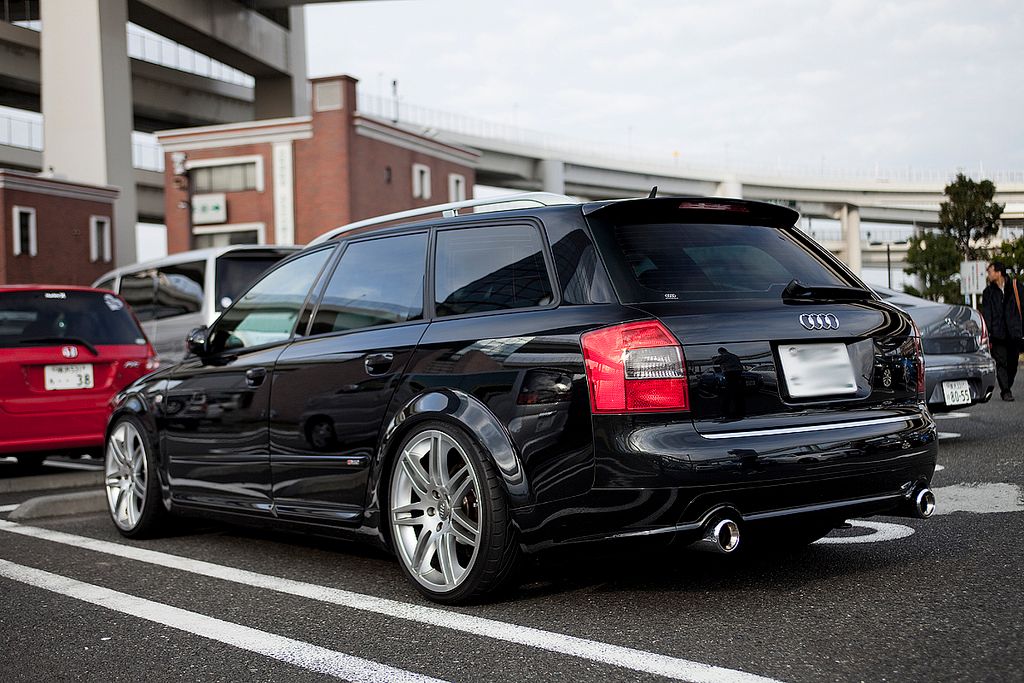
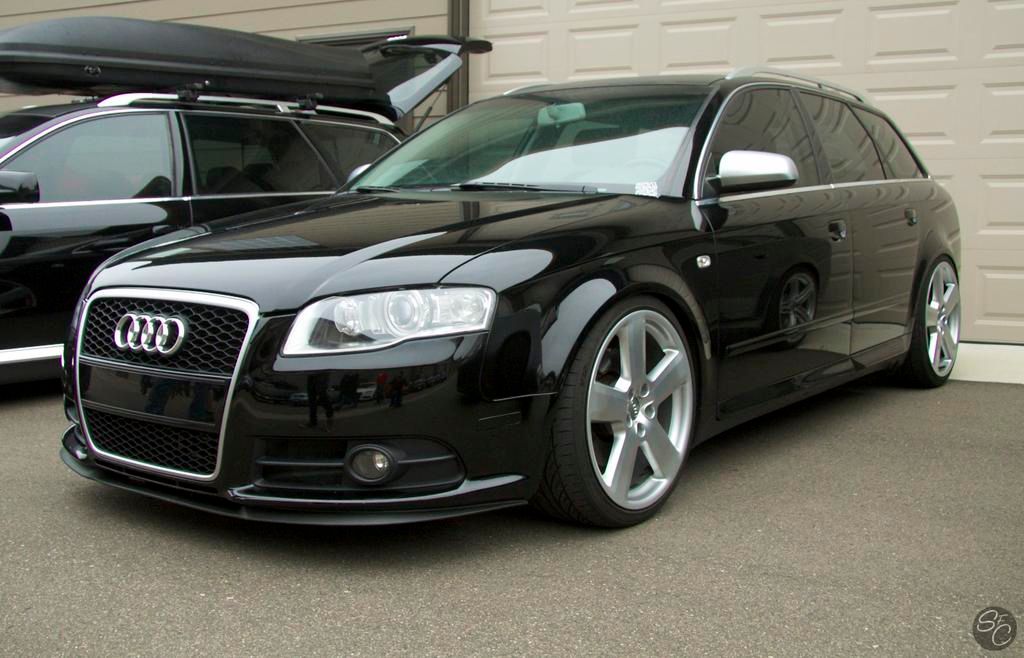
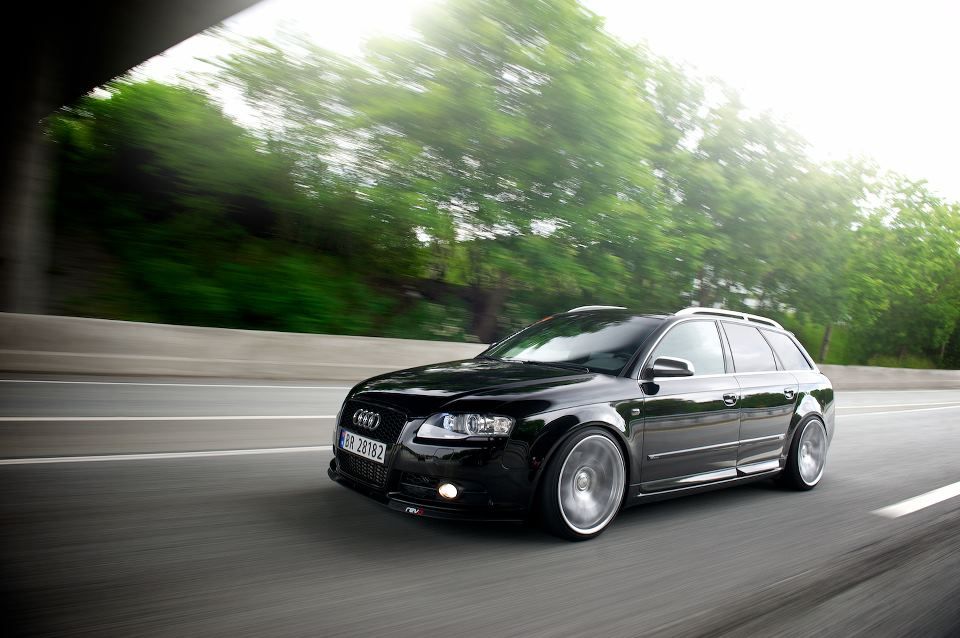
    And here's some inspiration. Obviously this is a B6, but as far as styling goes I reckon it's perfection.


    More to come.

  • #2
    I originally bought the car from another state. In the first few weeks I drove it about 4000kms around the south-east coast of Australia. At the moment I'm getting it ready to pass a roadworthy certificate to register it in my name.


    It's in good shape, but needs suspension bushes replaced. I've bought a front control arm kit with all 8 front arms, swaybar links and S4 tie rods (solid, no rubber dampeners).


    I'm doing engine mounts at the same time. They're hydaulic and one of mine has started to weep.


    During my eBay trawl I picked up a couple of interior bits.


    A new centre console armrest lid. Mine is okay but the latch is broken, like everyone else's apparently.


    A new headlight switch. Mine still works fine but the paint has worn away to show the white plastic underneath.


    And a new boot latch to fix my one which is playing up. I'm also doing the cam cover gasket, wipers and a hinge repair kit on my glovebox.

    I picked up a little bit of touch-up paint from Audi to fix a few stone chips on the front of the side skirts behind the front wheels.

    Coilovers next. Here's some more inspiration.


    Comment


    • #3
      The last week and a bit I've been shopping online a lot, looking for coilovers.

      On a whim I sent an e-mail to a company based here in Melbourne about a Vogtland coilover kit. Going off prices in the US the Vogtlands were a bit more expensive than others I had my eye on but I thought it was worth a try. Incredibly the bloke came back with a price only marginally more than US pricing. Pretty shocking considering most local shops charge significantly more than the US and Europe.

      So I've paid my deposit and the kit is on the way. Vogtland make the springs in Germany and source the strut/shock from KW valved to suit. Can't wait.


      And as always, yet more inspiration:


      I'm starting to pile up parts. The control arms and swaybar links arrived yesterday from FCP.


      Getting excited.

      Comment


      • #4
        Ermergerd!

        Comment


        • #5
          For a few minutes I thought you had Wawa's in Australia...

          Comment


          • #6
            Originally posted by anth View Post
            Ermergerd!


            Originally posted by KFC ONE View Post
            For a few minutes I thought you had Wawa's in Australia...
            Haha. I wish. Not sure what I'll do for wheels yet. Maybe I could be the first?

            Comment


            • #7
              It's been a frustrating week with a crash course in VAG fault finding along the way. Where to start.


              On Friday last week we had a massive thunderstorm here in Melbourne. I was driving home at the time. I made it back to the garage where I left the car until after the weekend. On Monday morning the car wouldn't start.

              I knew something was up as soon as I turned the key. The 'PRNDS' gear selector icons were flashing on and off. I cranked the car over but it wouldn't fire. Being new to this Audi caper I feared something was wrong with the gearbox. I then learned that it's a CEL of sorts. So I borrowed an OBD-II reader from a mate and found the fault code. P0688.

              A whole lot of Googling later and I had a list of possible causes, all related to the ECM power circuit and/or the coil packs. Lots of people have posted threads about this code and the reasons for the fault in their cars: water in the ECM compartment, failed relays, blown fuses, degraded wiring, and the list goes on.

              The next day I went back to start troubleshooting. This time the car started but had a slight miss. It wasn't blowing the fuse for the ECM circuit so that ruled out a couple of things.

              I started pulling things apart. First thing I wanted to check was the wiring to the coil packs as that was one of the more widely documented fixes.


              I figured the oil I'd seen in the spark plug ports would be a good thing to sort out too as it could well have been causing problems for the coil packs, and that meant tackling the cam cover gasket at the same time.


              You can see the oil around the plugs that had leaked past the gasket.


              Quite a lot of oil dripped out of the coil packs while they sat on the bench. I didn't realise how much was in there.


              Thankfully the coil pack wiring is perfect. No issues there at all.


              I've seen shots from other B6/B7s where the plastic around the wires has split causing shorts.


              The new cam cover gasket from Audi ready to go.


              Air intake removed and ready to lift the cam cover out.


              The old gasket with baffle.


              Top end looking nice and clean. No build up at all which I was hoping for given the service history.


              I always find myself poring over things like this. It's amazing how short the duration is on all of the cam lobes.


              A friend dropped by to do some work on his AZ-1. I find I work better when I have company in the garage.


              I did my best to soak up the oil in the ports before pulling the plugs. It was challenging without a small syringe. I got as much as I could out, pulled the plugs and gave everything a good clean - plugs, coil packs, and plug ports.


              I cleaned up the cover, installed the new gasket with a bit of gasket cement for extra security and buttoned it up.


              Worried about water from the storm, I checked in the ECM compartment for leaks. This should really be an easy thing to do, but one of the bolts for the cover is under the wiper motor. It's a prick. Eventually I got in there and it was bone dry. No sign of water at all. I checked the fuses and pulled the relays to clean the contacts while I was there.


              So I fired it up. Fault code gone! It started and ran perfectly. I'm not driving the car at the moment so I've left the coil pack wiring cover off until I can replace two of the connectors which have broken clips.


              Next up I replaced the boot latch. Swapping them was straight forward once I had the boot trim off. It's good to have this working properly.


              Today I took the glovebox out to repair the hinges and clean up the latch. There's a damper for the glovebox that commonly causes problems with the front cover. The damper seizes up and the hinges get snapped by people forcing the glovebox open.


              I've ordered a repair kit from Turkey of all places, which reinforces the standard hinges. I'll then either soak the damper in silicon spray or delete it altogether, which is what most people do.

              Picking up my coilovers today, then tackling the suspension and engine mounts on the weekend.

              Comment


              • #8
                All of this Audi maintenance gives me chills for having gone through similar things.
                Glad you're tackling them one by one and getting the car back to working order


                "Never argue with an idiot; they'll drag you down to their level and beat you with experience"

                Comment


                • #9
                  Originally posted by TeckniX View Post
                  All of this Audi maintenance gives me chills for having gone through similar things.
                  Glad you're tackling them one by one and getting the car back to working order
                  Thanks, mate. It's a bit of a minefield. I have a huge list of small fix-it jobs that I'll probably never get through. I wanted to clean everything up before I started modding. But that definitely isn't going to work.

                  I finished the work in the engine bay the other night. Had to get it all back together so I could drive it again.


                  Fashioned a terminal release tool from a paper clip and it worked perfectly. Remove the locking clip, press down the tabs inside the connector and slide the pins out. Then use a sharp blade to bend the tabs back slightly and slide them into the new connector.


                  On the left is the one with the broken coil pack clip, new one on the right. Two of these connectors cost $49 from Audi, which is probably a bit much considering they didn't need to be replaced, but I like the peace of mind.


                  All wires and locking clip back in place.


                  Wiring cover clipped back on.


                  And ready to go. You can probably see I have two different types of coil pack in the photo above. The car came like that from the previous owner. They're all OE but the newer type have a revised part number. I should probably replace them all at some stage.


                  Before calling it quits I replaced the scuffed up light switch. Mine is actually in pretty good condition compared to most others, but I wanted it to look like new.


                  I picked up a repro switch for a fraction of the price of OEM, but I'm not really happy with it. I think I'll go looking for a better option.


                  Also, coilovers have arrived!

                  Comment


                  • #10
                    After a full day of wrenching yesterday, I think we're finally ready for a roadworthy!


                    I owe a great debt to my mate Dan for giving up his Sunday and letting us into his work to use the hoist. This job would've been a gigantic ballache without it and his help!


                    The Audi's front end was getting the most attention. Coilovers, engine mounts and eight new control arms. We started with the suspension stuff. There are two upper links and two lower links on each side. In this pic the two upper ball joints have been popped out of the upright.


                    With that done, the top hat unbolts at three points in the engine bay and one point at the bottom of the strut, then the whole lot lifts it out.


                    The only piece we're reusing is the top hat itself, so we separated everything else.


                    Next we attacked the forward lower arm with fire. The upper ball joints use a pinch bolt to hold them in, whereas the two lower ones are tapered and harder to separate. A bit of heat and a big hammer did the job.


                    Repeating the process on the other side.


                    Old vs new with swaybar links attached. I bought my replacement arms through FCP Euro. They're an impressively accurate copy of the OEM arms and seem well made.


                    Audi use torque to yield hardware for the suspension so the kit comes with a bag of new replacements.


                    Lower arm and swaybar link in place.


                    Coilovers next. The Vogtland kit has new bump stops included which is a bonus.


                    Top hat and new upper arms mounted to the shock and ready to go.


                    And fitted! We left the mounting points loose until the end so that we could jack the suspension to resting height and then tighten them to maximise the life of the bushes.


                    The last part to be installed was the rear lower arm, shown here with the balljoint facing up.


                    We used a gearbox jack and raised the suspension arms to simulate the car being on the ground, then torqued the bolts. This way the bushes aren't under stress with the car at rest. It's really important to do it this way or the bushes will fail quickly.


                    While we were doing that, Dan was in the back removing trim to get to the strut tops. Or so he thought. You actually don't need to do this (the strut top bolts face down into the wheel arch), but if he hadn't I would never have known about this tiny factory subwoofer and amplifier. I thought only cars with the optional Bose stereo had this, but obviously not. It does sound great for a standard setup.


                    Shocks out and onto the springs. What a prick. My car has the highest factory suspension Audi put in the Aussie B7s. S-Line suspension is 20mm lower, and I think the S4 is a bit lower again. We dropped the subframe about 20mm, compressed the spring as much as possible and got so close to prying it out but it just wasn't happening. I can't see myself ever putting this factory suspension back in since two shocks are leaking, and a full set of second-hand S-Line suspension goes for next to nothing. So we cut the springs. Here is Tony going at the driver's side.


                    And here's me doing away with the passenger side.


                    The aftermath. I wish this car had a coil-over-shock rear setup, but that's life.


                    All done, with freshly pressure washed guard liners. Rear spring adjustment on this setup is going to be a bit frustrating. I don't want to mess with it much.


                    Put this guy up on the car for a look. I reckon 17s are too small, but something Japanese would be cool. Those awful half painted red/orange calipers have got to go!


                    Next up: engine mounts. God bless hoists everywhere.


                    Passenger side mount with what might be signs of a small leak or could be some sort of anti-seize paste. We weren't sure. Audi said one was leaking, though.


                    It's a bit hard to see in this pic, but the old one on the right was definitely looking squashed and out of shape, with a couple of small cracks appearing near the top.


                    New mount fitted. We did the driver's side mount as well.


                    With that done we dropped the car. This is how the front looked and it was still being held up by the arm of the hoist. There's no way it would've passed a RWC inspection like this so we raised it 35mm. For now.


                    This is how it looks at the moment. Bit of reverse rake going on with the back being lower than the front. It's probably legal, but I want to try and raise the back a bit before it goes over the pits just to be sure it'll pass for registration. Then I'll drop it down afterwards.


                    This is the only hurdle left. The tech at Audi who looked at my car last time didn't like this clamp setup. He wanted me to replace the whole exhaust. Weird thing is it looks OEM and there is no sign of an exhaust leak. I've sent pics to the bloke I know at the workshop. Hopefully he'll let it go.

                    So for RWC we've done:
                    - Cam cover gasket
                    - Front control arms
                    - Swaybar links
                    - Engine mounts
                    - Wiper blades

                    I've asked to take the car in on Wednesday or Thursday this week and I have an appointment with VicRoads on Friday. Cross your fingers and toes!

                    Comment


                    • #11
                      Not sure why you installed coilovers before getting an RWC...

                      You do realise that any adjustable suspension is illegal, right?
                      IG: @sebastienaudeon
                      1974 Porsche 911S

                      Originally posted by TRaNz
                      *pats Sebs head*
                      there there.
                      keep calm, go mash your face on a car window.

                      Comment


                      • #12
                        Originally posted by SebastienPeek View Post
                        Not sure why you installed coilovers before getting an RWC...

                        You do realise that any adjustable suspension is illegal, right?
                        I specifically asked the bloke who inspected it the first time whether he would be okay with it having coilovers for the next inspection and he said it was fine.

                        Thanks for your concern.

                        Comment


                        • #13
                          Great quality thread, keep it up.
                          sigpic

                          Comment


                          • #14
                            Time to rewind a bit and get up to date! While I waited for the roadworthy inspection (which was delayed) I worked on a few other things.


                            The broken glovebox. It's probably hard to see, but on the bench is the lid with the hinge side facing the camera. You might be able to make out where the hinges have broken away from the lid as is the case in many, many B6s and B7s.


                            I bought a pair of these brackets from a seller on eBay. They're shaped specifically for the B6/B7, but LHD and RHD cars must have slightly different designs, because as you can see they don't fit mine.


                            I figured I could make them work, but first - glue. This stuff is awesome. Extremely strong. Enough to do the job without the brackets, but I want the extra insurance.


                            Glued and clamped overnight, then left to cure for 2-3 days before assembling again.


                            Bending the brackets to fit the hinges was easier than I thought. I added a small bench vice to my workshop recently, and that really helped.


                            Not exactly elegant, but it's strong and not all that obvious once in the car.


                            It would've been nice to keep the two screws on the hinge side, but I couldn't get an accurate enough bend for a flush fit.


                            Lid ready to go!


                            I pulled apart this damper which seizes up, then trimmed the o-ring inside to free it a little and lubricated the slide before refitting.


                            Doing that meant I kept the glovebox light so that was a win. I've heard of people removing the damper but I think that's lazy.


                            This bubbling is happening on a few bits of interior trim. I'm still working out what to do on the other sections, but for the glovebox handle I peeled it all off.


                            And I think it looks good. Glad to have this fixed.


                            Here's a better pic of the car after we finished up at with the suspension install. I felt the back was a bit too low for the front. And even though it's easily legal height, I thought it might draw the eye of a roadworthy inspector and I didn't want to do anything to raise suspicion. So up we went.


                            First thing to do is get access. I decided to trim away a little of of the arch liner so that I don't have to remove it to make adjustments in future.


                            My cut doesn't look very neat with light shone on it. It's not bad, but I'll tidy it up when I'm under there next.


                            I took this photo to see what the underside of the threaded section looked like, hoping to find a hex socket. Bingo!


                            With a 10mm Allen holding the threaded bit, I went at the adjustment ring one quarter turn at a time until both sides were at the desired height.


                            This is raised about 10mm. I went up 17mm in the end.


                            And this is how it sat. Neat, respectable, legal. Good enough to get registration.


                            FINALLY. Now the fun starts.


                            So happy to get rid of those uggo South Australian plates.


                            The OEM front lip things on this car look real clunky from some angles. Down the track I can see myself getting rid of them and going with something a bit more typical.


                            So boring. Now I'm on the road I can drop it and fit up some more interesting wheels.


                            Last week I picked these up for a bargain. OEM A5 S Line wheels, 18x8.5+29. I'll be fixing up the gutter rash myself then swapping tyres onto them to run until I find what I really want. Keen!

                            Originally posted by SliPsY View Post
                            Great quality thread, keep it up.
                            Thanks for the kind words!

                            Comment


                            • #15
                              So jealous you got through inspection with Coilovers, very lucky!

                              Comment

                              Working...
                              X