If this is your first visit, be sure to
check out the FAQ by clicking the
link above. You may have to register
before you can post: click the register link above to proceed. To start viewing messages,
select the forum that you want to visit from the selection below.
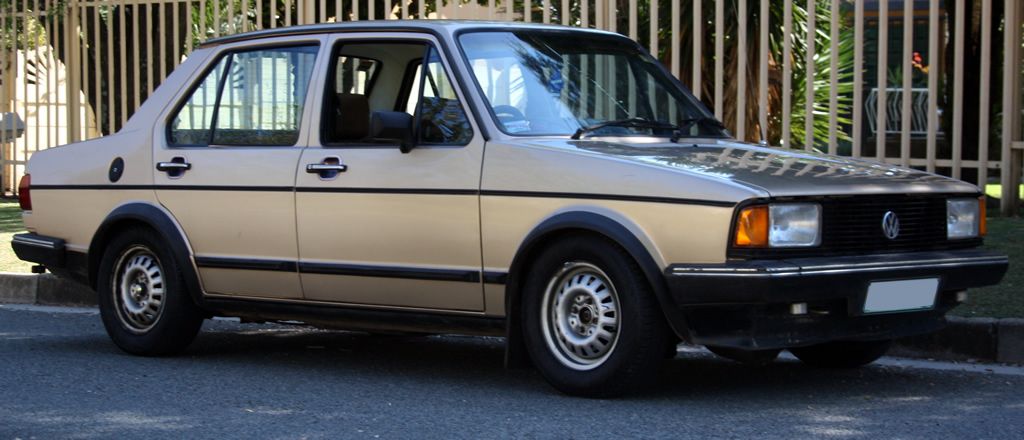
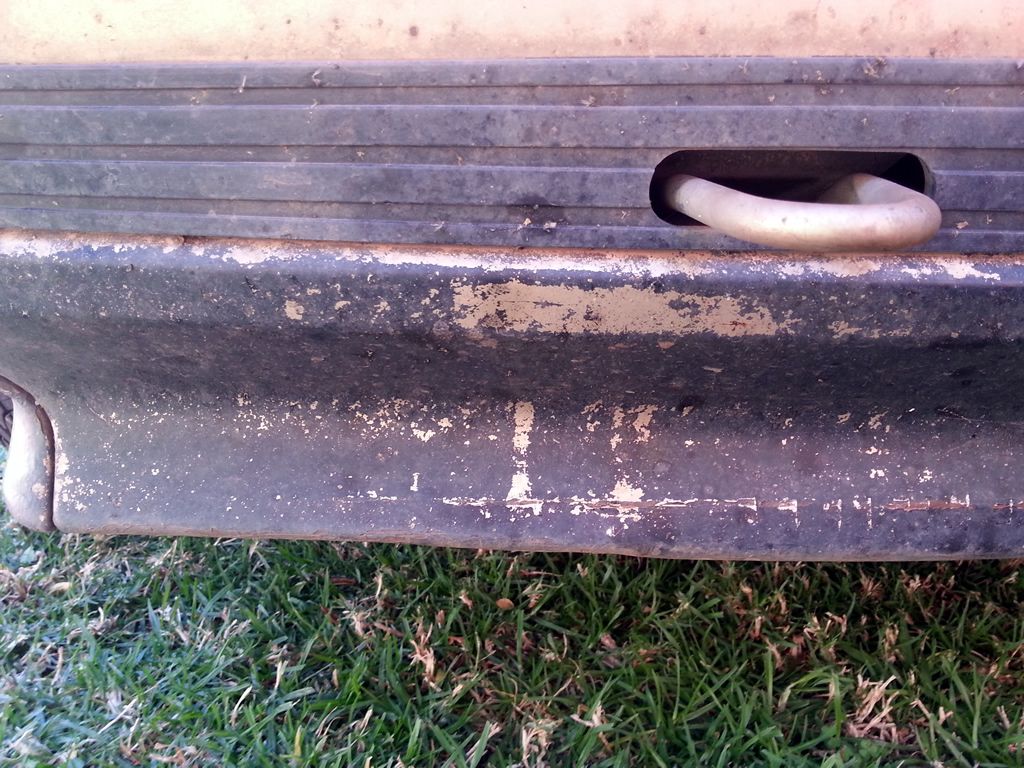
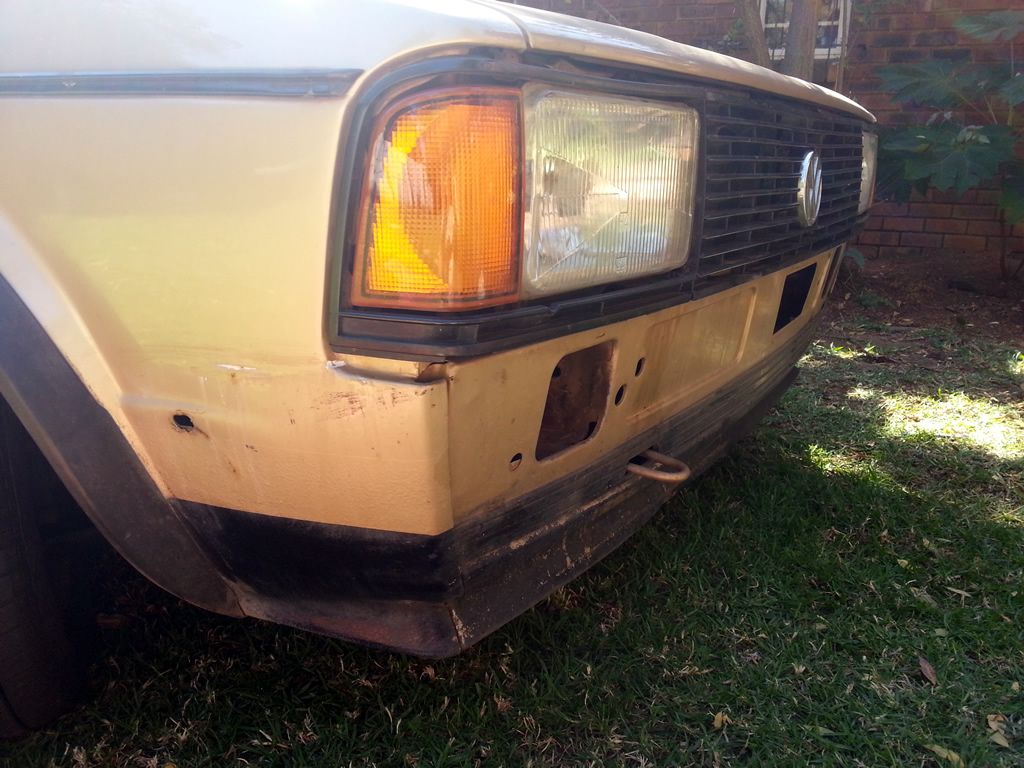
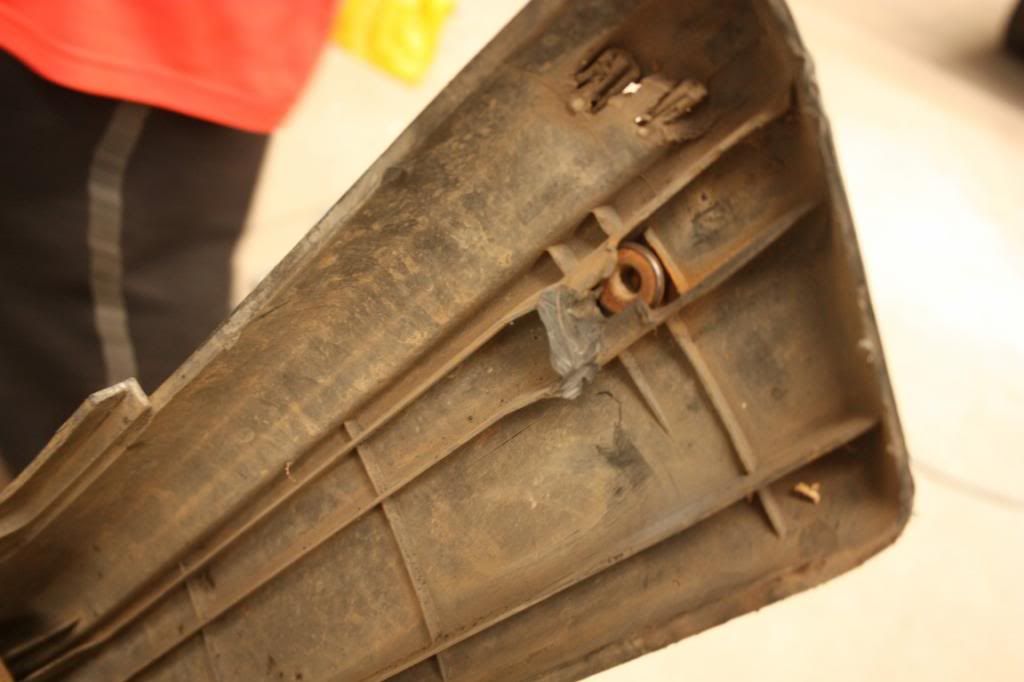
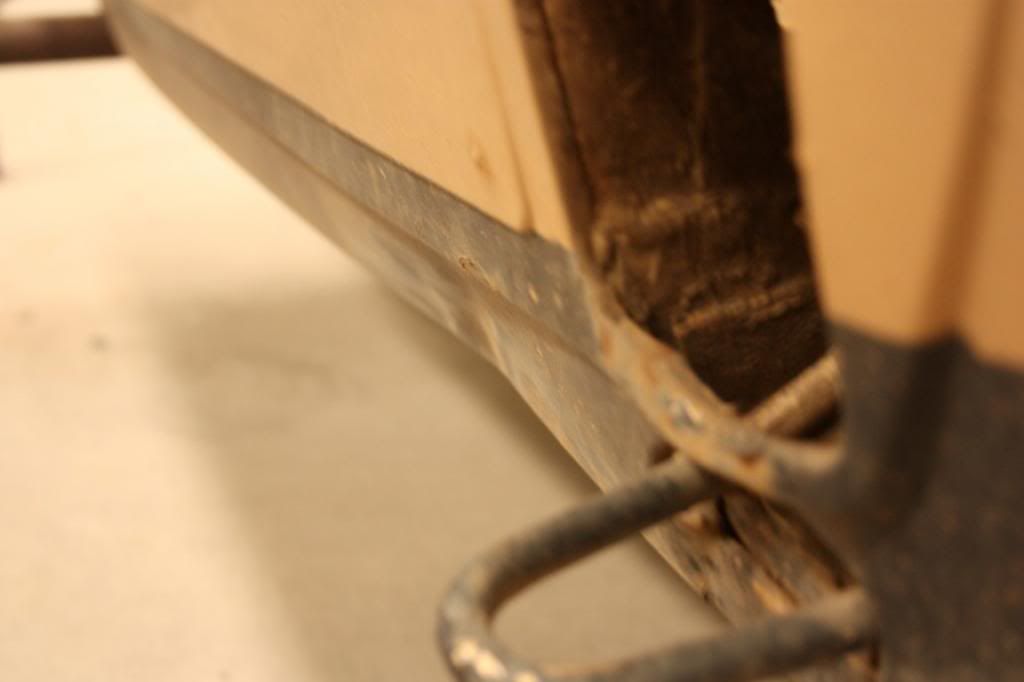
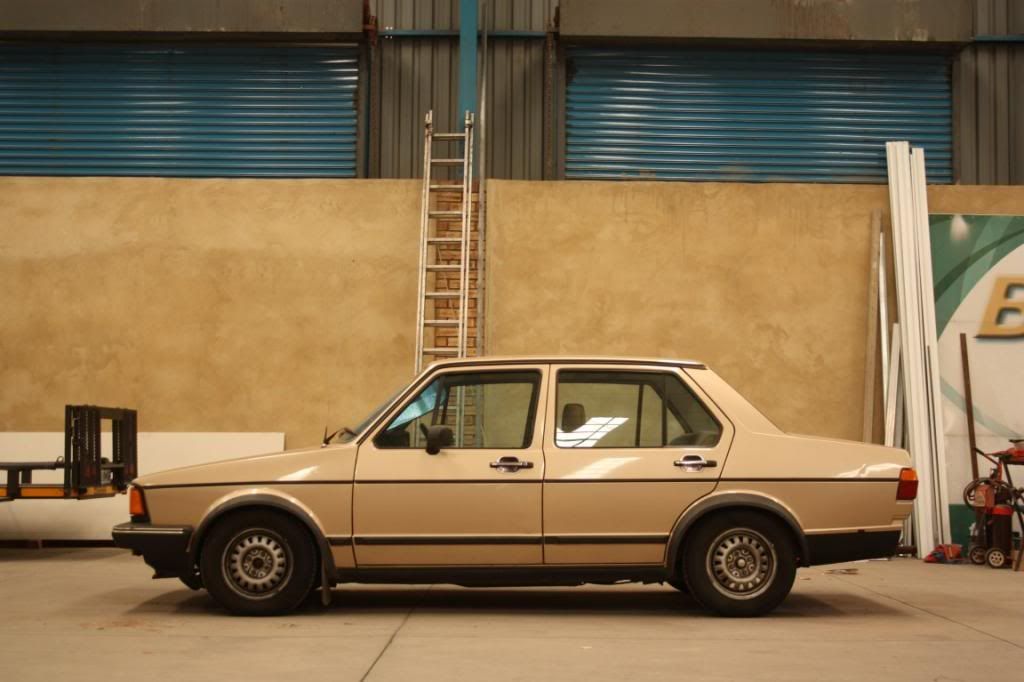
The front valance of the Jetta was in bad shape, unfortunately the lip is part of the body and not a plastic clip on like a chin spoiler on the Golf
I only took out my camera once I was halfway done with the job but here are the pics, I still need to find the correct paint as it is currently only primered with Rustoleum.
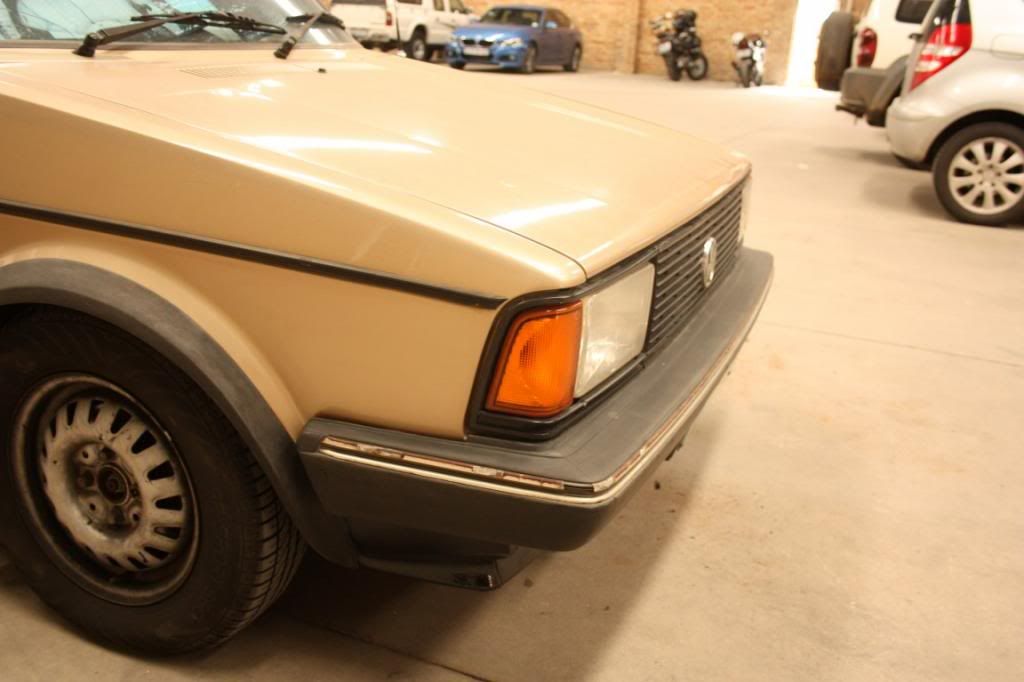
I like the bumperless look, would be awesome if there were some Silicone hoses or an external Oil cooler popping through those holes.
The state of the valance
Here I have already straightened the right part.
What it looks like with the Rustoleum
I need to sort out the bumper slide that goes on the right, the one I got from GW was for the newer Citigolf bumpers.
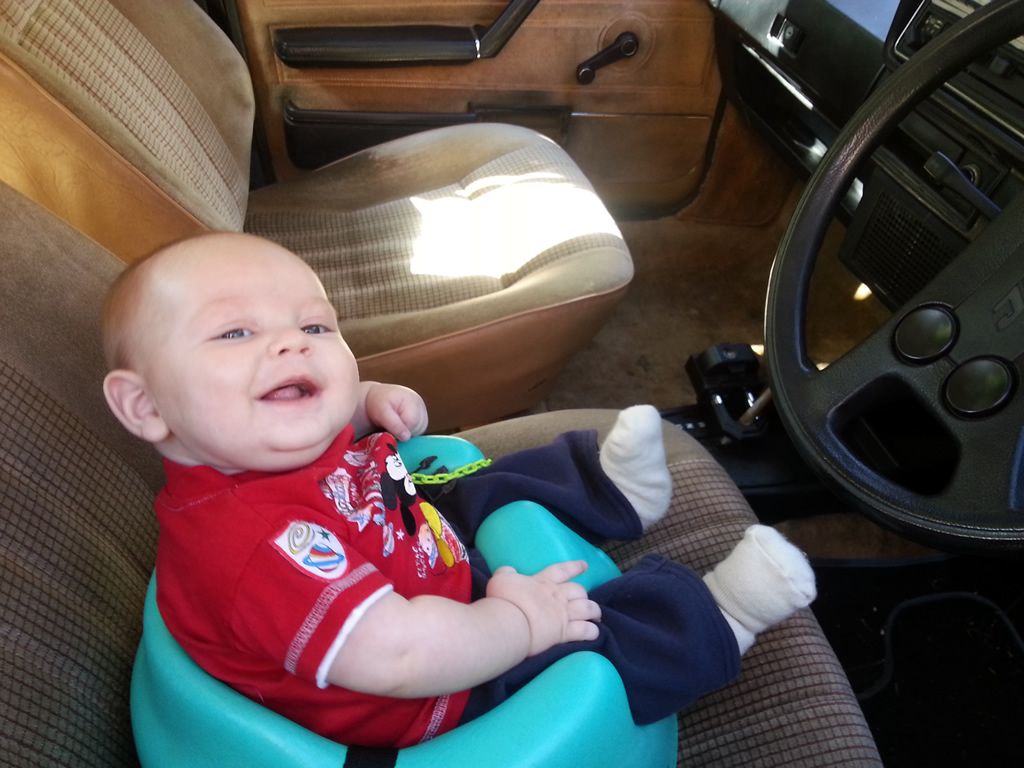
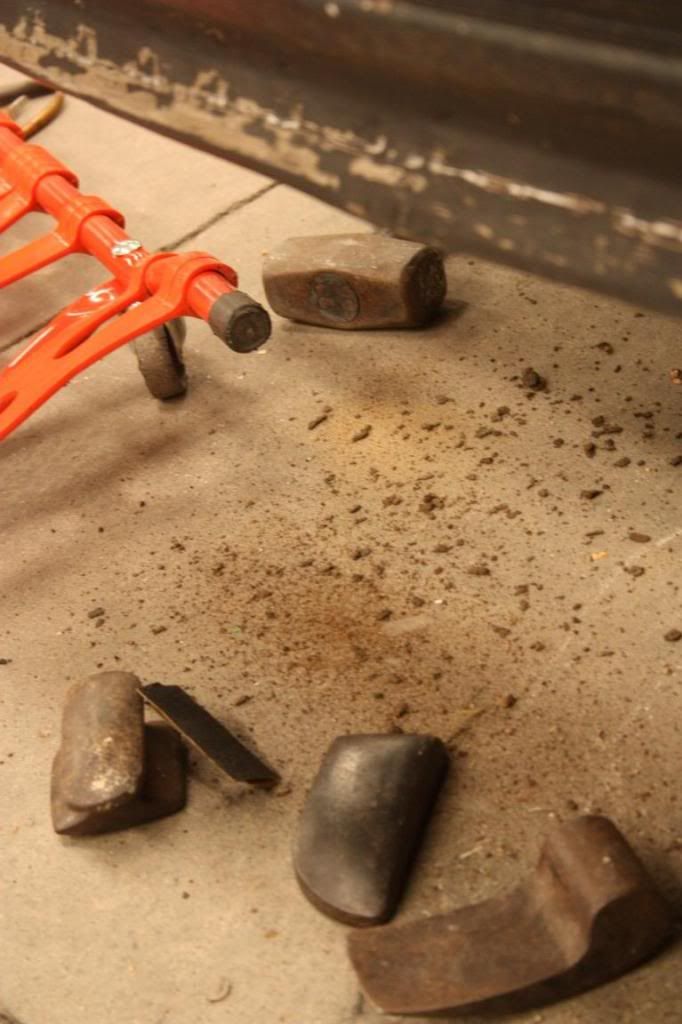
And my spannerboy for the day, not sure he was worth the wages
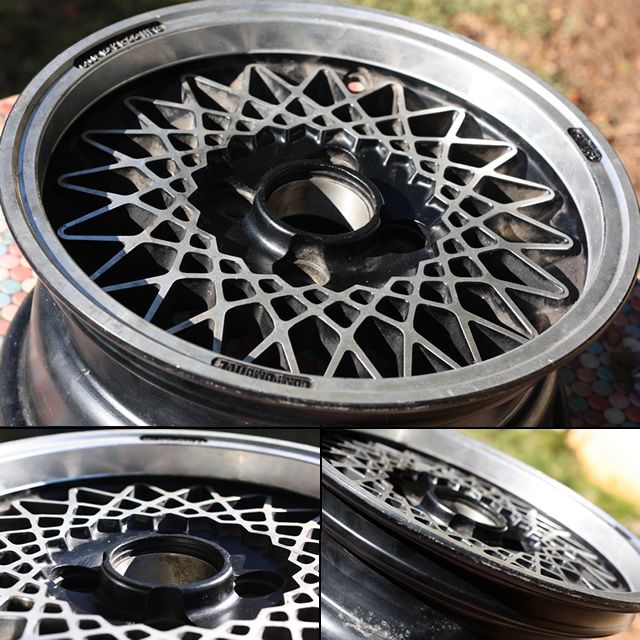
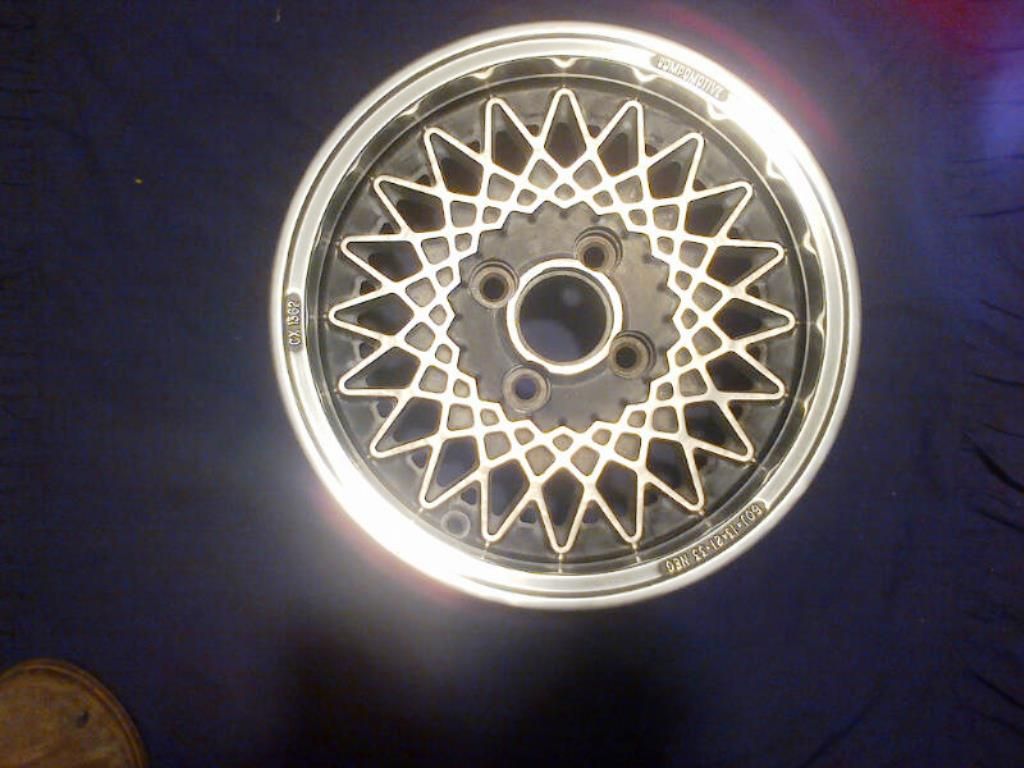
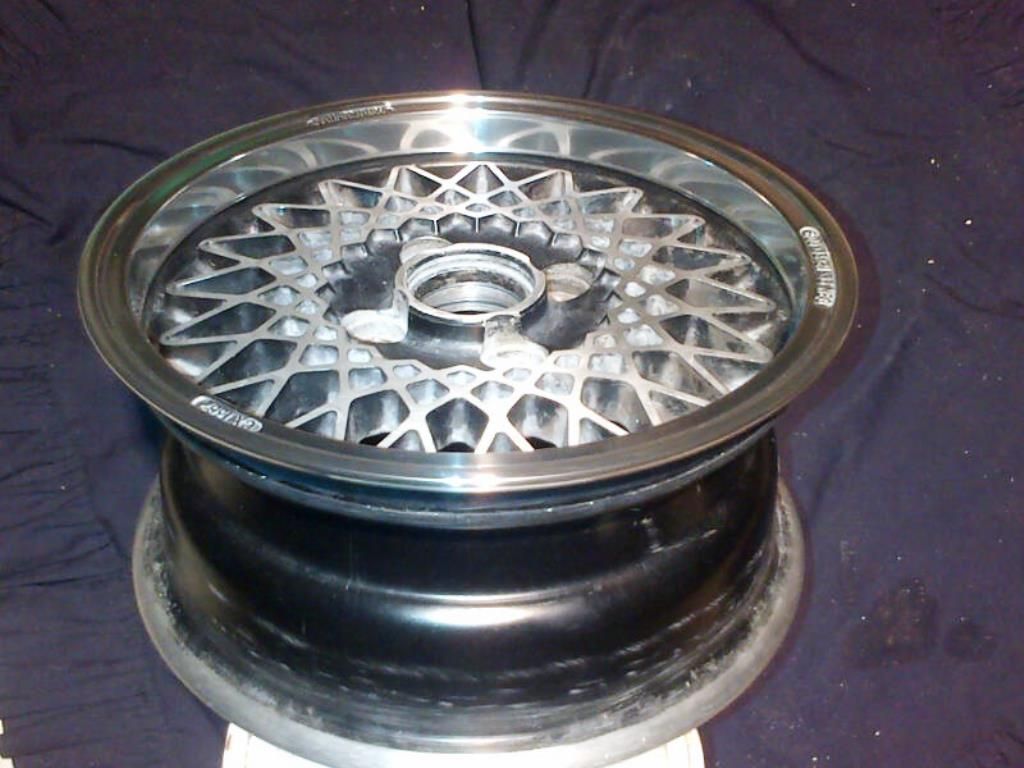
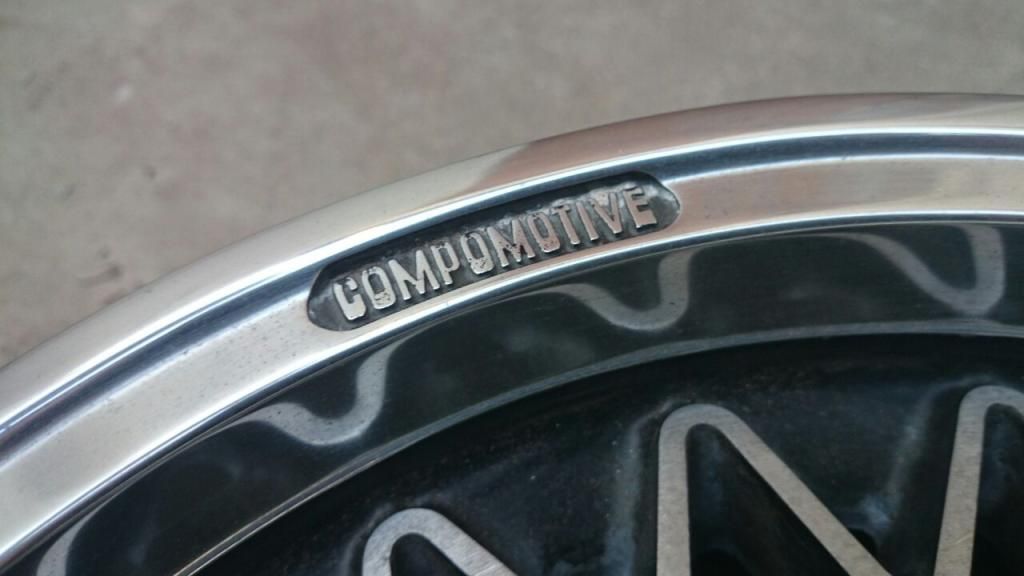
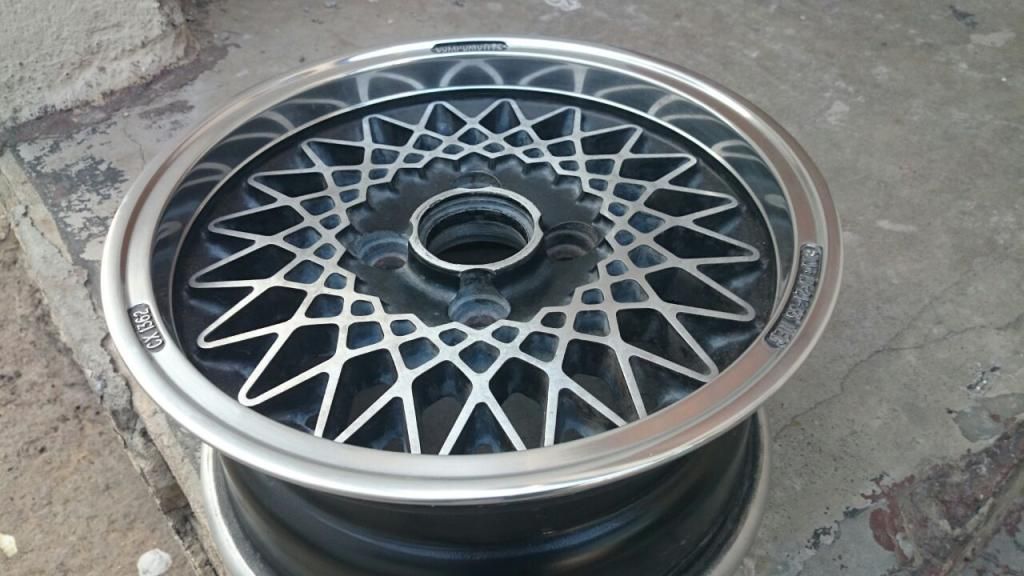
I bought a set of 5 Compomotive CX wheels, the spare wheel looked the best of the batch and was just a bit dirty.
The other 4 needs a lot of TLC but I have decided to attempt it myself, I got some decent quotes for a full refurb but I bought this car with the intentions to do as much as possible myself, I am also still saving for tires, the cheapest price I could get on Pirelli 170/50/13's were R1200 a tire so I have more than enough time to finish these wheels up.
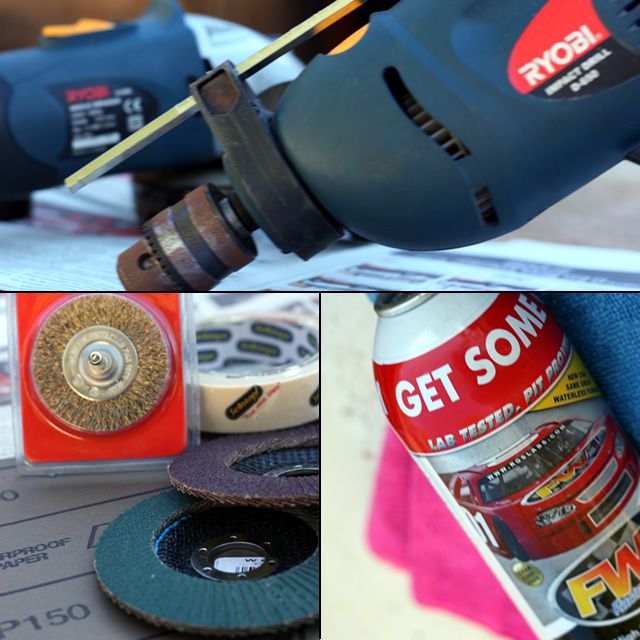
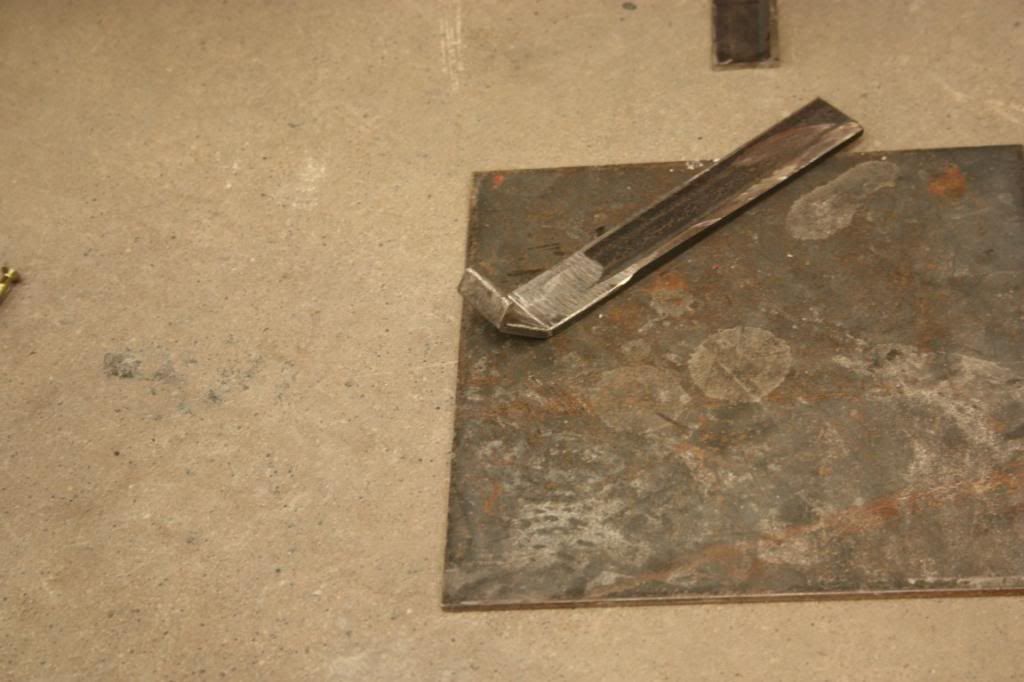
The tools I used for my first DIY attempt below
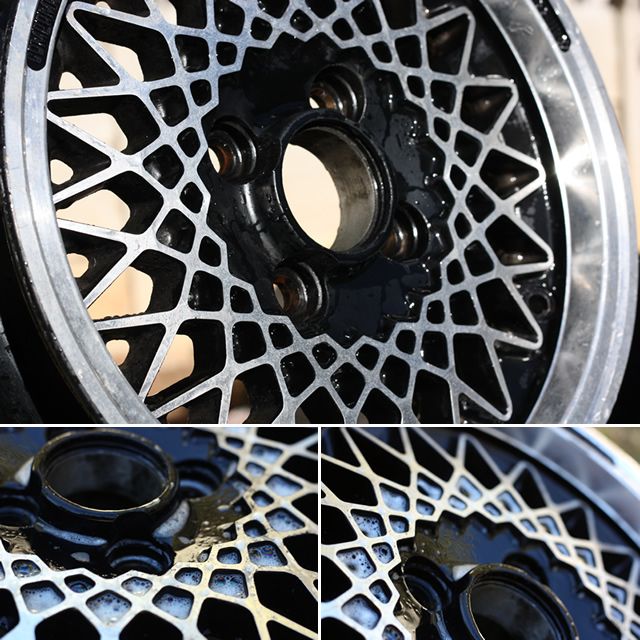
Here is a picture of the spare wheel before the high preassure wash
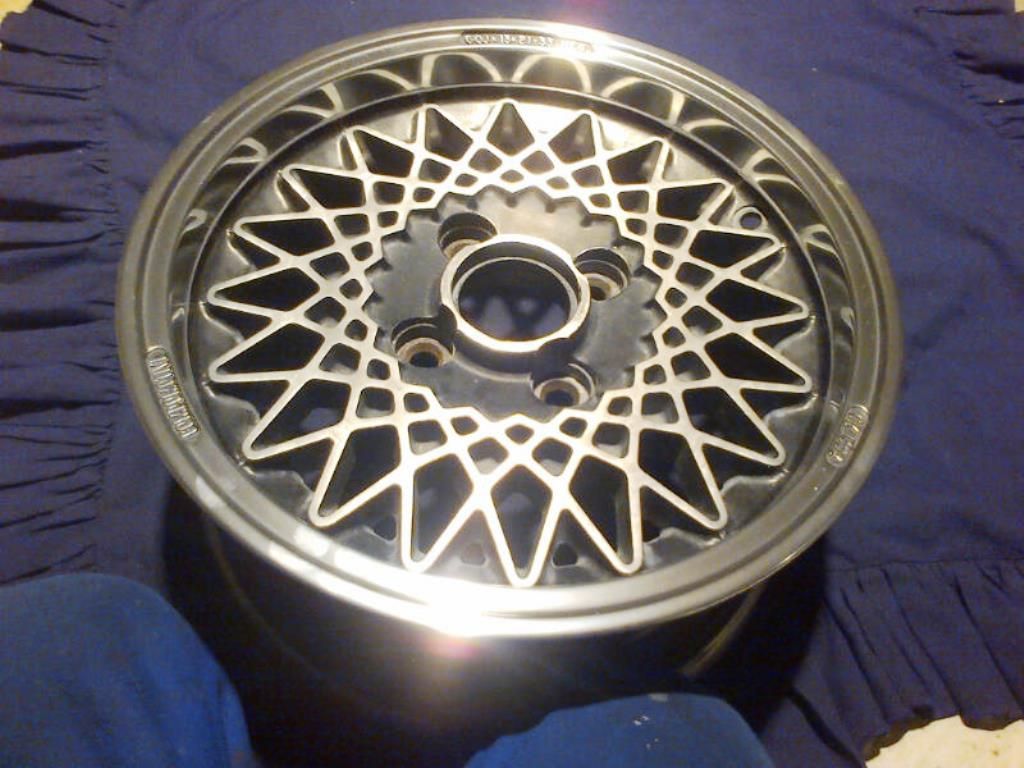
After the wash
Some polish to see the condition of the lips and face
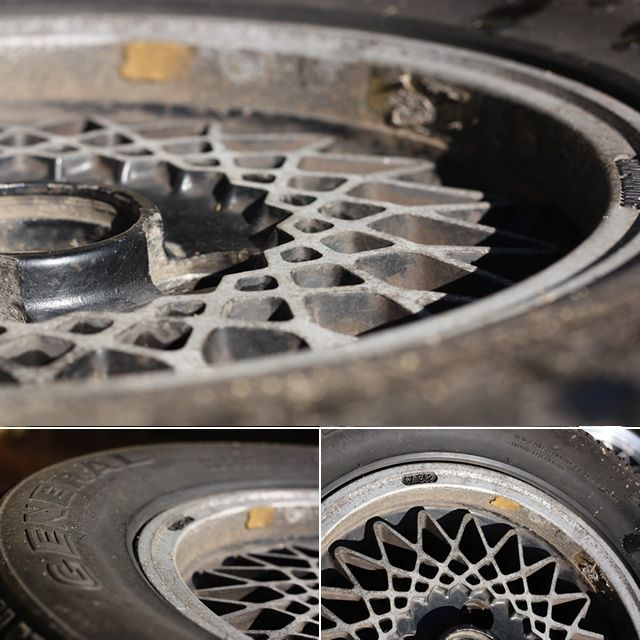
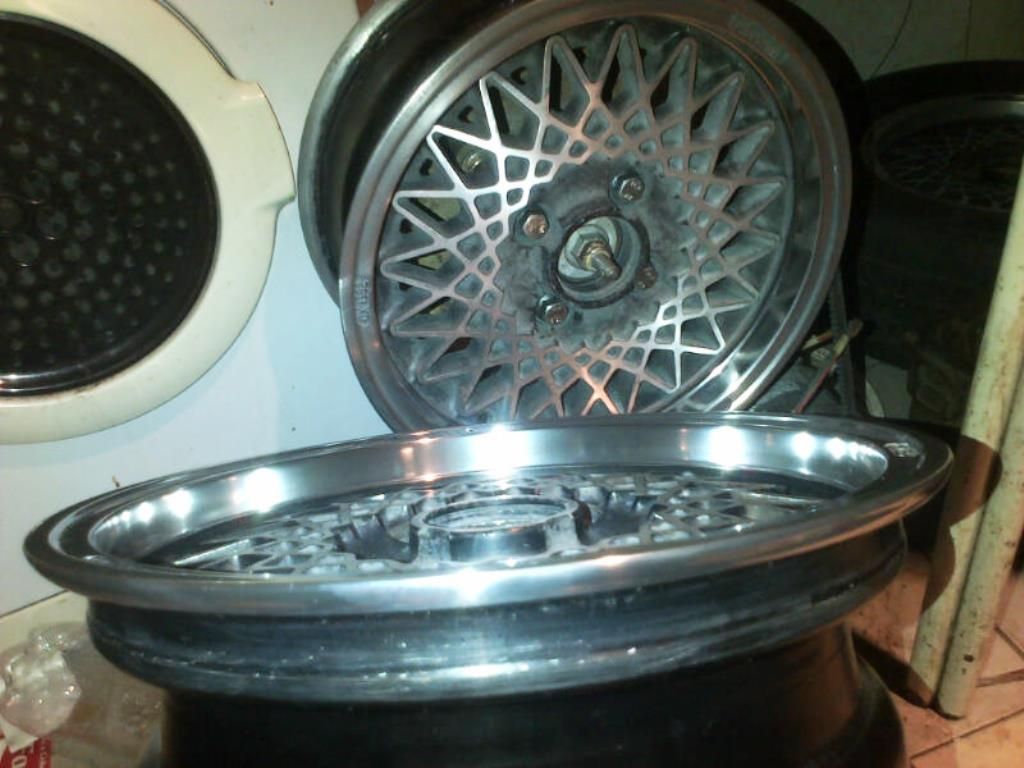
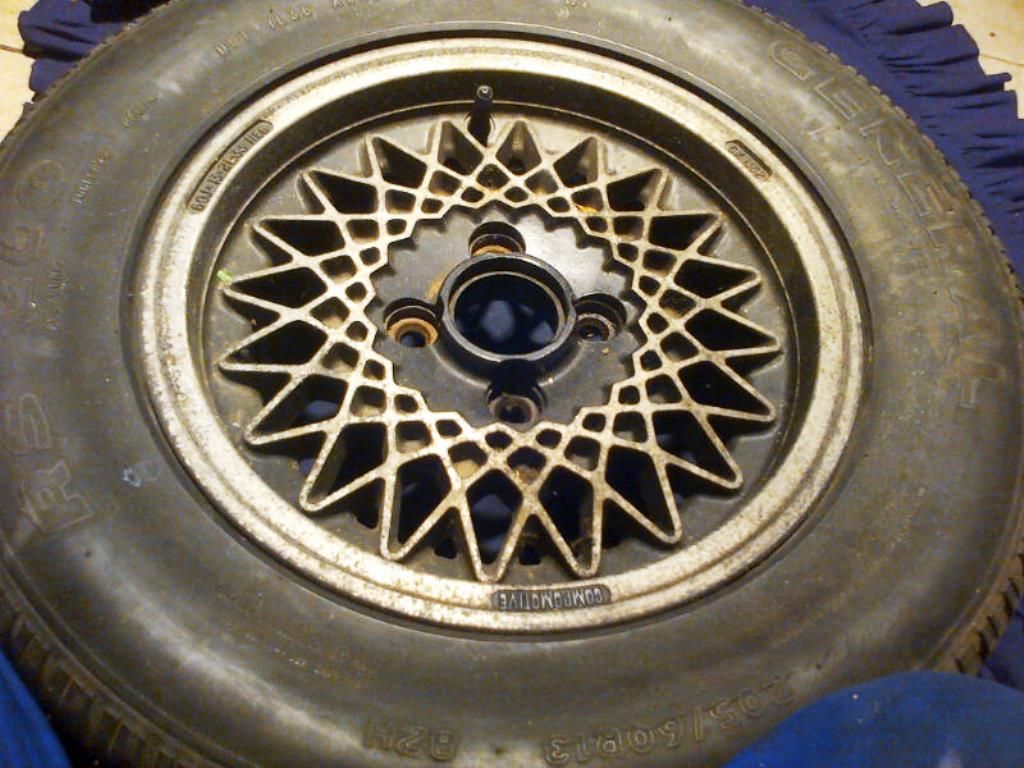
This is what the rest of the wheels look like, I have a ton of work
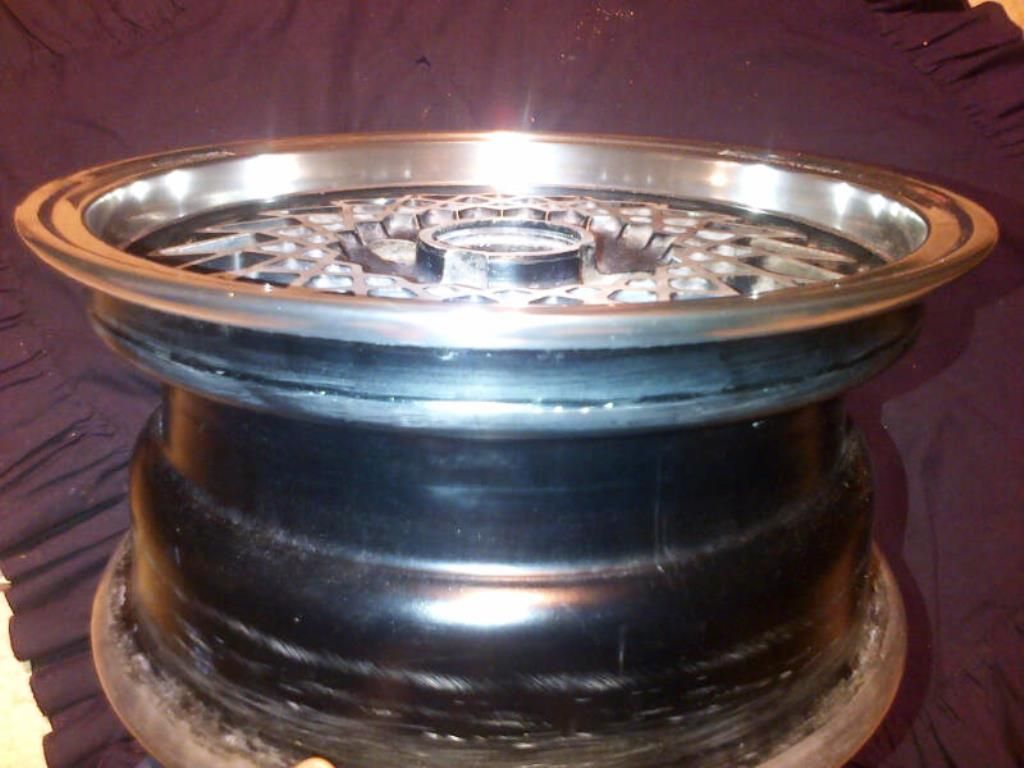
I started with one wheel only, gave it a good wash and then masked the face off to start with the lips, I used the wire brush first and did a small piece, it took all the gunk off the side but it was eating too much into the metal so I stopped, put the drill away and tried with the grinder and flap disks, this was even a bigger farkup so my wife took all the power tools away and I called it a day.
The next day I got home from work and my wife made a concoction of Baking Soda and Vinegar that she had made into a paste and put on the lips, I took it off when I got home and the results were amazing, she also took another wheel and started rubbing it down with Steel Wool, it really is a lot better than the power tools and combined with the paste it took off most of the debris, I am still busy with these and will update once I am happy.
Some pics from this weekends Gymkarting, I left the camera bag at home thinking I have the 18-55 on but discovered it was the 50mm when I got to the track
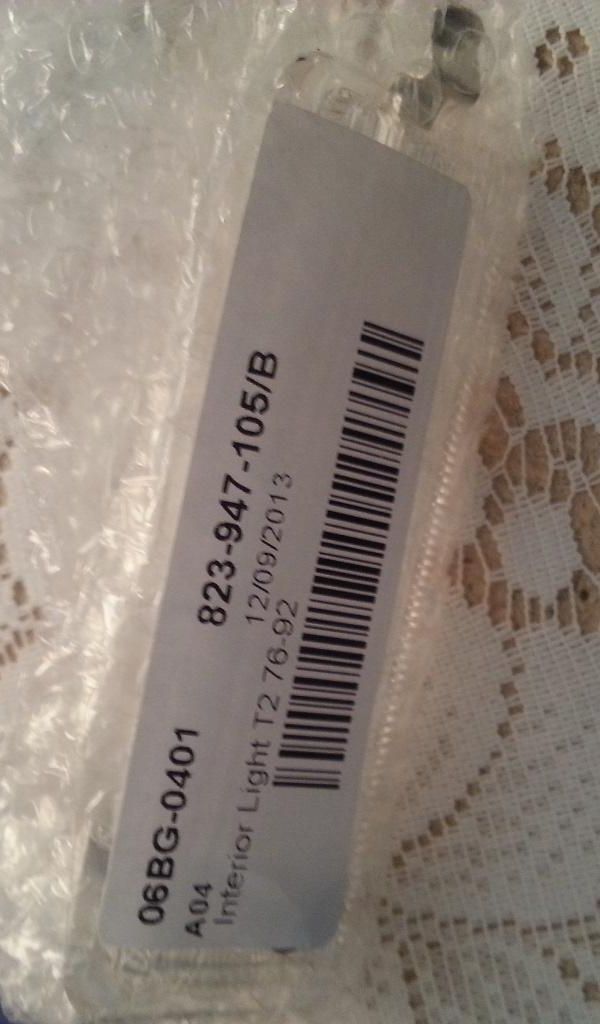
A very very big thanks to James for bringing back some parts for me from VW Heritage when he was in the UK.
Picked up the parts on Saturday and can not wait for them to be fitted
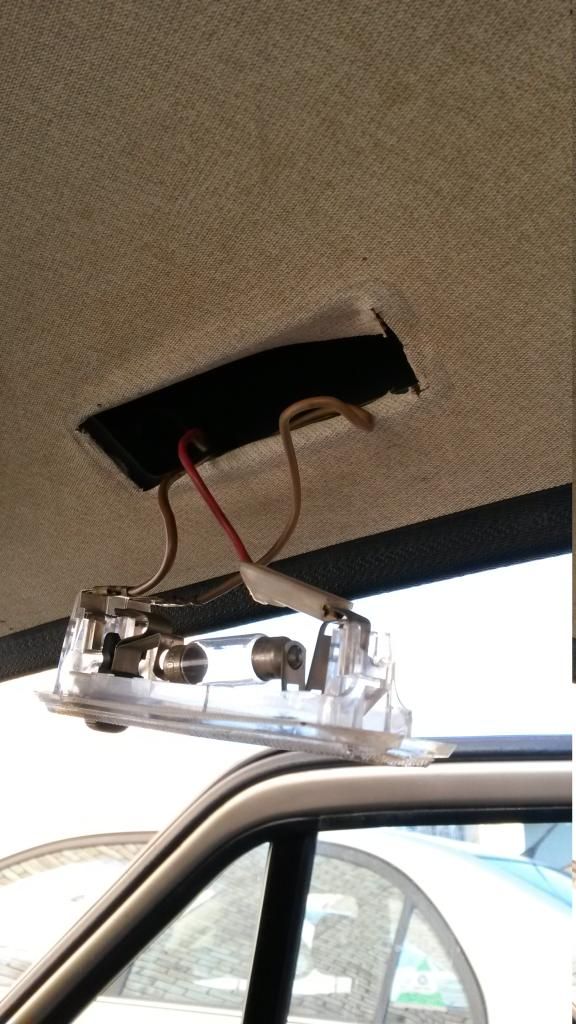
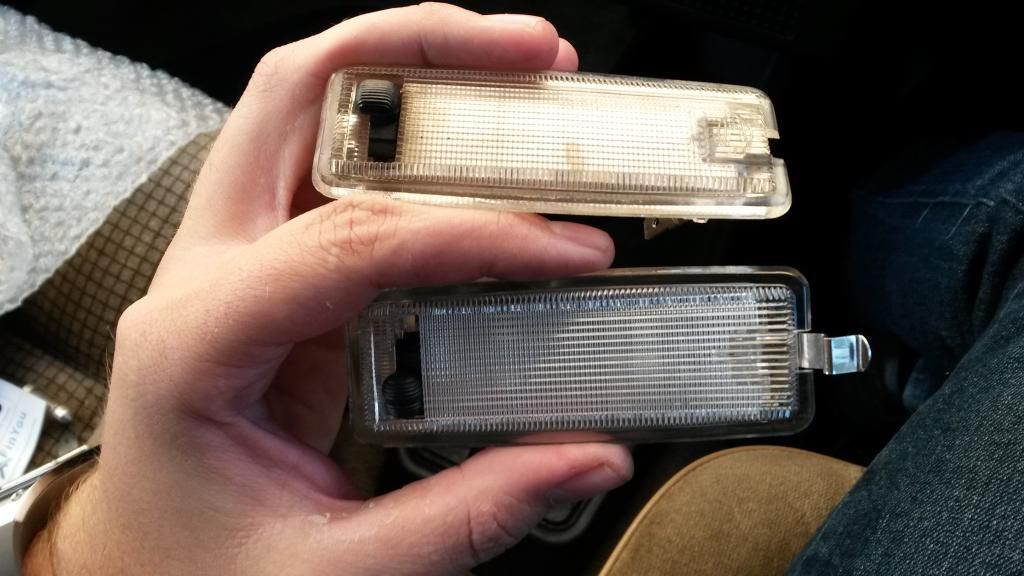
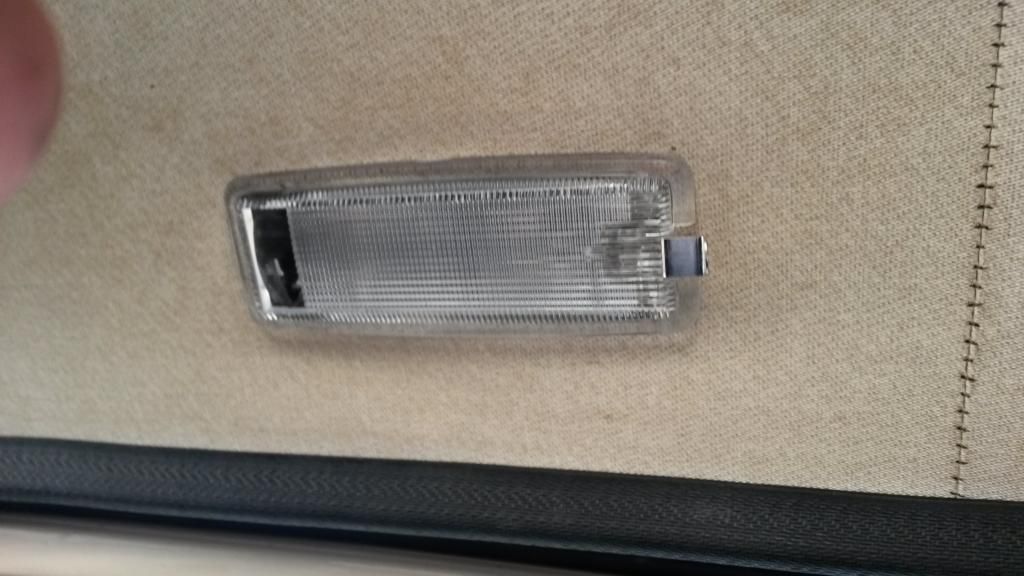
First up I ordered a new Interior Light as VW and GW no longer stocks it
I also ordered the bumper clip for the fender, I could have sourced it locally but for the price it was just easier to bring it in
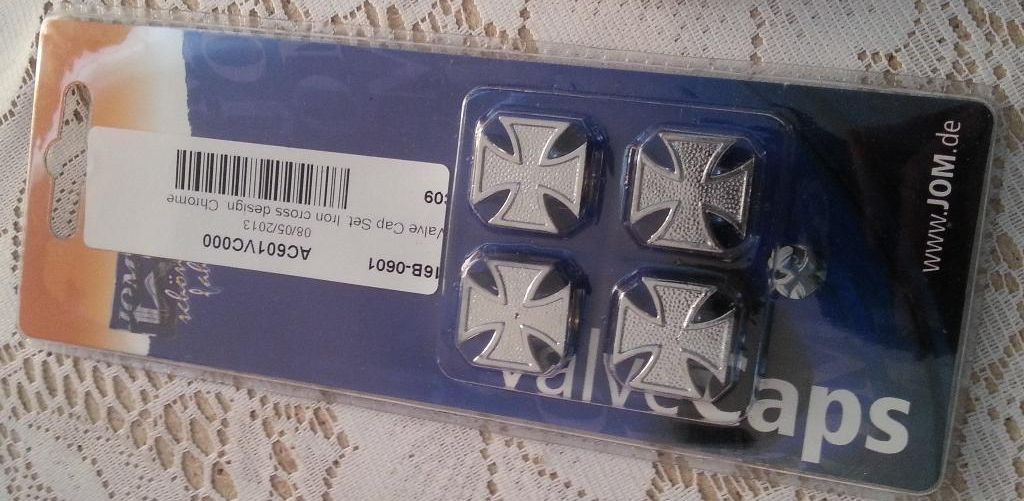
I order these JOM valve caps to compliment the Compomotives
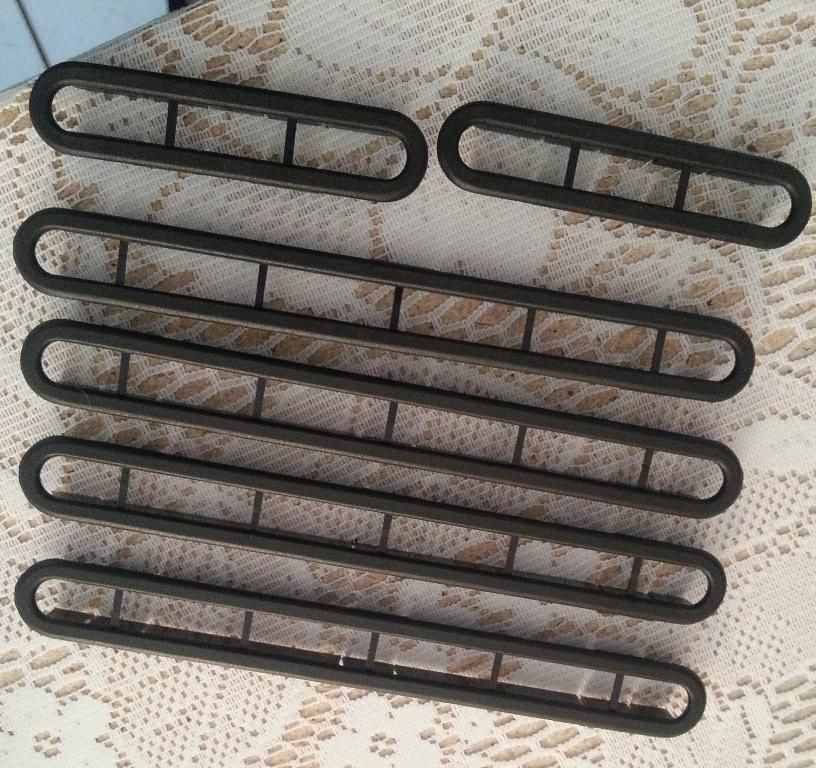
And finally, the thing I am most excited about are these Dashboard Vent Inserts
I also received and update on the wheels, the engineering on the Spiggots have been done and two of the wheels lips has alread been polished, I like the progress so far, nice and shiny but pics don't really do them justice
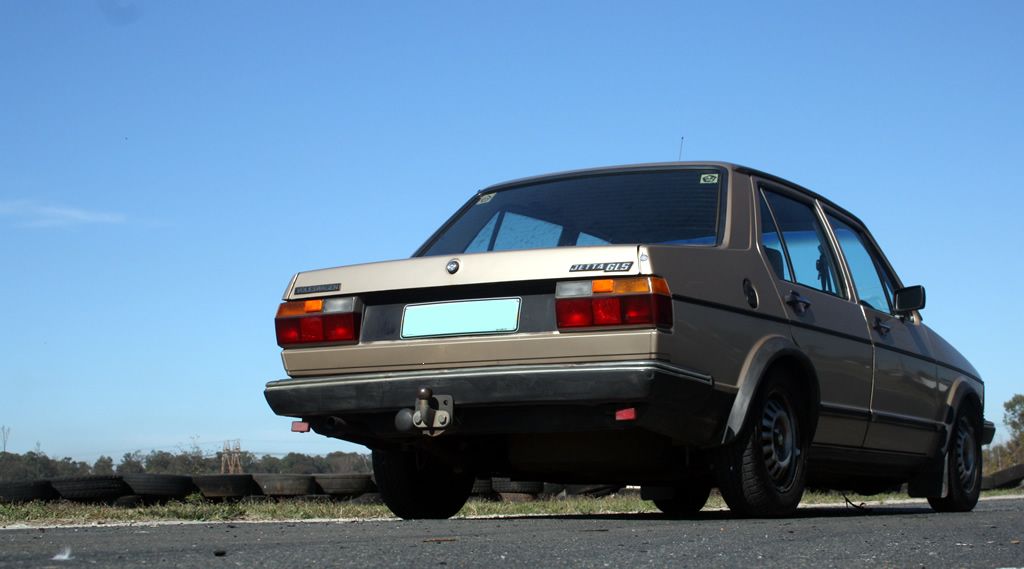
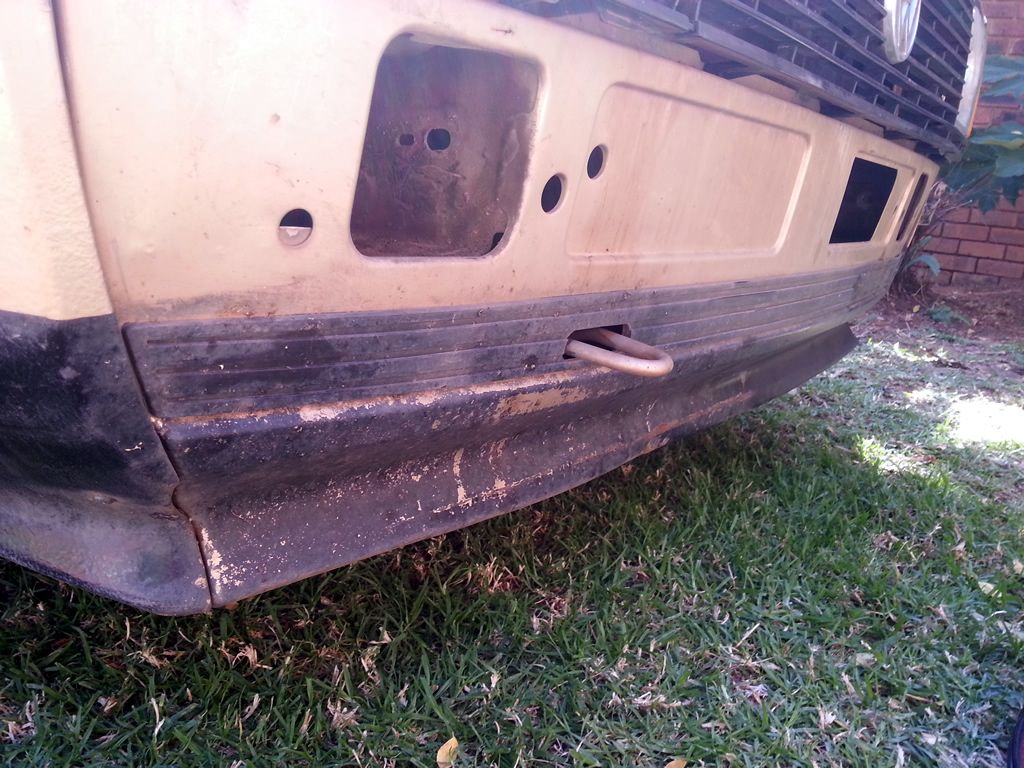
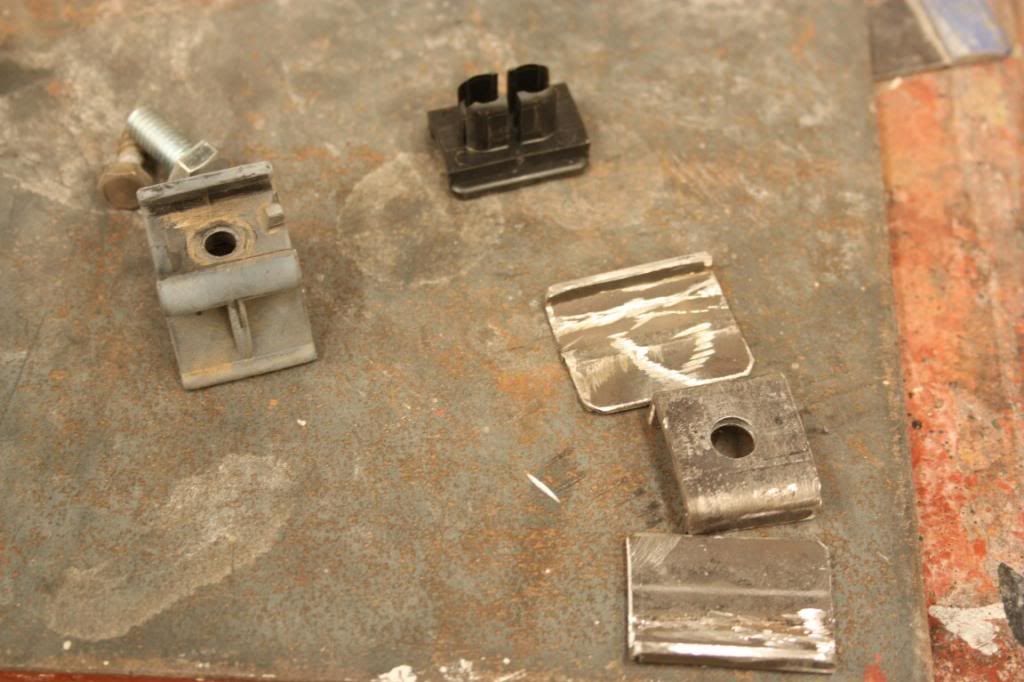
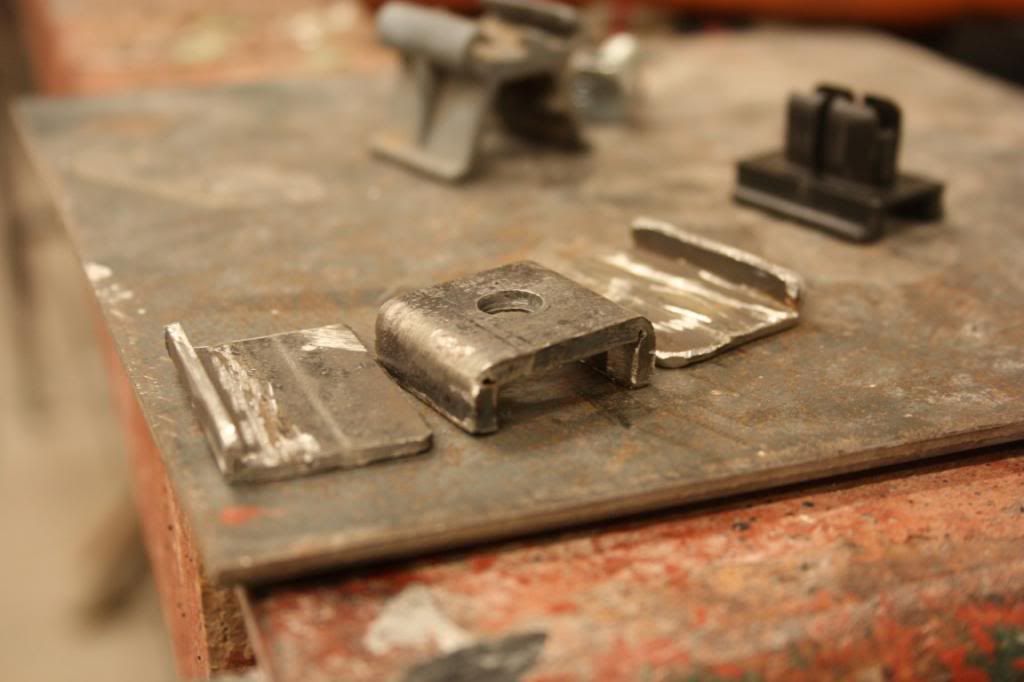
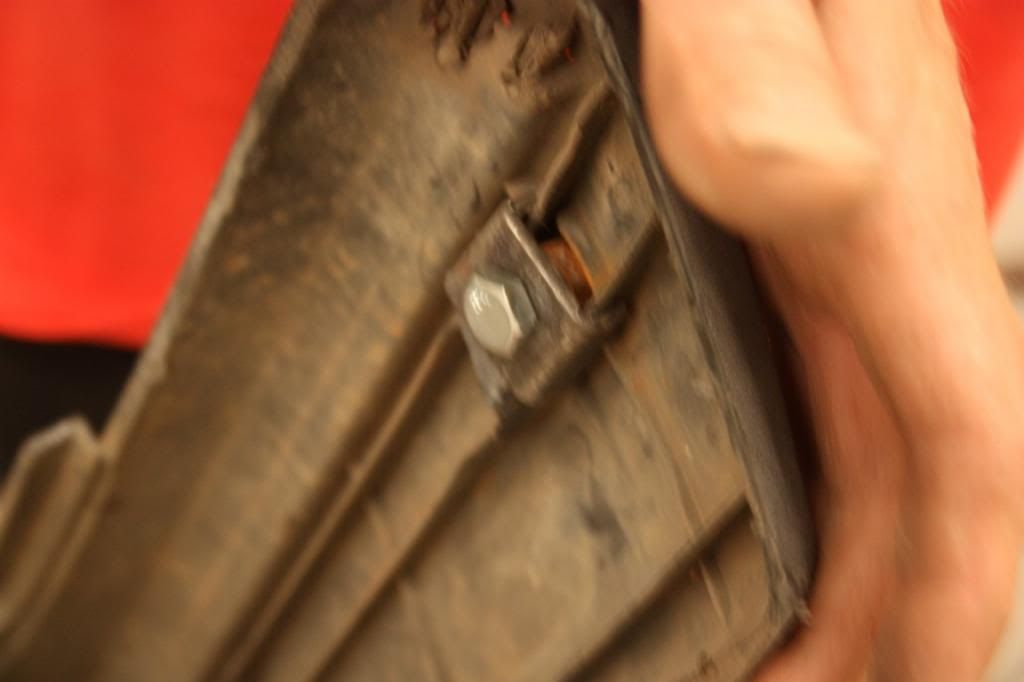
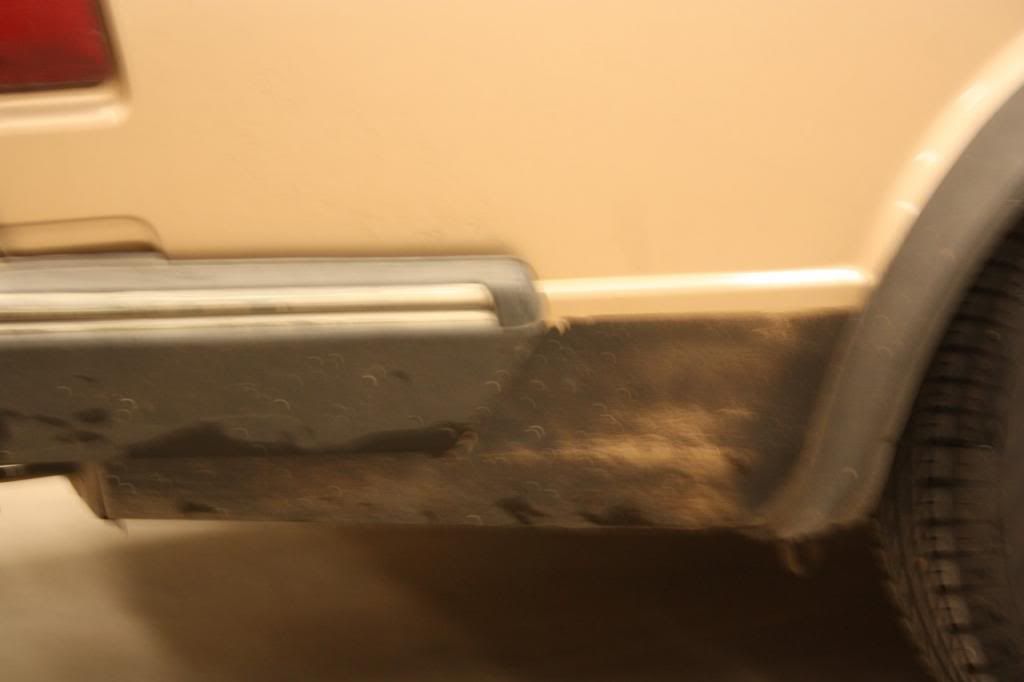
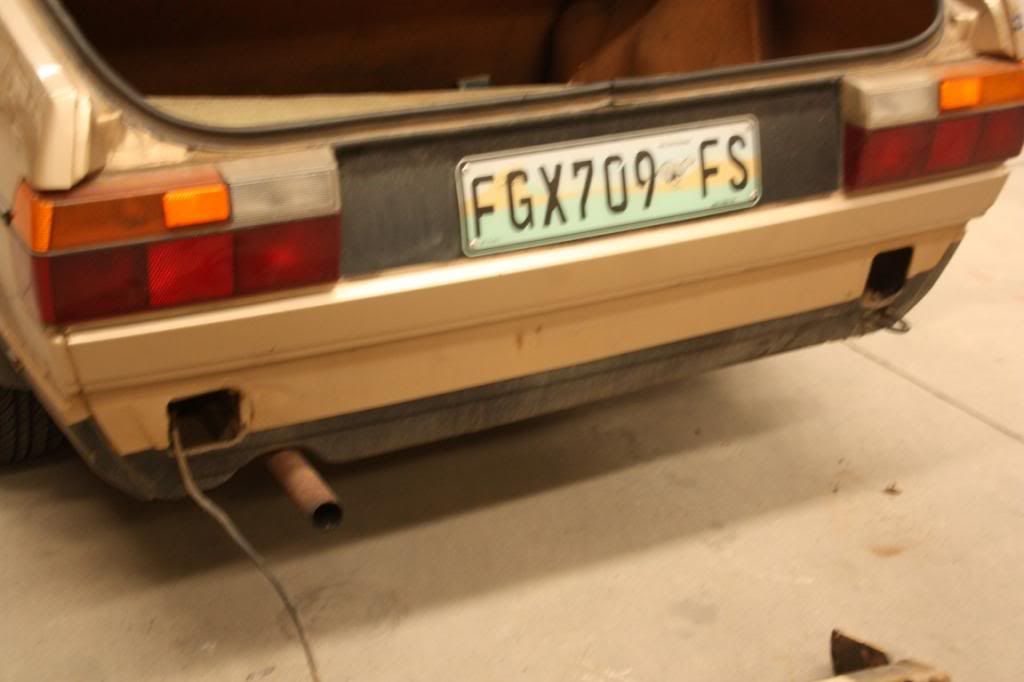
The bumper/fender clip had broken off before I got the car and it was all kept in place with a cable tie. I ordered a new clip from VWHeritage and decided to put the bumper back this weekend.
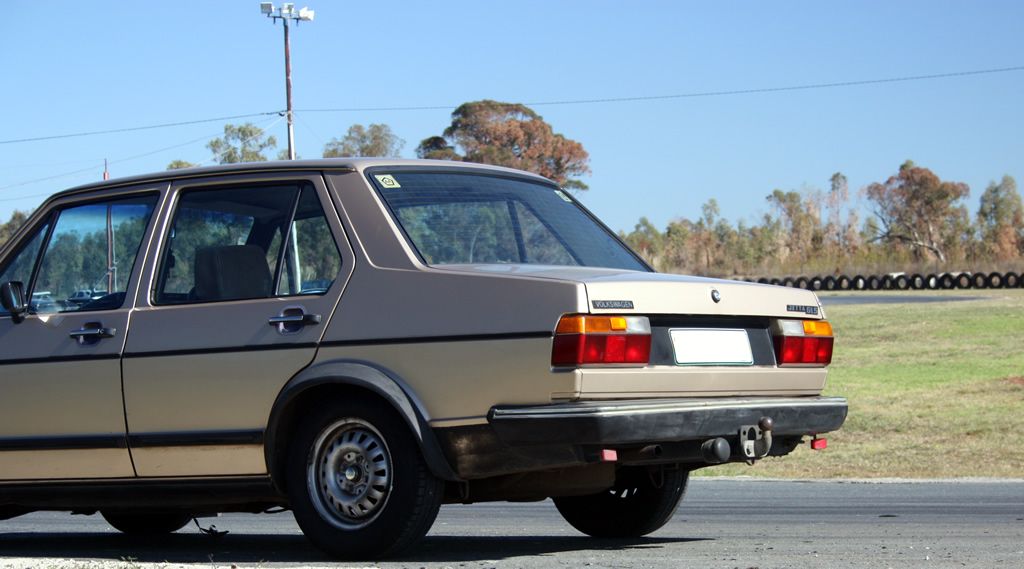
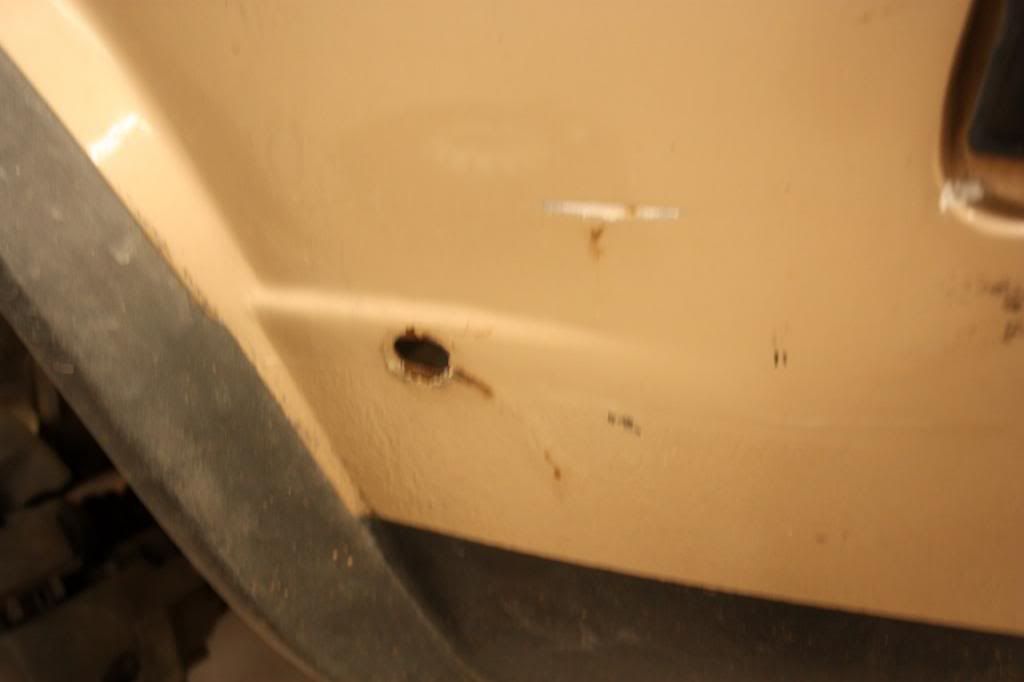
This is the side where the clip had broken off
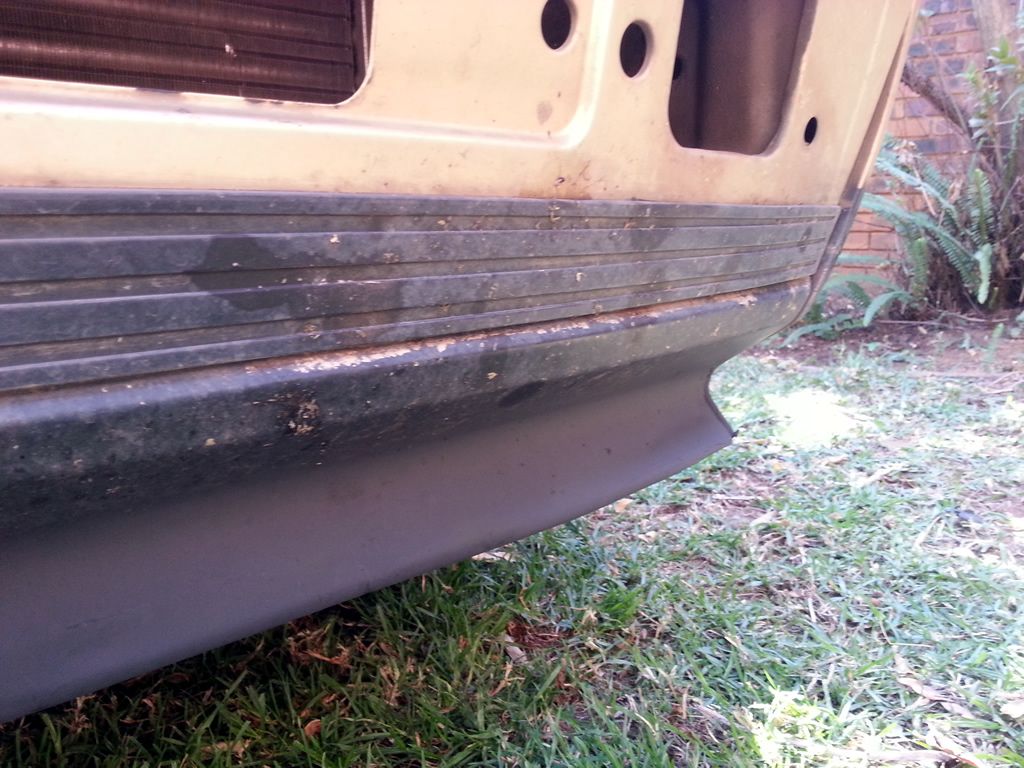
The slide on the bumper had also broken off and tore out making It impossible to fit a new one
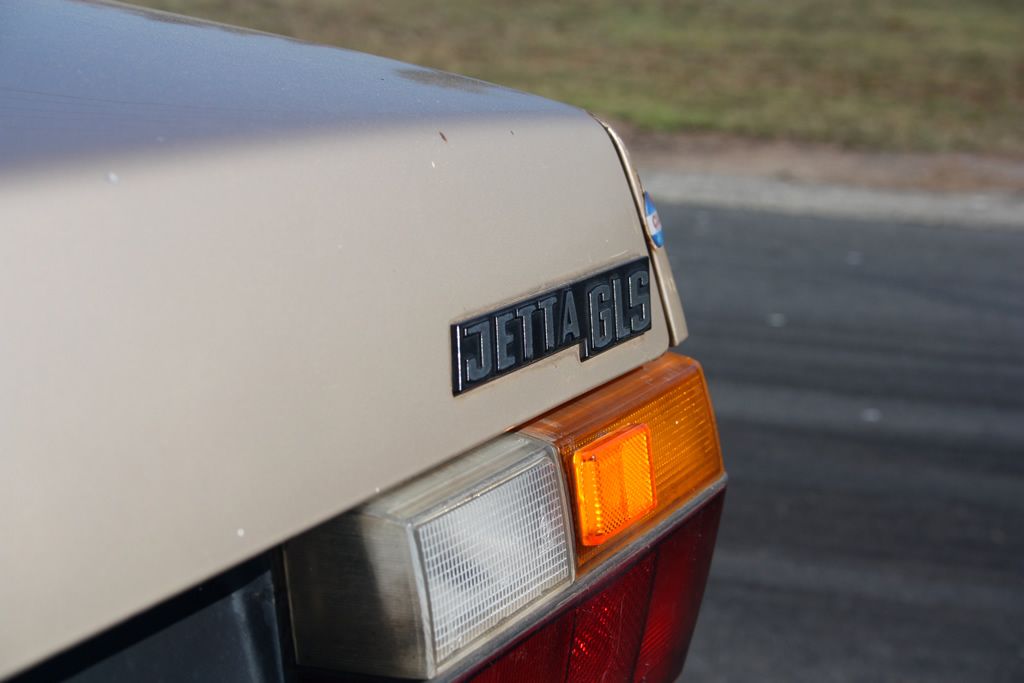
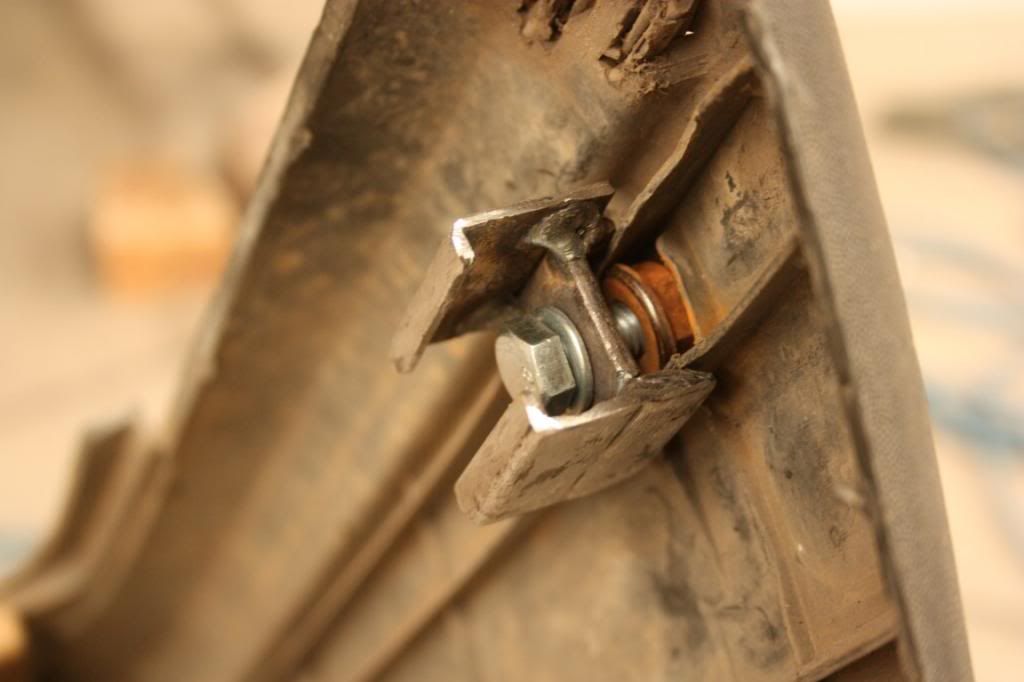
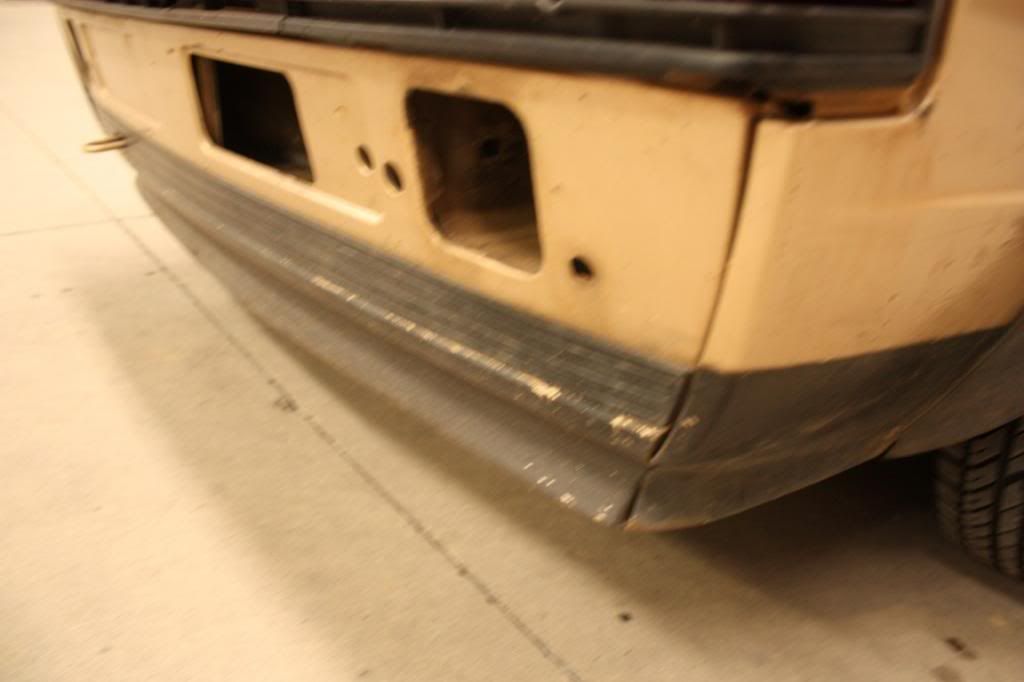
This is what it should look like
We then started fabricating a new clip form steel
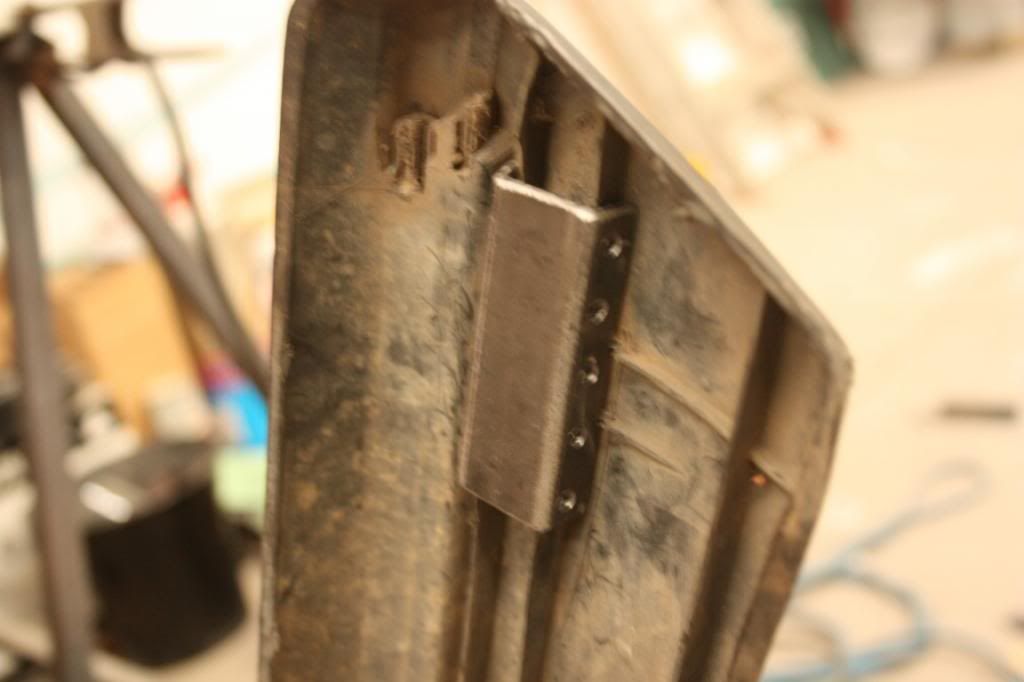
The slide kept moving due to the damage on the bumper so we had to go back to the drawing board and decided to rivet a small channel we cut to the bumper
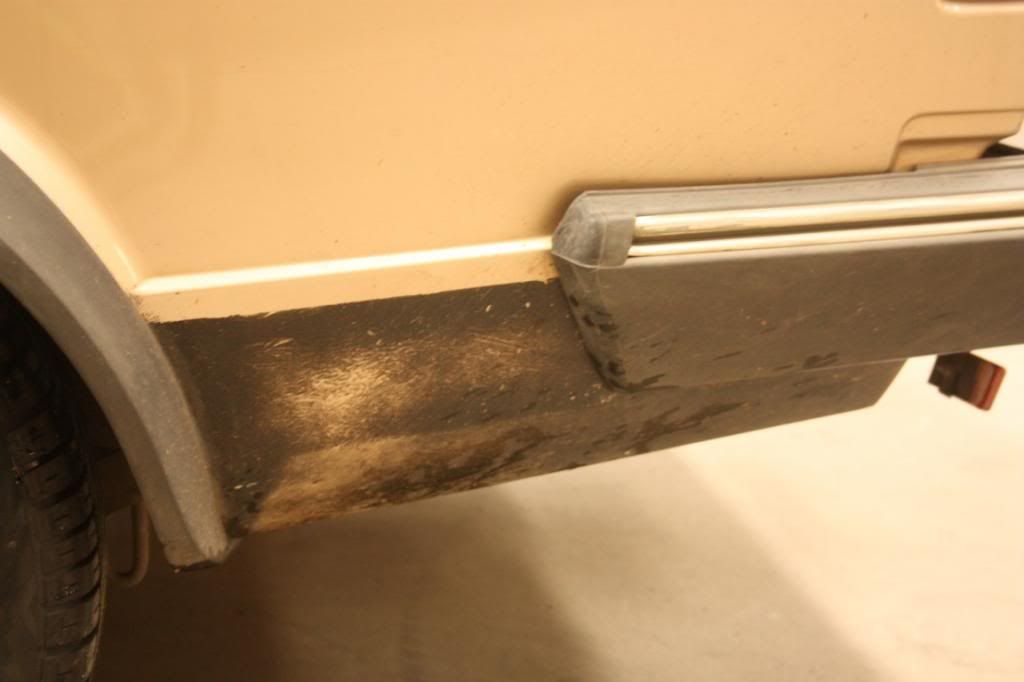
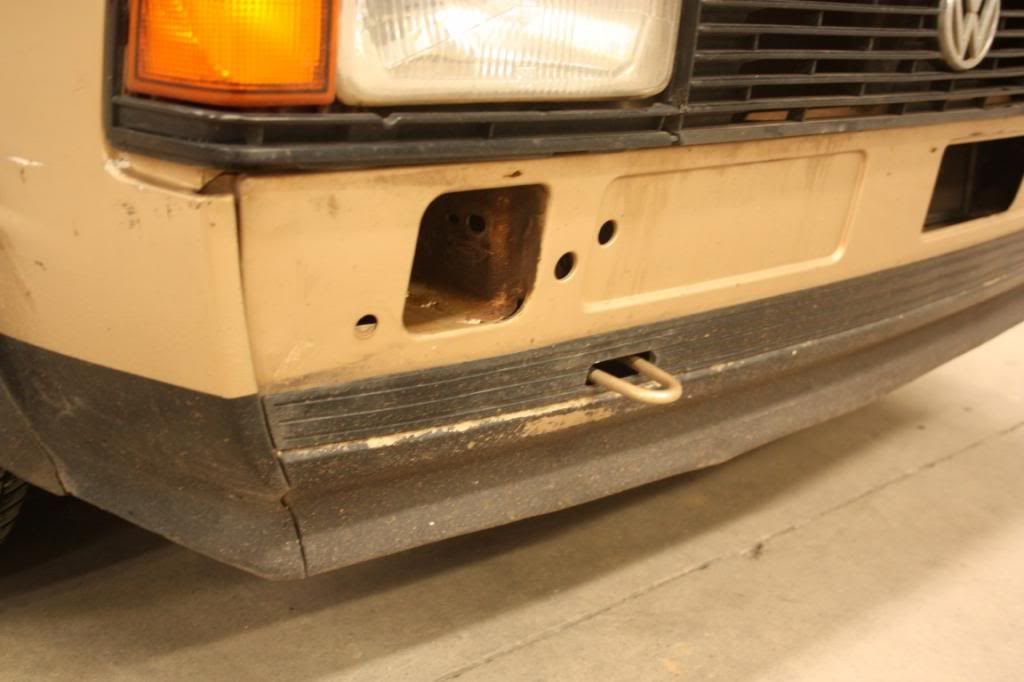
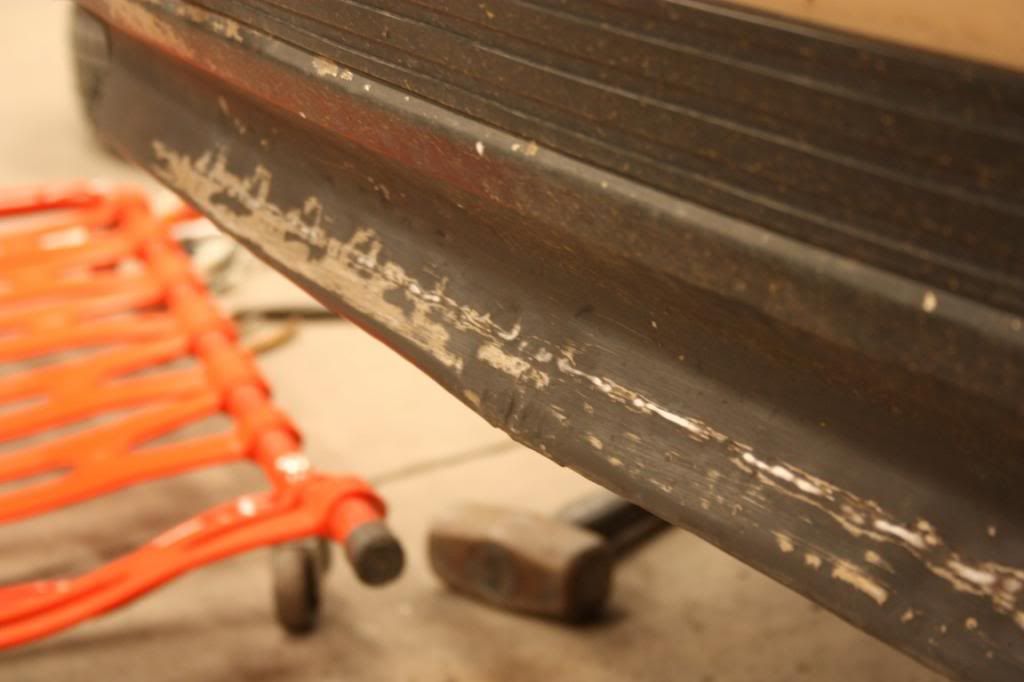
The condition of the black paint underneath the bumpers were not in the best shape so we decided to redo it all in black base coat
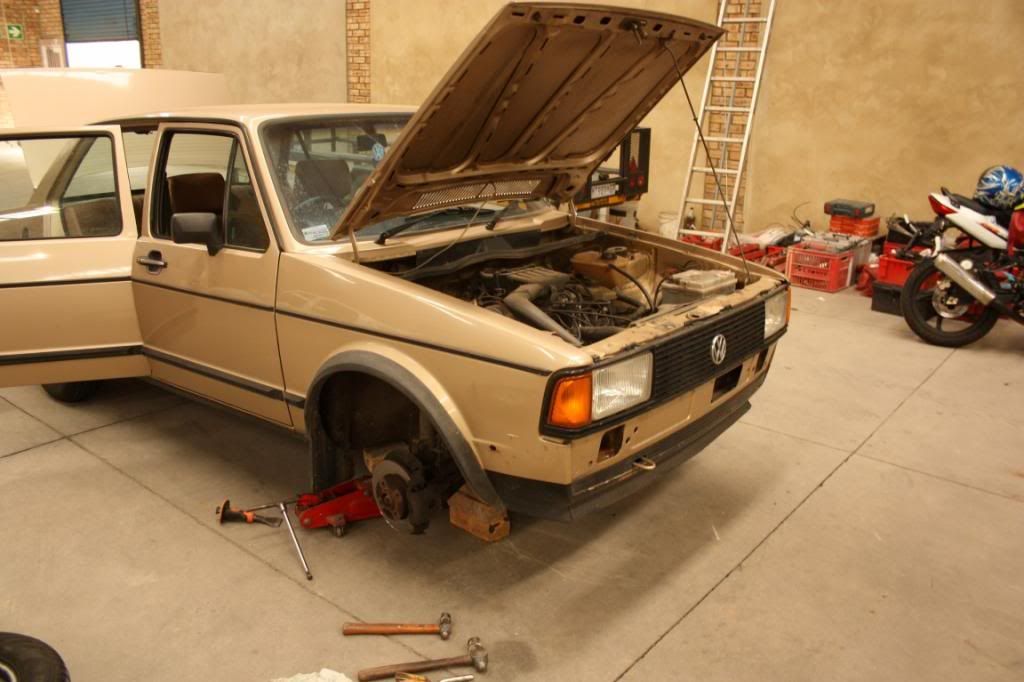
I also wanted to remove the towbar
Discovered a dent in the rear when I removed the bumper
I then started with some panelbeating on the front lip
The camera died soon after and I will take more photo's later today to show the end result, we had to use a dent puller in the back and managed to smooth out as much as possible on the front lip.
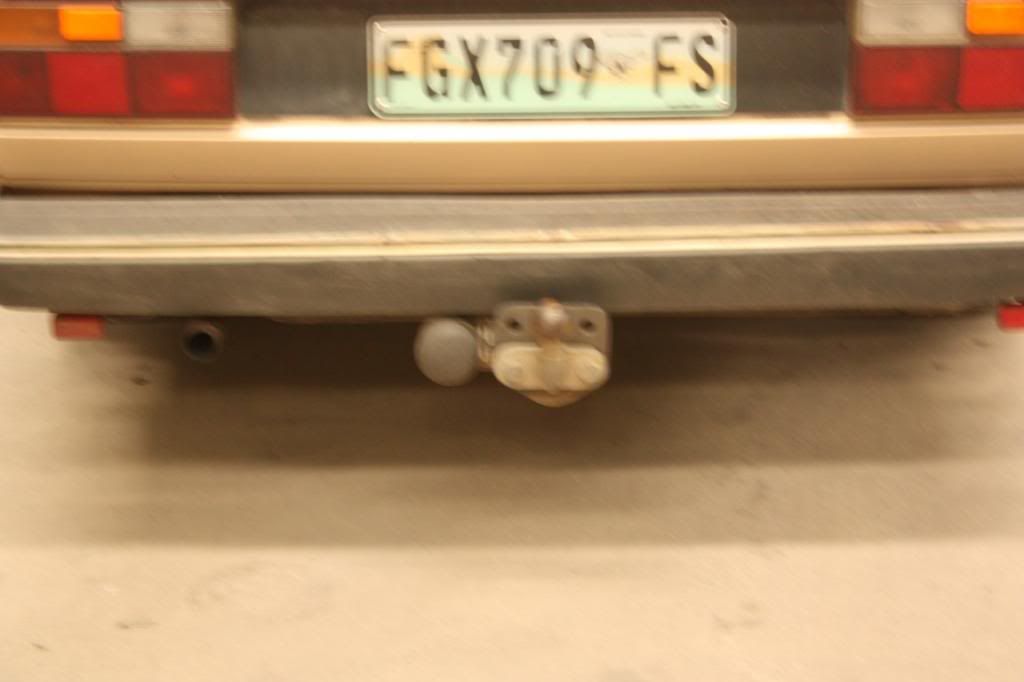
We were unable to refit the rear bumper as the Towbar had replaced the bumper slides so I need to source a new set
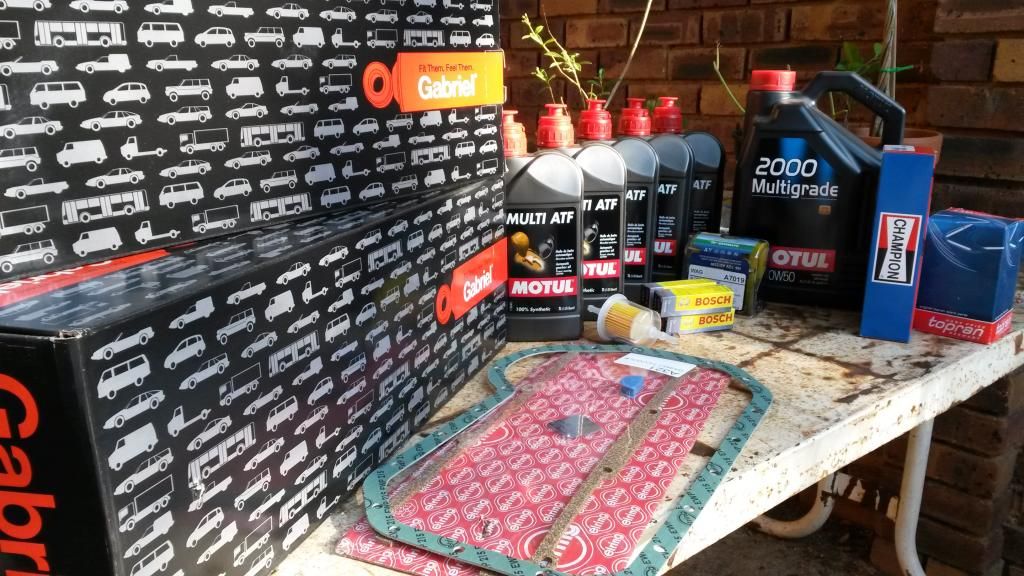
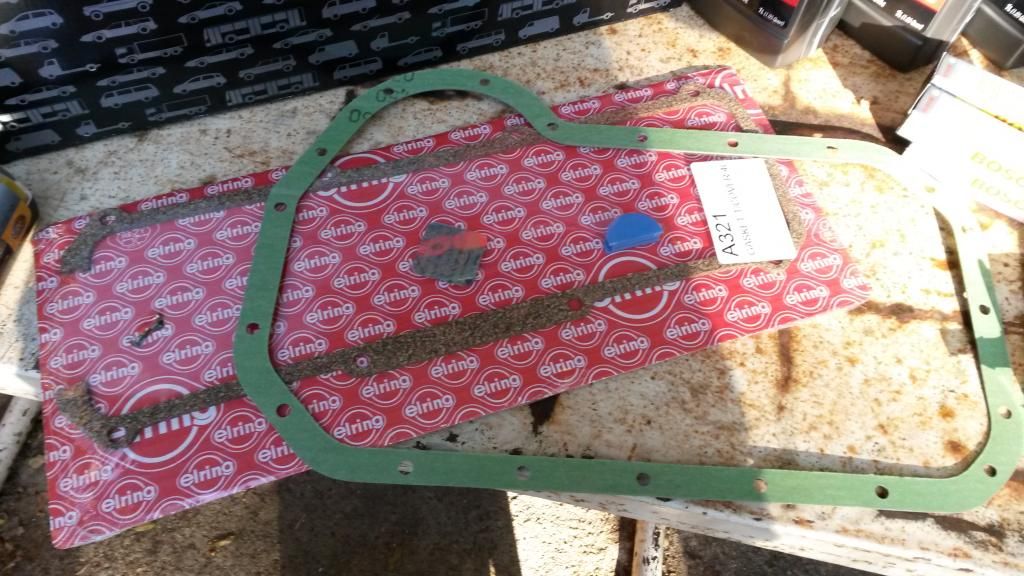
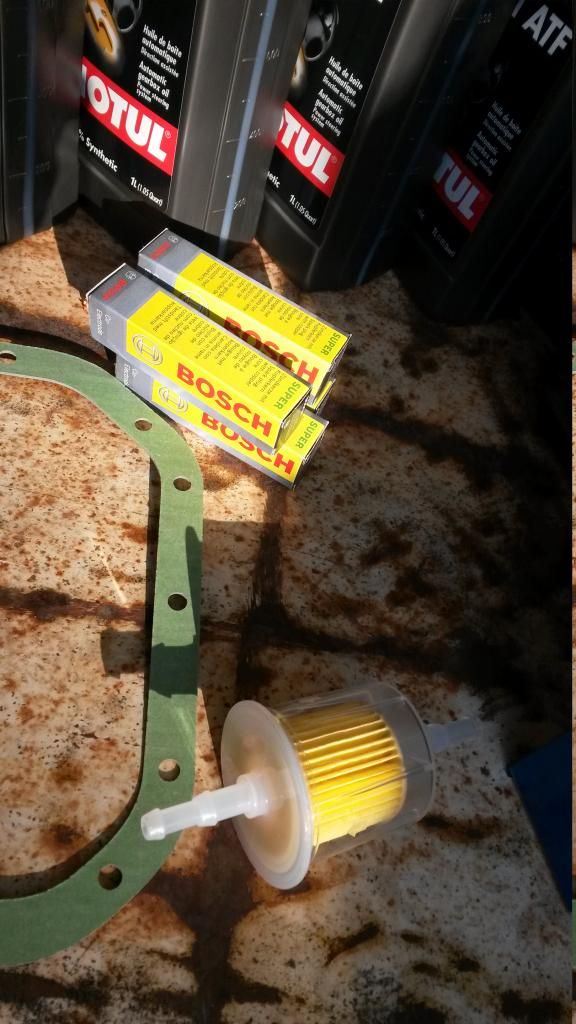
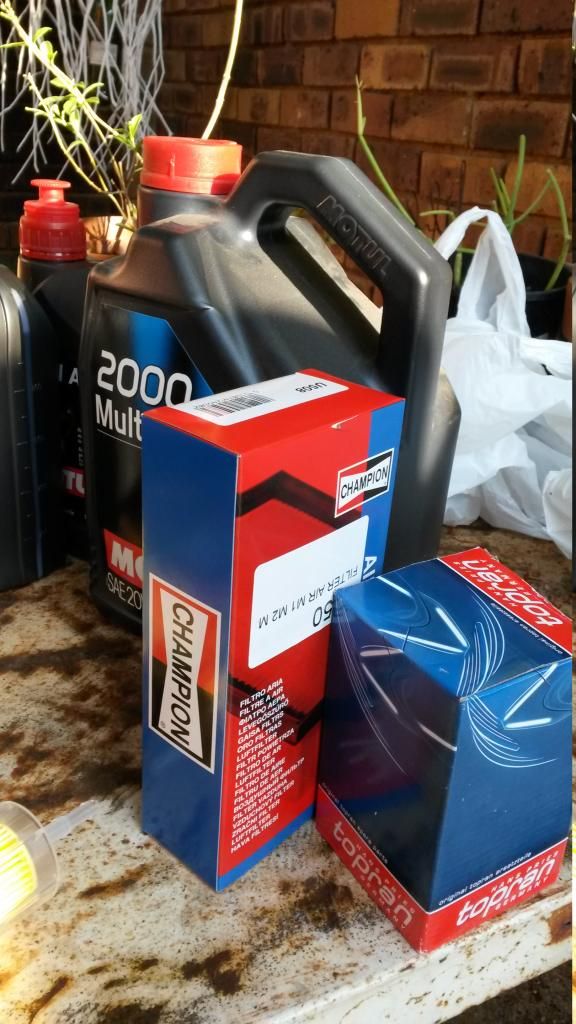
Bought some much needed maintenance parts, car went in this morning for a service, replacing the tappet and sump cover gaskets, replacing the fan belt, fixing/replacing the alternator adjustment bolt.
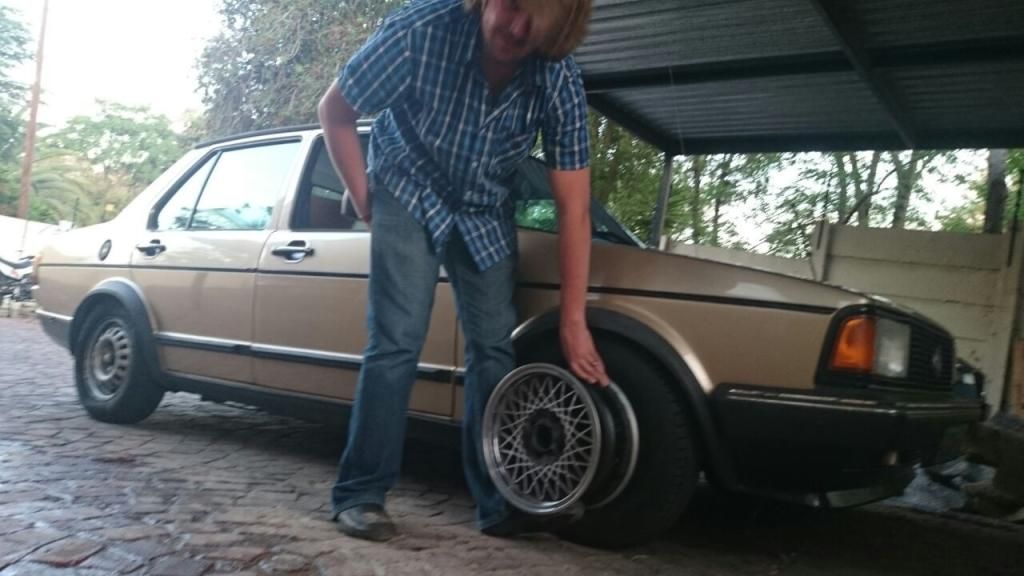
After I get the car back I will take it to Supa Quick Ruimsig to have the shortened shocks fitted
So as some of you might know, after I bought the Compomotives I started researching places to do the Refurbishment for me and pollish the lip.
Renu was a bit too expensive considering what I had to fork out for the wheels and the fact that I still needed to buy rubber.
Found a place in Midrand that could do it for me for R2500 all inclusive, 1 week turn around time.
A guy at worked then begged me to do it and showed me some of the work he has done before. Decided to let him do it as he really needed the cash, he has 4 kids, working for minimum wage and stays in the worst part of Claremont (GP). I've helped the guy before and he really is very handy. So the good inside decided to give him R2500 and my wheels.
You can go through the thread and see some of the before pics, the wheels were really in pisspoor condition.
I asked him to:
-Pollish the lip and face
-Paint the inside black
-Widen the spiggot to fit a mk1 hub
Fast forward to more than a year later, after I went to his house numerous times where he was hiding inside or sent his wife to tell me that the wheels are in storage and he is working in Pretoria etc etc.
I started fearing that he might have sold my wheels at a pawn shop to stay alive, the reason for the delay was also that he pawned his tools and then lost them as he didn't have the cash to go unpawn them again.
Anyways, after threatening him with the cops and stating that I will remove stuff from his house to the value of R8000 if I do not get my wheels back, after the truck with my household items already left Joburg, I finally got my wheels back.
Guess what, only one of the wheels were halfway done, 2 were untuched and he started on the second but there were still some deep pits in the dish.
None of the wheels were painted and 2 wheels were widened around the spigot with what looks like a cheese grater.
Decided to cut my losses as I was happy to get my wheels back at least and I knew there was no way he would be able to pay me back.
The wheels are currently in JHB in storage at a mates place, they will be comming down in December and he said he will try and fit as many of the wheels in as possible and ship the rest down.
Before I forget, here are some pics of the one wheel that is 70% done.
Now there is no way I am paying someone again to refurb these wheels for me as it would then officially be the most expensive set of 13" wheels in the country. SO DIY
Any advise, any links, please share.
From what I understand you basically start with
100g
200g
400g
800g
1000g wet
2000g wet
Until all the pits and imperfections are out and then you apply metal polish with a drill and polish point.
Due to the shape of the wheel and the "steps" on the lip, I would like to make a sanding block to wrap the sanding paper over, this should help me get into the corners better and also give a smoother more consistent finish, I was thinking of using a clay or something, mould it and then bake it to get hard, not sure how the water of the wet sand will effect the clay.
Other option is to have it 3d printed but will need cad drawings etc made up and I think this will cost a bit more than potters clay. Any advise?
All the youtube videos I found was more alloy curb rash repair related or very vague
Maybe I missed it but did you say what your plan with tires is going to be?
I would love to go 175/50/R13 but on a 6J wheel it would not stretch enough to benefit from the lower profile
But I think a cheaper option (almost half the price) that would be more drivable for our road conditions would be
165_55_R13
Not too much stretch and a decent amount of rubber to fill the wheel gaps, will also make my car 7mm lower with the current setup if my calculations are correct
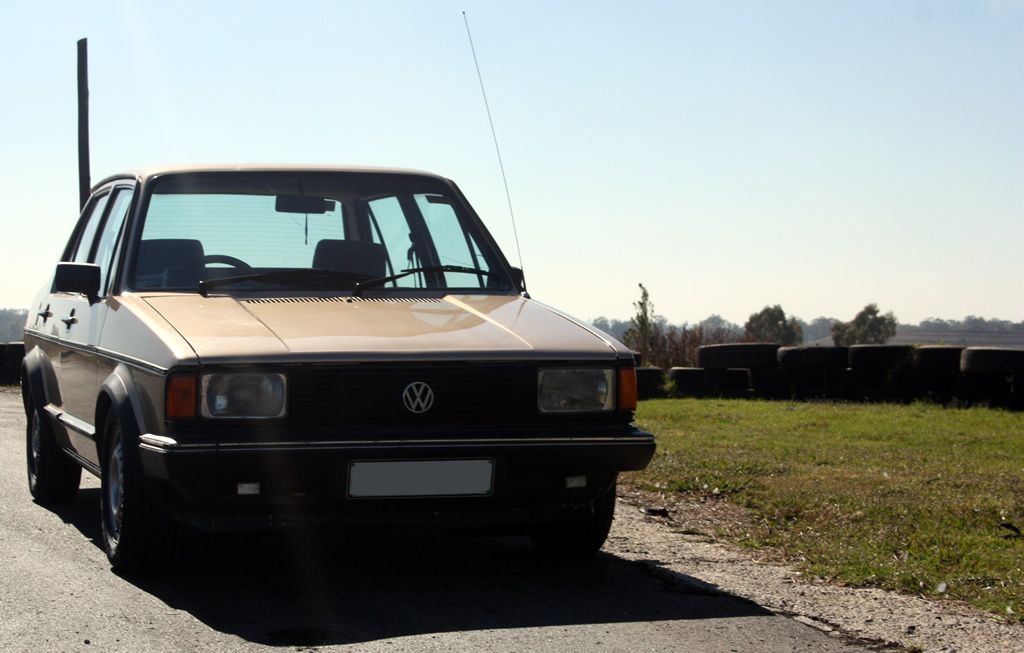
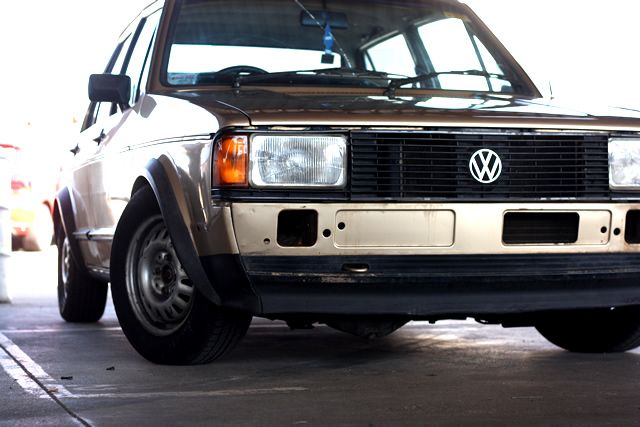
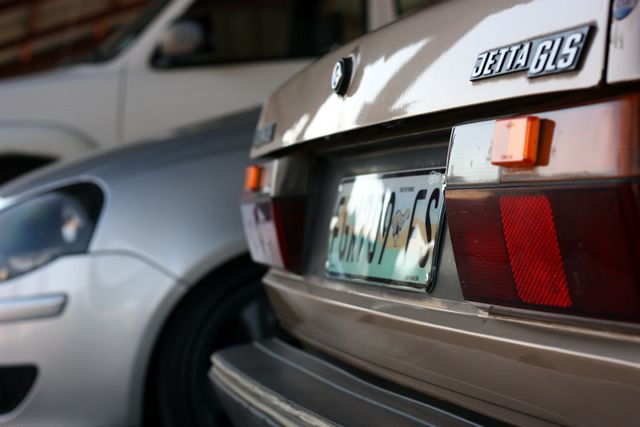
I have an rust free '82 Jetta that is bone stock (except for some ST Coilovers) that lives in my garage.
Doesn't really need anything but someday I'll make it pretty!
Thanks, updates will be few and far in between as the budget permits, spending this holiday season on Paint Correction and Detailing, living at the coast with a 30 year old (single stage paint) car, requires a lot of attention to preserve the paint. Attention that has been lacking the last few weeks, only had time for a half-arsed Meguiars Wax and garaged her again.
Also looking at some OEM+ enhancements on the audio side, I need my morning traffic reports.
I'm also looking at building some kind of "ghetto rig" to help me with my wheel DIY Pollish and refurb.
Was thinking of using a VW Hub and bearing with a belt/chain to a small electric motor.
If anyone has an idea or blue print or something that could steer me in the correct direction, please let me know.
 Tweet
Tweet


Comment