 Tweet
Tweet
Hello all. I got time to kill...its raining...im bored...Here ya go.
airbags....gotta have em
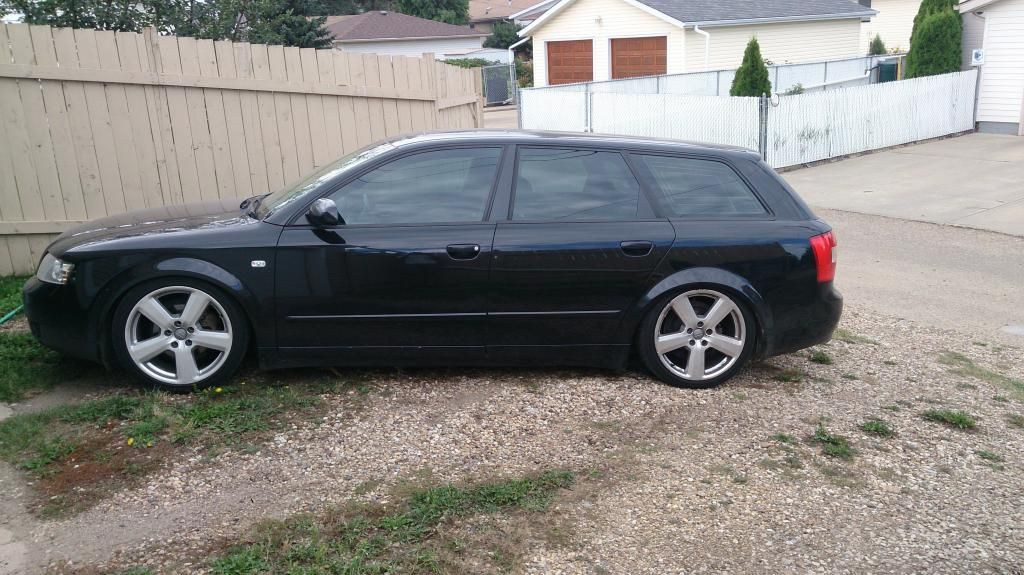
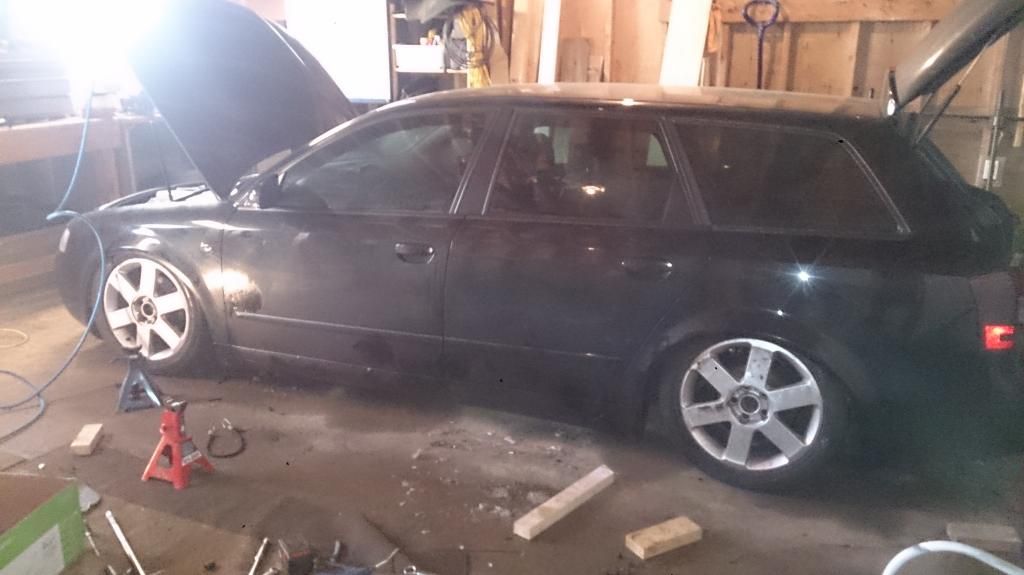
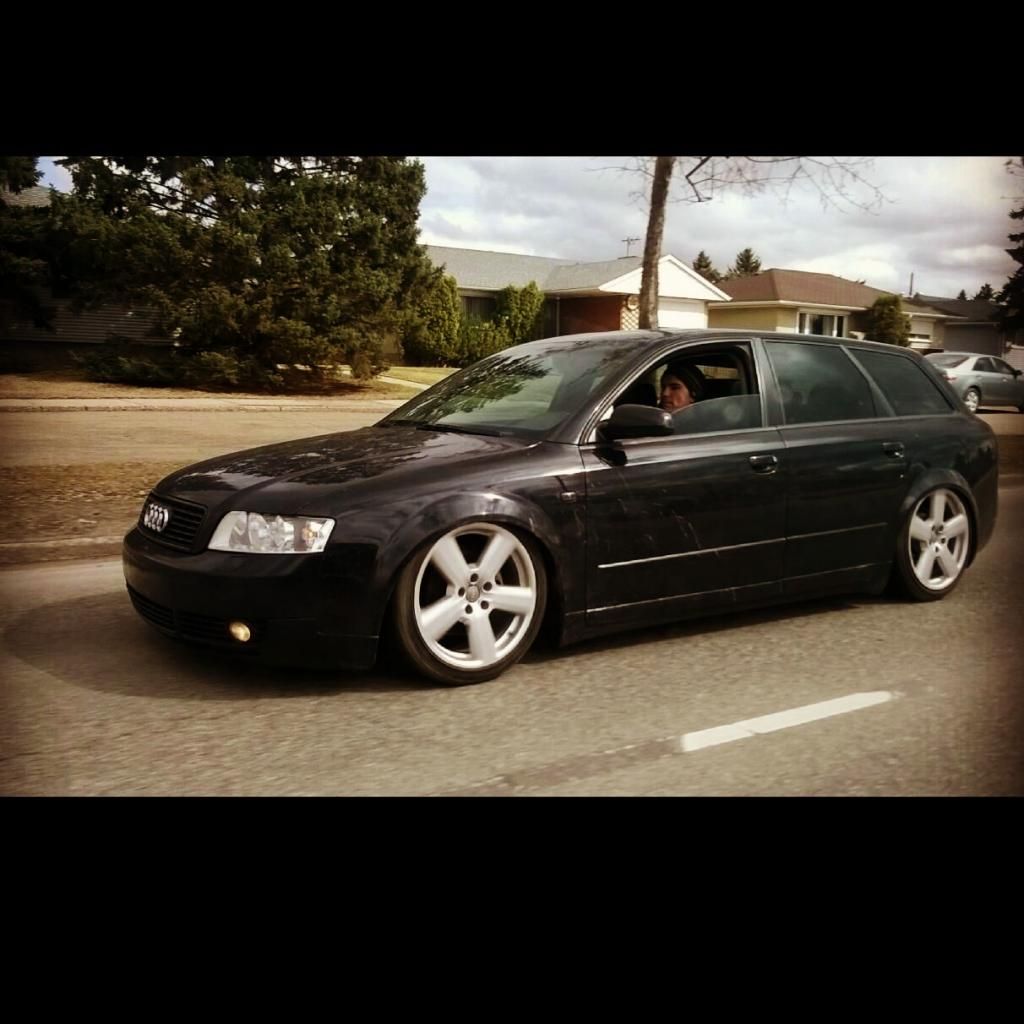
I purchased this 2004 Avant 1.8t 6spd a couple years ago. It had 210,000km or so. It was a trade in and got a good deal. Real good deal. It required some immediate attention though but was easy enough. Coolant flange, Window regulator, Clutch, brakes, etc..other usual audi issues.
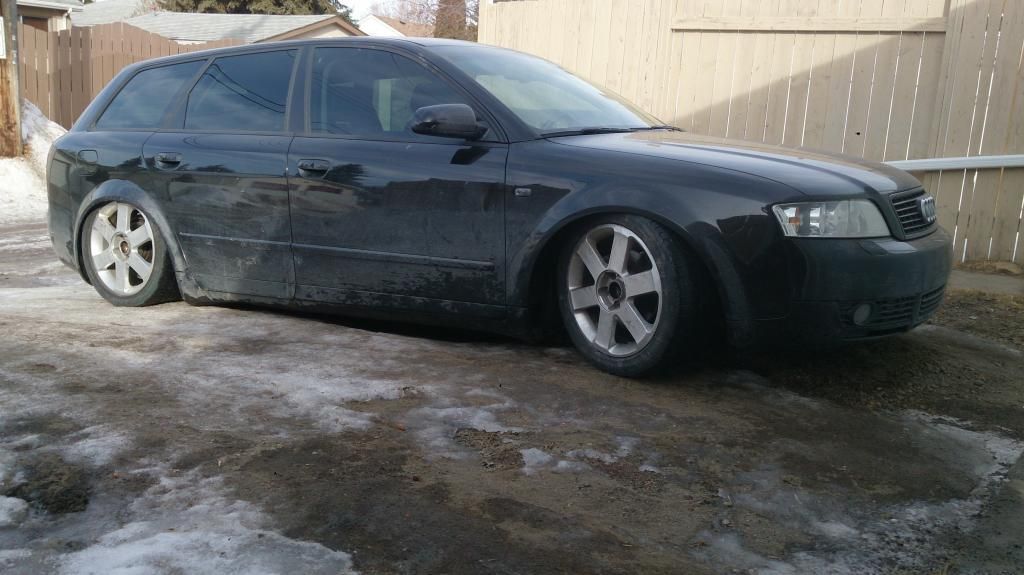
Then i got some Koni coilovers and s-line wheels. The first bit of lovin.

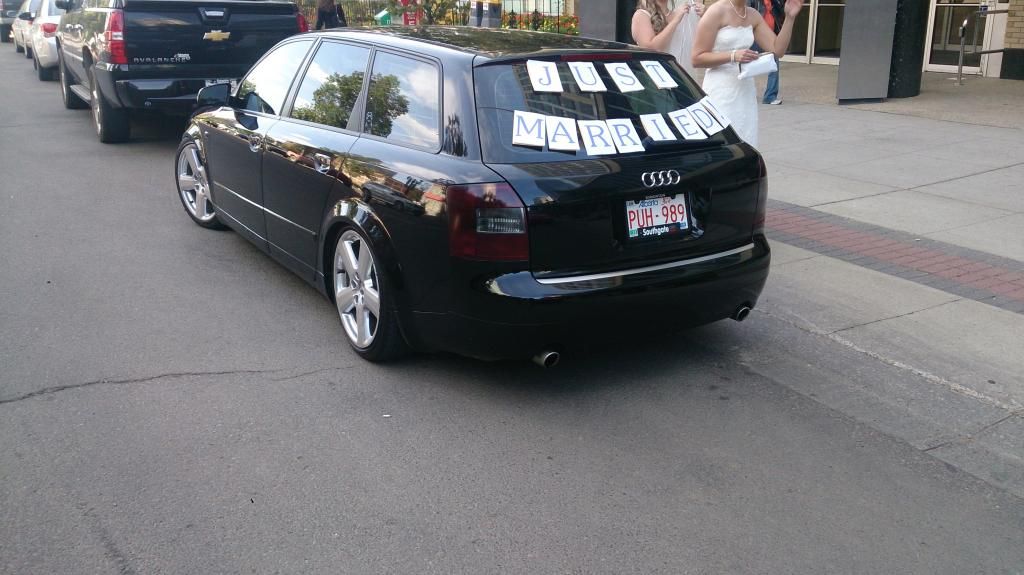
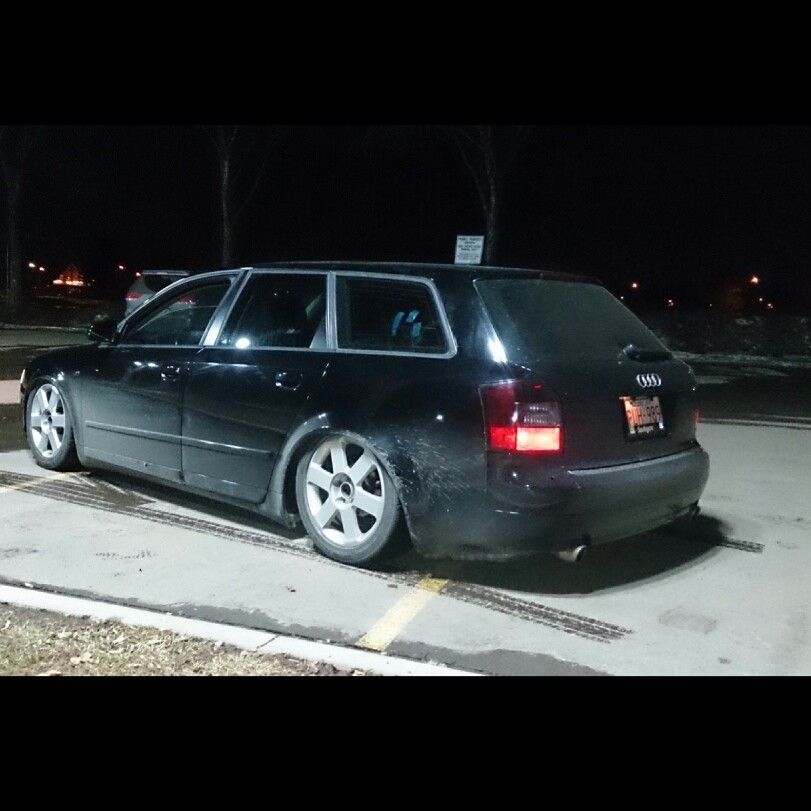
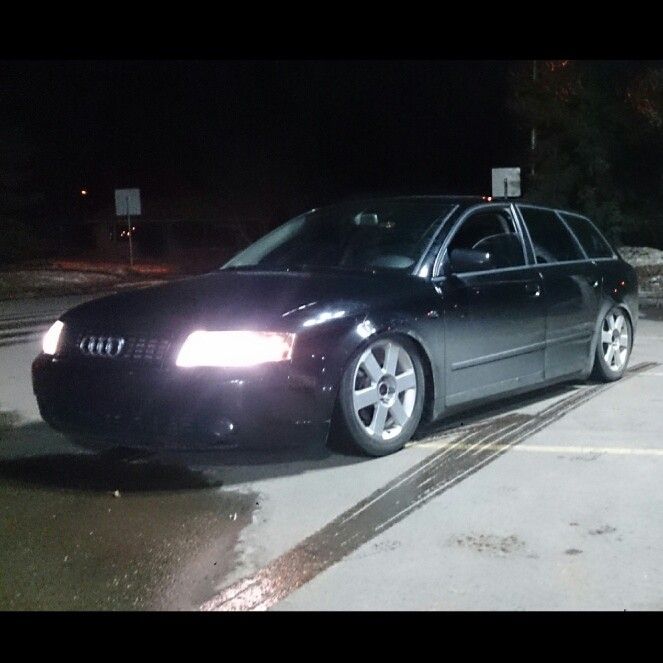
Nothin for a while really. Then the big day came. Wedding day. Our limo had to be lookin spiffy so I took out the rear spring perches and had the coils just sittin right on the sleeves. Lowered the front to match...static lovin..a little low for a daily driver...
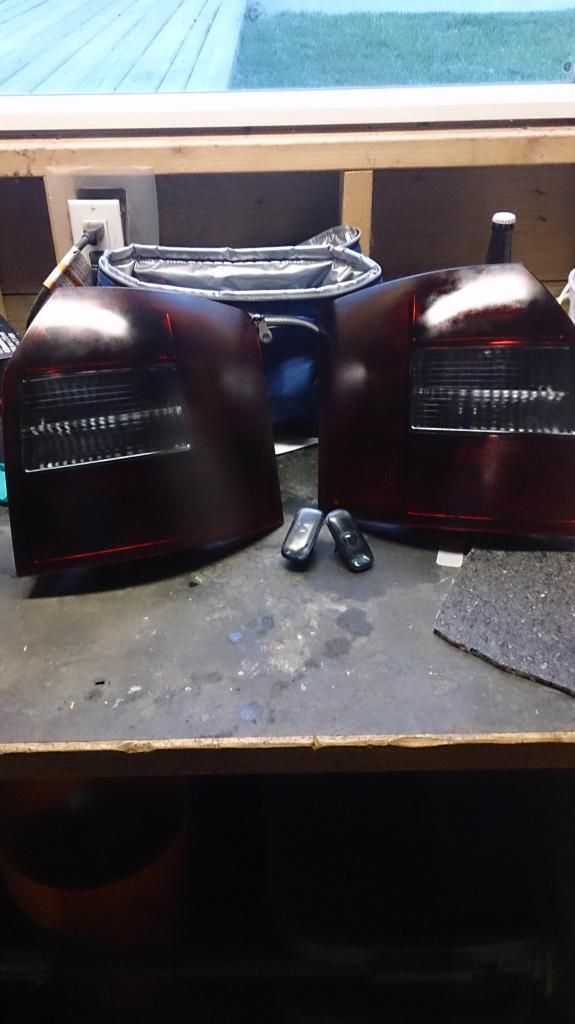
I tinted the tails and markers as well
Tinted the tails and markers, removed orange reflectors from stock headlights (wouldn't do again..cheesy lookin)


Then I was shown this app called instagram...insta heroin really.......got addicted and kept seein' all these cars on bags...on bags..on bags on bags...
I got the itch...bad...real bad....
Then i thought it would be a ggrand idea to go into a little debt and ordered up a set.
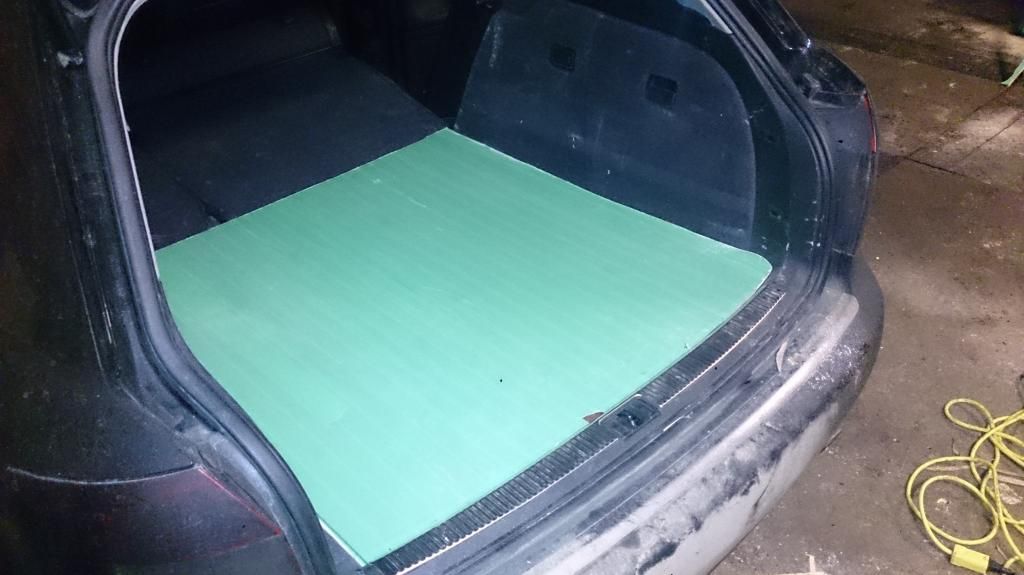
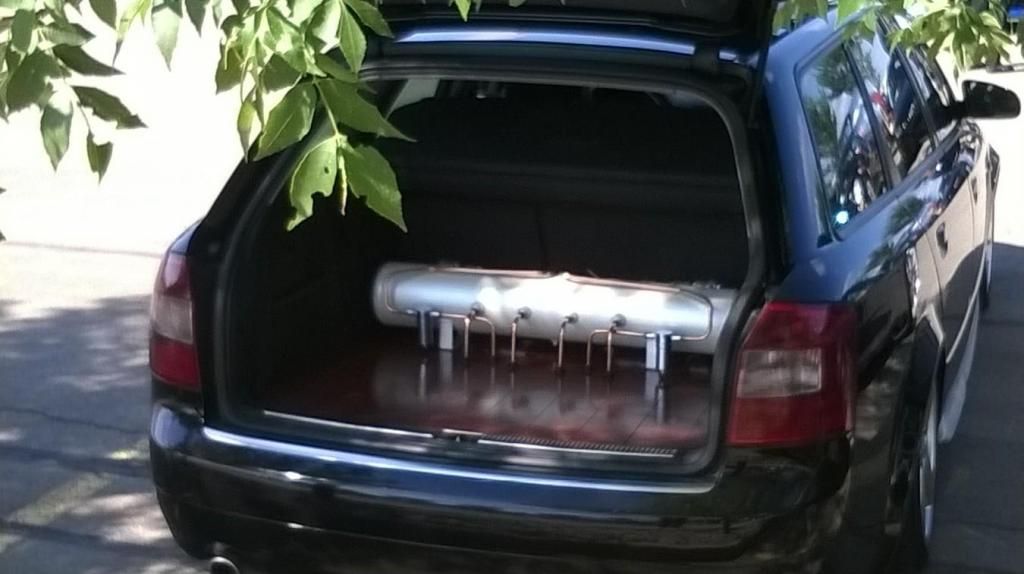
whilst the package was being delivered i started on the tank setup. Post haste.
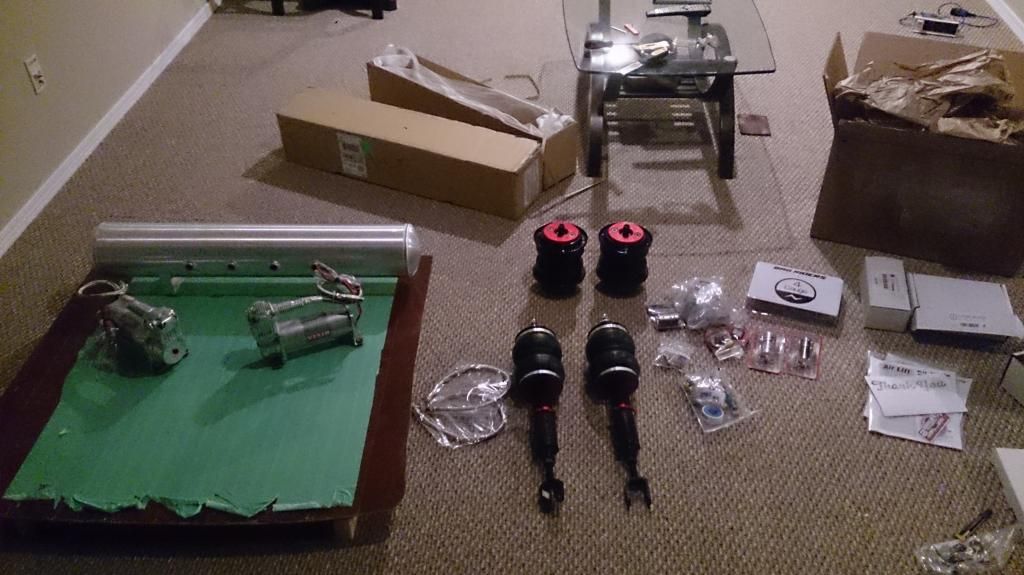
then christmas came...in march?
Hardest part was the tank colour. Several cans of spray bomb . many plates of metal

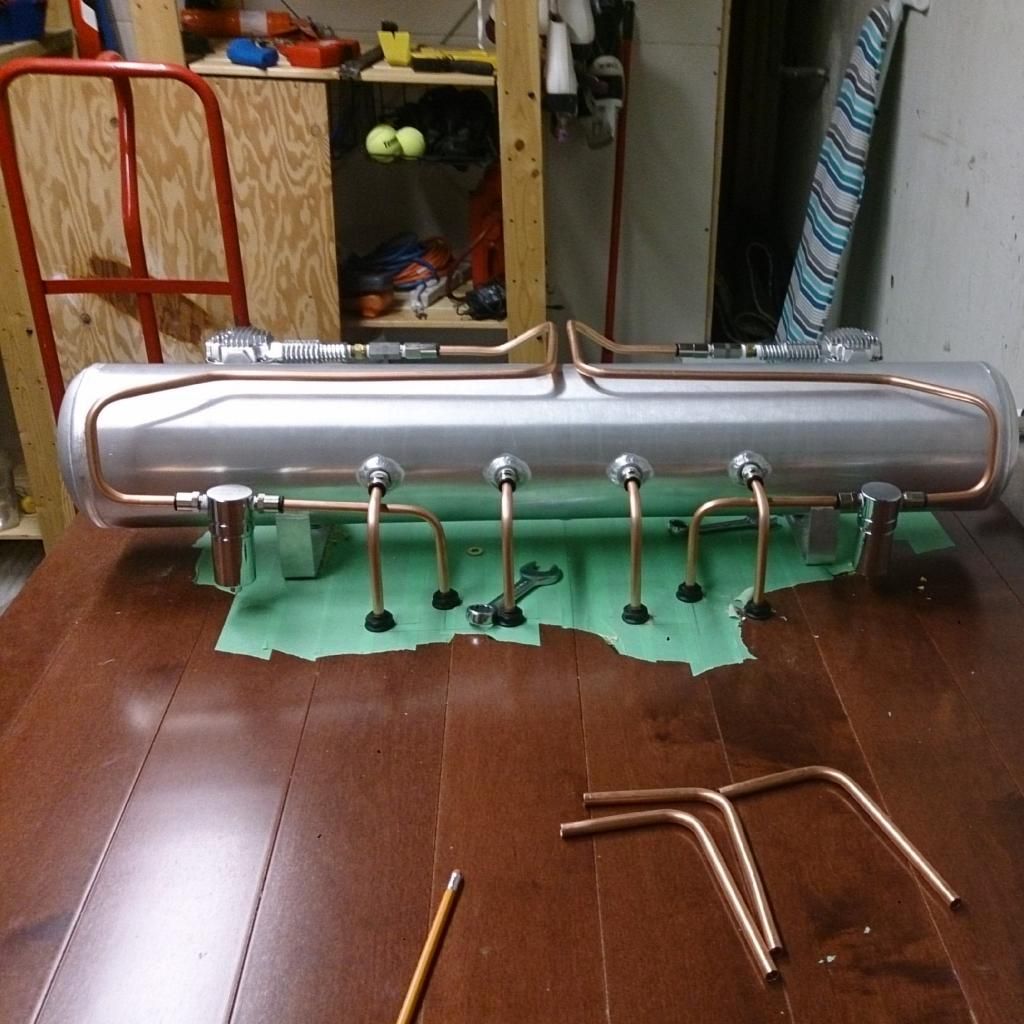
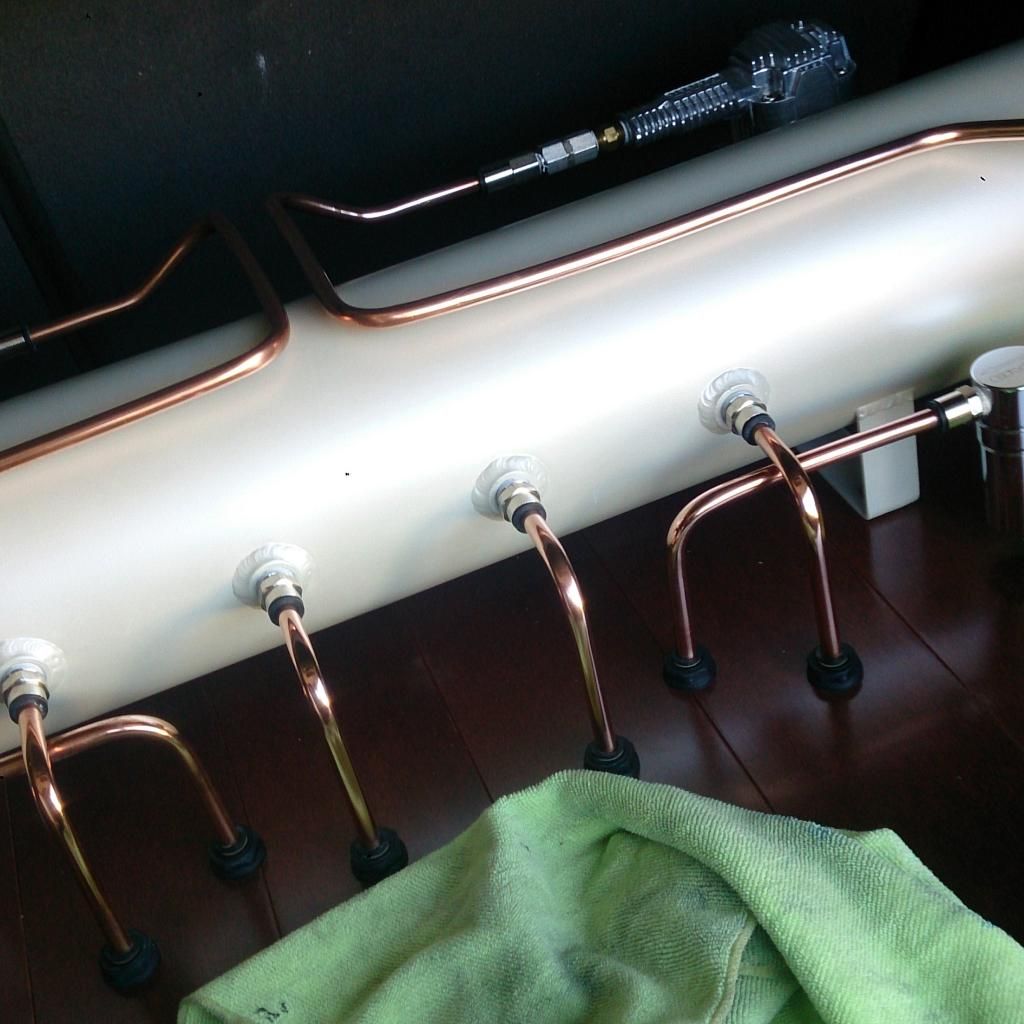
Put off deciding the colour for a while so I started bending up some lines. Took my time as it was -15C to -25C outside still.

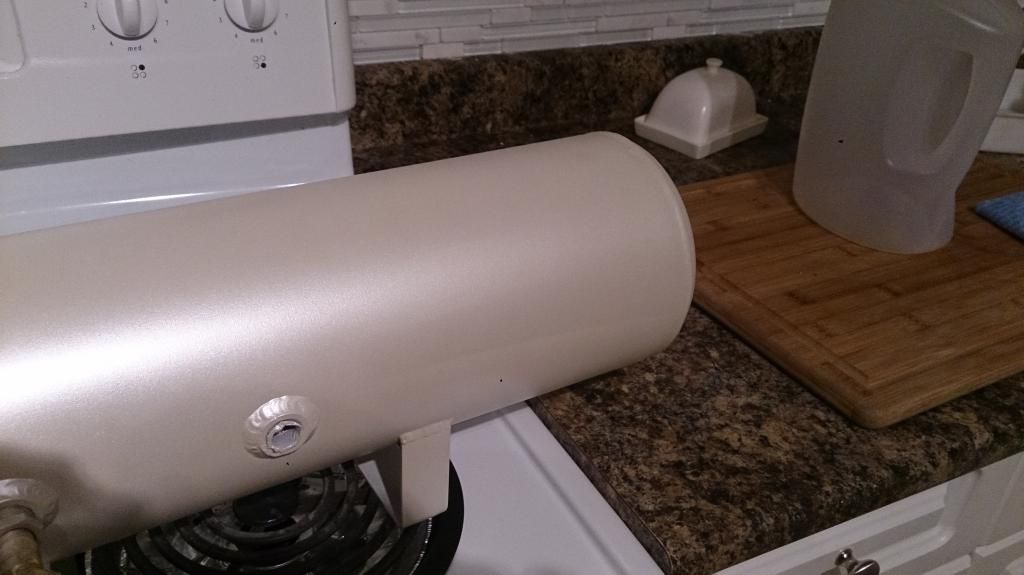
I Tried to have the copper bend with the tank ( as you could see to the right)
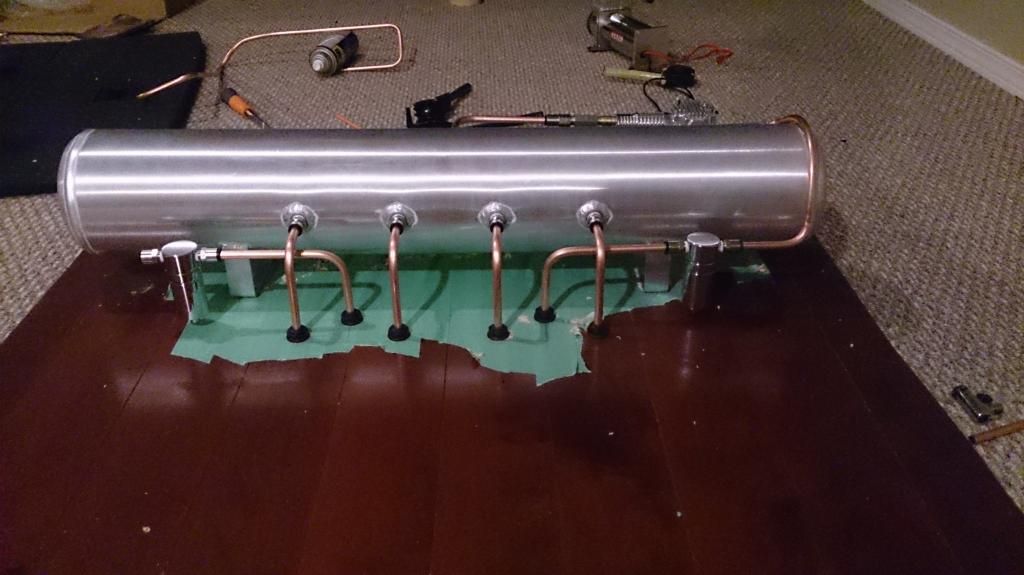
but it didnt look nice. and it was really hard to match to the other side.
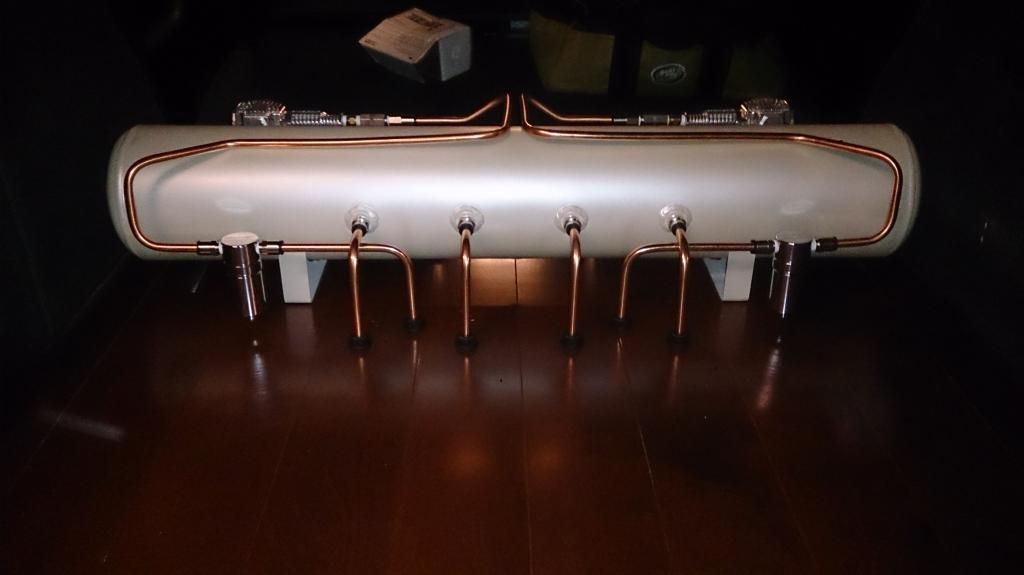
Ended up with this

In hindsight I would spend money and get a real nice swage-lok bender because the cheapo crappy tire ones squeeze and stretch the lines in the bend..not so nice...distorts the colour of the copper too. DONT LOOK TOO CLOSELY AT MINE NOW!
Finally picked a colour, Rustoleum primer with metallic pearl then a clear coat
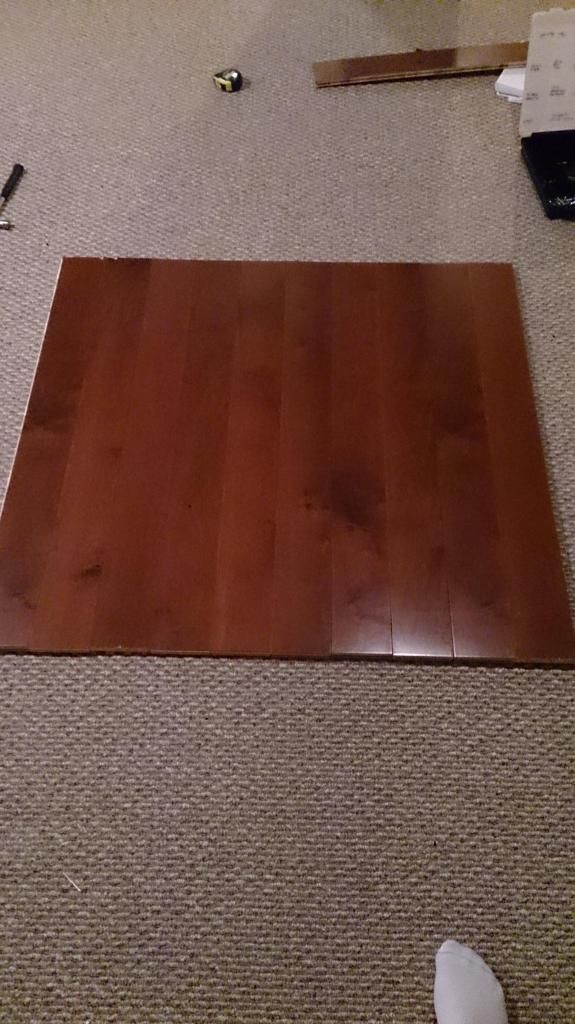
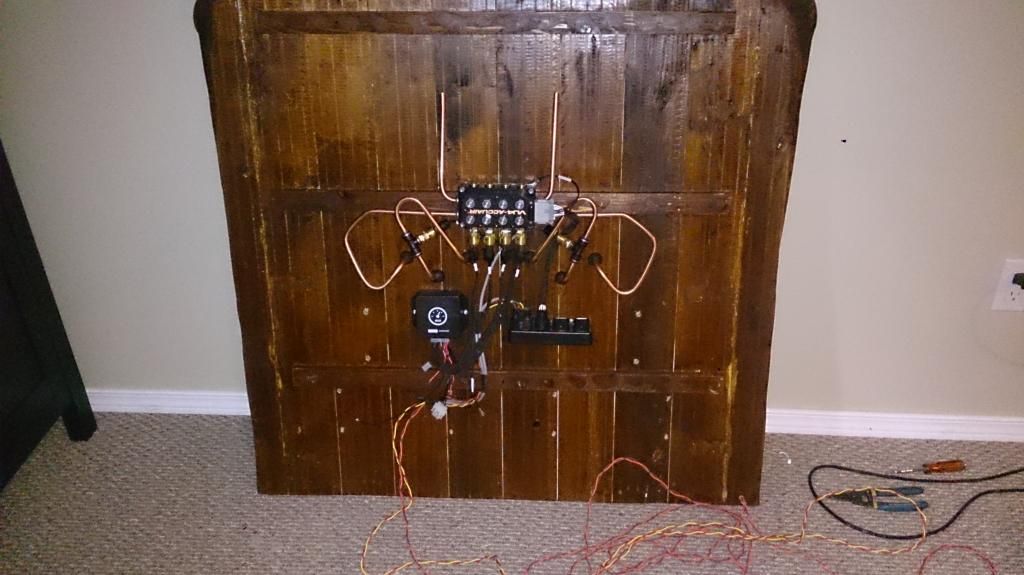
The underneath of the hardwood. obviously the wiring was all neatly taped when finished...OBVIOUSLY.....
It warmed up enough I was able to spend an hour here or there putting the hardwood back into the cargo area.
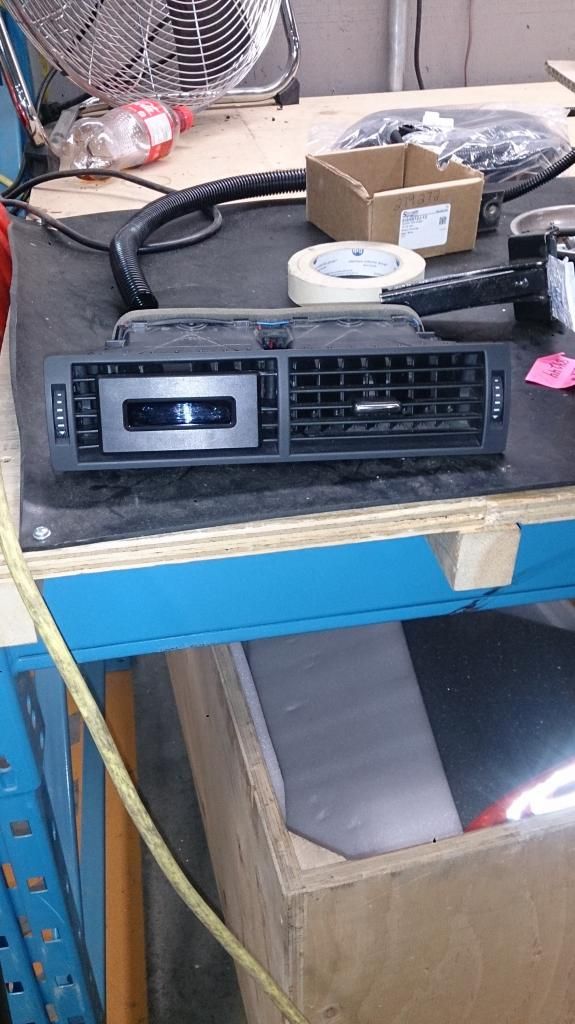
I mounted the pressure gauge into the vent
controller into the pocket using some packing foam.

Finally it warmed up to 5 degrees or so. Long johns, jeans, coveralls, winter jacket toque...Prepared I went outside and braved the cold
(no pictures for next while)
it wasnt fun, upper control arm pinch bolts seized and broke...funny seeing as I had them out 2 years ago for the coilovers...AAAHHH.... since I had to take the knuckles out of the car to remove those pesky bolts I had new front wheel bearings put in thanks to a good dear friend and his press......you know who you are....
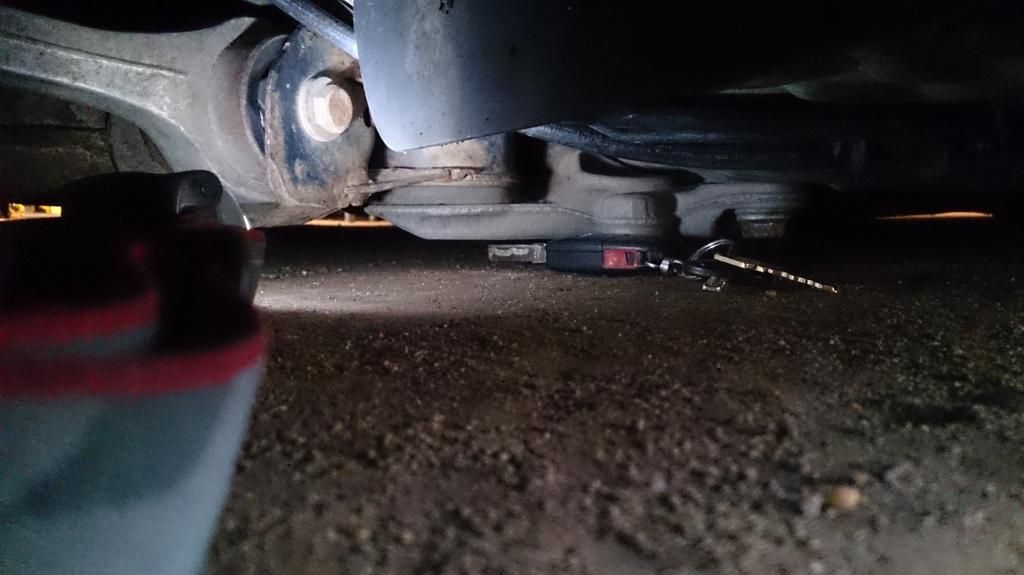
a couple days later I was pleased to see this.
TEST DRIVE TIME
pleased to say..ALL WAS WELL...no real hiccup at all.

Shine up that copper!
front subframe
Then 6 or so days later ...snow. Good timing.
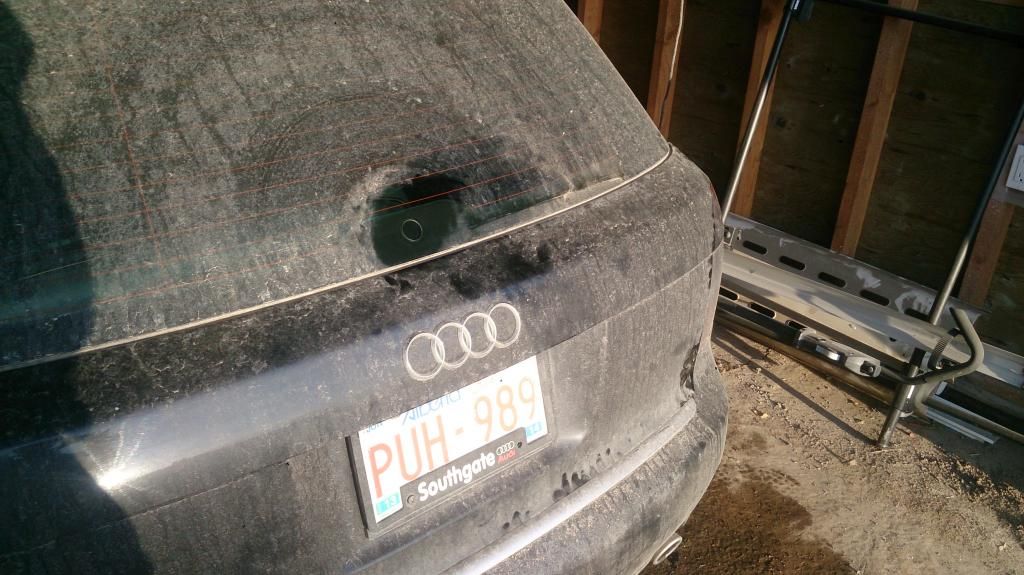
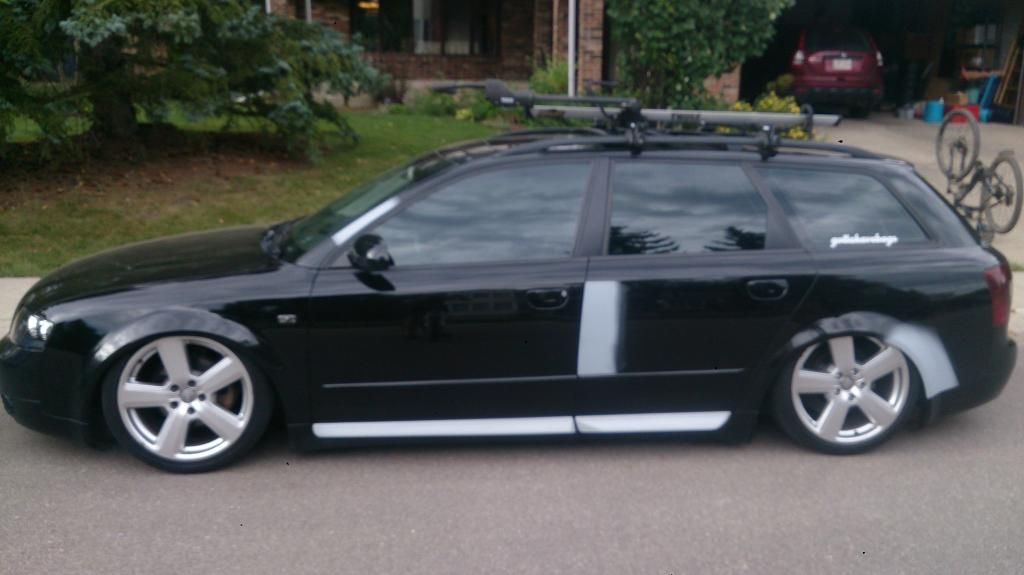
Glass rear wiper delete plug
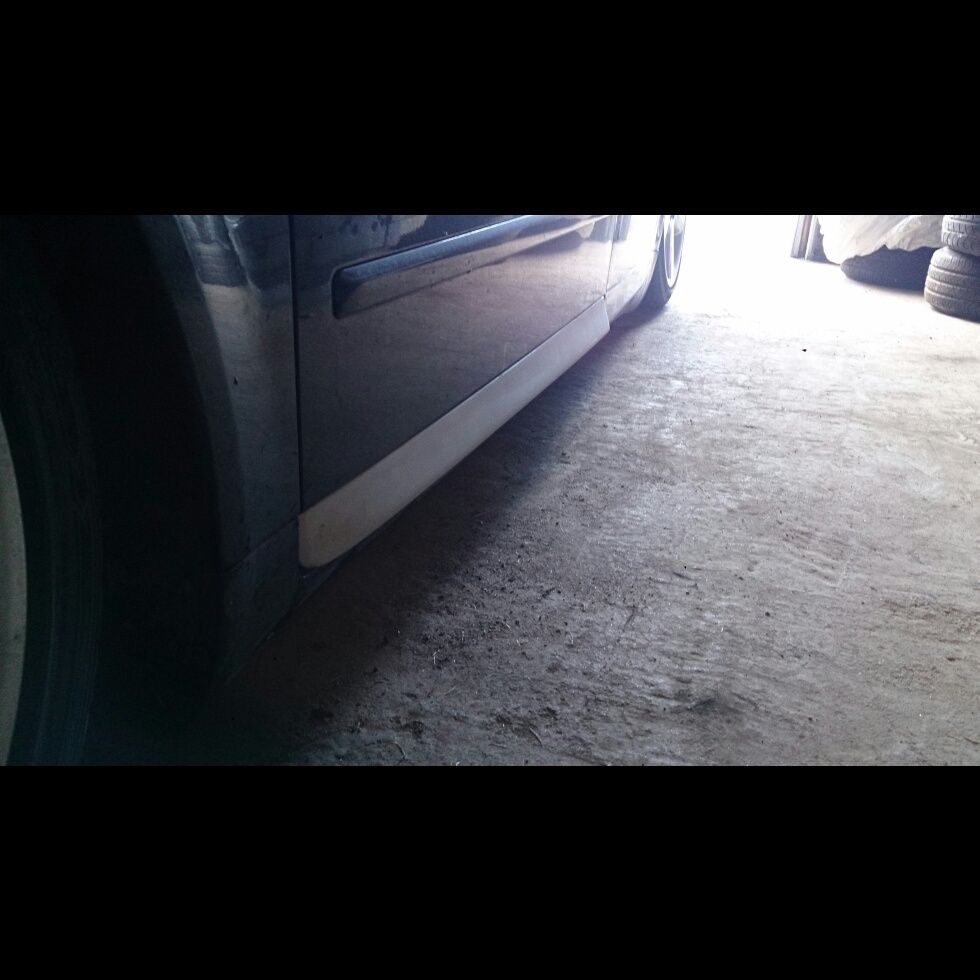
s4 door blades
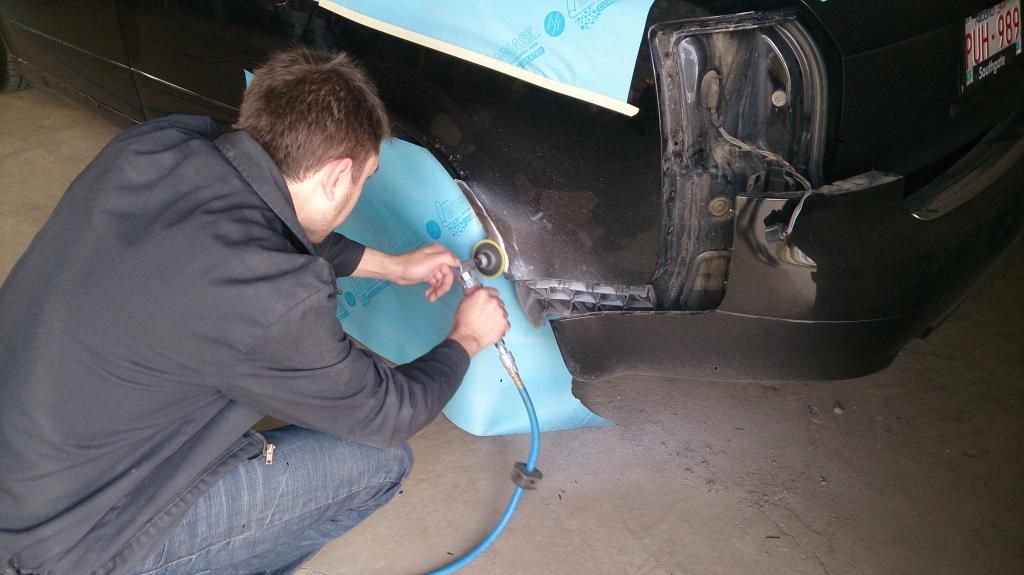
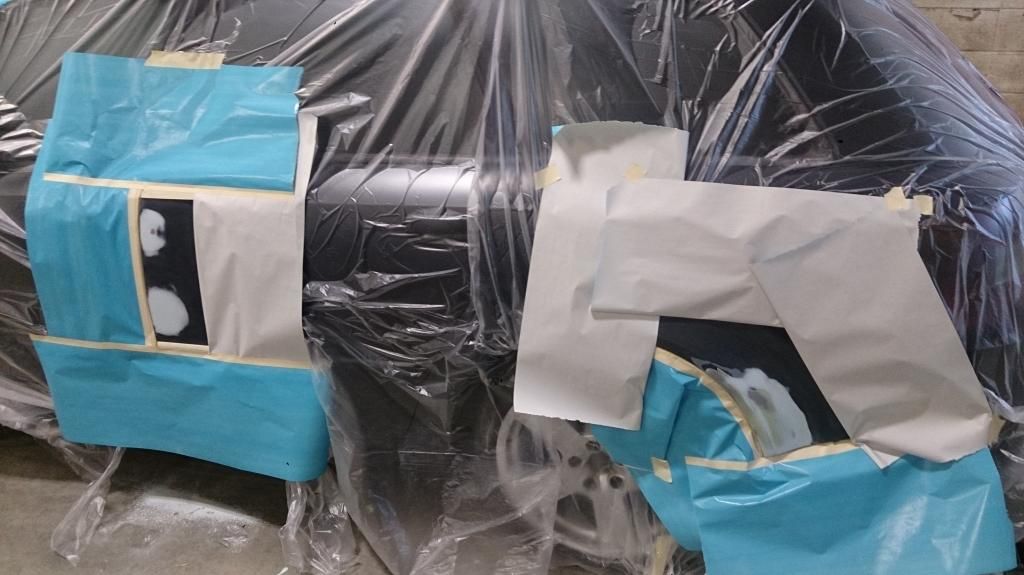
Another friend helped me with some body work. Had a couple dents in the drivers rear door, a pillar and some rust behind the drivers rear wheel
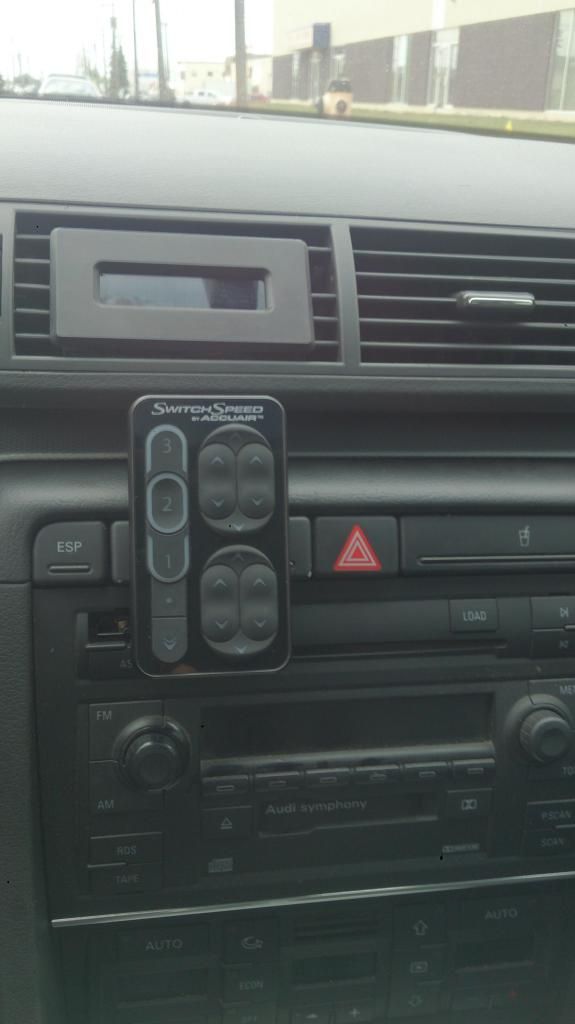
Finally after ****** reaching back to get at the controller and after some conversations with a buddy I decided to mount it in the card holder...didn't quite fit...so this is what I was left with.
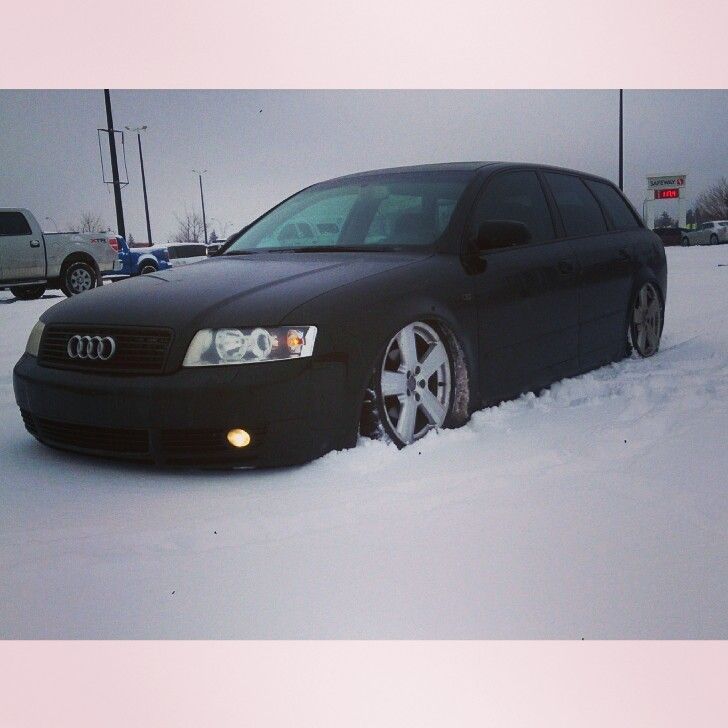
a couple iphone money shots
And finally, as it sits
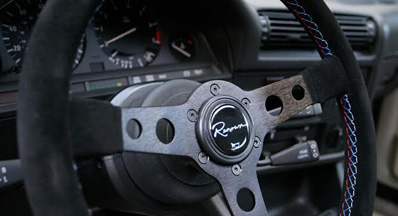
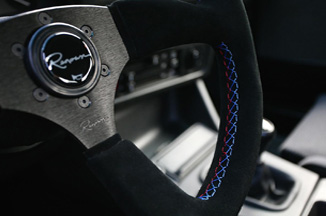
I wanted a NARDI wheel but didn't want to pay for one so I picked up a cheap steering wheel for 15$
Cut off the foam and was left with the center portion and the outer ring then made myself a wooden steering wheel. Filed in finger grooves in the back and everything which kept it from looking as thick as it did in the beginning.
Trying to flow the wood from the trunk up to the front of the car.

Not as nice as a NARDI but not nearly as costly either. Im quite happy with it.
Made a center cover just haven't taken a picture of it yet.
Steering wheel looks thicker in the pic but it measures same as the stock wheel.
Well thats the end of my story for now..
airbags....gotta have em
I purchased this 2004 Avant 1.8t 6spd a couple years ago. It had 210,000km or so. It was a trade in and got a good deal. Real good deal. It required some immediate attention though but was easy enough. Coolant flange, Window regulator, Clutch, brakes, etc..other usual audi issues.
Then i got some Koni coilovers and s-line wheels. The first bit of lovin.

Nothin for a while really. Then the big day came. Wedding day. Our limo had to be lookin spiffy so I took out the rear spring perches and had the coils just sittin right on the sleeves. Lowered the front to match...static lovin..a little low for a daily driver...
I tinted the tails and markers as well
Tinted the tails and markers, removed orange reflectors from stock headlights (wouldn't do again..cheesy lookin)


Then I was shown this app called instagram...insta heroin really.......got addicted and kept seein' all these cars on bags...on bags..on bags on bags...
I got the itch...bad...real bad....
Then i thought it would be a ggrand idea to go into a little debt and ordered up a set.
whilst the package was being delivered i started on the tank setup. Post haste.


then christmas came...in march?

Hardest part was the tank colour. Several cans of spray bomb . many plates of metal

Put off deciding the colour for a while so I started bending up some lines. Took my time as it was -15C to -25C outside still.

I Tried to have the copper bend with the tank ( as you could see to the right)

but it didnt look nice. and it was really hard to match to the other side.
Ended up with this


In hindsight I would spend money and get a real nice swage-lok bender because the cheapo crappy tire ones squeeze and stretch the lines in the bend..not so nice...distorts the colour of the copper too. DONT LOOK TOO CLOSELY AT MINE NOW!
Finally picked a colour, Rustoleum primer with metallic pearl then a clear coat

The underneath of the hardwood. obviously the wiring was all neatly taped when finished...OBVIOUSLY.....

It warmed up enough I was able to spend an hour here or there putting the hardwood back into the cargo area.

I mounted the pressure gauge into the vent

controller into the pocket using some packing foam.

Finally it warmed up to 5 degrees or so. Long johns, jeans, coveralls, winter jacket toque...Prepared I went outside and braved the cold
(no pictures for next while)
it wasnt fun, upper control arm pinch bolts seized and broke...funny seeing as I had them out 2 years ago for the coilovers...AAAHHH.... since I had to take the knuckles out of the car to remove those pesky bolts I had new front wheel bearings put in thanks to a good dear friend and his press......you know who you are....
a couple days later I was pleased to see this.

TEST DRIVE TIME


pleased to say..ALL WAS WELL...no real hiccup at all.


Shine up that copper!

front subframe
Then 6 or so days later ...snow. Good timing.

Glass rear wiper delete plug

s4 door blades

Another friend helped me with some body work. Had a couple dents in the drivers rear door, a pillar and some rust behind the drivers rear wheel


Finally after ****** reaching back to get at the controller and after some conversations with a buddy I decided to mount it in the card holder...didn't quite fit...so this is what I was left with.

a couple iphone money shots


And finally, as it sits

I wanted a NARDI wheel but didn't want to pay for one so I picked up a cheap steering wheel for 15$
Cut off the foam and was left with the center portion and the outer ring then made myself a wooden steering wheel. Filed in finger grooves in the back and everything which kept it from looking as thick as it did in the beginning.
Trying to flow the wood from the trunk up to the front of the car.

Not as nice as a NARDI but not nearly as costly either. Im quite happy with it.
Made a center cover just haven't taken a picture of it yet.
Steering wheel looks thicker in the pic but it measures same as the stock wheel.
Well thats the end of my story for now..


Comment