Announcement

Collapse
No announcement yet.

Charged E36 318is build

Collapse
X
 
  • Filter
  • Time
  • Show
Clear All
new posts

  • Charged E36 318is build

    Hi all,

    Decided I'd take this from the Noob section and continue it here in the proper section. Below is the link from where it all started . I am well ahead so shall be playing catchup on here for the next while to get the thread up to date. The below updates are copied and pasted from another forum (so old) until I get upto date.

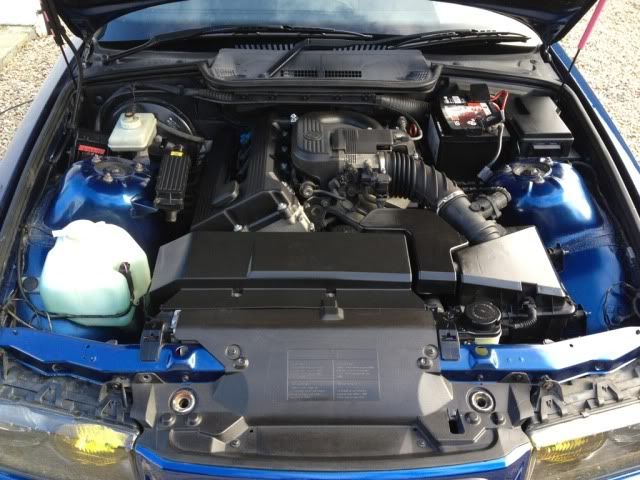
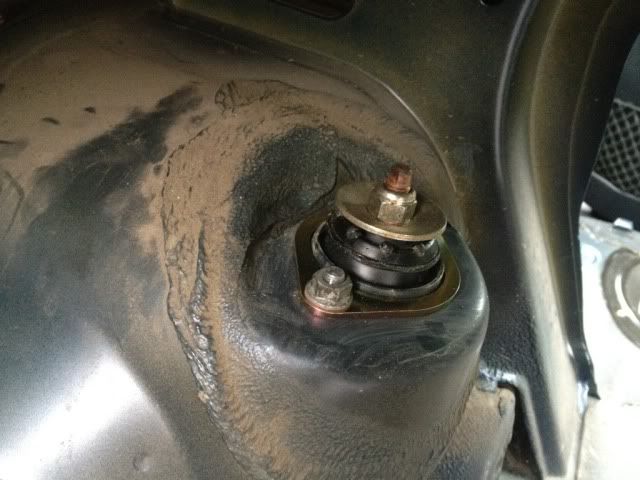
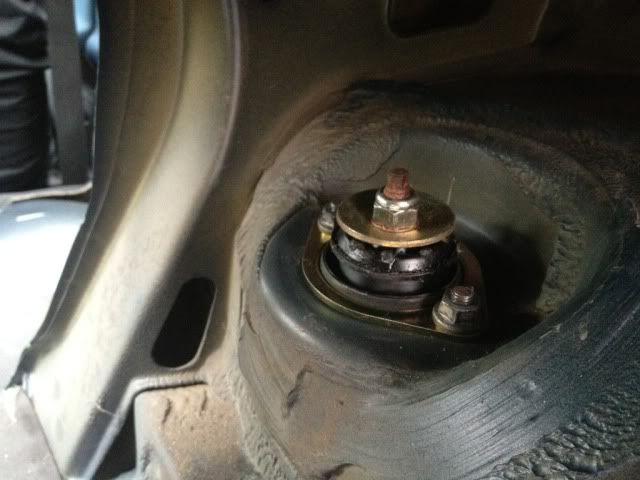
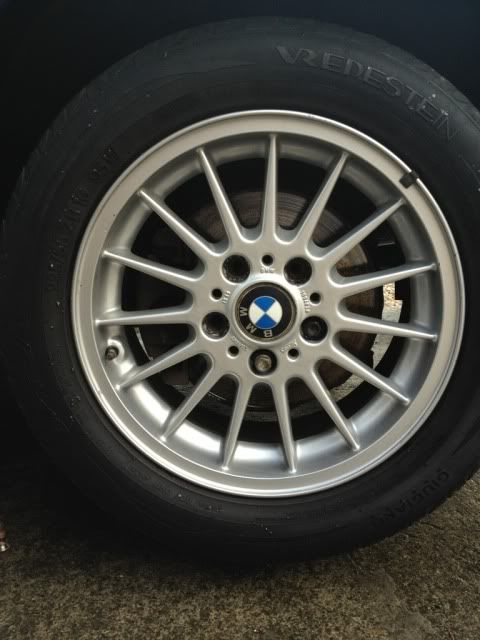
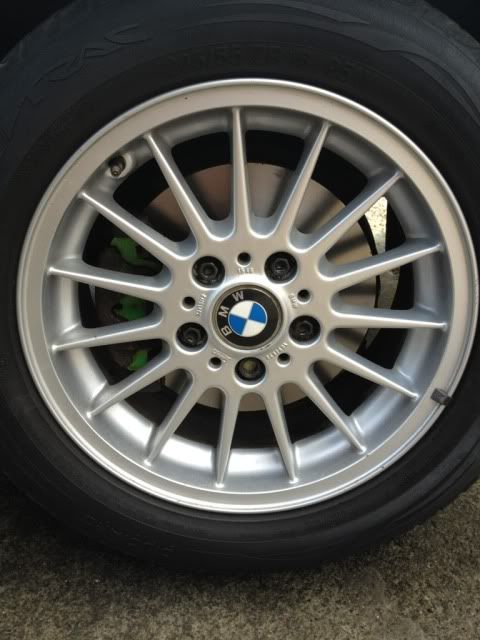
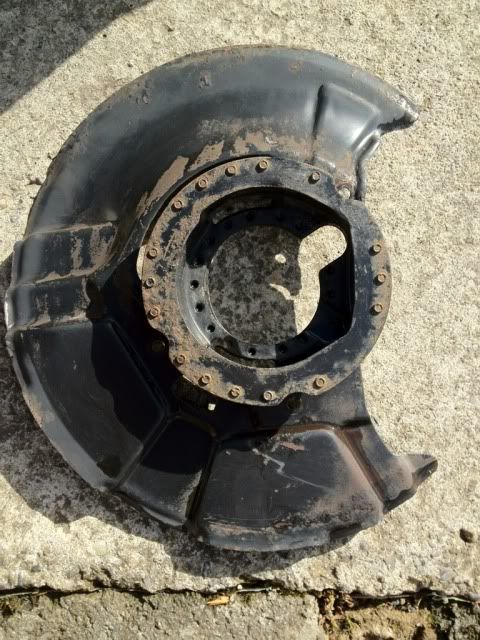
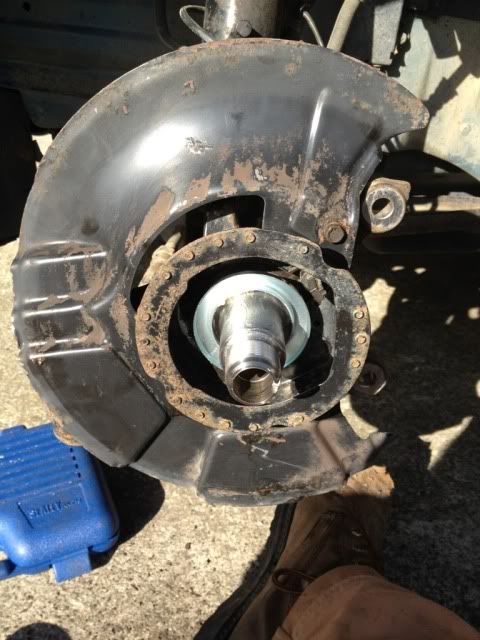
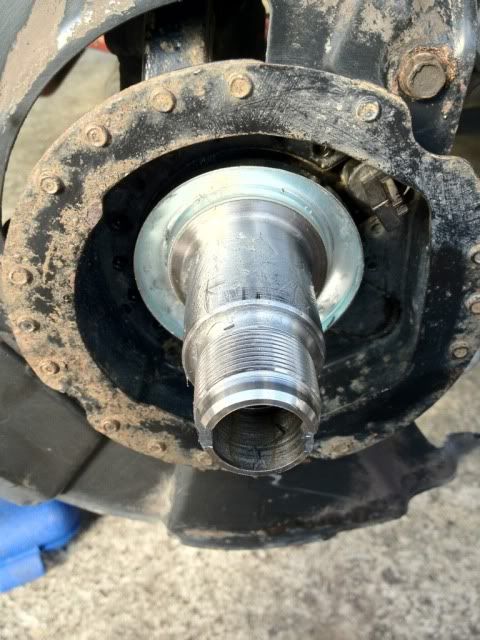
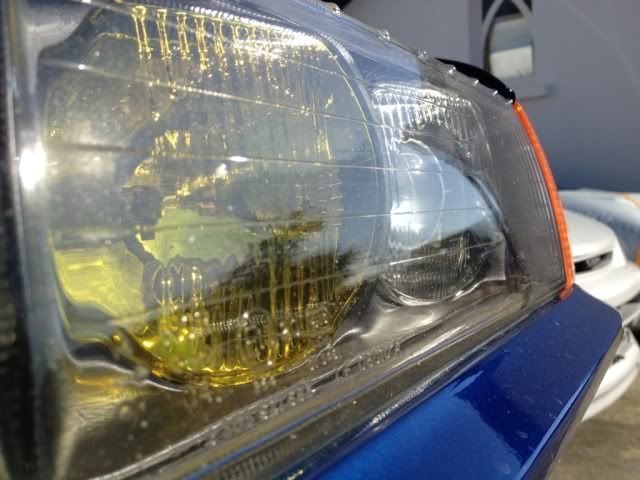
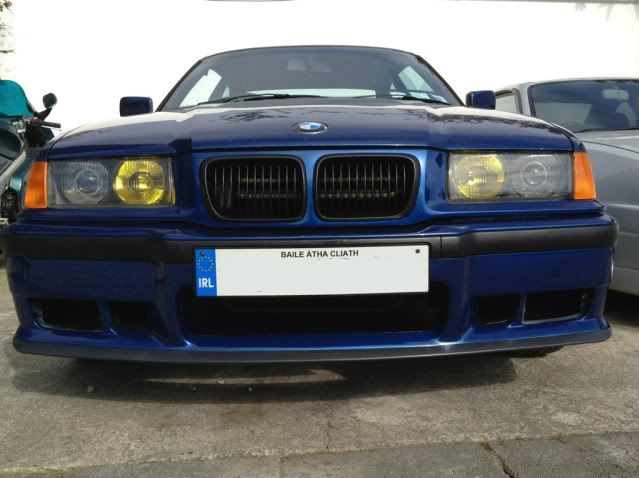
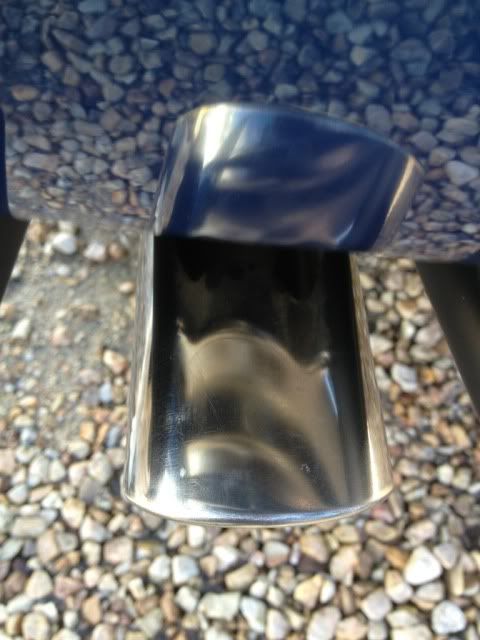
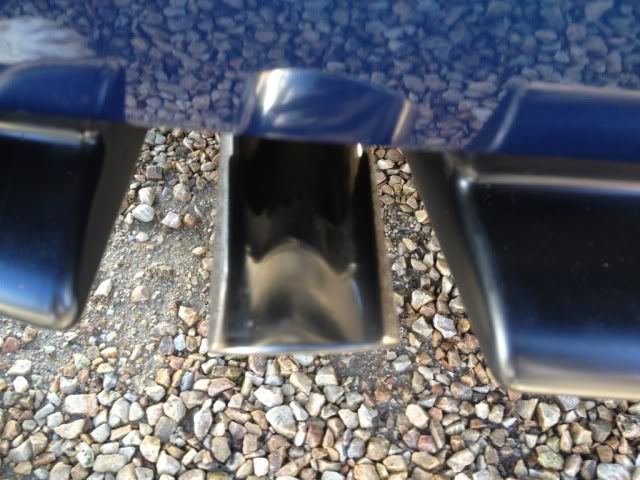
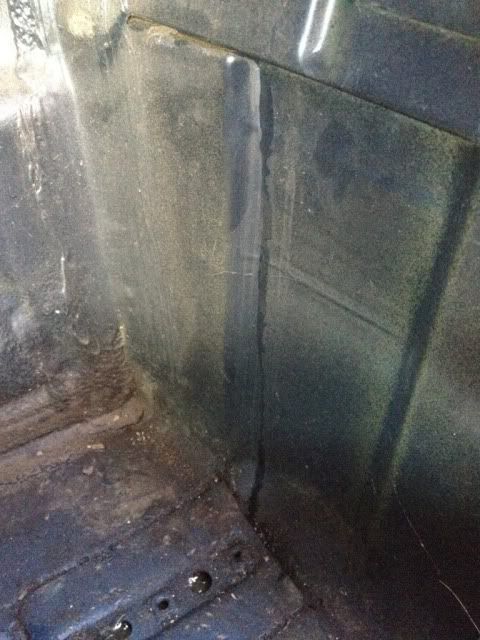
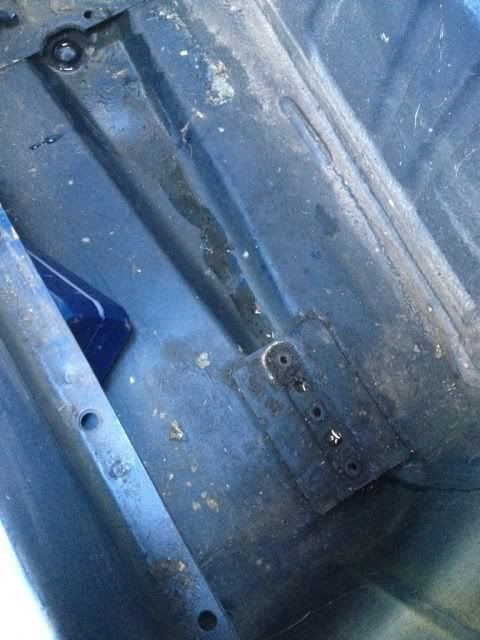
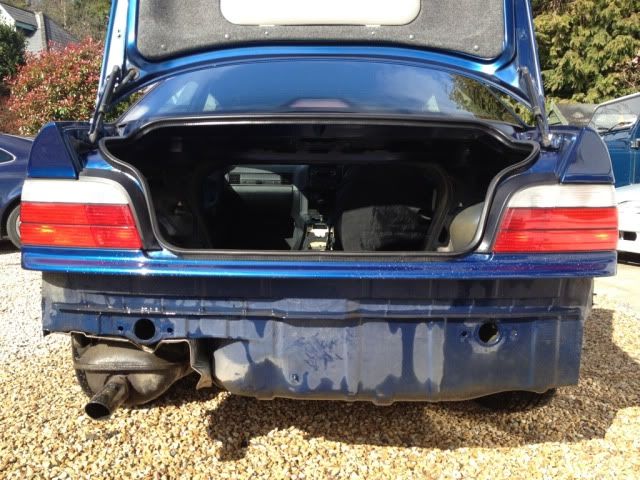
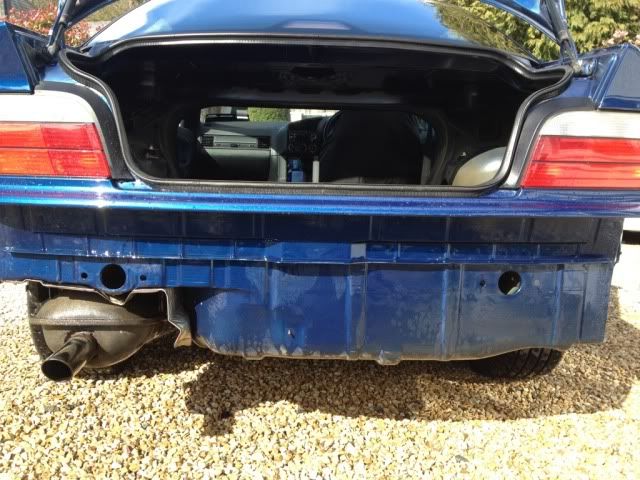
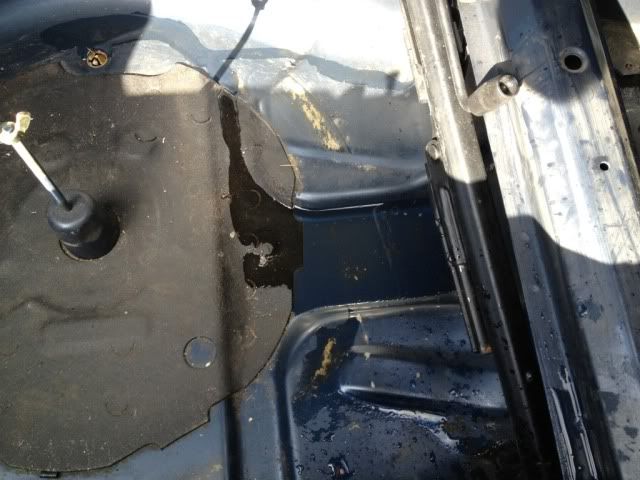
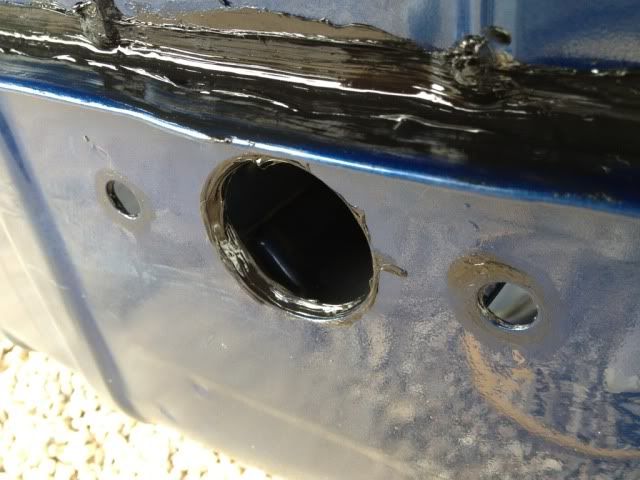
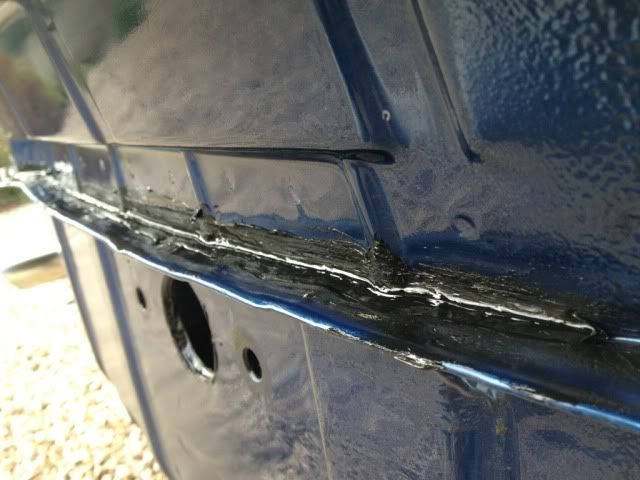
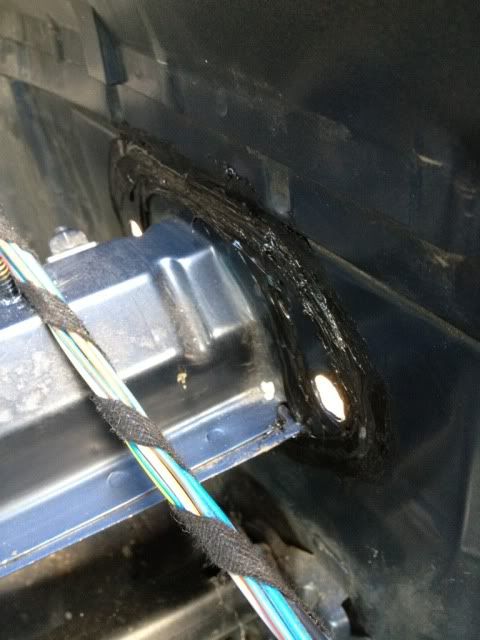
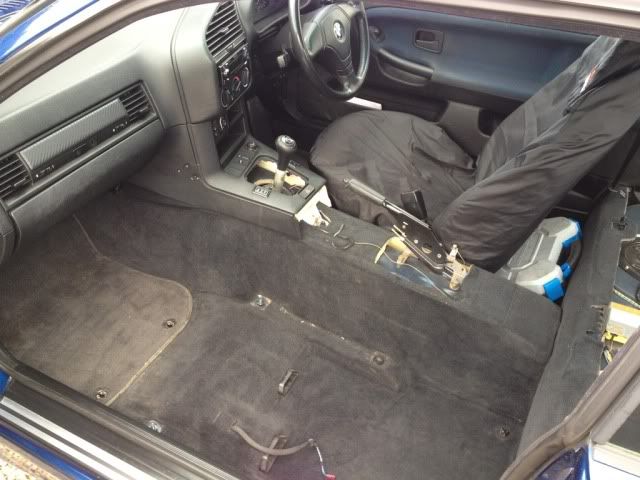
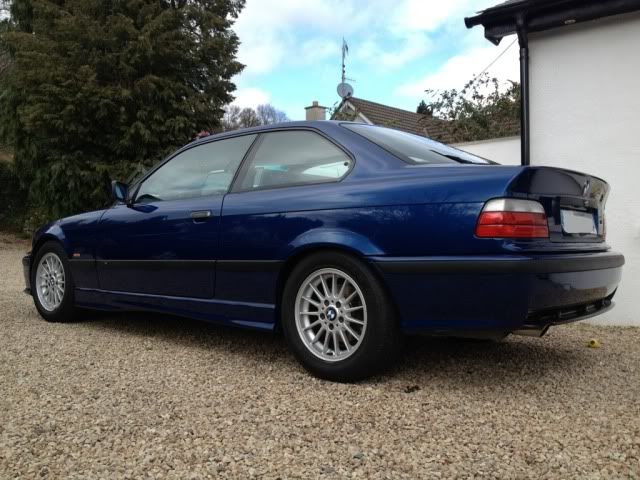
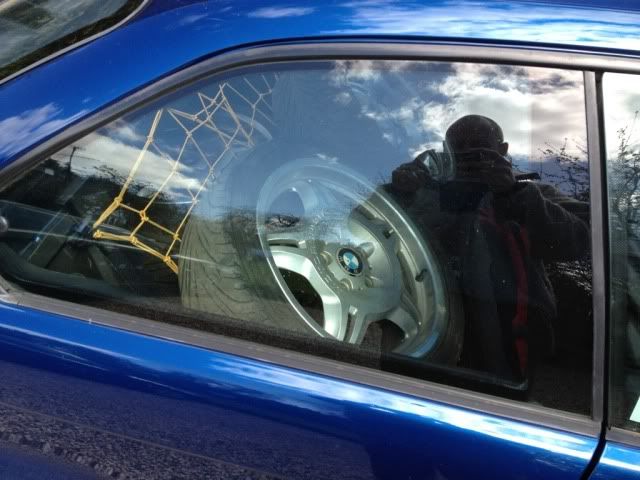
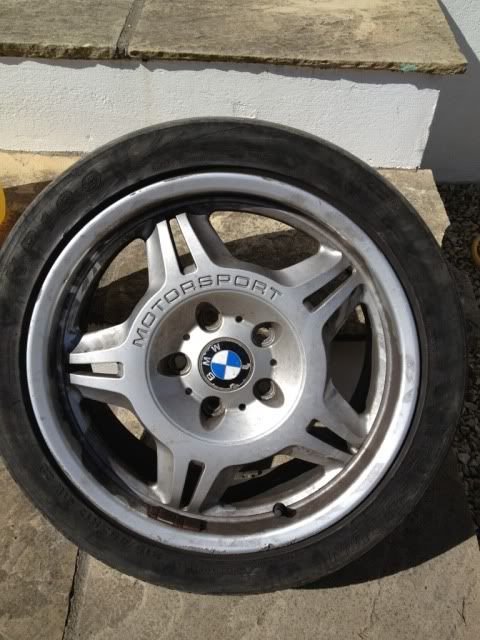
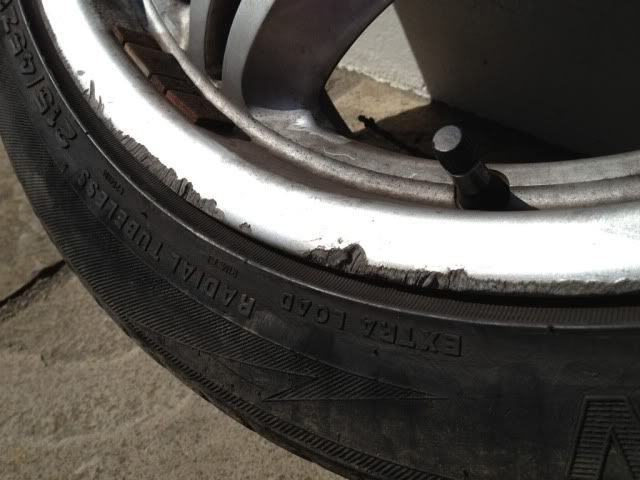
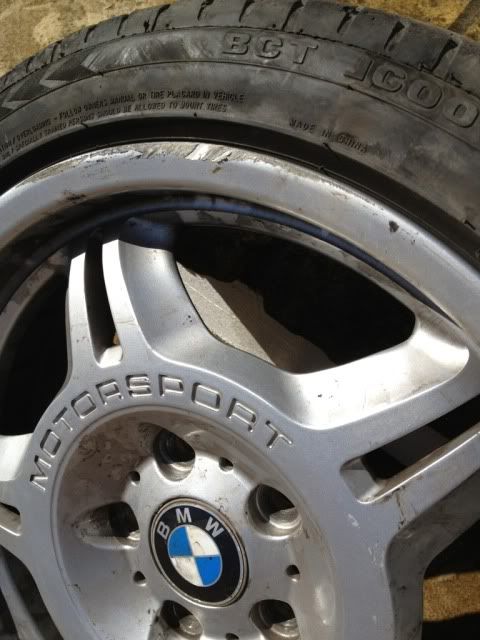
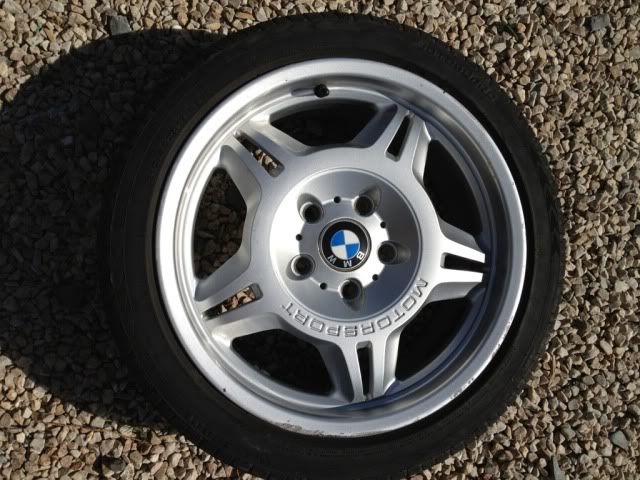
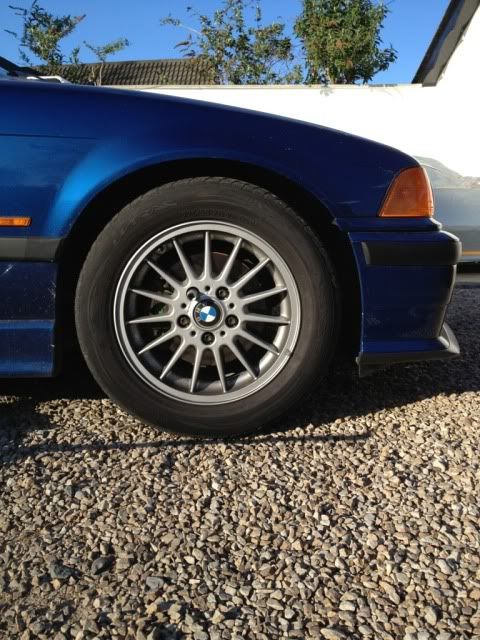
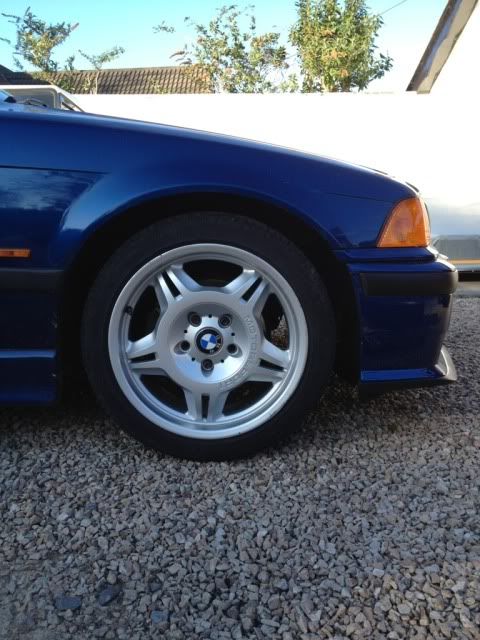
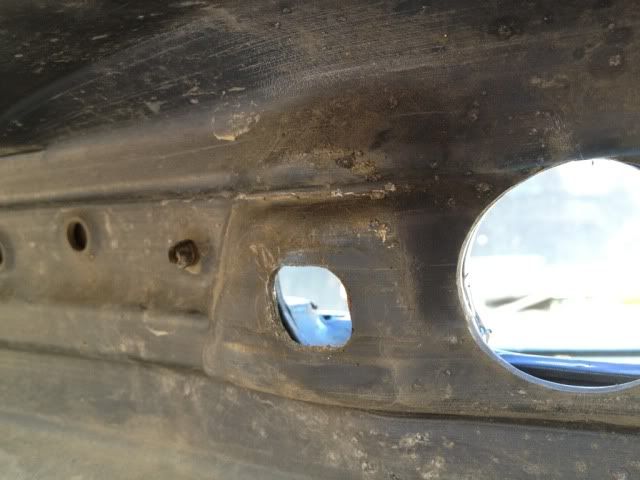
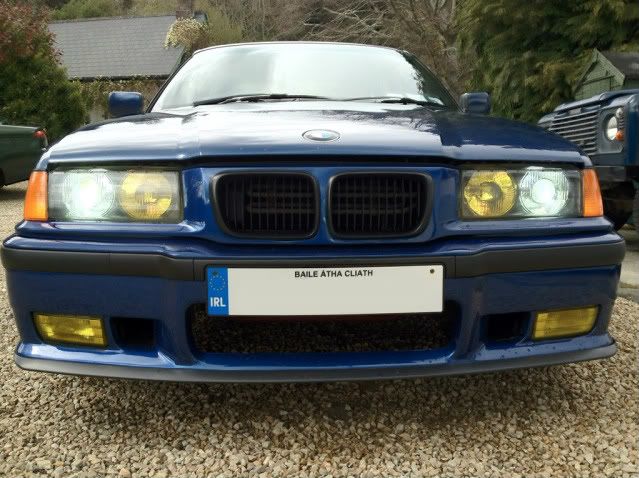
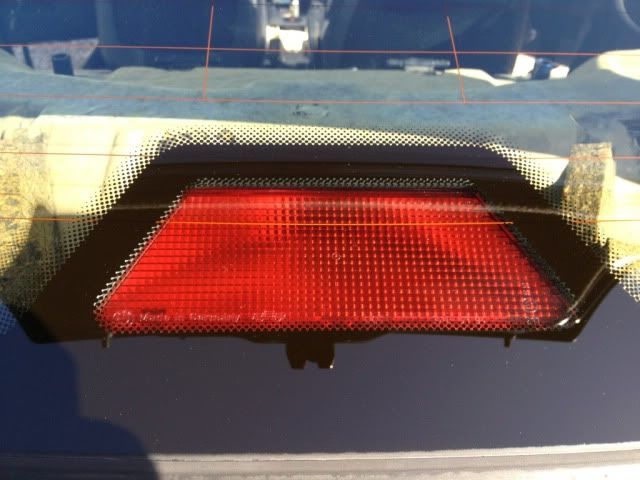
    What I started with :

    http://www.stanceworks.com/forums/sh...ad.php?t=33242

    Thanks for looking and more to come.
    Last edited by Super4; 07-21-2014, 08:05 AM.

  • #2
    Yet again a lovely day so it was a good time to put in the new alternator belt as the old one was riddle in little cracks, changed just in time by the looks of it. What a nice easy job today as well, getting the old belt off took all of 2 minutes and vice versa with putting the new one on. I decided while i have the airbox out i would do a little spring cleaning under the bonnet and just have a genral poke around


    OLD BELT :


    A FEW MINUTES LATER :


    My power steering bottle unsurprisingly was completely caked in crud that i'd say has been building up over the last 13 years, so i gave it a very quick clean as i shall be doing a big job soon the power steering so will be more attentive then


    YUMMMMY!!! :


    With it all back together i go stuck into getting the engine bay a little bit cleaner, which only took a little while but that led to me washing the car then. In fairness it did need a wash as it was getting a little to dirty for my liking


    ENGINE GIVEN A MINI DETAILING :


    Thanks for looking


    Welcome back to Instagram. Sign in to check out what your friends, family & interests have been capturing & sharing around the world.

    Comment


    • #3
      What did you use to clean up the bay? Turned out really well!
      Instagram: @itstotesdenny

      Just a man with a Canon 5D

      Comment


      • #4
        Originally posted by WunnabeM3 View Post
        What did you use to clean up the bay? Turned out really well!

        Hi there, I used a product called "GUNK" along with a brush for agitation and then some polish. 👍


        Welcome back to Instagram. Sign in to check out what your friends, family & interests have been capturing & sharing around the world.

        Comment


        • #5
          Had a couple of bits arrive today which was nice and collected my new front wheel bearings all I have to do is get them into the car now, and low and behold tomorrow is not only meant to be very cold here but also lashing rain 
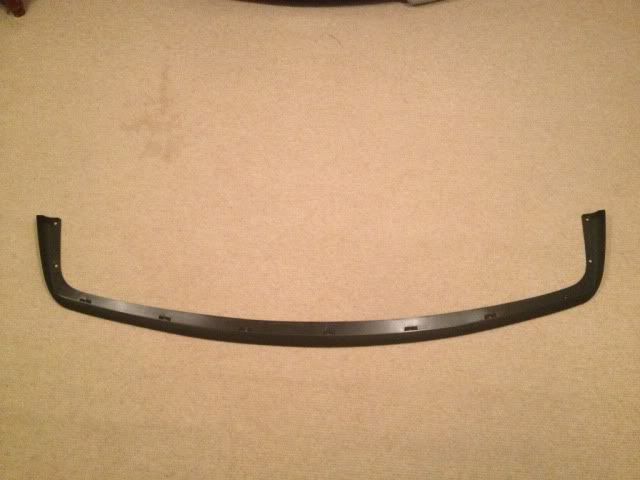
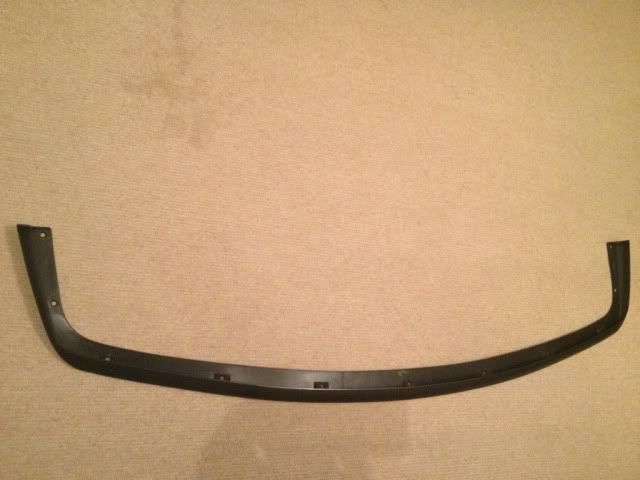
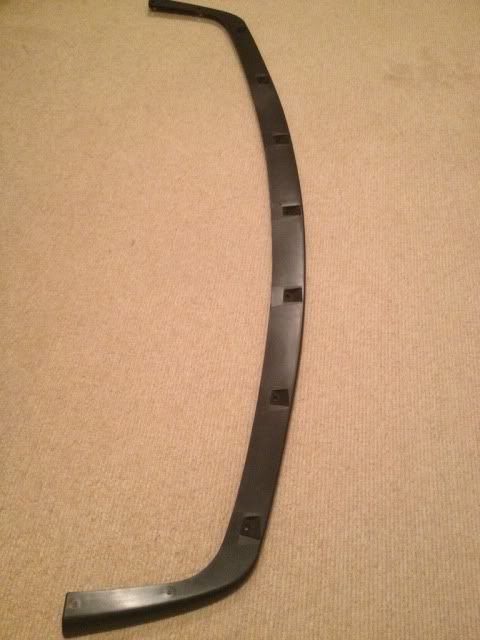
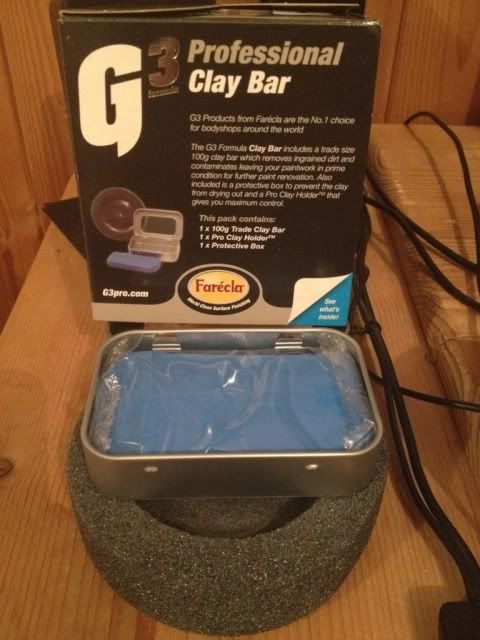
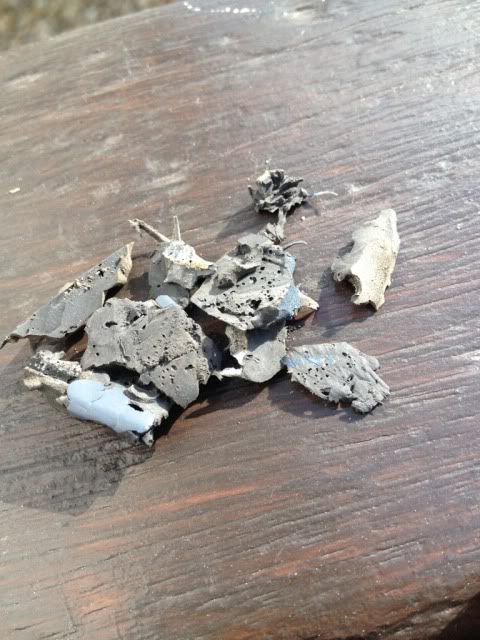
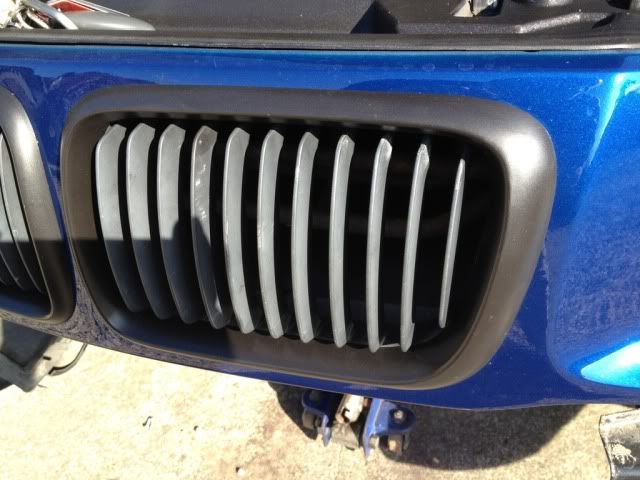
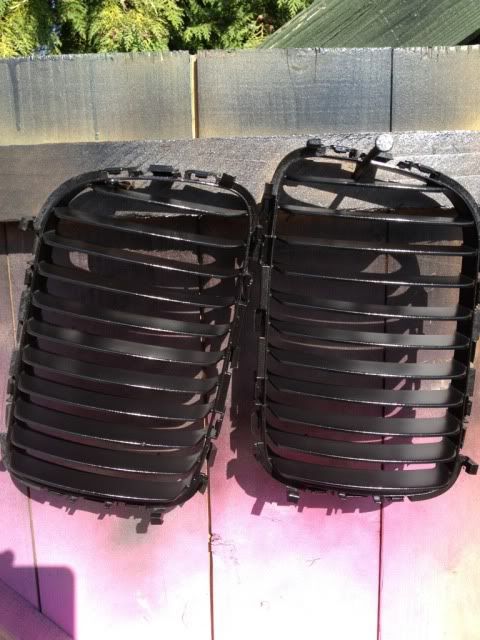
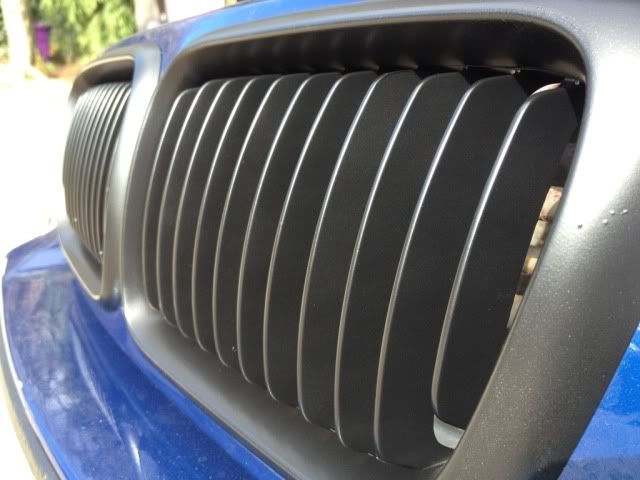
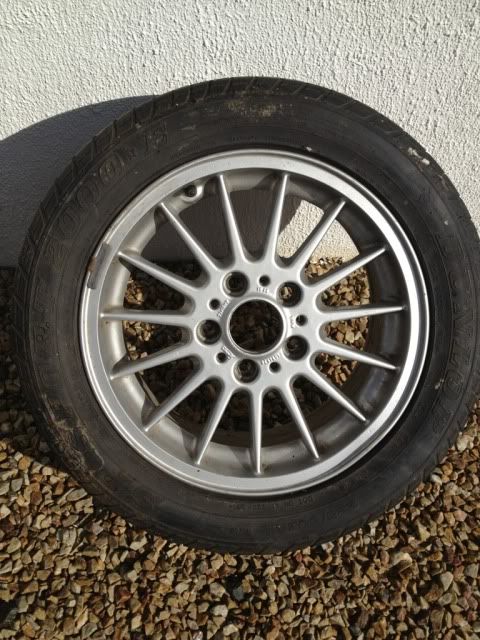
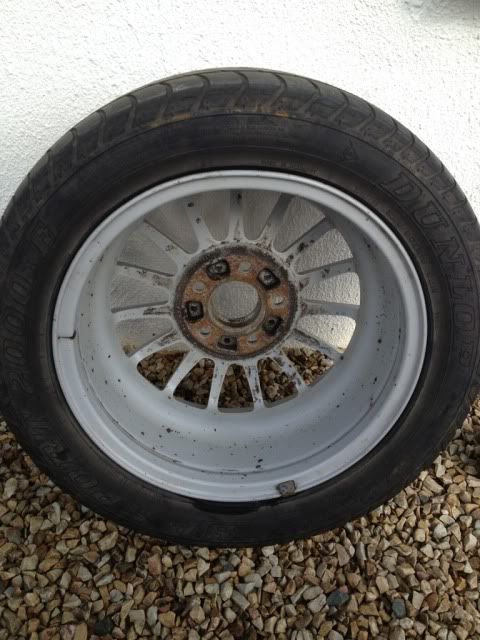
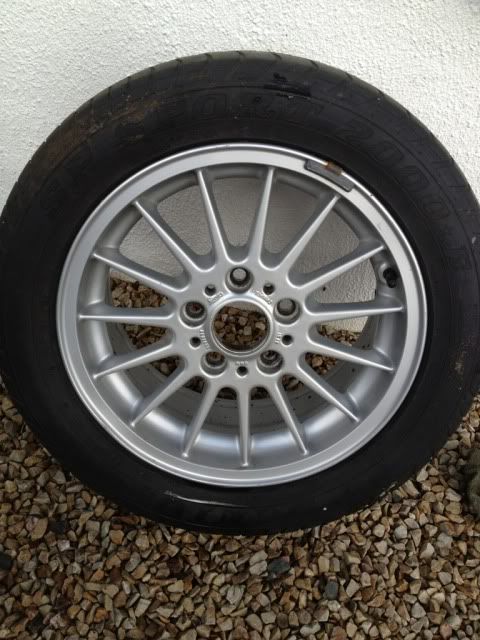
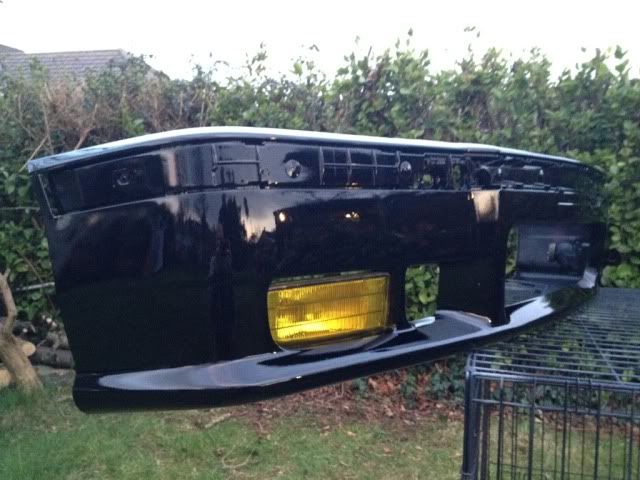
. I am happy with the quality of the front lip and from what I quickly saw earlier fitment looks fine, although I did only do a quick mock up. Whilst I was out and about today I also picked up a new clay bar as my last one after 2 years of faithful service fell on the ground!!!!! So I got the new G3 kit to give it a try and see what it's like, will save this job along with a serious machining for another day clsoer to the summer though.


          Oooh almost forgot I also collected my rear Z3 reinforcement plates today and got those fitted finally


          Z3 REAR TOWER PLATES :


          FRONT LIP ARRIVED :


          FRONT WHEEL BEARINGS : (Other in the car)


          G3 CLAY BAR KIT :


          That's it for the moment next week I shall order up the rear wheel bearings and possibily front discs as this is a must do now. Once I have my discs and bearings all done I shall be alot happier and can move on to finishing off the suspension bits like replacing front lower arms and track rod ends with a Meyle kit and powerflex lollipops


          Thanks for looking, :thumbsup


          Welcome back to Instagram. Sign in to check out what your friends, family & interests have been capturing & sharing around the world.

          Comment


          • #6
            Today was brakes and wheel bearing day in between the showers but enough moaning, onto more important stuff. I got a loan of a 3/4" bar and 46mm socket from a mate and got stuck in , below I have done a step by step scenario as to what I did and need for the job : PLEASE NOTE I AM NOT A MECHANIC AND AM IN NO WAY RESPONSIBLE FOR WORK THAT YOU DO TO YOUR OWN CAR.


            TOOLS NEEDED :


            17mm socket - To remove front wheels

            7mm allen - To undo caliper slider bolts

            16mm ring spanner /socket - To remove brake caliper bracket

            46mm socket - for old hub nut removal

            36mm socket - For pushing new hub bearing onto stub axle

            Decent leverage/breaker bar - For undoing old hub nut and tightening new one

            Torque wrench - For setting hub nut torque

            Flathead screw driver - To remove front hub dust cap

            Pry bar or Fish hook crow bar - Remove inner bearing race

            Chizel - For notching new hub nut

            Asembly grease - Lube new parts

            Copper grease - For new pads and bolts

            Brake cleaner - General cleaning


            PARTS NEEDED FOR BEARING CHANGE :


            BEARING AND HUB UNIT

            NEW HUB NUT

            NEW OUTER DUST CAP

            NEW INNER DUST SEAL


            STEPS I TOOK IN ORDER REMOVING THE OLD BEARING :


            1. Slacken off wheel nuts slightly using the 17mm socket

            2. Raise car of the ground, I did this by jacking up under the front subframe that way both wheels clear the ground

            3. Finish removing wheel nuts then remove wheels, may need a kick or two if the wheels haven't be off in a while and put on with an airgun

            4. Remove the black rubber caps covering the caliper slider bolts, using the 7mm allen key undo the caliper sliding bolts. The caliper should be looser now then remove brake pad wear sensor (PASSENGER SIDE ONLY in my case)

            5. Using the 16mm ring spanner/socket undo the brake caliper bracket bolts

            6. Caliper and bracket should all now pull away, remove old pads and cable tie the caliper up to the shock spring. DO NOT LET THE CALIPER HANG BY THE FLEXI BRAKE PIPE

            7. Remove small brake disc screw, it was an allen key head also but can't remember size think it a 9mm

            8. The discs in my case wwere being replaced so I gave them a good belt with a hammer to get them off, if you are keeping the discs go about removing them carefully so as not to damage them.

            9. Remove front hub dust cover using flathead to prise it off.

            10. The hub nut is now visible, using the flat head and a hammer tap out the notches in the hub nut, now get your 46mm socket and breaker bar and undo the hub nut.

            11. Once fully undone you are now ready to remove the bearing and hub, in my case hand pulling power was all that was needed and the old bearing slid off leaving the inner bearing race still on the stub axle (you may need a bearing puller)

            12. With my fish crow bar I was able to place it behind the inner race and prise it off the stub axle very easily

            13. I then used the same pry bar to remove the inner dust seal which again came away without a fight. Stub axle is now fully visible for inspection

            14. I removed my brake dust guard to give it a good clean, it's only head on by 3 x 10mm bolts


            STEPS TAKEN IN ORDER PUTTING ON NEW BEARING :


            1. Refit brake dust guard

            2. Fit new inner dust seal, this taps in to place using a flat head or chizel

            3. Grease stub axle shaft

            4. Sit new bearing hub assembly onto stub axle, get it aligned straight and push in on as far as it will go, now get you 36mm socket and place it on the outer bearing race (NOT THE HUB ITSELF) and tap/hit with even hammer blows till the hub can go back no further

            5. time to fit your NEW 46mm hub nut, tighten / torque to 213 ft/lbs

            6. With the chizel and hammer notch the new hub nut so it pushes the nut edge in to the stub axle cut outs (this secures the hub nut from coming off)

            7. Refit brake discs, refit brake discs screws with copper grease

            8. Refit brake caliper and pads

            9. Refit brake pad wear sensor

            10. Check over everything you have done at lease twice


            Hope this will be of some help to people on here, if I have missed anything let me know as I said I did this inbetween showers so could well have missed a step. I did miss taking some more pictures of the bearing itself installed, I have now to put up 60 miles of run in on my new pads a discs which I always do before i can do some spirited driving again Here are some pictures that I did manage to get today when the sun was out.


            OLD DISCS AND PADS DRIVER SIDE :


            NEW DISCS AND PADS DRIVER SIDE :


            PASSSENGER SIDE DISC,PADS AND HUB BEARING REMOVAL :


            HUB BEARING :


            INNER BEARING RACE STUCK TO STUB AXLE :


            INNER BEARING RACE REMOVED :


            INNER RACE :


            STUB AXLE SCOURING :


            STRIPPED STUB AXLE :


            OLD INNER DUST SEAL :


            ALL CLEAN :


            THE QUALITY WORKMANSHIP ASSESSOR STOPPED BY TO CHECK EVERYTHING OVER!!!!!!!


            DIRTY DUST GUARD :


            CLEAN DUST GUARD :


            INSTALLING NEW INNER DUST SEAL :


            THIS OLD PATROL GR HUB NUT SOCKET CAME IN HANDY FOR INSTALLING DUST SEAL : TAP TAP TAP!


            INNER DUST SEAL IN PLACE :


            At this point it started to piss rain so had to wrap everything up and bolt indoors...... when I got back outside the sky was very dark and gloomy so I just made a burst for it and got stuck back in, thus I have no pictures of the new bearing actually installed . As soon as I did get the new bearing installed the feckin sun came back out for a short while which was nice and allowed me to finish without looking at the sky every minute.


            BEARING HUB INSTALLED AND NEW DISC ON :


            DROPPED SOME WHISKEY INTO THE QUALITY WORKMANSHIP ASSESSOR'S WATER AND THAT TOOK CARE OF HIM FOR A WHILE


            ALL BACK TOGETHER WITH NEW EBC GREENSTUFF's :


            Thanks for looking


            Welcome back to Instagram. Sign in to check out what your friends, family & interests have been capturing & sharing around the world.

            Comment


            • #7
              Decided today was going to be the day I would refit my front fogs as early last week Gus247 very kindly sent me a front fog light bracket for the drivers side, it was also going to be the day I got my front bumper aligned properly on the drivers side!!!! So I took the bumper off and got cracking on removing the passenger side fog light as I wanted to do them yellow . Once I had undone all the screws and released the bracket I noticed the fog light still was coming away from the bumper......


              After a bit of inspecting I say that one of the clips on the fog light bracket was broken and that some one had used bondo/silicone to hold the fog light itself onto the bumper!!!!!!!!!!! Jesus if your not gonna do it right don't do it at all.


              So upon realising I now need the passenger side fog light bracket I decided to add some things to my "TO DO" list on page, which shall be one new passenger side fog light bracket and 2 new yello front fog lights as the front fogs are riddled in stone chips so much to the point they look cloudy!


              VERY CLOUDY FOGS :


              GUNK HOLDING IN FOG : Out of focus


              REMOVED GUNK : Out of focus


              After getting the fog light recess in the bumper looking a little more pleasing I decided I should remove my kidney grills and paint the fins/lats in them as I hadn't done this, not sure why!. But it was taking away from the black grill big time as these had gone grey and faded naturally with age.


              BEFORE :


              DURING :


              AFTER :


              DRIVER SIDE HEADLAMP DEFO NEEDS TO GET REPLACED : Looks like it got ambushed in the Congo!!! :


              PASSENGER SIDE :


              FRONT ALL BACK TOGETHER :


              Thanks for looking hope you enjoy


              Welcome back to Instagram. Sign in to check out what your friends, family & interests have been capturing & sharing around the world.

              Comment


              • #8
                Not a huge amount done the last couple of days, we've been working like mad on "Ollymans" car but i'll let him go into all that. It was lashing last night and since I have had the car I have been kind of molly coddling it until I got all the serious work done, however last night I gave it a good blast and have to say I was pleasantly surprised with the poke. Very much enjoyed slip sliding my way through the round-a-bouts


                Once I washed her I decided the exhaust tail pipe needed some scrubby scrubby so I very quickly gave it the once over as I (surprise, surprise) left it till the last minute to start the job.


                BEFORE :


                AFTER :


                Also managed to suss the leak in the boot once and for all (or not), the rear bumper is going to have to come off for this repair so will do that this week, just hope there are no serious gremlins hiding in behind there. Water is coming in form one of the seams....


                LEAK IN BOOT :


                Thanks for looking


                Welcome back to Instagram. Sign in to check out what your friends, family & interests have been capturing & sharing around the world.

                Comment


                • #9
                  Yet another fine morning so out I went to take full advantage of it and have a look behind the rear bumper to see what lurks beneath . Upon inspection I noticed water was coming in from the rear bumper mounting holes so first order of business was to seal these a little better.


                  BUMPER OFF : Thankfully no rust or rot.


                  WATER IS COMING IN WHERE THE PANELS MEET :


                  BEHIND BUMPER ALL WASHED :


                  NICE PUDDLE FROM TESTING AND CHECKING :


                  WHILE I WAS AT IT GOOD TIME TO CLEAN THE SPARE :


                  ALL CLEAN :


                  ALL SEALED UP : Just have to wait and see now, might be one more slight weep I think.


                  Naturally it would have been rude whilst I was outside not to clean the car, so she got a quick waxing usings Megs wax and then hoovered which is so much easier when you have little or no interior


                  INTERIOR :


                  WAXED AND CLEAN :


                  Thanks for looking


                  Welcome back to Instagram. Sign in to check out what your friends, family & interests have been capturing & sharing around the world.

                  Comment


                  • #10
                    Hi all,


                    Not a massive amount done over the last few days as I have been working on Ollymans 318IS getting the new but used front panel and front bumper painted, they are coming along very nicely indeed and for a rattle can job I am very happy with the finish I have achieved which is only going to get better when I flatten the paint and machine it all up again . I have attached a couple of pics as it's his project so when he gets the time he can do all the telling.


                    REAR BUMPER TRIM : Painted for testing


                    FRONT BUMPER :


                    Didn't manage to get any of the front panel strangley , but as said he can sort all that out when he updates and by the way things are going he has a big update to do . For me yesterday I went into a mates garage and got the car on his ramp to do the other side wheelbearing......all I can say is I am glad I did as the driver side was welded on and took a bit of ignorance to get the inner race off. (Ignorance in the form of an angle grinder)


                    The passenger side I did in my drive way and it just slipped off nicely, funny how it works out as I only went into MJ for a bit of company and chat whilst he was doing his stuff and I doing mine! Plus I give him a dig out a couple of days a week so getting a ramp is always no problem which is nice. Well I shall let the photo's do the talking as the sun is beaming down over here and I am off out to get some work done on the car.


                    WHEEL BEARING OFF :


                    INNER RACE STUCK ON : More scorring on this side than the passenger side and this side was alot lee free wheeling


                    INNER RACE OFF :


                    LUBED AND READY FOR NEW BEARING :


                    Got the new bearing on but forgot finished picture........becoming a habbit this, especially when on time contraint. Oh well, no limits today just plenty of sun and tinkering on the girlie.


                    Thanks for looking


                    Welcome back to Instagram. Sign in to check out what your friends, family & interests have been capturing & sharing around the world.

                    Comment


                    • #11
                      Howdy all,


                      Yet another bargain found yesterday and collected making me a happy bunny for now, a set of 4 msports replica's with 3 decent tires (215/45/17) and 1 is knackered. They need some work but nothing at all serious so I shall when time permits get cracking on them and see what can be done When I got back yesterday morning I gave them a quick wash then yesterday evening I fitted 2 on the drivers side to see what they would be like on. The car needs to be lowered more and I think i'd prefer a 215/50/17 tire all round just to fill the arches that bit more. They are 7.5 X 17 with et42.


                      WITH 4 OF THEM IN THE CAR IT HANDLED LIKE ON RAILS :


                      DAMAGE :


                      DAMAGE SECOND WHEEL :


                      WASHED :


                      OLD WHEEL :


                      NEW WHEEL :


                      Thanks for looking, hope you like


                      Welcome back to Instagram. Sign in to check out what your friends, family & interests have been capturing & sharing around the world.

                      Comment


                      • #12
                        Yesterday with the car being soooooo dirty I jack up the arse in the air and got washing the rear arches and underside, all much and crud was removed from inside the rear quarter lip and anywhere it shouldn't be. The car then got a nice wash in lots of lovely smelling Meguiars suds using the Megs grit guard bucket system.


                        BEFORE :


                        AFTER :


                        UNDERSIDE WASHED :


                        -------------------------------------------------------------------------------------------------------------------------------------------------------------------------------------------------------------------------------------------


                        With it being another lovely morning THIS MORNING I took advantage and went out to get stuck into fitting my front fogs which was made possible by Gus247 for very kindly sending me two used front fog light brackets he had spare. Hug thanks to you mate it's much appreciated . My fog lights are very badly stone chipped so I have just ordered new Yellow ones that shall be fitted but for now these ones shall do just fine.


                        While I had the bumper off I had a good look at the back of it to see could I spot the reason for the bumper not sitting flush on the drivers side, and low and behold there it was. The bumper bar is kinked where it mount to the impact absorber on the driver side. So next on the list is a new bumper bar for sure as this is bugging the crap out of me.


                        KINKED BUMPER BAR :


                        FRONT FOG LIGHTS FITTED : Finally


                        Thanks for looking


                        Welcome back to Instagram. Sign in to check out what your friends, family & interests have been capturing & sharing around the world.

                        Comment


                        • #13
                          When I got back this morning there was a small parcel waiting for my attention. Instantly knowing what it was I opened it up and started to snap away , I went for a Canbus-Pro 6000K set for my car and naturally a H1 fitment. The build quiality of these is excellent with the ballast tanks being very robust indeed and well upto the elements that an engine bay might see. Wiring is also of excellent quality with great tight sealing connections.


                          The HID bulbs themselves fitted very snug and without any issue at all (JUST NEVER TOUCH THEM), wiring them up took all of about 15-20 minutes if even then another 15 minutes sorting out the back light covers so as I could retain using them. Again this was a very simple and neat process. Even with it not dark yet I am very happy with the color they produce although in the pictures they have a greenie hue to them in real life this is not the case, instead they produce a very enchanting crisp white light with an extremely subtle blue hue around the edges. Well I shall let the pictures do the talking :


                          FIRST OPENING :


                          6000K SET :


                          FITTING PROCESS : 30 minutes max for a competent diyer. If not leave it to someone hwo knows.


                          I JUST DID A SOFT WIRE UP TO BEGIN WITH TO MAKE SURE ALL WAS WORKING AS IT SHOULD :


                          WIRED AND TURNED ON : Very plug & play, driver side light lens is riddled in stone chips so looks a little hazey


                          WIRING UP PROPERLY & NEATLY TO PROTECT AGAINST THE ELEMENTS :


                          FINAL CHECK TO MAKE SURE ALL WORKING AS IT SHOULD :


                          As always you comments, thoughts are welcome and thank you for looking


                          Welcome back to Instagram. Sign in to check out what your friends, family & interests have been capturing & sharing around the world.

                          Comment


                          • #14
                            With the car failing the NCT on the bulb being blown in the centre brake light and SRS airbag light being on it was now a good time to do something with the rear parcel shelf as this has faded in the sun light as well as the third brake light as it was bloody filthy.


                            So after ten minutes the rear parcel shelf was out and getting hoovered, the brake light was washed, compounded and waxed and refitted with a new bulb.


                            The parcel shelf has already taken 1 can of AG black dye and whilst it looks better it's not as good as i'd like it to be so it shall do for now but a new rear parcel will be done the line I think. It was also a great oppurtunity to clean the back window and get right in to the corners also as this too was manky.


                            BRAKE LIGHT BEFORE :


                            BRAKE LIGHT AFTER :


                            FILTHY REAR WINDOW : (Hard to see)


                            CLEANED :


                            HOW THE CAR LOOKED AFTER A FEW MINUTES :


                            REAR PARCEL SHELF BEFORE :


                            AFTER :


                            If anyone has any other ideas about a good way to get the black back some more on the rear parcel shelf I'd be happy hear .


                            As always thanks for looking


                            Welcome back to Instagram. Sign in to check out what your friends, family & interests have been capturing & sharing around the world.

                            Comment


                            • #15
                              Hope you all had nice weekends whether is was crazy parties or quiet tinkering with the cars whilst having a nice cool beer, for me my objective this weekend was to get my airbag light sorted so as I could get back down to the NCT centre first thing Monday morning and collect my NCT pass disc


                              So I got stuck in, firstly I disconnected my battery seeing as I would be removing the airbag steering wheel. Once this was done it was then onto removing the 3 spoke SRS wheel itself. This is a relatively easy job to do with the centre airbag and horn section only being held in by 2 allen key bolts at the back of the 3 and 9 O'clock spokes.


                              Once these are undone the airbag should gently wiggle out towards you, when it's out is shall be connected by 2 wires one being the ground and the other being the charge/live wire. Unplug these and remove altogether, place the SRS piece on the ground with the horn facing the sky. This is done so that if it did go off near anyone then they would get the SRS airbag in the face and not the metal housing on the back.


                              Undo the steering wheel bolt think it was a 14 can't remember now , With the steering wheel removed (3 spoke non height adjustable wheels need to be removed for dash cluter removal) its then on to the dash cluster, this is only held in by 2 torx head screws and once these are removed then the cluster is ready to come out by simply pushing on the bottom edge of the cluster it releases the top edge out towards you allowing you to wiggle it free. At the back there are 3 plugs on them is a slide clip, push in the very subtle "button press" and slide the clips up then pull plug socket out. When all 3 are done the cluster is free to come out of the dash.


                              THE REMOVAL :


                              PLACE FACE UP ALWAYS : And outside the car


                              My plan is to remove my airbag steering wheel altogether once I have the NCT and the whole SRS system and replace it with another steering wheel, so I just needed the light out for the visual re test. So it was time to wire the SRS light upto the ABS+TCS lights at the back of the cluster so when I turned my ignition on all my lights including ABS,TCS and SRS would come on then go out together seeing as the ABS light was now the on off switch for the SRS light After running into very minor issues we got it all working, one of the issues was that even when the SRS airbag light bulb was removed the SRS logo kept lighting up............ :facepalm :facepalm..... we couldn't figure this out until we realised those intelligent and over engineering buffs at BMW had put in a tiny LED bulb above the SRS bulb so that if there was an airbag fault and the SRS bulb were to burn out then the LED would kick in and illuminate the SRS light albeit a bit dimmer.


                              LED BULB HIDING IN PLASTIC TUBE : Hard to see


                              With that problem sussed and everything properly wired up correctly and safely it was then time to test it properly to make sure worked as it should..... fingers x'd.........


                              PERFECT :


                              Off to collect the cert tomorrow fingers crossed nothing goes a miss on the way down...... gotta love cars and the challenges they give us :thumbsup


                              Thank you for looking :thumbsup


                              Welcome back to Instagram. Sign in to check out what your friends, family & interests have been capturing & sharing around the world.

                              Comment

                              Working...
                              X