Announcement

Collapse
No announcement yet.

It only needs a downpipe he says (MK1 Golf GTI)

Collapse
X
 
  • Filter
  • Time
  • Show
Clear All
new posts

  • It only needs a downpipe he says (MK1 Golf GTI)

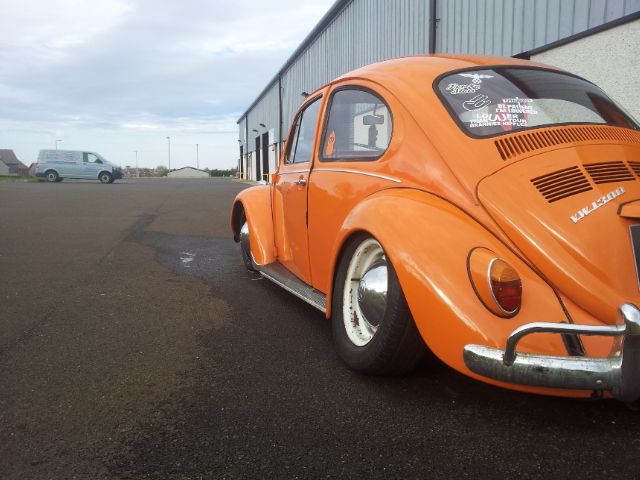
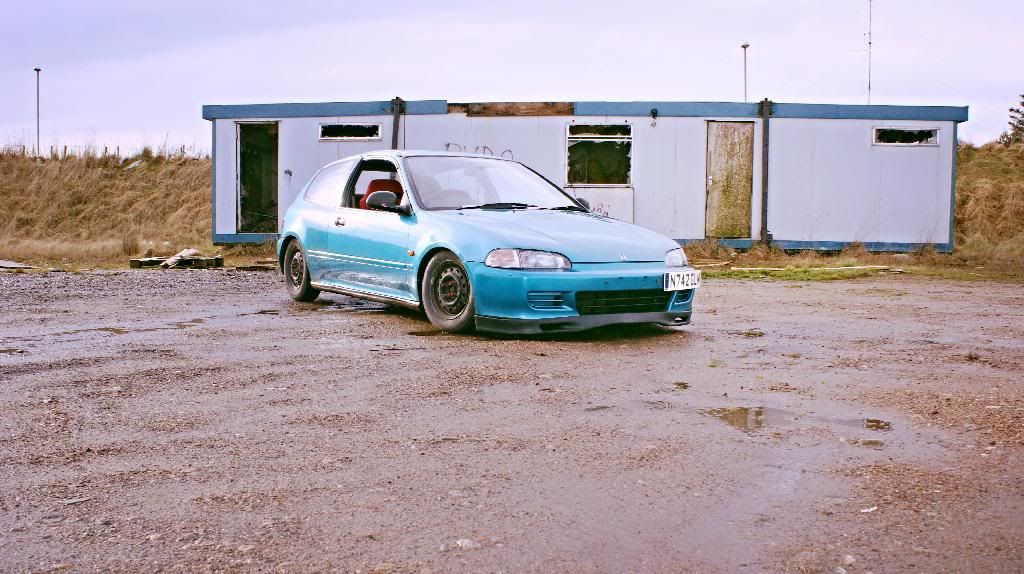
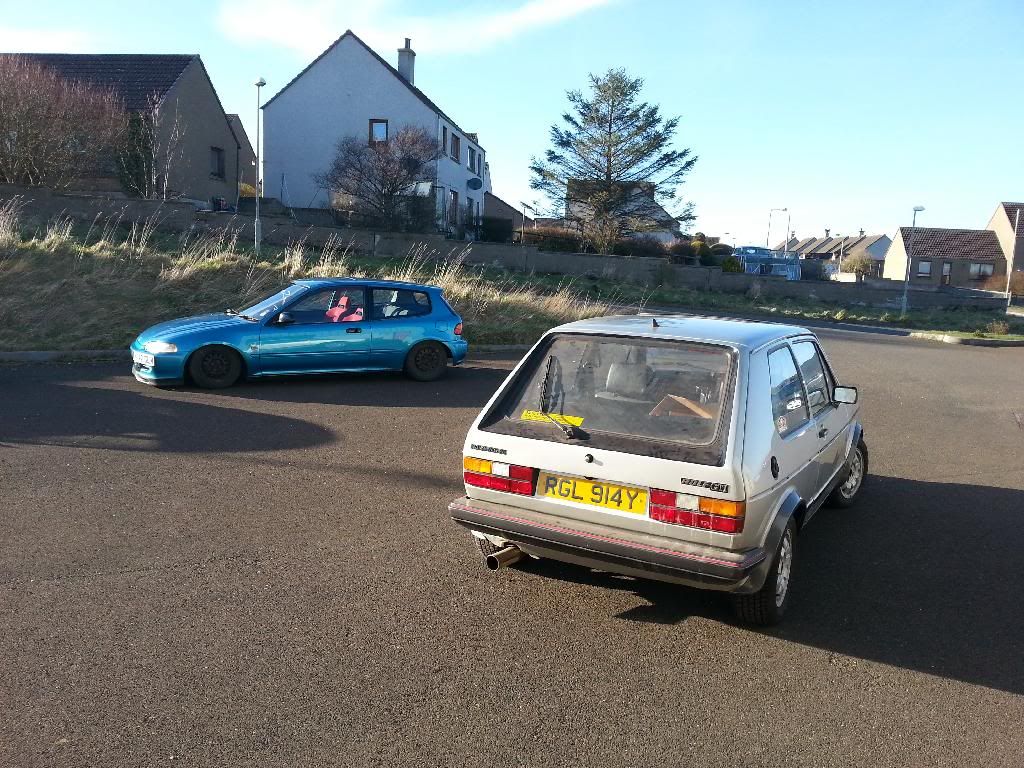
    I'm Martin Gunn, I'm 18 years old and work full time as an instrumentation appreciate (low voltage electronics, flow & pressure gauges etc.) You might of seen my other cars before*


    Before this I self taught myself how to weld, body fill, paint and I try to do everything myself, so hopefully everything turns out alright!*
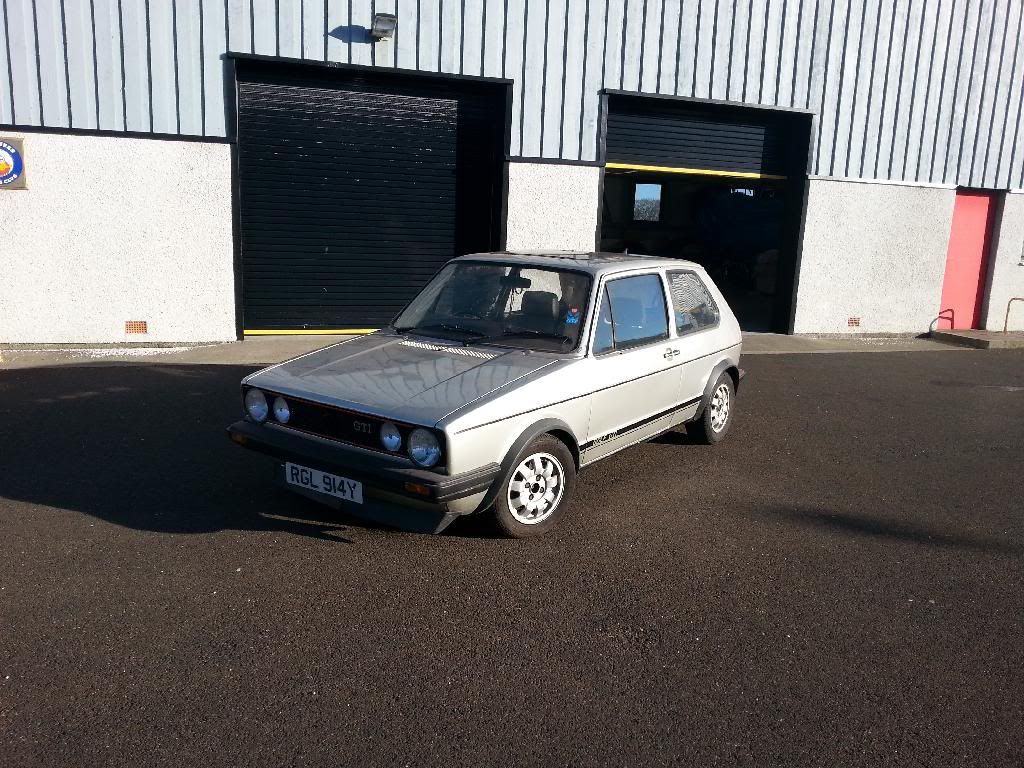
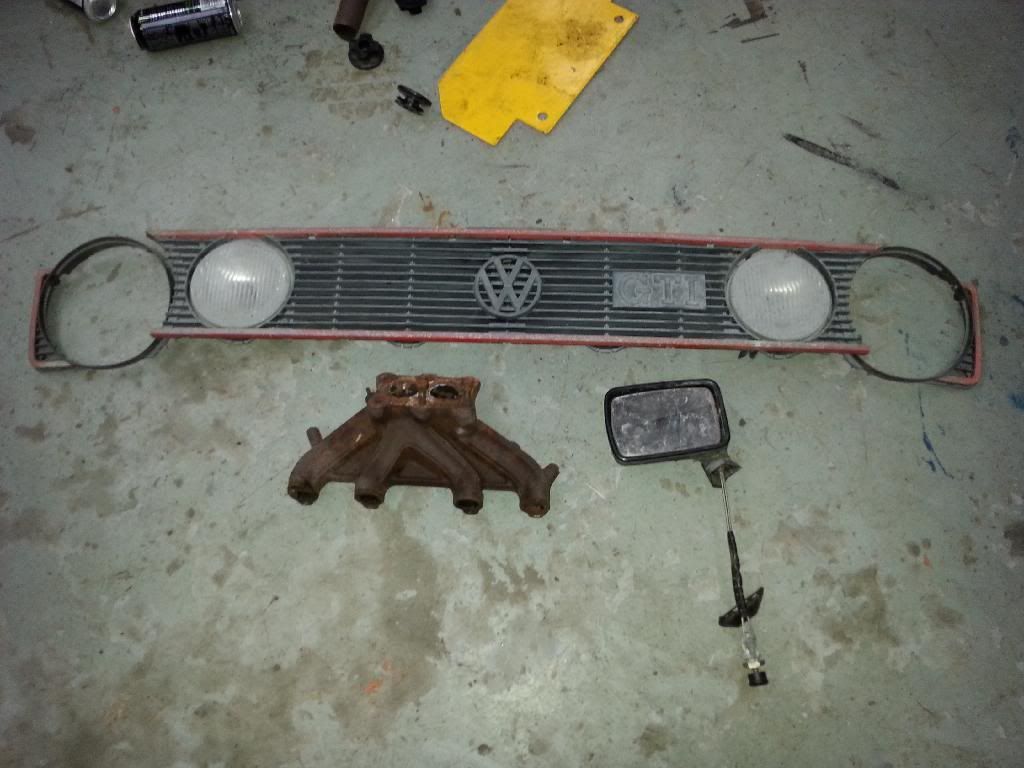
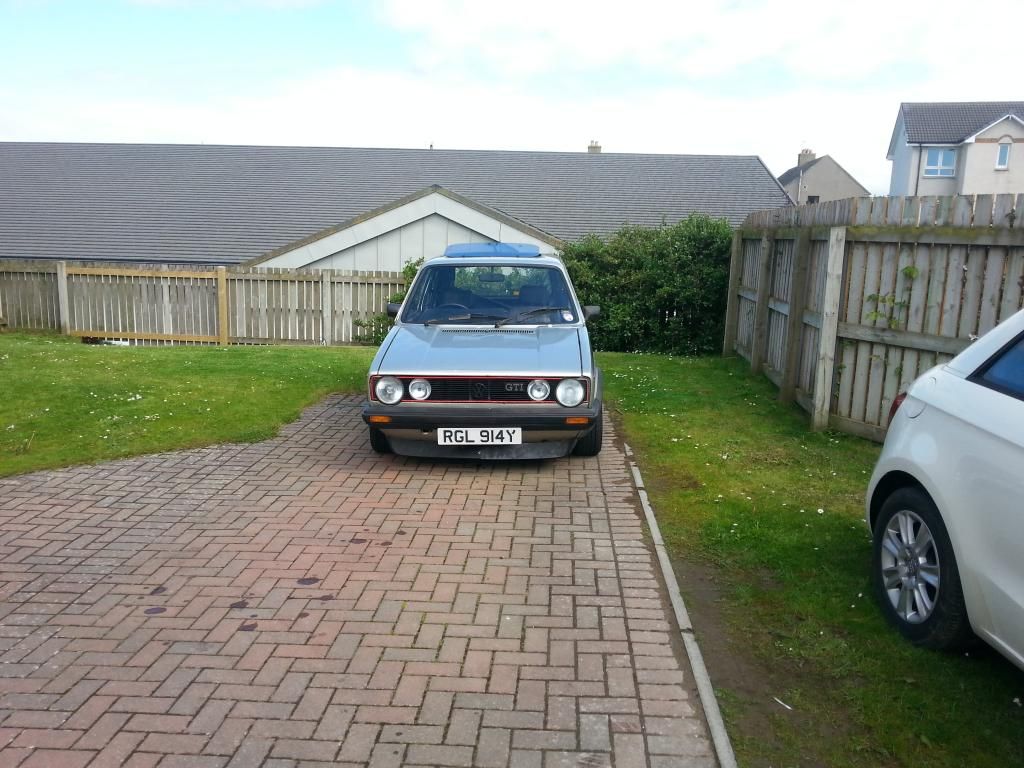
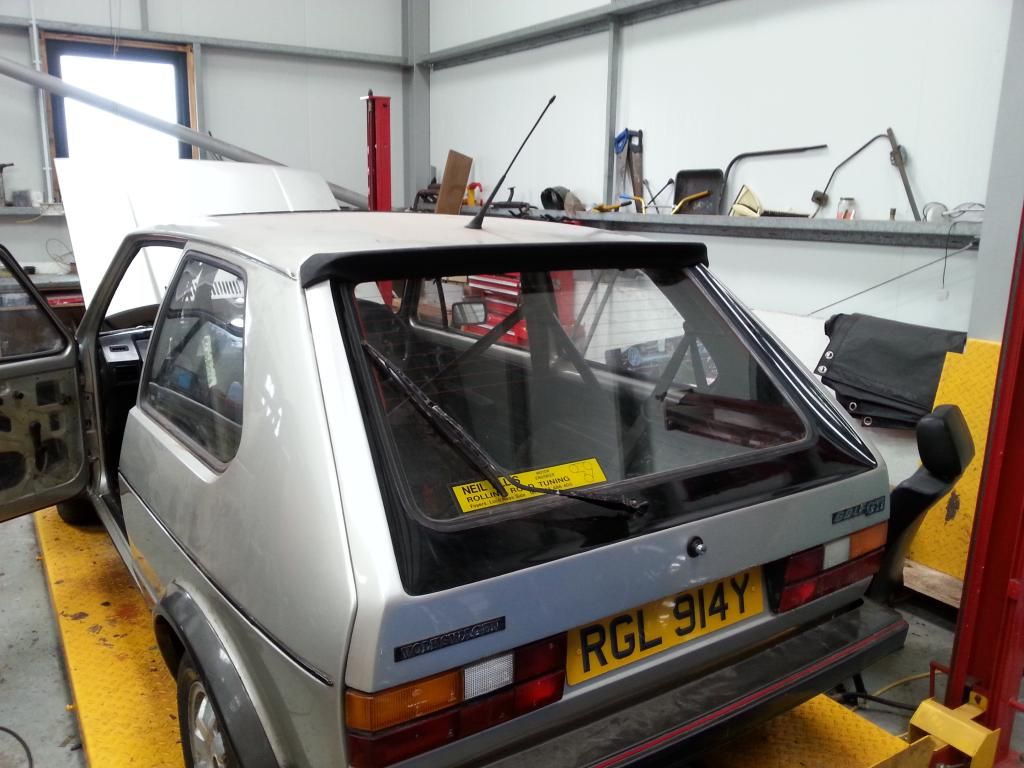
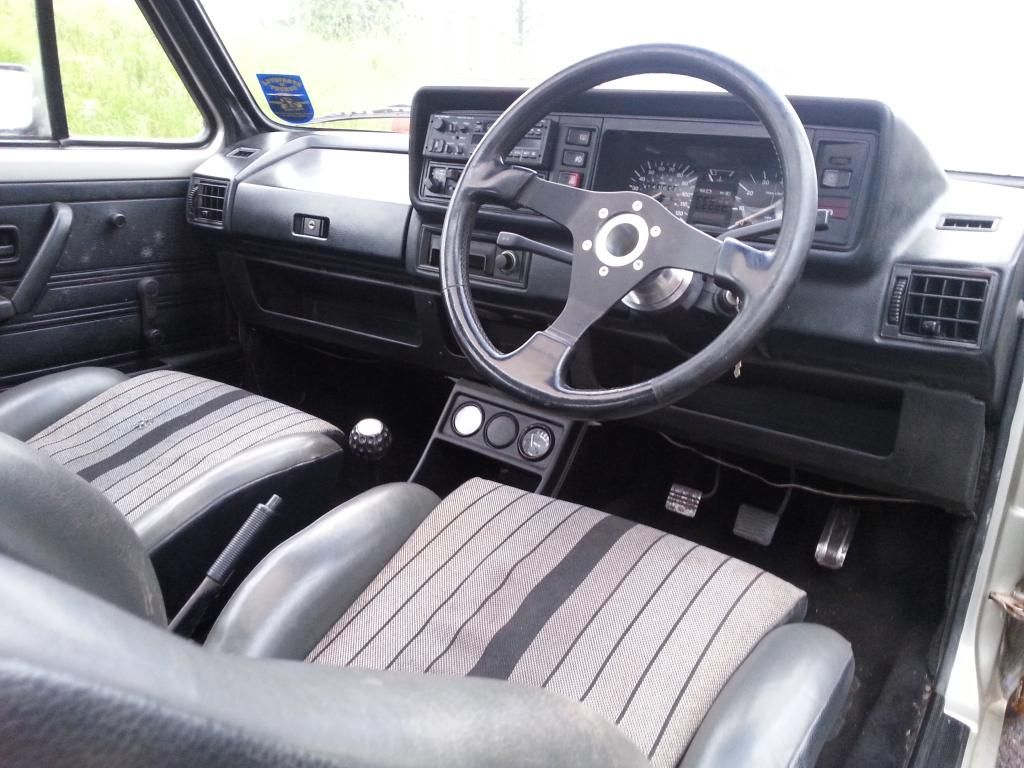
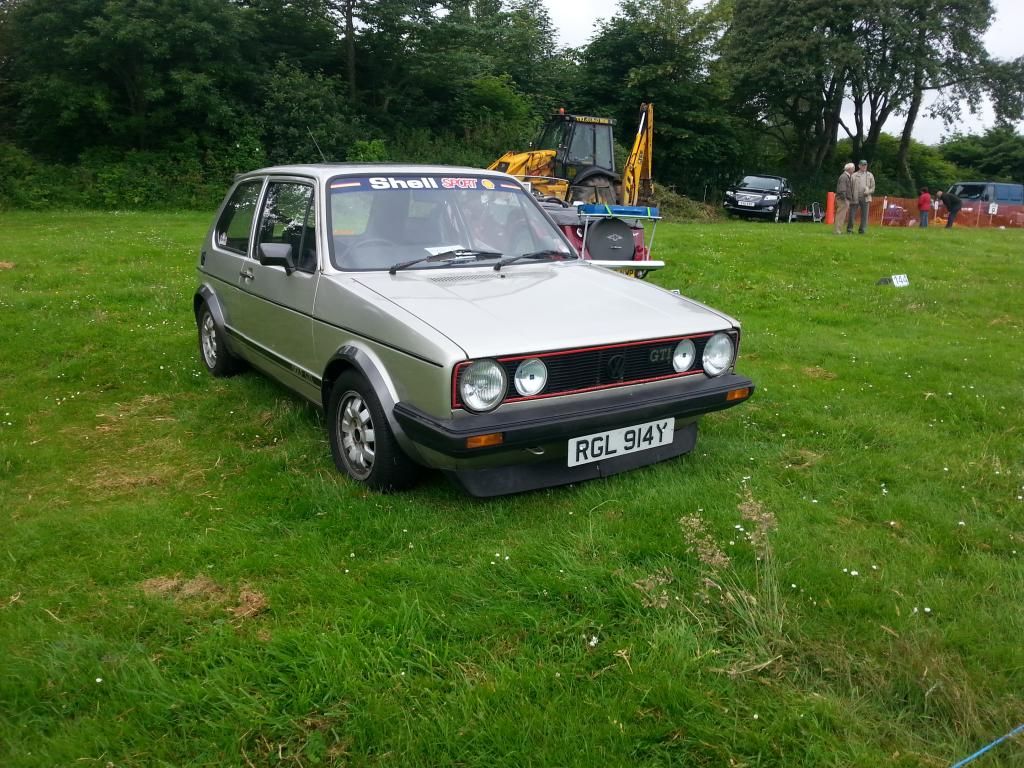
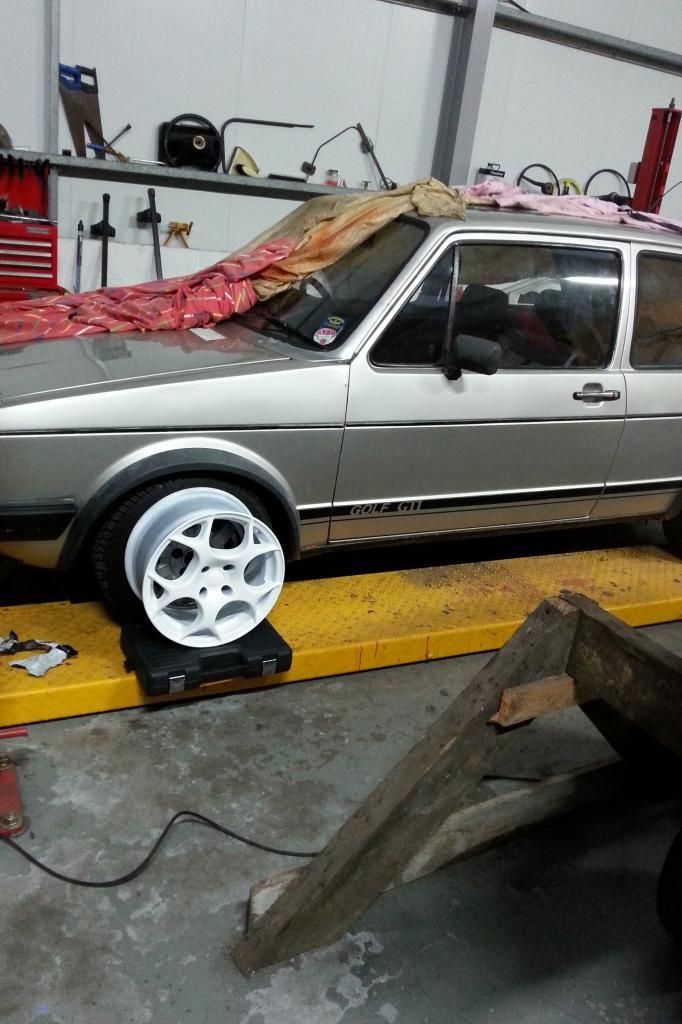
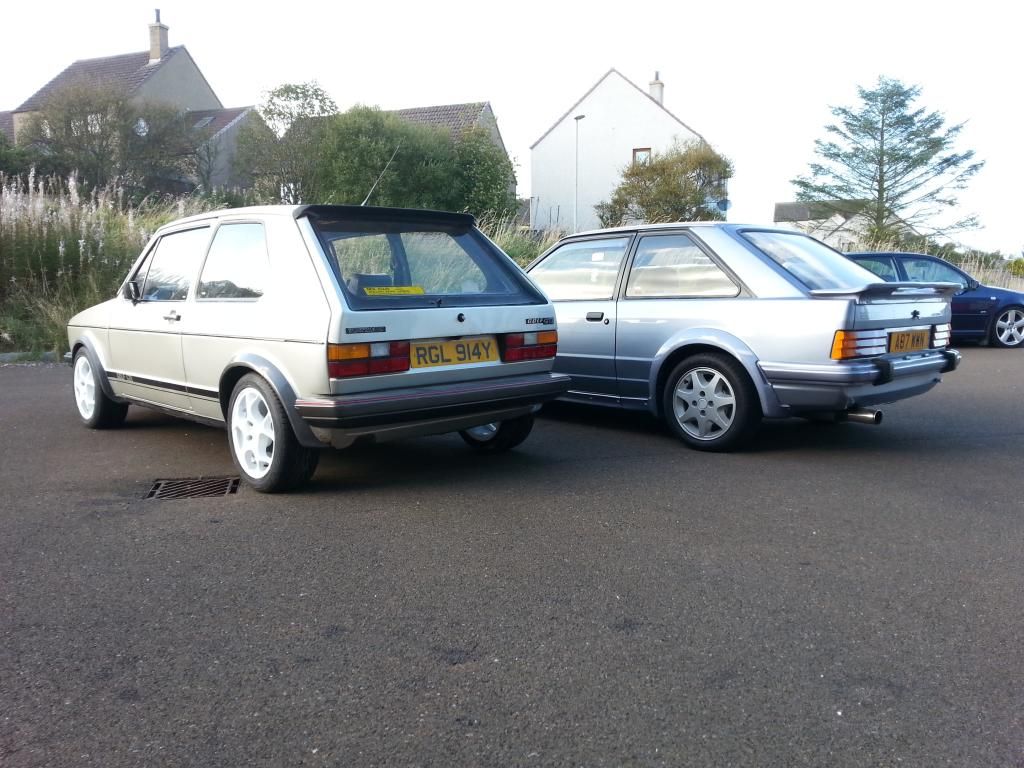
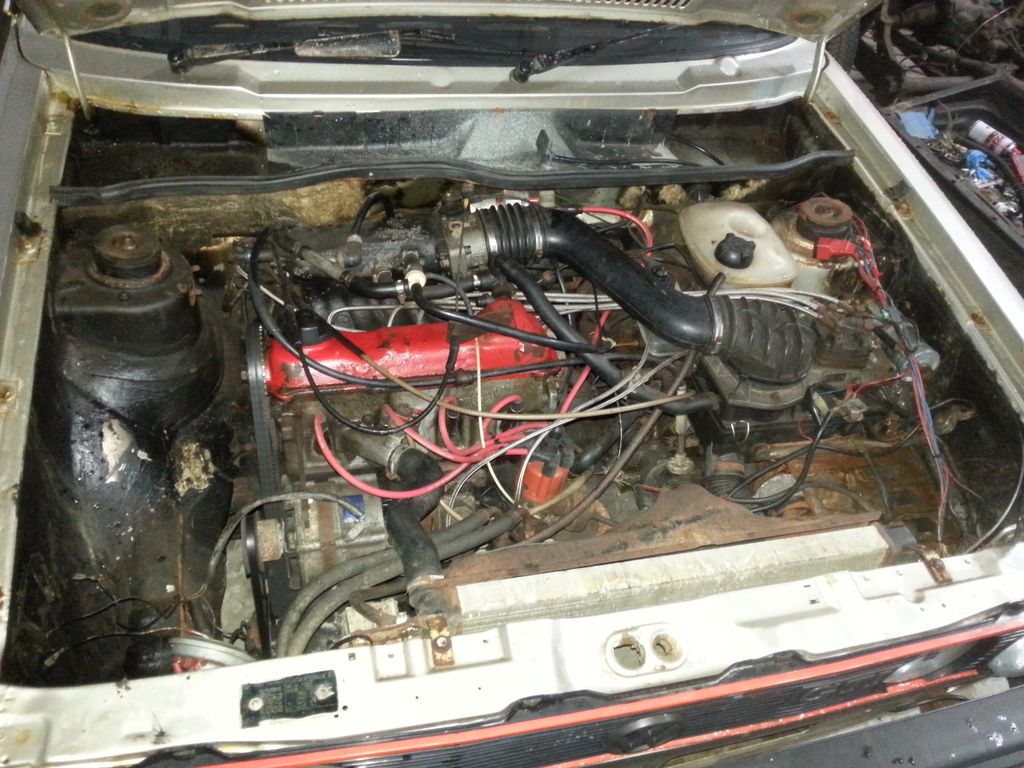
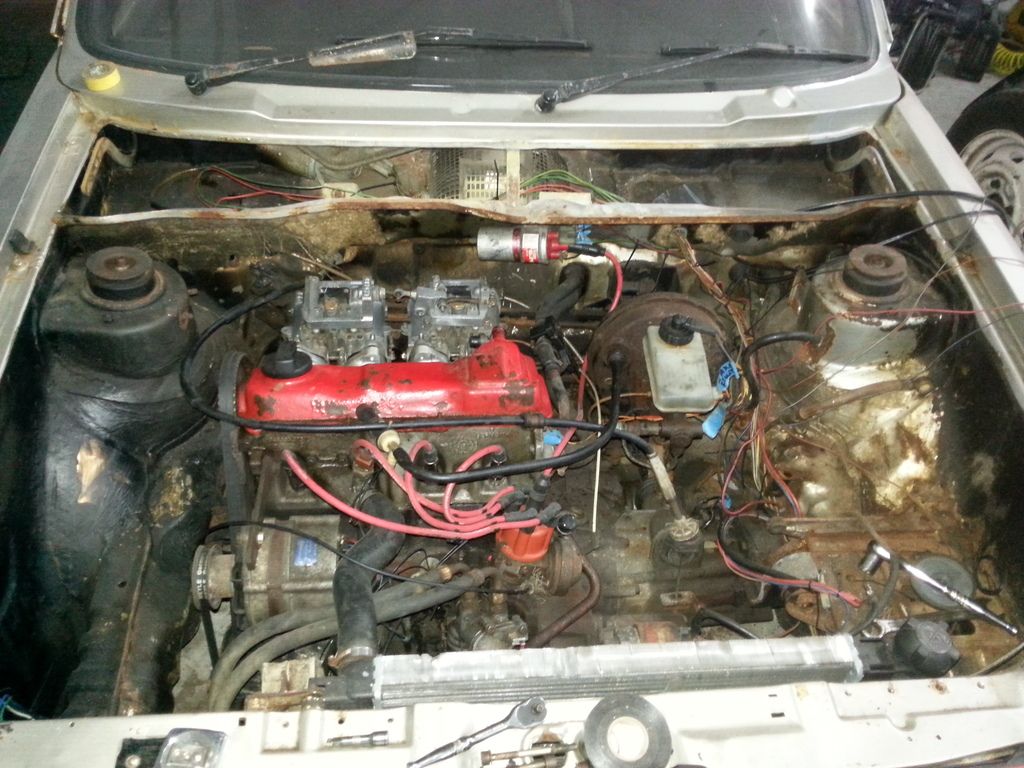
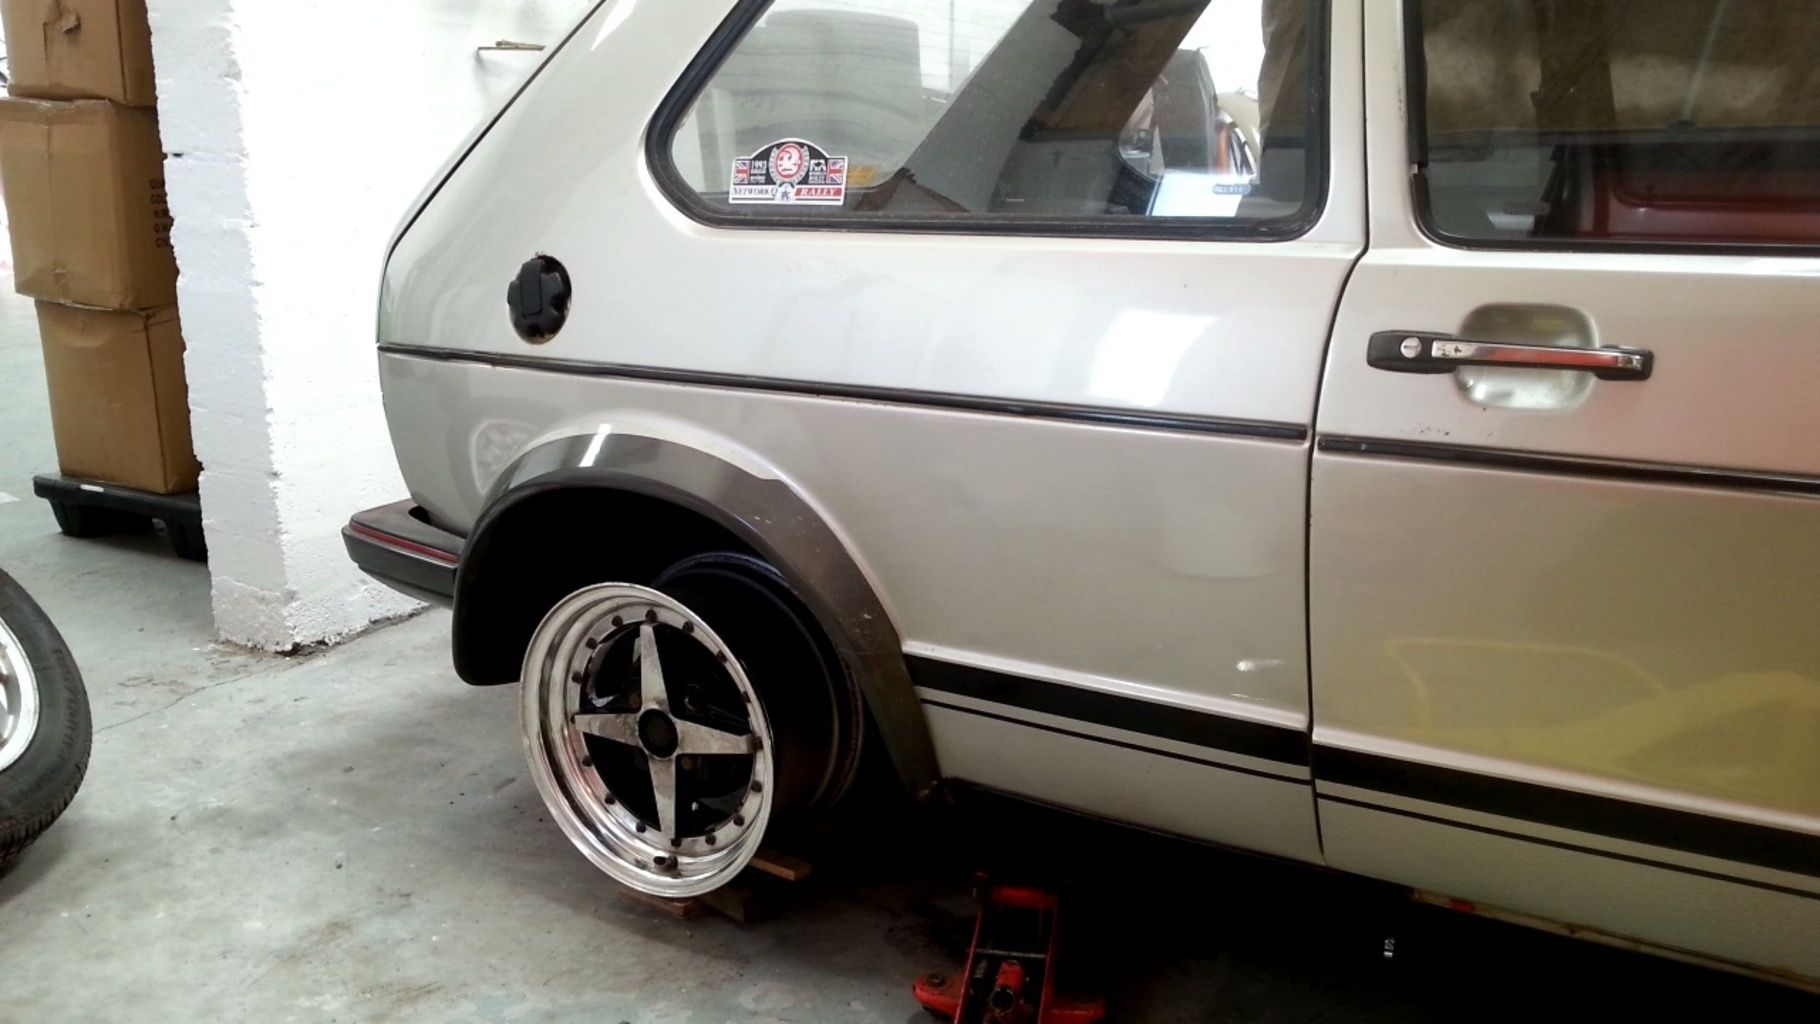
    The car is a 1982 Golf GTI, the 1.6 engine has been bored out to a 1.7 and has had the cam changed for more aggressive one. It's been sitting since 1997! my dad bought it in 2011 planning to use it as a daily but had no time as he had his volkswagen bus stealing all his time. so it sat until now.
    Any how after my dad agreed to sell it to me for a good price (stating I only had to change the rusty downpipe to get it through an mot) I had a month and a half to get it mot'd so I could insure it once I got my years no claims, so the countdown began.

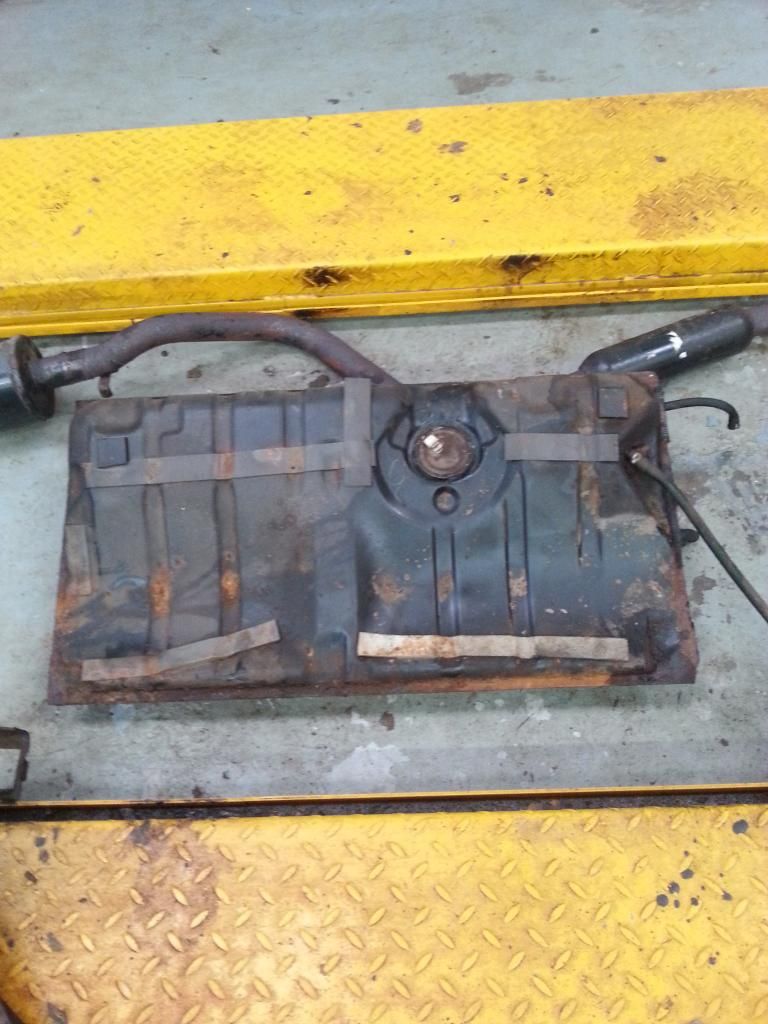
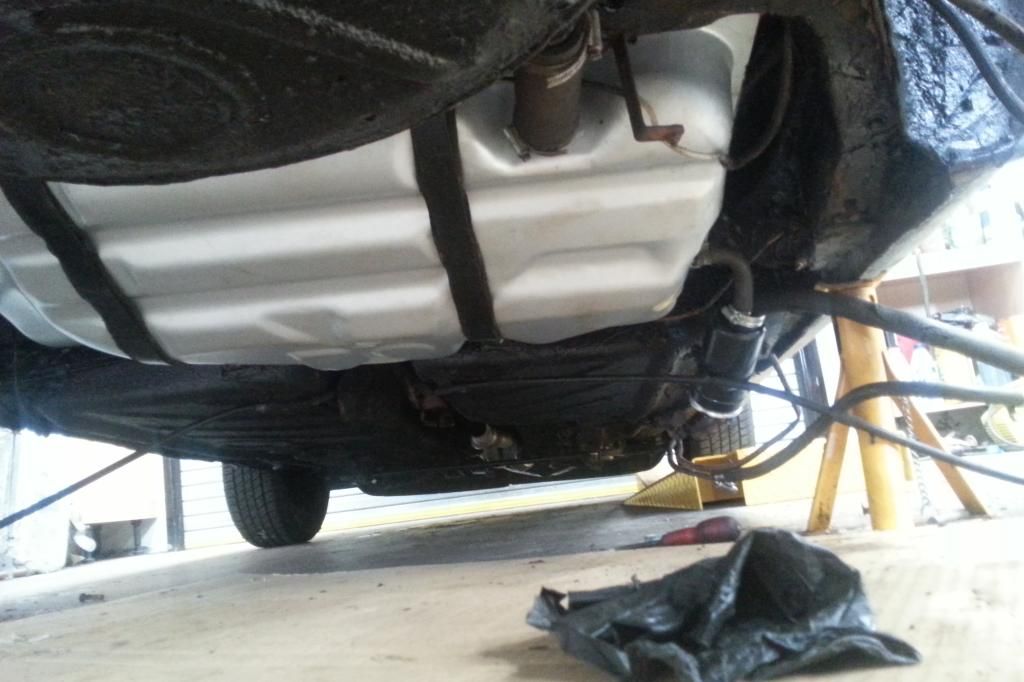
    After a few nights trying to find out why it wouldn't start we found the fuel pump was sized so a few knocks with the hammer freed it up and I could drive it outside


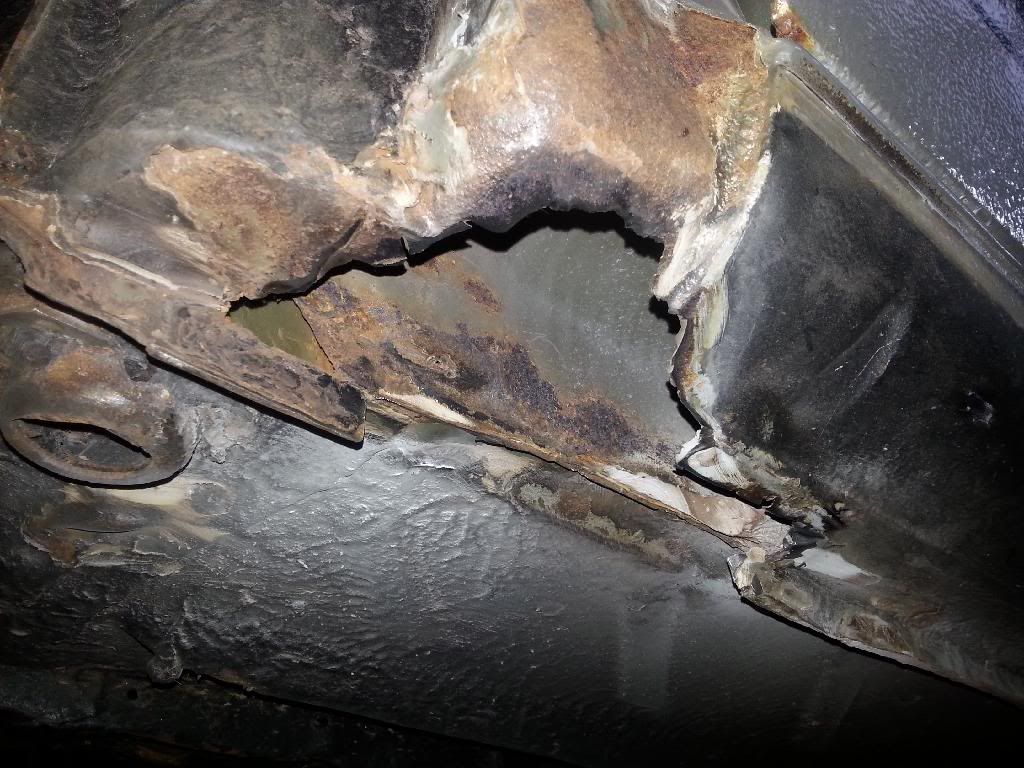
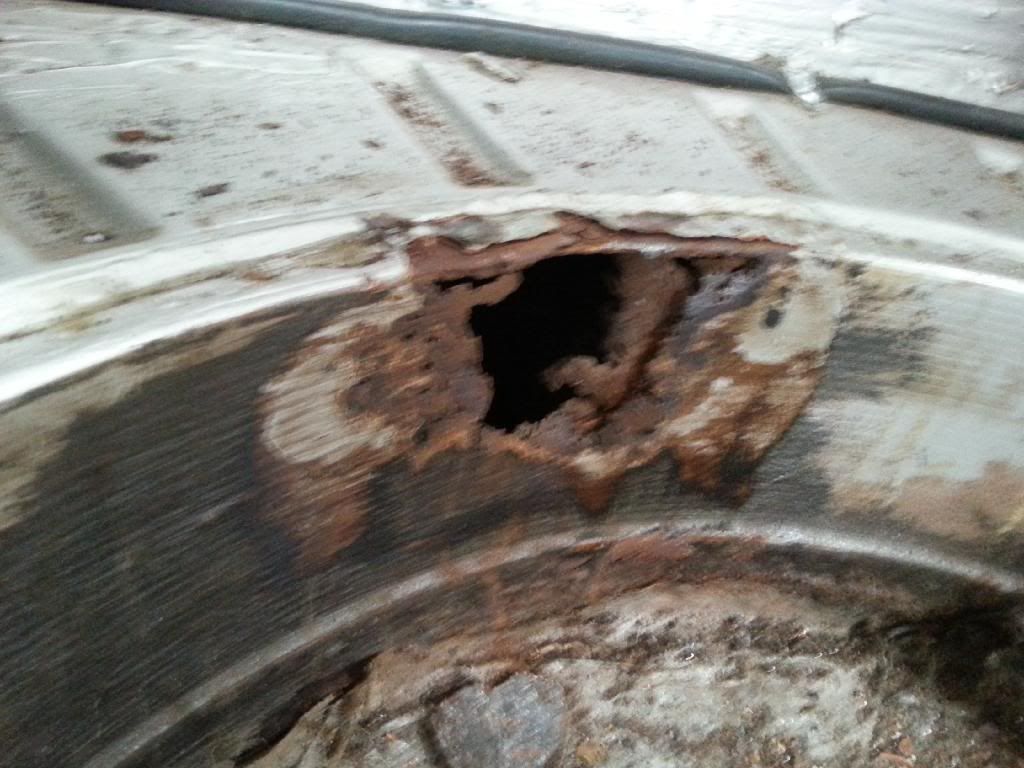
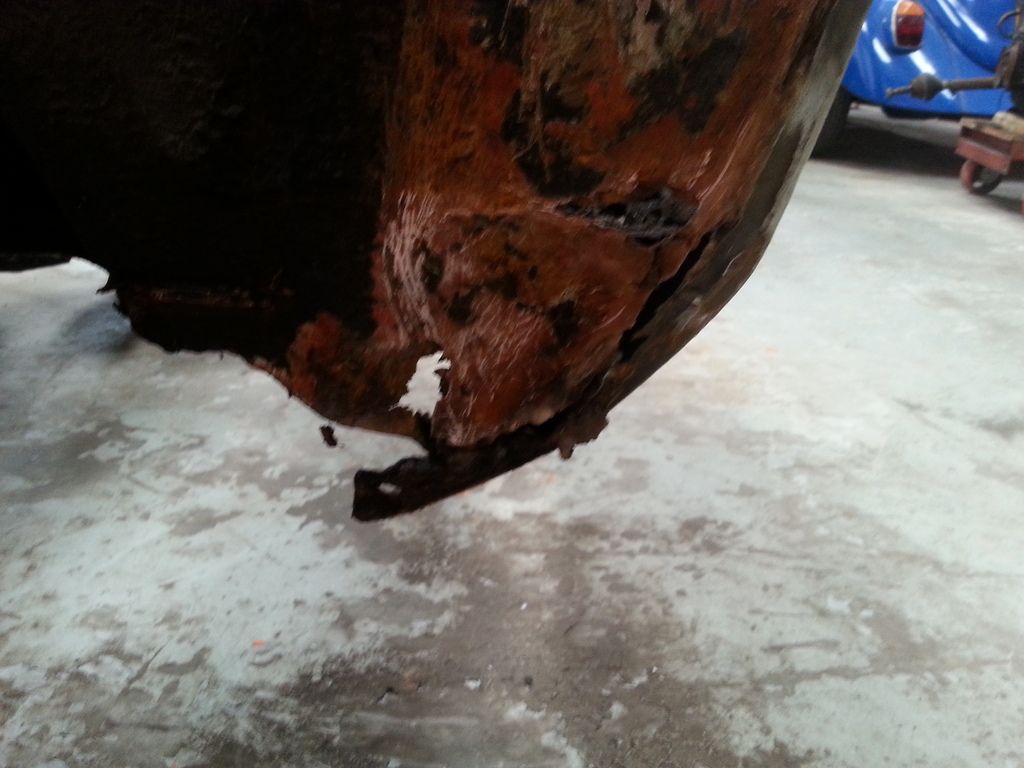
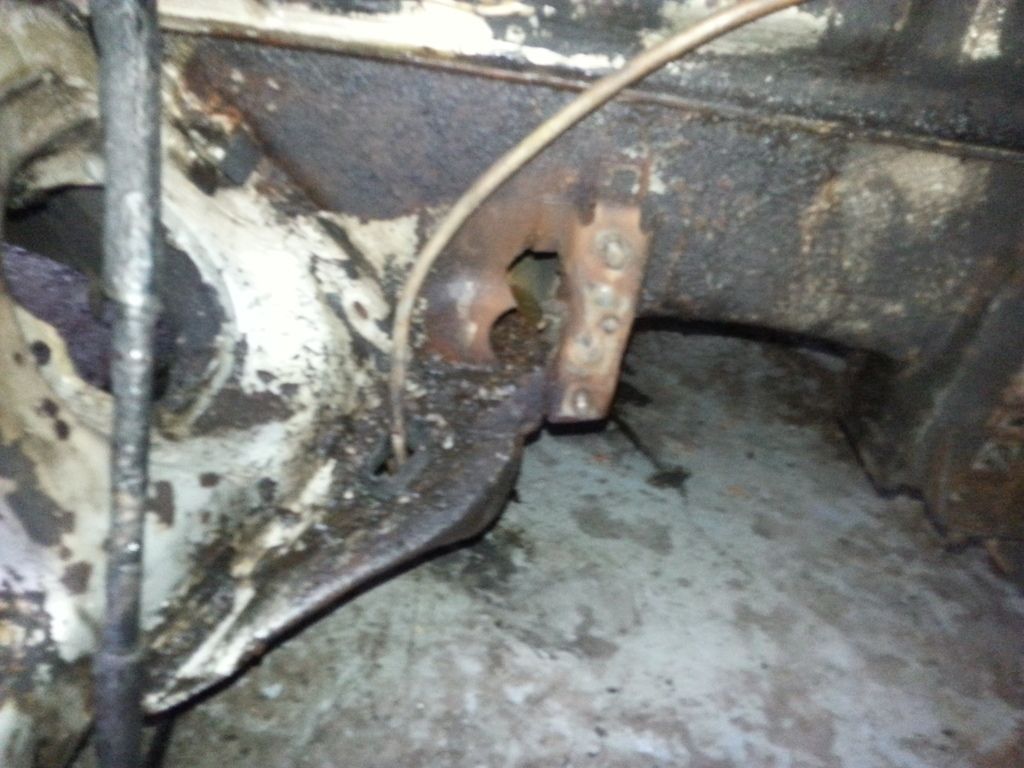
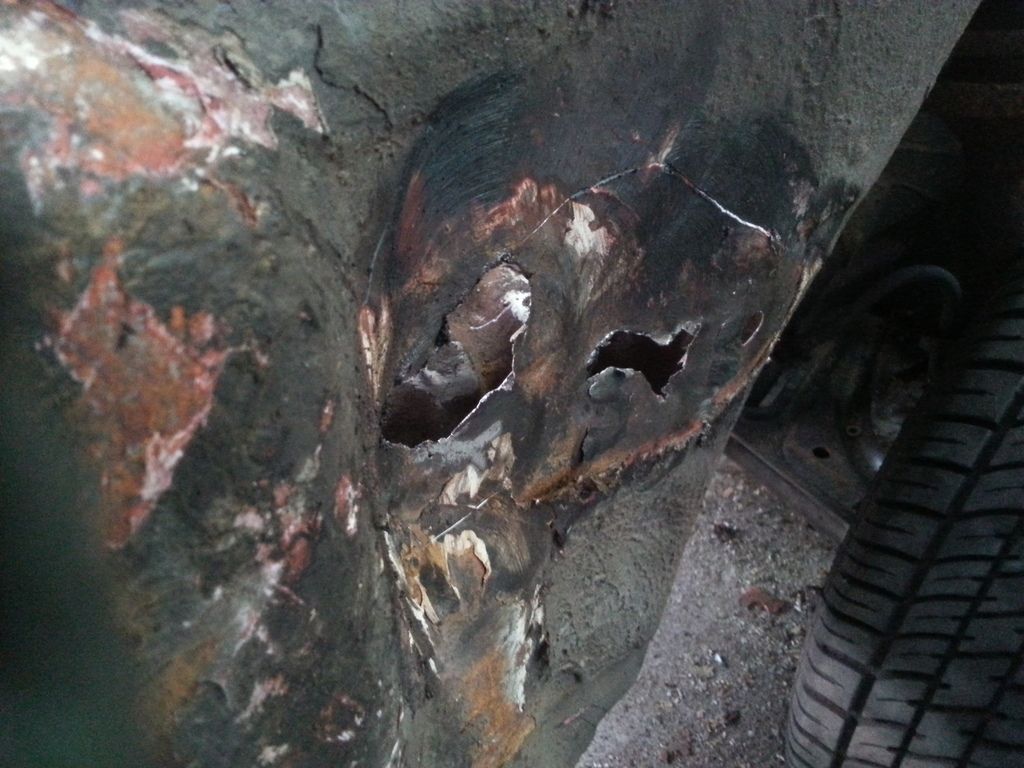
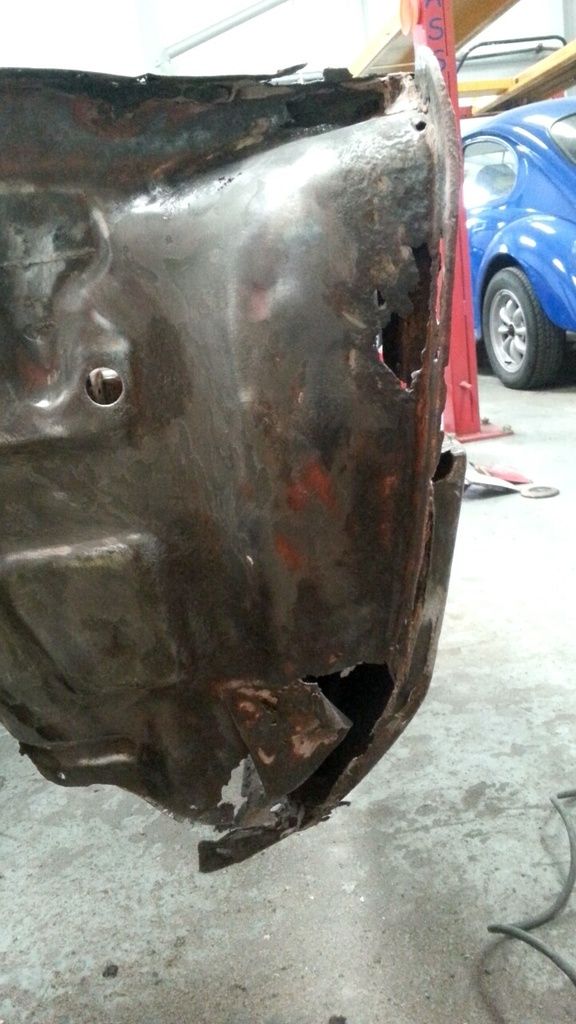
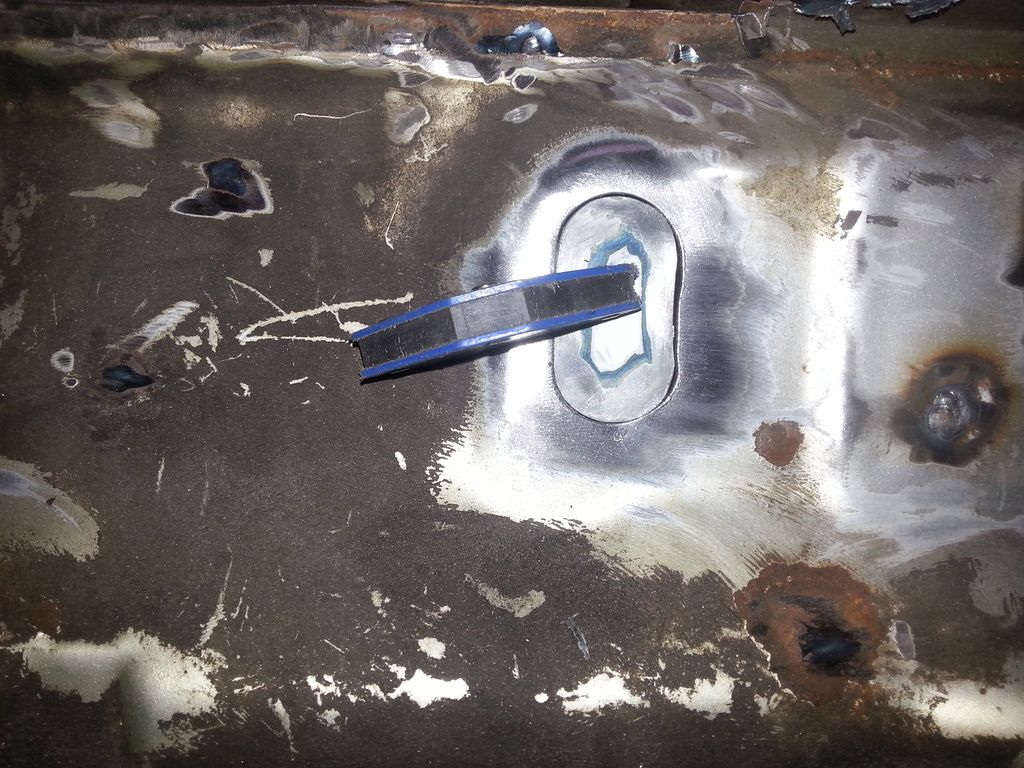
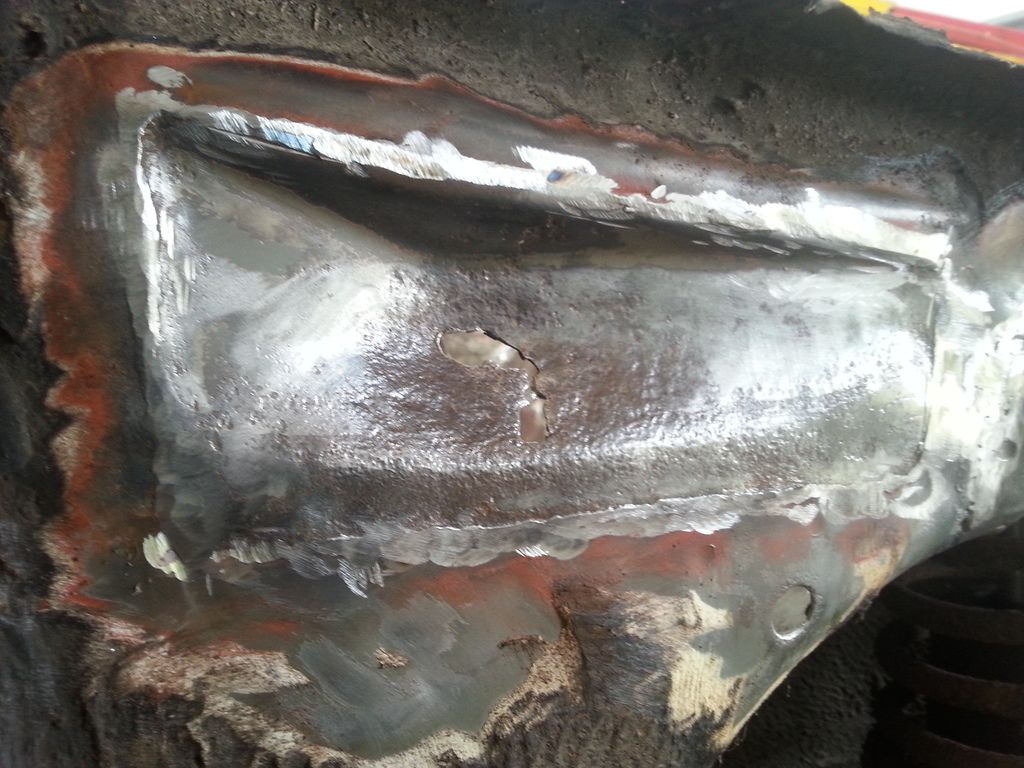
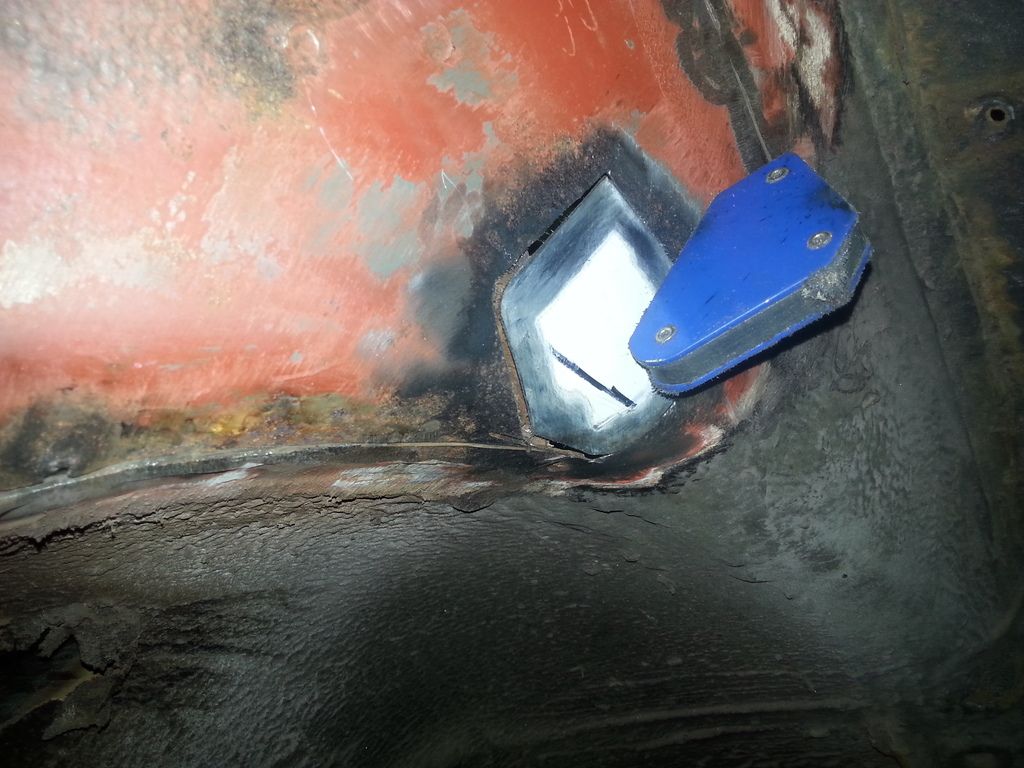
    After having a look around underneath I found a nice bit of surface rust, upon taking the wire brush drill bit I found this nice hole with a bunch of filler *
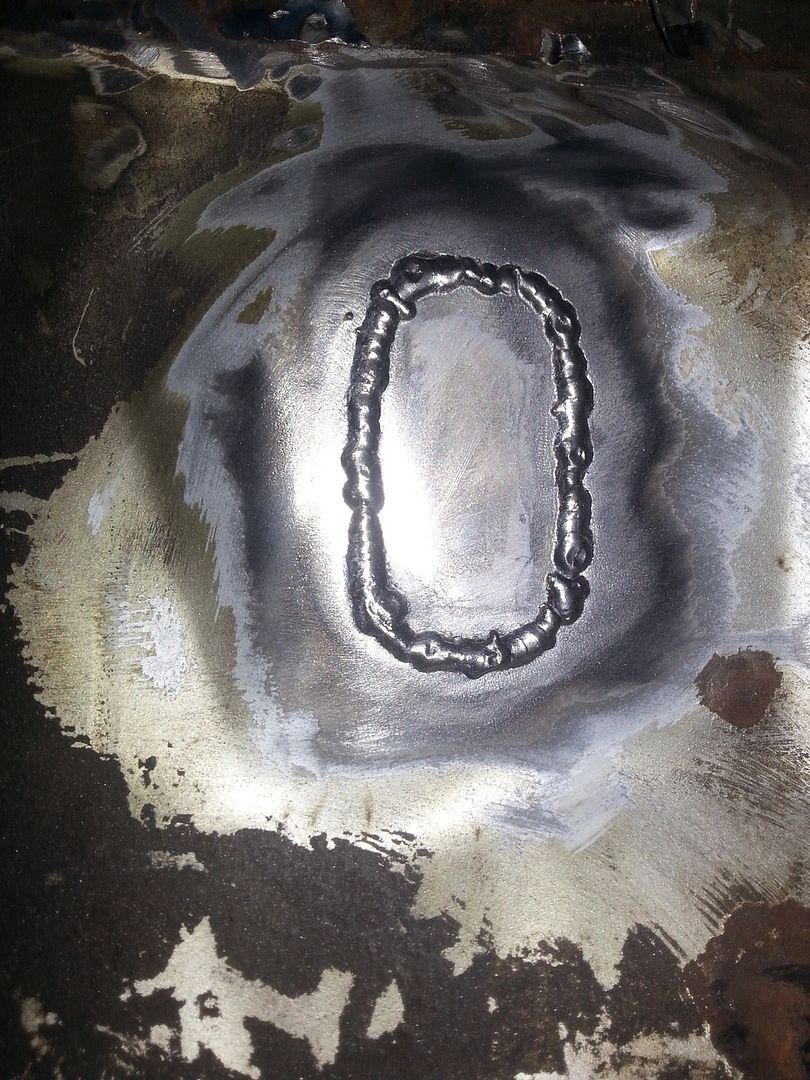


    Patched it up


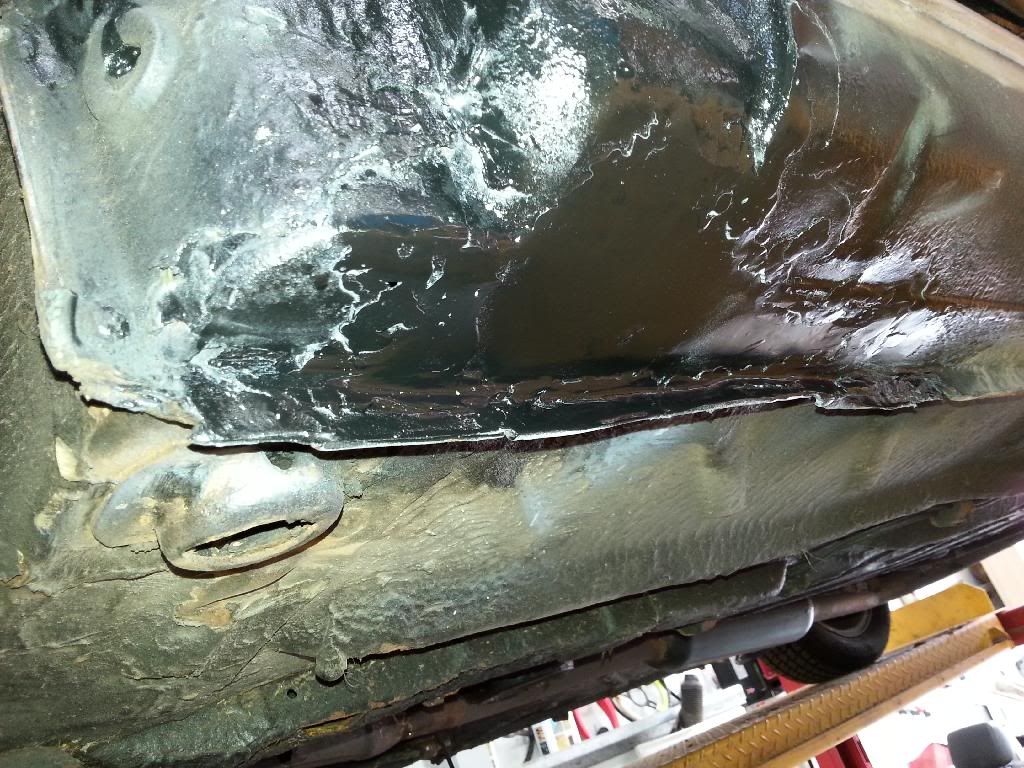
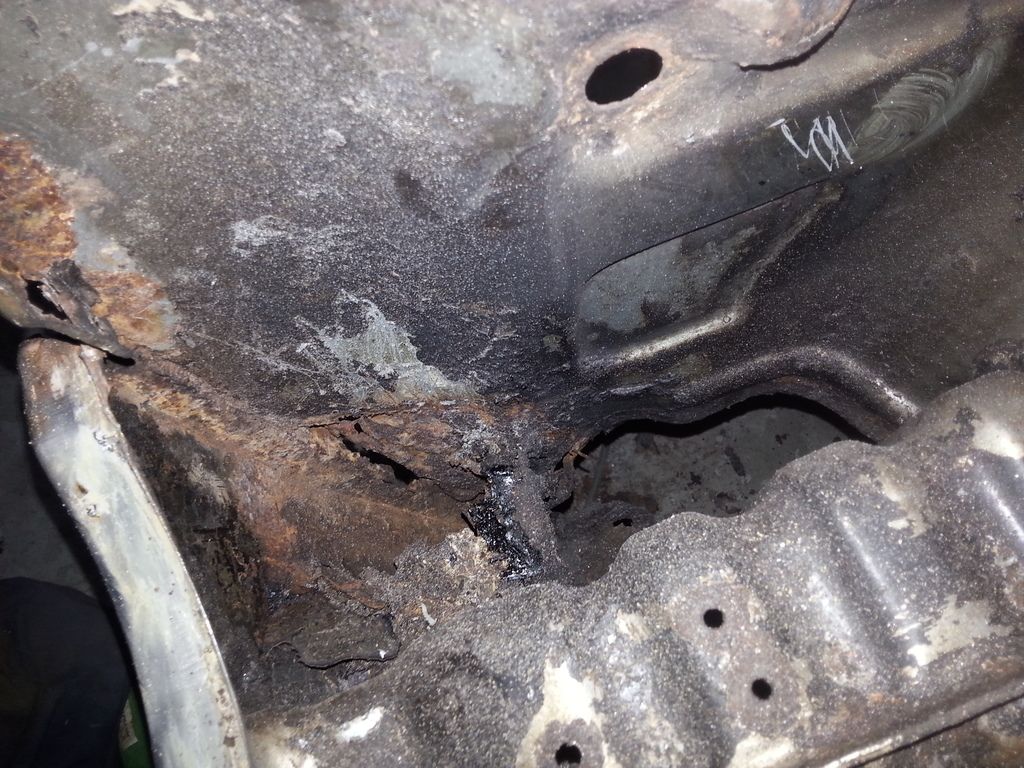
    The rust joined inside so had to patch it too


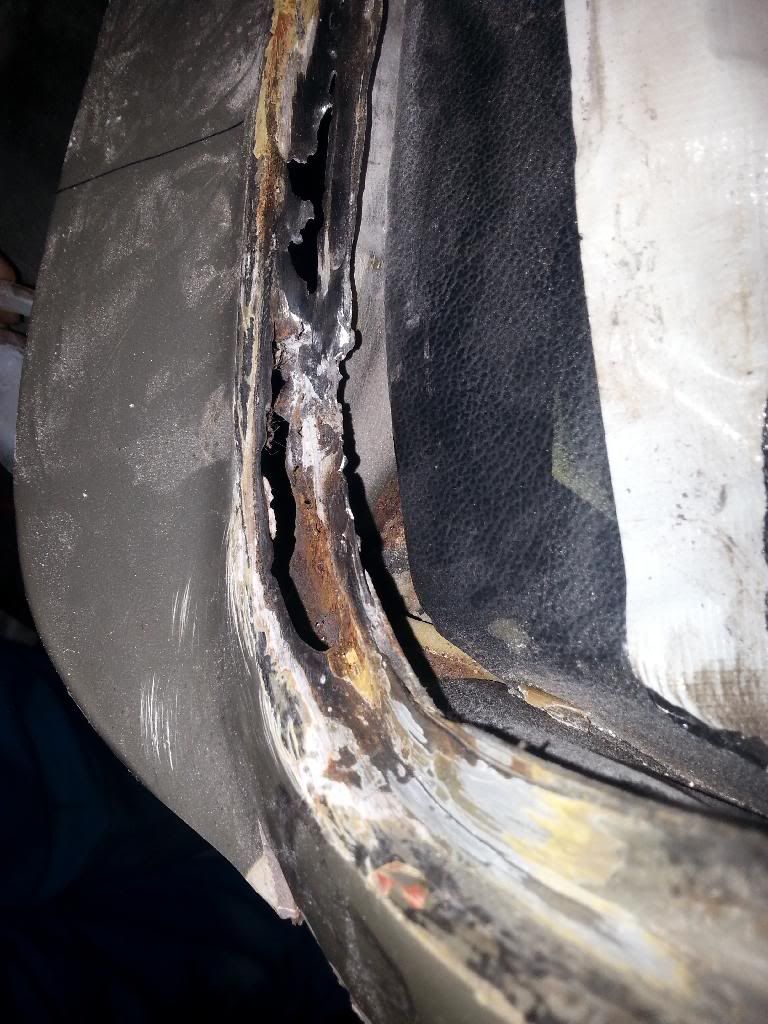
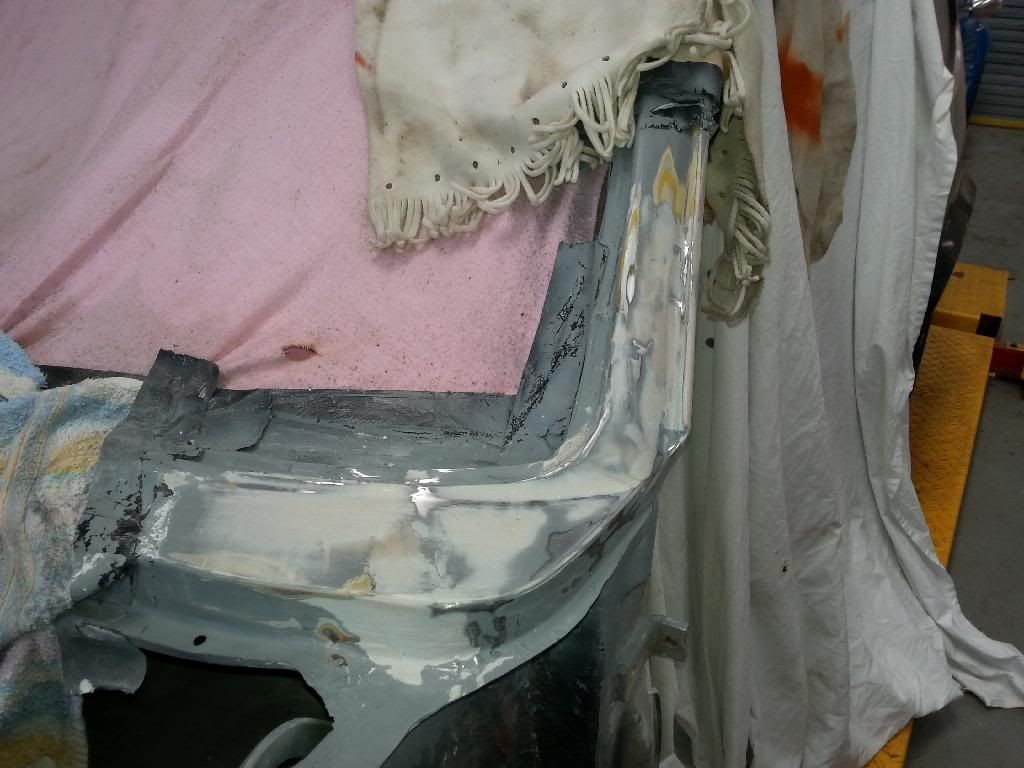
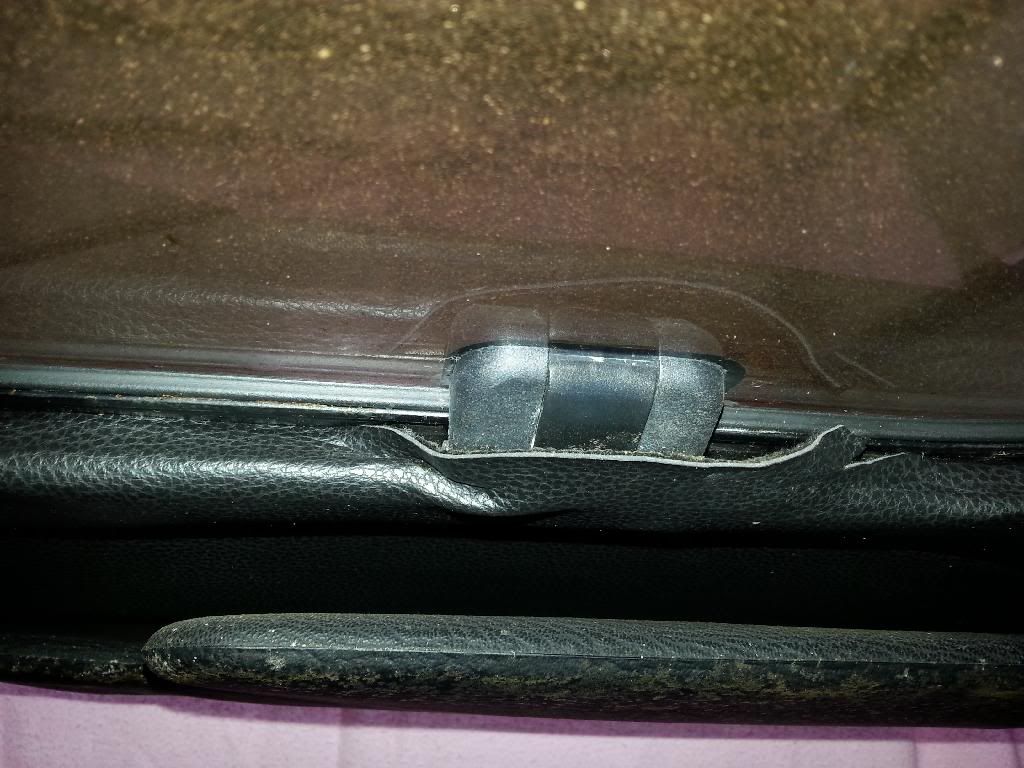
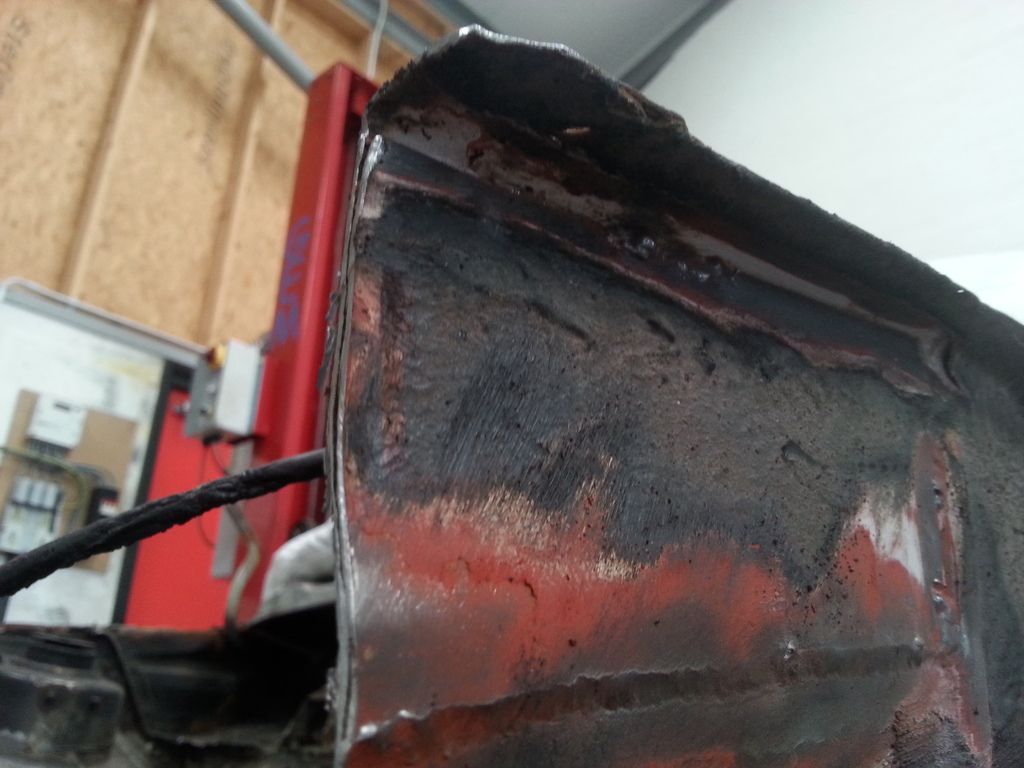
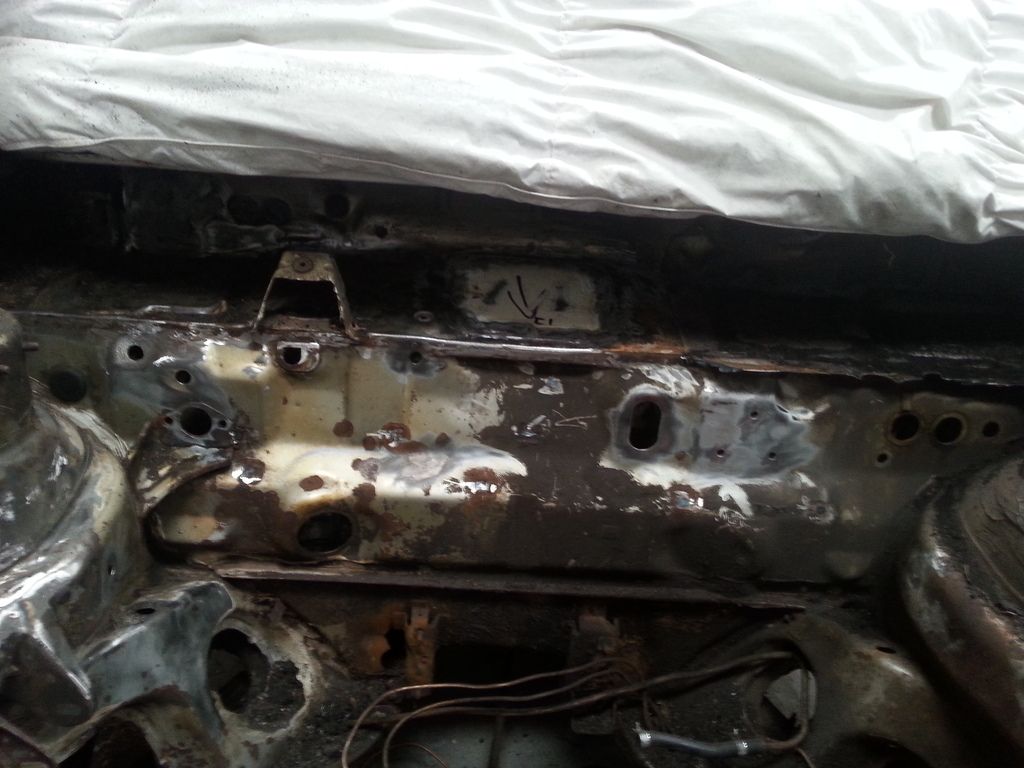
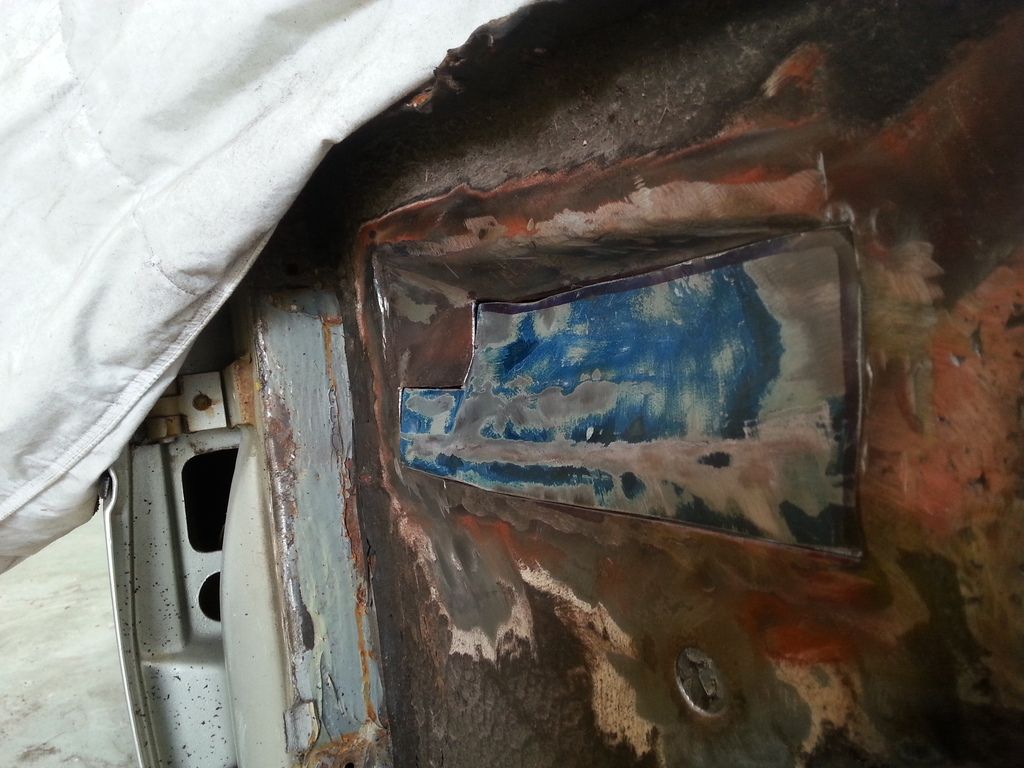
    And then there's the scuttle panel, made up of rust, bodged patches and filler *


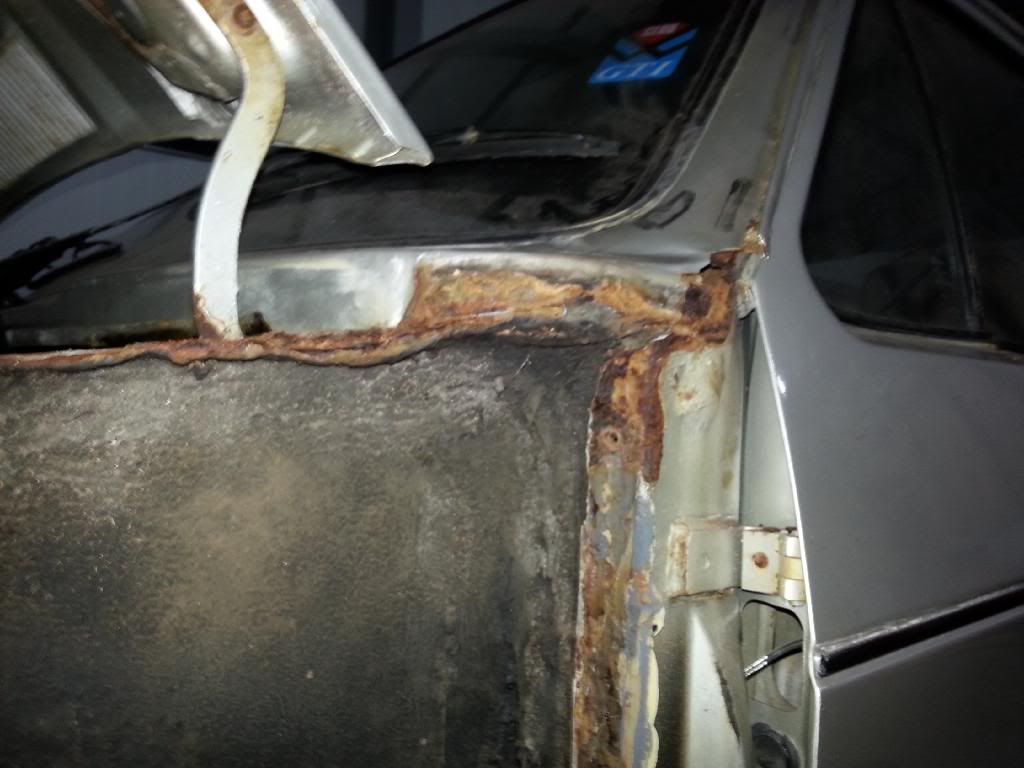
    This was hidden with filler


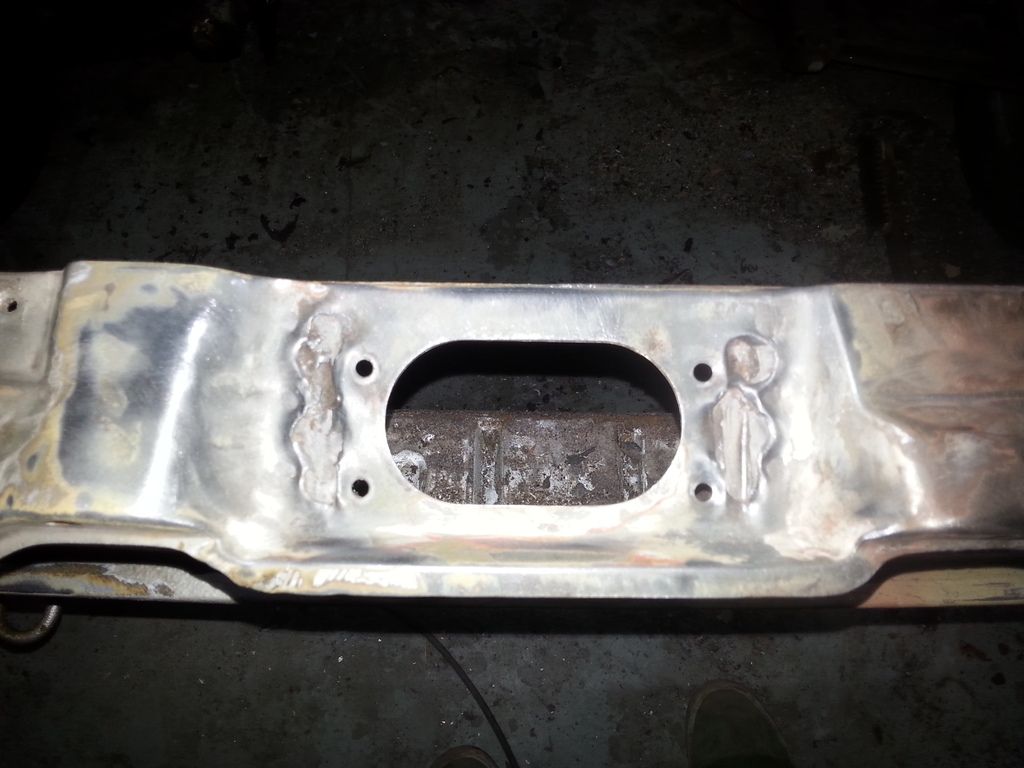
    Cut the whole lot out and welded a new panel in


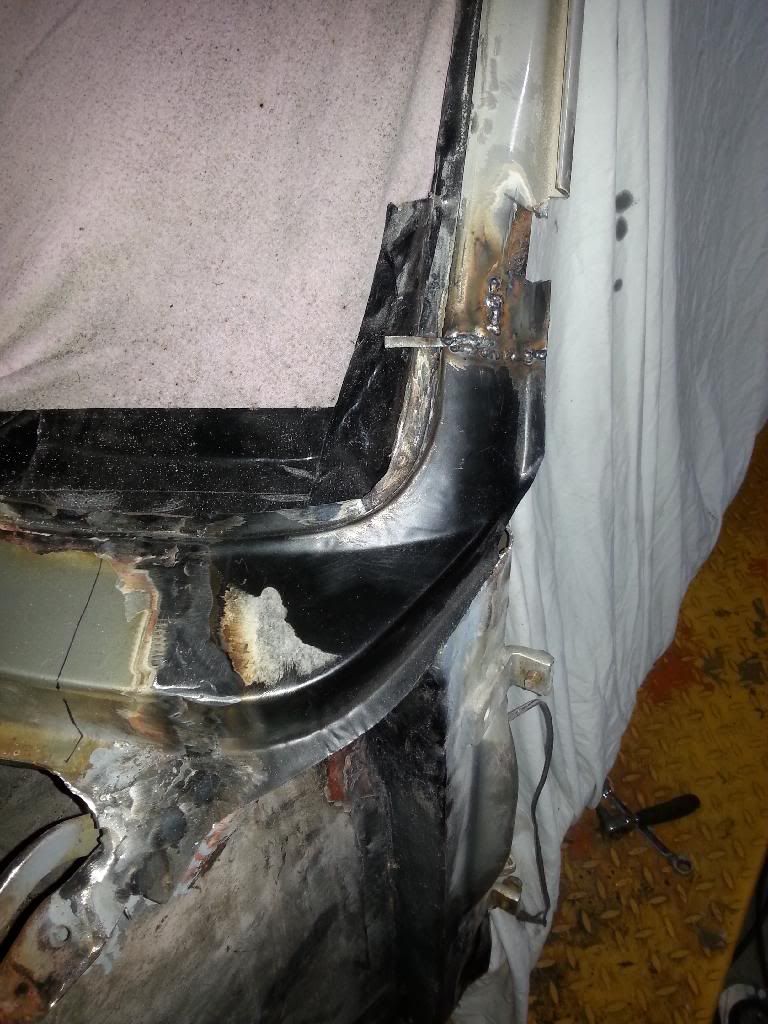
    Had to make up a gutter out of sheet, took a while to get right


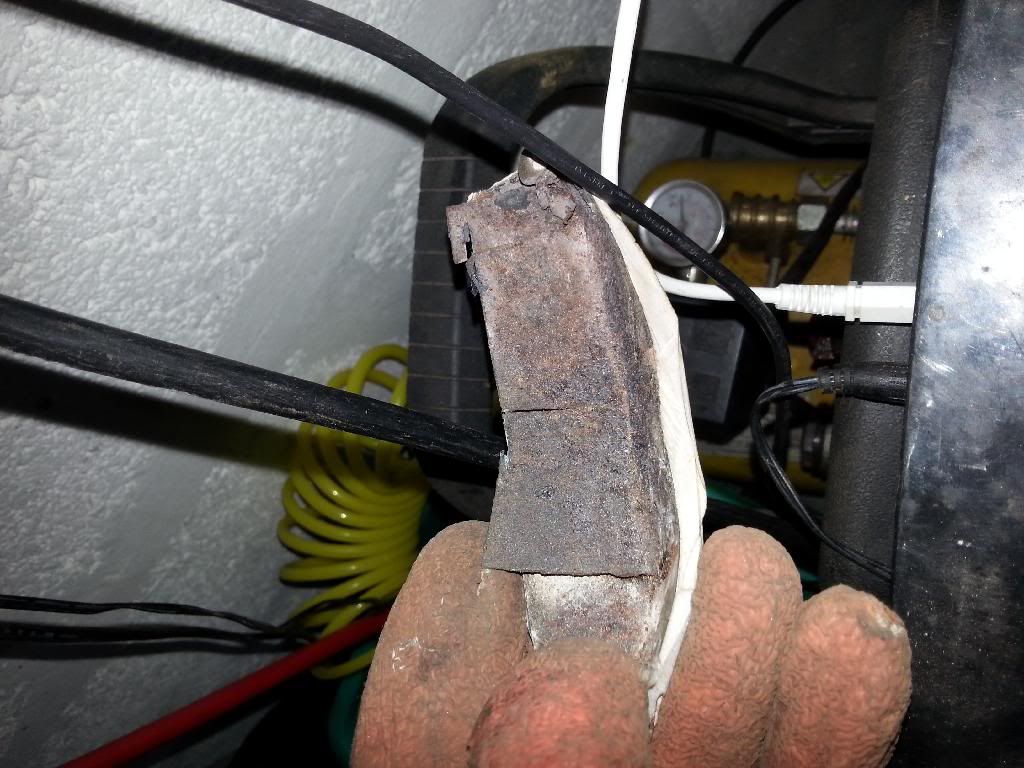
    This is what came out of the scuttle, the car supposedly went to a reputable body shop, I hadn't even known it had been repaired until I started grinding and seeing the filler, the paint on top was a really good quality so to spend money on a good spray job but getting it bodged? Why *


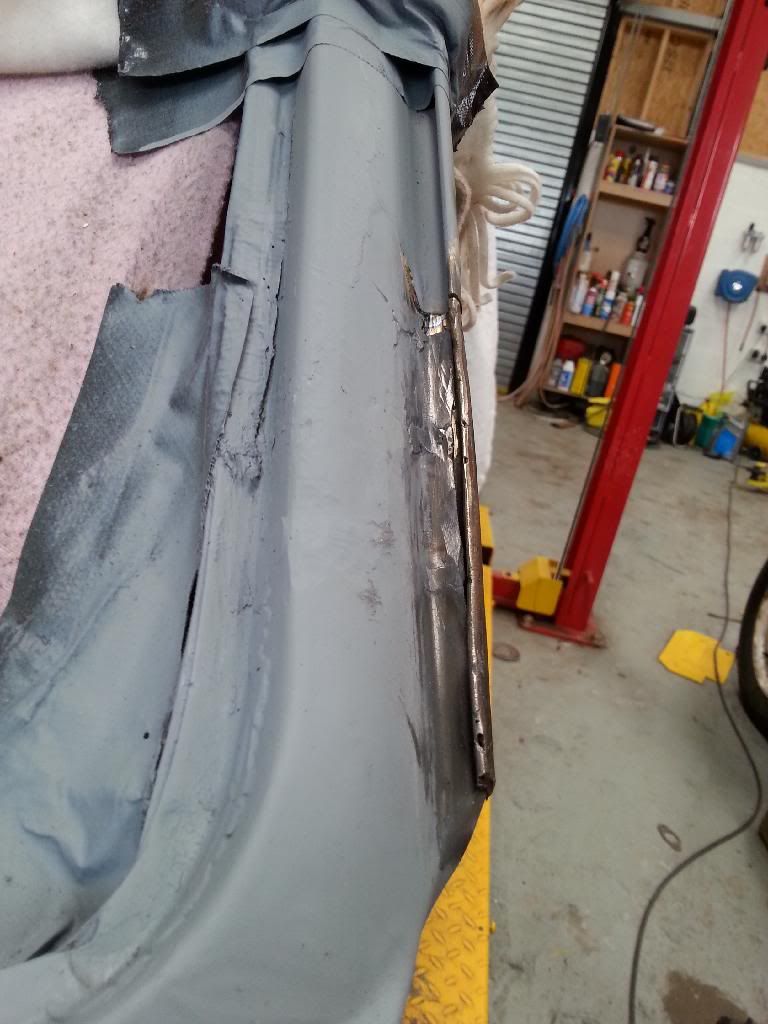
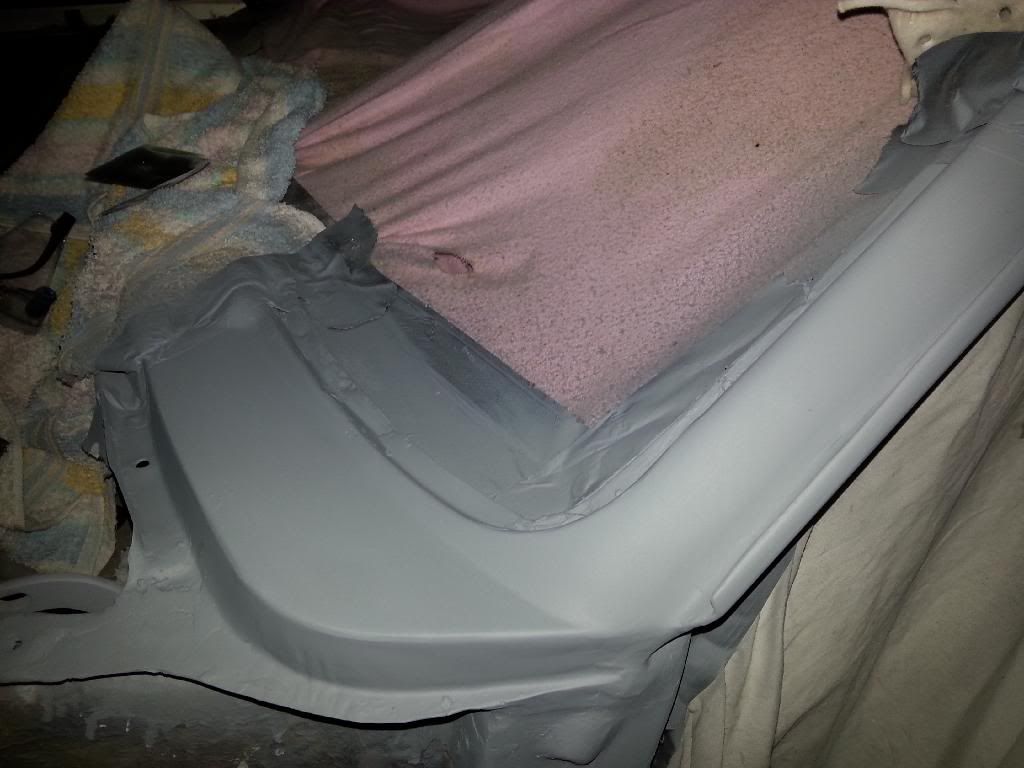
    A light skim of filler just to fill the low spots in the replacement panel


    I then primered it and it looks okay!


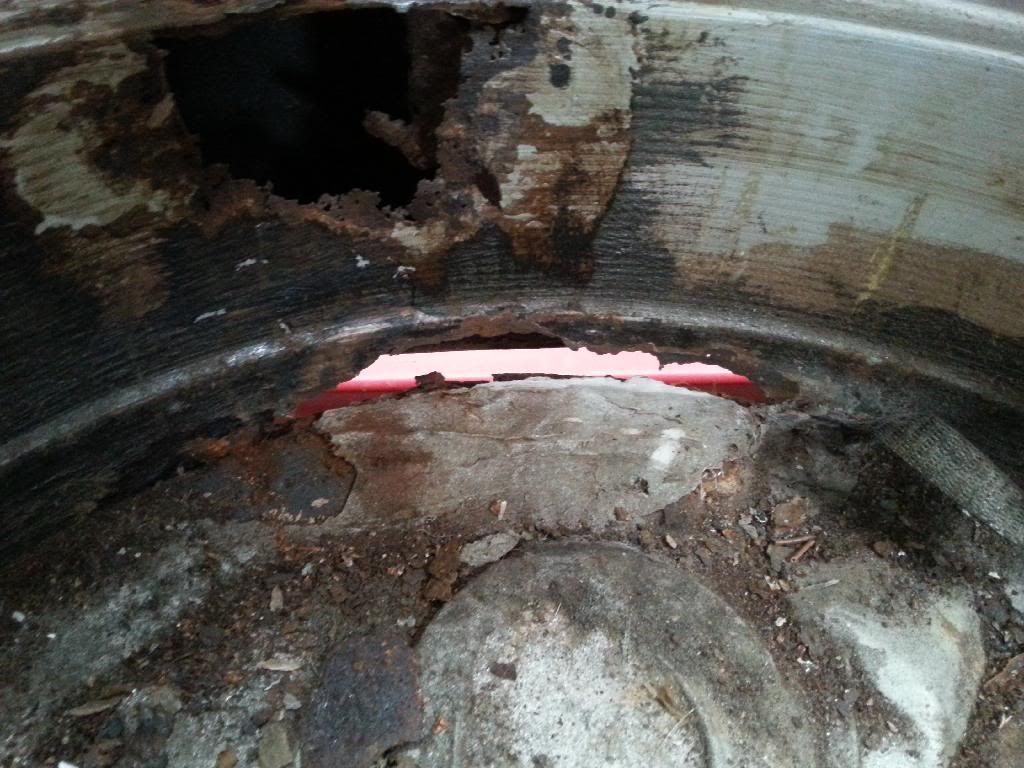
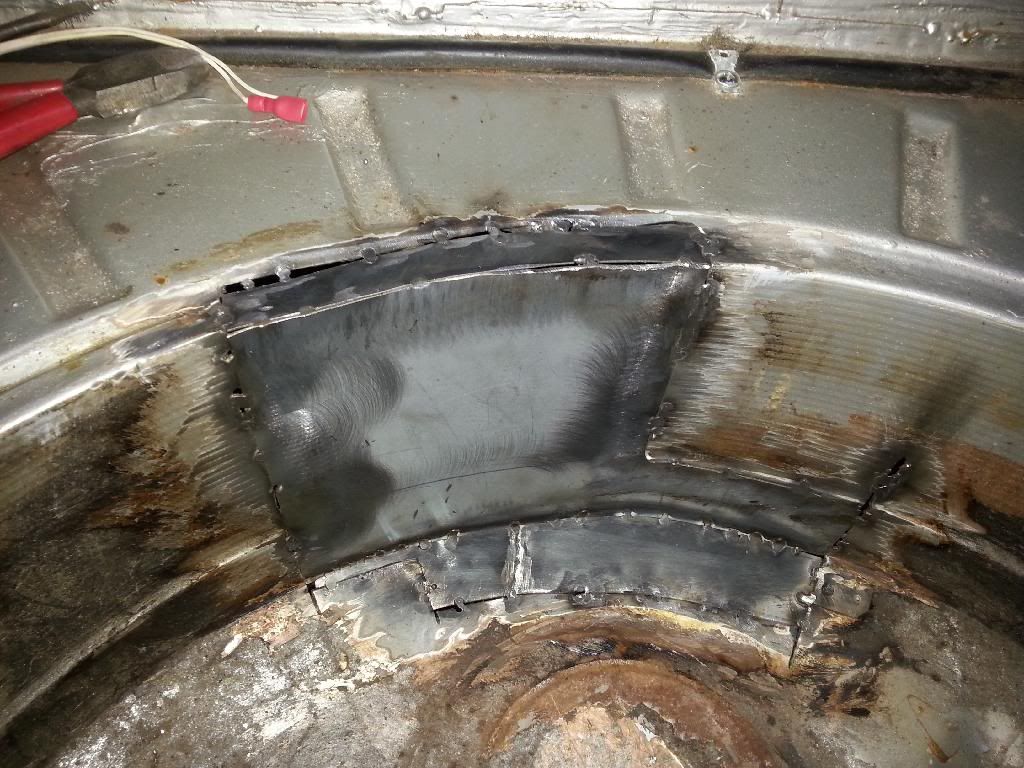
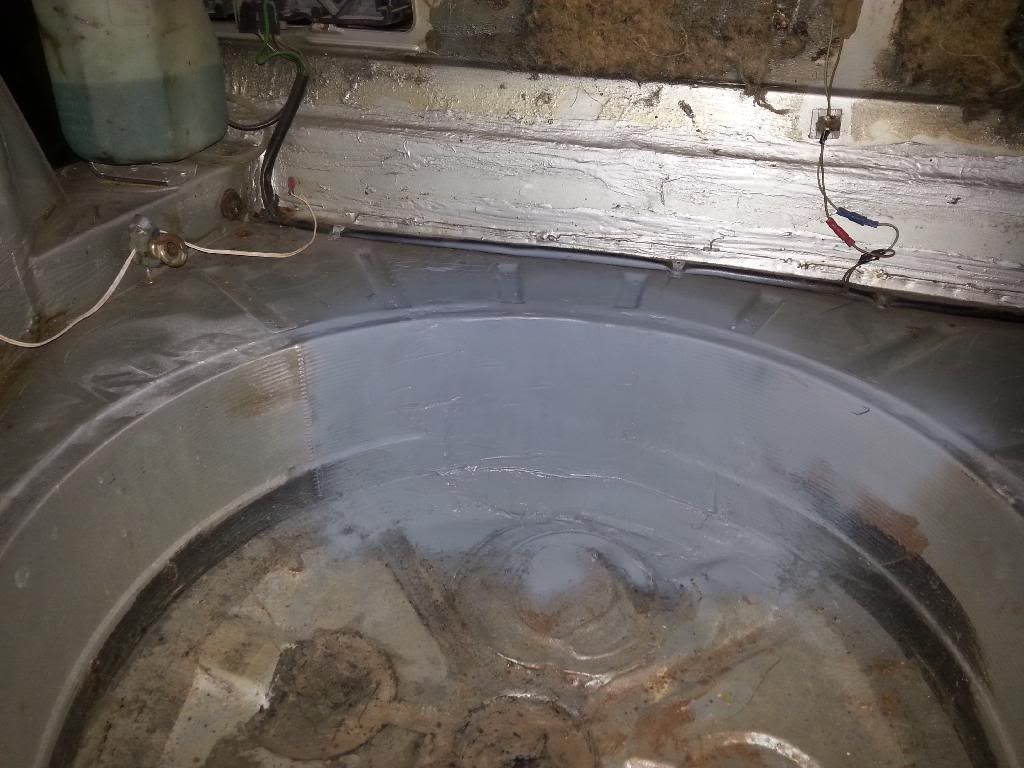
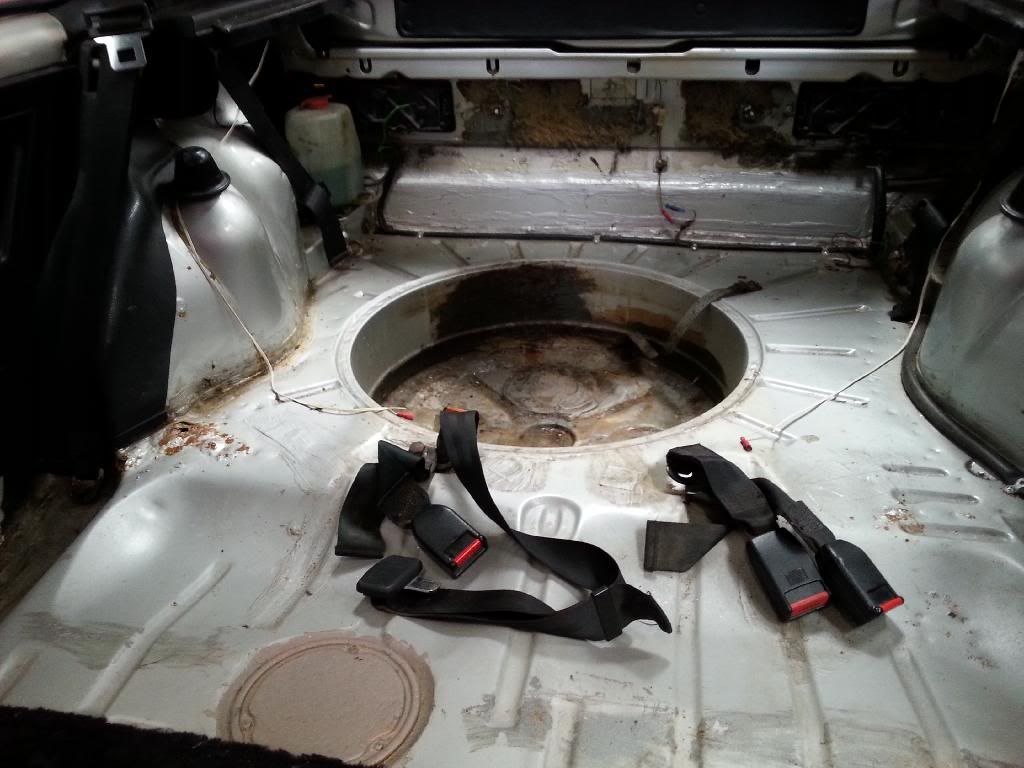
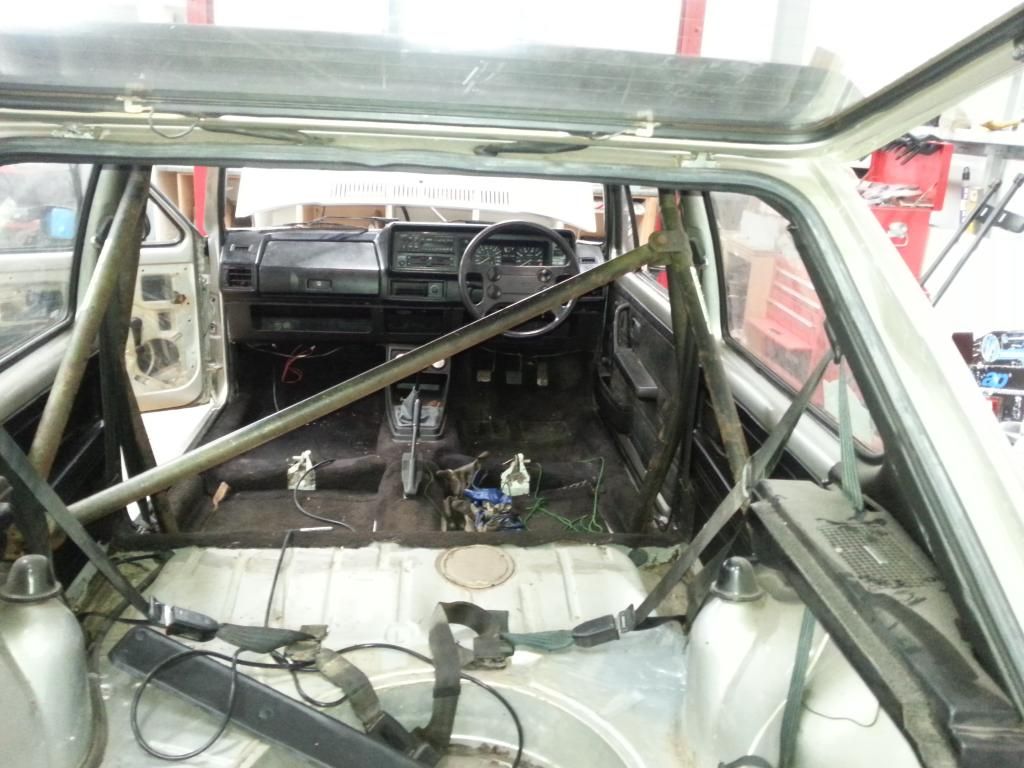
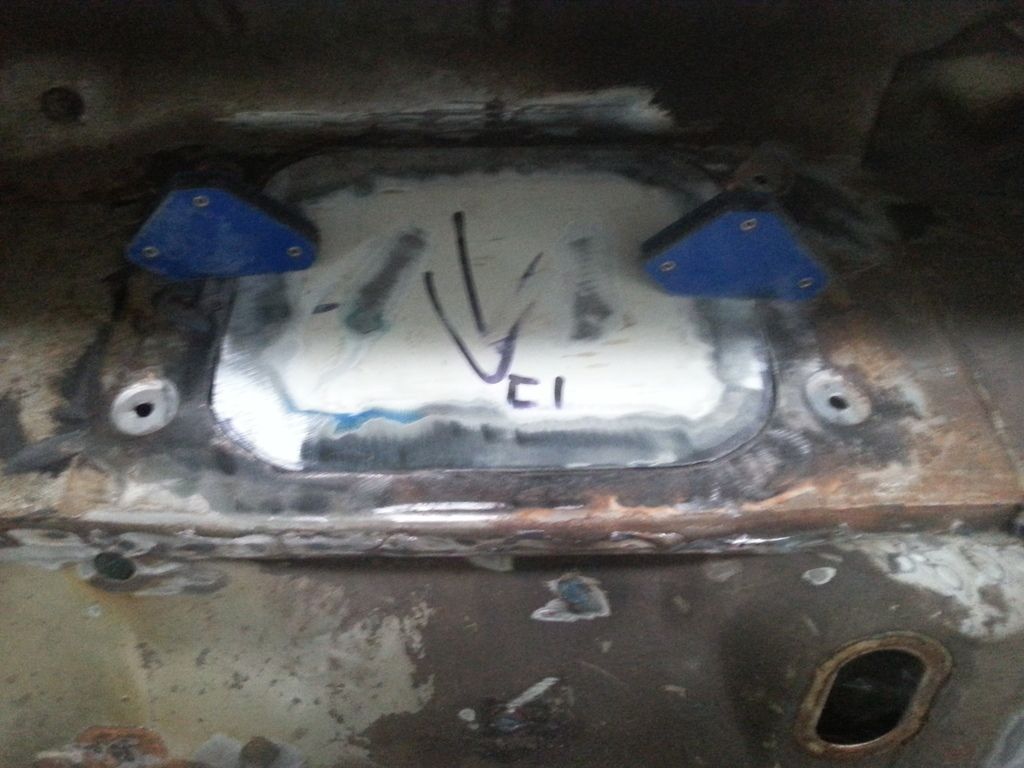
    I stripped the rear so I could get a look at the boot floor, it looked fine until I took the drill with the wire brush bit to what appeared to be a small rust bubble about the spare wheel well.


    see that filler in the bottom of the picture above? yep, a hole is hiding under there too


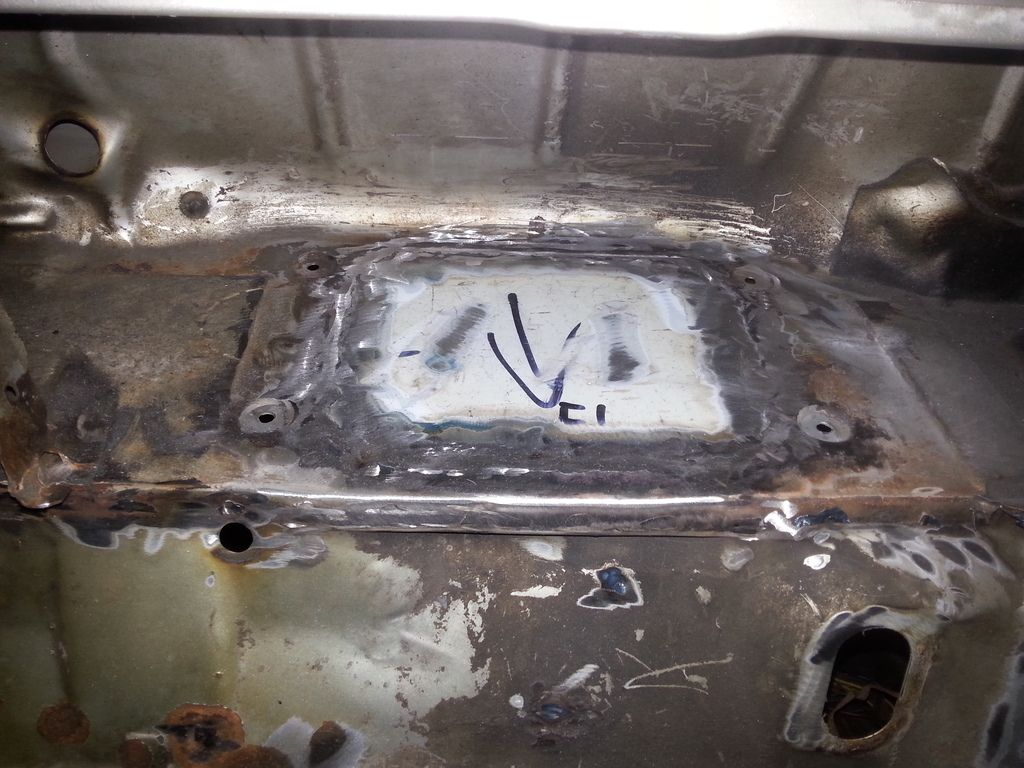
    I cut it all out and made a patch, it's all seamed now but i forgot to take a photo :role yes


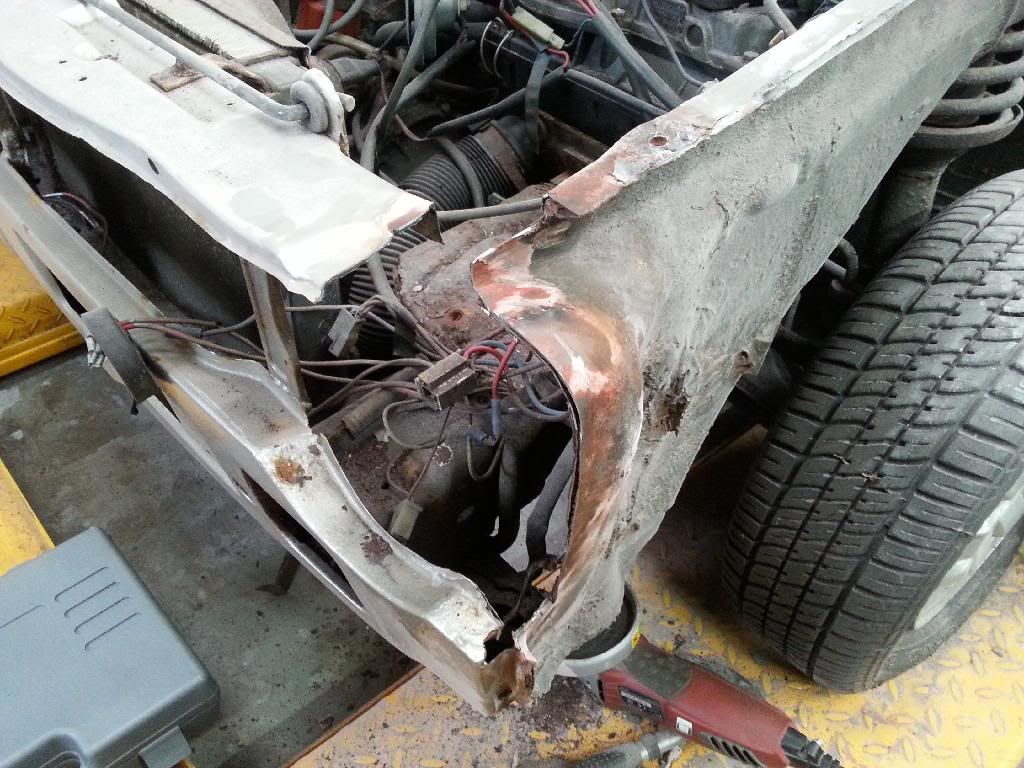
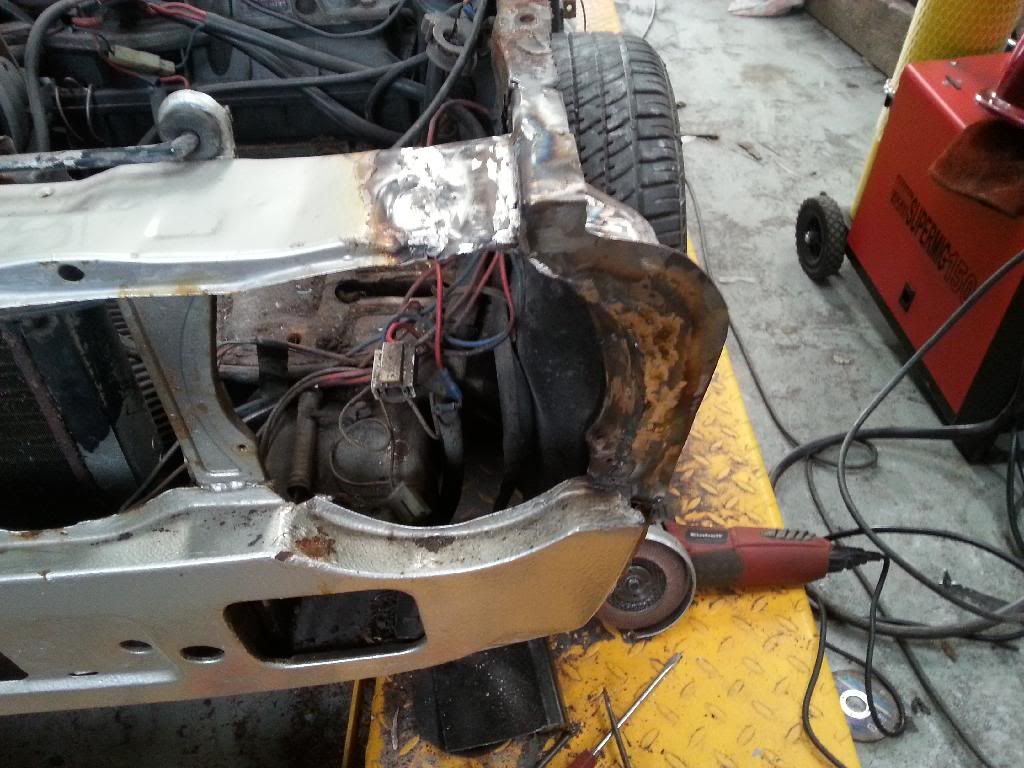
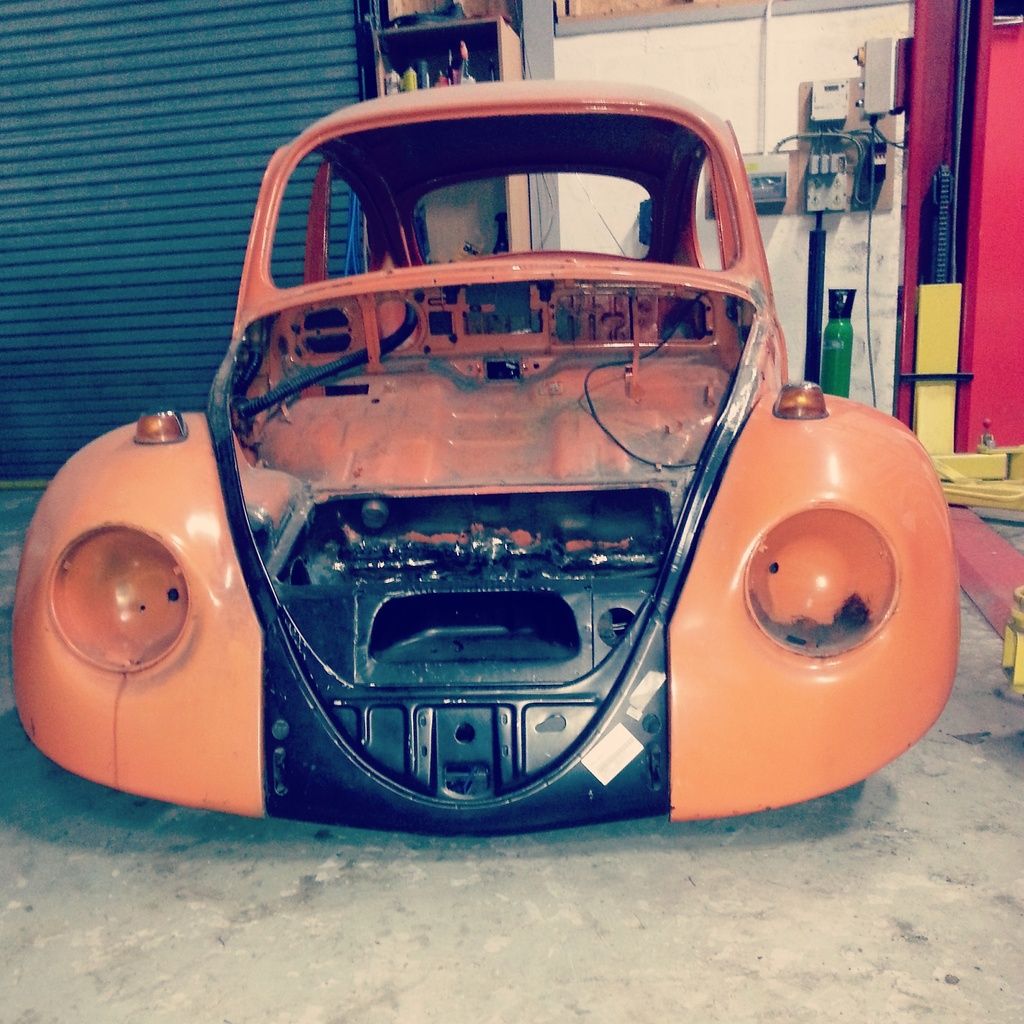
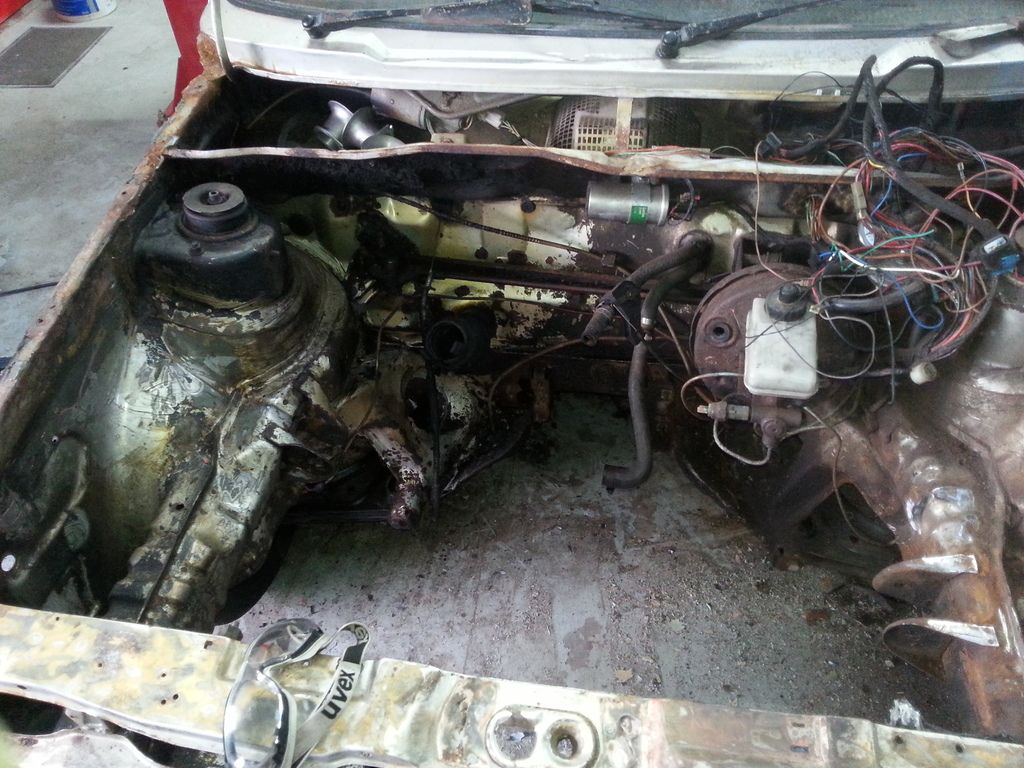
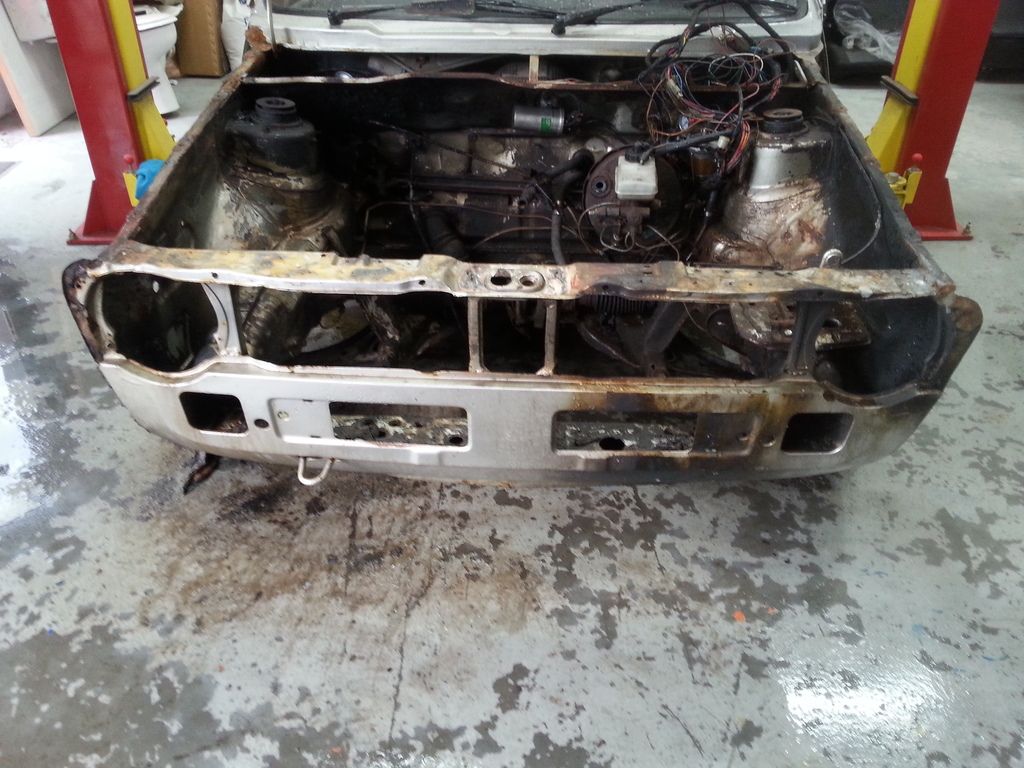
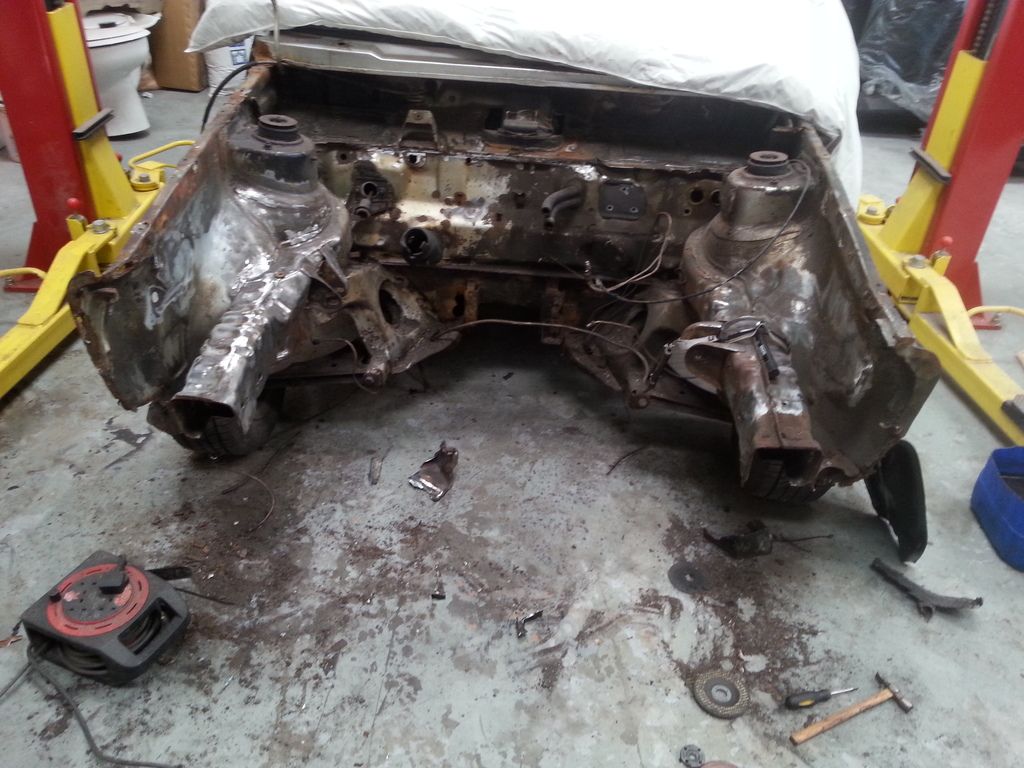
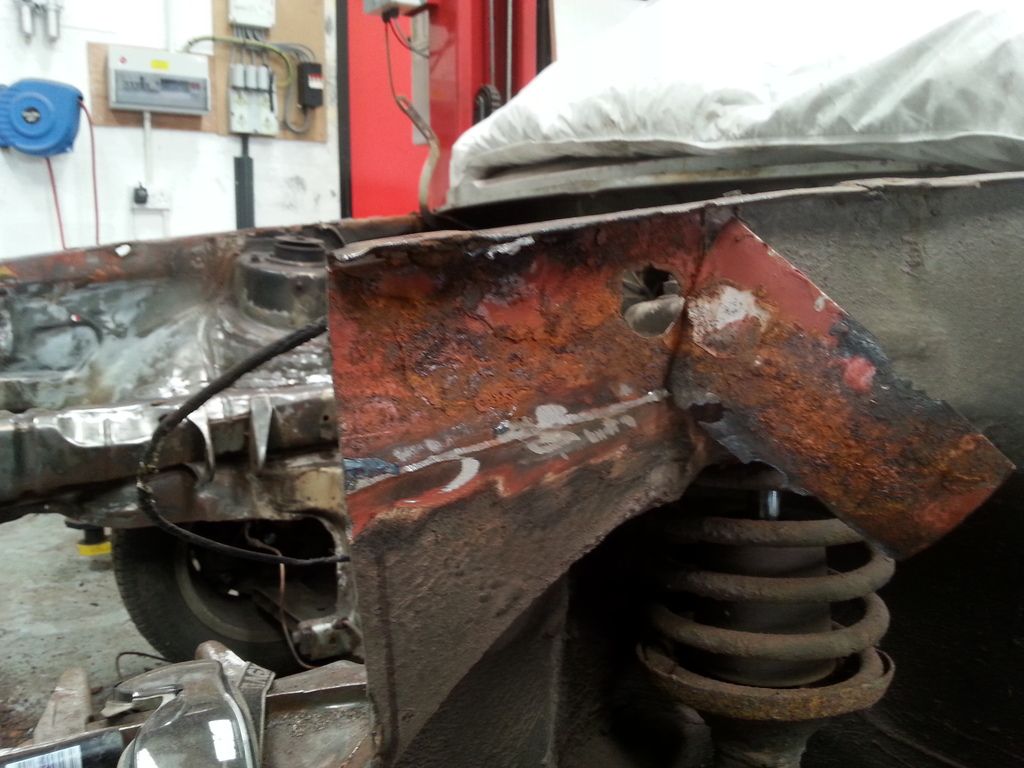
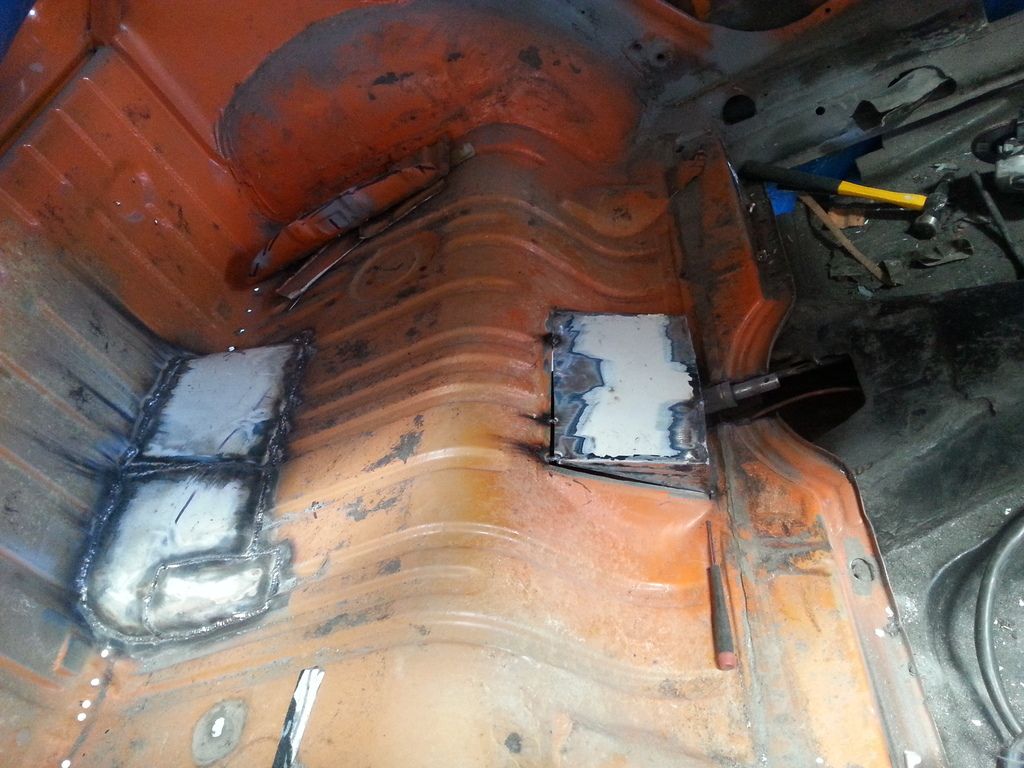
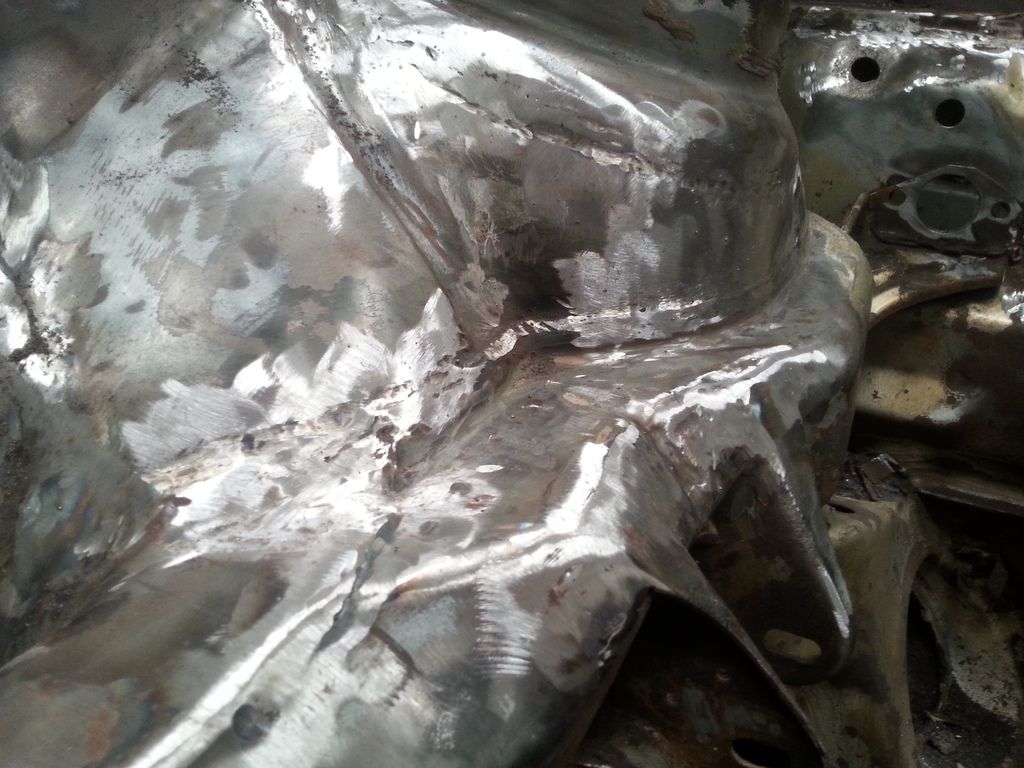
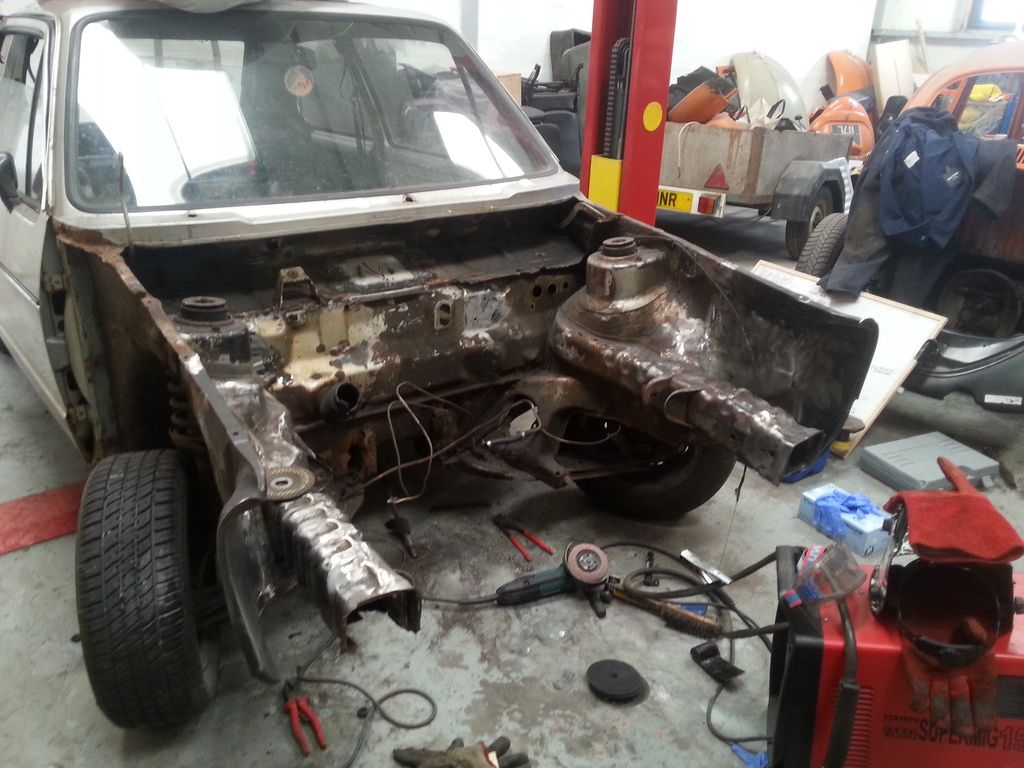
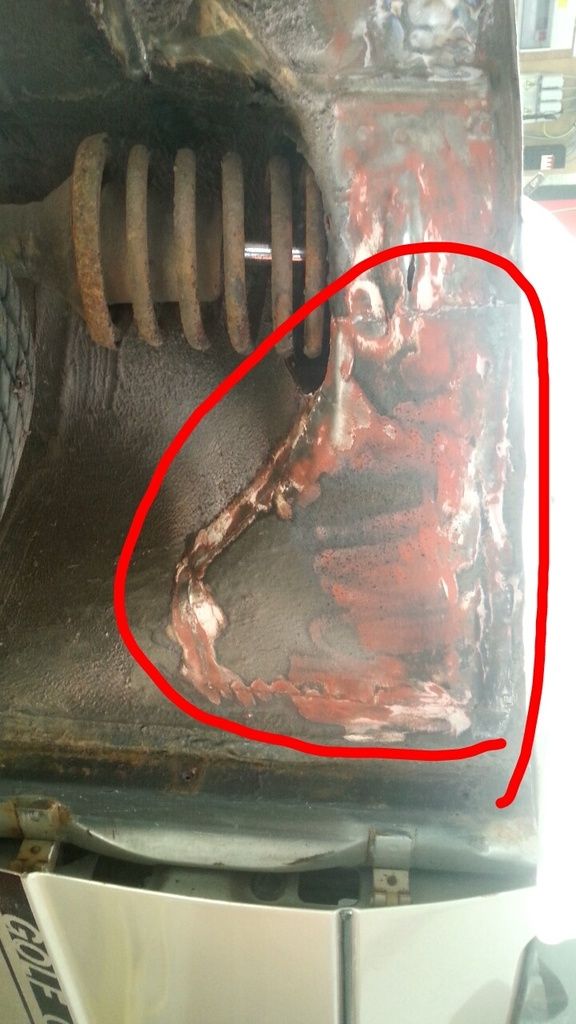
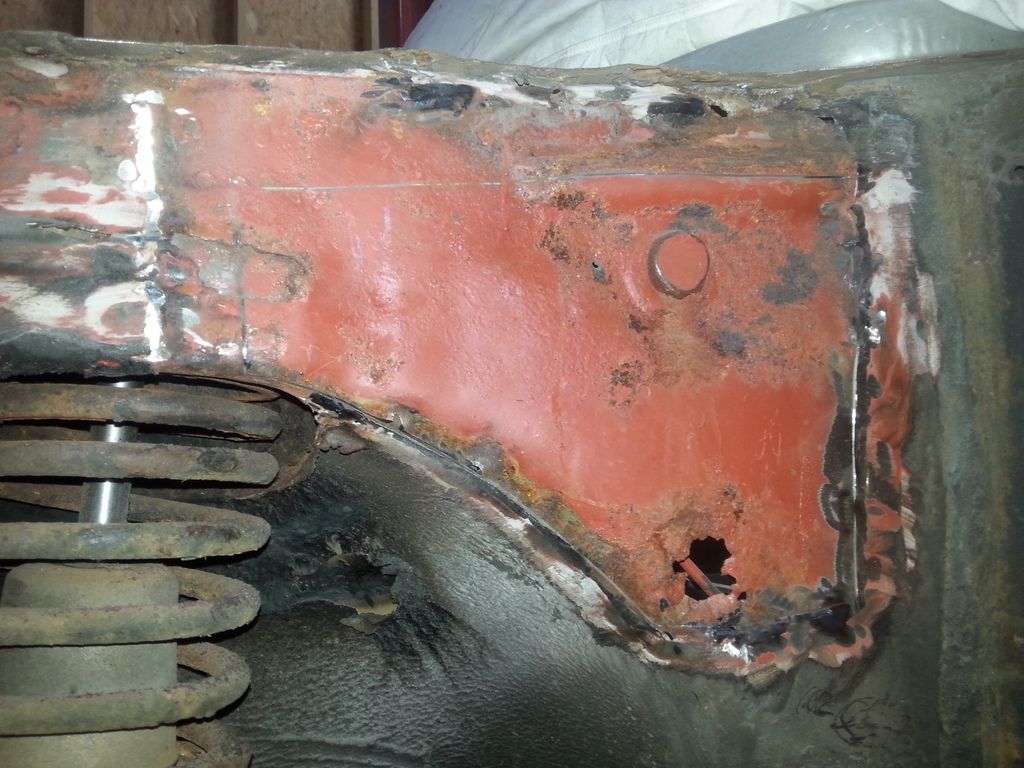
    I moved onto the front inner wing


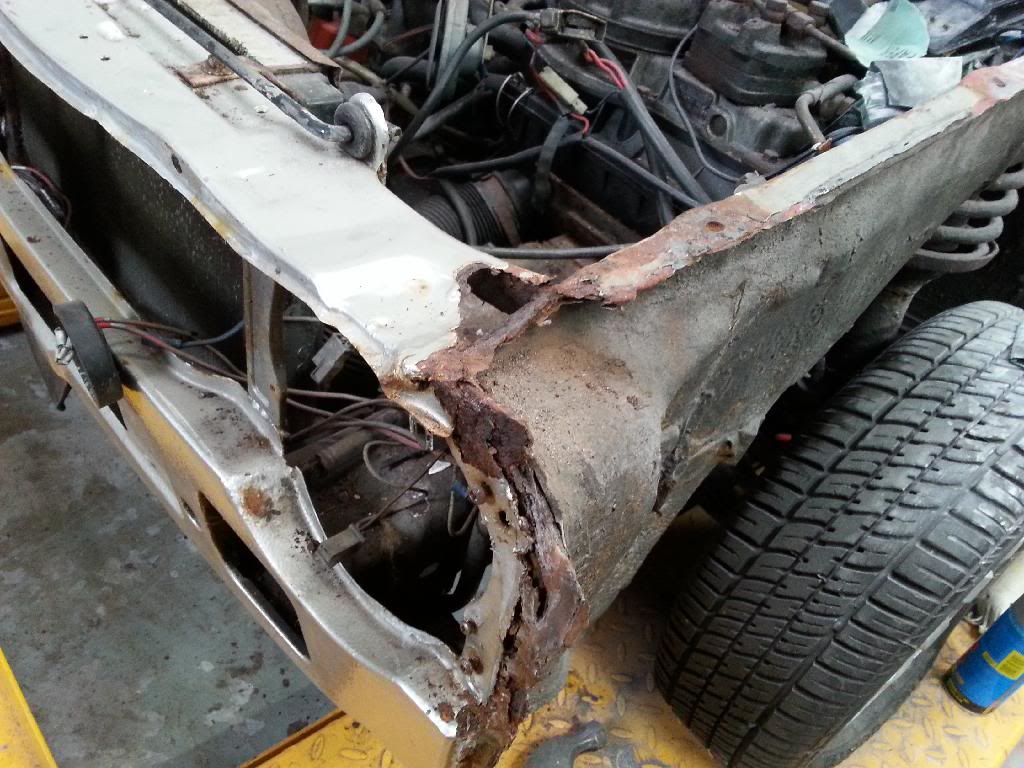
    cut the whole lot out


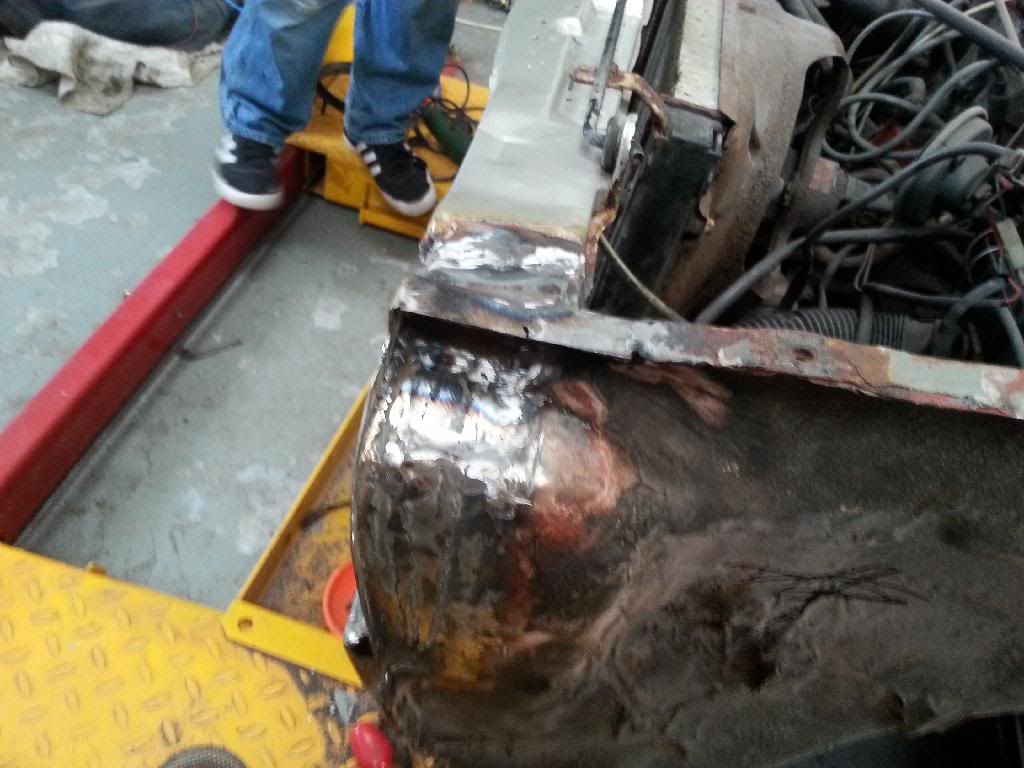
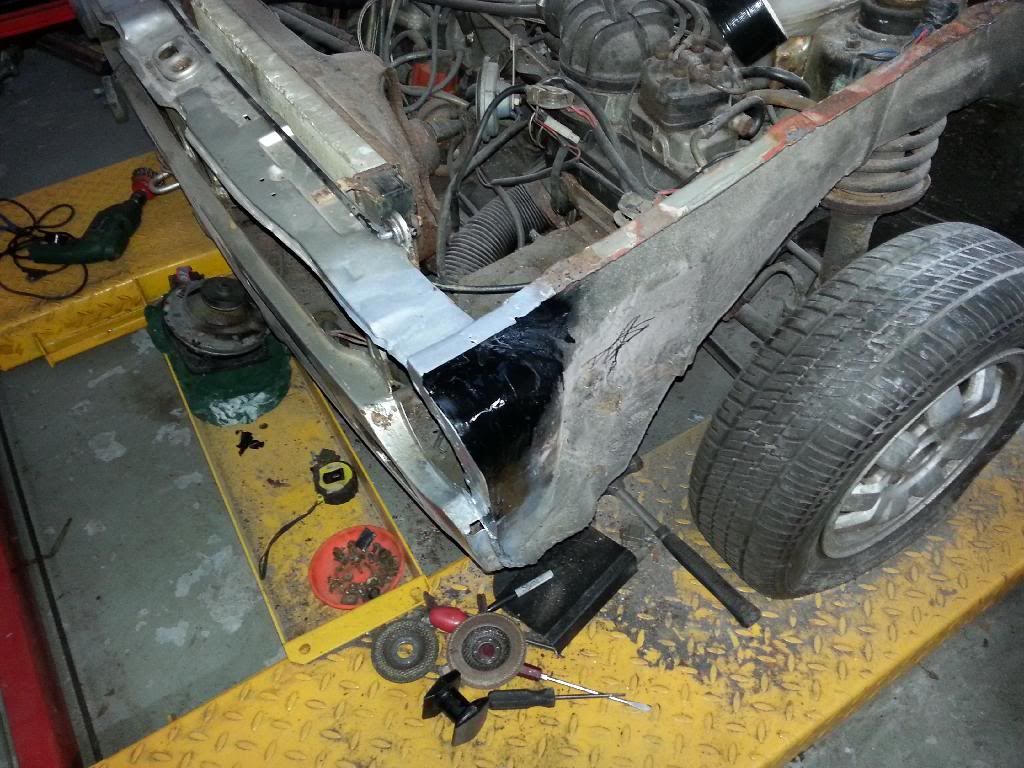
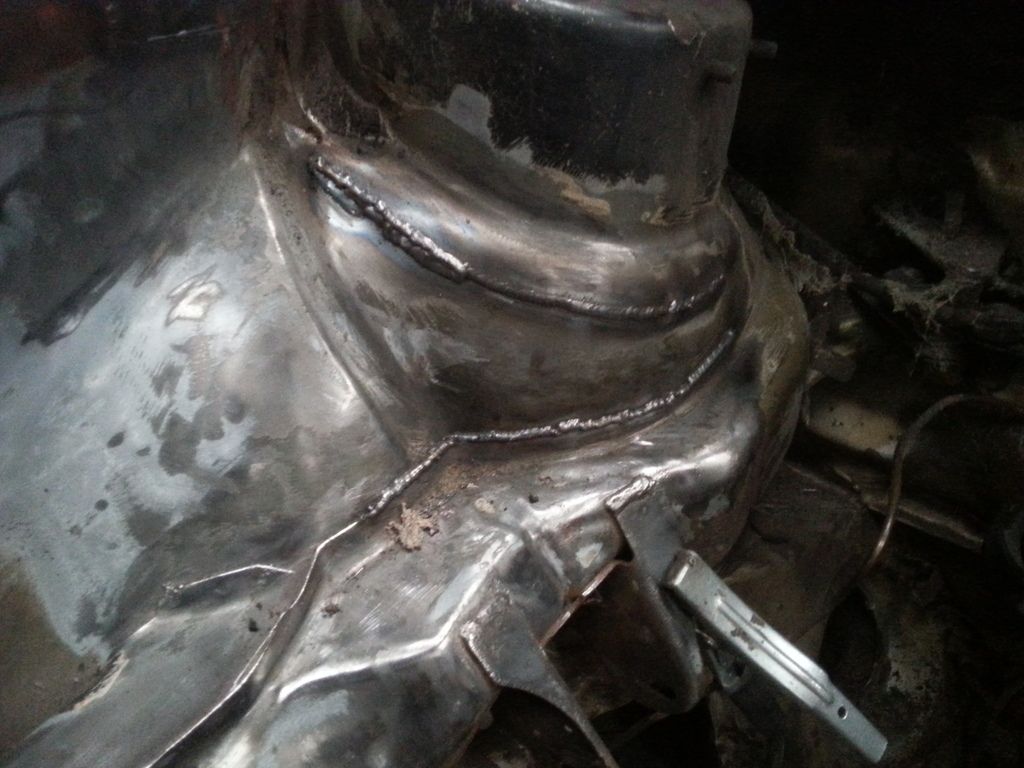
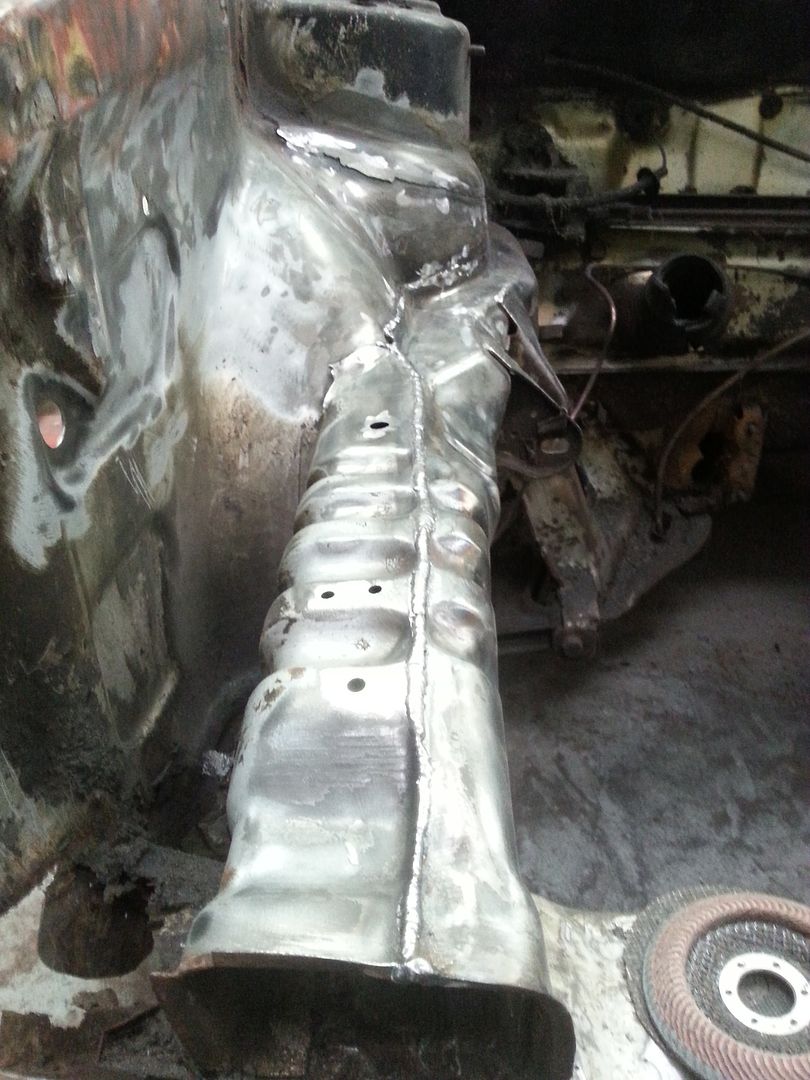
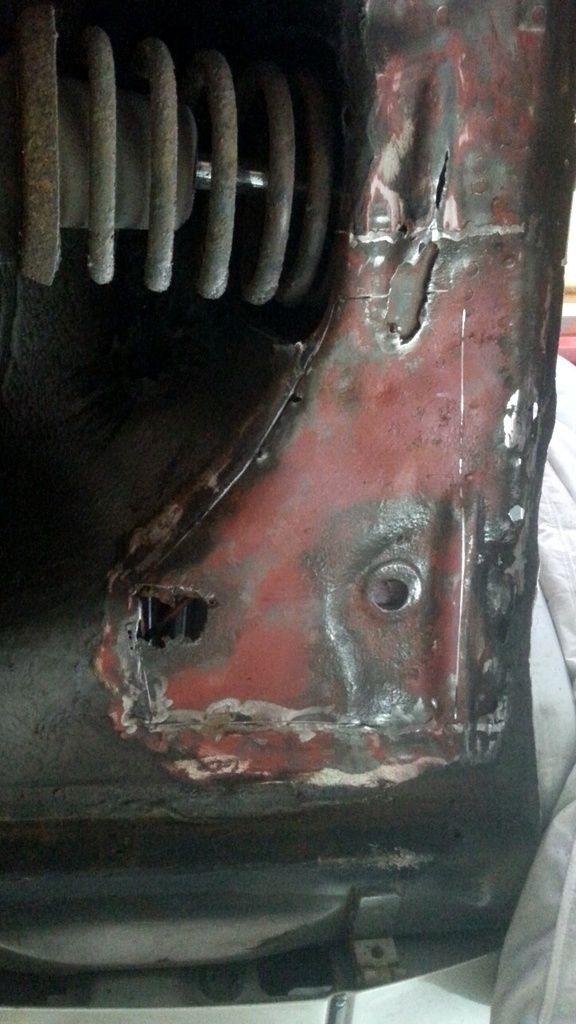
    and this is where I'm currently at! I made it out of sheet and reused the headlight brackets


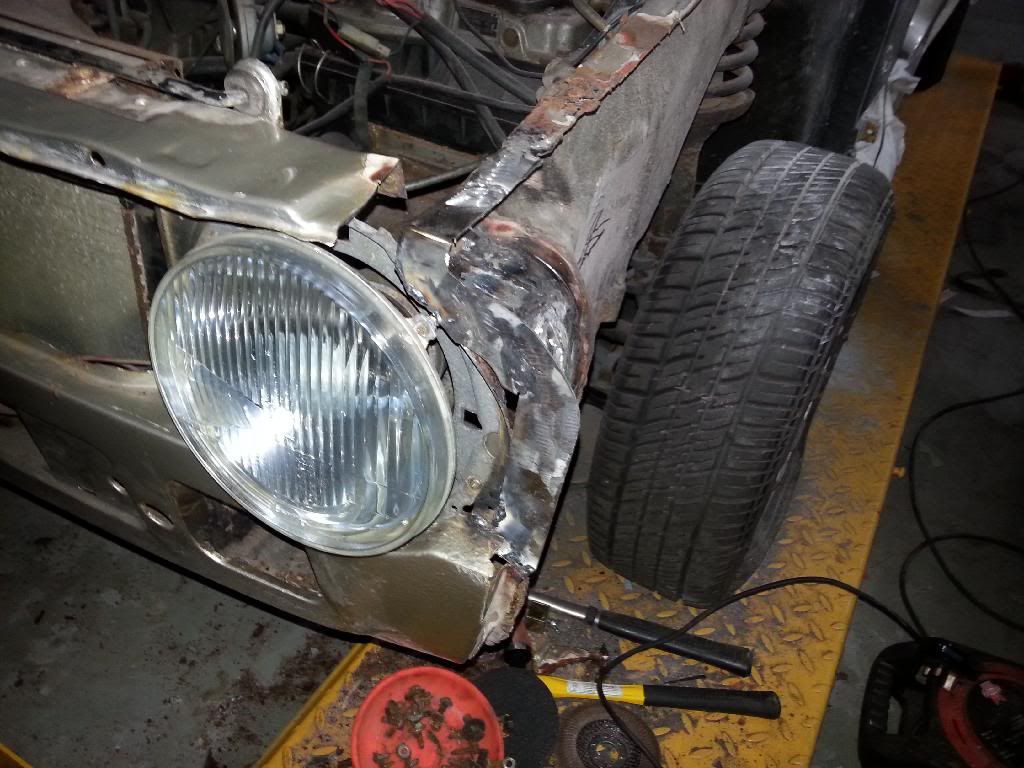
    I have until the 13th of may so hopefully I will get it road ready by then!

  • #2
    [I got a bit more done tonight, finished off the front corner and painted it. Also put topcoat on the A-pillar scuttle patch and the colour match spray can I bought doesn't match 
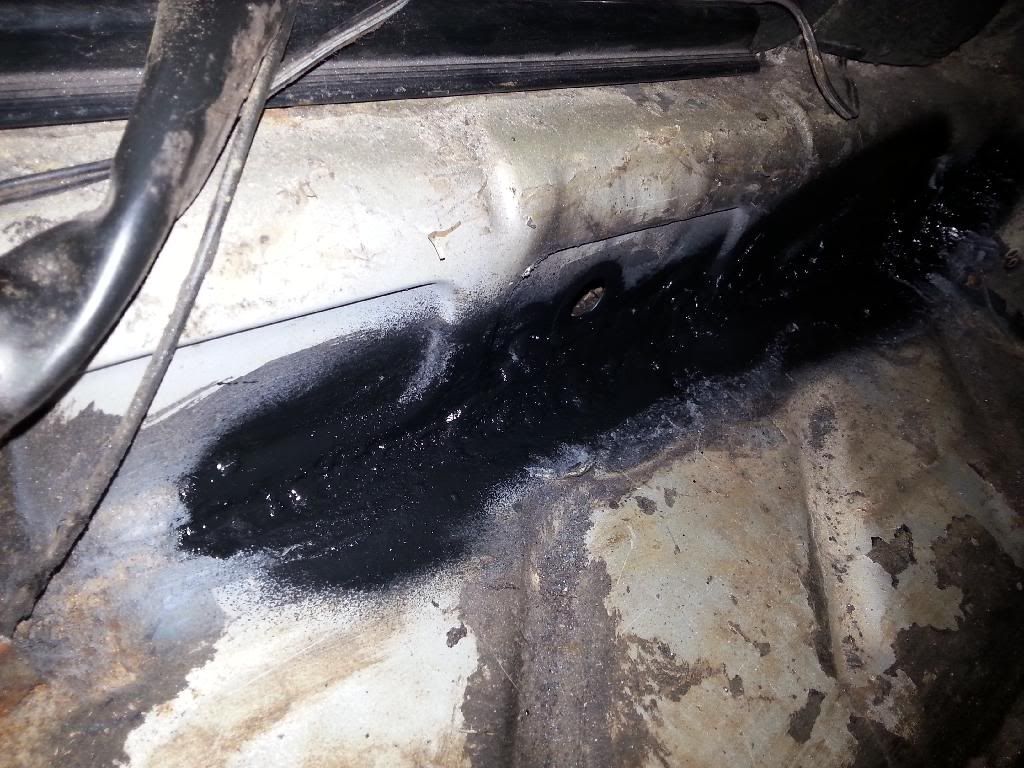
it will do for now until I have time to do it again. Also seam sealed the rear spare wheel well patch
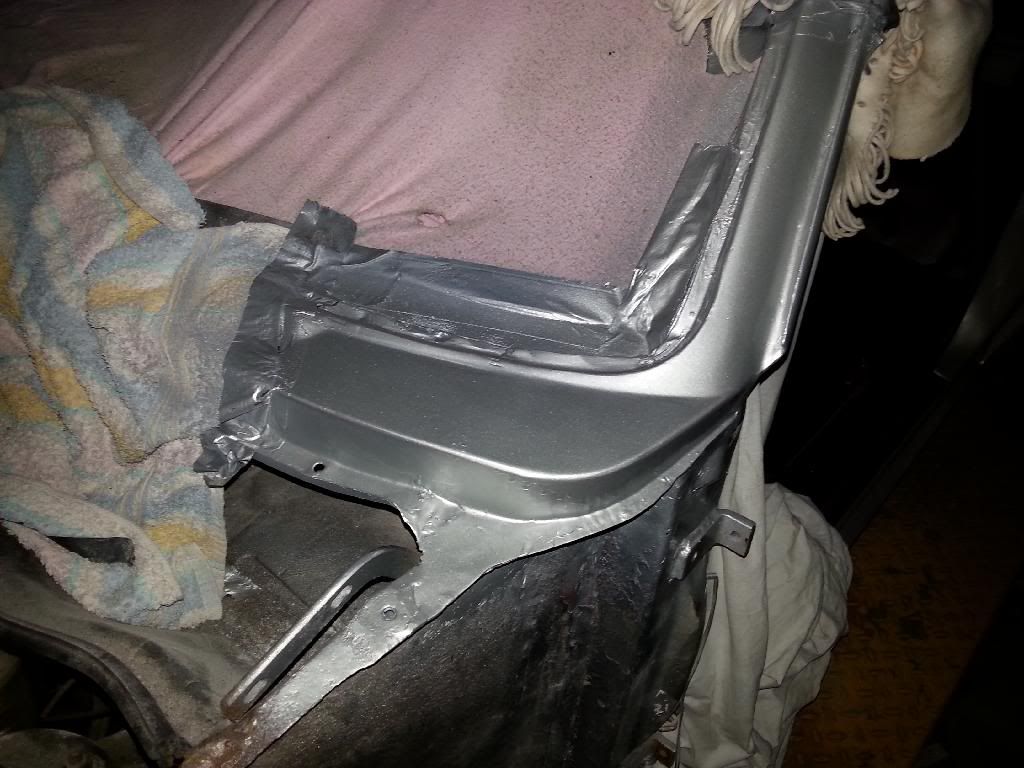


    Here's some interior shots


    One of the previous owners decided it would be a great idea to fit a sunroof, why he didn't keep the tin top I'll never know, the headliner was done to a horrible standard.


    I also bought a bunch of stuff off a guy for £40, only really needed a manifold but he had a mirror and grill trim that I needed to so I took those too!


    Anyone who has changed a exhaust manifold on a golf knows it's a pain in the assignment as it's directly below the inlet and you can't see the top studs. After cutting the old downpipe off as it was the only was to get it off as the studs were completely sized I got the manifold off. Every stud but 1 snapped going to the downpipe, hence why I bought another manifold

    Comment


    • #3
      It's been a long time since I updated this thread quite a bit has been done since I last updated

      I got new front brakes and hoses


      Then I finally got the car through the mot the second time around, had to bleed brakes again and adjust mixture for the emissions test

      The day it passed!

      With my mates and their Fords


      A week later I found that I had a fuel leak, but only above half a tank. Found out the tank is rotten.

      Anyone that's had to replace a tank on a MK1 knows you have to drop the axle, every one but 1 stud snapped
      Took the time just to paint everything up as it was all apart and installed poly bush anti roll bar and axle bushes.


      The car came with a half roll cage when I bought it so I ran about with a cage for a while (I took the seat belts out after taking the photos!)


      My mate works for the same company as me but in the mechanical section, so I asked him to make me a boss for my Nardi that came from a Classic Imprezza


      Found an original 80's Shell sunstrip on ebay and used it at a classic car show, but flew off on the way home


      I bought a set of wheels that I wanted for a while for cheap, they were all curbed and in poor condition but after myself and a few mates refurbished them they look okay! I know these are generally septic wheels but I took a gamble to go for the period late 80's & 90's look.


      After getting tyres mounted I decided to take some photos with my mates XR3i


      And that's about it for now! The car is off the road for winter and not a lot will be happening because I'm building my bug at the moment, but don't worry, it will be getting decked soon enough
      Last edited by mart1n95; 10-09-2014, 12:08 PM.

      Comment


      • #4
        So its been a while since I posted, drove the car for a month in the winter because I crashed my daily, then the golf broke down too, it wouldnt start when it was hot, wouldnt start when it was cold then the fuel pump gave in. Decided to try tidy up the engine bay because its ugly as f*ck


        Top fill radiator


        Then decided that I ***** mechanical fuel injection so decided to go twin carbs, not only because they sound great but they're just cool as f#ck

        This was a terrible financial decision as it needed so much work and as the inlet is at the back of the block it made the job a lot more awkward than I anticipated, and after all this the car will still not fire up at all! With not a lot of cash spare as I have this too, its taken months to get to this stage


        I came across an add for a set of wheels that were too cheap to pass up so I stretched my budget and they're on the way!

        Comment


        • #5
          good work, like the eg as well!
          Shuttle Build

          @regiment9ine

          Comment


          • #6
            i was gonna say, you and your friend in the escort need wider wheels

            but seems like you got that sorted already.

            nice to c another mk1 on here
            Floccinaucinihilipilification

            Comment


            • #7
              So these turned up today


              A bit more work needed on them than what I thought and each of the centercaps has 1 tab missing and one has 2 tabs missing, so I'll need to make and glue tabs for those


              Ive ordered a bench grinder, various polishing mops, polish and 12 point sockets so I can split these and get them good! Thinking of just fully polishing the faces rather than the original black/polished
              People will **** the fully polished faces but when theyre gonna **** the Jap wheels on a German car why not

              Comment


              • #8
                Update time, test fitted the works on the golf, love the look!

                Discovered the engine wouldnt start due to low compression in 2 cylinders so the plan was to just pull the engine, rebuild, put back in. Then things escalated, bay is getting shaved, rain tray is deleted, heaters deleted, servo deleted and going to be rinning 2 master cylinders, one for front brakes, one for rear. I'll let the photos do the talking
                Started cleaning the bay as it was covered in underseal with petrol

                Ended up having an accident


                Rust, rust everywhere, and dodgey holes


                Hidden under filler

                Front cross member


                Began the repairs, new inner wings and new front panel were bought, and then shaving amd seam sealing began!


                More updates to follow

                Comment


                • #9
                  This is the quality of the previous owners repair work SMH


                  I bought sand blasting stuff so I could blast my wheels myself, ive decided to go with the original black and polished colour scheme


                  New master cylinders for the braking system, 0.625 for the front and 0.70 for the rear

                  Made a patch for the large hole from the heater box

                  Comment


                  • #10
                    There is no way your a beginner at body work. Keep up the hard work
                    The Calm Before the Storm
                    My db7 Daily Whip Build
                    @PennyBoi

                    Comment


                    • #11
                      Originally posted by Shogunate View Post
                      There is no way your a beginner at body work. Keep up the hard work
                      Haha thanks man, just self taught so id still say im just a beginner, ive had a lot of practice with my Beetle though, in the middle of finishing an engine raise and framehead raise, I tend to dive in head first

                      Comment


                      • #12
                        sweet....

                        Comment


                        • #13
                          Some updates from tonight, got to work on filling in some of these holes, its a long process

                          Pretty proud of this patch


                          Seam welded the engine mount and smoothed it off


                          And finally took a photo showing the new inner wings

                          Comment


                          • #14
                            Some treats arrived


                            Anyways, more rust & more shit patches from previous owners.
                            You can see the outline of the sheet metal that was used to cover the small hole

                            I decided to cut all the pitted metal out and dabricated a patch


                            More seam welding


                            And another humongous patch from the previous owner, what goes through their heads to do this ffs!


                            Thats as far as I've managed to get, my welding mask ran out of batteries

                            Comment


                            • #15
                              Fucking stellar work going on here. Makes me feel like a moron hitting myself in the head with a hammer in regard to fabrication ability considering we're the same age.

                              Comment

                              Working...
                              X