 Tweet
Tweet
I've always been a lurker on Stance Works, and I've been snooping around on here for maybe a year or so, but I thought it was time to make an account and make a build thread of my Classic mini.
I have been prompted to do this mainly because very few members on classic mini forums have the same outlook on the mini as i do. I had no idea i mustered the power to summon an angry mob of middle aged men to start a rage fest concerning stretched tyres and camber.
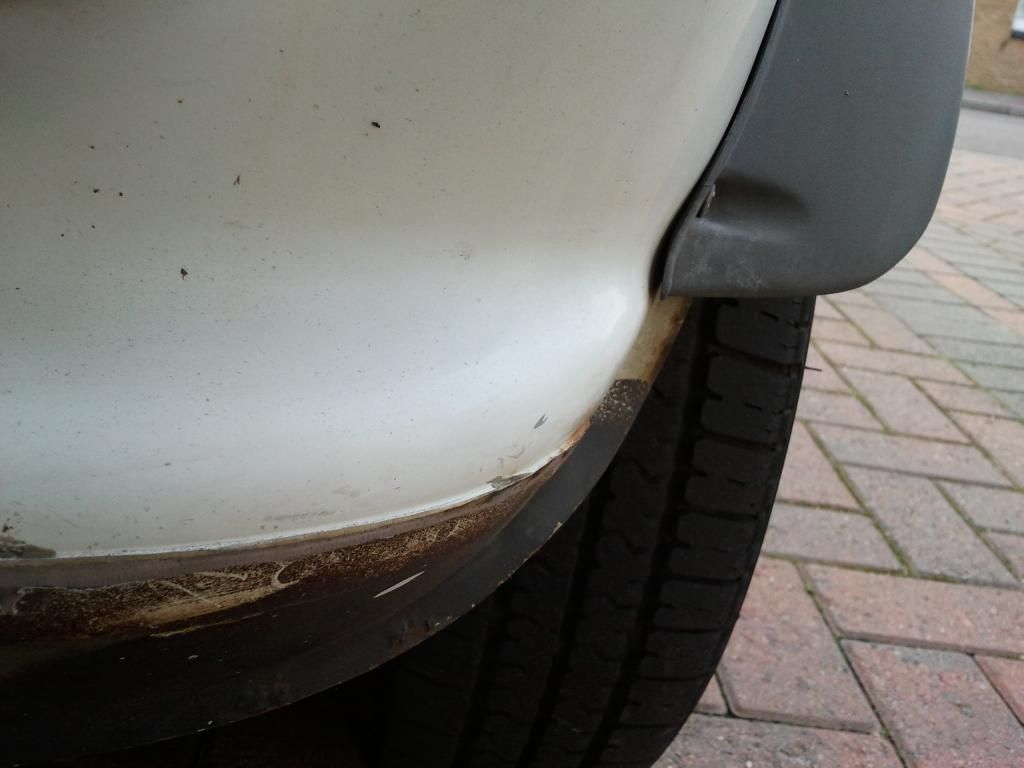
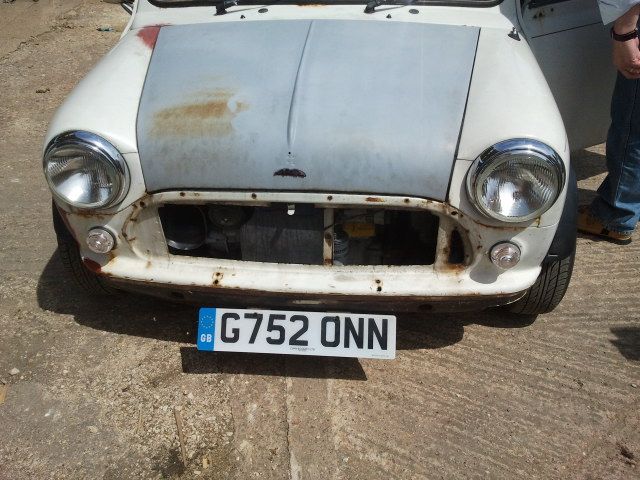
I digress. I purchased the mini 3 years ago. Everything seemed 'sound' for a few months until holes began to appear, and the fuel pump started drowning the engine on the motorway at about 3am traveling home from work, which started making a terrifying backfiring in the manifold.
here he is.
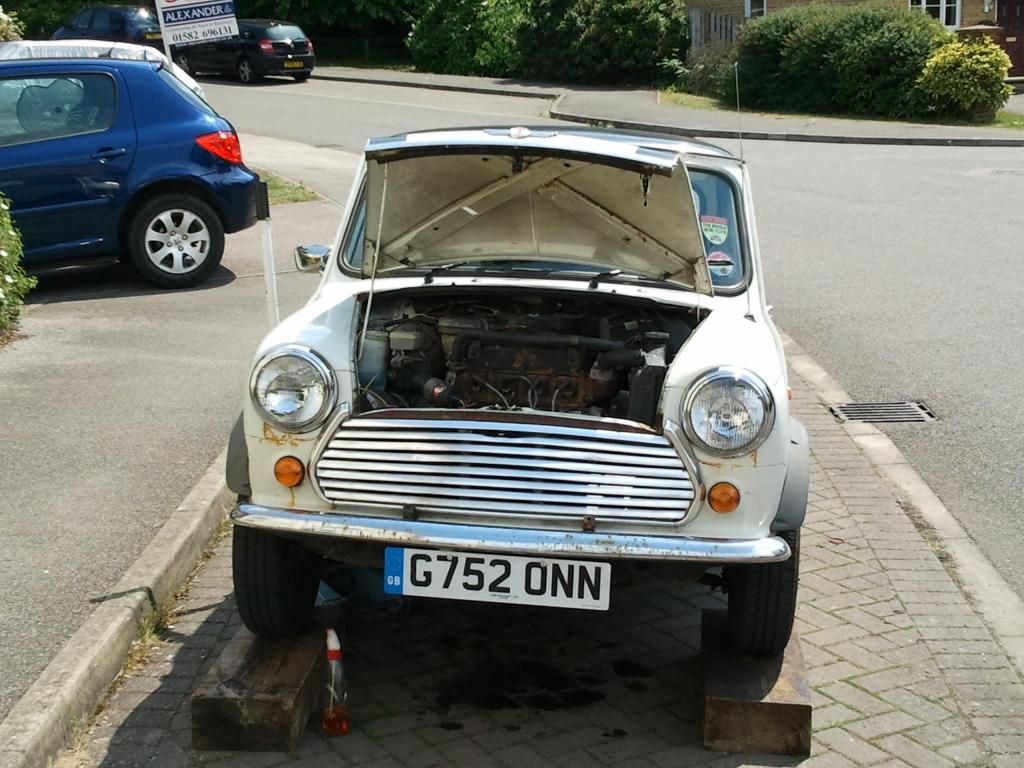

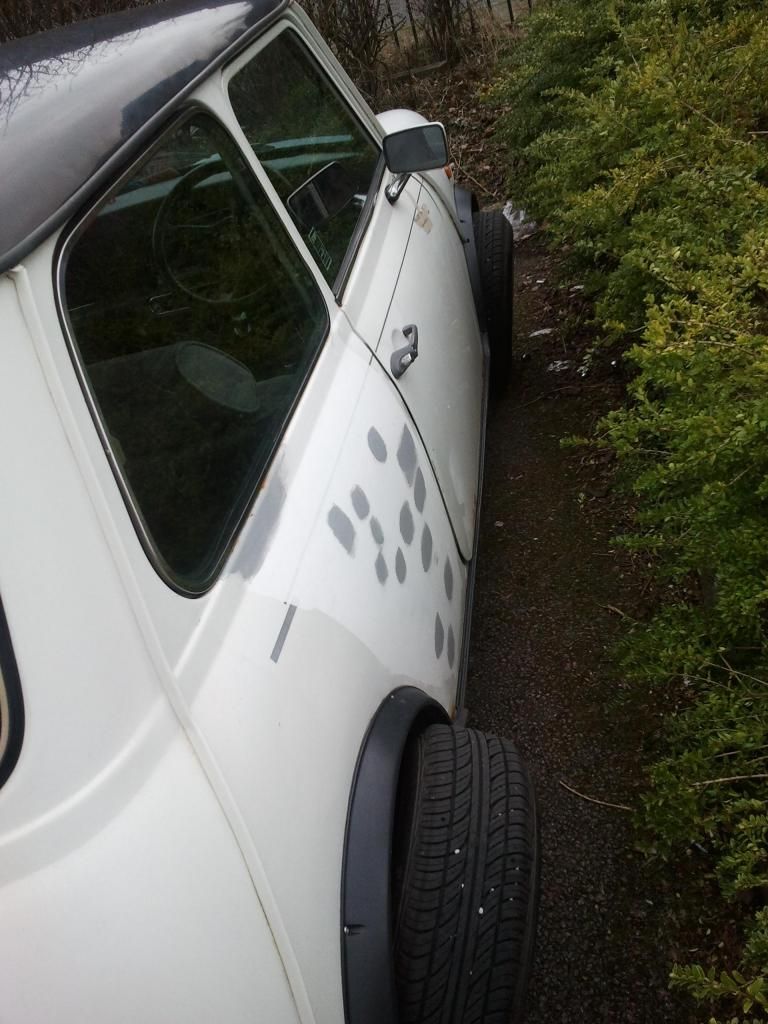
Before we continue i would just like to confirm that i paid way too much for this bucket.
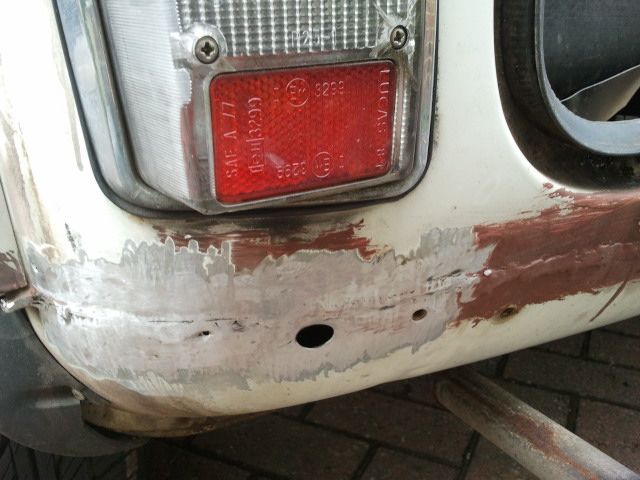
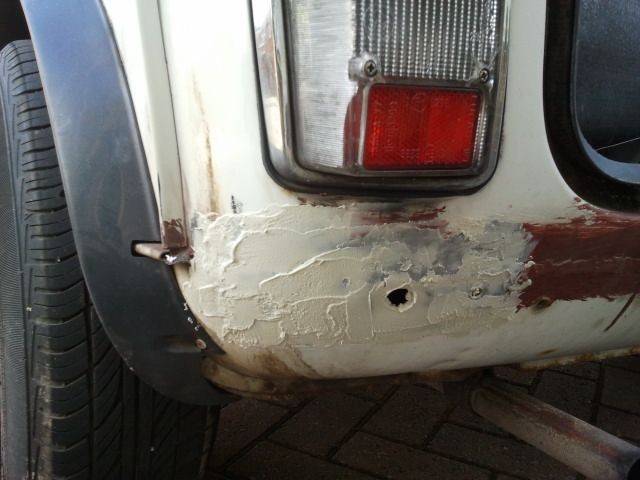
It was about a year before i had to actually start repairing bits and bobs.
I threw myself in at the deep end a bit. I started to de-bumper.
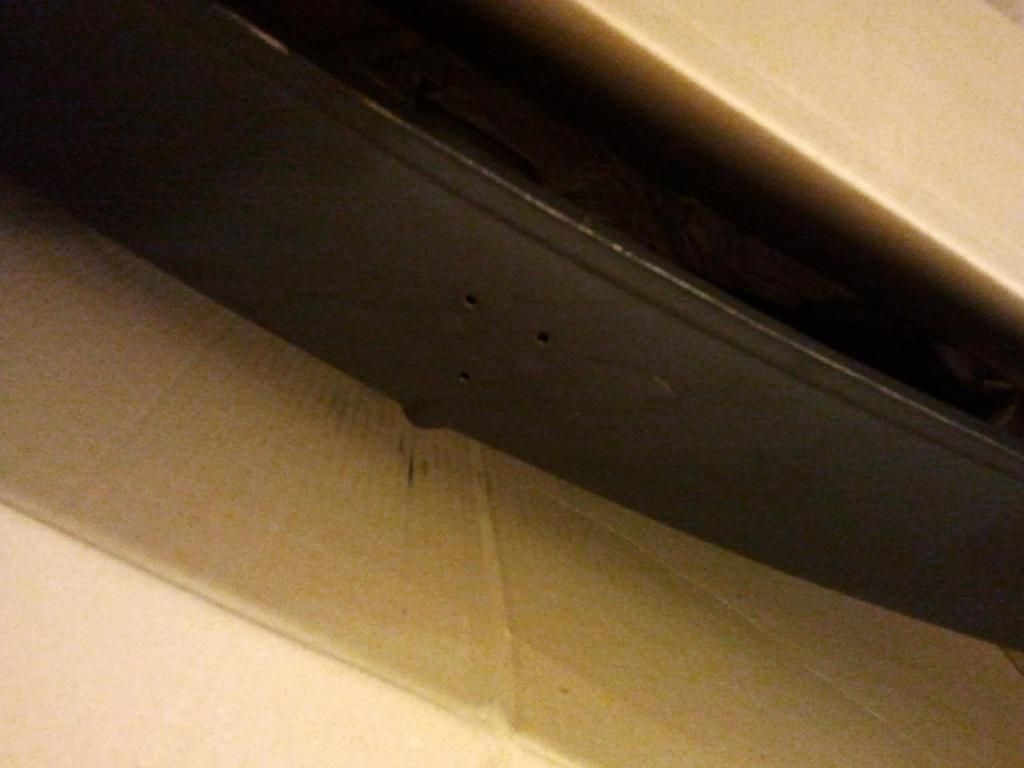
The rear getting de-bumpered. To do this was a ball ache. Litterally 3 panels made from pig iron folded together to make the seam. It was a case of chop then weld, all the way along the rear vallance.
getting the corners of the vallance nice and round before following it along the back.
New bonnet, or hood
Then grille fell off...
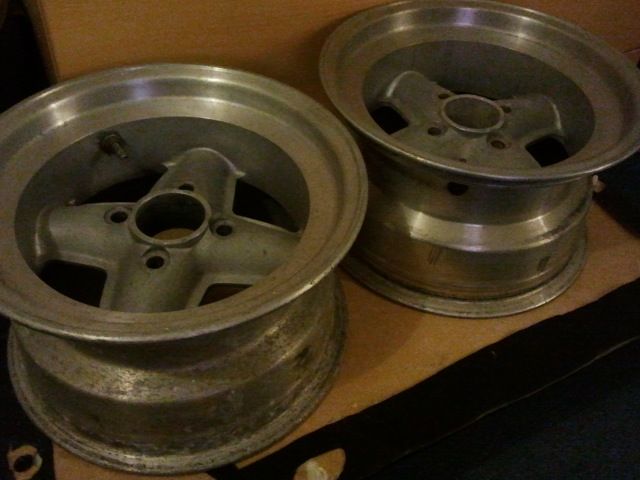
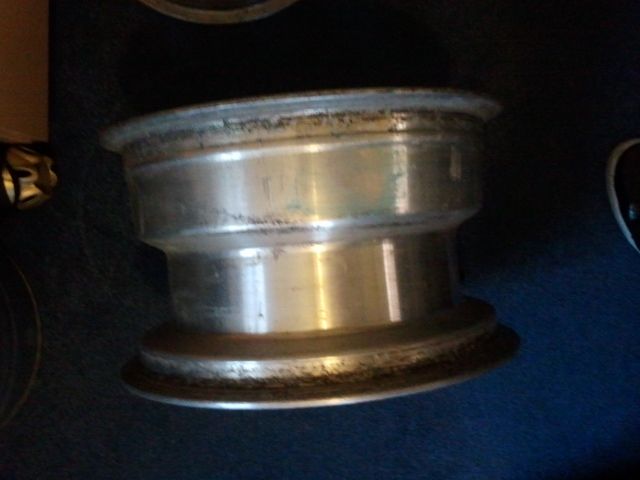
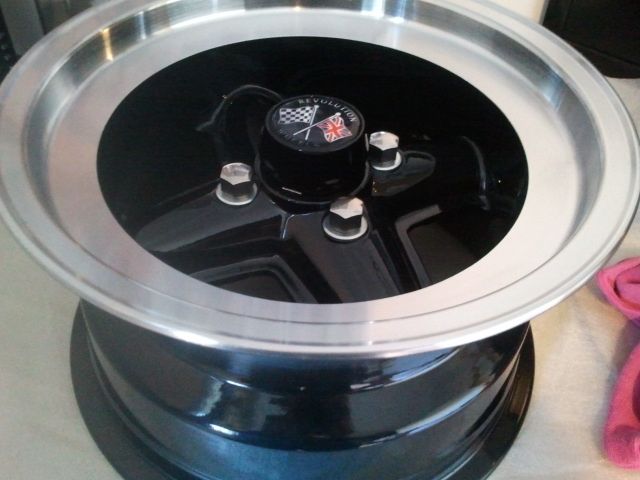
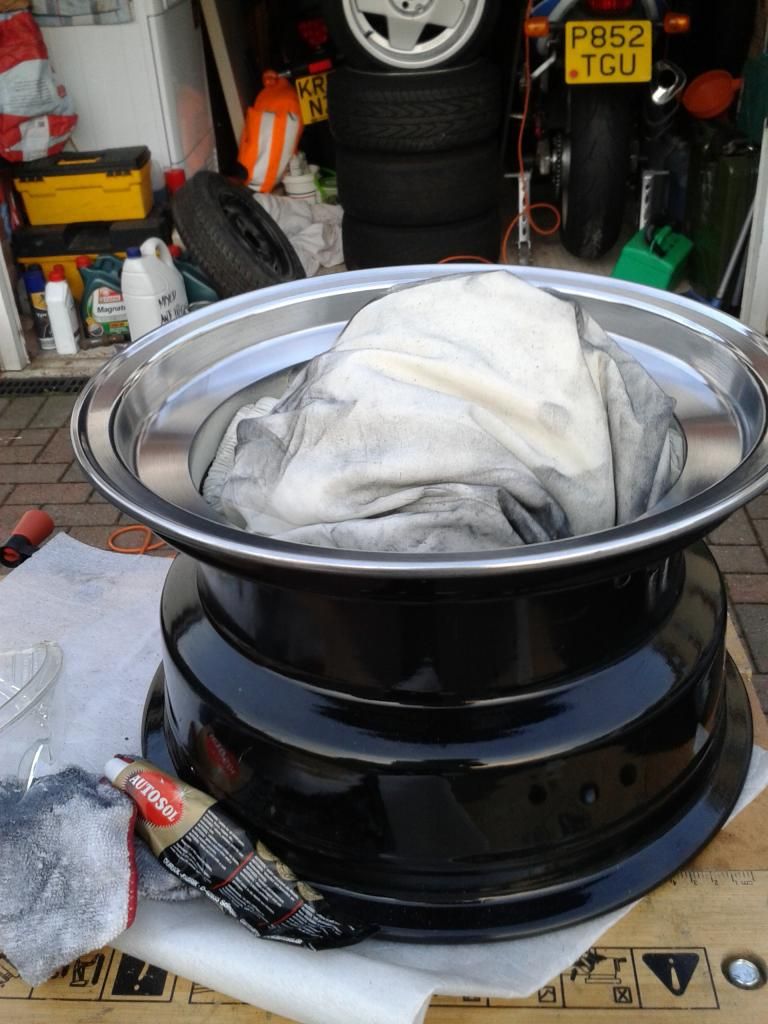
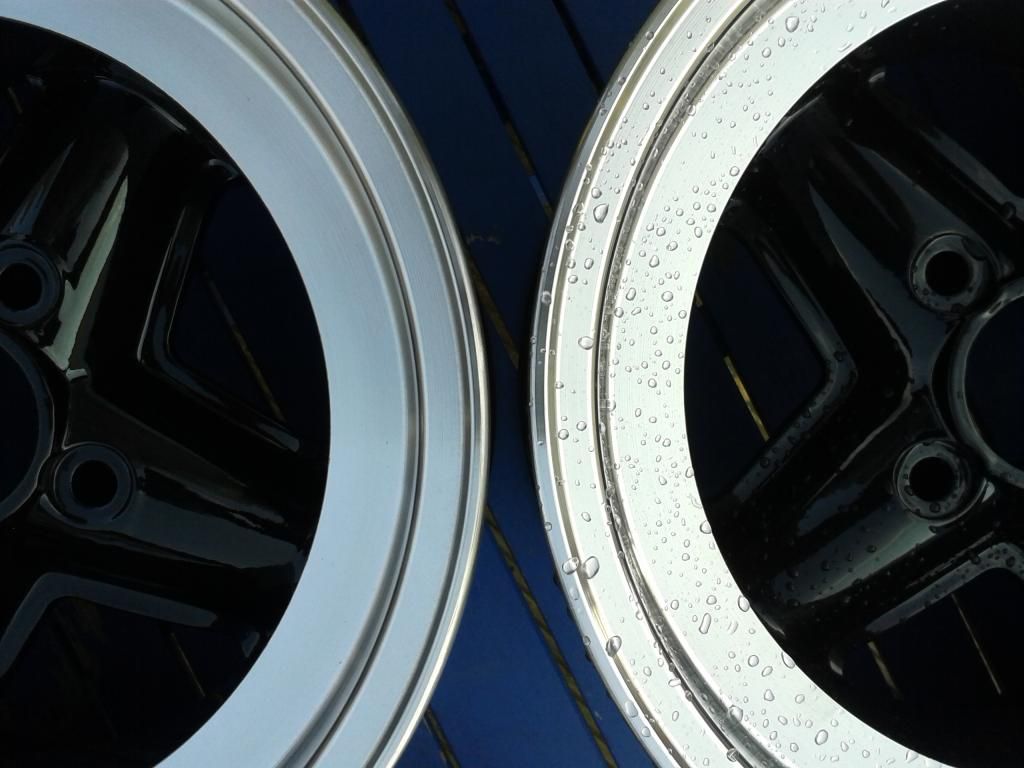
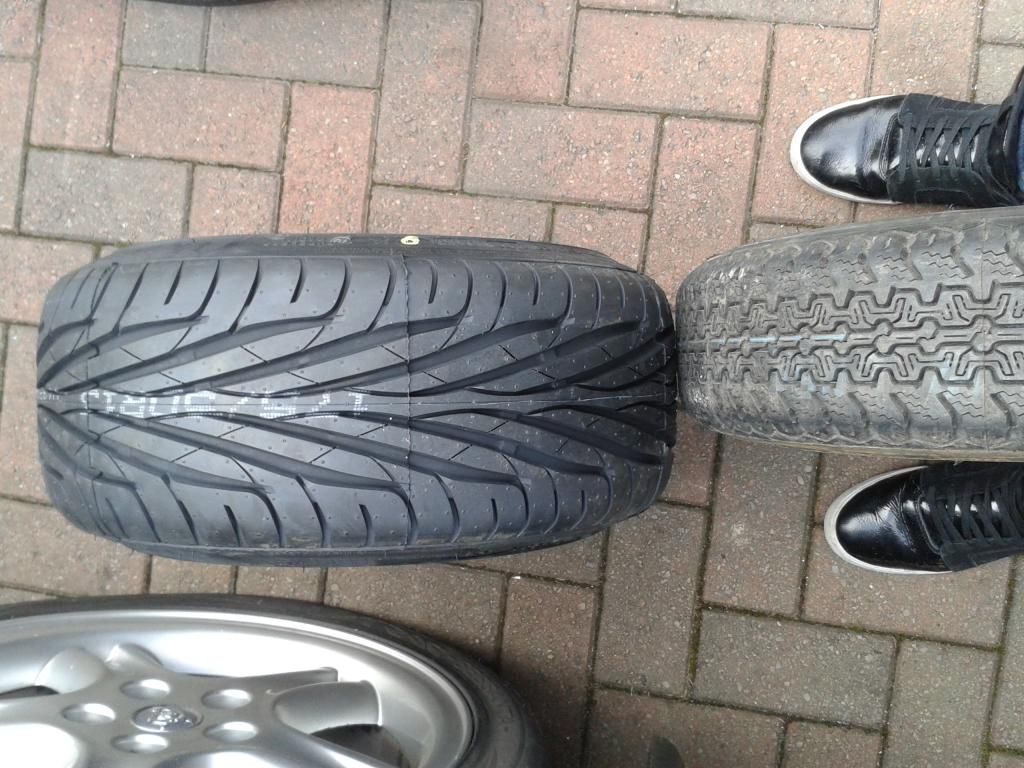
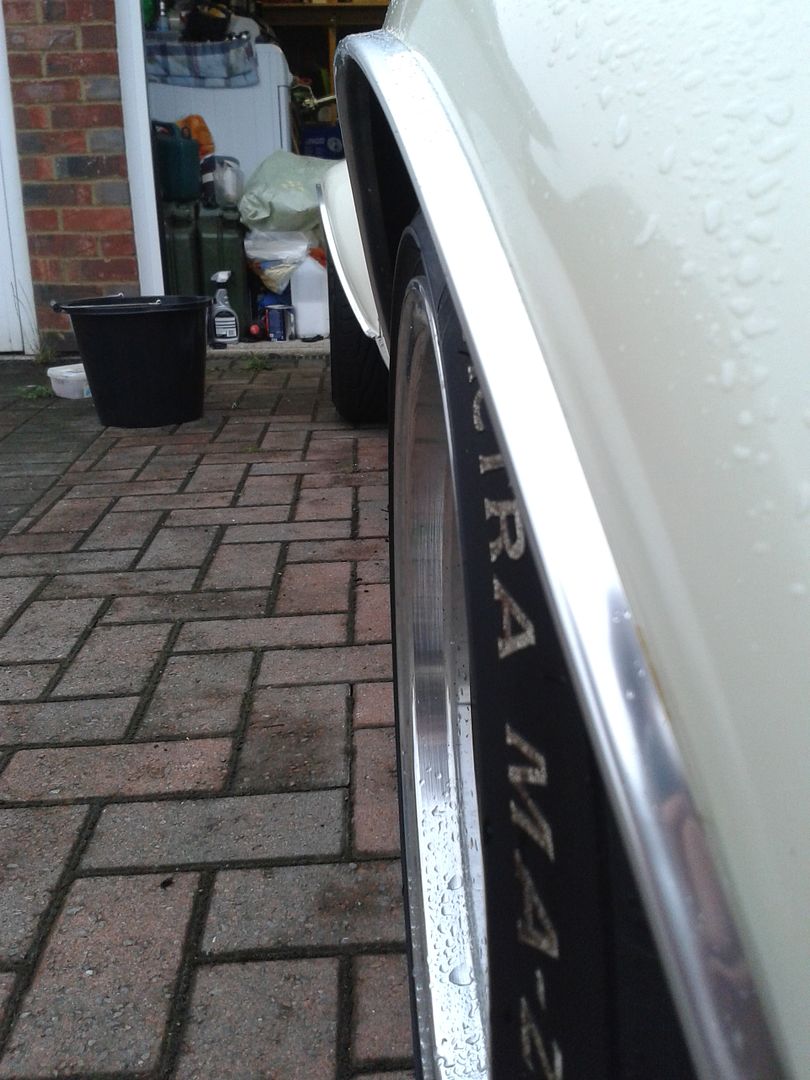
But, things got better! I purchased a set of starmags.
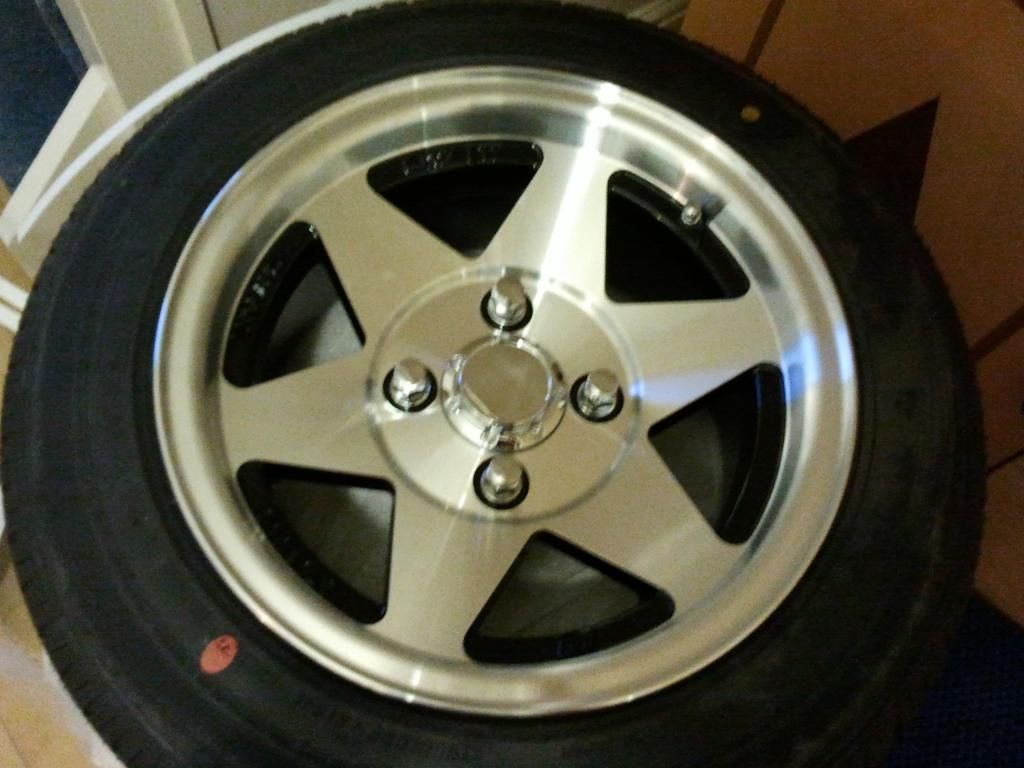
It was these wheels that completely set me in a different direction with the build.
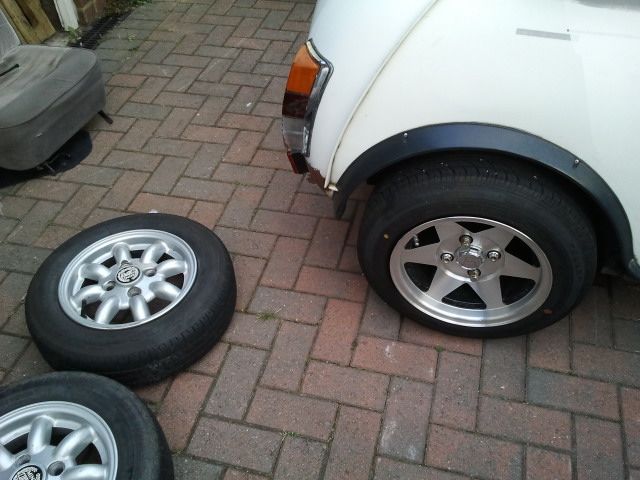
a fairly nice upgrade.
Unfortunately these wheels seemed to be rather desirable, and attracted hostile attention.
It was lucky that said thieves were ridiculously stupid. The only damage was that to my pride, and some broken brake lines on the left, where the wheel had buckled in totally. Fairly easy fix.
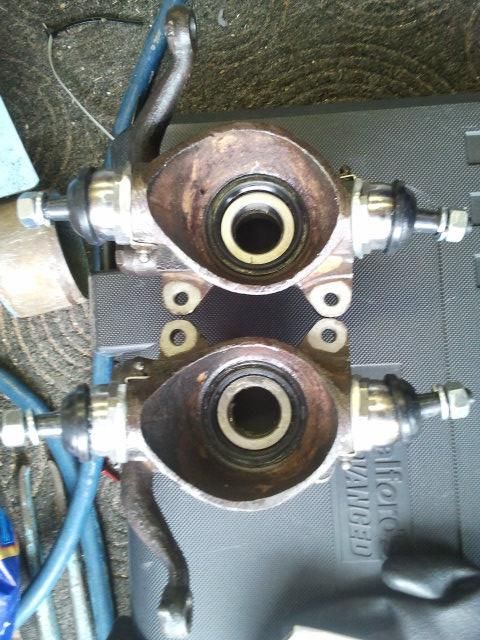
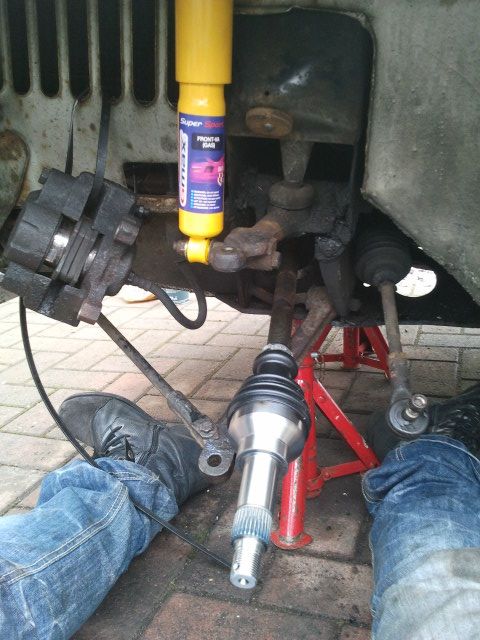
After that the winter came, and as much as i wanted the car done, i wasn't going to sit out there while it was raining cats and dogs. The winter wasn't kind, and a little while after driving holes started to appear and the outer CV's went. Since i had to get the hubs off for this i also fitted new ball joints and bearings, and extended trackrod ends.
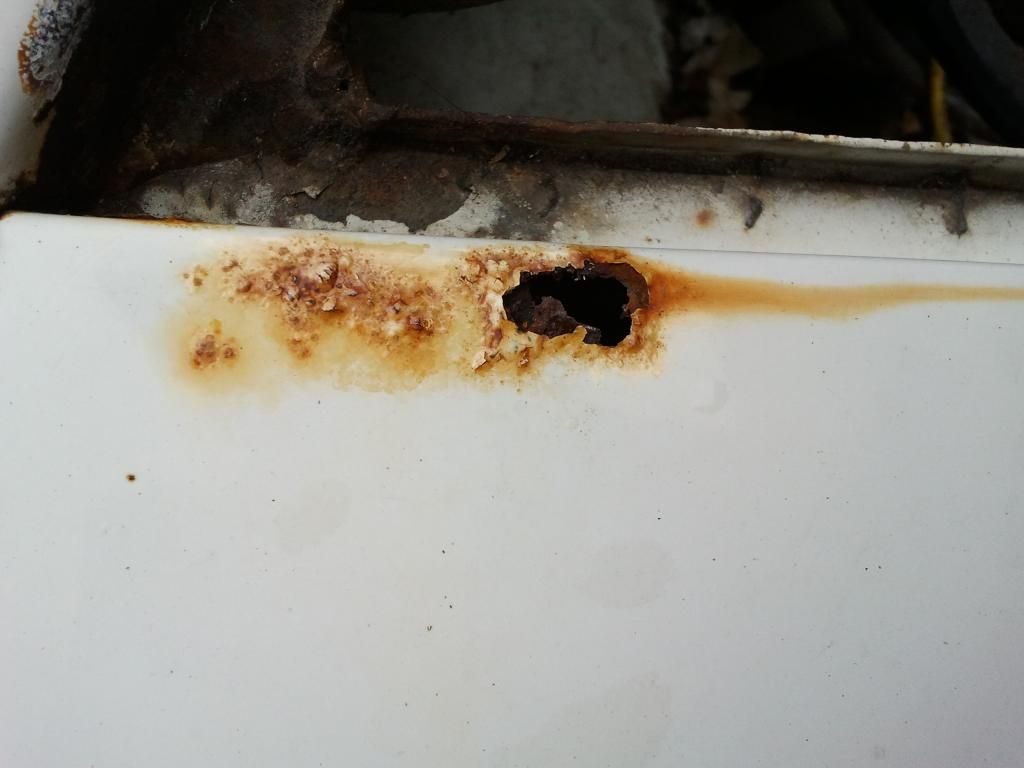
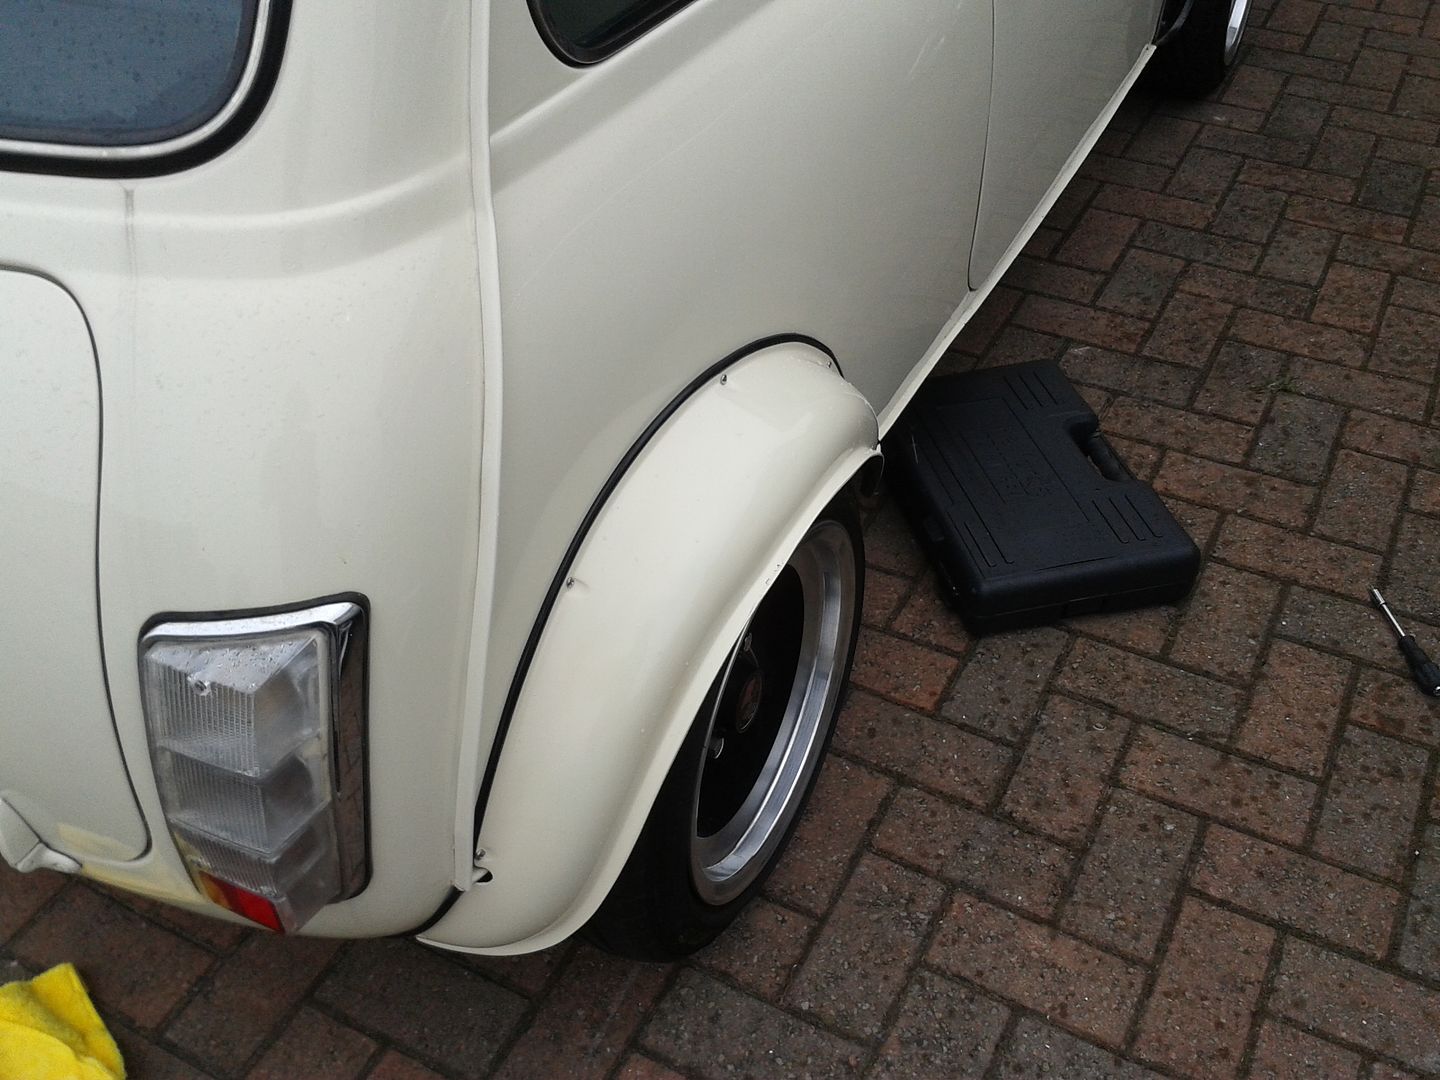
a little hole in the wing that needed new metal welded in.
And after
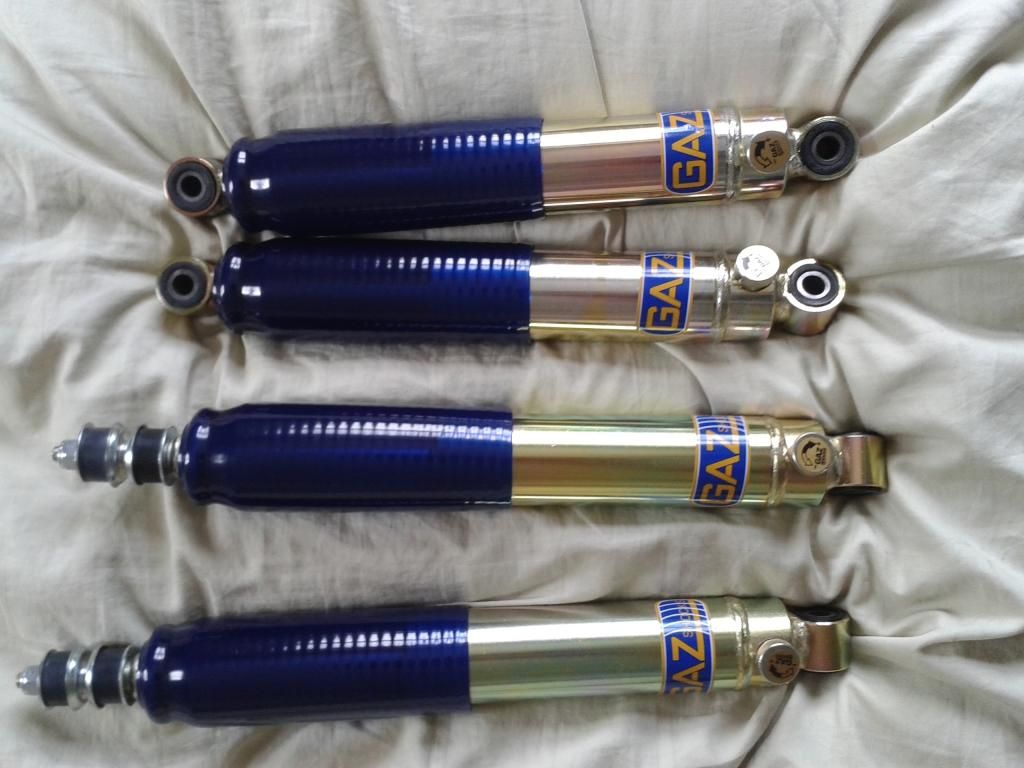
Since i also fitted new shocks, i felt it would be good to do the adjustable suspension also. Unfortunately i have no pics off this. Many swears happened that day.
I also didn't quite get the height right.
As cool as it looked, it wasn't possible to get the car off the driveway.
After the suspension was done, i turned to performance.
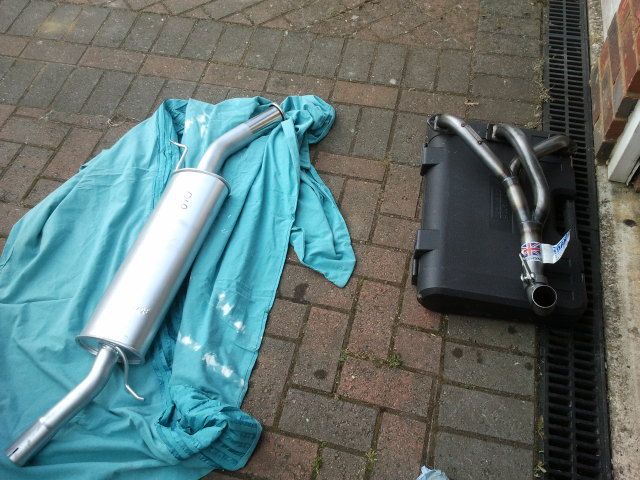
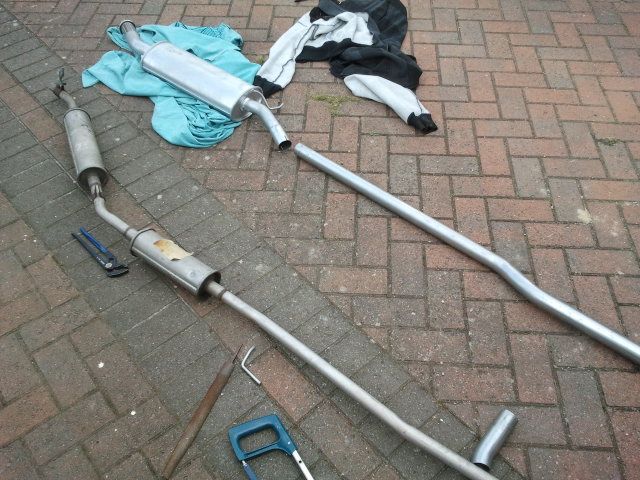
I bought a new larger bore single box RC40 exhaust system, inlet manifold as well as an overhaul for the carb (new jets, needle etc).
The old and the new system.
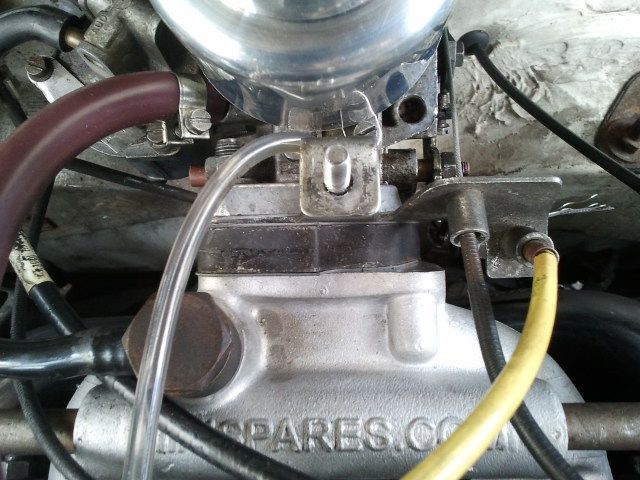
And the new torquemaster inlet
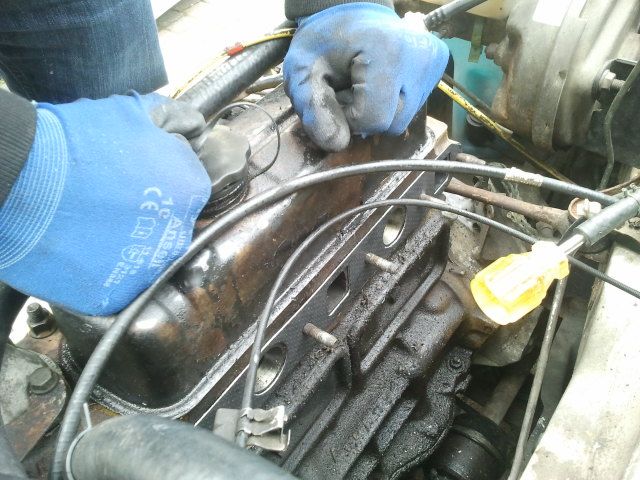
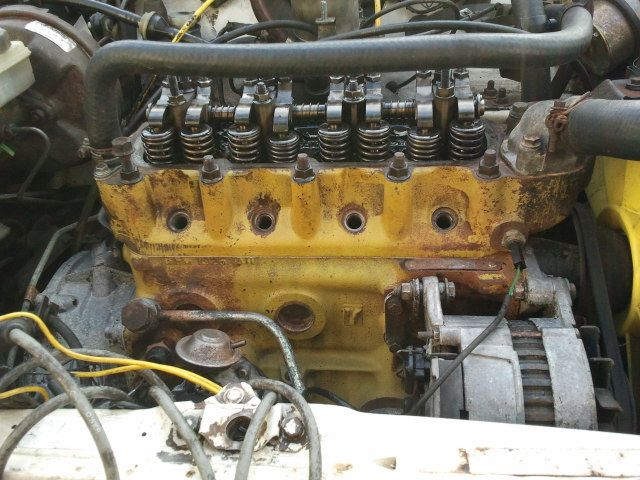
Then de-grased the engine and painted it.

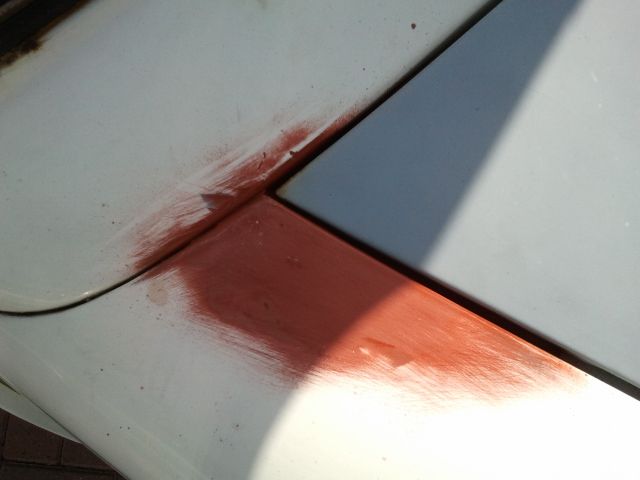
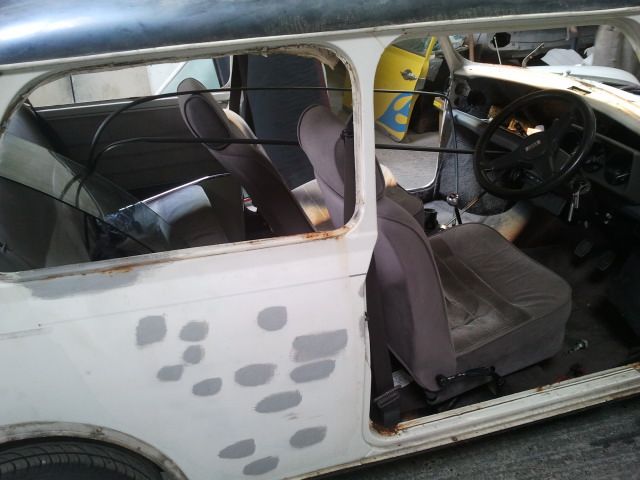
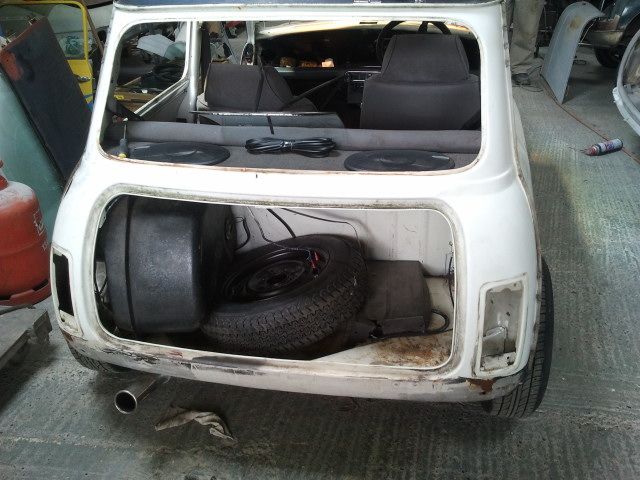
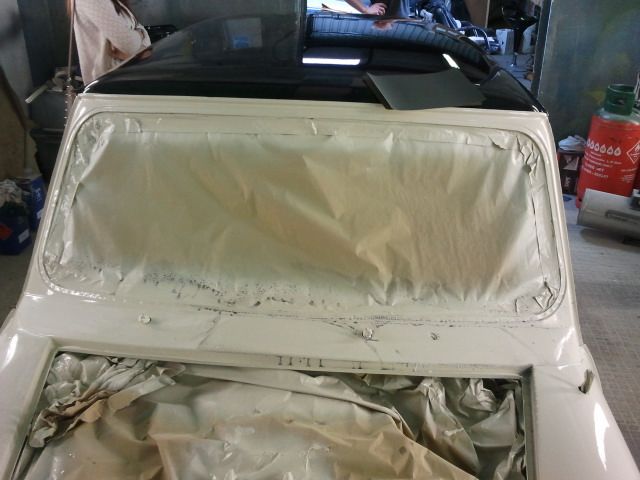
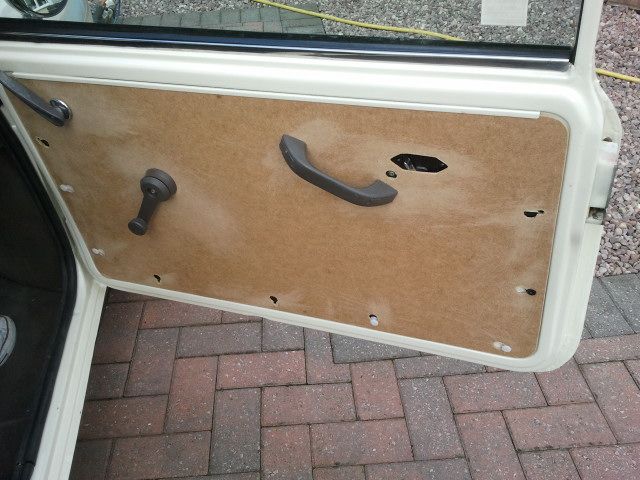
By the time this was all done, i had acquired enough money for a respray. Finally. I had re-skinned a door and fixed it, but the weather got to it before it could be sprayed, so i just bought a new set. This is how it looked before painting...

And during the process.
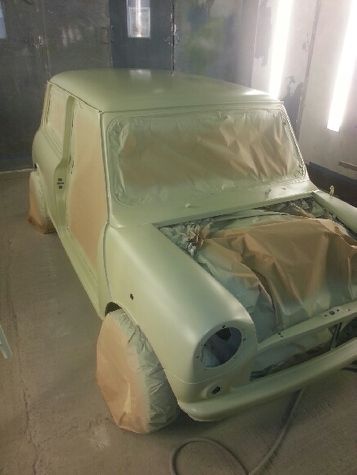
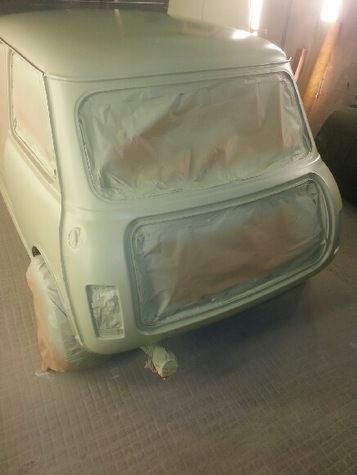
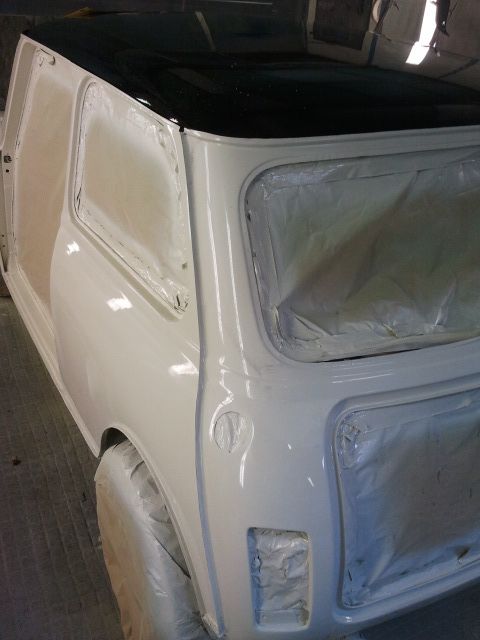
it only needed a little bit of welding, all of the rust was also sand blasted off, and a new front panel was fitted.
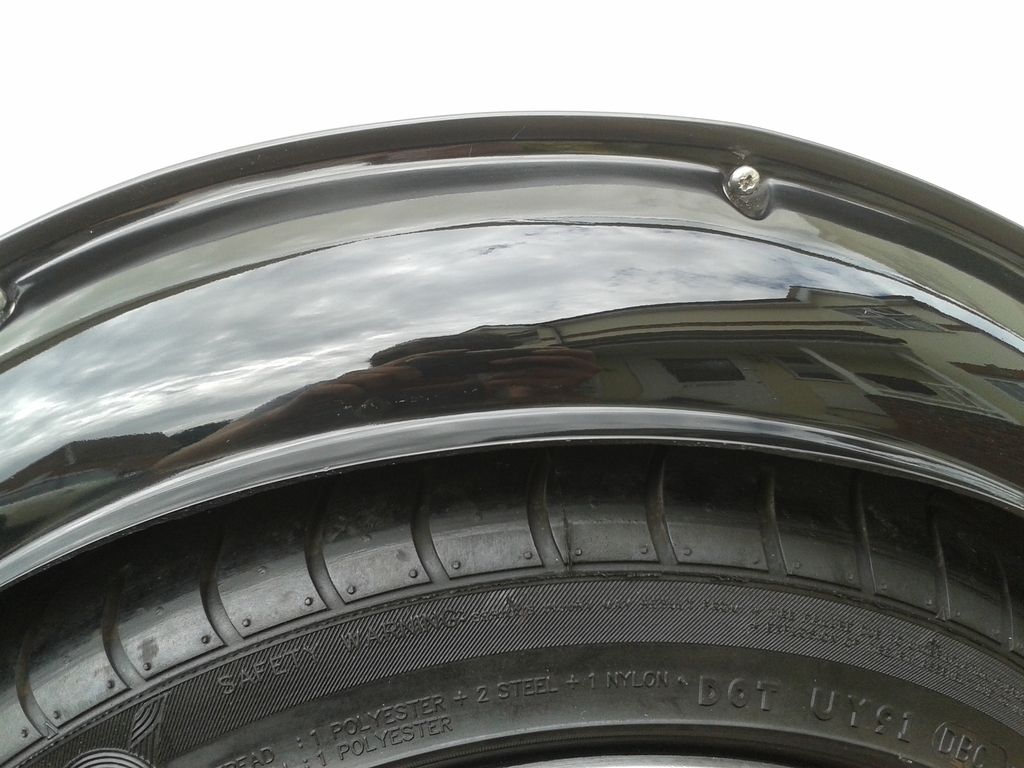
Polishing.
The roof was like a mirror.
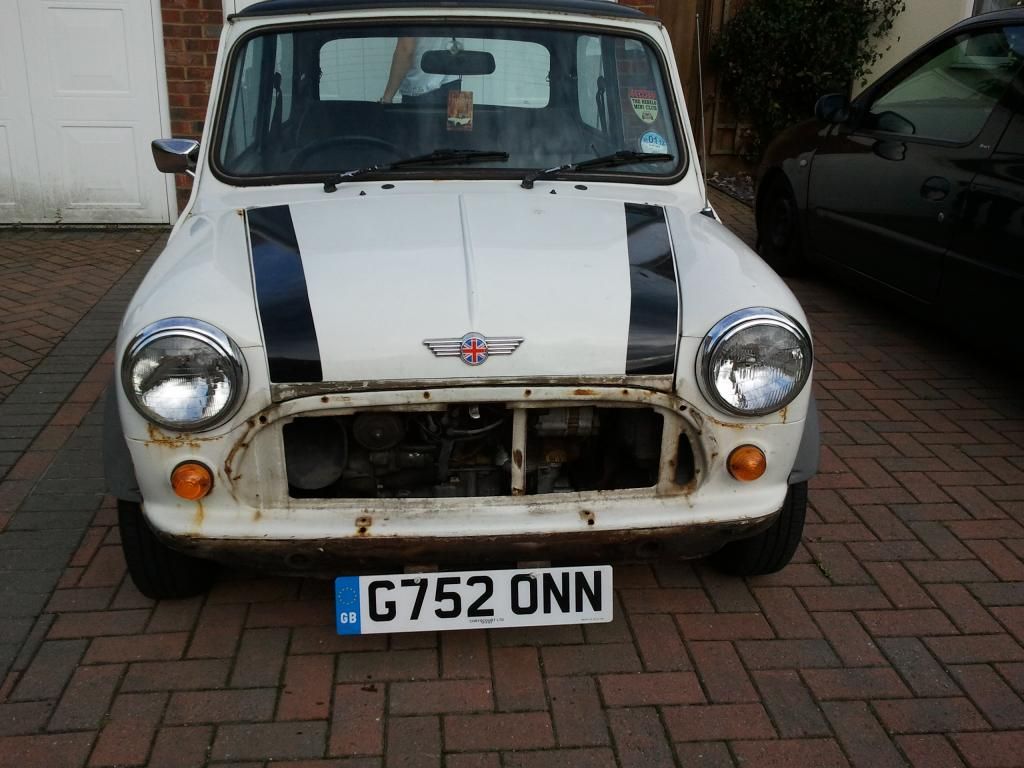
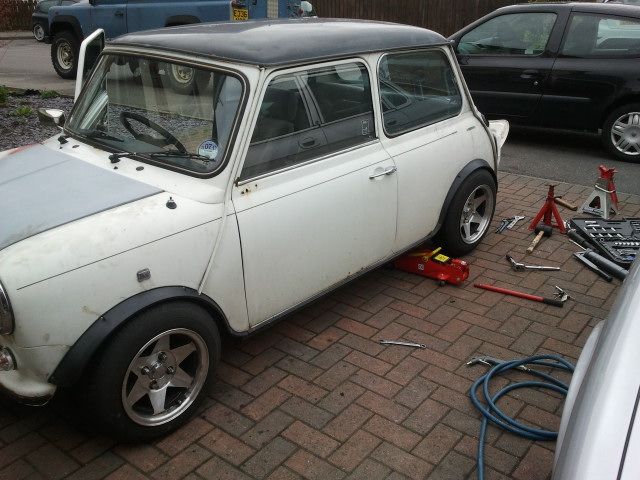
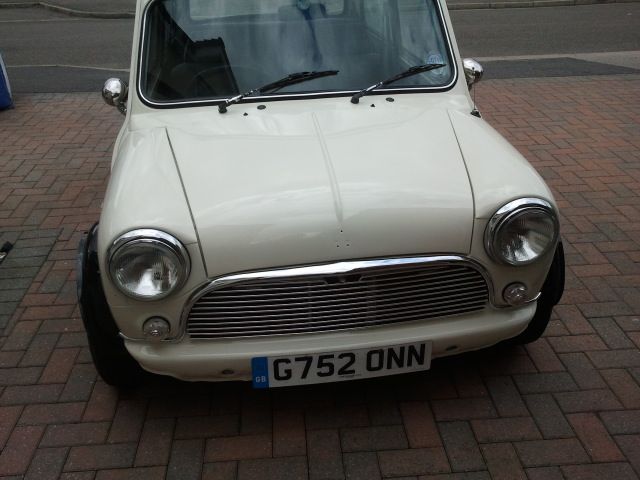
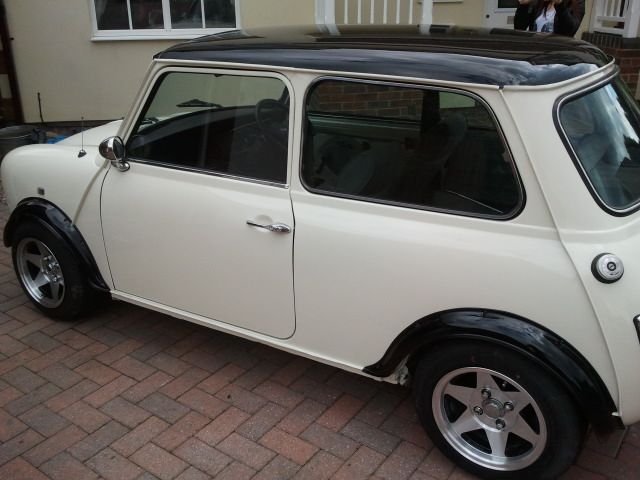
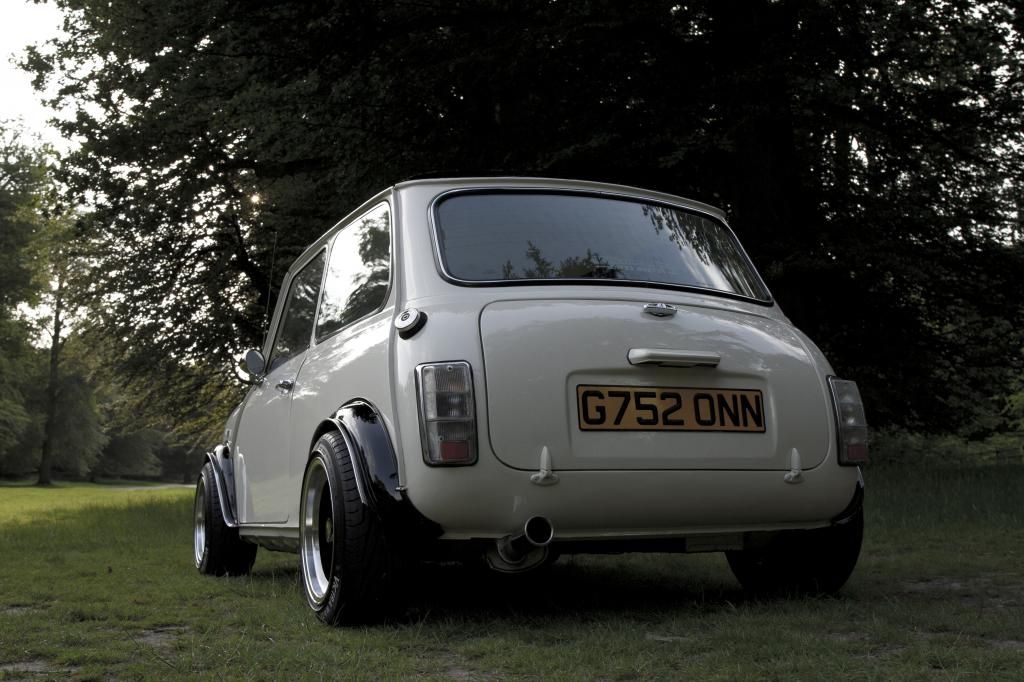
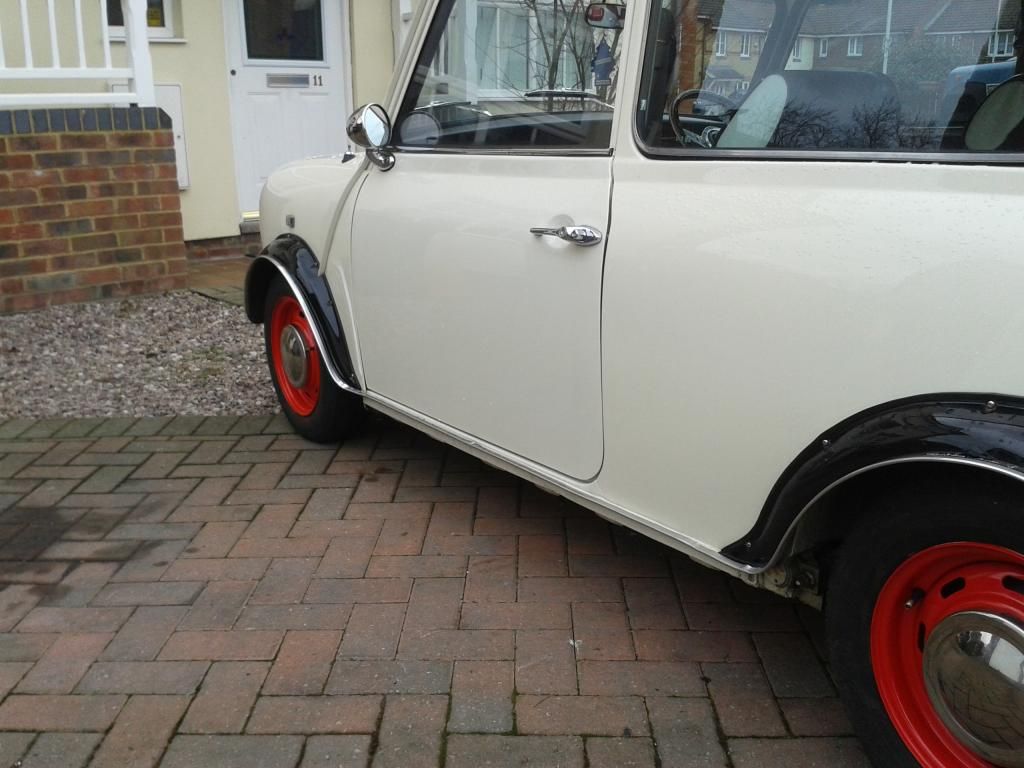
And how it looked when it was finally back on the driveway, with new arches, and a new, MK1 grille and bullet door mirrors.
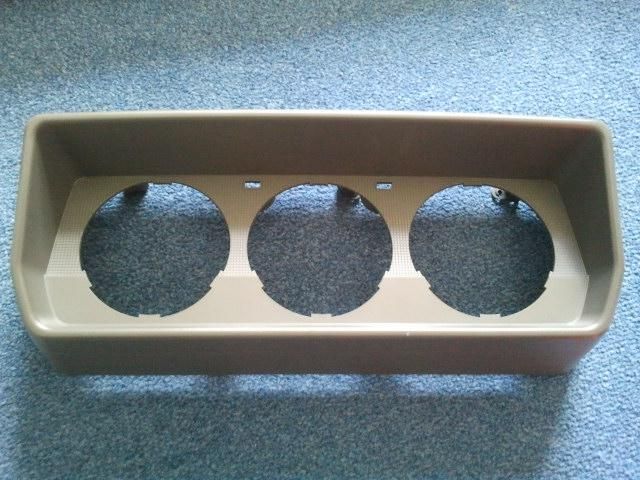
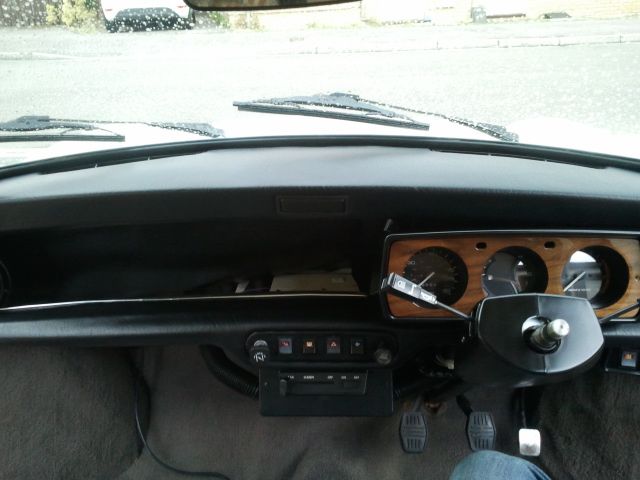
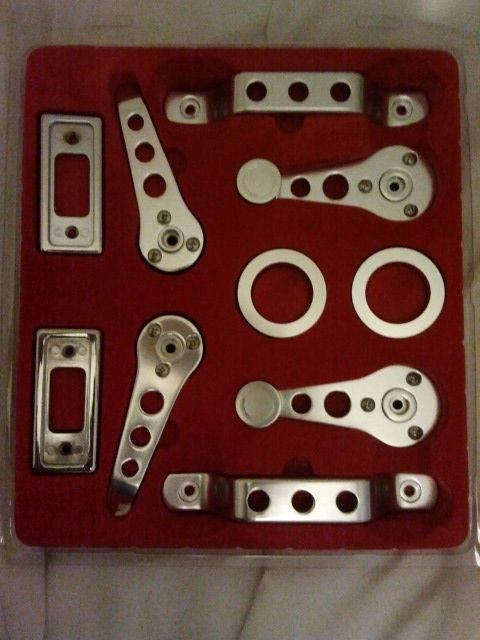
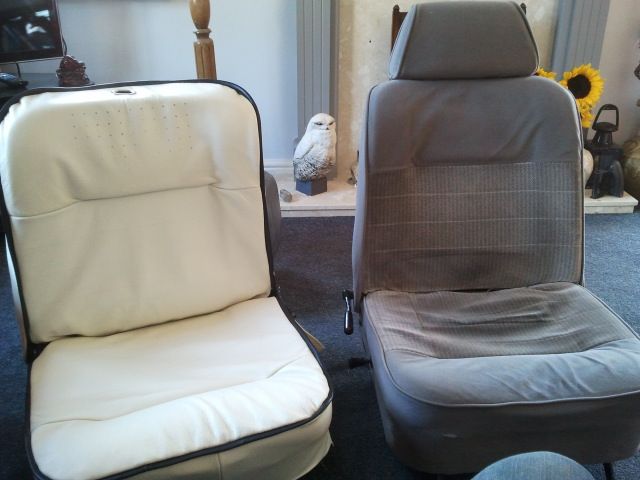
Then i started the interior. I don't really need to type all this bit out, ill just post the pics of everything.

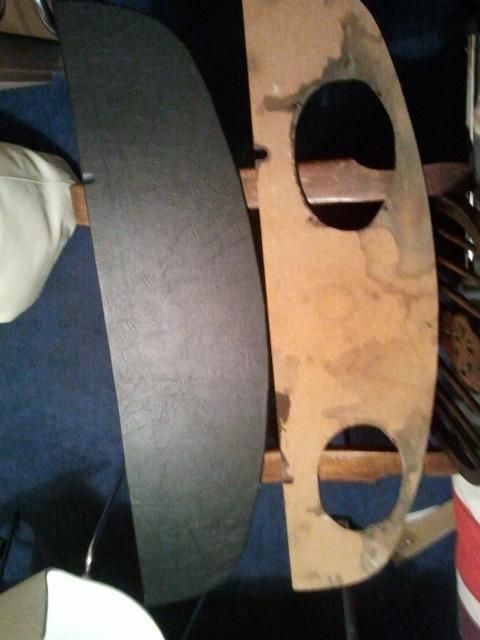
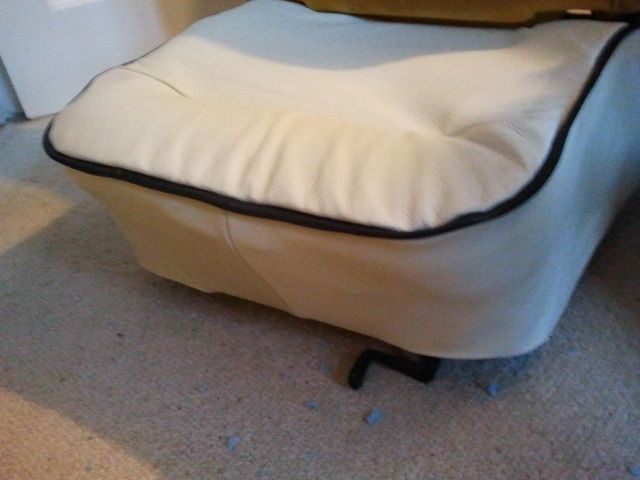
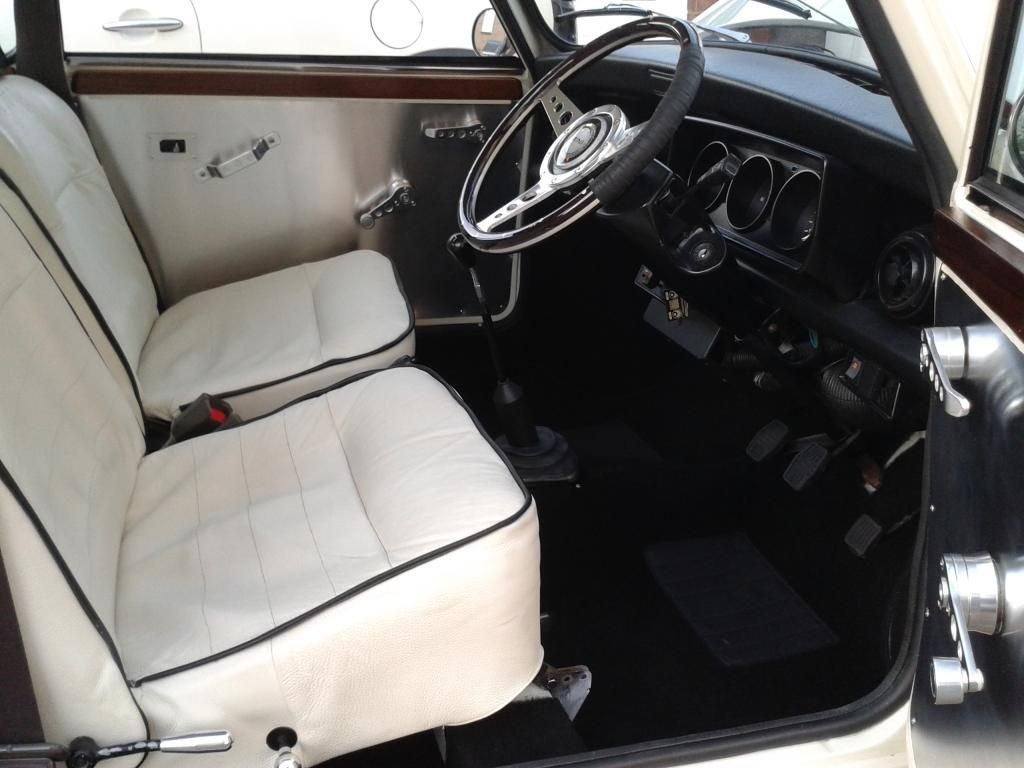
Cream leather interior. My mum is pretty handy with a sewing machine, and offered to make the new seat covers with cream leather from a sofa that was originally going to get thrown out.
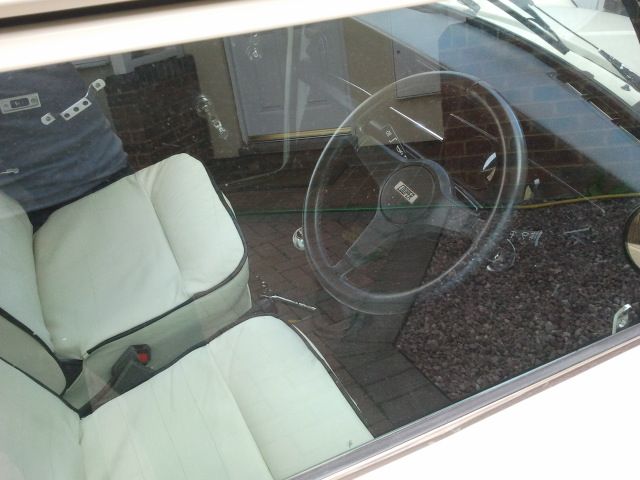
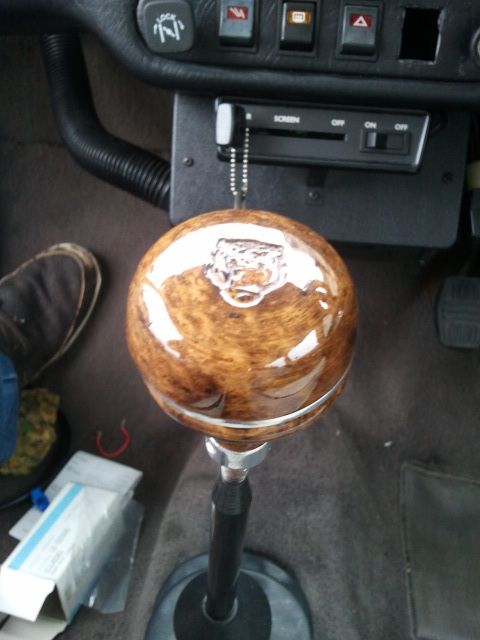
Jaguar gear knob.
the engine after a tart-up.

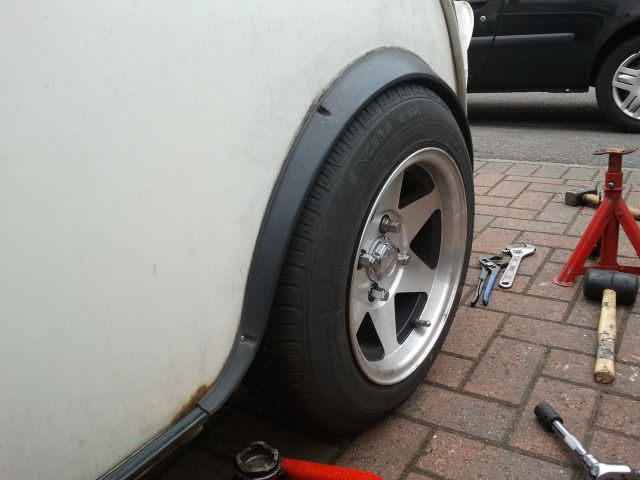
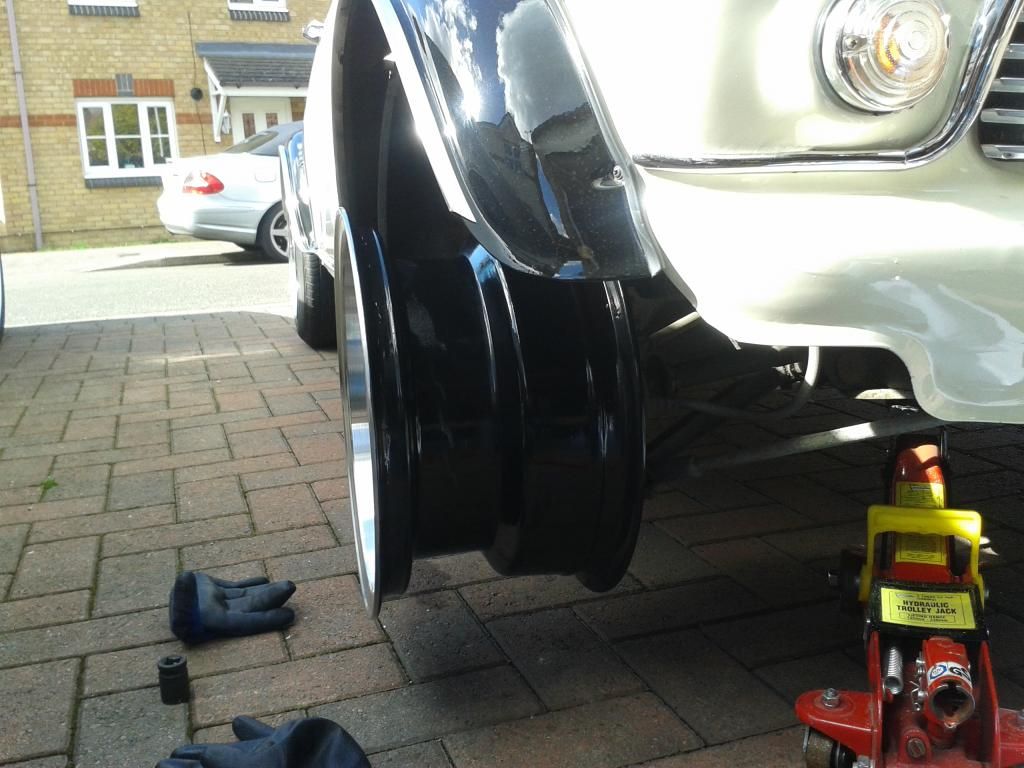
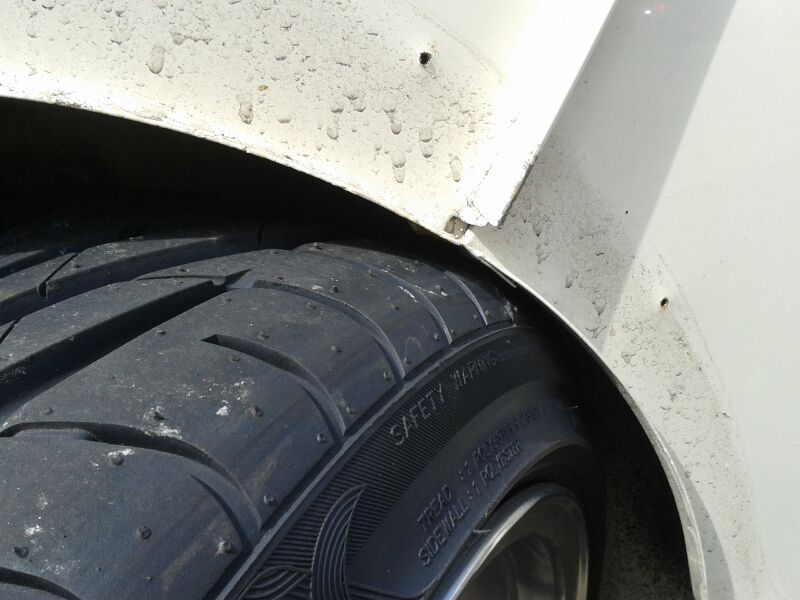
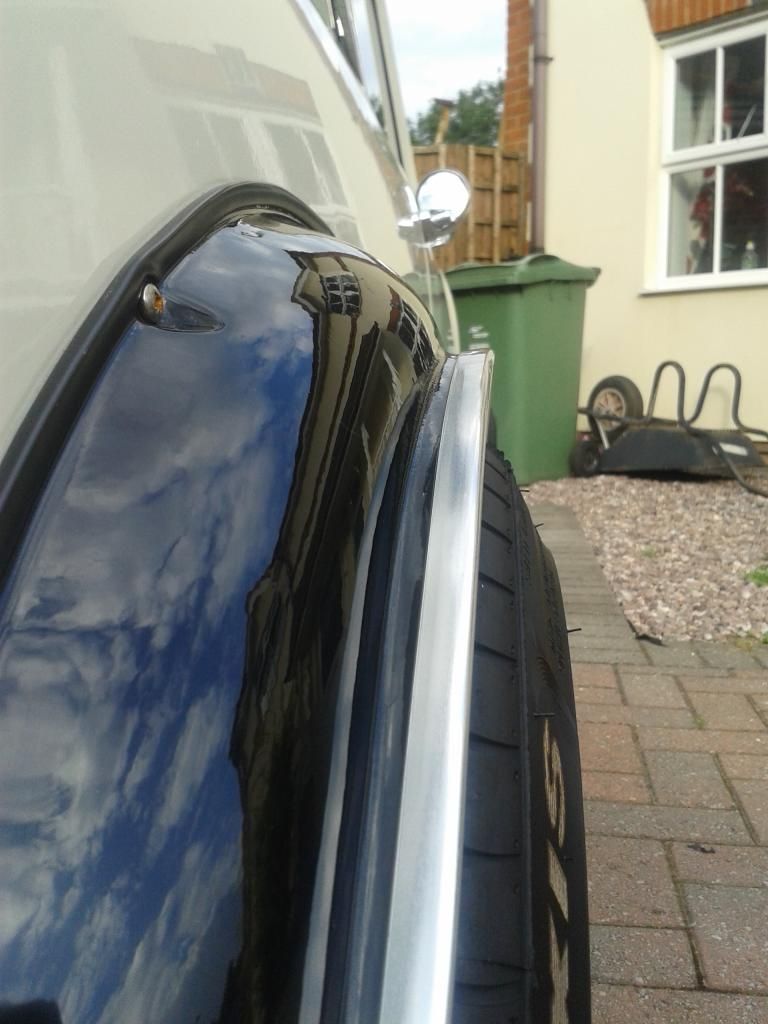
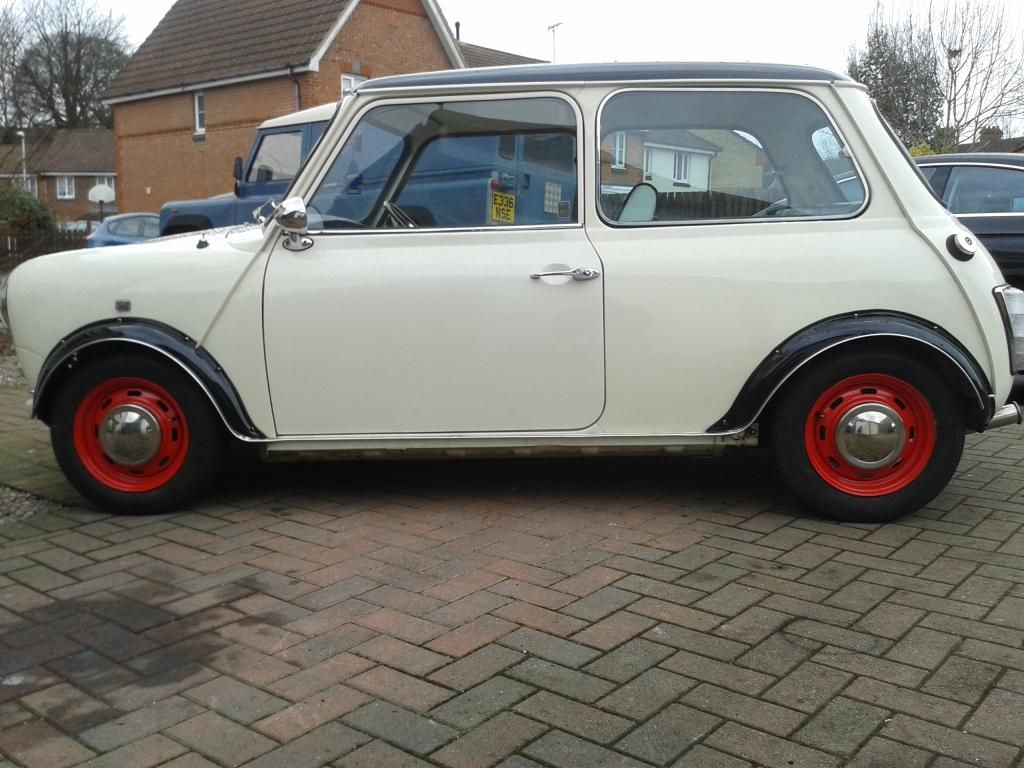
I then lowered the car a little more, since the new arches were a fair amount wider it would cover the wheel, opposed to hitting it on the outside edge.
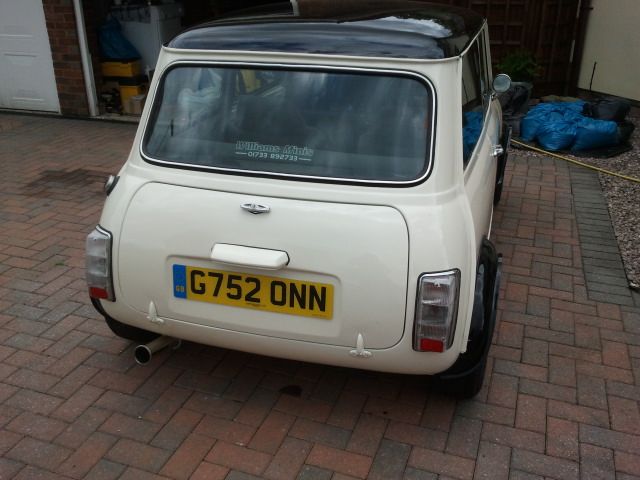
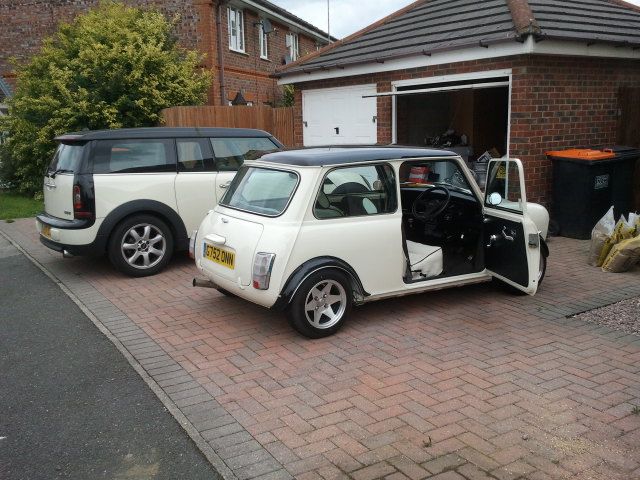
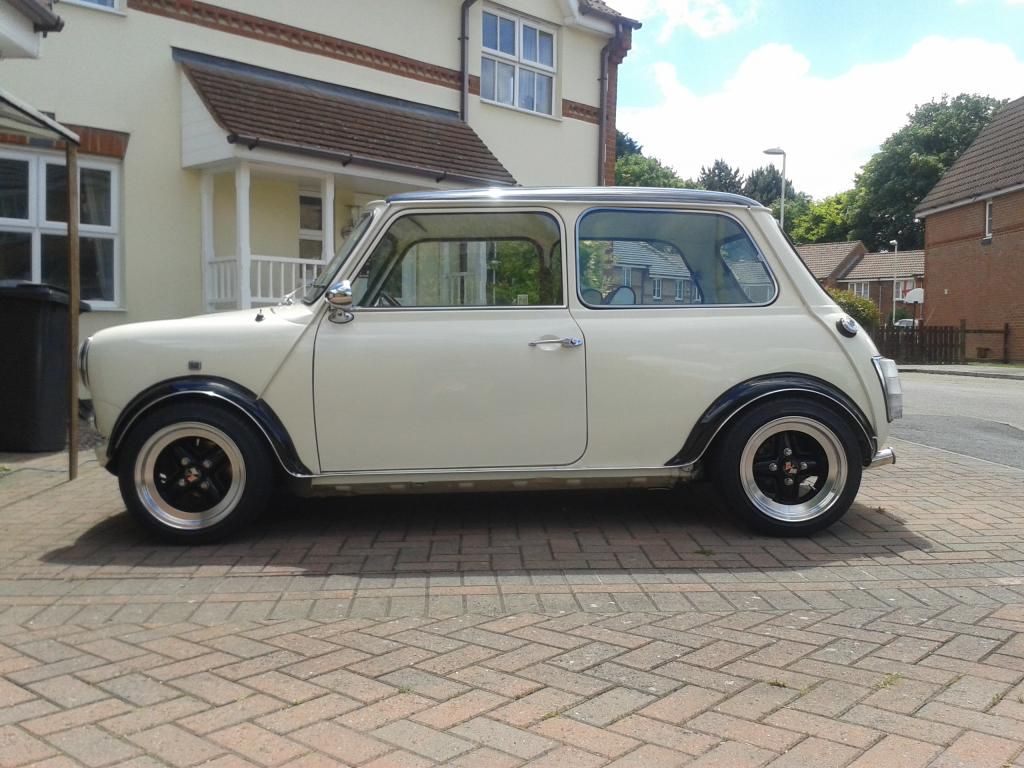
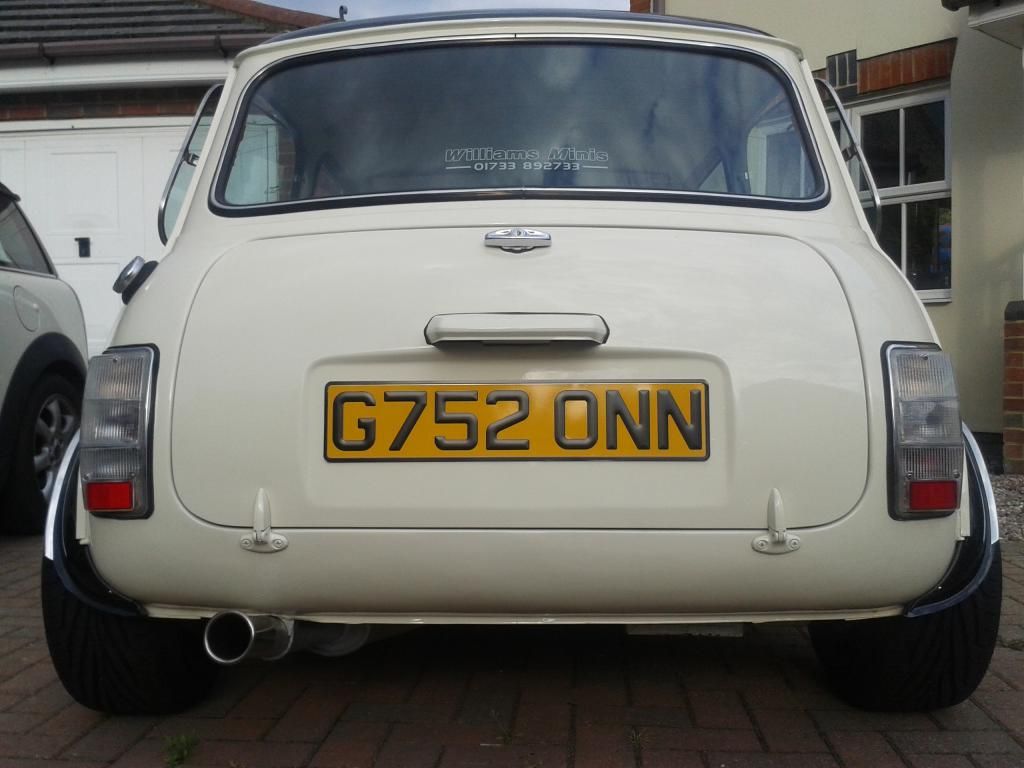
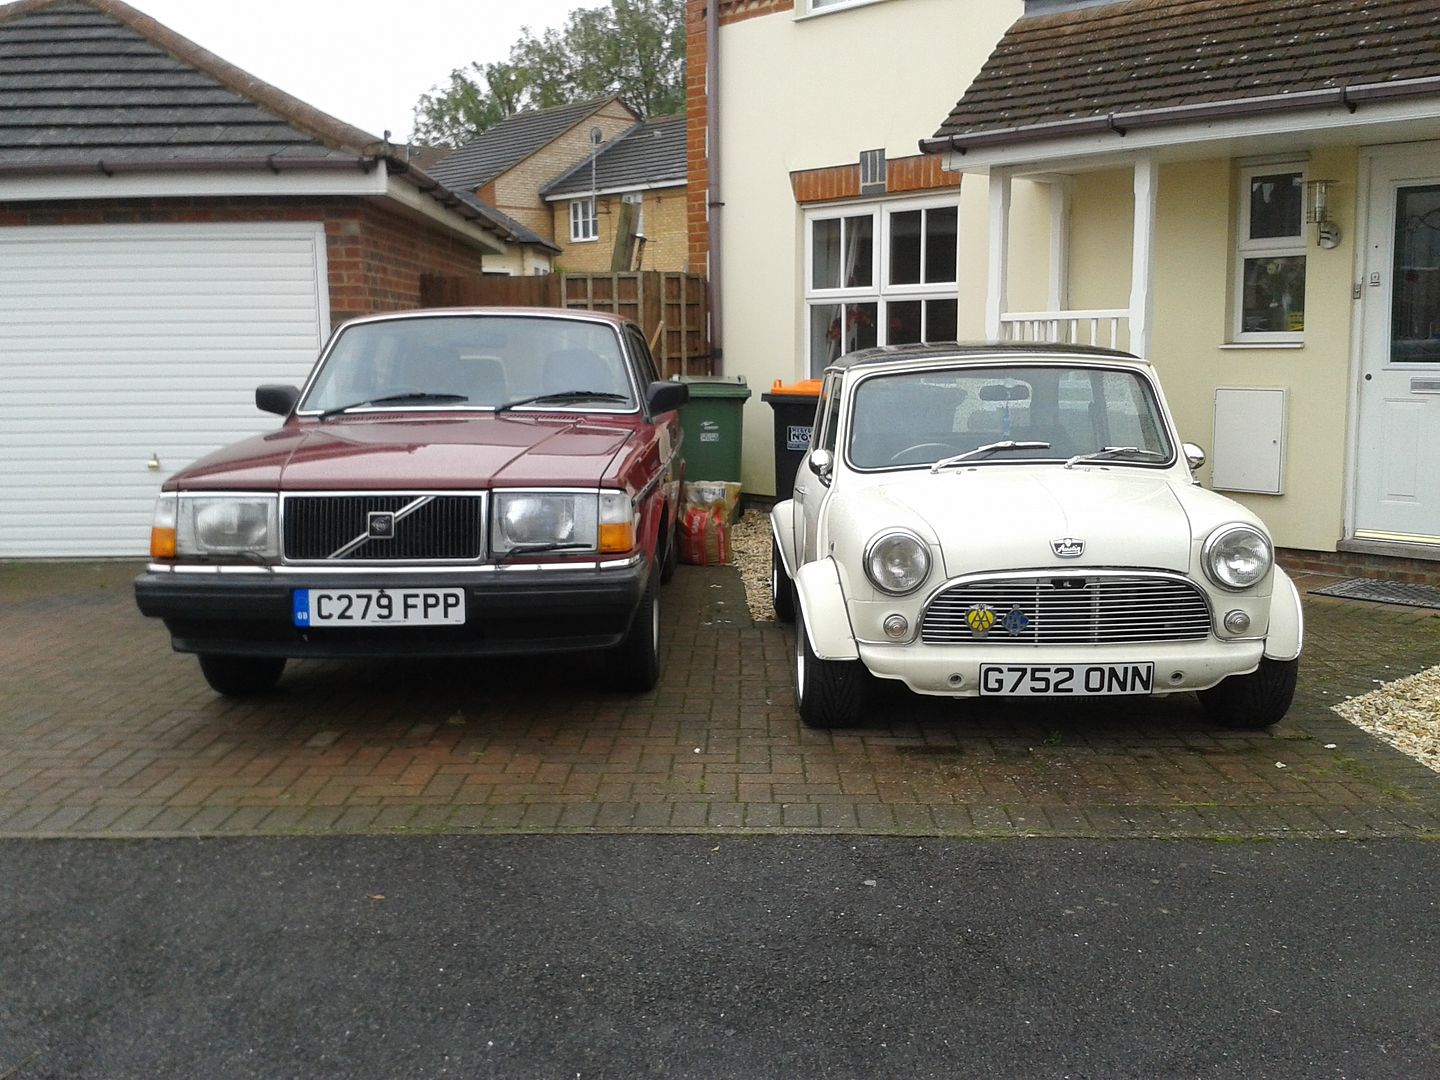
This is how it's currently sitting. Not really 'stanced' yet, but i'm getting closer.

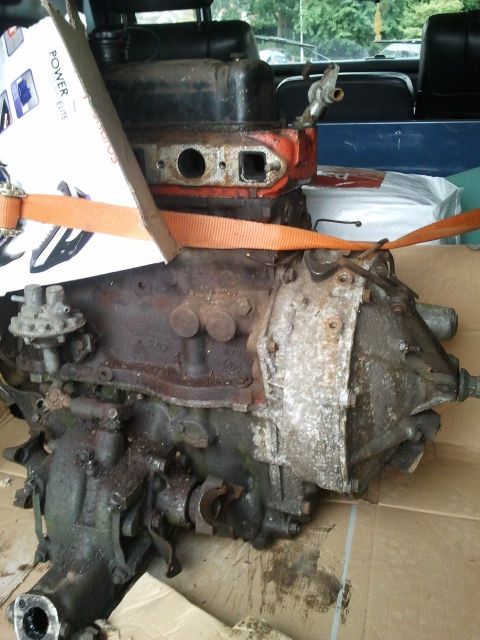
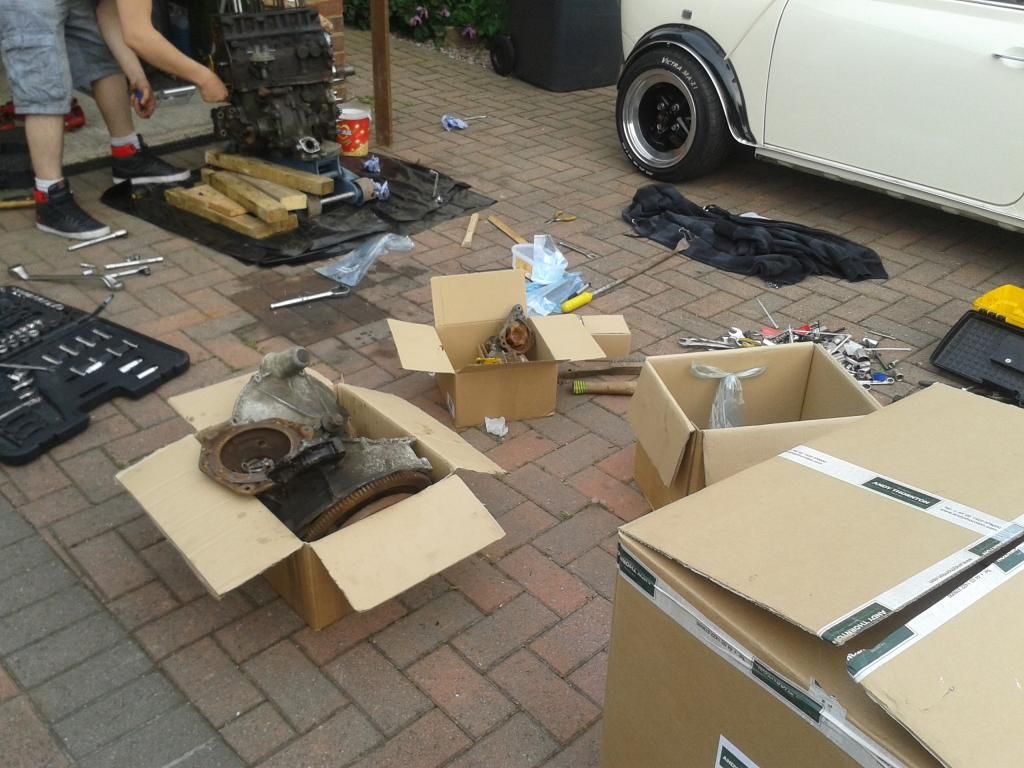
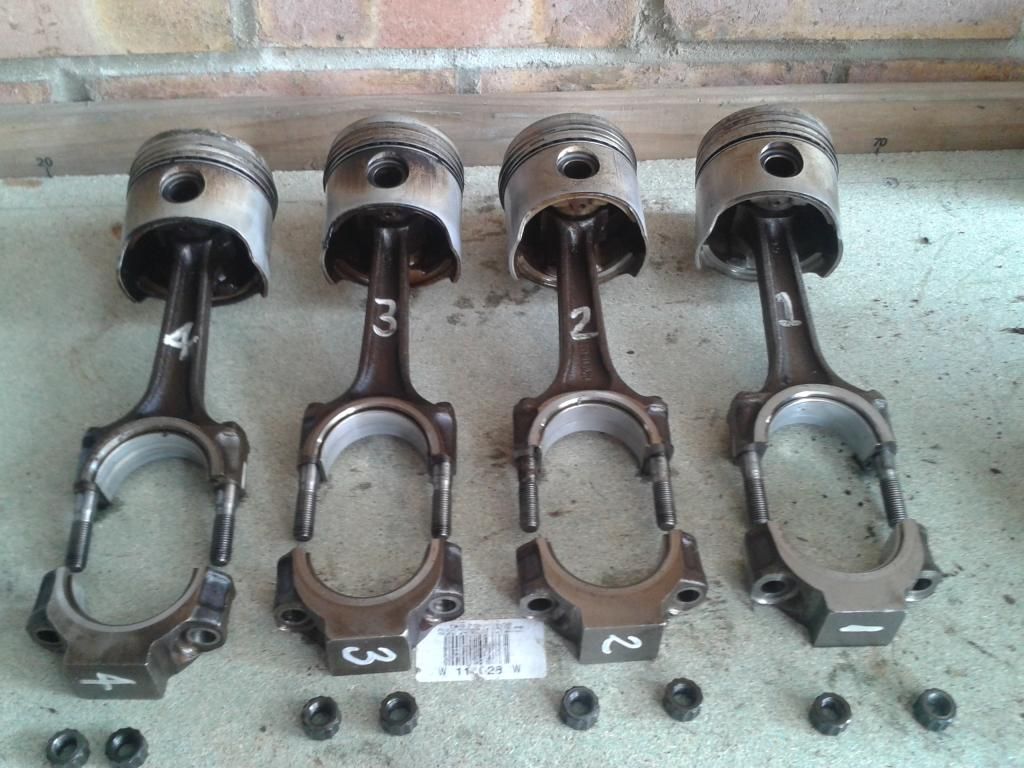
So, i'll be updating this probably some point in the next few days, as i just bought it too. A 1275 engine and gearbox. I also noticed when i collected it it has a 11 stud cooper 's' cylinder head on it, which means I'm sure there is something nice lurking in the block (Larger bore fingers crossed).
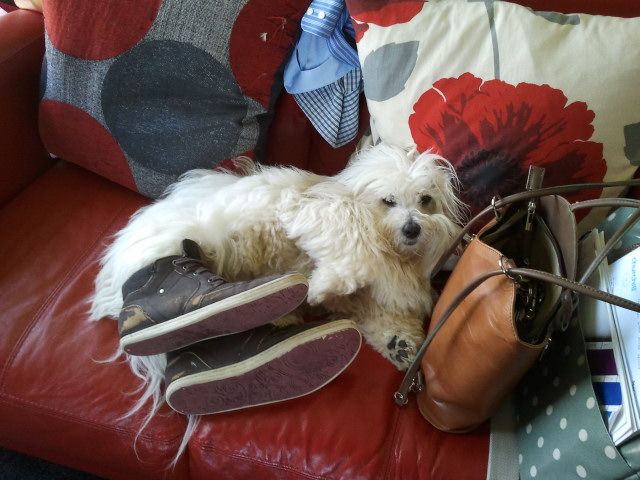
I'll round of this huge post with my dog wearing shoes next to some hand bags.
Thanks for reading, this build is now at a stage where i can update it with current goings on.
I have been prompted to do this mainly because very few members on classic mini forums have the same outlook on the mini as i do. I had no idea i mustered the power to summon an angry mob of middle aged men to start a rage fest concerning stretched tyres and camber.
I digress. I purchased the mini 3 years ago. Everything seemed 'sound' for a few months until holes began to appear, and the fuel pump started drowning the engine on the motorway at about 3am traveling home from work, which started making a terrifying backfiring in the manifold.
here he is.
Before we continue i would just like to confirm that i paid way too much for this bucket.
It was about a year before i had to actually start repairing bits and bobs.
I threw myself in at the deep end a bit. I started to de-bumper.
The rear getting de-bumpered. To do this was a ball ache. Litterally 3 panels made from pig iron folded together to make the seam. It was a case of chop then weld, all the way along the rear vallance.
getting the corners of the vallance nice and round before following it along the back.
New bonnet, or hood
Then grille fell off...
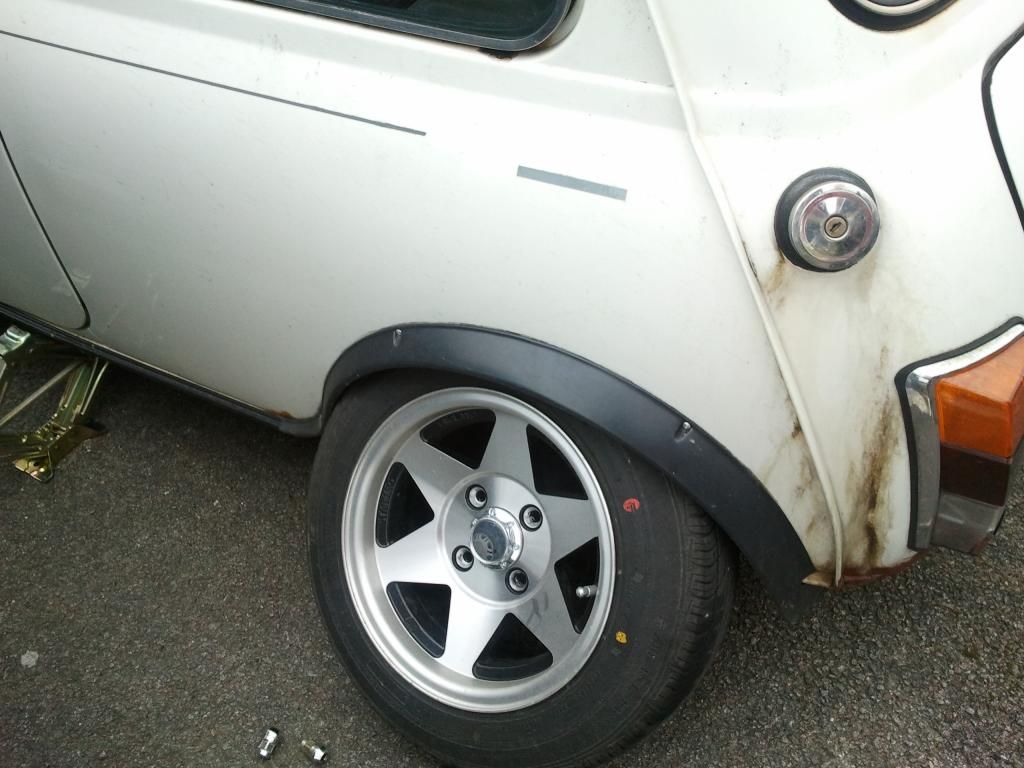
But, things got better! I purchased a set of starmags.
It was these wheels that completely set me in a different direction with the build.
a fairly nice upgrade.
Unfortunately these wheels seemed to be rather desirable, and attracted hostile attention.
It was lucky that said thieves were ridiculously stupid. The only damage was that to my pride, and some broken brake lines on the left, where the wheel had buckled in totally. Fairly easy fix.
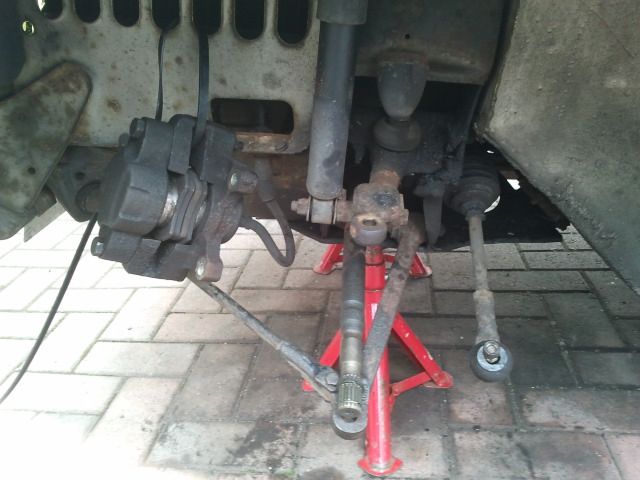
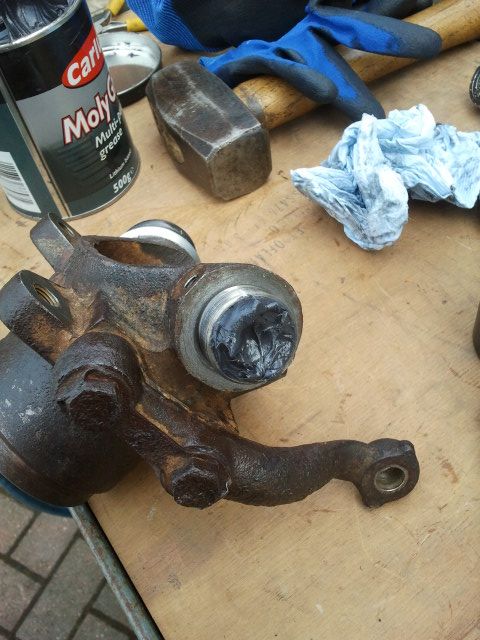
After that the winter came, and as much as i wanted the car done, i wasn't going to sit out there while it was raining cats and dogs. The winter wasn't kind, and a little while after driving holes started to appear and the outer CV's went. Since i had to get the hubs off for this i also fitted new ball joints and bearings, and extended trackrod ends.
a little hole in the wing that needed new metal welded in.
And after
Since i also fitted new shocks, i felt it would be good to do the adjustable suspension also. Unfortunately i have no pics off this. Many swears happened that day.
I also didn't quite get the height right.
As cool as it looked, it wasn't possible to get the car off the driveway.
After the suspension was done, i turned to performance.
I bought a new larger bore single box RC40 exhaust system, inlet manifold as well as an overhaul for the carb (new jets, needle etc).
The old and the new system.
And the new torquemaster inlet
Then de-grased the engine and painted it.
By the time this was all done, i had acquired enough money for a respray. Finally. I had re-skinned a door and fixed it, but the weather got to it before it could be sprayed, so i just bought a new set. This is how it looked before painting...
And during the process.
it only needed a little bit of welding, all of the rust was also sand blasted off, and a new front panel was fitted.
Polishing.
The roof was like a mirror.
And how it looked when it was finally back on the driveway, with new arches, and a new, MK1 grille and bullet door mirrors.
Then i started the interior. I don't really need to type all this bit out, ill just post the pics of everything.
Cream leather interior. My mum is pretty handy with a sewing machine, and offered to make the new seat covers with cream leather from a sofa that was originally going to get thrown out.
Jaguar gear knob.
the engine after a tart-up.
I then lowered the car a little more, since the new arches were a fair amount wider it would cover the wheel, opposed to hitting it on the outside edge.
This is how it's currently sitting. Not really 'stanced' yet, but i'm getting closer.
So, i'll be updating this probably some point in the next few days, as i just bought it too. A 1275 engine and gearbox. I also noticed when i collected it it has a 11 stud cooper 's' cylinder head on it, which means I'm sure there is something nice lurking in the block (Larger bore fingers crossed).
I'll round of this huge post with my dog wearing shoes next to some hand bags.
Thanks for reading, this build is now at a stage where i can update it with current goings on.


Comment