 Tweet
Tweet
soo as requested by a few of you thought would pop a few pics of my build up.. and then thought.. Nahhhhh
so decided to just throw it all into a little video cos its easier to look through and you get music
so here is it
got alot more pics and stuff but that vid has the main bulk of it
Here is the Writeup From pre BN kit!!
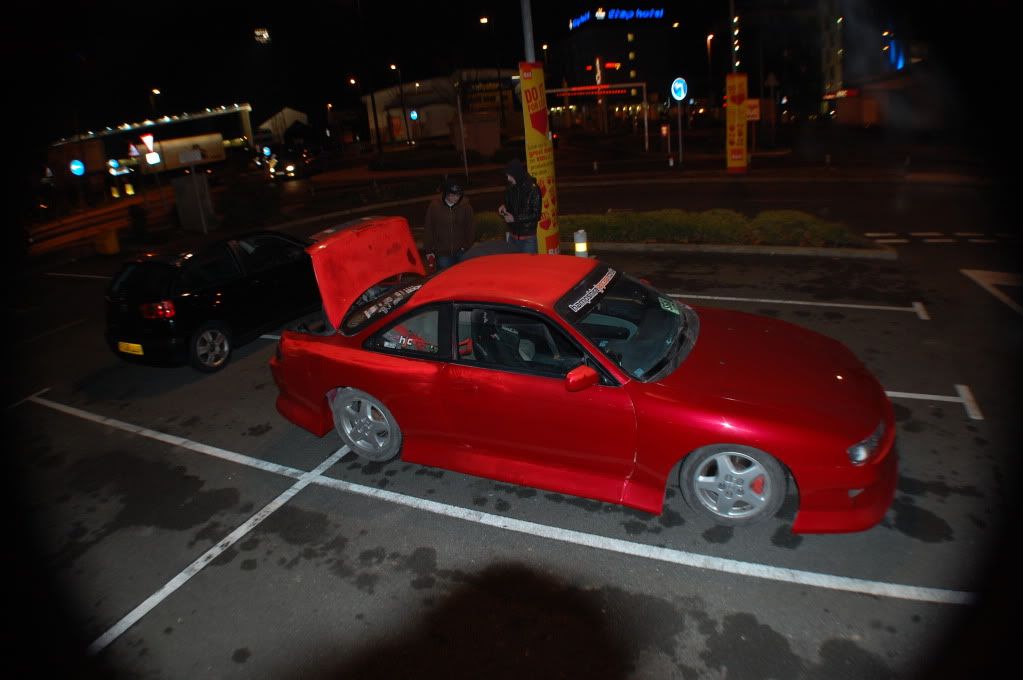
So just over a year ago i got my 1999 200sx s14a touring manual,
had a variety of cars over the years including a scooby, civic type r, pimped out Range Rover on 22's and a bmw z3
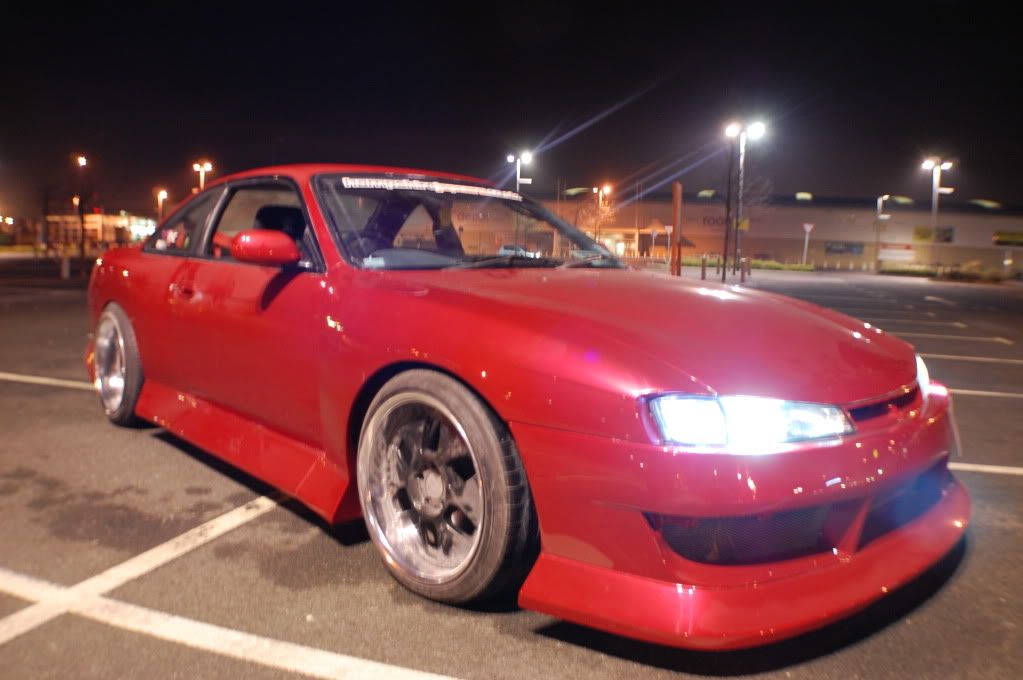
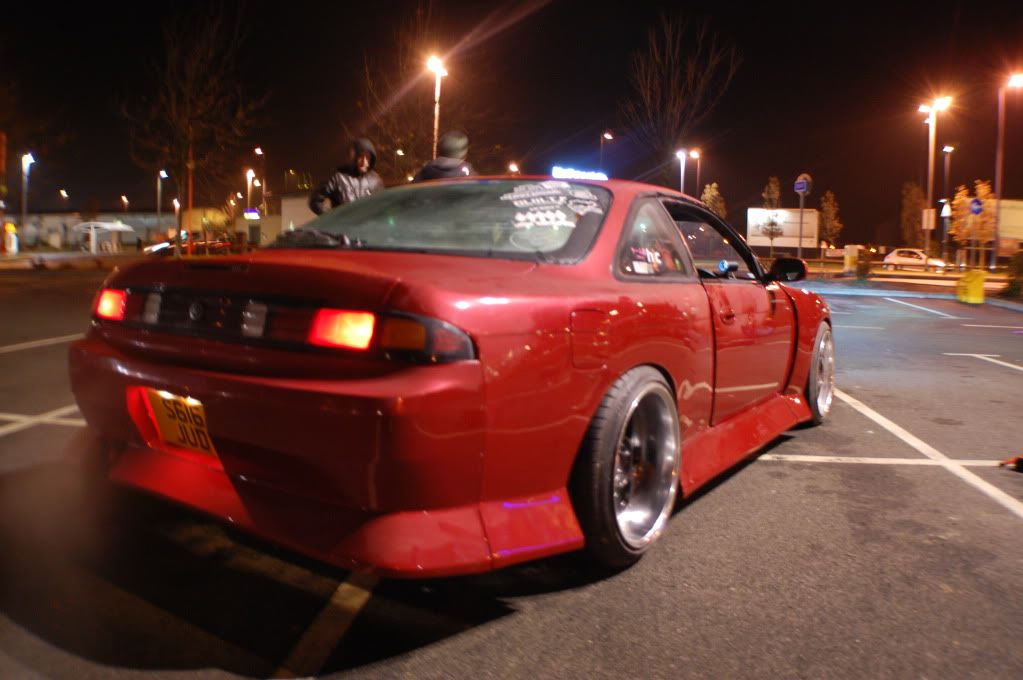
the spec of the car before the BN kit Build
External Bodywork + Wheels
� ULTRA RARE -> Racing Hart CP035r 18� x 10j wide alloy wheels, rattlecan black with red vinyl squares
� Bomex Side skirts
� Red brake calipers
� Bomex Spats
� Touring Front splitter
� Smoothed Front Number plate bulge
� De-spoilered
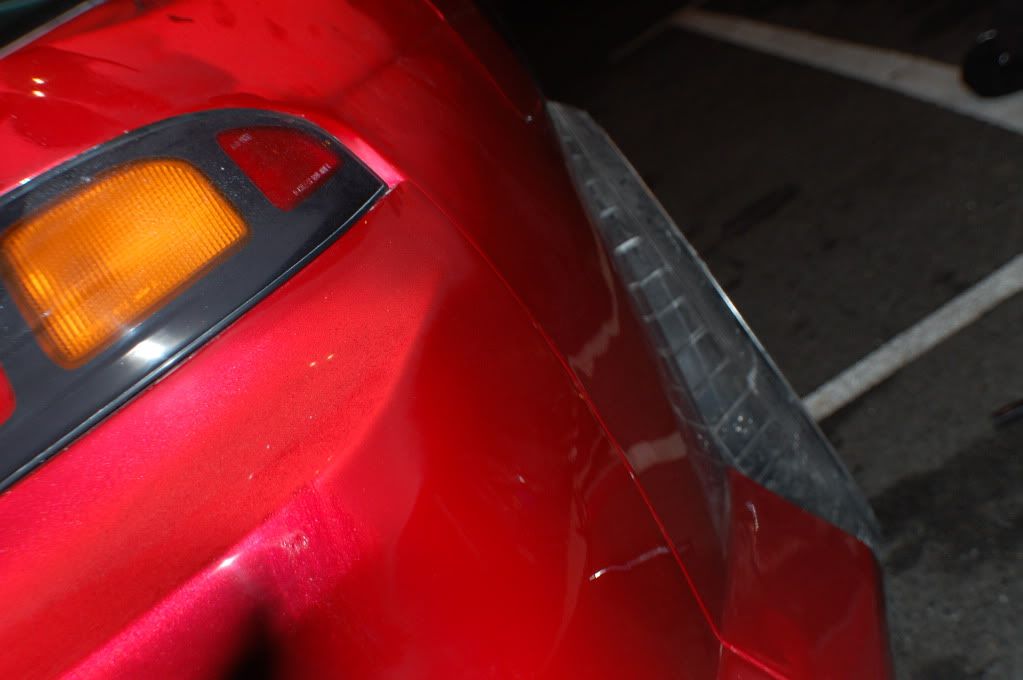
� Crystal Indicator set
� Tanabe Tuning Tow hook
� Random Stickers (for extra bhp)
� 6000k HID�s with iced white sidelights to match
Interior + Ice
� Cream Leather throughout with alcantara door cards,
� Corbeau Recliner on Bride Super Low Rails
� Sparco Snap off steering boss with Nardi wheel and sparco horn
� 10-disc CD Changer in boot
� High End sony headunit with full control setup for ice
� Fli 7� rear components
� Blitz Intelligent Turbo Timer
� Blitz DSBC Boost controller
� Air con, EW, all the normal mod cons, stalk controls etc
� Luke 3 point Harness
� Full interior gauge setup, Boost, Volts, Oil Temp, Water Temp, etc
� Armageddon ULTRA SLIM 10� subwoofer and amp in boot
Engine and Exhaust and Chassis
� Japspeed full turbo-elbow back decat exhaust system
� Apex Type-2 FMIC (no cutting involved) and uprated metal pipes
� Apex Coilovers (6k/5k)
� Driftworks rear camber arms
� Apex locking collars
� Splitfire Coilpacks
� Nismo 555cc injectors
� Walbro fuel pump
� Horsham Developments Stage2a ECU Chip/remap
� Apex type 3 Manifold
� Cusco front strut brace
� Metallic red rocker cover
� Ultra low Japspeed twin downpipe *to be fitted*
� Japspeed Turbo elbow
� Japspeed Toe Arms
Braking
� DB Power 315mm front disc kit with Ferodo ds2500 fast road front pads
� Brembo Plain rear discs with Red Stuff rear brake pads
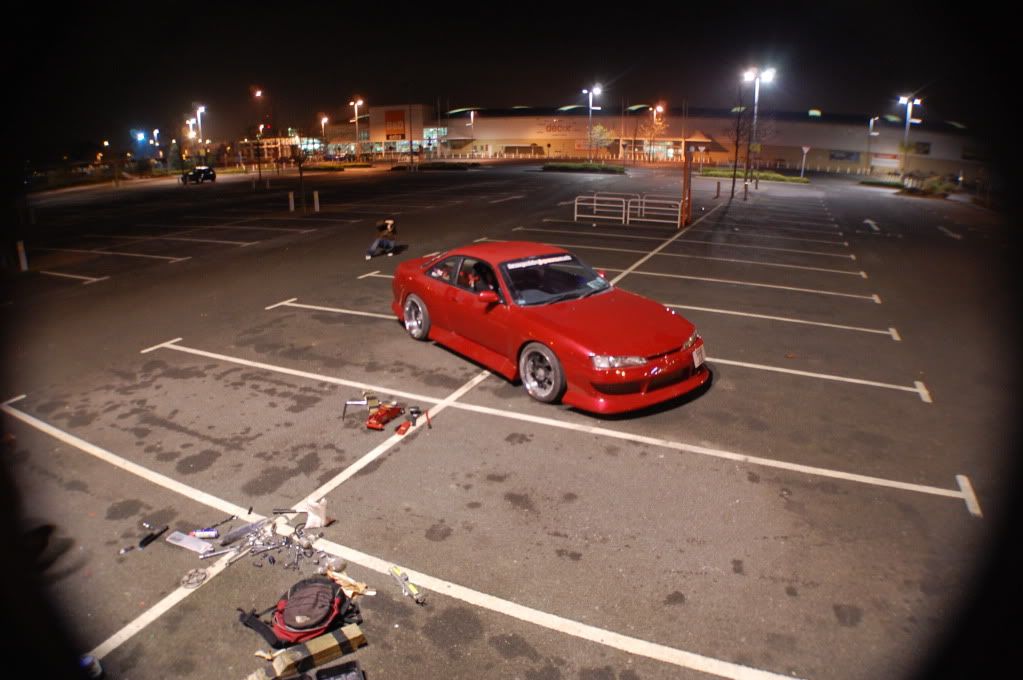
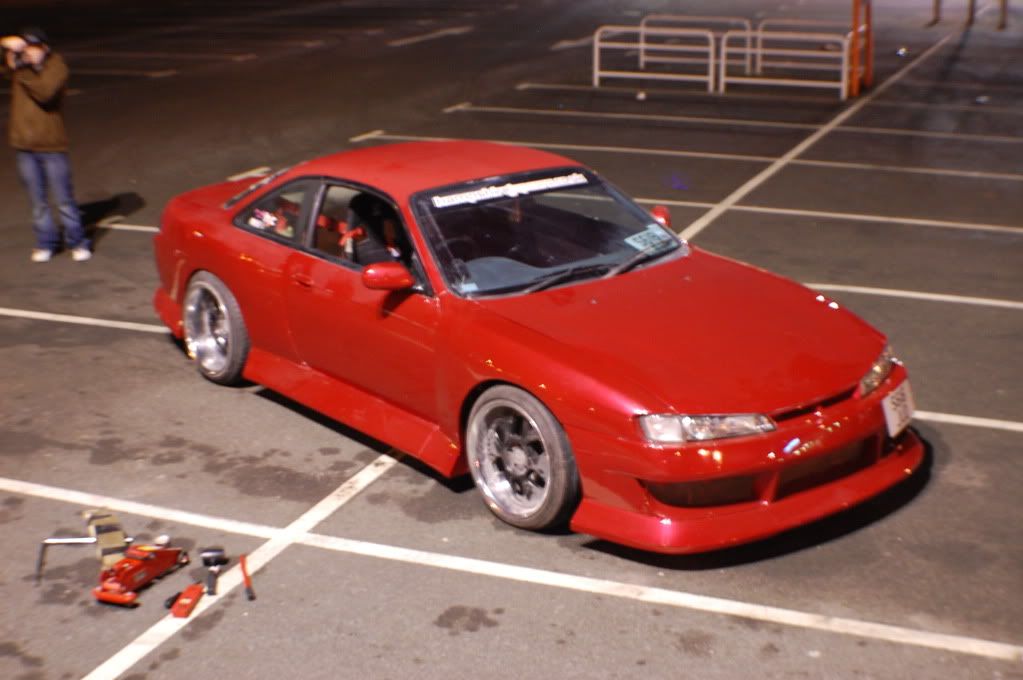
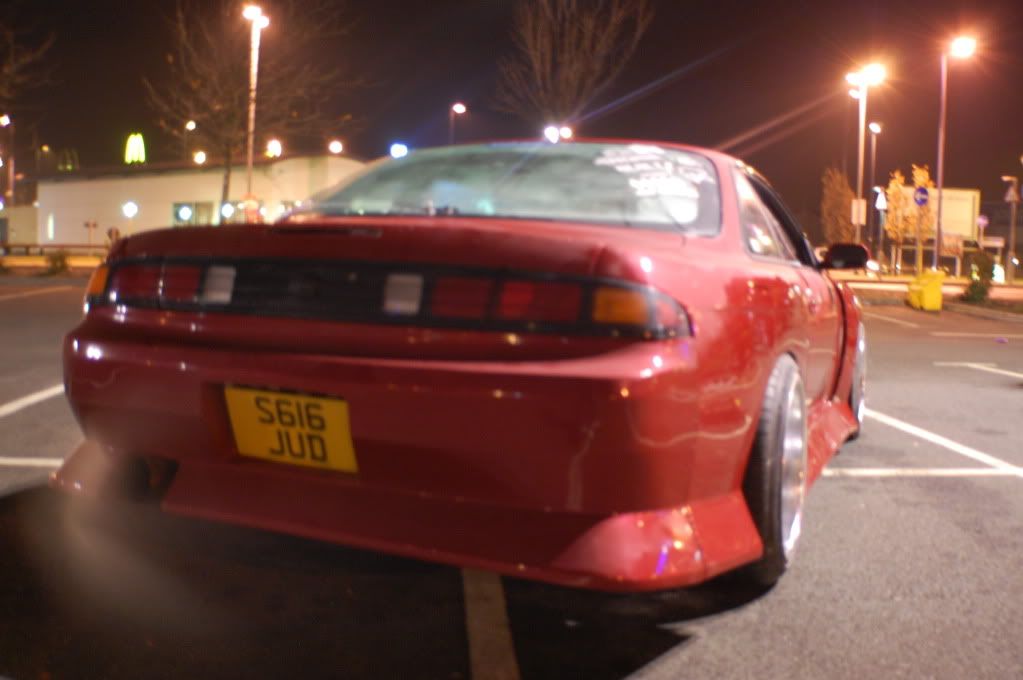
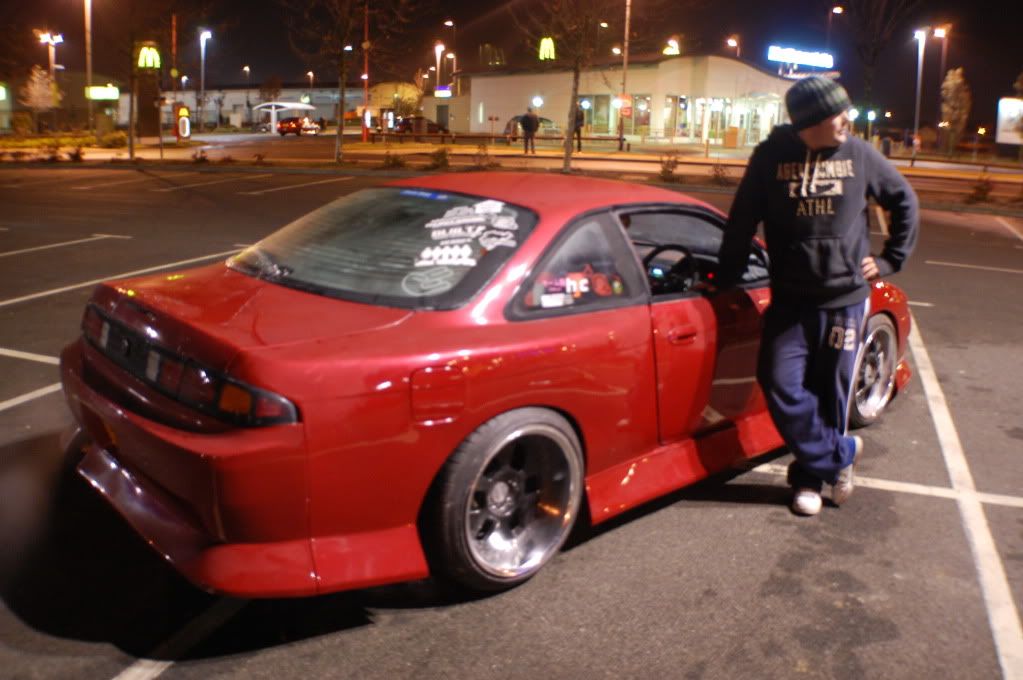
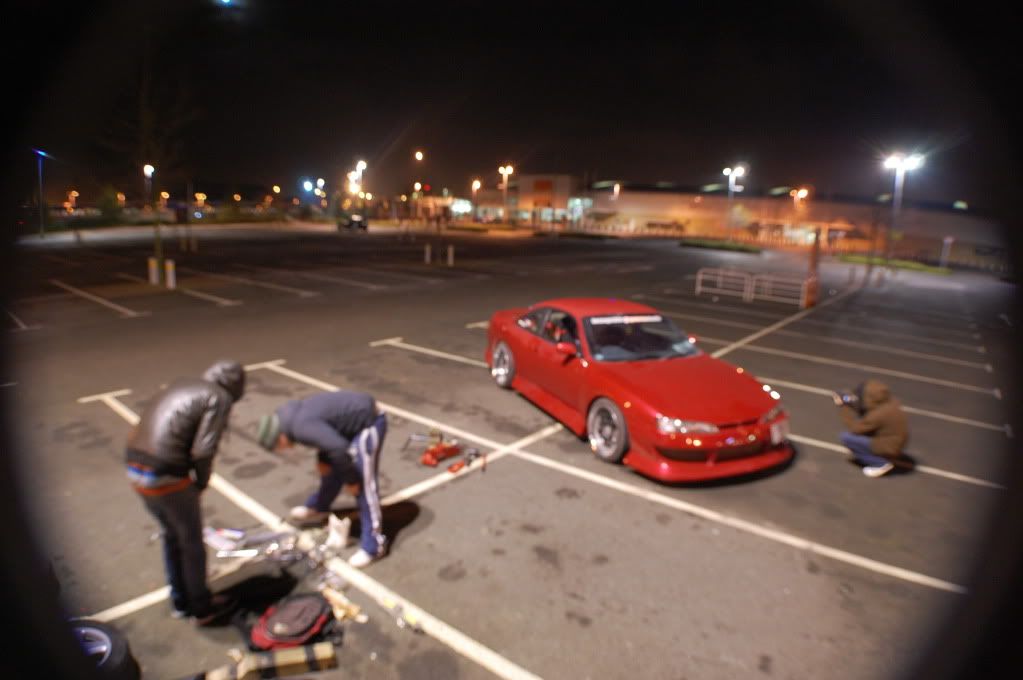
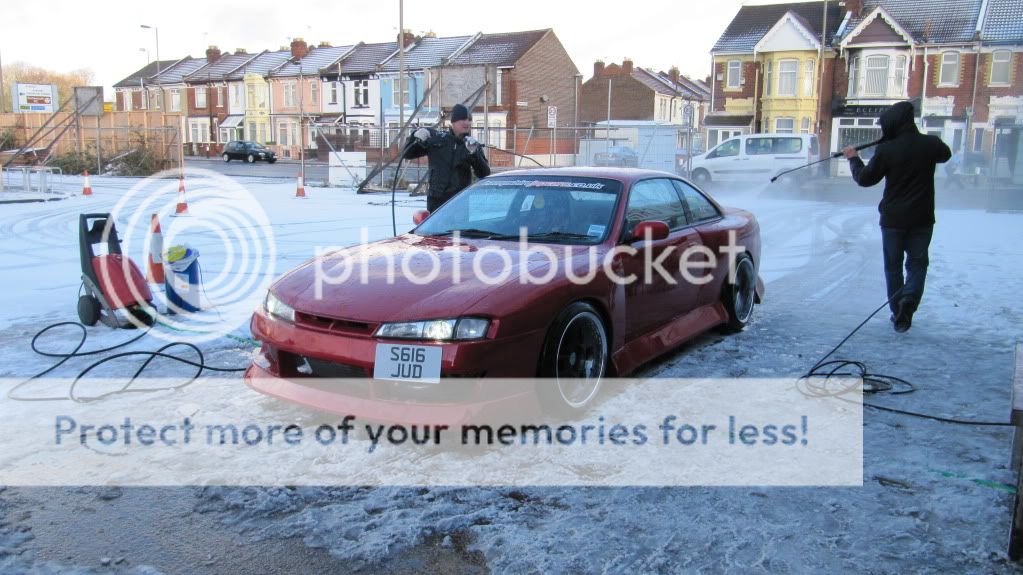
a few pics of the car from when i bought it to now engine bay shots to follow after, more specs and pics etc to come, (im a pic whore)


so decided to just throw it all into a little video cos its easier to look through and you get music
so here is it
got alot more pics and stuff but that vid has the main bulk of it
Here is the Writeup From pre BN kit!!
So just over a year ago i got my 1999 200sx s14a touring manual,
had a variety of cars over the years including a scooby, civic type r, pimped out Range Rover on 22's and a bmw z3
the spec of the car before the BN kit Build
External Bodywork + Wheels
� ULTRA RARE -> Racing Hart CP035r 18� x 10j wide alloy wheels, rattlecan black with red vinyl squares
� Bomex Side skirts
� Red brake calipers
� Bomex Spats
� Touring Front splitter
� Smoothed Front Number plate bulge
� De-spoilered
� Crystal Indicator set
� Tanabe Tuning Tow hook
� Random Stickers (for extra bhp)
� 6000k HID�s with iced white sidelights to match
Interior + Ice
� Cream Leather throughout with alcantara door cards,
� Corbeau Recliner on Bride Super Low Rails
� Sparco Snap off steering boss with Nardi wheel and sparco horn
� 10-disc CD Changer in boot
� High End sony headunit with full control setup for ice
� Fli 7� rear components
� Blitz Intelligent Turbo Timer
� Blitz DSBC Boost controller
� Air con, EW, all the normal mod cons, stalk controls etc
� Luke 3 point Harness
� Full interior gauge setup, Boost, Volts, Oil Temp, Water Temp, etc
� Armageddon ULTRA SLIM 10� subwoofer and amp in boot
Engine and Exhaust and Chassis
� Japspeed full turbo-elbow back decat exhaust system
� Apex Type-2 FMIC (no cutting involved) and uprated metal pipes
� Apex Coilovers (6k/5k)
� Driftworks rear camber arms
� Apex locking collars
� Splitfire Coilpacks
� Nismo 555cc injectors
� Walbro fuel pump
� Horsham Developments Stage2a ECU Chip/remap
� Apex type 3 Manifold
� Cusco front strut brace
� Metallic red rocker cover
� Ultra low Japspeed twin downpipe *to be fitted*
� Japspeed Turbo elbow
� Japspeed Toe Arms
Braking
� DB Power 315mm front disc kit with Ferodo ds2500 fast road front pads
� Brembo Plain rear discs with Red Stuff rear brake pads
a few pics of the car from when i bought it to now engine bay shots to follow after, more specs and pics etc to come, (im a pic whore)


 [IMG]http://i566.photobucket.com/albums/ss104/Cannon_scooby/S14a%20RESHAPE


 /utf-8BSU1HMDAxNDMtMjAxMDA5MjAtMTM0Ni5qcGc.jpg[/IMG]


 :
:


Comment