 Tweet
Tweet
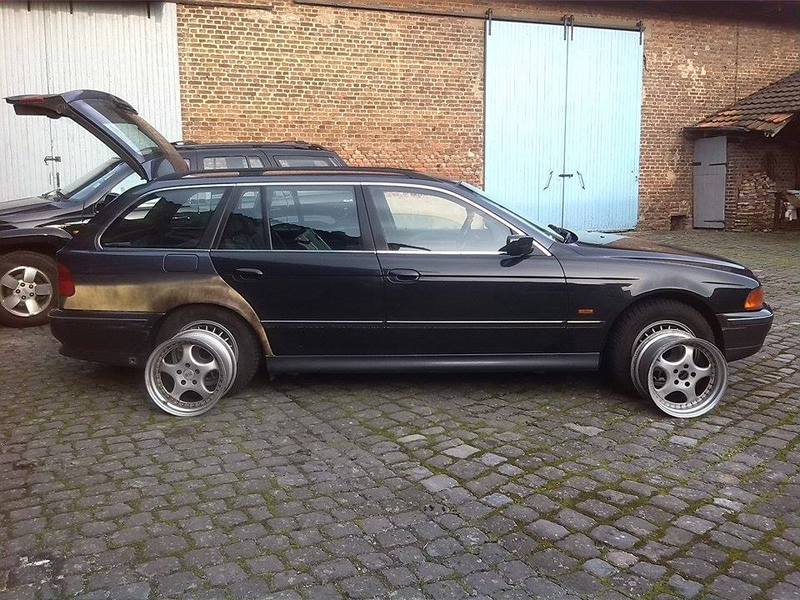
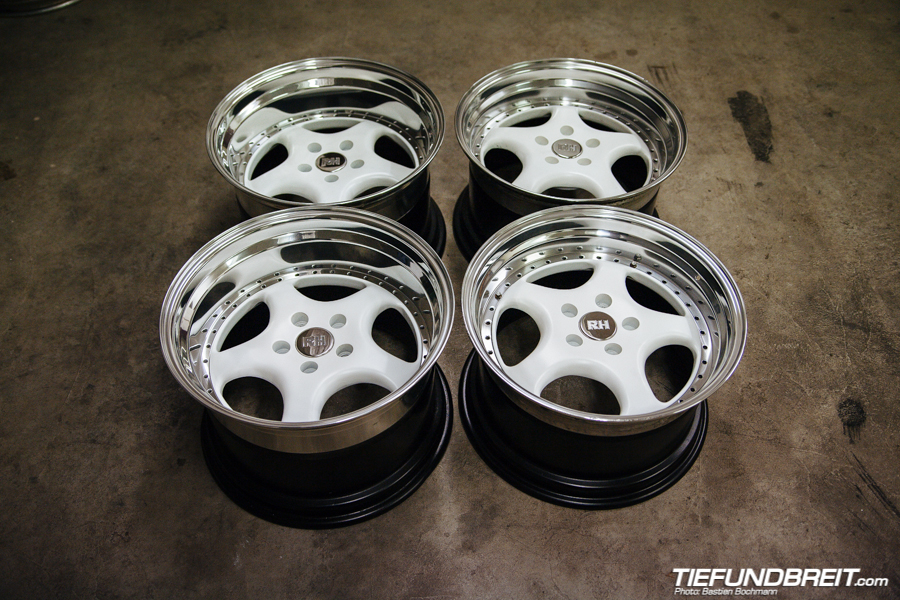
I figured someone might be interested in this... I'm currently building / refinishing two sets of RH ZW1.
A wide set for my own personal car and a skinny set to sell...
RH ZW1 are two piece splits with the front lip being separate from the wheel. The inner half is always 6.75 inch wide. These wheels came usually as 5x112 intended to be run with spacers or adapters on all bolt patterns, they are centered via the spacer. There are a few more uncommon sets out there in "proper" bolt patterns for use without spacers, but the most common are the ones intended for spacers. As they are intended for spacers, they have a high native offset.
Set 1:
Started out as:
8.5 x 17 ET53
10 x 17 ET35
Ended up as:
10 x 17 ET35
11.25 x 17 ET19
I sold the old lips, which were 1.75 inch and 3.25 inch and got a better pair of 3.25 inch ones from a friend which I polished and ordered new 4.5 inch ones from iclair.de. Bolts are partially being re-used, there were 3 kinds of bolts in these wheels when I got them. Sorted through them, got 86 chrome bolts left and have ordered another 58 ones to replace the other bolts so I have a matching set.
Also sourced new stainless steel center caps.
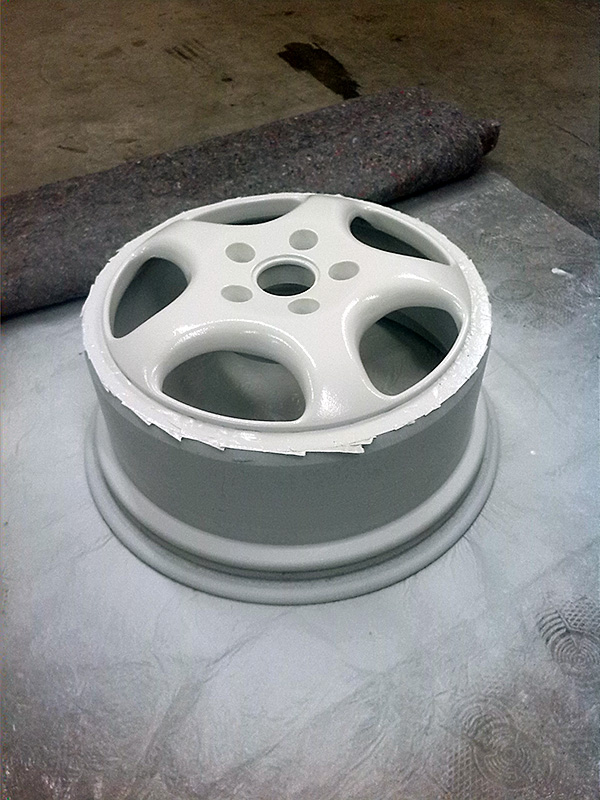
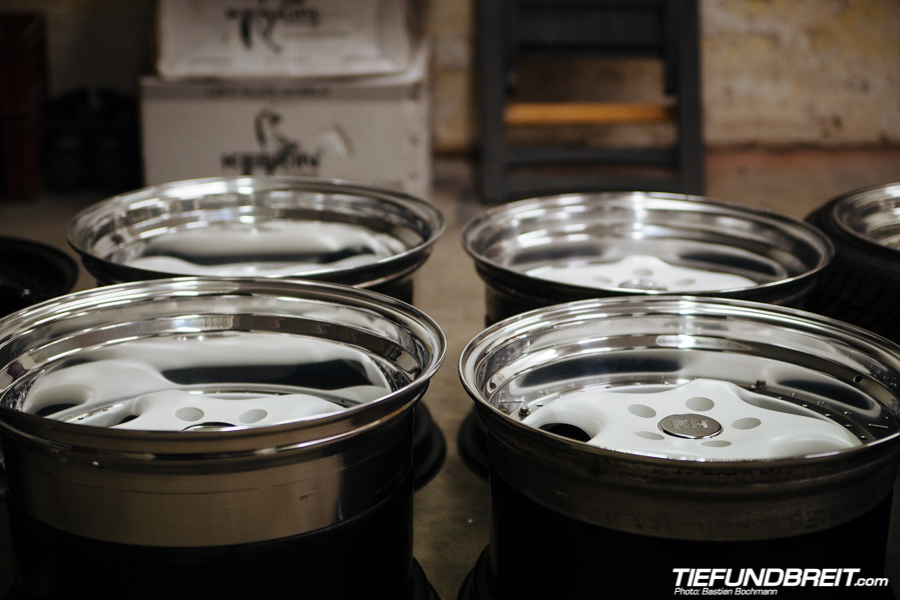
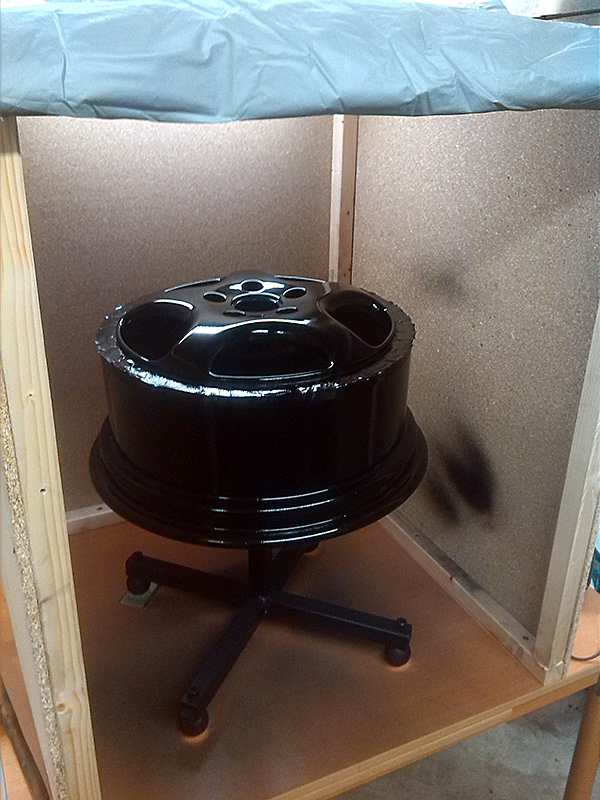
I painted the wheels matte white but I'm not satisfied with the paint and will be repainting them as soon as I get done building a wheel spray booth.
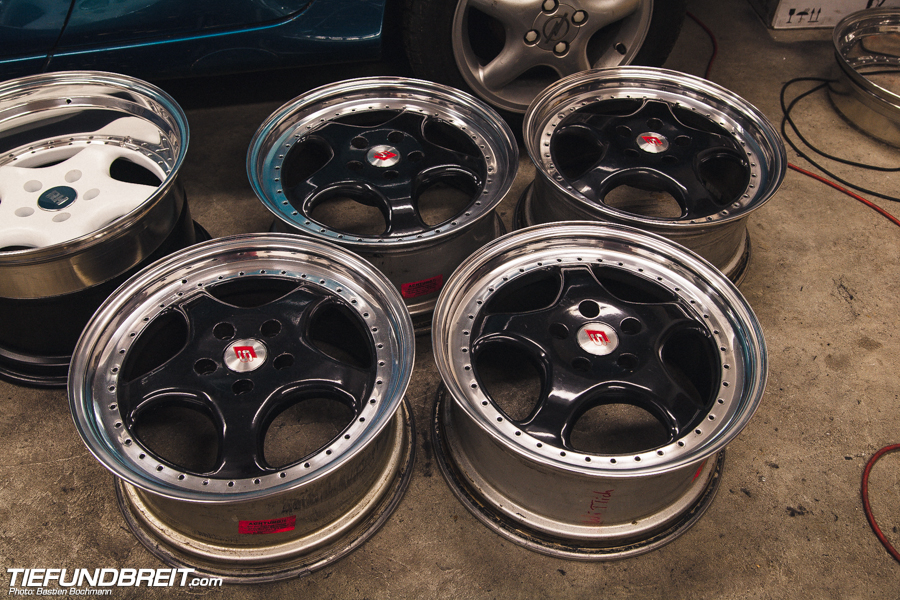
Now for pictures...

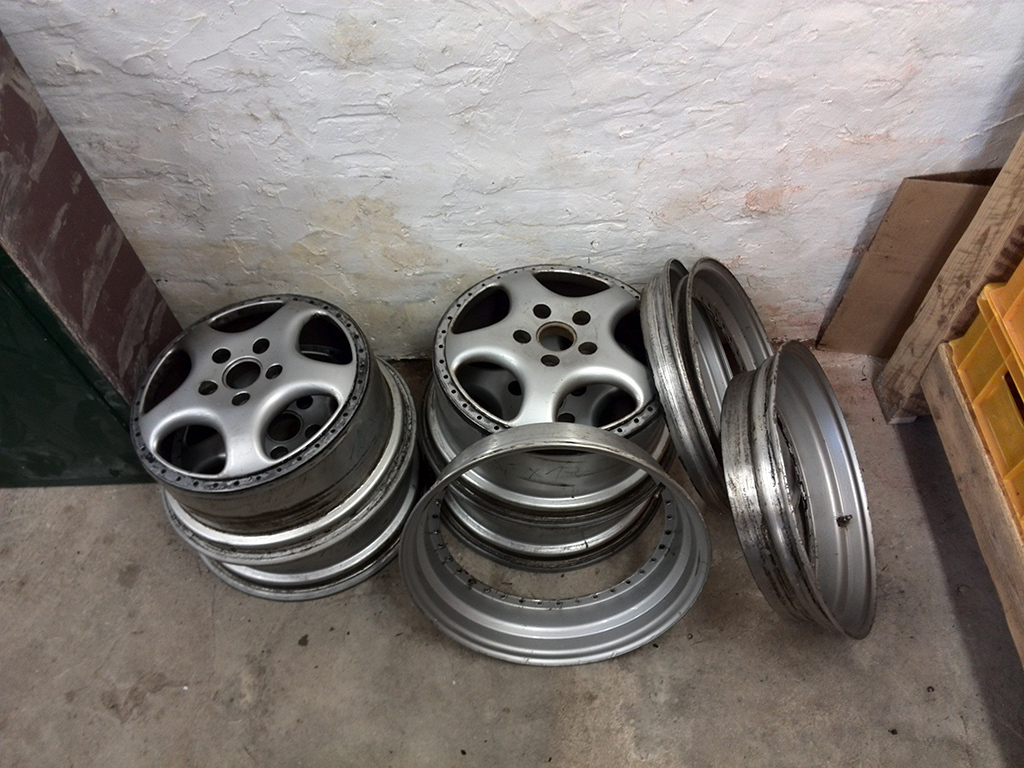
Set 2:
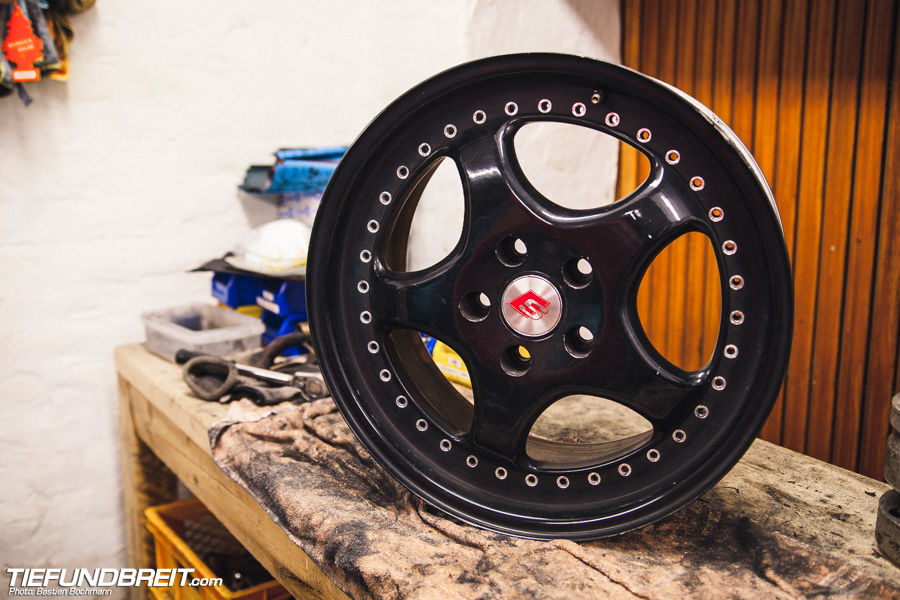
These are just 8x17 ET60 with 1.25 inch lips and will stay that way. I picked these up for a good price and I'm just refinishing them to sell them on.
They had been badly painted once, without being split beforehand but otherwise were in pretty good condition, just some minor curb rash.

This time I was a bit more detailed when documenting the build...
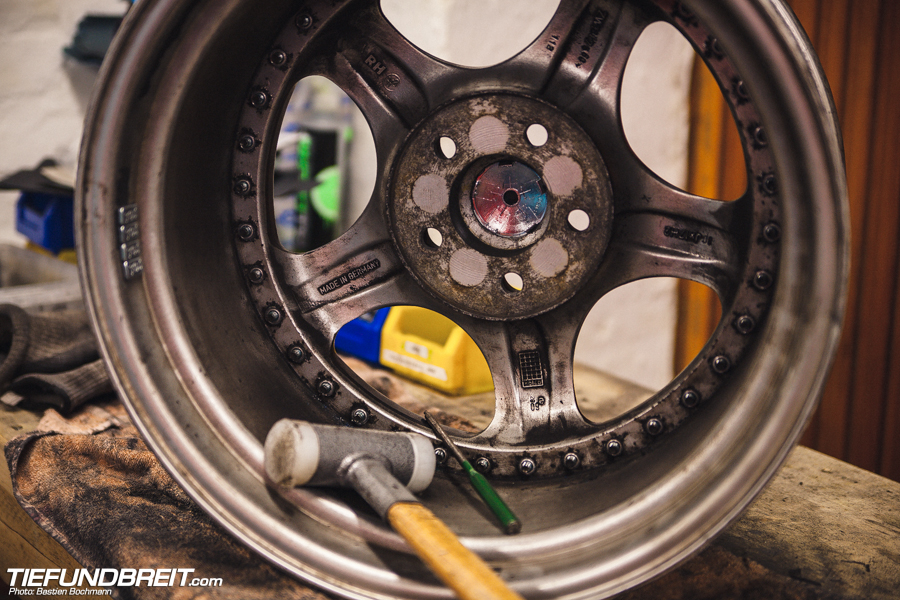
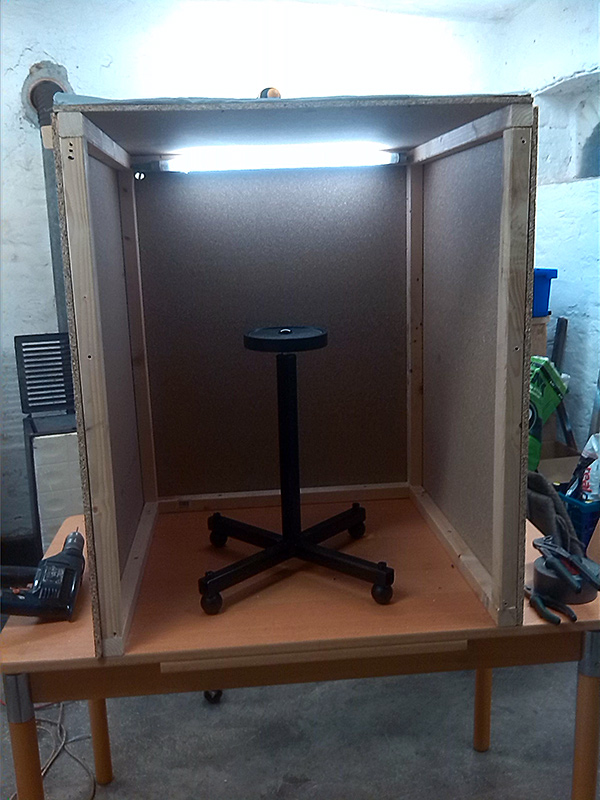
These are pretty much all the tools I used except my drill, which is just to the right of the picture...

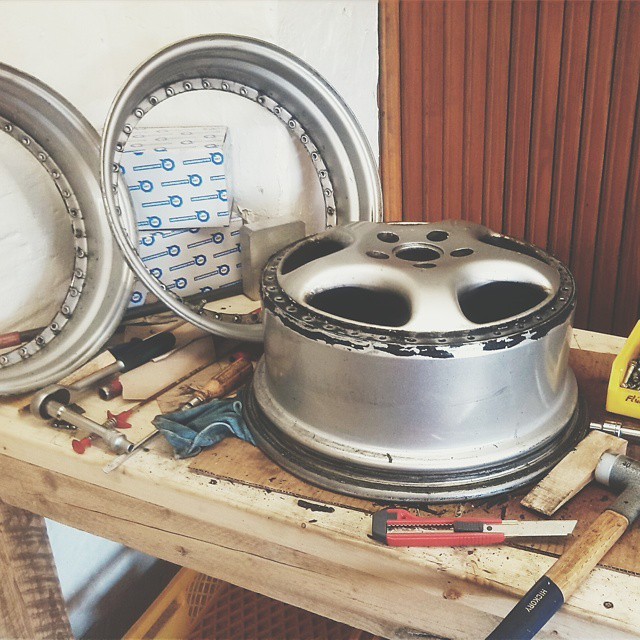
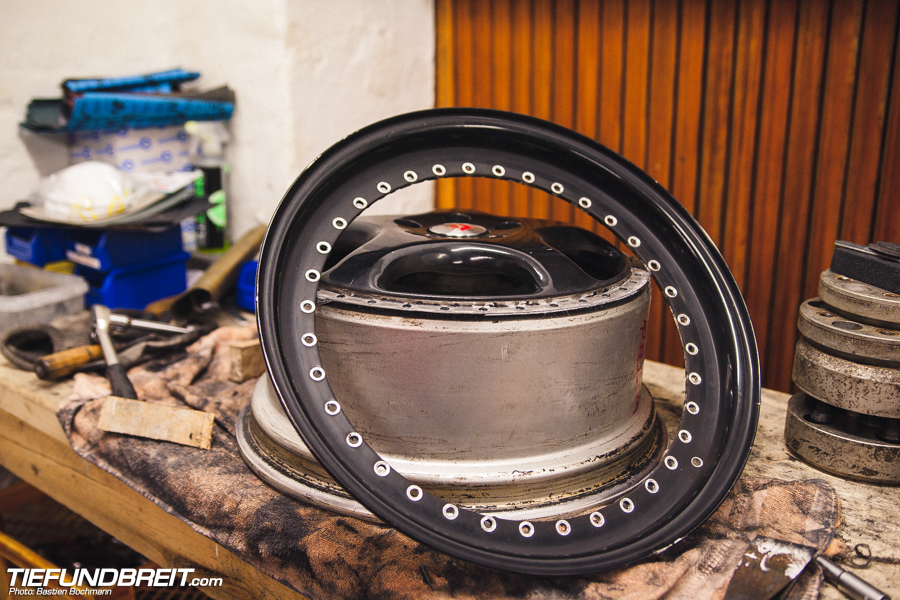
The wheel to be split.
Removing all the nuts.
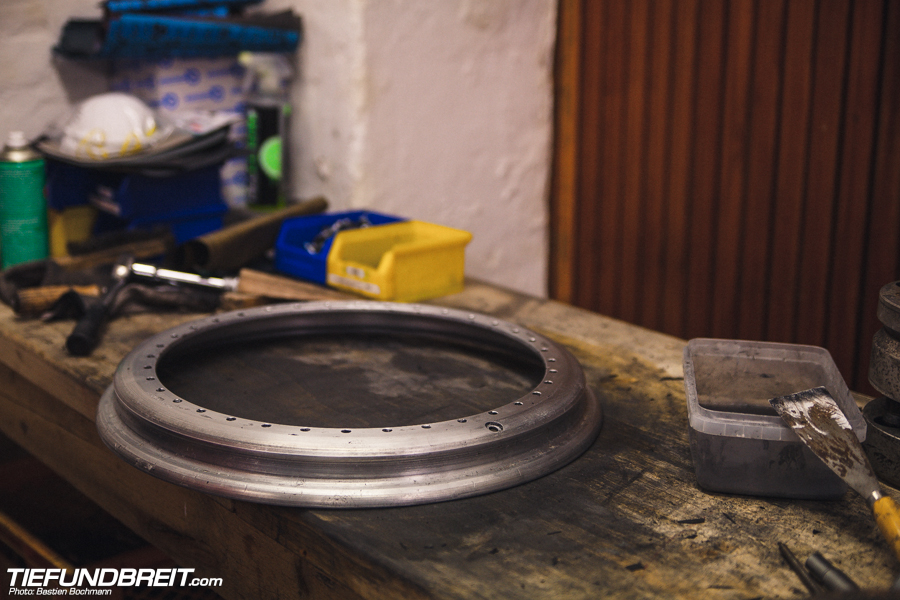
Once they're off, I like to tap out the screws from behind with the wheel placed face down.
Bolts removed.
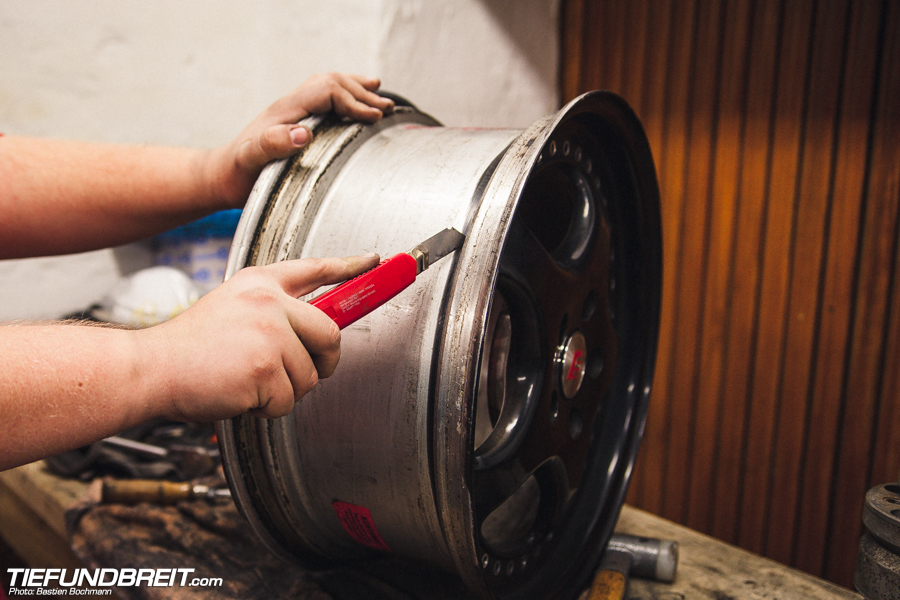
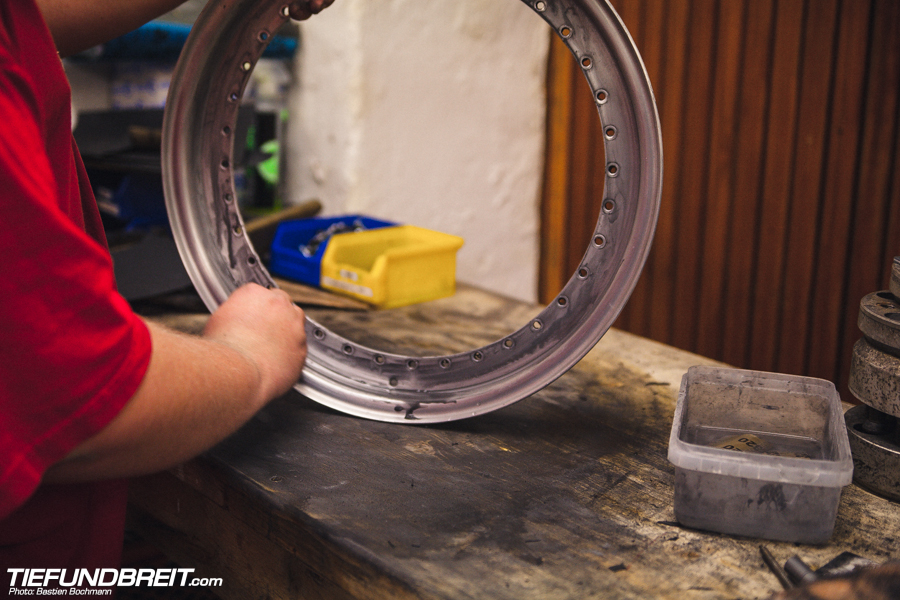
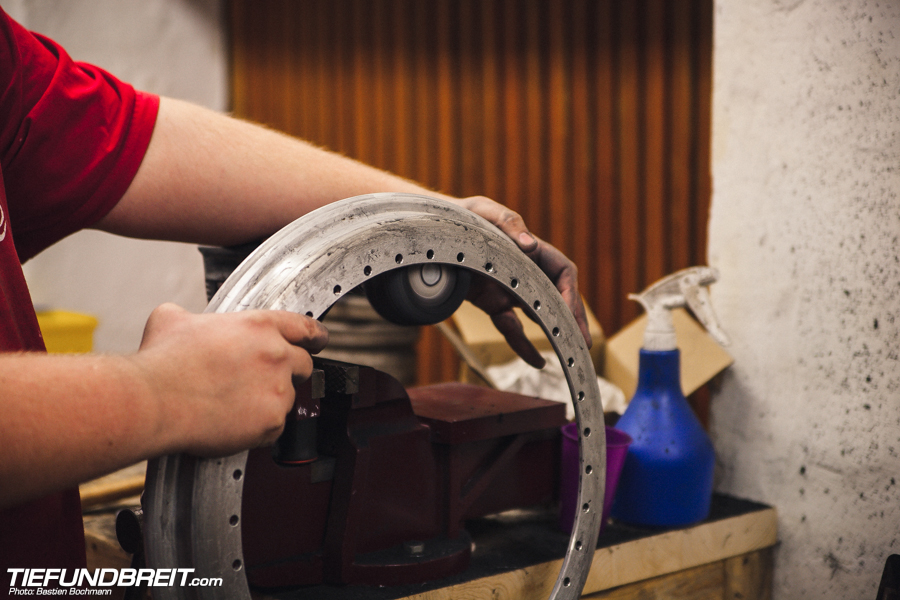
I set about cutting into the sealant using a knife. Cut as deep as possible.
Stop! Hammertime! Just a few good whacks with a rubber mallet until I saw a visible gap between wheel and lip.
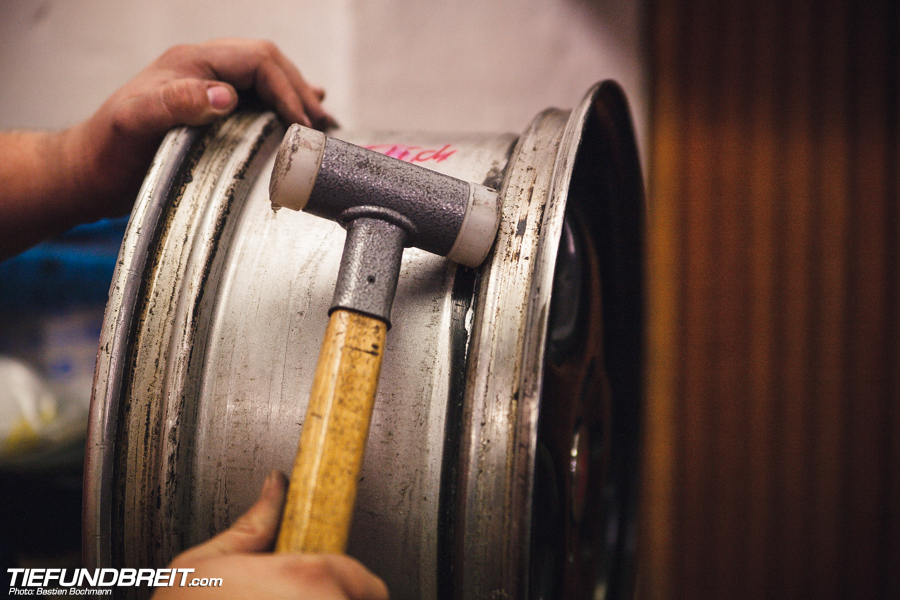
Then I hammer in a wooden wedge to keep the halves apart.

Do this two or three times and the lip will practically jump off.
Now I had to see about stripping the lip. I think I stated this early, but I like to use Ethyl acetate. Just spray on...

Let sit for a few seconds until this happens:
Hose it off...
The rest needed a bit more of the Ethyl acetate to properly come off. Small bits can usually just be rubbed off with a towel. It was just a matter of minutes to strip the lip this way.
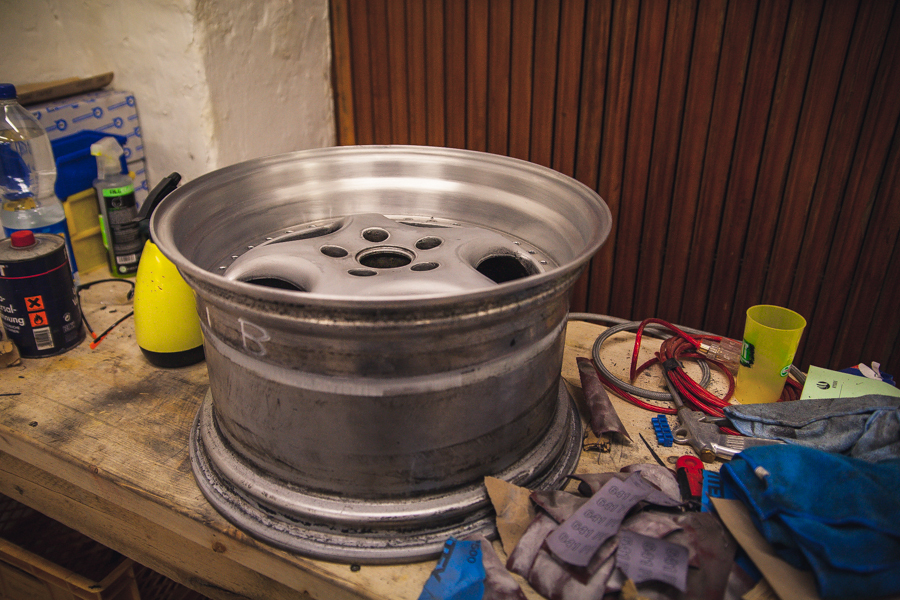
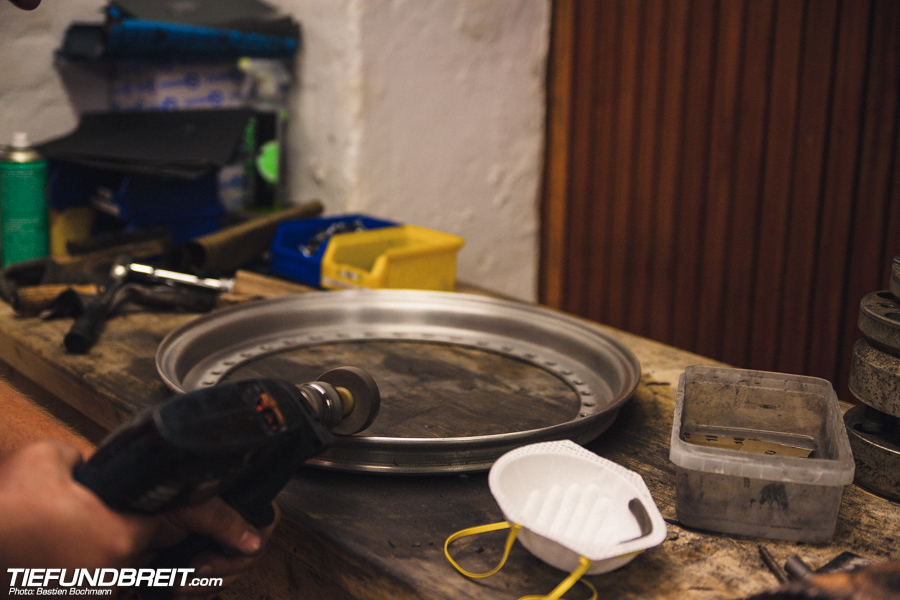
Next, i set about cleaning the backside of the lip a bit. I have a sanding sponge (basically a soft sponge with sandpaper on it's sides) that nicely adheres to the shape of the lip and is perfect for the job.

All clean. Had to use some gasket remover to get the rest of the sealant off.
Now is the time to see about removing curb rash. Luckily, this lip didn't have very much, just one very slight spot, so I gave it a quick hit with the 240 grit sanding disc.
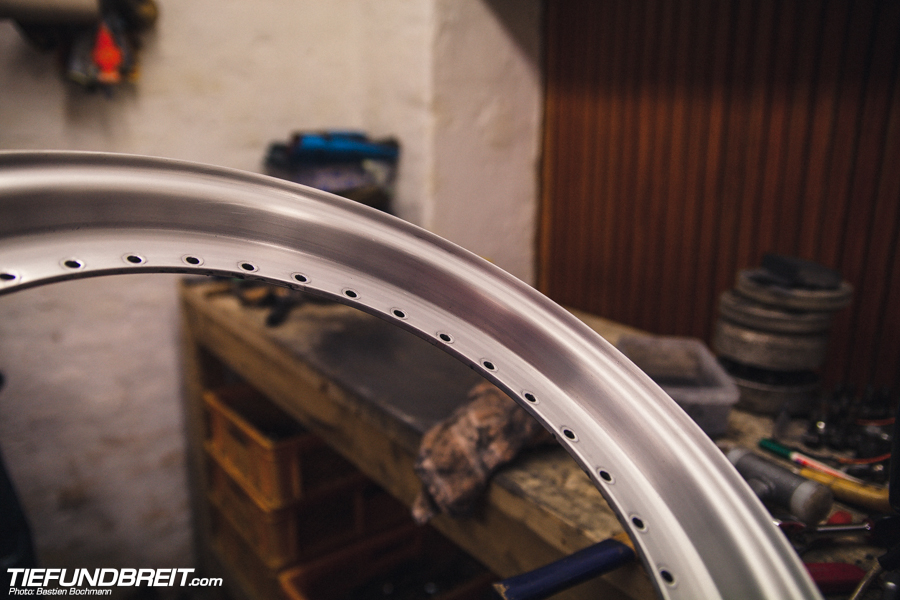
Then it's finally time to start sanding.
I went 320 - 500 - 1200 - 2000. The 500 to 1200 might seem like a big step, which is why I like to sand twice with the 1200 grit, once in a horizontal direction and once in a vertical direction. Same with the 2000 grit. This is the result:
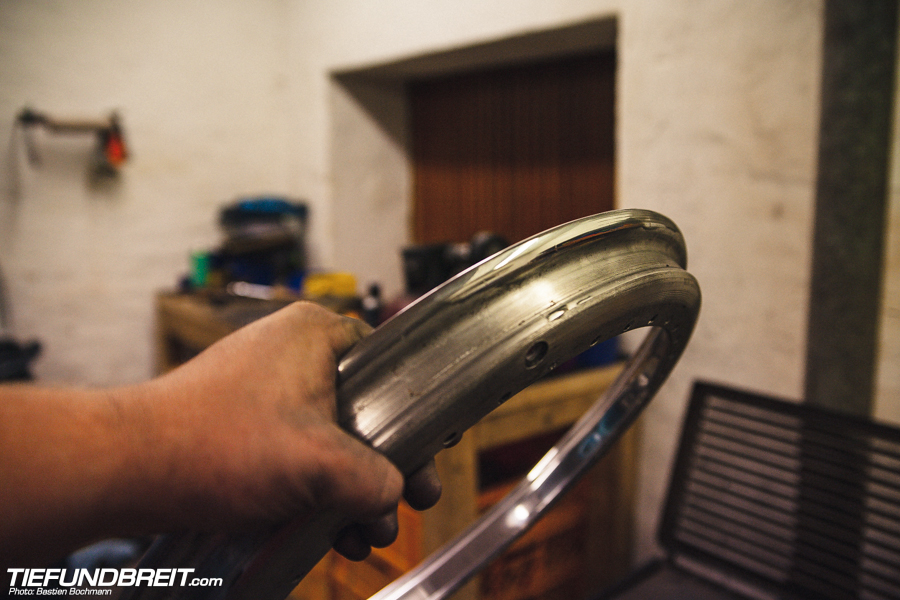
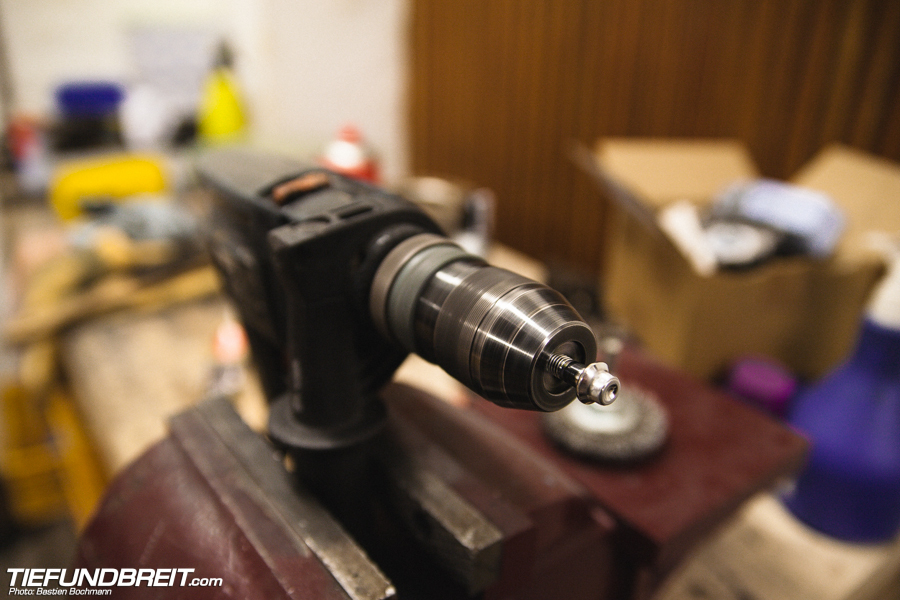
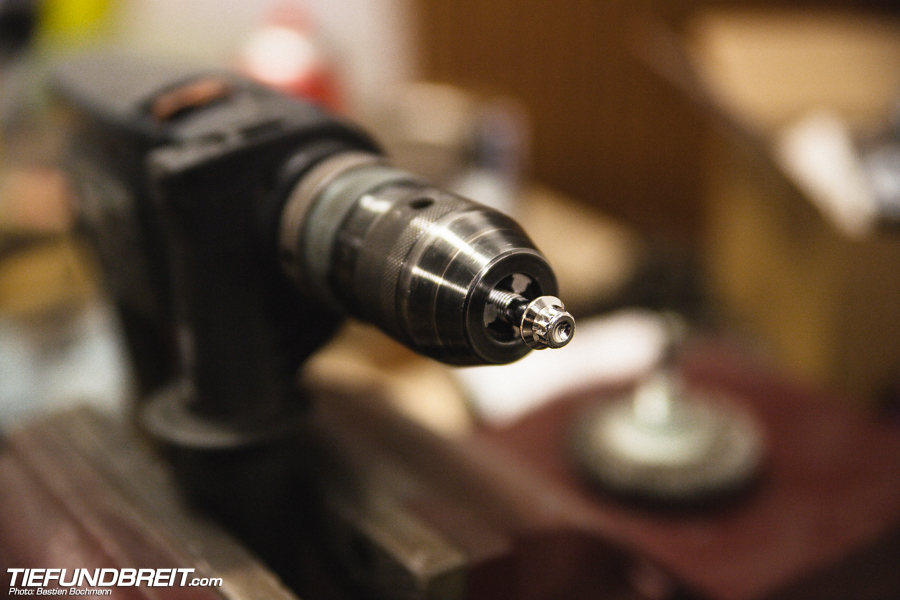
Now I fired up my drill with the polishing wheel...

And this is probably the greatest part about polishing, because you can instantly see something happen.


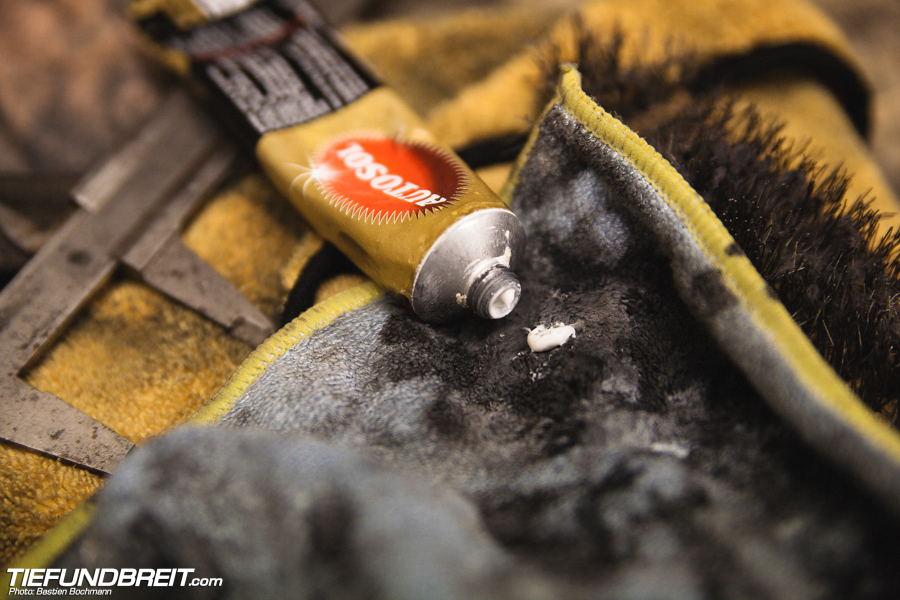
Once the whole lip was polished, I went over it with Surf City's Killer Chrome on a microfiber towel and looked for any spots I might have missed. I did find a few which I hit again on the buffer (after this pic).

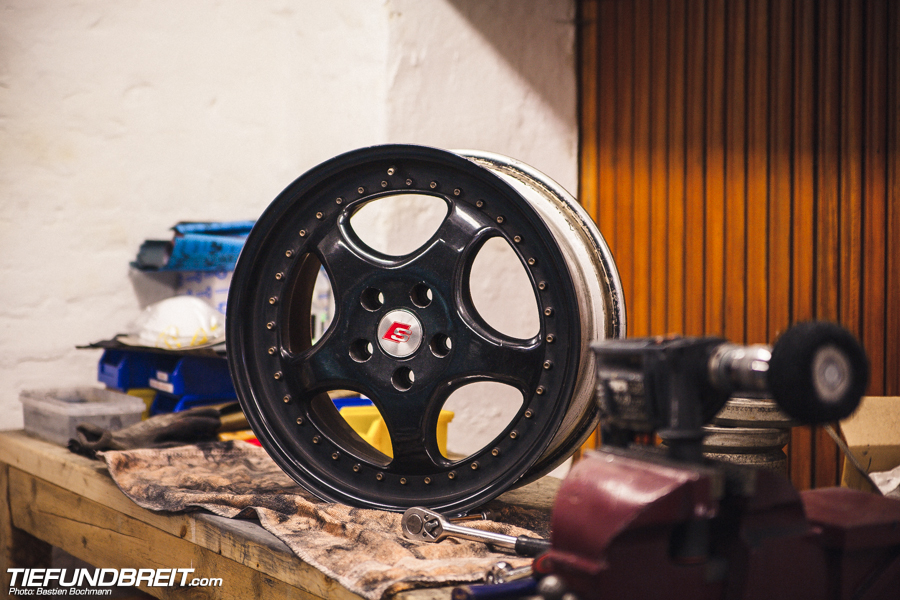
Done! Wait. No, not at all! Because we didn't polish one area that I personally find critical on polished wheels. I am looking to sell these once they're done and I am just going to assume the new owner will want to run stretched tires. That means the rear of the outermost lip should be polished as well to add some bling where the tire stretches and pulls away from the lip.
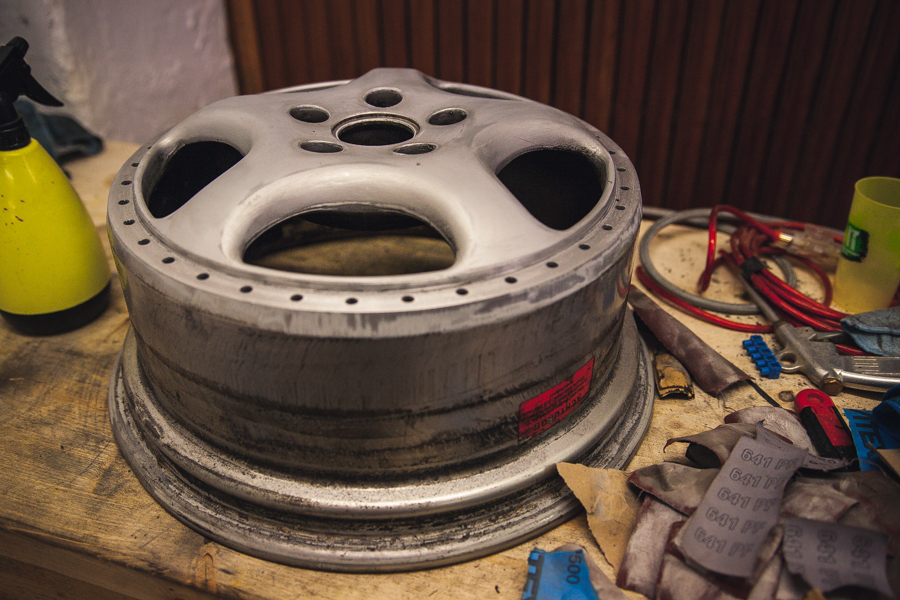
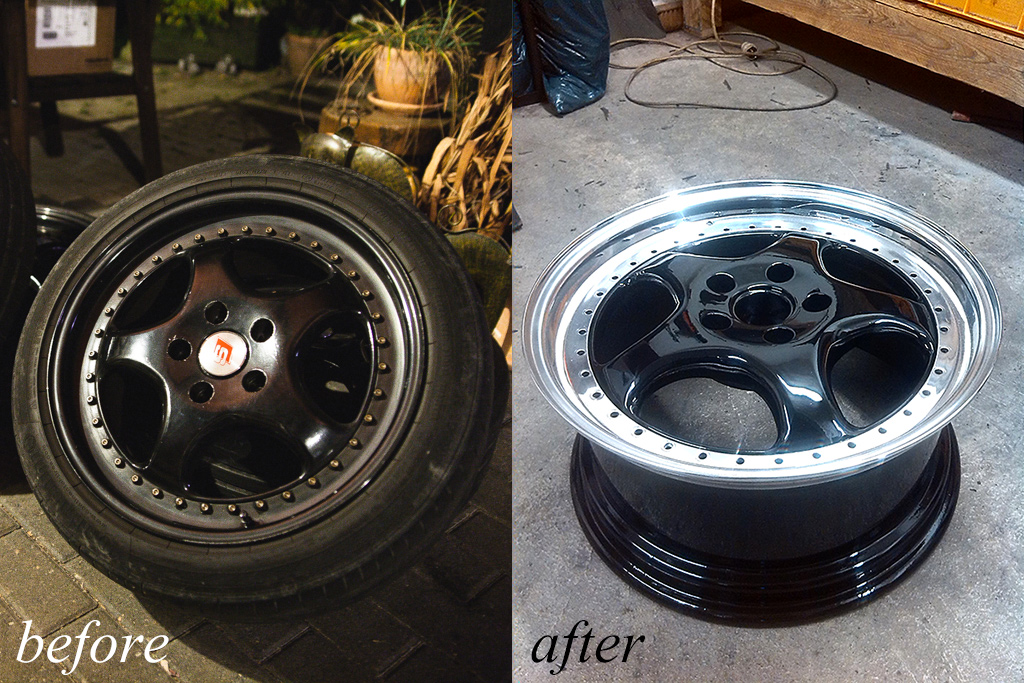
But now... all done!
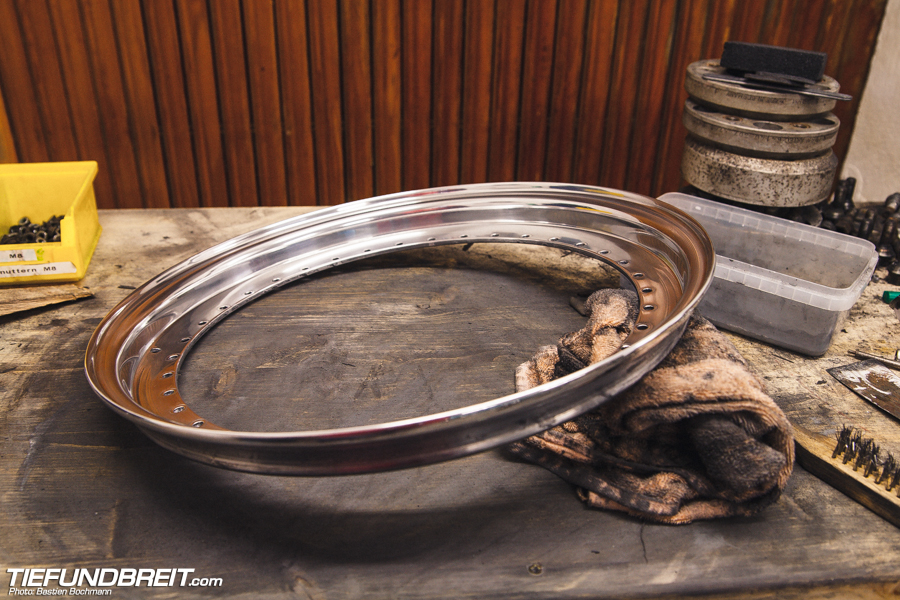
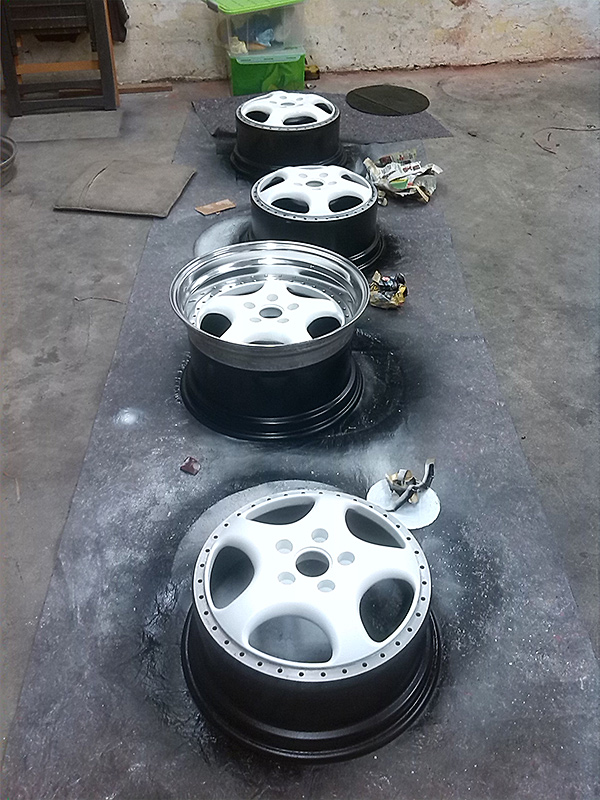
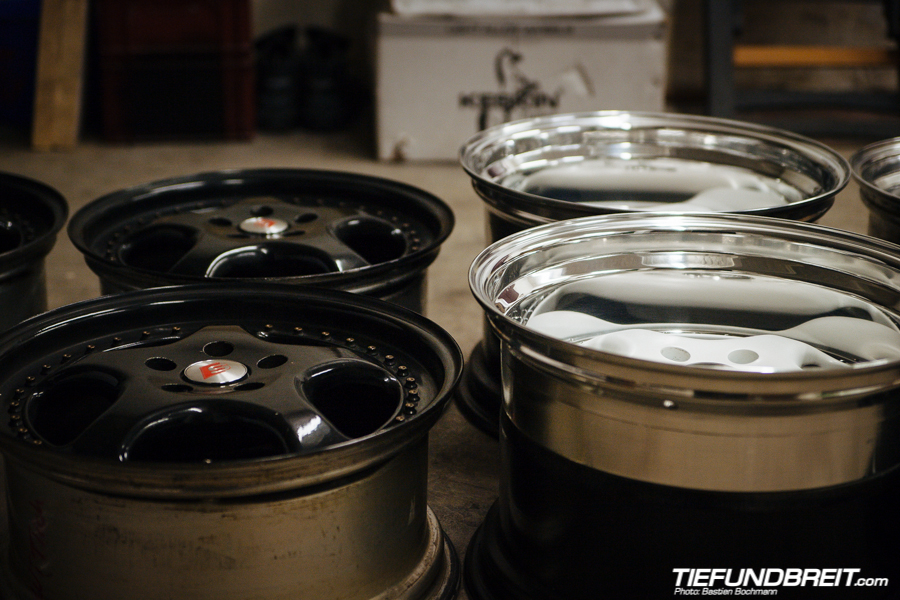
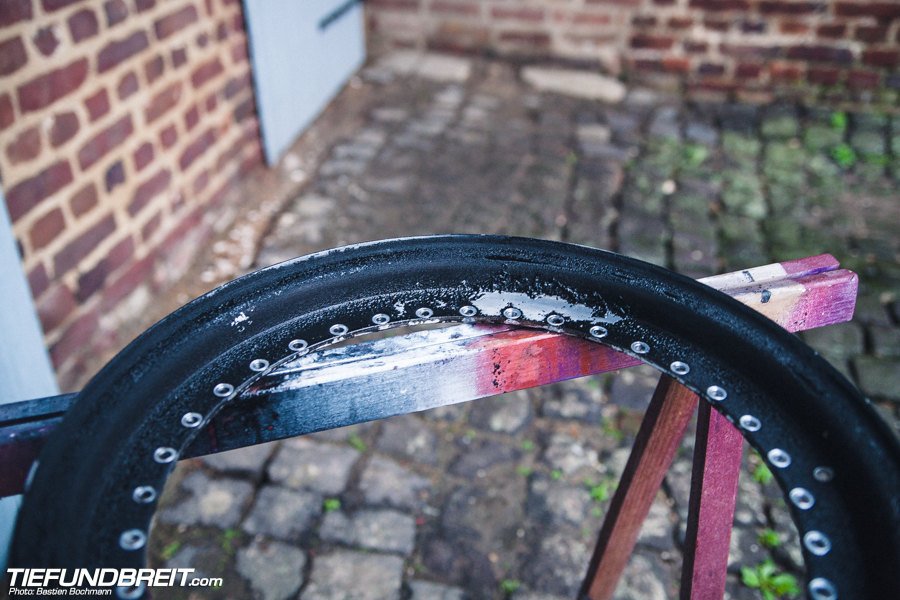
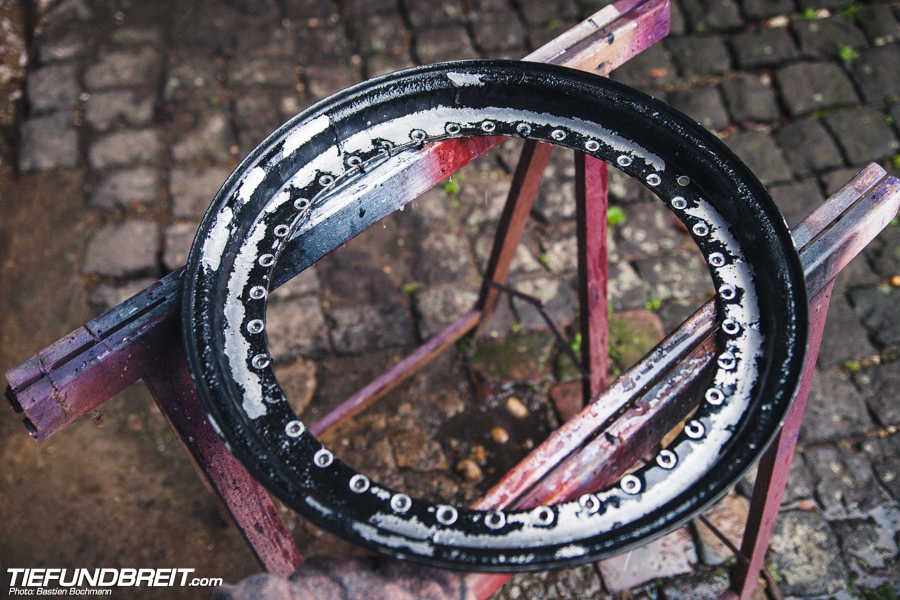
The polished lip already looks loads better than the ugly black painted lip. Of course, the center is still not very nice to look at, so that will have to be taken care of next...

Rinse and repeat.
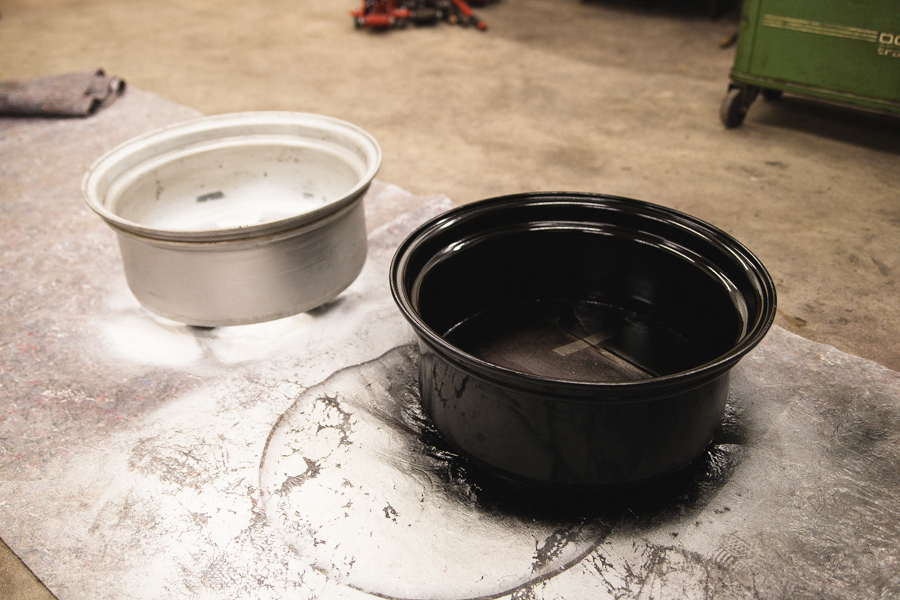
I will be repainting them soon, as the current paint finish really is complete crap.
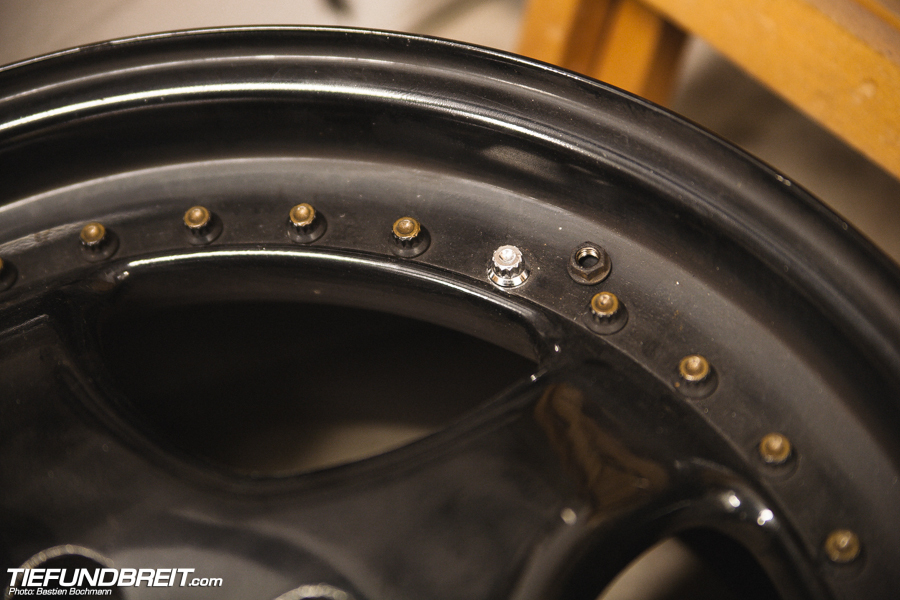
I will be re-using the bolts when I assemble them. I tried to refinish one of them and it came out great. Here you can see the one I refinished and the other ones with the old ugly paint on them... underneath the paint, these are chrome bolts.
These pictures are from a different set of bolts I did, but I'm using them to show the process...
Dumped them in a bucket with thinner for a few hours.
You can pretty much just rub most of the paint off.
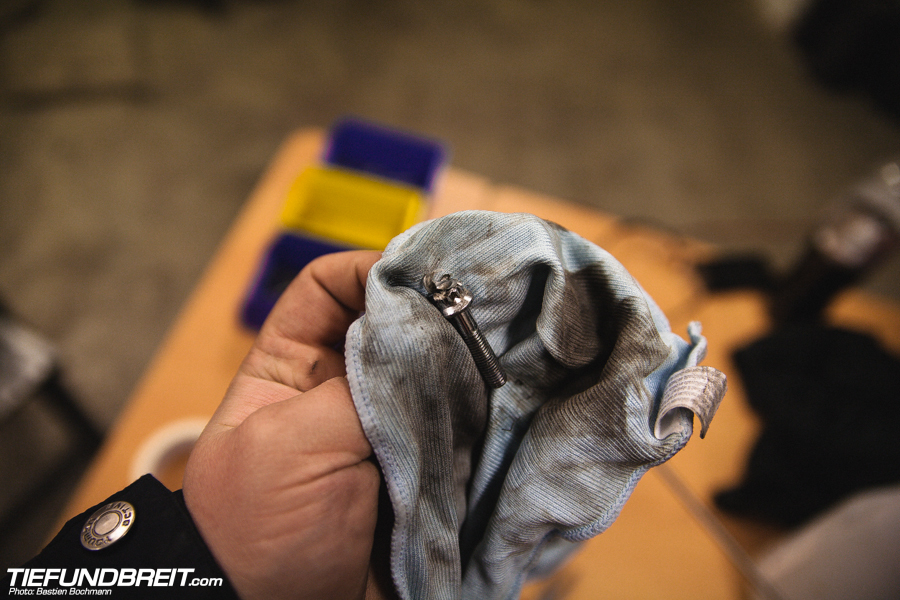
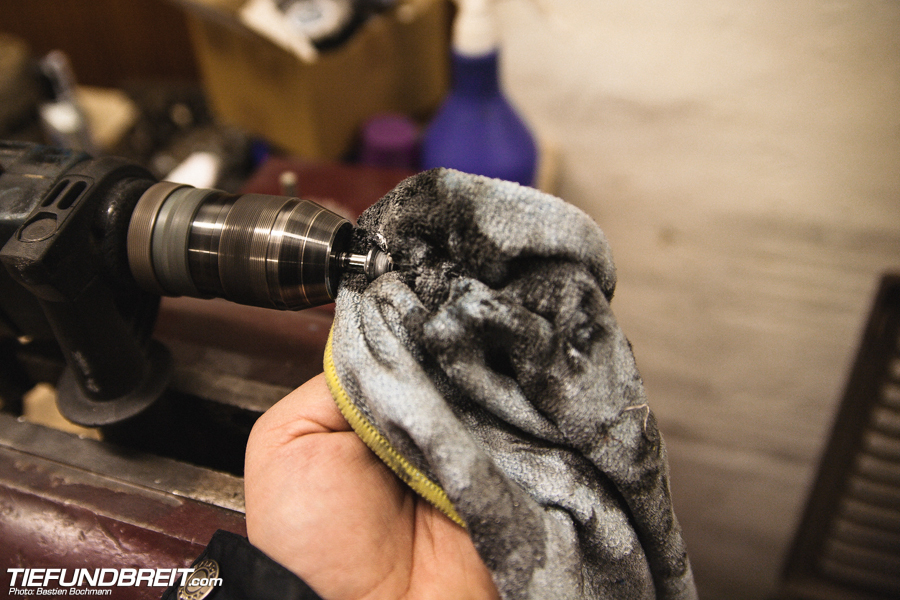
And then, one by one, I carefully place them in my drill and polish them using Autosol on a rag.
I'm still unsure on the center color of the skinny set. I'm thinking maybe a medium grey...
To be continued.
A wide set for my own personal car and a skinny set to sell...
RH ZW1 are two piece splits with the front lip being separate from the wheel. The inner half is always 6.75 inch wide. These wheels came usually as 5x112 intended to be run with spacers or adapters on all bolt patterns, they are centered via the spacer. There are a few more uncommon sets out there in "proper" bolt patterns for use without spacers, but the most common are the ones intended for spacers. As they are intended for spacers, they have a high native offset.
Set 1:
Started out as:
8.5 x 17 ET53
10 x 17 ET35
Ended up as:
10 x 17 ET35
11.25 x 17 ET19
I sold the old lips, which were 1.75 inch and 3.25 inch and got a better pair of 3.25 inch ones from a friend which I polished and ordered new 4.5 inch ones from iclair.de. Bolts are partially being re-used, there were 3 kinds of bolts in these wheels when I got them. Sorted through them, got 86 chrome bolts left and have ordered another 58 ones to replace the other bolts so I have a matching set.
Also sourced new stainless steel center caps.
I painted the wheels matte white but I'm not satisfied with the paint and will be repainting them as soon as I get done building a wheel spray booth.
Now for pictures...
Set 2:
These are just 8x17 ET60 with 1.25 inch lips and will stay that way. I picked these up for a good price and I'm just refinishing them to sell them on.
They had been badly painted once, without being split beforehand but otherwise were in pretty good condition, just some minor curb rash.
This time I was a bit more detailed when documenting the build...
These are pretty much all the tools I used except my drill, which is just to the right of the picture...
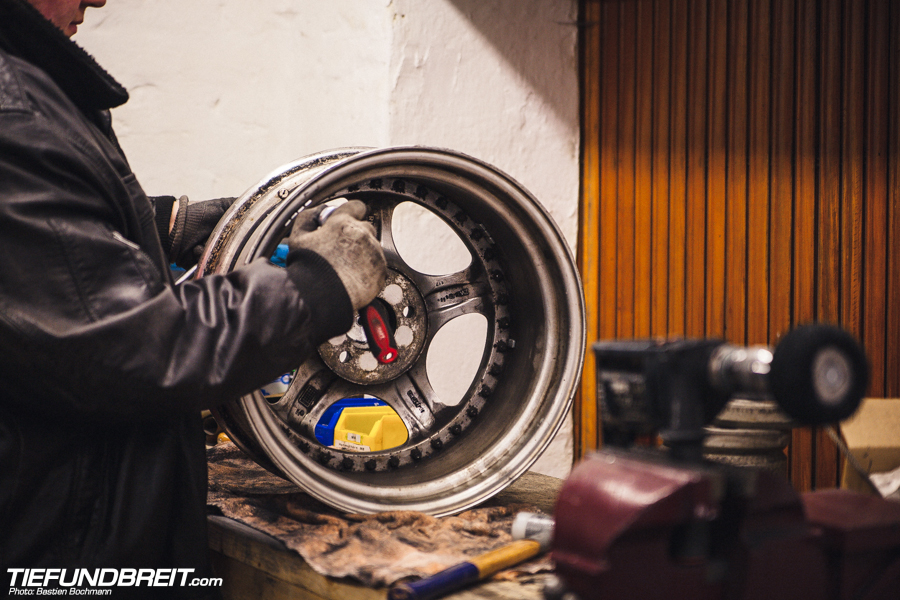
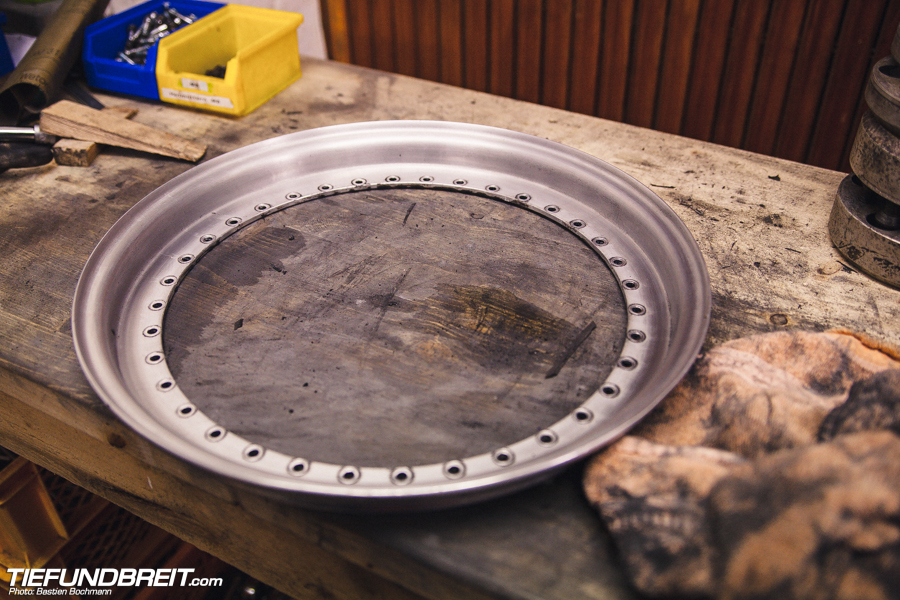
The wheel to be split.
Removing all the nuts.
Once they're off, I like to tap out the screws from behind with the wheel placed face down.
Bolts removed.
I set about cutting into the sealant using a knife. Cut as deep as possible.
Stop! Hammertime! Just a few good whacks with a rubber mallet until I saw a visible gap between wheel and lip.
Then I hammer in a wooden wedge to keep the halves apart.
Do this two or three times and the lip will practically jump off.
Now I had to see about stripping the lip. I think I stated this early, but I like to use Ethyl acetate. Just spray on...
Let sit for a few seconds until this happens:
Hose it off...
The rest needed a bit more of the Ethyl acetate to properly come off. Small bits can usually just be rubbed off with a towel. It was just a matter of minutes to strip the lip this way.
Next, i set about cleaning the backside of the lip a bit. I have a sanding sponge (basically a soft sponge with sandpaper on it's sides) that nicely adheres to the shape of the lip and is perfect for the job.
All clean. Had to use some gasket remover to get the rest of the sealant off.
Now is the time to see about removing curb rash. Luckily, this lip didn't have very much, just one very slight spot, so I gave it a quick hit with the 240 grit sanding disc.
Then it's finally time to start sanding.
I went 320 - 500 - 1200 - 2000. The 500 to 1200 might seem like a big step, which is why I like to sand twice with the 1200 grit, once in a horizontal direction and once in a vertical direction. Same with the 2000 grit. This is the result:
Now I fired up my drill with the polishing wheel...
And this is probably the greatest part about polishing, because you can instantly see something happen.
Once the whole lip was polished, I went over it with Surf City's Killer Chrome on a microfiber towel and looked for any spots I might have missed. I did find a few which I hit again on the buffer (after this pic).
Done! Wait. No, not at all! Because we didn't polish one area that I personally find critical on polished wheels. I am looking to sell these once they're done and I am just going to assume the new owner will want to run stretched tires. That means the rear of the outermost lip should be polished as well to add some bling where the tire stretches and pulls away from the lip.
But now... all done!
The polished lip already looks loads better than the ugly black painted lip. Of course, the center is still not very nice to look at, so that will have to be taken care of next...
Rinse and repeat.
I will be repainting them soon, as the current paint finish really is complete crap.
I will be re-using the bolts when I assemble them. I tried to refinish one of them and it came out great. Here you can see the one I refinished and the other ones with the old ugly paint on them... underneath the paint, these are chrome bolts.
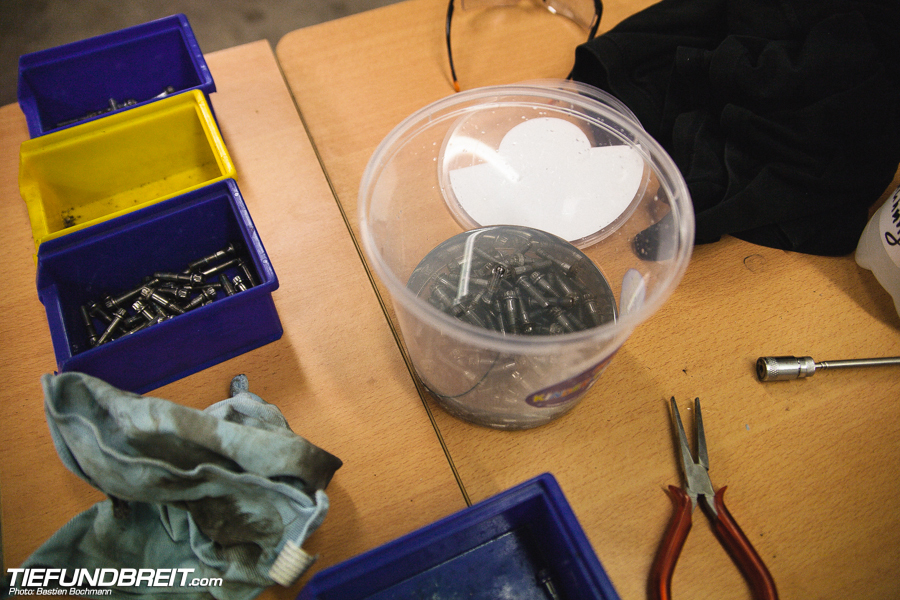
These pictures are from a different set of bolts I did, but I'm using them to show the process...
Dumped them in a bucket with thinner for a few hours.
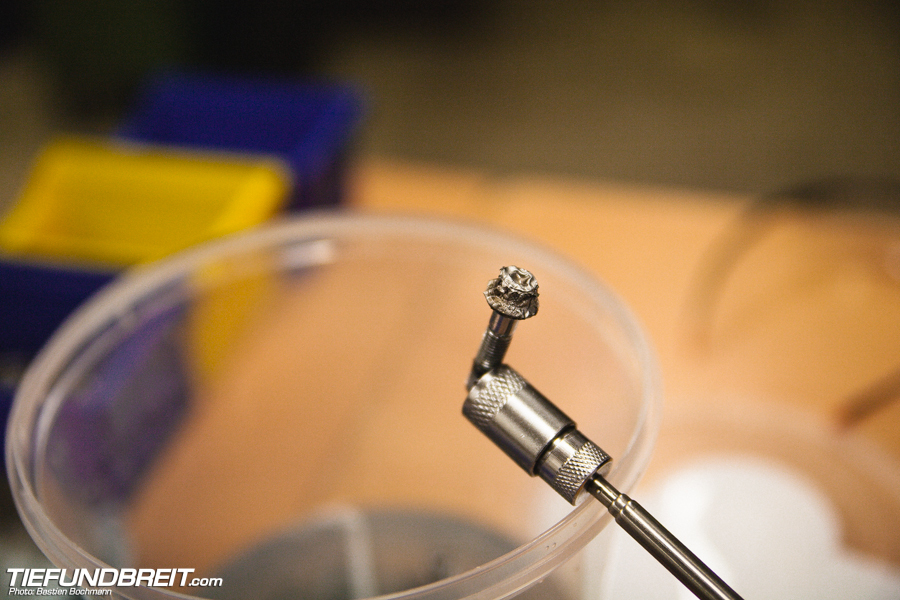
You can pretty much just rub most of the paint off.
And then, one by one, I carefully place them in my drill and polish them using Autosol on a rag.
I'm still unsure on the center color of the skinny set. I'm thinking maybe a medium grey...
To be continued.


Comment