 Tweet
Tweet
nice seats, should look good
-
-
Sweet seats! Could you measure the width of the tracks? I'm up waay to high in my car, these look like they're extremely comfortable. Makes me want a set..SAAB 900 T16sComment
-
I can measure them...if I remember...
Well, 2 steps forward, 1 step back. I plumbed the entire vacuum system for the cutouts - sourcing from the booster line, running along the firewall, through the passenger firewall behind the battery, and through the passenger compartment to the trunk. I mounted the vacuum canister and solenoid in the cargo well next to the CD Changer. Vacuum output from the solenoid ran through a small hole in the cargo well, up and around the diff, and then tee'd to each cutout. Tested it with the engine running and 12V from a wall adapter. Both cutouts open all the way - I was concerned that the vacuum wouldn't be strong enough to overcome the spring pressure of both units, but it works well.
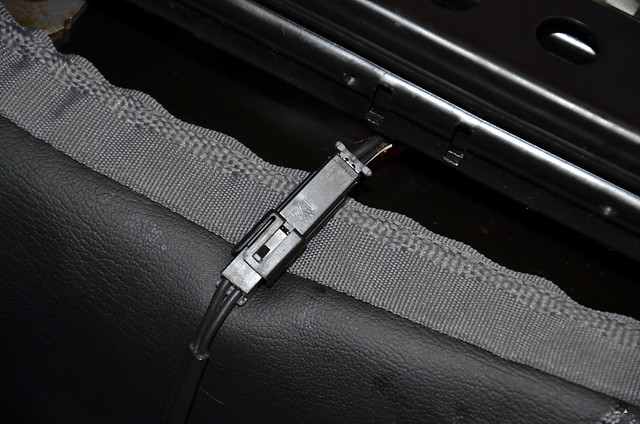
Time to put it all back together and source power from the car - there is an unused harness connector in the passenger footwell that provides a ground, switched power, and constant power - so I wired my power and ground to the switched wire and ran back to my pushbutton switch in the ashtray. Good tips here on where to find it:

Before putting the dash back together, I yet again tested it with the engine running, now pulling power from that harness inside the car - still worked great.
Put shifter surround trim back in, tested it - blew fuse. Replace fuse, try again, SNAP, blew fuse. Remove console, replace fuse, try again, works. Put shifter surround back in, SNAP, blew fuse. I think I am pinching a wire somewhere. It's a 20A circuit, so I can't see that little vacuum solenoid pulling more current than that, especially since that fuse is not shared with any other circuits. So close to being done! Unfortunately I won't be able to work on the car much this weekend so it will have to sit in the back of my mind and bother me until I can spend some time on it.
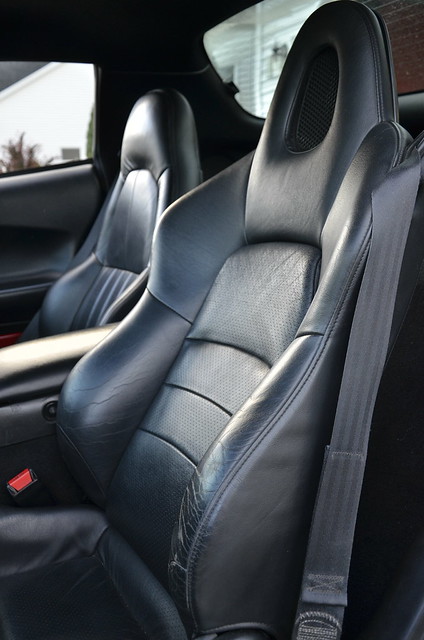
On a positive note I did pick up my S2000 seats from the shipping terminal and they look great. Leather needs a quick cleanup and maybe some shoe polish on the bolsters but otherwise like new.Comment
-
Finally got my cutout setup finished up. Quick video of a rigged setup, using vacuum from the engine and power from a 12V adapter plugged into the wall. Just testing operation here.
I ran the wiring inside the car and tapped into the fused switched power and kept blowing fuses - took the console back apart on Memorial Day and found 2 spots where the console had pinched the power wire, which broke the insulation and grounded it to the metal chassis tunnel. Replaced that section of wire, and got the whole interior finally back together. Test drive went great, works exactly as expected, the nice part is how quickly the cutouts close when you want them off. The spring snaps them shut in about half a second. In car videos to come.Comment
-
Good progress mate!
So why vacuum actuated valves instead of full electric ones?Lucas

Former daily: 2002 CLK 500 AMG - (sold) . . . . . . . . .
Project: 1986 W124 260E rebuild - (3.0 swap) . . . . . . . . . Follow me on IG : @loekaazDaily: 2004 Pontiac GTO. . . . . . . . . Daily Econobox: 2009 Mini Clubman CooperOriginally posted by LCGComment
-
In the past I ran an electric and the motor failed on me. No parts available and too expensive to fix. They also take a long time to open and close.
The only moving parts on these are readily available 3 port vacuum solenoid and the diaphragms located on the cutouts themselves (just simple ball and socket joints).Comment
-
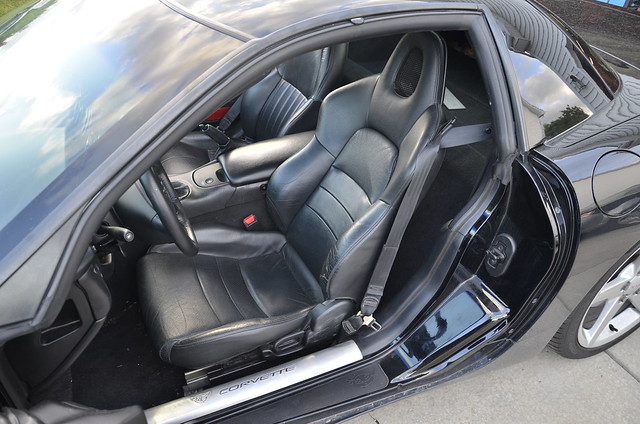
The C5 seats are garbage, I don't care how much you refinish or replace foam, they have poor control and really make the aggressive driving experience terrible. I have not yet autocrossed or road raced my 2000 FRC, only street driven so far. And yet on every highway on/off ramp that I take, I slide either into the center tunnel or smash against the door panel hanging onto the steering wheel for dear life. The C5 chassis is capable of far more - it's an absolute shame the stock seats hold it back so much.
The C5 chassis is supported by a huge aftermarket following, with no lack of gorgeous seating options with bolt-in brackets available. However, I decided not to go with the typical aftermarket options for the following reasons:
-I'm not a millionaire and don't want to spend thousands of dollars on seats and brackets
-I know my way around a wrench and enjoy fabrication projects
-All the aftermarket options I found looked very "boy racer" to me.
- I wanted to keep the "OEM+" look that only factory seats can achieve.
-Had to keep the leather theme - no cheesy aftermarket black foamy cloth with gaudy embroidered lettering for me
As part of the planning phase of the project, I had no intention of keeping the heavy C5 power seat adjustments and adapting the S2000 seat to the C5 rails, so I decided to keep the S2000 seat attached to the Honda rails and adapt them to a bracket, which would be bolted to the stock C5 floor studs. I also did not want to modify the C5 seats or floor mounting points in any way as it would devalue the originality of the chassis.
I did not get any pics of this process, but I simply removed the 4x nuts holding the C5 seat in place and immediately realized that the floor is recessed around the mounting studs. As such I wasn't able to bolt a flat ]rail directly to the floor; it needed to come up at least an inch or more. I bought some hex couplers, washers, and bolts that all matched the factory C5 M10x1.5 studs. The hex couplers threaded onto the studs and provided a raised platform to which I could bolt the new adapter bracket.
In the fall of '14 I installed a unit heater in my garage and mounted it to the joists in the ceiling using a long stick of zinc-plated Unistrut.
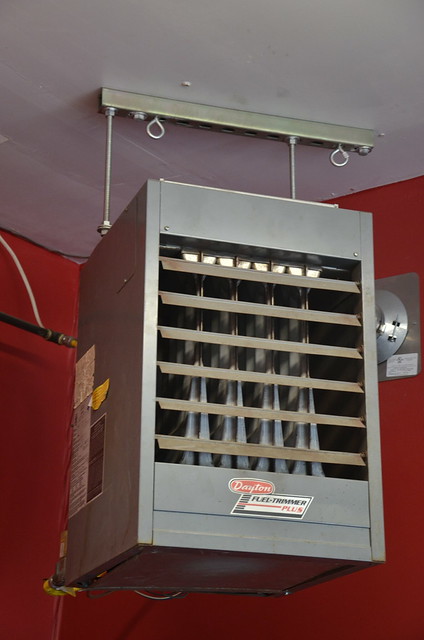 _DSC5115 by Norbert Ogiba, on Flickr
I think the stick was at least 12' long, I only used about 20" of it for the heater install. The remainer collected dust in the corner of the garage for a couple of years until today.
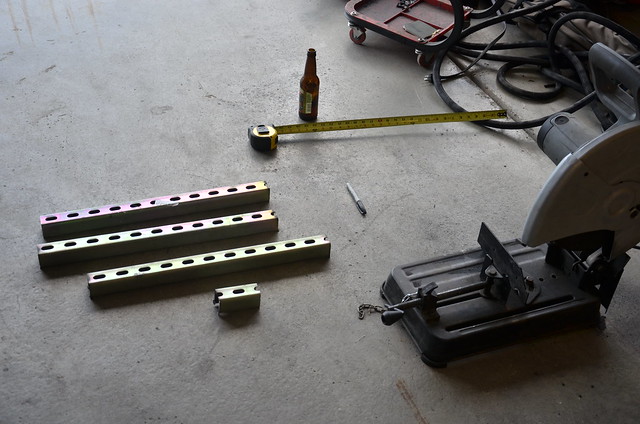 _DSC5118 by Norbert Ogiba, on Flickr
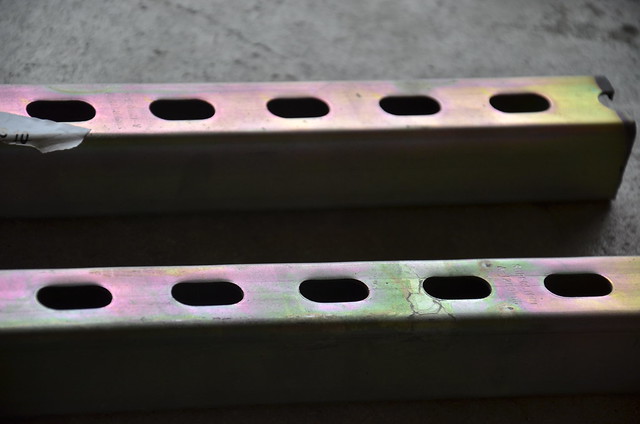
I chopped them to 23" lengths and mounted to the tops of the hex adapters lengthwise in the car. One end of each rail needed to have the slot slightly enlarged to allow it to fit. No pics, will get them next time I take the seat out of the car.
These will get a coat of black paint before final installation and should blend in with the floor nicely.
 _DSC5119 by Norbert Ogiba, on Flickr
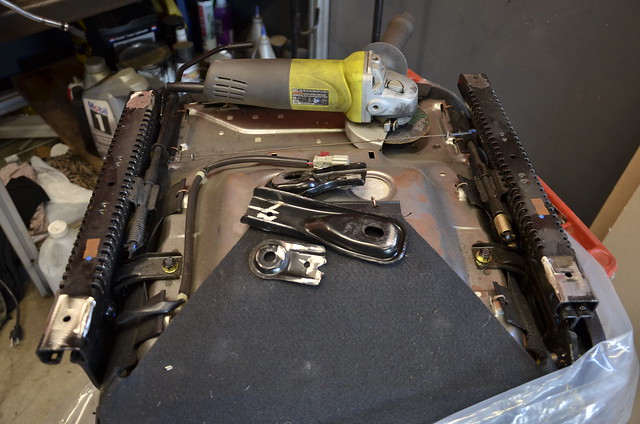
The S2000 floor mounting points are NOTHING like the C5 so I cut the mounting tabs off the S2000 rails right away. They are riveted AND spot welded to the rails, so some quality time with the cutoff wheel needs to be spent. I tend to enjoy grinding as I can throw in headphones, turn up the tunes, and go to town.
Note 4 shiny corners where brackets are gone.
 _DSC5120 by Norbert Ogiba, on Flickr
S2000 mounting tabs cut off.
_DSC5120 by Norbert Ogiba, on Flickr
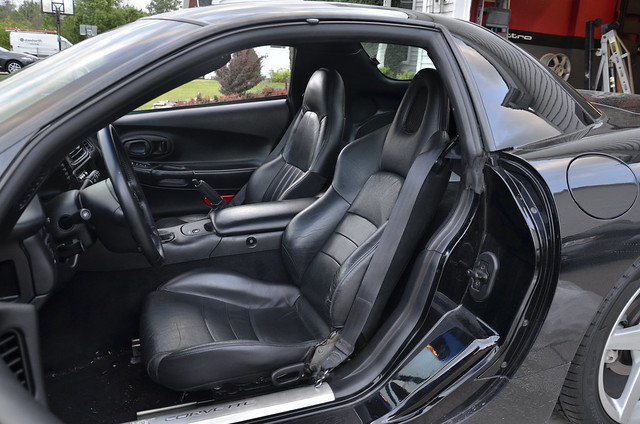
So now that the unistrut rails were firmly bolted in place, and the S2000 seat had a nice flat bottom to work with, it was time to put the seat in the car and see where I had fitment issues.
These things looks awesome.
 _DSC5123 by Norbert Ogiba, on Flickr
 _DSC5124 by Norbert Ogiba, on Flickr
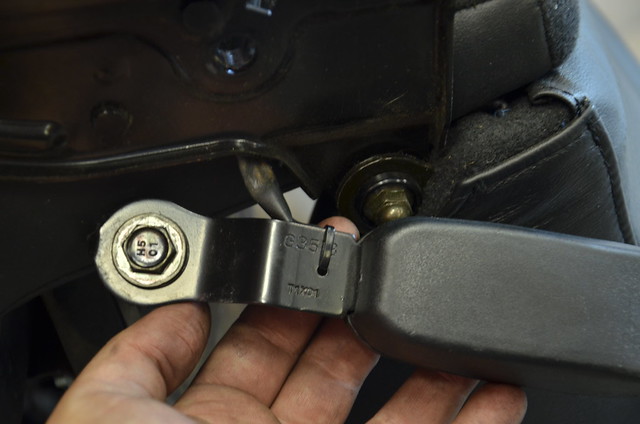
However, note how far forward the seat sits in relation to the C5 passenger seat - there is a lot of contact between the S2000 reclining handle cover and the lower C5 seatbelt cover - as well as between the the S2000 seat belt buckle and the center tunnel. To be continued in next post...
The S2000 reclining mechanism and handle cover have serious contact with the C5 lower seatbelt reel cover.
 _DSC5125 by Norbert Ogiba, on Flickr
and the S2000 seat belt receptacle is pushed up against the tunnel.
 _DSC5126 by Norbert Ogiba, on Flickr
In this position the seat is WAY too far forward (I'm 5'8") and needs to come back.
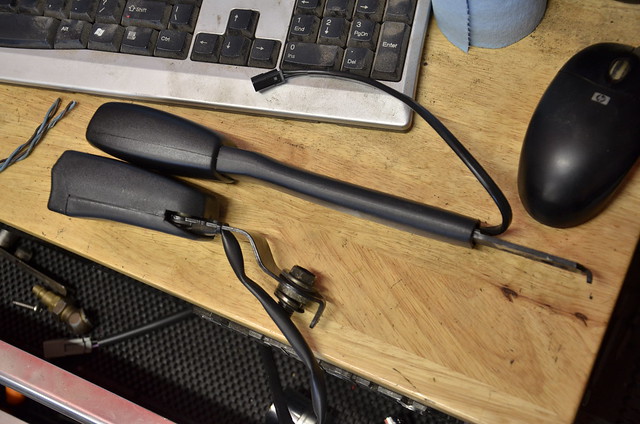
The S2000 seat came out of the car and onto the bench to have some stuff taken off it. First came the seatbelt buckle
 _DSC5128 by Norbert Ogiba, on Flickr
...along with the related Z-shaped harness. I won't need this as it doesn't interface with the C5 seatbelt OR the C5 electrical seat harness.
 _DSC5129 by Norbert Ogiba, on Flickr
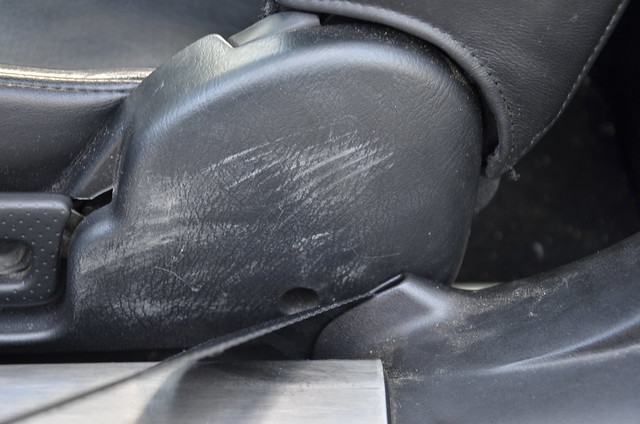
You're now looking at the rear of the S2000 seat, driver's side, reclining mechanism plastic cover. It sticks out WAY past the rail, which is already far wide than the C5 bolt spacing. It will have to go.
 _DSC5130 by Norbert Ogiba, on Flickr
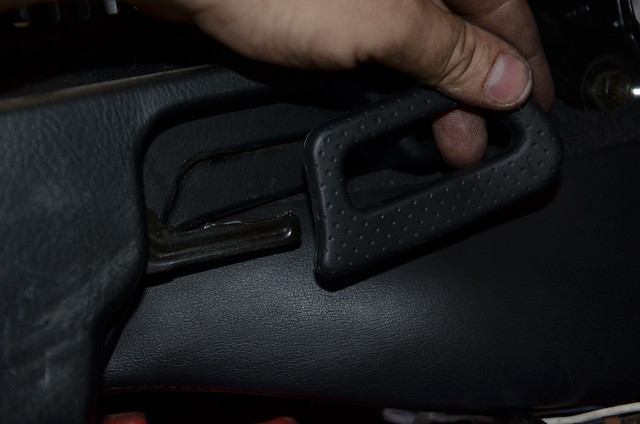
Firmly pull on the cool looking reclining handle to remove it
 _DSC5131 by Norbert Ogiba, on Flickr
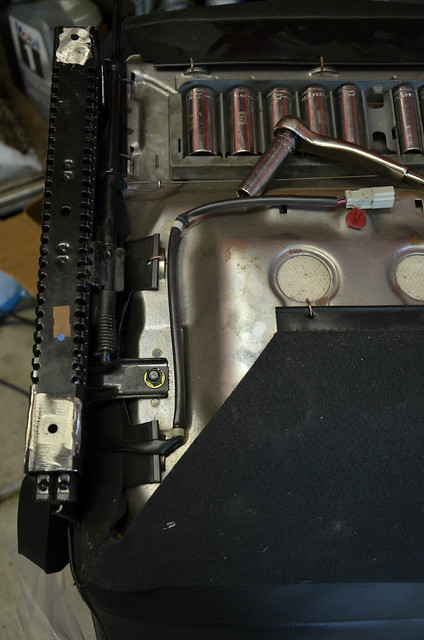
now that the 2 items that were in the way are now gone, I stuck the seat back in the car to see what it looked like. The good news is that the seat can now slide all the way back. This keeps with the OEM+ theme, keeping full functionality of adjustment. Note the absolute lack of shoulder bolsters on the C5 seat, compared to the S2000. I still can't get over how much better these seats look than the stockers.
 _DSC5132 by Norbert Ogiba, on Flickr
The bad news is that the reclining mechanism is now exposed and sticks out like a sore thumb. I'll have to come up with something to fix this.
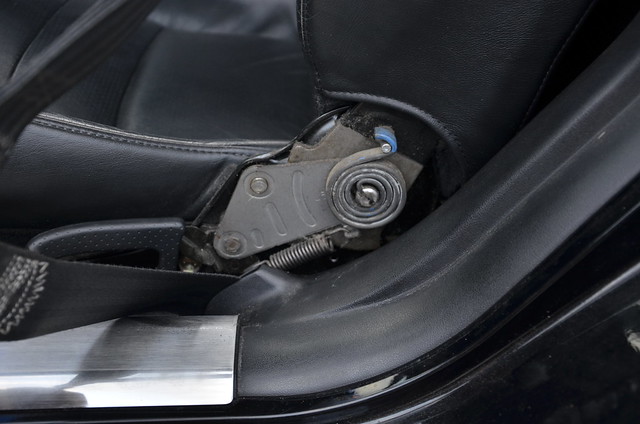 _DSC5133 by Norbert Ogiba, on Flickr
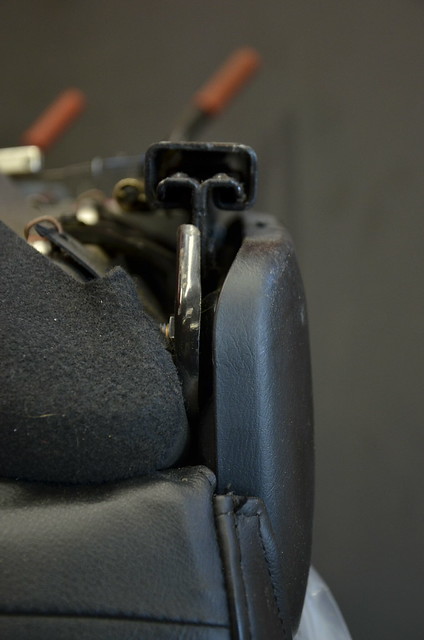
Now we can see just how close that mechanism is to the C5 seatbelt retractor
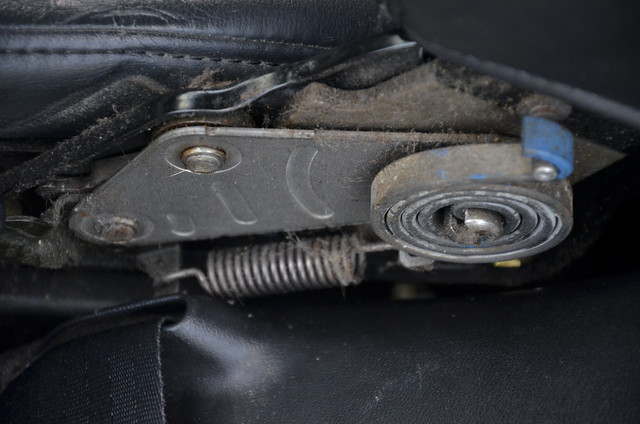 _DSC5134 by Norbert Ogiba, on Flickr
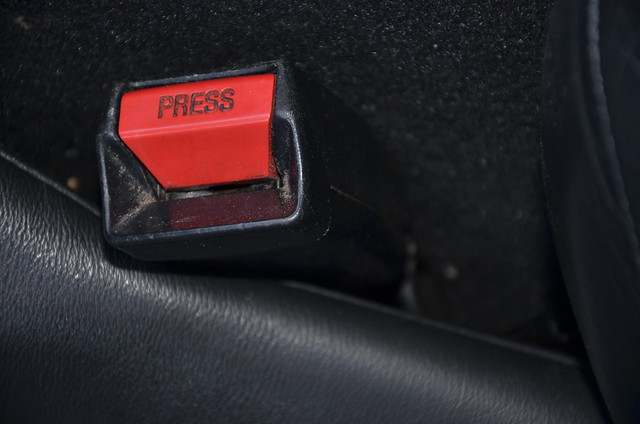
on the right side the seatbelt buckle area is tight as well but this will be easier to fix.
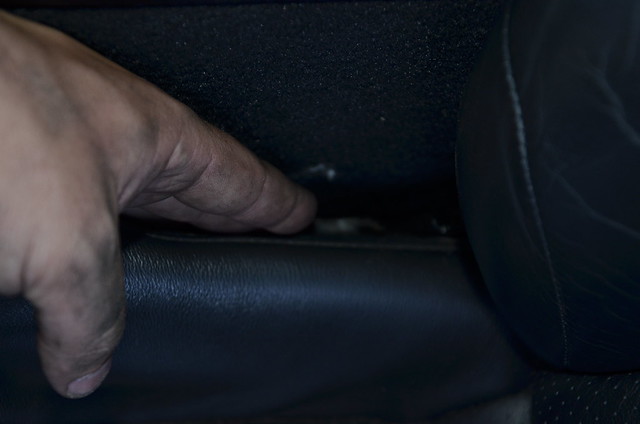 _DSC5135 by Norbert Ogiba, on Flickr
Back to the C5 seat - need to see how the buckle does, bolted to the S2000 seat.
 _DSC5136 by Norbert Ogiba, on Flickr
18mm thin nut and a connector, and the buckle comes out
 _DSC5138 by Norbert Ogiba, on Flickr
Here's where I left off for the night. S2000 buckle on bottom with goofy Z offset, C5 on top with straight shot
 _DSC5140 by Norbert Ogiba, on Flickr
Til TomorrowComment
-
Wow thats such an improvement, never thought corvette seats were the best looking.My super boring build http://www.stanceworks.com/forums/sh...other-M3-buildInsta MintyhinrichsComment
-
Are the S2000 seat rails that wide? Looks like quite the project! The seats still look extremely comfortable though, can't wait to see the finished install.SAAB 900 T16sComment
-
S2000 rails are 17-3/8" wide on center, C5 rails are 14-1/4" on center. with the S2000 seat fully pushed back against the rear tunnel wall, the rails rub against both sides. it fits, but barely. I finished up this install tonight and am loving it.Comment
-
I have been chasing a noise in the front end for a few weeks now - a creaking/clunking at slow speeds when turning, loading and unloading the suspension in the front right. Already changed the front sway bar end links and made sure all control arm bolts were tight, and it persists, so I placed an order for some polyurethane Energy Suspension front sway bar bushings as the current ones are probably original and look like they have some slop in them. Also snagged C6 Z06 shocks for all 4 corners, a new window regulator for the passenger side, and some new drive belts just for good measure. Will document my install.
The S2000 seat has been fantastic, but it's mounted slightly too high and needs to be reclined a bit more to be really comfortable - so I picked up a set of aftermarket universal C5 seat brackets that I will weld to the S2000 rails. They have the incline built in, will bolt up to the C5 floor, and sit a lot lower than my custom stuff.

I want to get all this done before my 4th of July trip down to Nashville, so the clock is ticking.Comment
-
I missed the seat update... how? They look WAY nicer, neat idea!
Comment
-
The S2000 seat fits the FRC very well.Comment
-
the seats look like they belong there.... good call
Comment
-
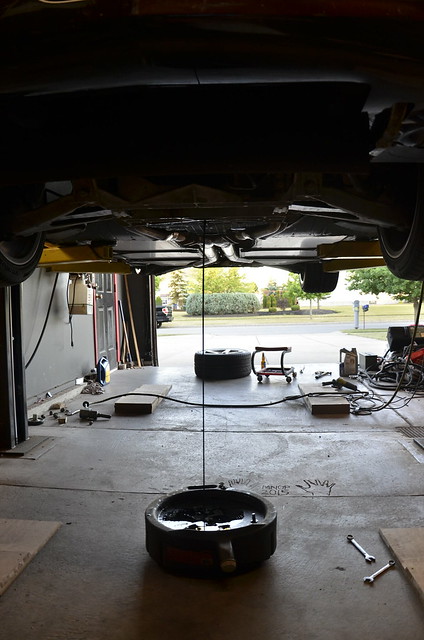
Been busy the last couple weeks, getting ready for my trip down to Tail of the Dragon, Nashville, National Corvette Musuem.
C6 wheels in the rear always looked sunk in due to offset, so I grabbed some 1” hubcentric spacers and got them bolted up.
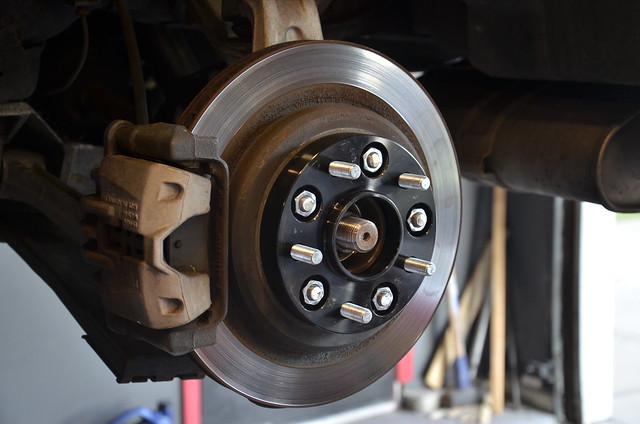 _DSC5142 by Norbert Ogiba, on Flickr
 _DSC5143 by Norbert Ogiba, on Flickr
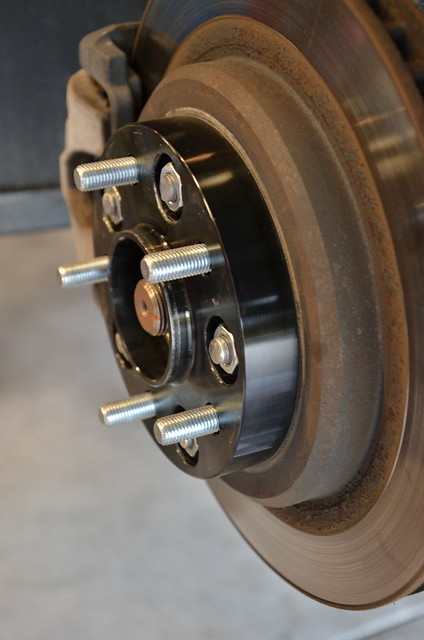
The unthreaded bullnose tips on the factory studs needed to be trimmed as they were interfering with the insides of the wheels. Sick colors bro
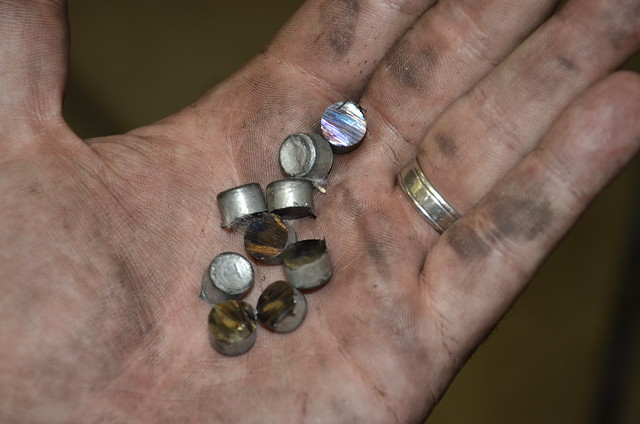 _DSC5147 by Norbert Ogiba, on Flickr
Got everything all bolted up, no vibrations, rode perfect. Squeezed in an oil change too, 2nd one since buying the car.
 _DSC5144 by Norbert Ogiba, on Flickr
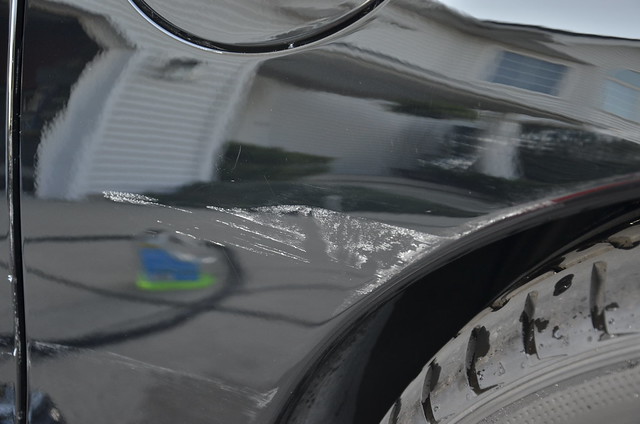
Next day at work - kid in a Buick sideswiped me as I was leaving work. Right as I had got the front bumper fixed, too.

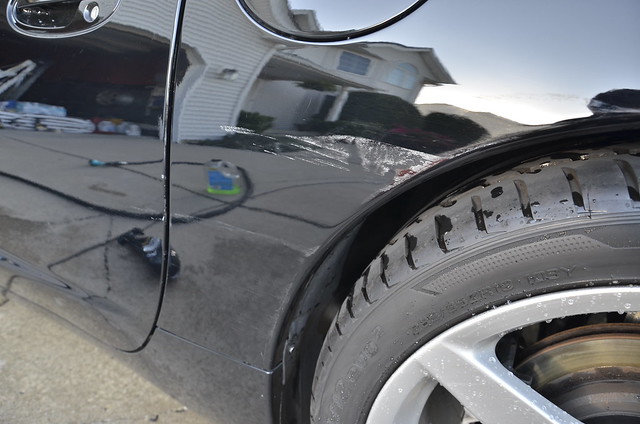
Luckily, the damage was fairly superficial…we settled without a claim, as I was confident I could get it looking exactly as before, if not better. BEFORE:
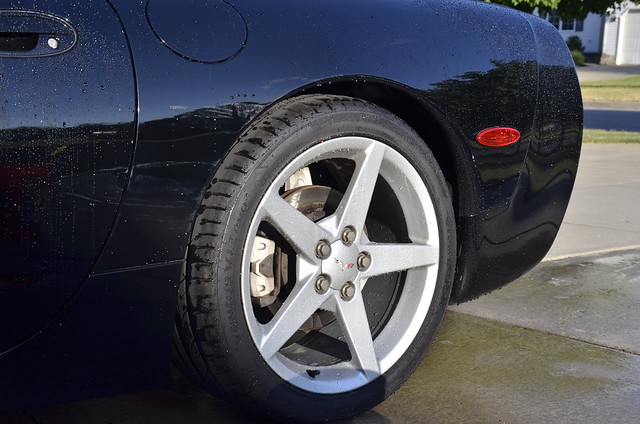 _DSC5150 by Norbert Ogiba, on Flickr
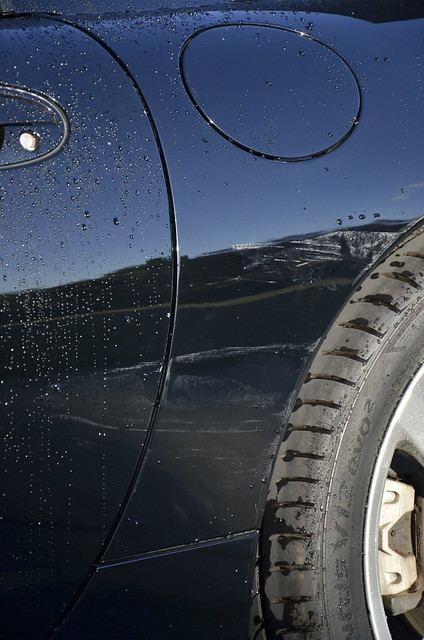 _DSC5151 by Norbert Ogiba, on Flickr
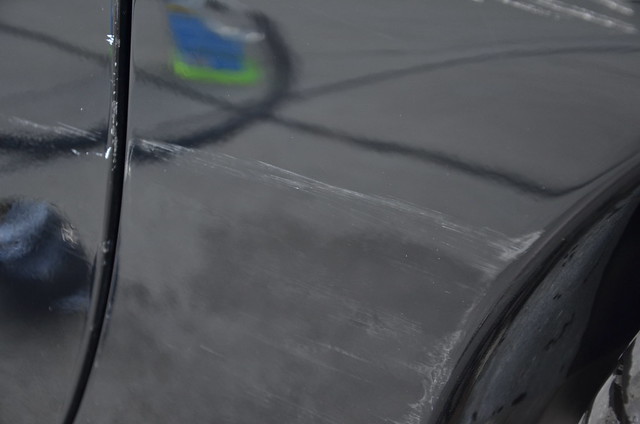
 _DSC5153 by Norbert Ogiba, on Flickr
 _DSC5154 by Norbert Ogiba, on Flickr
 _DSC5155 by Norbert Ogiba, on Flickr
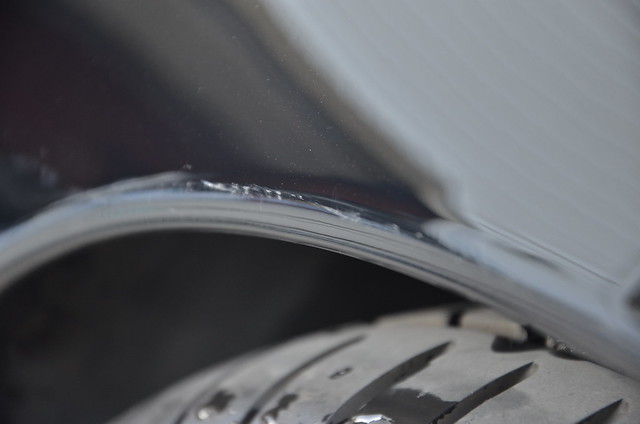 _DSC5156 by Norbert Ogiba, on Flickr
Comment


Comment