 Tweet
Tweet
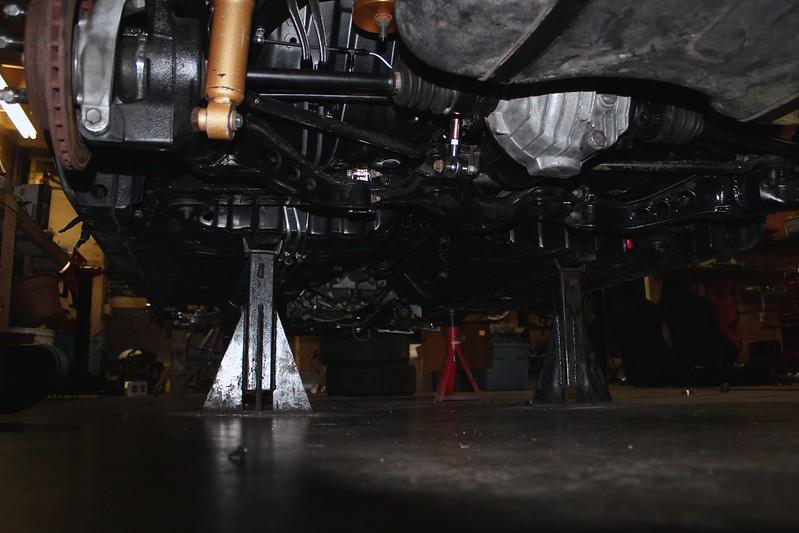
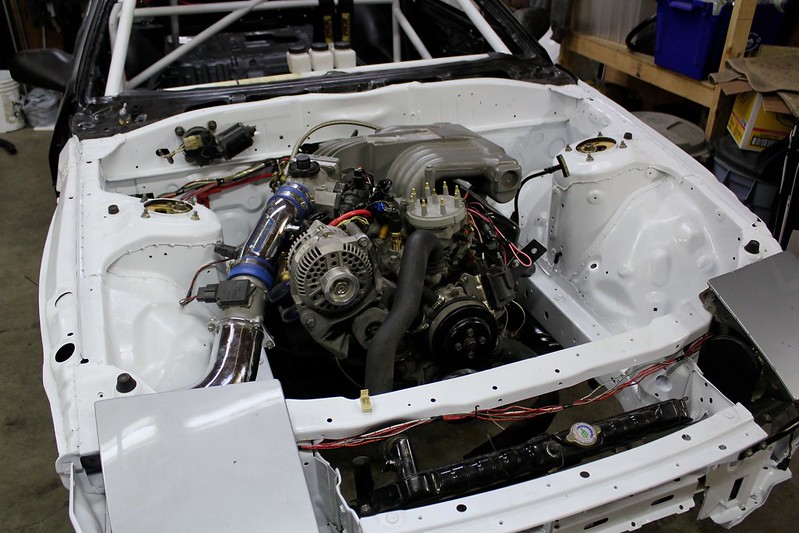
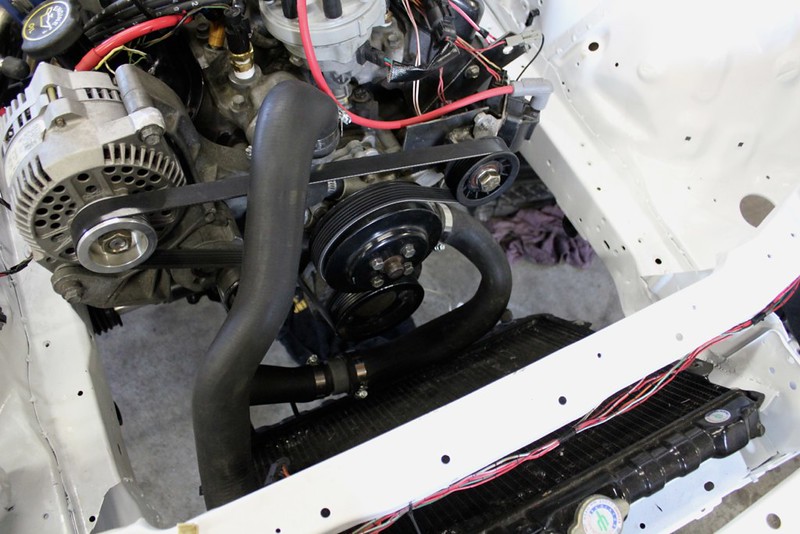
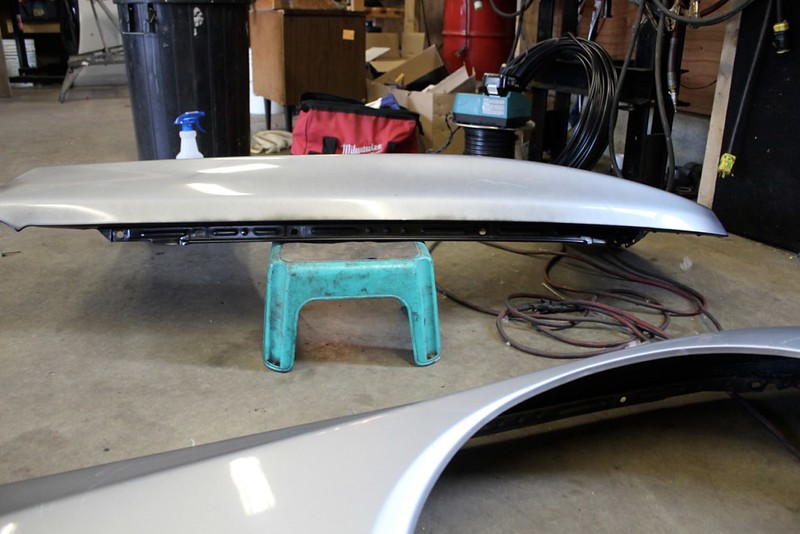
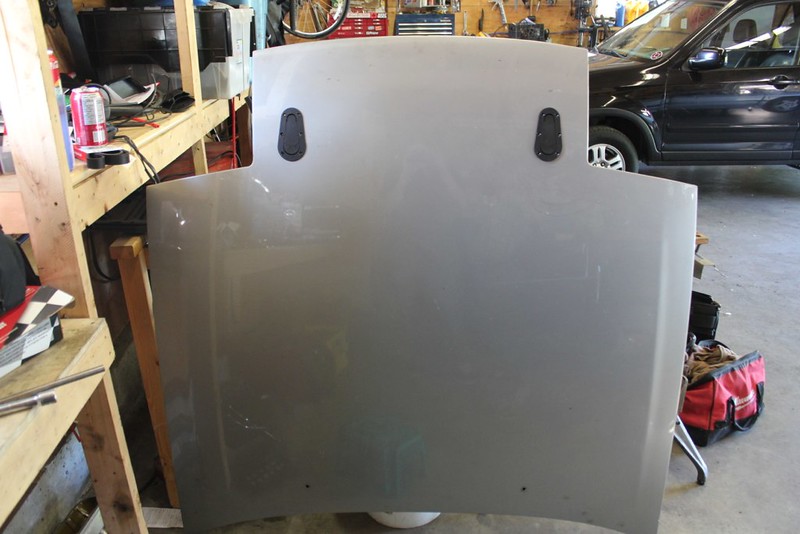
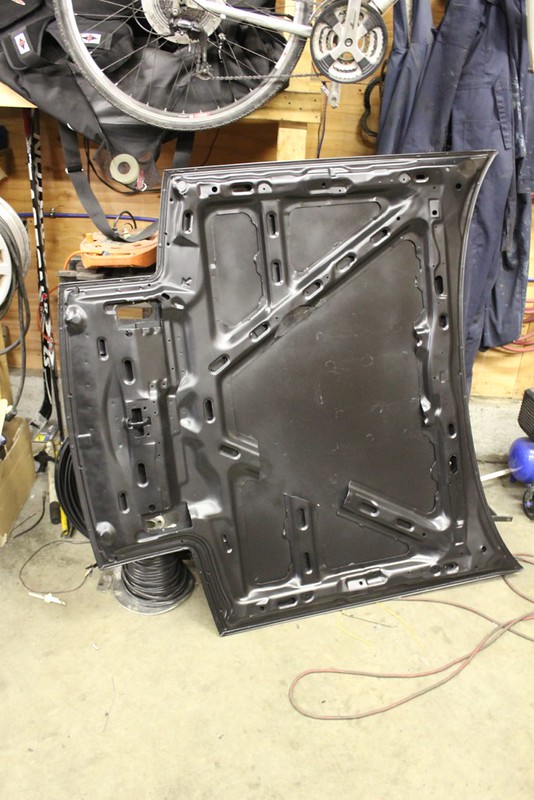
For hood clearance I still want to know if the Turbo 2 hood offers any more space. It looks like the position of the scoop would be pretty close to helping for clearance. And personally I'd rather do small hood spacers (on the rear of the hood) if my stock SN95 intake doesn't clear.
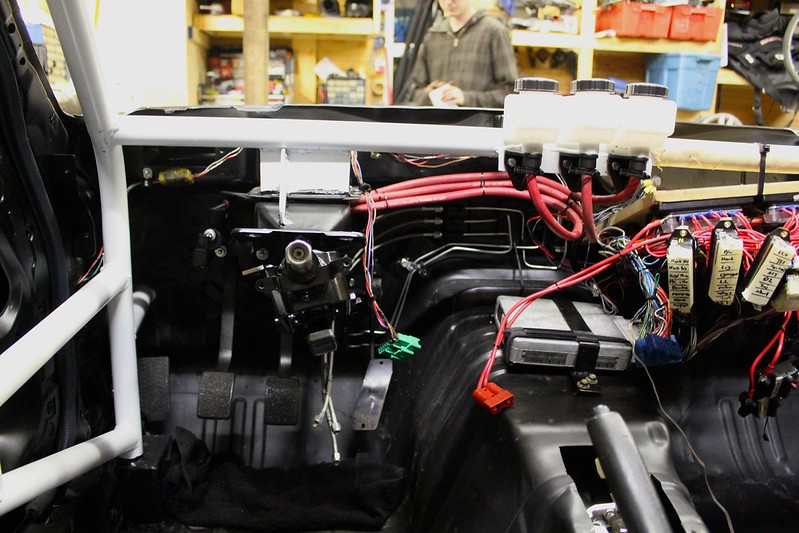
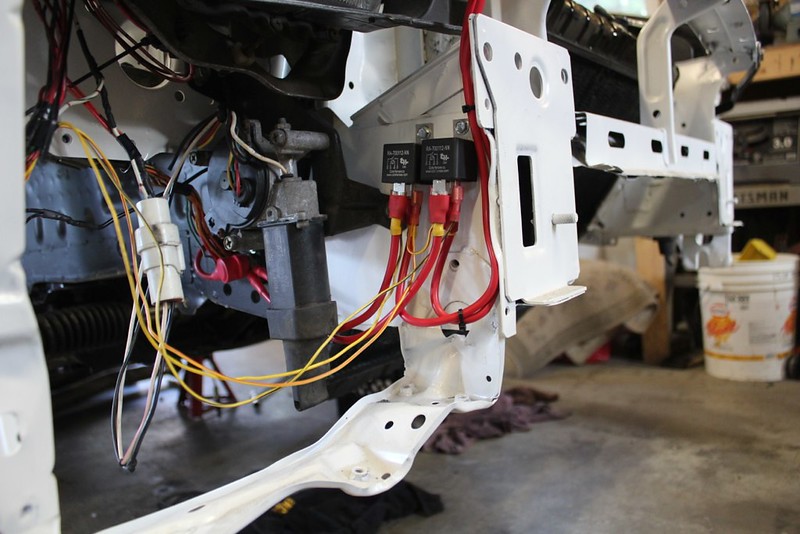
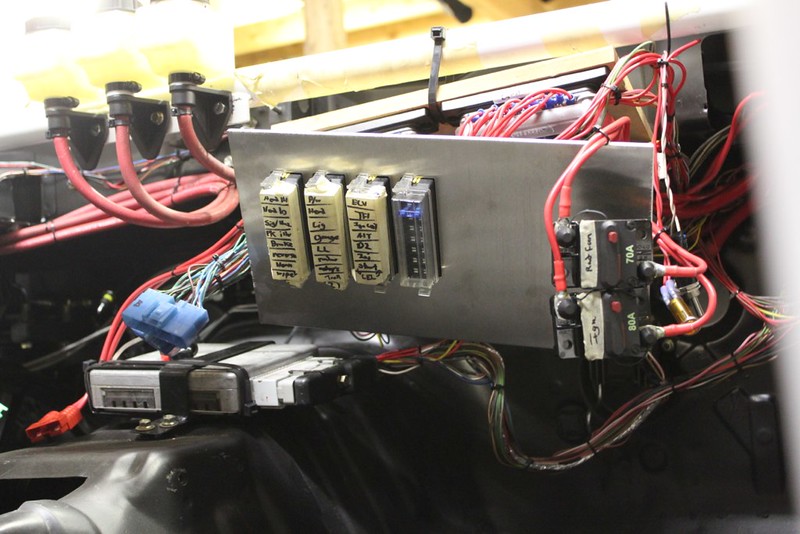
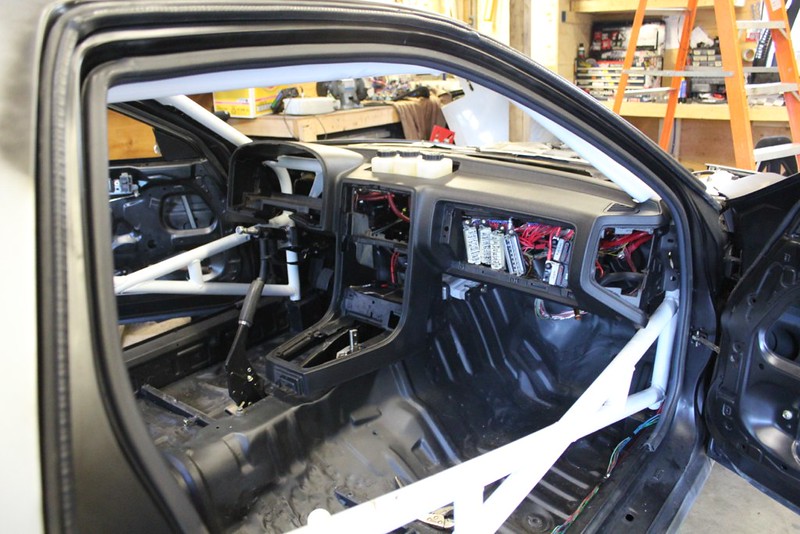
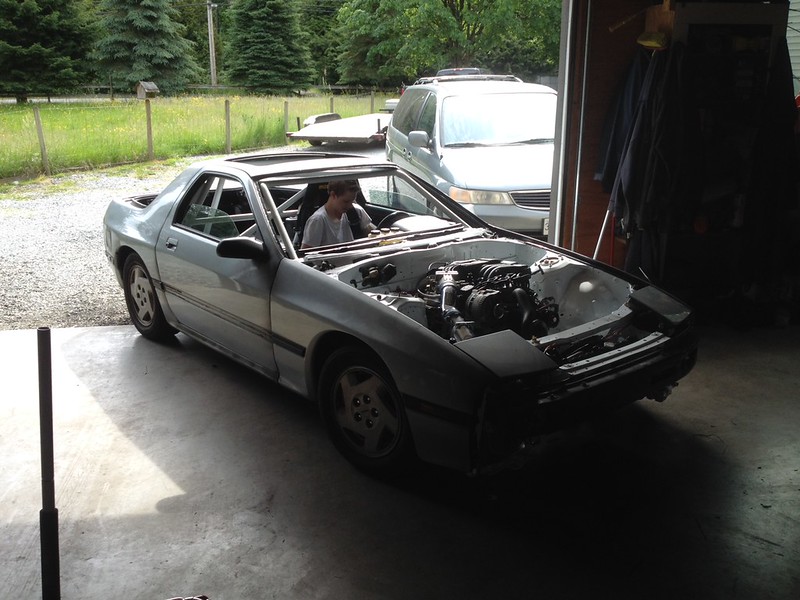
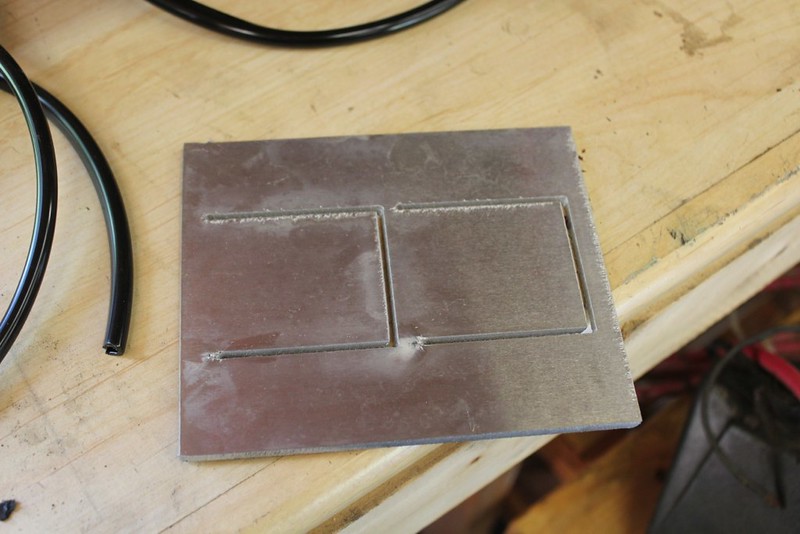
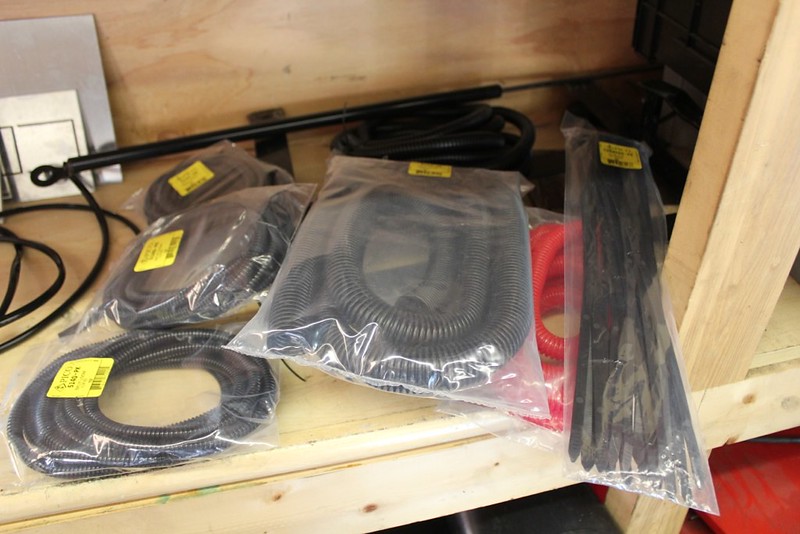
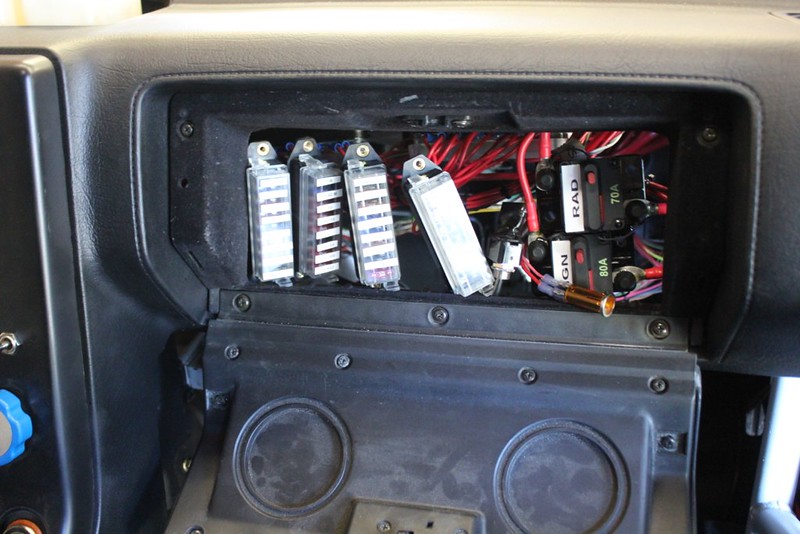
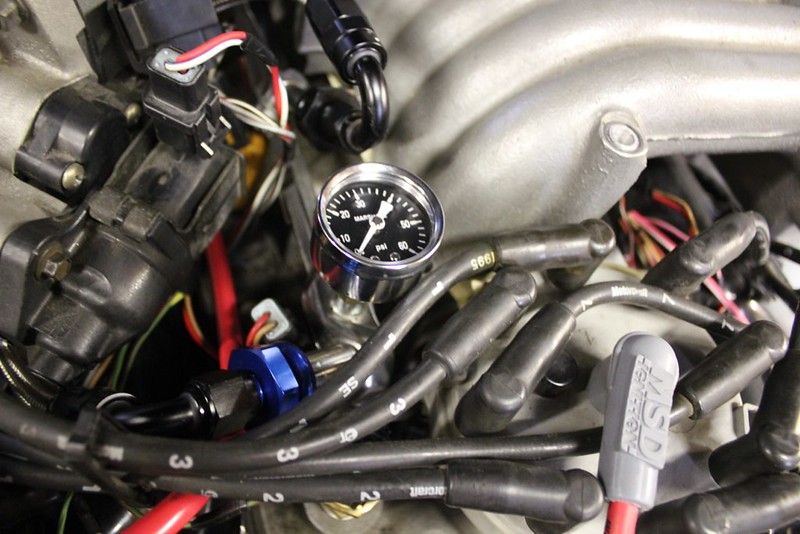
And 3 relays for the wiper motor?? Ouch, that sucks. I haven't started wiring that bad boy up yet. You need to get some manual windows, this is a racecar after all right? I just finally figured out how I wanted to do my manual headlights, I posted it in my thread. Once I finish both sides and clean up my welds I think I'll be quite happy with the setup, even if I do have to get out of the car to raise the headlights lol
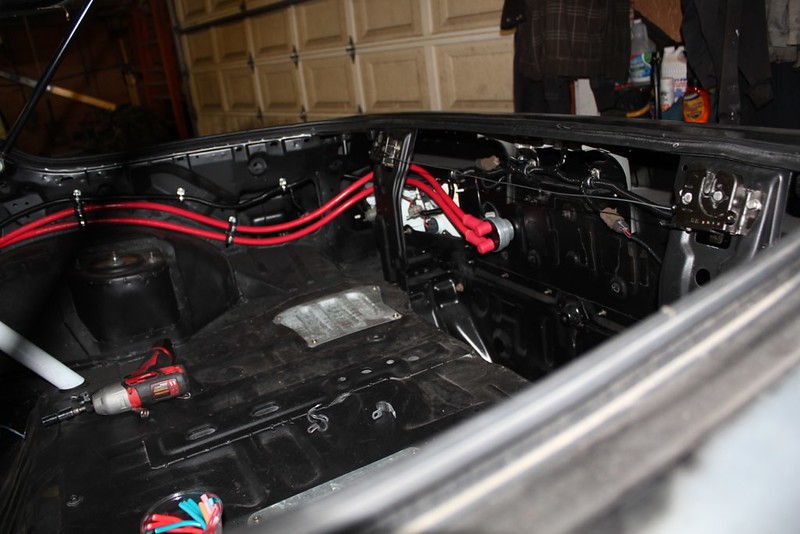
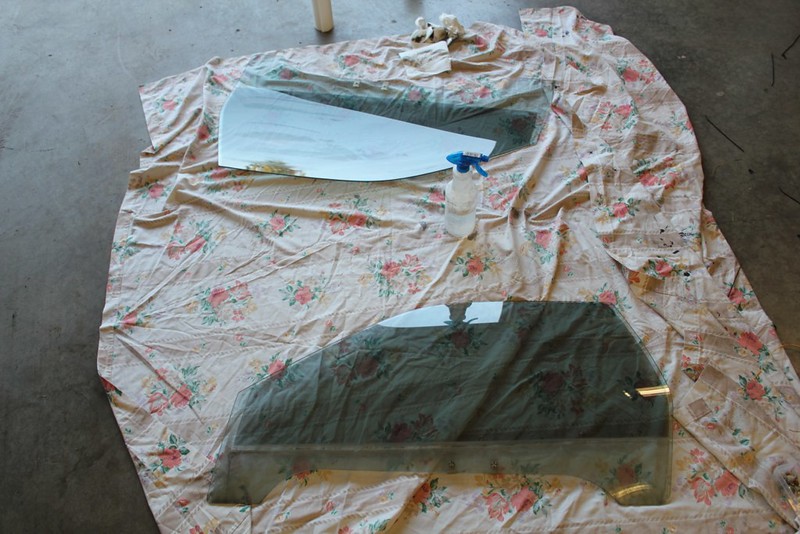
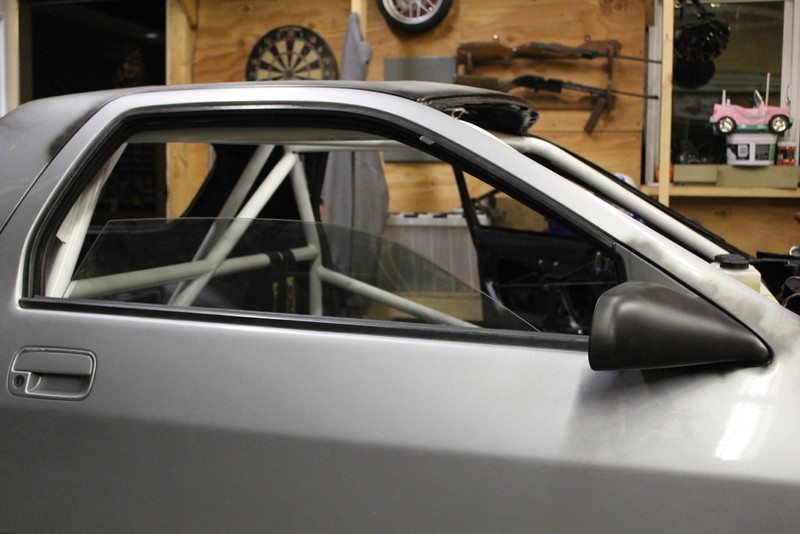
And 3 relays for the wiper motor?? Ouch, that sucks. I haven't started wiring that bad boy up yet. You need to get some manual windows, this is a racecar after all right?
I just finally figured out how I wanted to do my manual headlights, I posted it in my thread. Once I finish both sides and clean up my welds I think I'll be quite happy with the setup, even if I do have to get out of the car to raise the headlights lol


")
Comment