 Tweet
Tweet
We�re just going to plow through this multi-part E46 M3 Subframe Reinforcement DIY until we�ve hit the end. Okay? Cool.
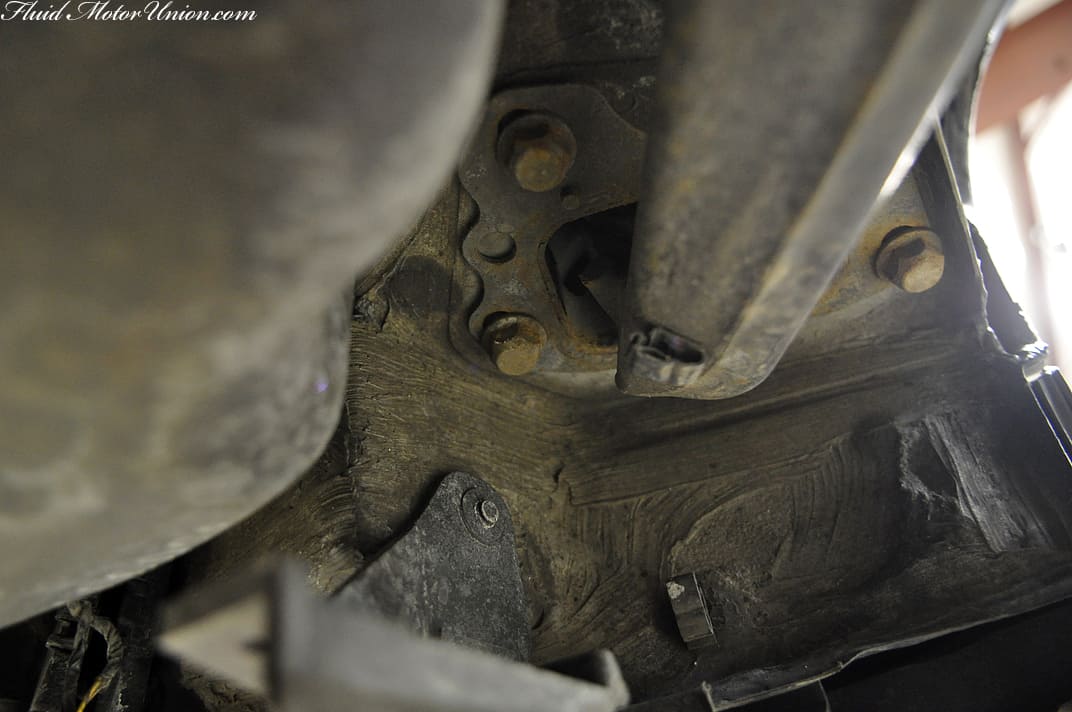
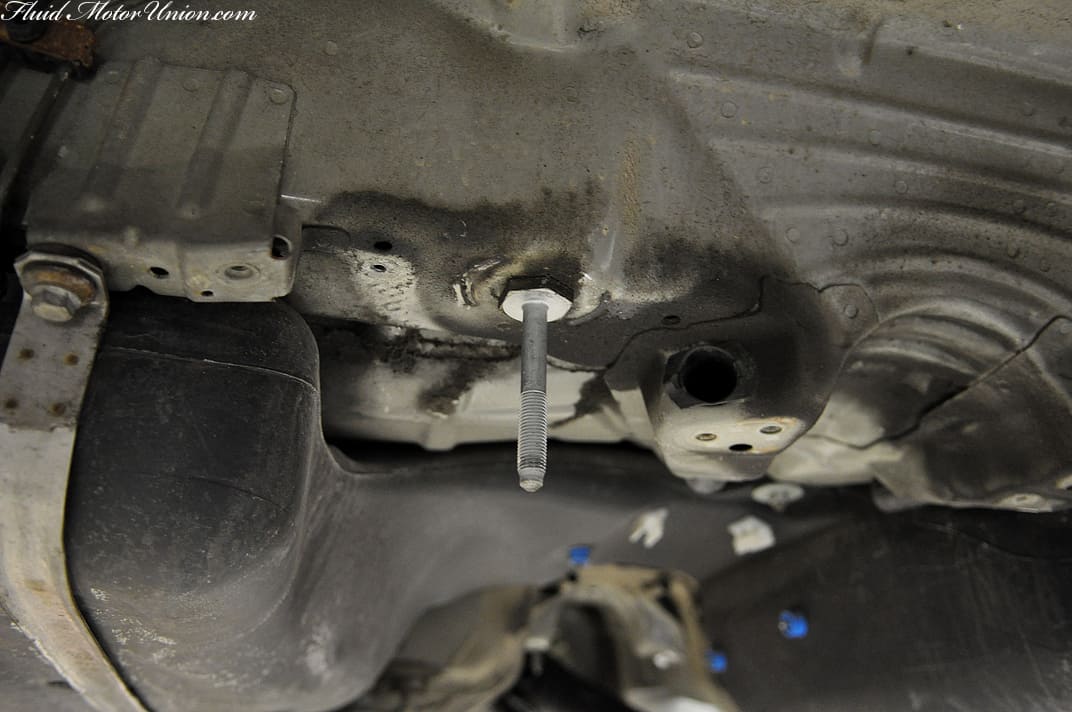
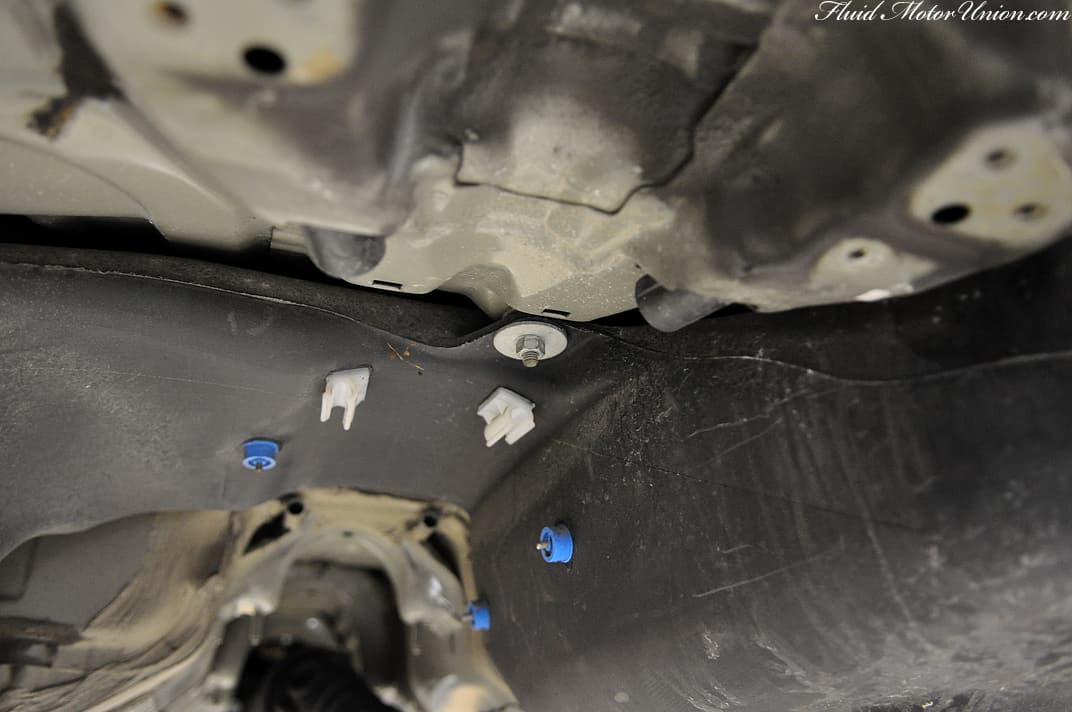
When we last left this E46 M3 DIY, we had finished strapping the differential to the transmission jack. That means it�s time to unbolt the subframe assembly from the car. There are eight main areas that you need to hit before lowering the trans jack down. First, there are two trailing arms that have three bolts each. From there, the subframe is held in place by four main mounting points � they�re the giant circular bushing housings around the perimeter of the subframe. Finally, there are a few bolts hidden up in slots just under the differential�s guibo. The two frontmost subframe bushing bolts hold the subframe�s crossmember in place, along with those hidden bolts. Depending on how you have the subframe mounted on the jack, the crossmember may fall right off when unbolted, so heed warning.

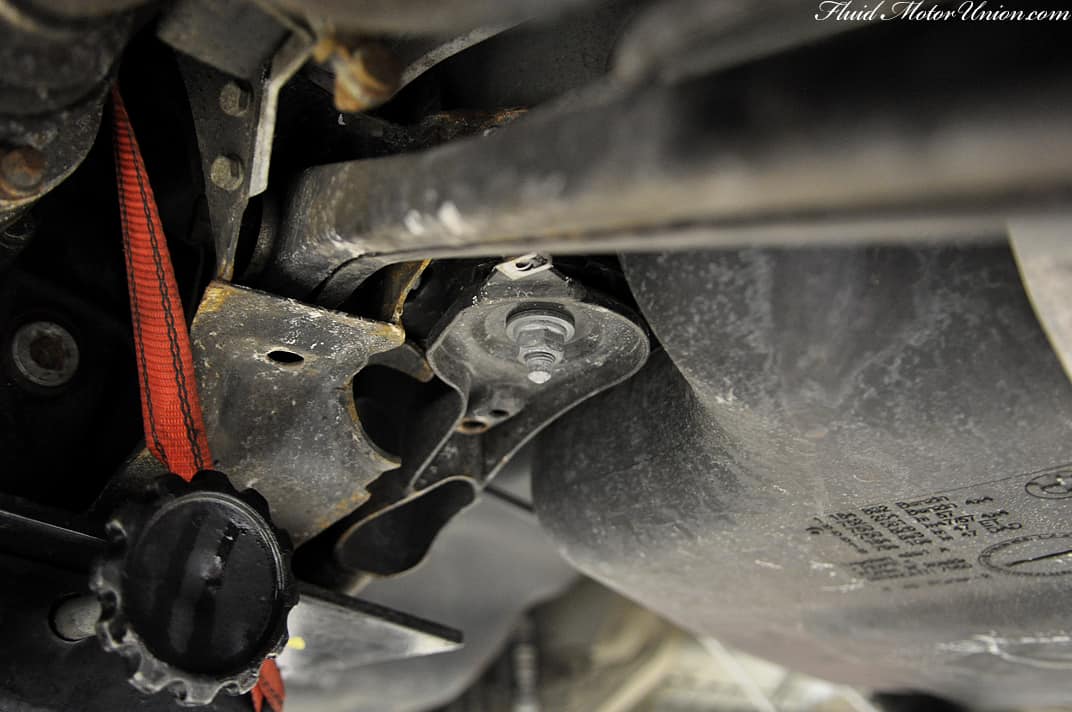
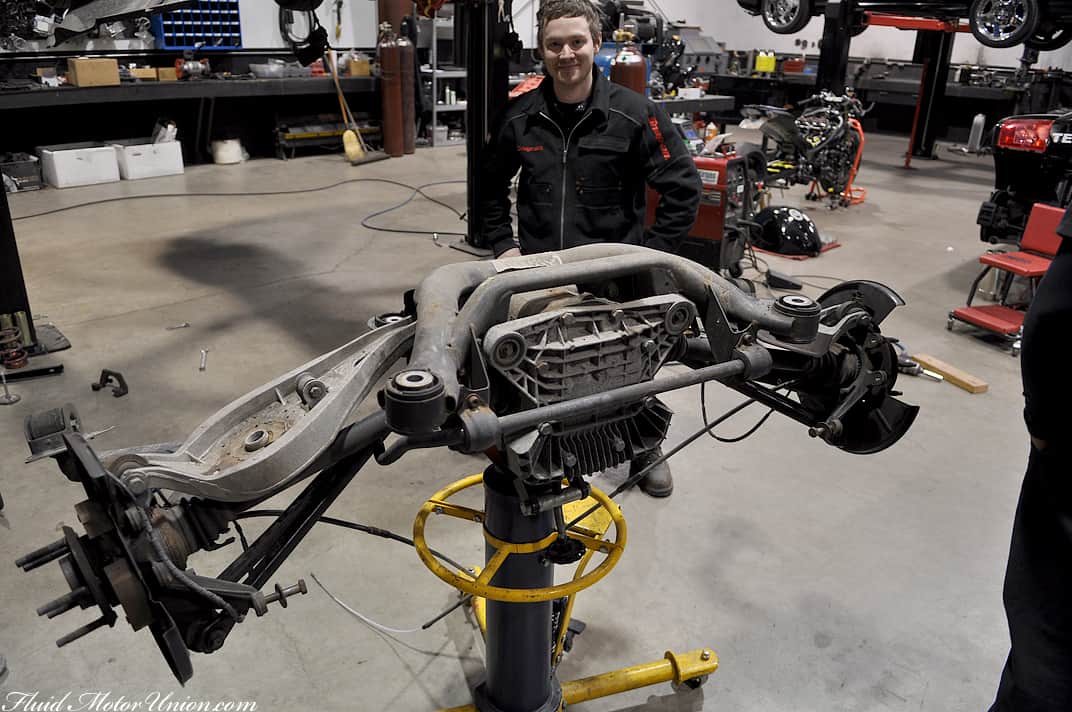
Now let�s get that subframe on the ground. Slowly, and we mean SLOWLY, lower the transmission jack by the foot pedal. Once it starts to move, have a friend assist in sneaking the emergency brake cables through their respective tunnels, otherwise you may snag them and the subframe won�t keep lowering. With the emergency brake cables free of the tunnels, lower the subframe assembly and put it aside. We�ll be revisiting this assembly when it comes time to replace the bushings, but for now, we�ll be focusing on the reinforcement plates. Make sure not to bend your brake rotors� dust shields.
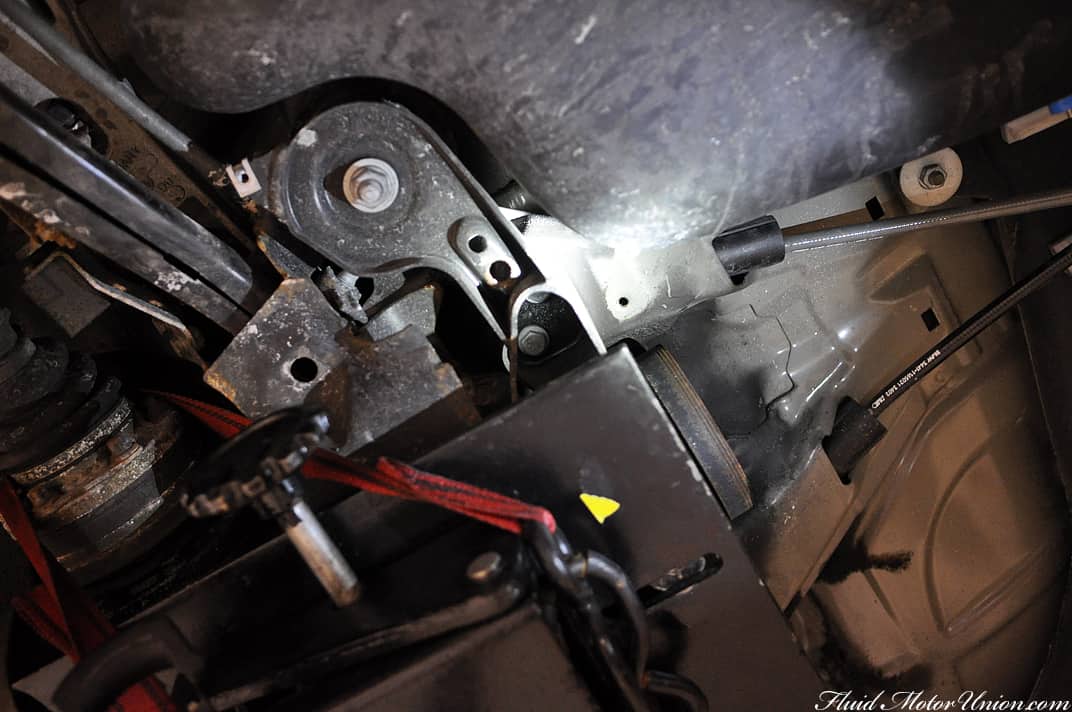
At this time, inspect your subframe mounting points to make sure no metal has sheared off or become severely stressed. Everything here is looking good. The less broken your mounting points are, the easier your work will be. Therefore, it�s in your best interest to get this job done sooner than later. It�s not a matter of IF your mounting points will go bad, it�s a matter of WHEN. Also, remove the two studs from the forward mounting points.
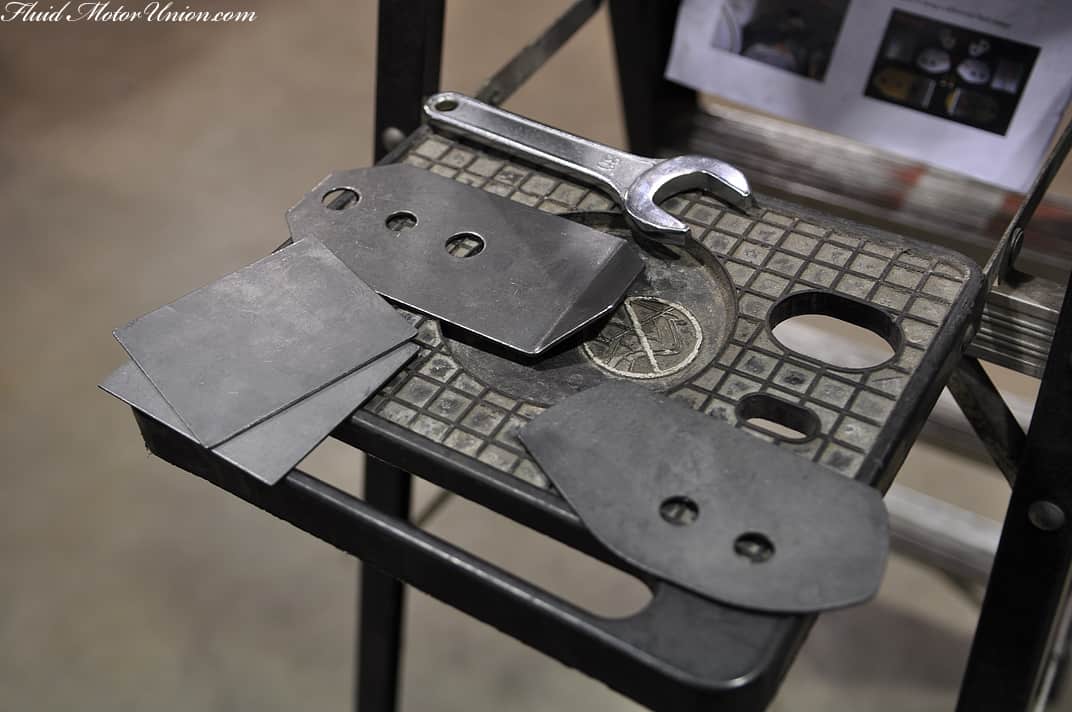
Now it�s time to start messing with the reinforcement plates. Our customer sourced his set from Turner Motorsports, a long-time staple in the BMW aftermarket scene. If you ordered this kit as well, you�ll be greeted with a variety of steel plates in a couple different shapes and sizes. If you�re having trouble visualizing which plates go where, test-fit them at the mounting points to see what shapes line up. Otherwise, Turner�s directions are pretty good at explaining this part. This is the kit we recommend.
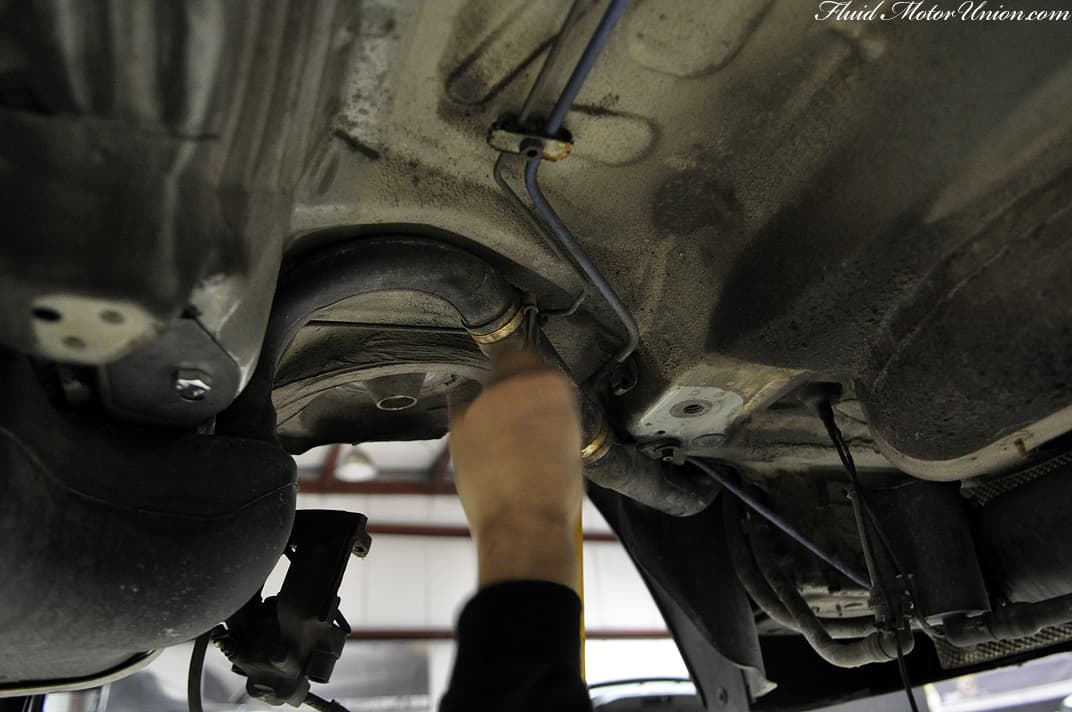
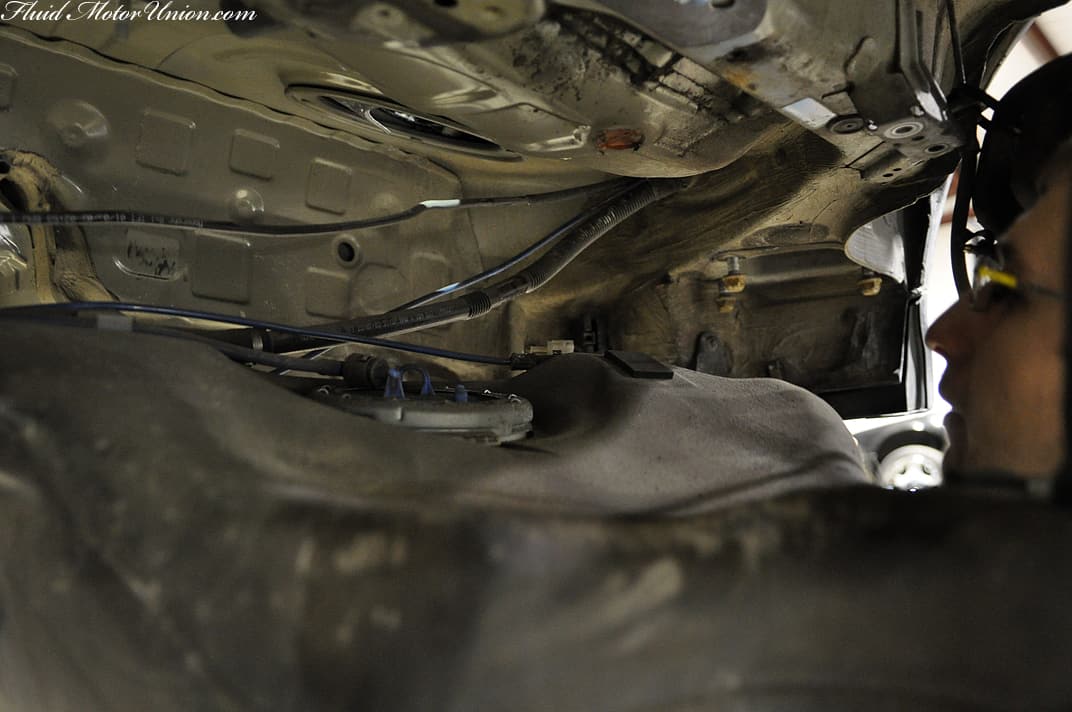
You might be thinking to yourself, �Hey, isn�t all this work taking place a little too close to my gas tank?� Why yes, yes it is. Since we�ll be working with electric arcs and heat when attaching the plates, it�s recommended (we feel it�s mandatory) to remove the gas tank in the interest of your safety. This part will probably require a couple helping hands. First, remove the clamps and the silicone hose that hold the gas tank to the filler neck. Then, on the driver�s side, just ahead of the gas tank, disconnect the feed and return lines for the tank. The line that we�re touching below, along with the one to the right of it, are your targets. Gas will spill out, just a heads up.
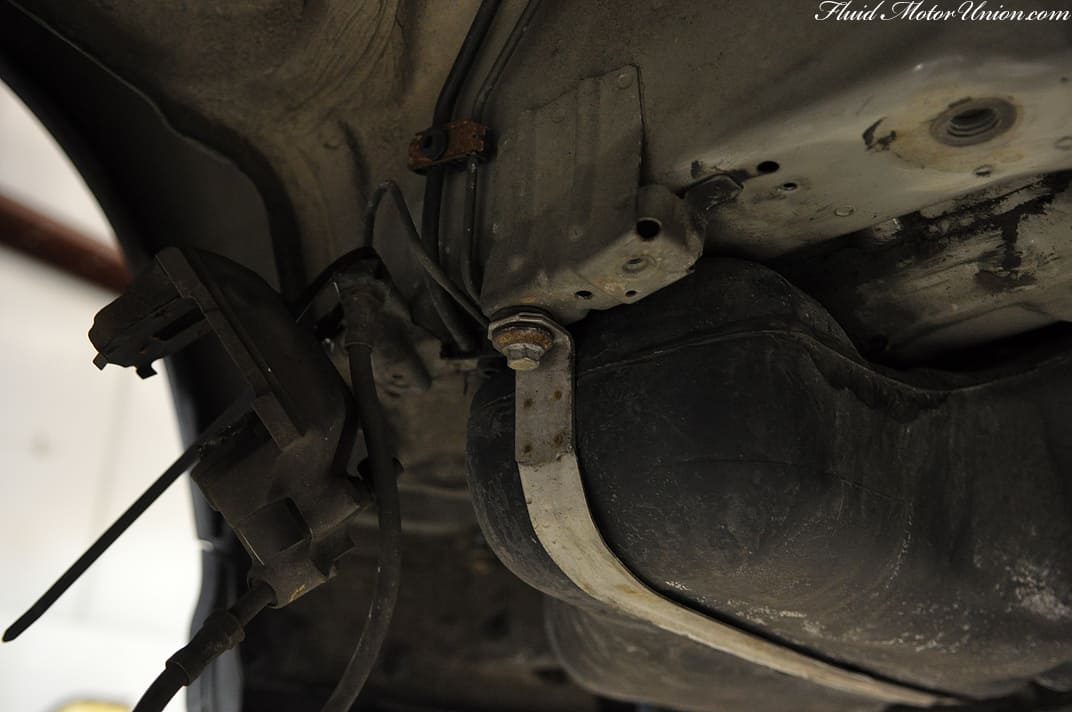
If you have another jack to put under the tank, we suggest doing so; if not, have some friends hold it in place at this time. Then, unbolt the two straps holding the gas tank in place, followed by the single bolt in the middle of the tank. Lower the gas tank by a foot or two until you feel a snag. There are several wires and hoses attached to the top of the tank. Unclip what is clipped to the top of the tank, then remove the two hoses that are clamped onto the top of the gas tank itself. Remove the tank completely and set it aside, far away from where you will be welding.

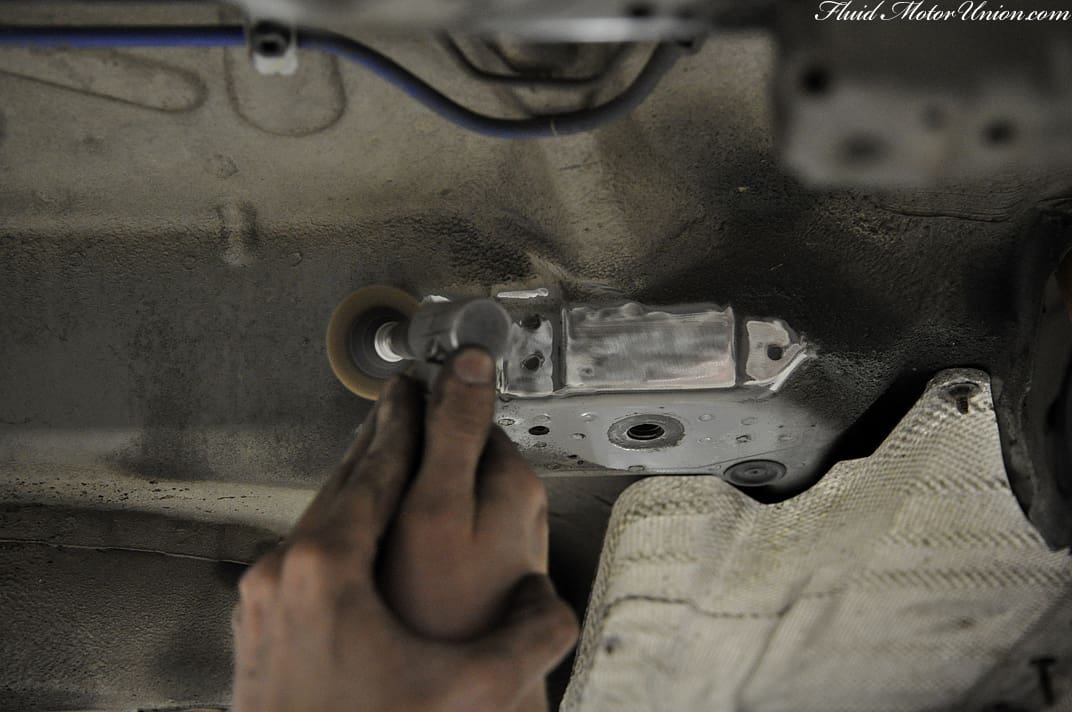
Finally, it�s time to get these mounts in place. However, there needs to be a bit of prep work done first. You�ll notice that the OEM subframe mounting points are covered in a fair bit of undercoating, paint and other materials. These will contaminate your welds, causing an imperfect connection between mount and reinforcement plate. Therefore, break out your wire wheel (or whatever you typically use to remove metal coatings), and go to town on the metal, bringing it down to a bare metal finish.
It�s advised to mock up the plates first, then use a marker to trace an outline around the reinforcement plates, adding 1/4″ to 1/2″ on each side to account for the welding bead thickness. Then, much like R. Kelly suggests, it�s time for a little bump �n� grind. Make sure to hit the spot welds using a smaller tool, as well, if you miss them on the original passes.
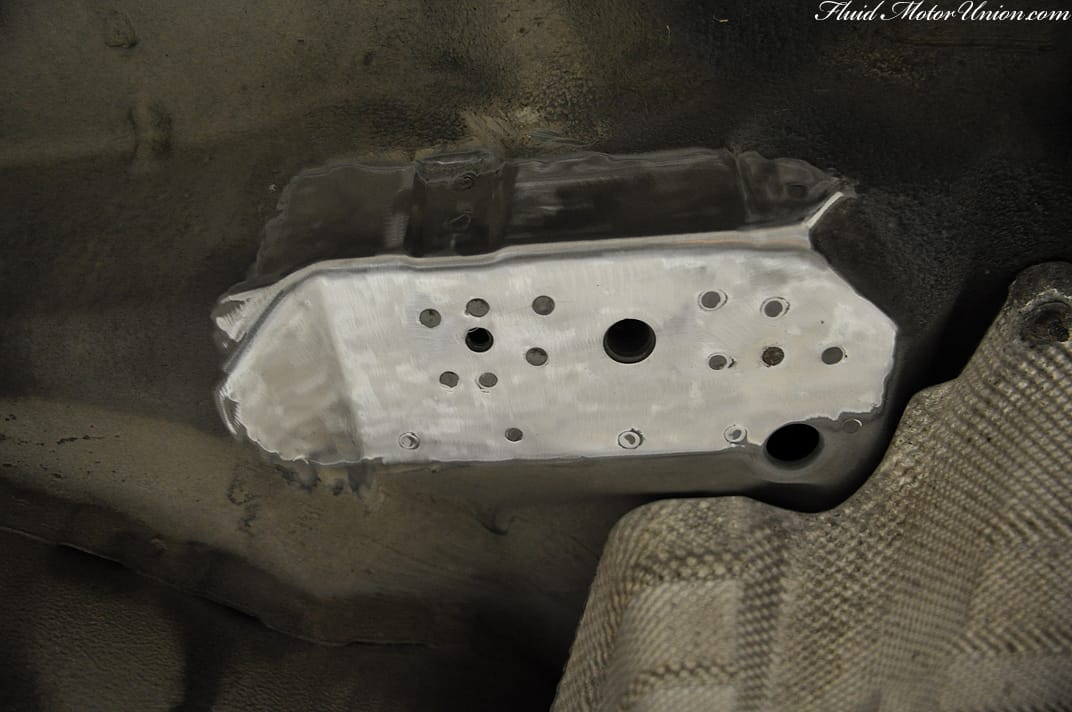
Your body surfaces are now ready for the reinforcement plates. But first, you must prep the plates themselves. The plates from Turner are made of galvanized steel, which means it�s steel with a zinc coating over it. The zinc coating can result in ugly, contaminated welds whether using MIG or TIG. Furthermore, the smoke that comes from the zinc coating being heated will make you awfully sick, so it�s best to remove it. You can use the same method to prep the reinforcement plates that you used to prep the car�s body, and you�ll see the difference with just one pass.
Some people recommend using muriatic (hydrochloric) acid to remove the zinc, but seeing as how we don�t want to spill a bit and burn a hole straight to the center of the earth, it�s best to stick with your tools in this situation.

Now we�re ready to get those plates in place, so check back with us tomorrow for the exciting conclusion to our E46 M3 Subframe Reinforcement DIY! Have a great day!
When we last left this E46 M3 DIY, we had finished strapping the differential to the transmission jack. That means it�s time to unbolt the subframe assembly from the car. There are eight main areas that you need to hit before lowering the trans jack down. First, there are two trailing arms that have three bolts each. From there, the subframe is held in place by four main mounting points � they�re the giant circular bushing housings around the perimeter of the subframe. Finally, there are a few bolts hidden up in slots just under the differential�s guibo. The two frontmost subframe bushing bolts hold the subframe�s crossmember in place, along with those hidden bolts. Depending on how you have the subframe mounted on the jack, the crossmember may fall right off when unbolted, so heed warning.
Now let�s get that subframe on the ground. Slowly, and we mean SLOWLY, lower the transmission jack by the foot pedal. Once it starts to move, have a friend assist in sneaking the emergency brake cables through their respective tunnels, otherwise you may snag them and the subframe won�t keep lowering. With the emergency brake cables free of the tunnels, lower the subframe assembly and put it aside. We�ll be revisiting this assembly when it comes time to replace the bushings, but for now, we�ll be focusing on the reinforcement plates. Make sure not to bend your brake rotors� dust shields.
At this time, inspect your subframe mounting points to make sure no metal has sheared off or become severely stressed. Everything here is looking good. The less broken your mounting points are, the easier your work will be. Therefore, it�s in your best interest to get this job done sooner than later. It�s not a matter of IF your mounting points will go bad, it�s a matter of WHEN. Also, remove the two studs from the forward mounting points.
Now it�s time to start messing with the reinforcement plates. Our customer sourced his set from Turner Motorsports, a long-time staple in the BMW aftermarket scene. If you ordered this kit as well, you�ll be greeted with a variety of steel plates in a couple different shapes and sizes. If you�re having trouble visualizing which plates go where, test-fit them at the mounting points to see what shapes line up. Otherwise, Turner�s directions are pretty good at explaining this part. This is the kit we recommend.
You might be thinking to yourself, �Hey, isn�t all this work taking place a little too close to my gas tank?� Why yes, yes it is. Since we�ll be working with electric arcs and heat when attaching the plates, it�s recommended (we feel it�s mandatory) to remove the gas tank in the interest of your safety. This part will probably require a couple helping hands. First, remove the clamps and the silicone hose that hold the gas tank to the filler neck. Then, on the driver�s side, just ahead of the gas tank, disconnect the feed and return lines for the tank. The line that we�re touching below, along with the one to the right of it, are your targets. Gas will spill out, just a heads up.
If you have another jack to put under the tank, we suggest doing so; if not, have some friends hold it in place at this time. Then, unbolt the two straps holding the gas tank in place, followed by the single bolt in the middle of the tank. Lower the gas tank by a foot or two until you feel a snag. There are several wires and hoses attached to the top of the tank. Unclip what is clipped to the top of the tank, then remove the two hoses that are clamped onto the top of the gas tank itself. Remove the tank completely and set it aside, far away from where you will be welding.
Finally, it�s time to get these mounts in place. However, there needs to be a bit of prep work done first. You�ll notice that the OEM subframe mounting points are covered in a fair bit of undercoating, paint and other materials. These will contaminate your welds, causing an imperfect connection between mount and reinforcement plate. Therefore, break out your wire wheel (or whatever you typically use to remove metal coatings), and go to town on the metal, bringing it down to a bare metal finish.
It�s advised to mock up the plates first, then use a marker to trace an outline around the reinforcement plates, adding 1/4″ to 1/2″ on each side to account for the welding bead thickness. Then, much like R. Kelly suggests, it�s time for a little bump �n� grind. Make sure to hit the spot welds using a smaller tool, as well, if you miss them on the original passes.
Your body surfaces are now ready for the reinforcement plates. But first, you must prep the plates themselves. The plates from Turner are made of galvanized steel, which means it�s steel with a zinc coating over it. The zinc coating can result in ugly, contaminated welds whether using MIG or TIG. Furthermore, the smoke that comes from the zinc coating being heated will make you awfully sick, so it�s best to remove it. You can use the same method to prep the reinforcement plates that you used to prep the car�s body, and you�ll see the difference with just one pass.
Some people recommend using muriatic (hydrochloric) acid to remove the zinc, but seeing as how we don�t want to spill a bit and burn a hole straight to the center of the earth, it�s best to stick with your tools in this situation.
Now we�re ready to get those plates in place, so check back with us tomorrow for the exciting conclusion to our E46 M3 Subframe Reinforcement DIY! Have a great day!


Comment