 Tweet
Tweet
It�s time to once again time to trawl through our pictures to assemble the next chapter of Hell On (Two) Wheels.
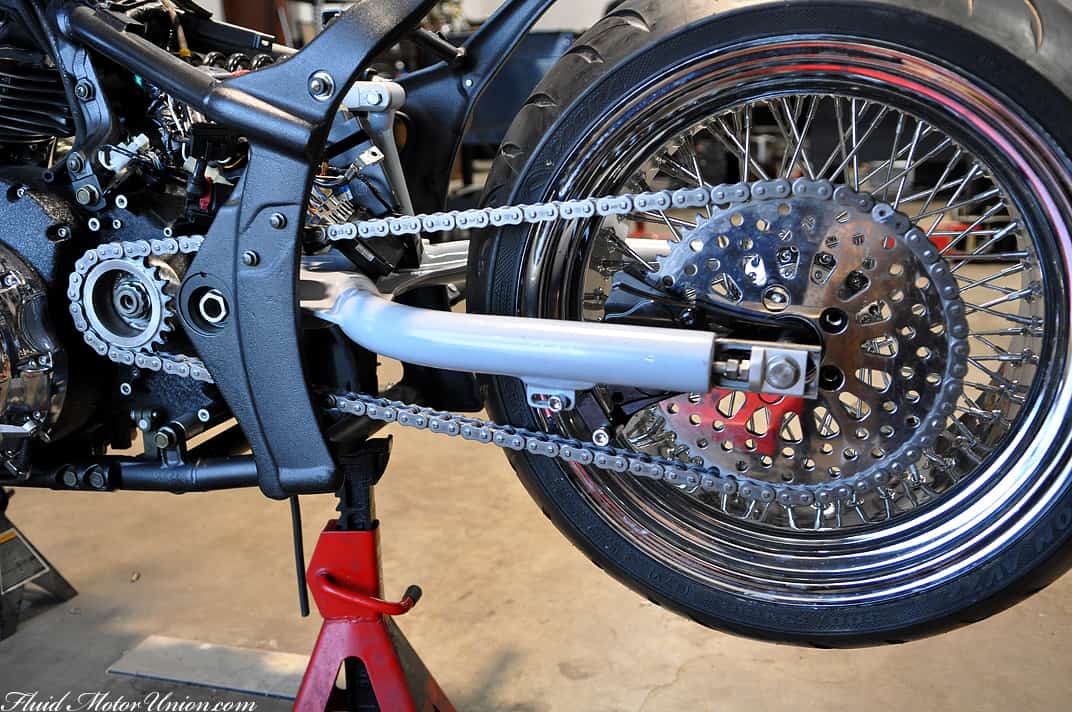
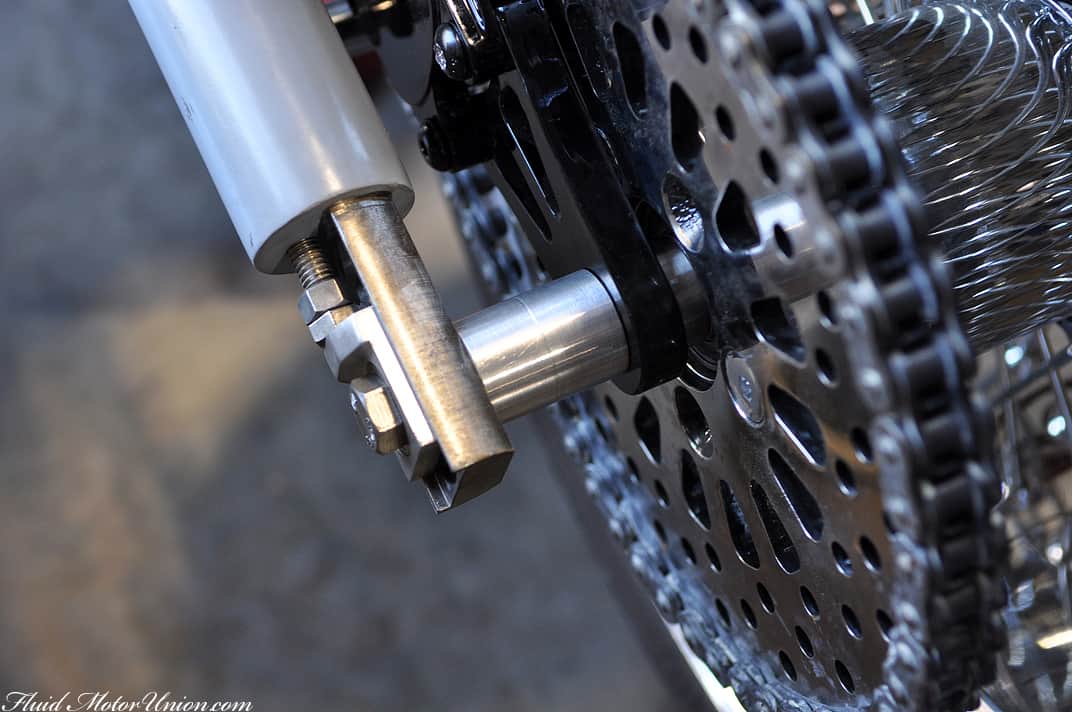
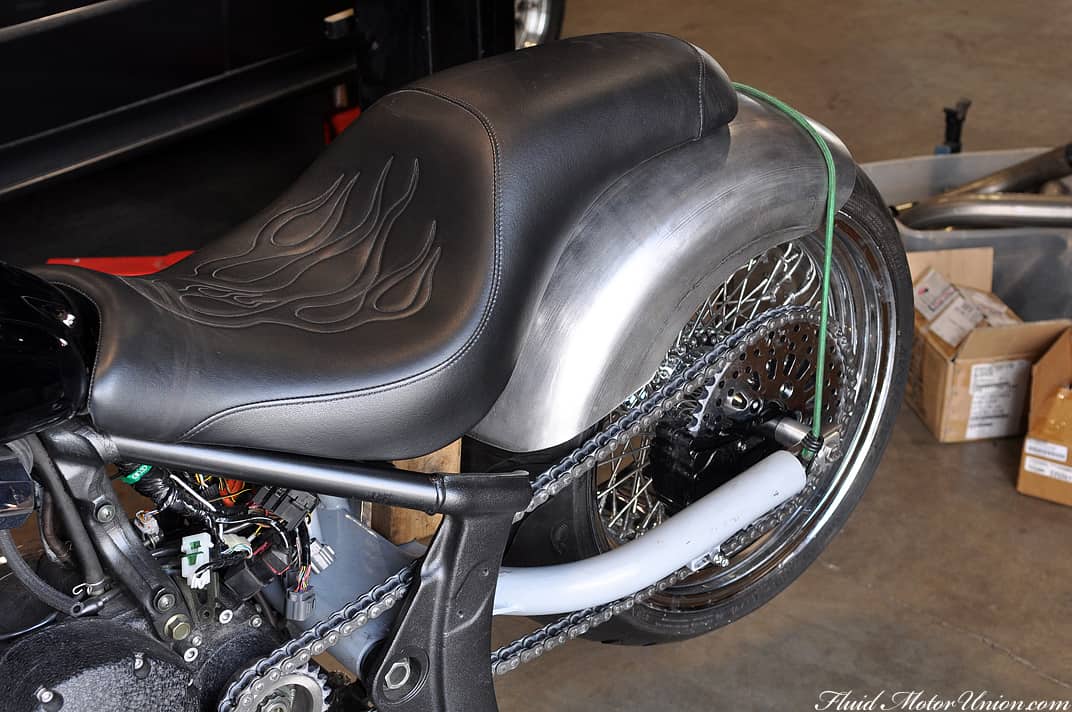
At the end of the last chapter, we assembled the chain-driven sprocket that connects the transmission to the custom wide rear end. With the sprocket finished, it was time to slap the chain on and make sure it does not touch anything during its travel. We also checked the tightness of the chain and reduced some of the slack; there are small adjustment nuts at the end of the rear swing arm, allowing for subtle backward or forward adjustments to ensure the chain is tight.
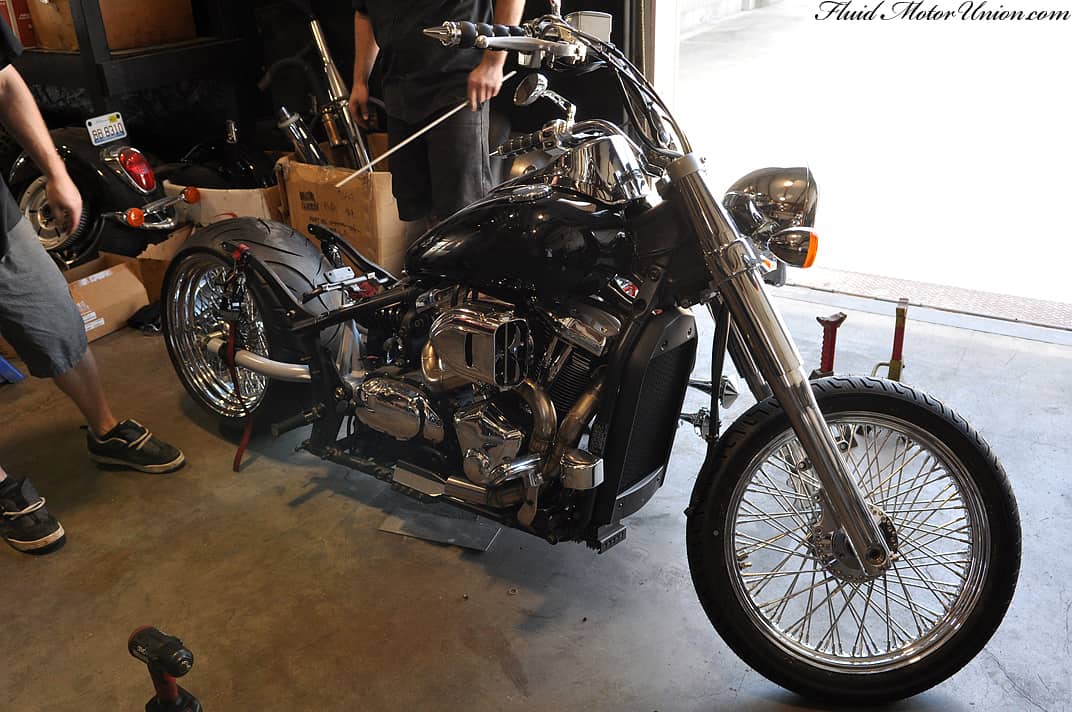
After ensuring the rear wheel was in the correct position for the chain, we took the bike off the jackstands to see how it would normally sit while on the road. At this time, we also removed the rear end�s soft tail shock and installed a temporary solid replacement. This will hold the swing arm�s angle relative to how it sits on the ground, so we�re able to position the fender correctly with the bike on jackstands (it�s just easier to work that way, than with a bike that�s propped up by a single kickstand).
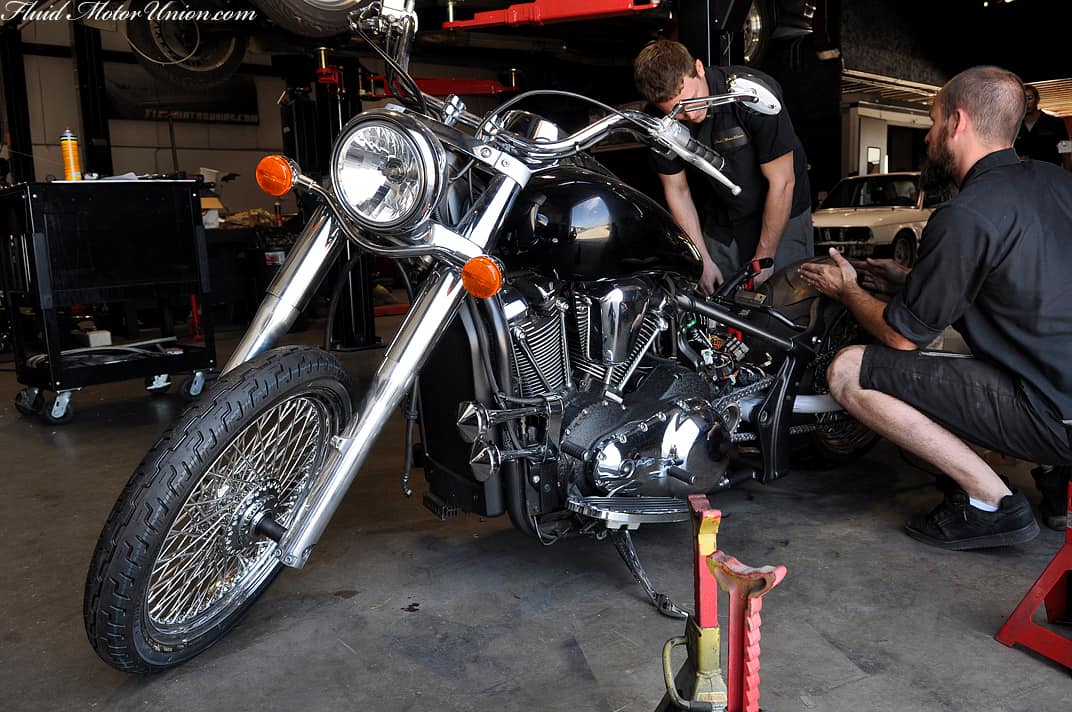
And with the hard tail in place to secure the rear swing arm, we set about trimming the frame to fit the new fender and seat.

With the frame trimming/shaving complete, we started working with the rear fender that came with the custom rear swing arm assembly. After several different fitments and revisions, we realized that this fender just wasn�t going to work out the way we wanted. With its shape and size, the only aesthetic option that really works would be to weld the fender to the rear swing arm, so that it stays just above the rear wheel at all times. Sadly, this meant we wouldn�t be able to use the rear fender as reinforcement for the two-up seat; in a soft tail design (which our client requested), the swing arm will move up and down approximately 2 inches or so, so we wouldn�t be able to attach a fixed part of the bike (the seat) to something that�s constantly moving with the road conditions (the fender/swing arm). And mounting the fender to the frame and not the swing arm would require the fender to have 2-3″ of clearance above the tire, giving it a really weird sportbike look. So something needed to change, and that something was the fender. Wave goodbye to our shiny metal friend, it�s the last you�ll see of him.
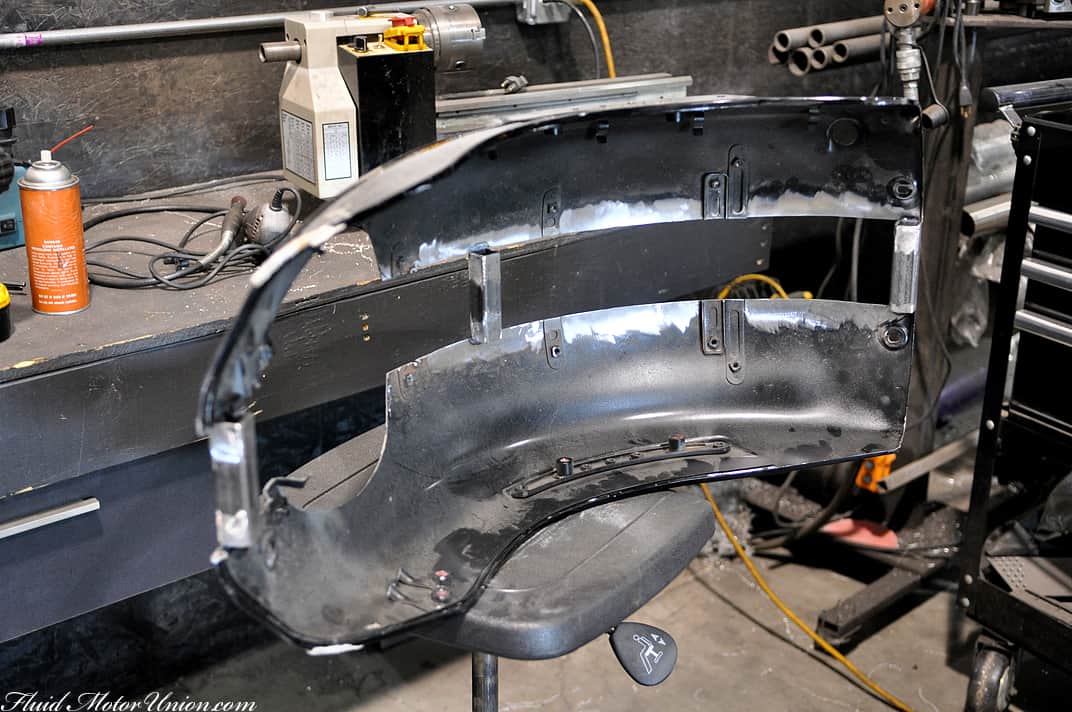
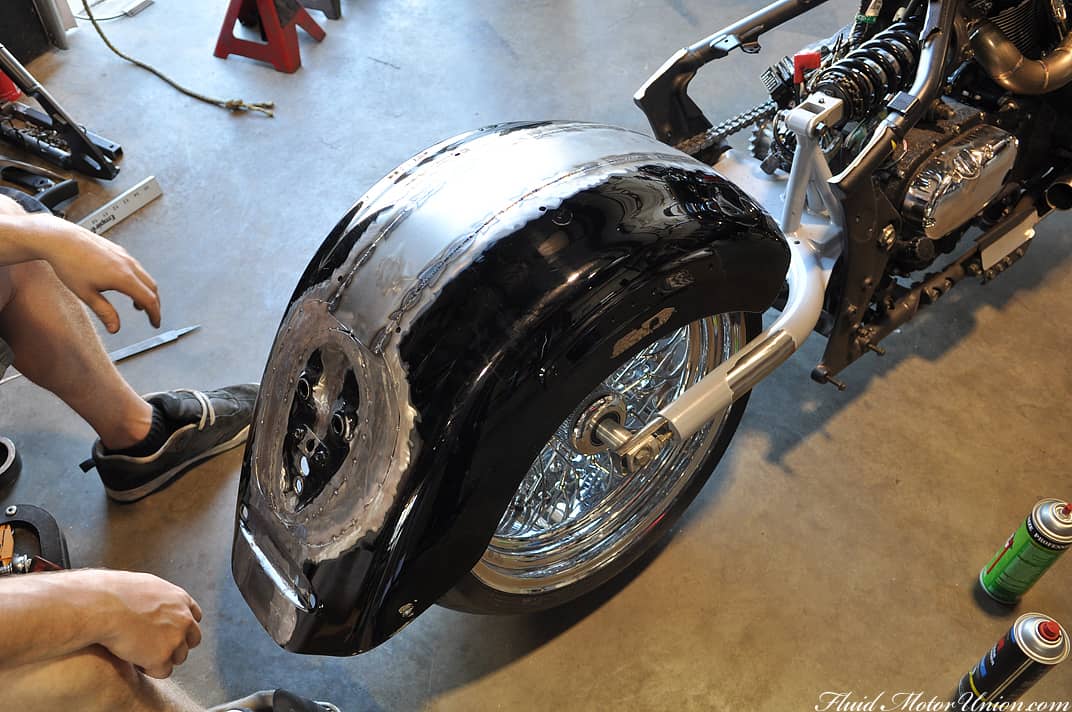
We knew that the new fender would need to mesh with the aesthetic of the bike as we�re building it. It would need to be big enough to accomodate brake lamps and turn signals, and it also needed to be large enough to cover the wide rear end while still allowing for the movement of the swing arm without any sort of weirdness. That�s when it dawned on us; we had the perfect piece sitting right in front of us all along � the OEM rear fender. It�s big enough, fits the rear lights and doesn�t look weird when the rear end moves up and down. One problem, though � it�s not nearly wide enough for the 300 rear tire. Wait, did we say problem? Hell no, that�s not a problem, we just cut that sum�bitch straight down the middle, and removed the center portion for holding the light assemblies. A few concepts and test fits later, and we knew exactly how we wanted it to look.

We used some spare steel to hold the fender at its desired width during testing. It�s not too crazy of a widening process, just a couple inches, but enough to really add to that character in the rear end.

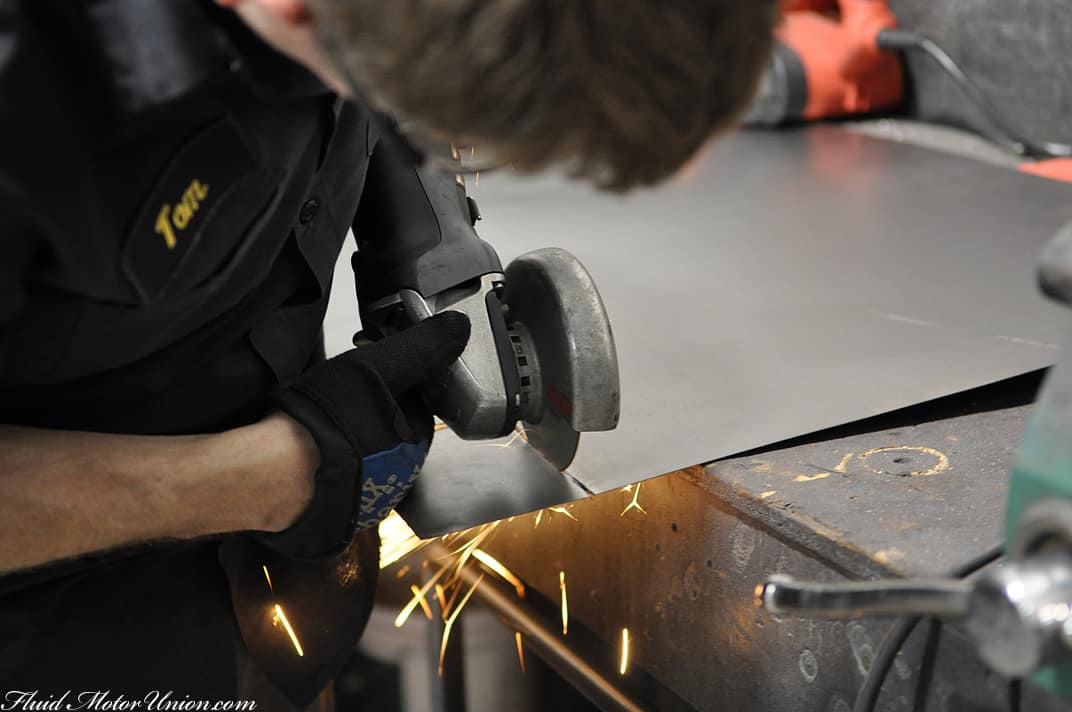
Now that the fender is ready to be filled in along the middle, we set about cutting out the metal we�d be using as filler.
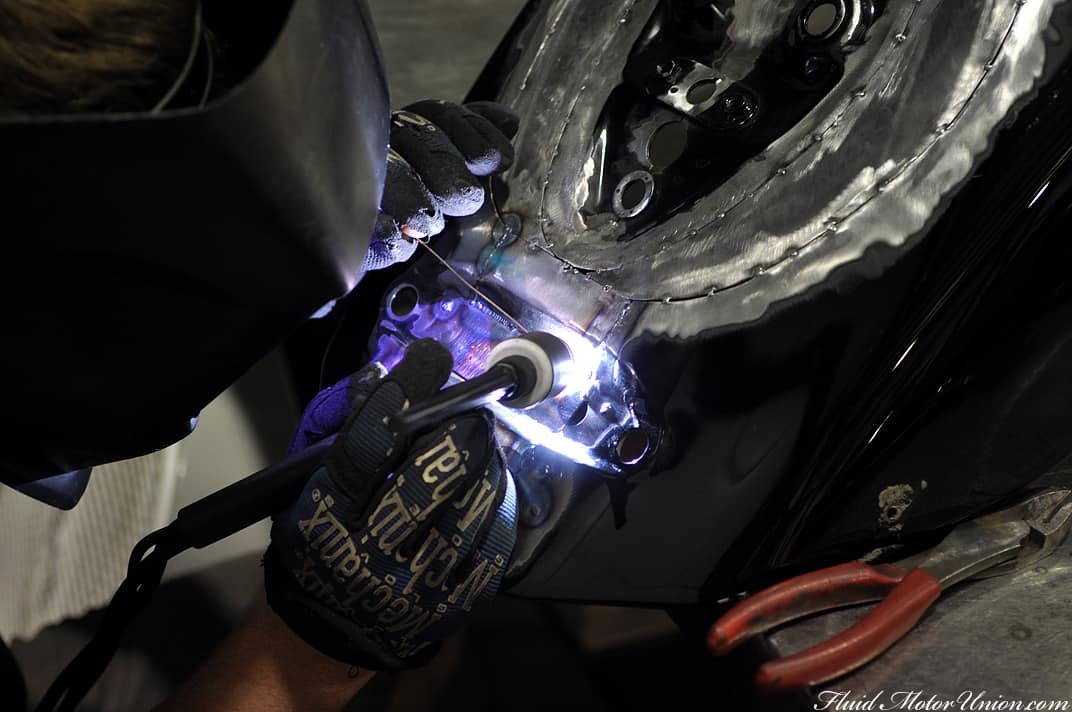
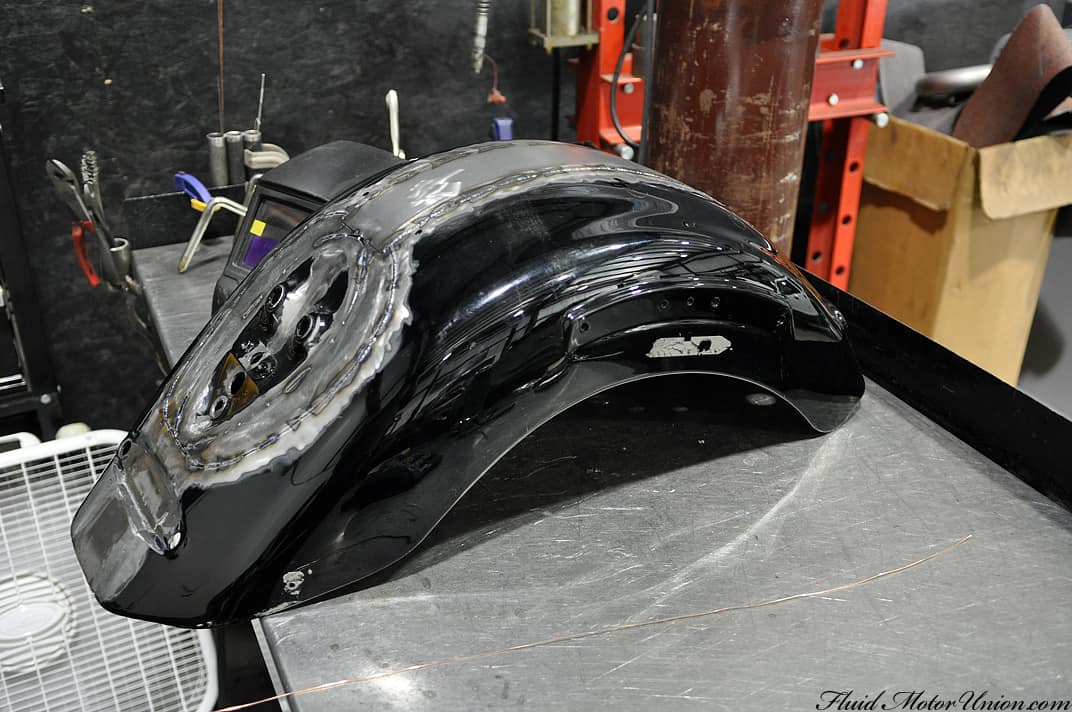
After plenty of arranging and temporary tacking, we had the filled-in fender ready to cool down in preparation for the final welds. We used one long piece of metal to fill in the top portion of the fender, and several smaller pieces to fit in around the light-mounting portion of the fender. It really helps to use temporary pieces first, before committing the metal to these shapes (something relatively thick, like a manila folder, works wonders).

With the fender looking good and straight, we brought it back over to the welding table for the final welds to begin. This isn�t the thickest fender on the planet, so as always, we went slowly and did only small bits of welding at one time, in order to keep down the heat that could potentially screw up this whole fender widening process. After each weld and subsequent cool down, we�d take it back over to the bike and make sure everything is still spot on, then it�s right back to the welding table for a few more beads. This circle will continue until the fender is welded in its entirety, which we�ll show you at the beginning of the next chapter of Hell On (Two) Wheels.
See you tomorrow!
At the end of the last chapter, we assembled the chain-driven sprocket that connects the transmission to the custom wide rear end. With the sprocket finished, it was time to slap the chain on and make sure it does not touch anything during its travel. We also checked the tightness of the chain and reduced some of the slack; there are small adjustment nuts at the end of the rear swing arm, allowing for subtle backward or forward adjustments to ensure the chain is tight.
After ensuring the rear wheel was in the correct position for the chain, we took the bike off the jackstands to see how it would normally sit while on the road. At this time, we also removed the rear end�s soft tail shock and installed a temporary solid replacement. This will hold the swing arm�s angle relative to how it sits on the ground, so we�re able to position the fender correctly with the bike on jackstands (it�s just easier to work that way, than with a bike that�s propped up by a single kickstand).
And with the hard tail in place to secure the rear swing arm, we set about trimming the frame to fit the new fender and seat.
With the frame trimming/shaving complete, we started working with the rear fender that came with the custom rear swing arm assembly. After several different fitments and revisions, we realized that this fender just wasn�t going to work out the way we wanted. With its shape and size, the only aesthetic option that really works would be to weld the fender to the rear swing arm, so that it stays just above the rear wheel at all times. Sadly, this meant we wouldn�t be able to use the rear fender as reinforcement for the two-up seat; in a soft tail design (which our client requested), the swing arm will move up and down approximately 2 inches or so, so we wouldn�t be able to attach a fixed part of the bike (the seat) to something that�s constantly moving with the road conditions (the fender/swing arm). And mounting the fender to the frame and not the swing arm would require the fender to have 2-3″ of clearance above the tire, giving it a really weird sportbike look. So something needed to change, and that something was the fender. Wave goodbye to our shiny metal friend, it�s the last you�ll see of him.
We knew that the new fender would need to mesh with the aesthetic of the bike as we�re building it. It would need to be big enough to accomodate brake lamps and turn signals, and it also needed to be large enough to cover the wide rear end while still allowing for the movement of the swing arm without any sort of weirdness. That�s when it dawned on us; we had the perfect piece sitting right in front of us all along � the OEM rear fender. It�s big enough, fits the rear lights and doesn�t look weird when the rear end moves up and down. One problem, though � it�s not nearly wide enough for the 300 rear tire. Wait, did we say problem? Hell no, that�s not a problem, we just cut that sum�bitch straight down the middle, and removed the center portion for holding the light assemblies. A few concepts and test fits later, and we knew exactly how we wanted it to look.
We used some spare steel to hold the fender at its desired width during testing. It�s not too crazy of a widening process, just a couple inches, but enough to really add to that character in the rear end.
Now that the fender is ready to be filled in along the middle, we set about cutting out the metal we�d be using as filler.
After plenty of arranging and temporary tacking, we had the filled-in fender ready to cool down in preparation for the final welds. We used one long piece of metal to fill in the top portion of the fender, and several smaller pieces to fit in around the light-mounting portion of the fender. It really helps to use temporary pieces first, before committing the metal to these shapes (something relatively thick, like a manila folder, works wonders).
With the fender looking good and straight, we brought it back over to the welding table for the final welds to begin. This isn�t the thickest fender on the planet, so as always, we went slowly and did only small bits of welding at one time, in order to keep down the heat that could potentially screw up this whole fender widening process. After each weld and subsequent cool down, we�d take it back over to the bike and make sure everything is still spot on, then it�s right back to the welding table for a few more beads. This circle will continue until the fender is welded in its entirety, which we�ll show you at the beginning of the next chapter of Hell On (Two) Wheels.
See you tomorrow!


