 Tweet
Tweet
Holy shit, this is awsome.
-
-
The mini coming out great, i always wanted a old mini, but hard to find around here in texas, anyway nice work!Soli Deo Gloria

Comment
-
Nice man!
Looking good, seen this on the miniforum as well.
Are those mk1 golf headlights your using? that'll look sick. Need to get my rust bucket up here.Comment
-
Originally posted by Vermilion View PostOriginally posted by axelillo_PR View PostOriginally posted by way2fastx3 View PostThanks guys! Labour of love!Originally posted by PedroM View Post
Thats an awesome idea but alas I think VOSA would have something to say about modifying it to that sort of extremesOriginally posted by Yogi_Bear View Post
Originally posted by hi its me alec View PostOriginally posted by miracLe View PostOriginally posted by Gator View PostOriginally posted by Matth3w View PostAgain, thanks guys!Originally posted by BlueJ_Fish View Post
Apparently MK2 golf headlights? Probably same size as MK1 though. They fit Mini bowls thankfully, only thing I'm not decided on them i the glass is flat....may have to buy a cheap Mini set and change the glass over to the curved shape instead. We shall seeOriginally posted by RayBoogs View Post
Comment
-
Little backwards update. Got the photos off my camera and since I just got a new laptop onto them for editing!
First some paint booth shots...
IMG_1782 by Andrew Forbes Photography, on Flickr
IMG_1787 by Andrew Forbes Photography, on Flickr
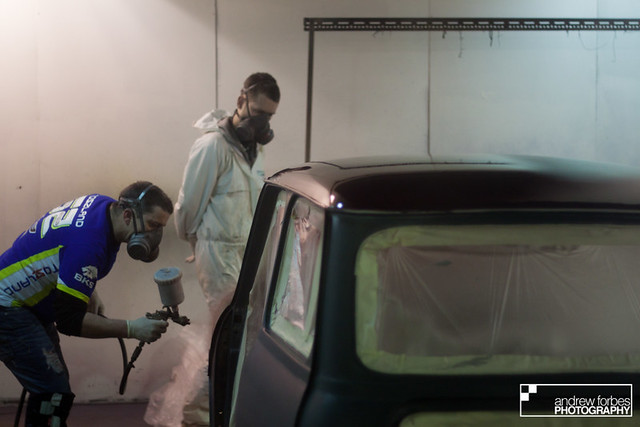
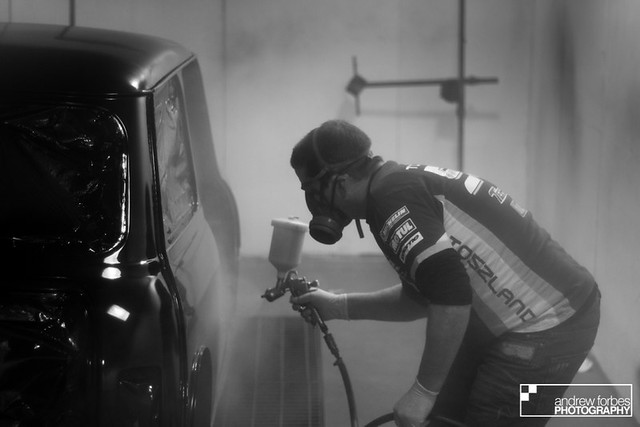
Phil putting on the layers
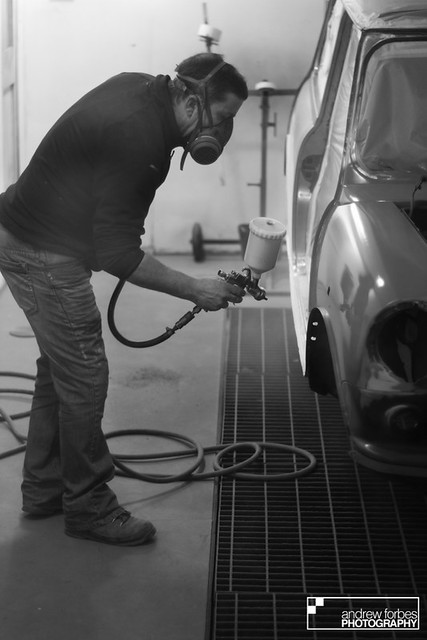
IMG_1810 by Andrew Forbes Photography, on Flickr
In the operating theatre!
IMG_1826 by Andrew Forbes Photography, on Flickr
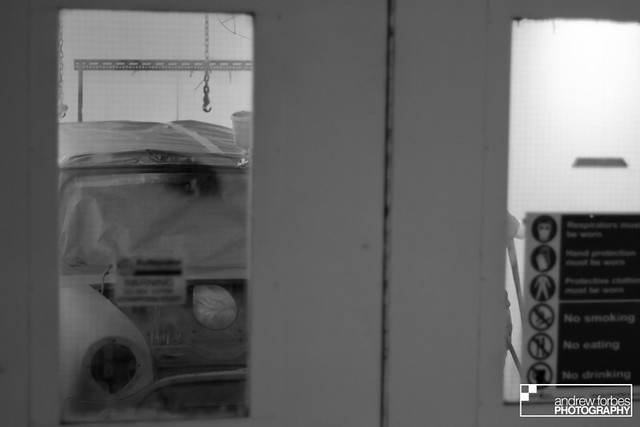
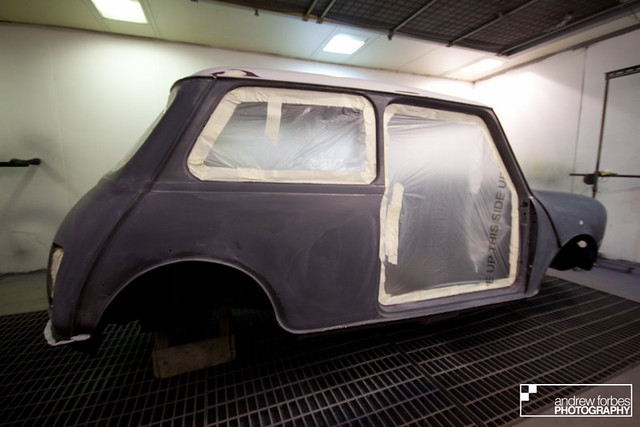
The paint prep area! Epic space that I'm sure could tell a few tales....
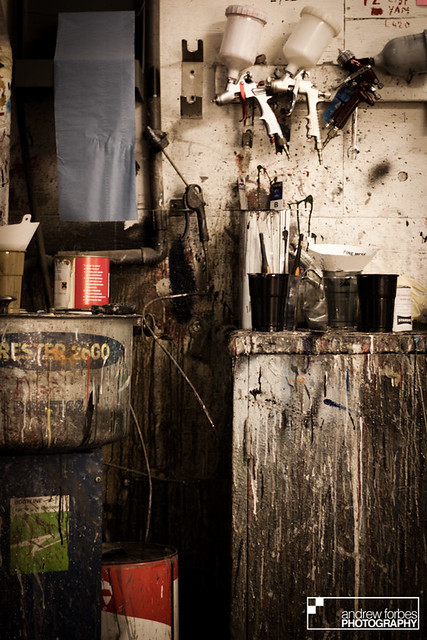
IMG_1861 by Andrew Forbes Photography, on Flickr
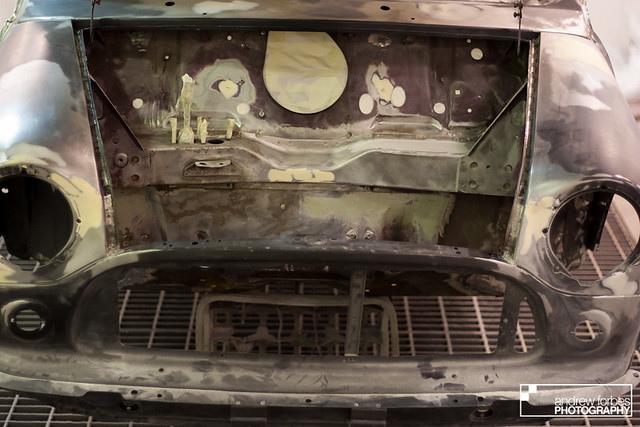
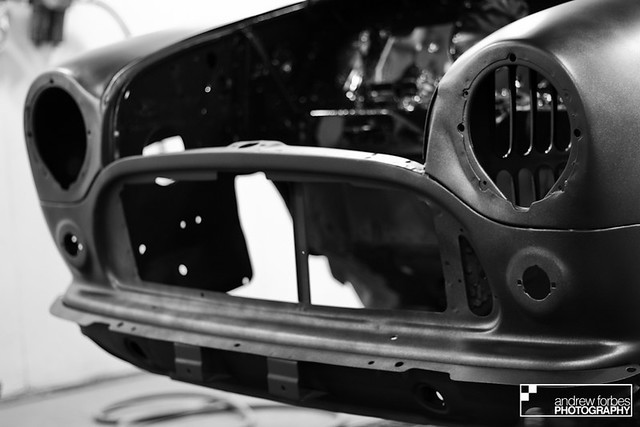
Primer dried
IMG_1880 by Andrew Forbes Photography, on Flickr
IMG_1898 by Andrew Forbes Photography, on Flickr
Milk bottle crates have their uses!
IMG_1901 by Andrew Forbes Photography, on Flickr
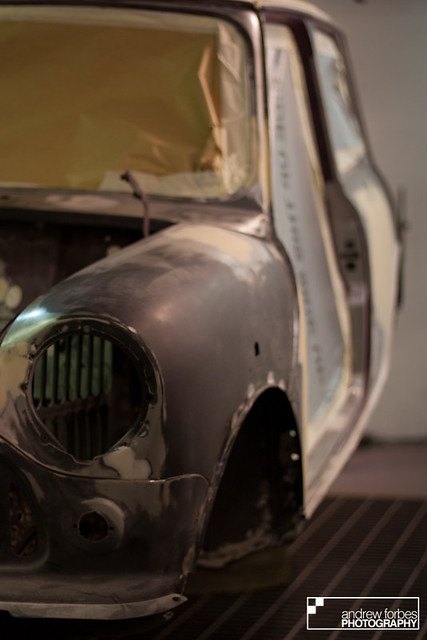
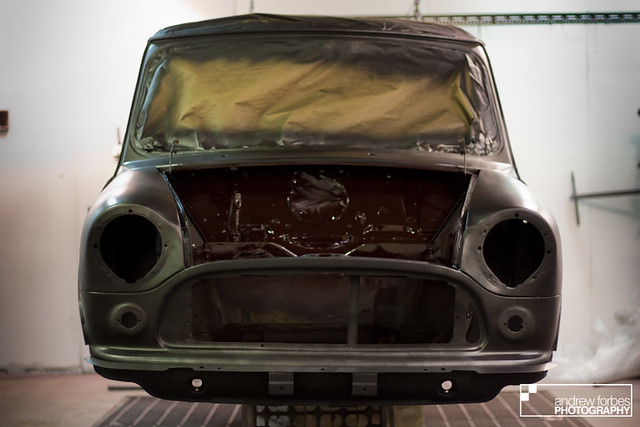
Then back onto the shop floor ready for next stage
IMG_1927 by Andrew Forbes Photography, on Flickr
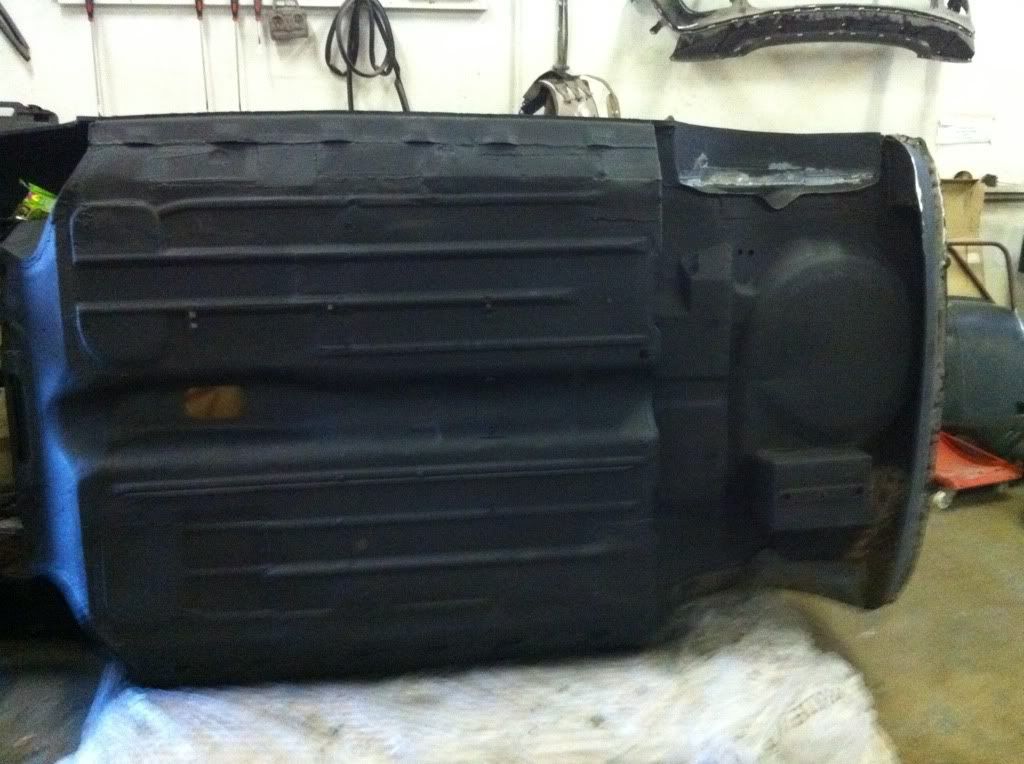
So that was up until today. But todays work was mainly engine pay sanding so no pics of that as it pretty boring but Phil did get the seam sealing and stone chip of the floor done! Looks and works great!
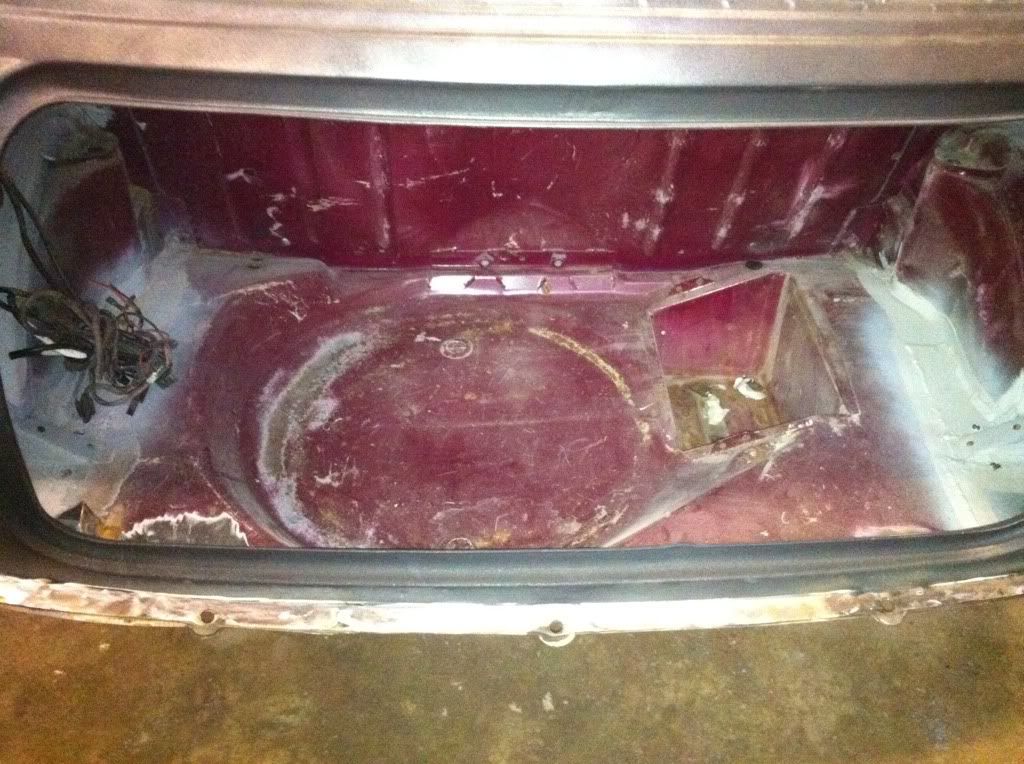
And that brings it up to date again! Only bit I now have to prep is the boot and then its ready for top coat! Can't wait!
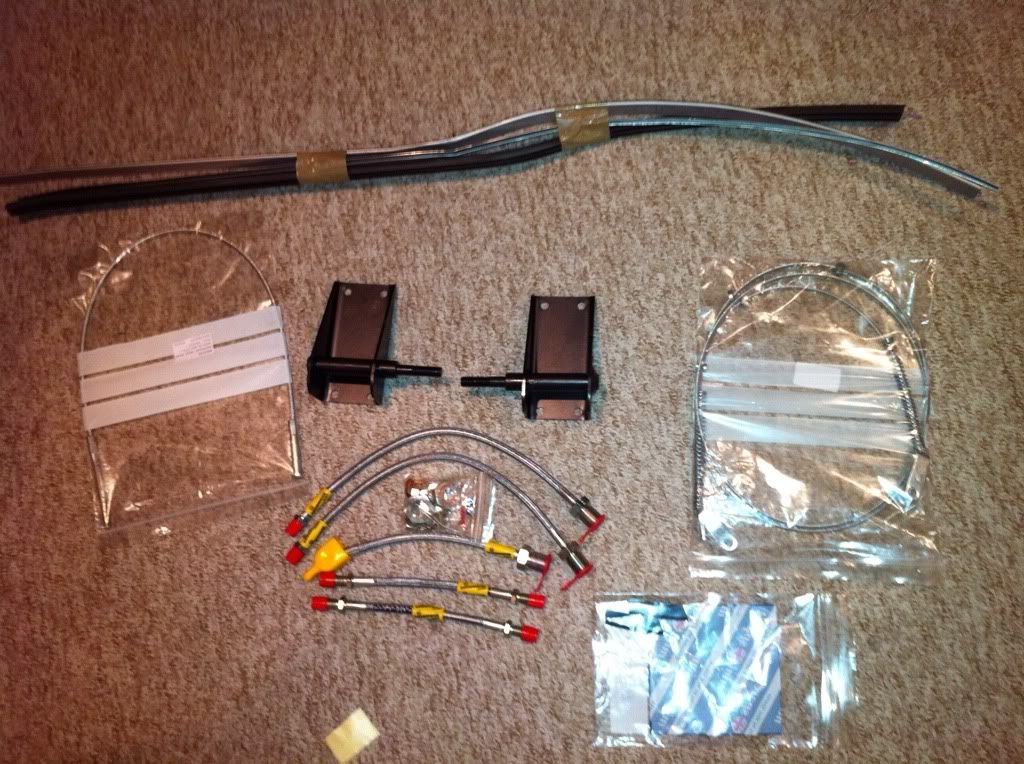
I also came home from the body shop to find a package from MiniSpares again! Todays was seam strips for the body, lowered suspension shock mounts, handbrake cable bits and my favourite bit, Goodridge braided brake lines and clutch line.
Comment
-
Love it!. What colour you going to paint this?
had a mini for my first car. little b reg 1L, best car i owned unless it was cold dark or raining then, heater took ages to warm up, lights are like candles and no point having wipers as there useless lol. Unfortunately mine aquaplaned at a roundabout and wrote it off
Keep up the good work, ill be watching this project!Comment
-
Thanks man! No better car to have as a first car!Originally posted by EACruise View Post
Paint wise its staying the same as the photo at the top of the thread. rover Cranberry Red (non metallic original factory colour) with Rover Quicksilver roof and bonnet stripes.
The colour is very very rare. I have only found one other Mini in this colour in the UK and yet to set eyes on the actual car.
Mine is a 998cc too. Got a 1275cc awaiting rebuild (although it does run...) to 1310cc and supercharger
My heater warmed in no time, I replaced the lights with halogen replacements and heavy duty wipers so acted just like a modern car! Mine aquaplanes in the wet too.....7" wide rubber is bad in the wet.....Comment
-
The headlights should fit man, Seen a couple of guys fit mk1 crosshairs so shouldn't be too hard to make mk2's fit.
coming along nicely, is this staying the same colour?Comment
-
Aye there's a how to on The Mini Forum thankfully!Originally posted by RayBoogs View Post
And check above comment
Comment
-
Haha, yeah just seen, whoops. Glad your keeping it this colour.Comment
-
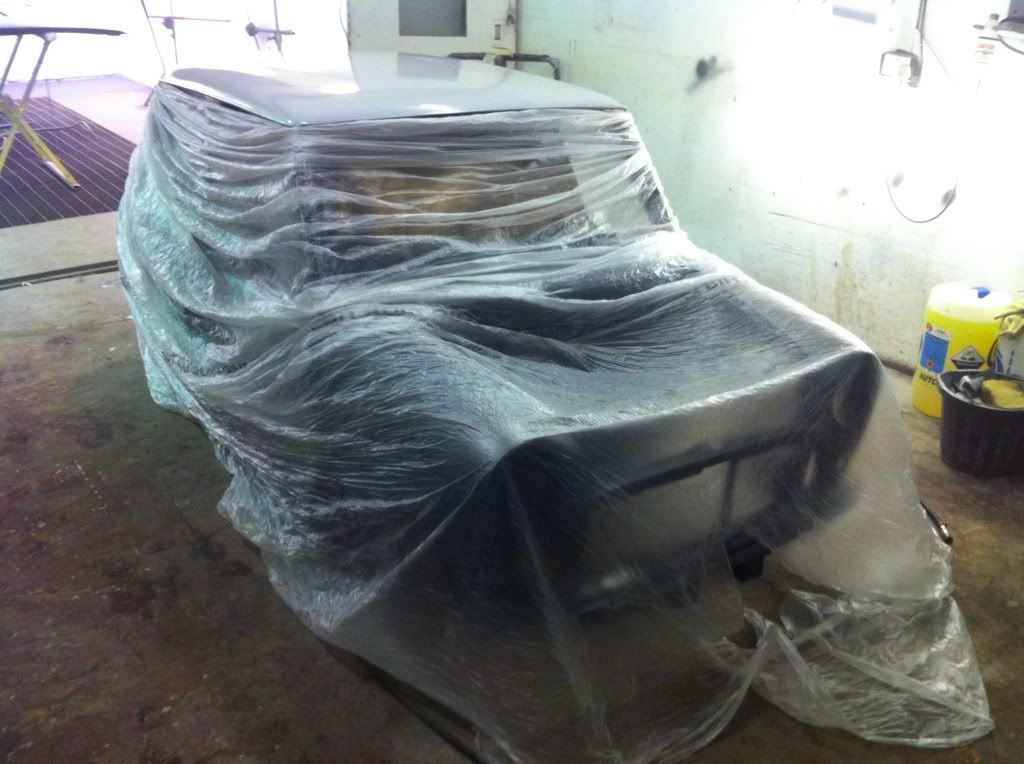
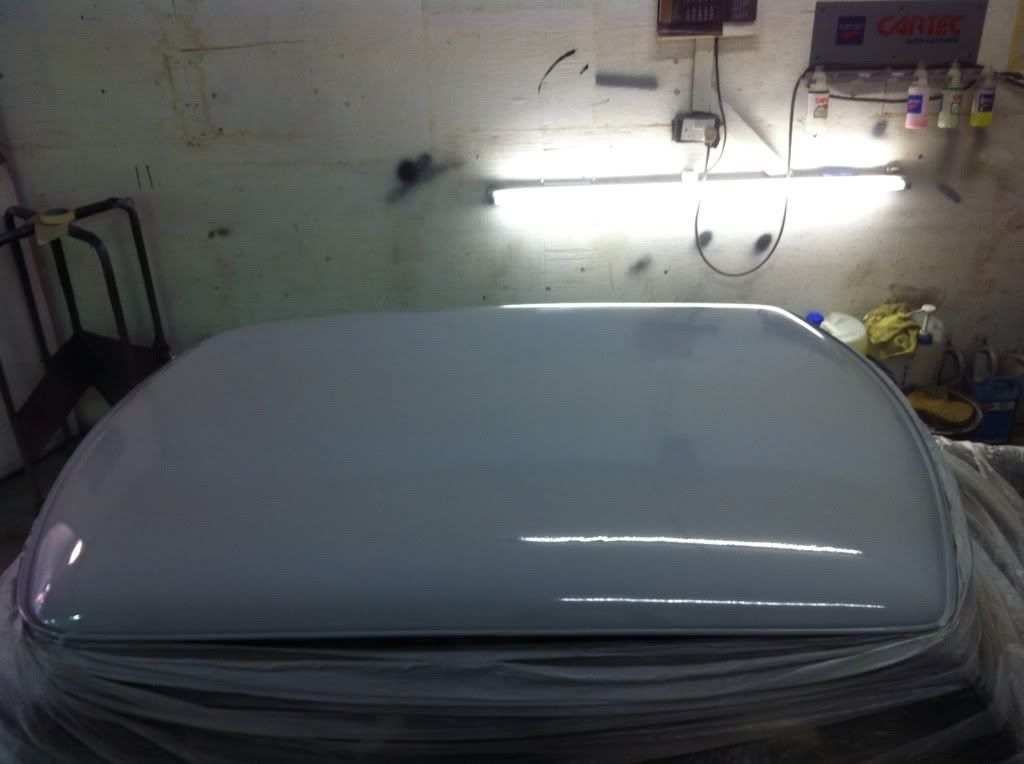
Another day another set of photos:lol:
These are from yesterday but forgot to upload them. Morning spent at the body shop and we got the roof prepped and painted in primer. Will need a rub down in a few areas, especially the back as it reacted weird with the old silver paint. Nothing too bad.
Monday is boot prep and final body prep
Comment
-
Wow, that is some dedication you put into that thing.
Comment
-
Love all the builds popping up in aberdeenshire area now, cant wait to see this done!Comment
-
great work... mini rocks!!low is a lifestyle...Comment
-
SO! After 4 months, 12 days (11,577,600 seconds, 192,960 minutes, 3216 hours, 134 days, 19 weeks) or however else you want to measure the time, Trig is painted and looking amazing!
We masked the car up late Tuesday night ready for painting first thing Wednesday morning and left it in the booth.
Next morning Phil phones me saying the lacquers not going to arrive until 11.....so instead of heading straight to Banchory he sent me to Aberdeen to Dingbro to pick up the supplies the head out. Saved us a couple of hours which let us get on with the painting! Dedication from the both of us!
IMG_2053 by Andrew Forbes Photography, on Flickr
And a fancy shot in the booth before the painting began

IMG_2054 by Andrew Forbes Photography, on Flickr
After Phil left me in charge of cleaning the surface ready to paint it (wasn't expecting that to be left to me, being such a crucial stage!) he got on with the main show!
IMG_2073 by Andrew Forbes Photography, on Flickr
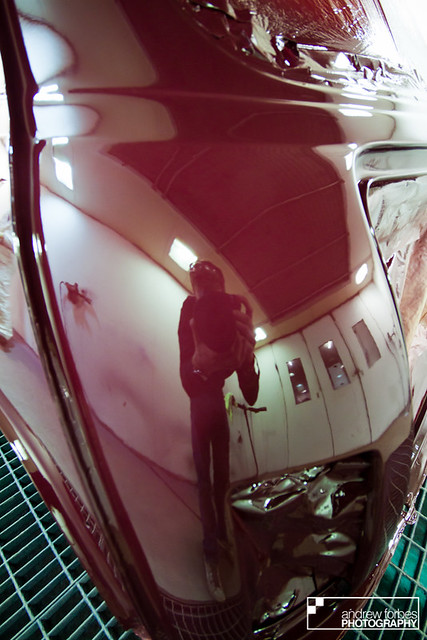
I took more video than stills as he painted, for the final video, but thats neither here nor there as this is what the car looked like after the colour coat!
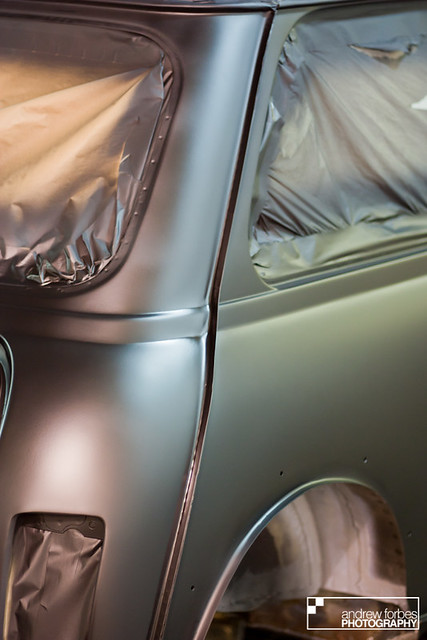
IMG_2089 by Andrew Forbes Photography, on Flickr
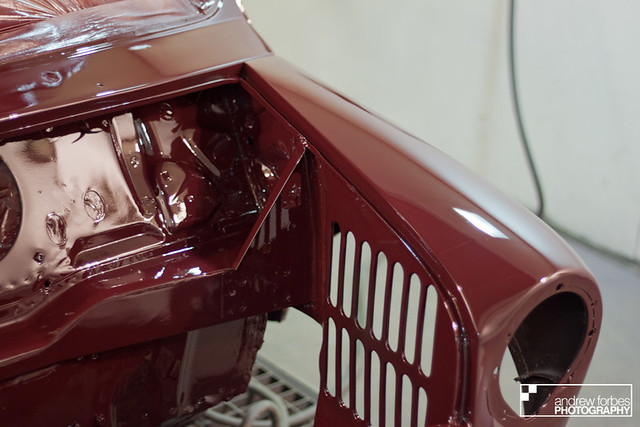
And to give you an idea of the gloss factor on it.......this is unpolished 'straight off the gun' before any lacquer went near it. Its even shinier now and just flatting and polishing to go! You can't tell there used to be the filler neck there at all!
IMG_2160 by Andrew Forbes Photography, on Flickr
Kyle on the left, Phil on the right and me behind the lens.
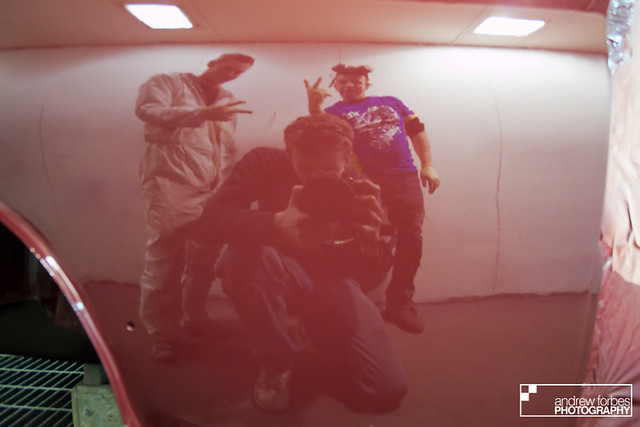
IMG_2155 by Andrew Forbes Photography, on Flickr
Then Phil shot a few coats of some modern 'anti scratch' lacquer onto it!
IMG_2169 by Andrew Forbes Photography, on Flickr
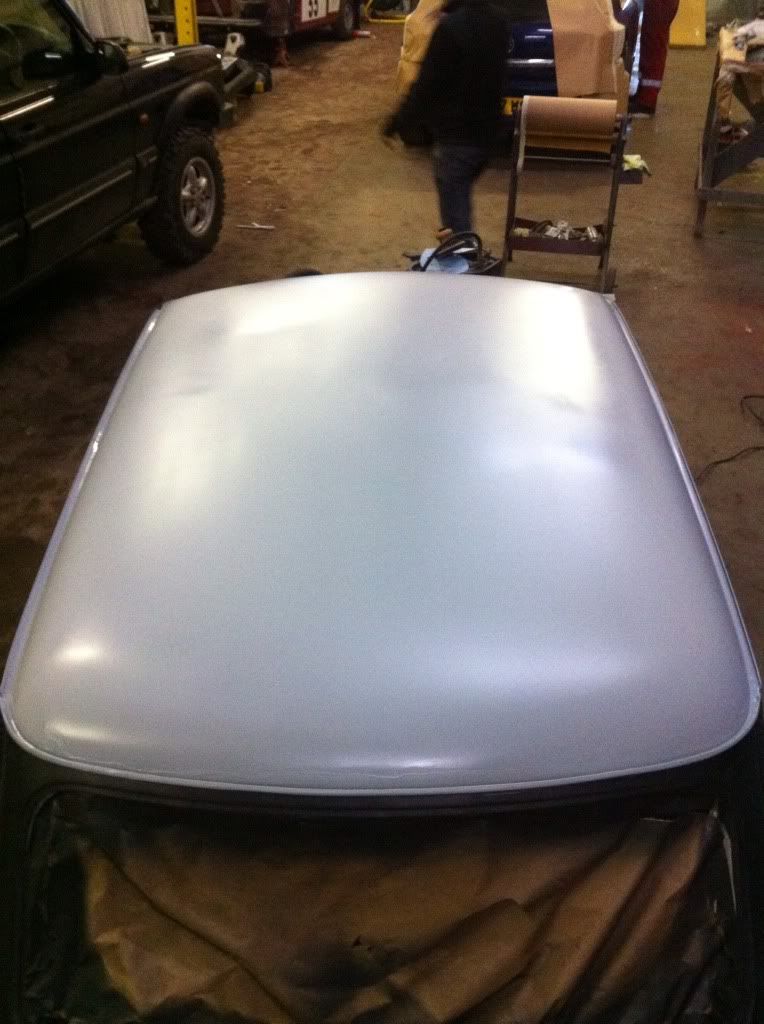
Didn't get out to work on it today as I had to service the Polo and give it its 6 monthly wash (no exaggeration.....) but Phil did text me saying the roof was painted in silver too! So thats something to lok forward to tomorrow!
Its really satisfying to get to this stage. After owning the car for almost 8 years now I never thought I would ever be in the position to get the car to this standard. After hundreds of hours at home and at Kirkton the results make it all worth while
Next stage is the tricky bit......putting the giant jigsaw all back together.Comment


Comment