 Tweet
Tweet
My wife has wanted air on the Bavaria (Stella) since the moment we purchased it. It's a bit difficult to find air struts that are pre-fabbed for a car that was made when Nixon was elected president. Not being the type that takes one on the chin, I gave Jesse and Corey at AirLift a call and said "What's the deal?". What they schooled me on was that there is no excuse for anyone to not have air on their car if they want it. These "Universal Strut Kits" are designed with the fabricator or general suspension shop in mind. The struts come in two lengths. I had to get the shorter version because of what I measured on the car.
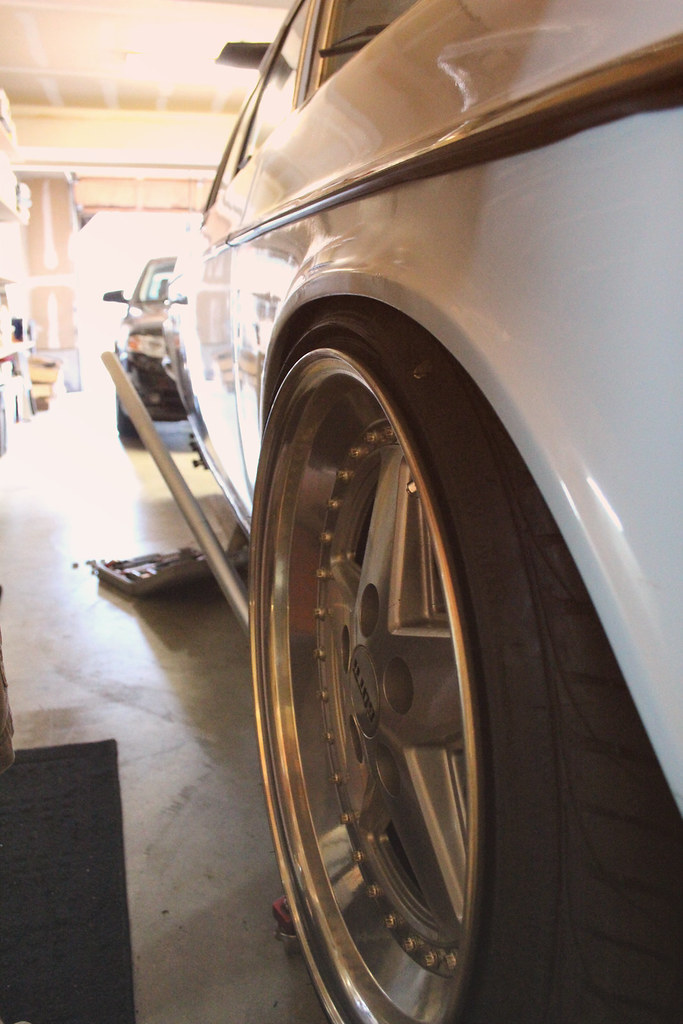
Nothing less then laying the car out was acceptable.
First things first, I had to pull the springs on the the car to check the fitment.
This looks awesome, but it actually poses a bit of a problem. The car, with bags would have to go 3 to 4 inches lower than this to put the frame rails on the ground. Easily fixed, we'll just have to remove the spacers for now.
That'll do for the rear.
I started in the back with the struts. I hung the universal sleeve strut from the rear strut tower and raised the suspension up to the meet it. This would be the fully aired up ride height.
Measuring from here it was evident that with the rubber bushing on the bottom, the car wouldn't get as low as we wanted. So what does StanceWorks do when it's not low enough?
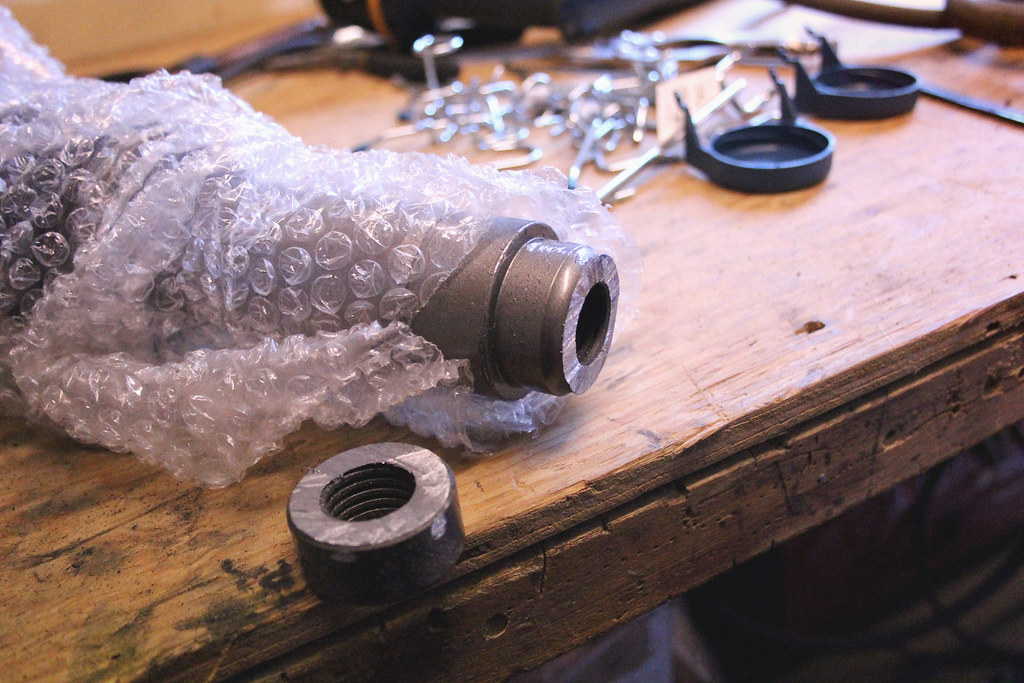
Cut an inch off the bottom of the strut obviously. The bottom of the sleeve struts are threaded for use with an ACME bolt. That way you can adjust the height of the car at full up by threading in and out. We won't have that option. There was a seam on the strut that was for welding, I cut the strut up to this seam because I would be doing something different for the bottom mount than the clevis mount that was standard for most cars.
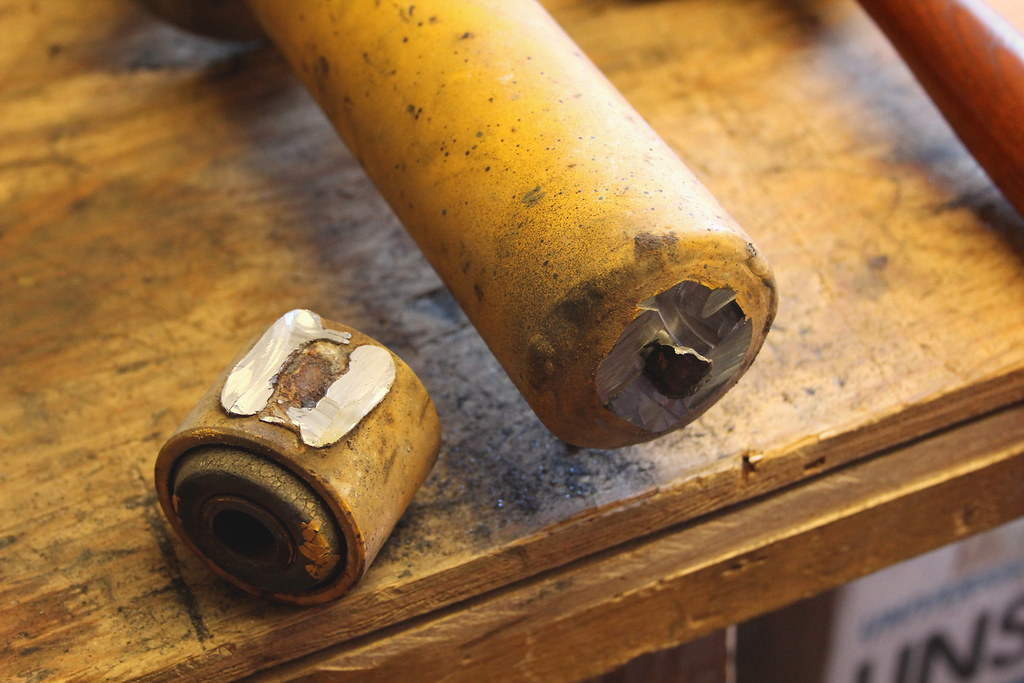
The rubber bushing and housing was cut off the bottom of the stock rear strut. We wrapped them in wet towels to limit the amount of rubber we melted. There were still a few small fires that smelled like Stewart Little was doing burn outs on my work bench, but everything worked out. We will most likely make some new bushings from stock material.
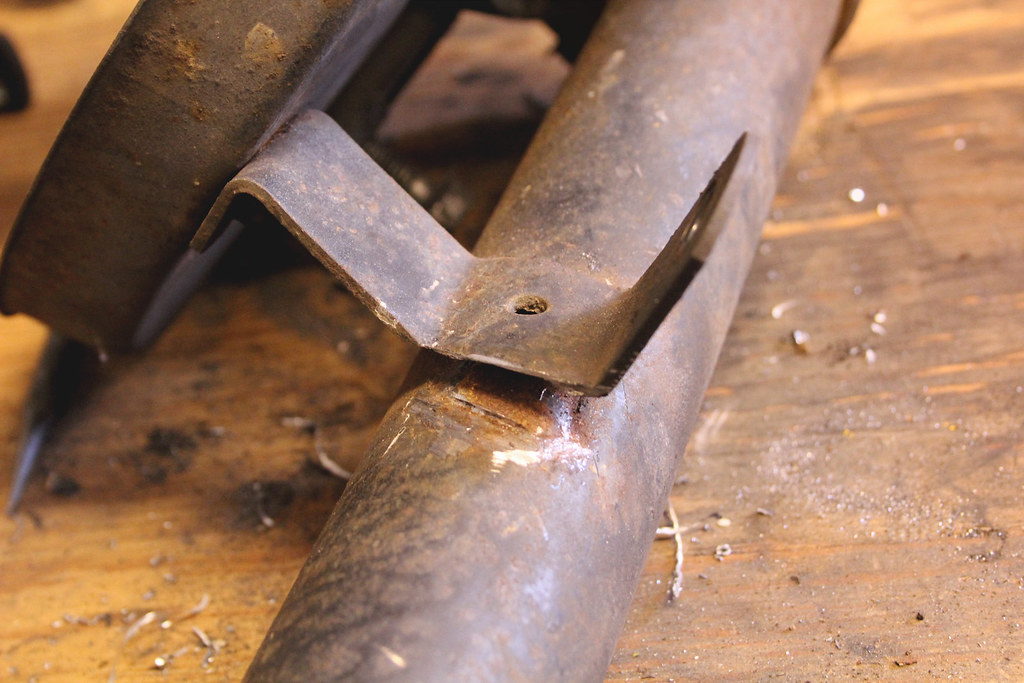
Mocked up. The real trailing arm was lifted, with the cut bushing, in place to meet the strut assembly. This measured out much better with the shortened strut. Cleaned up the paint around the bushing housing and the strut and tacked these pieces together.
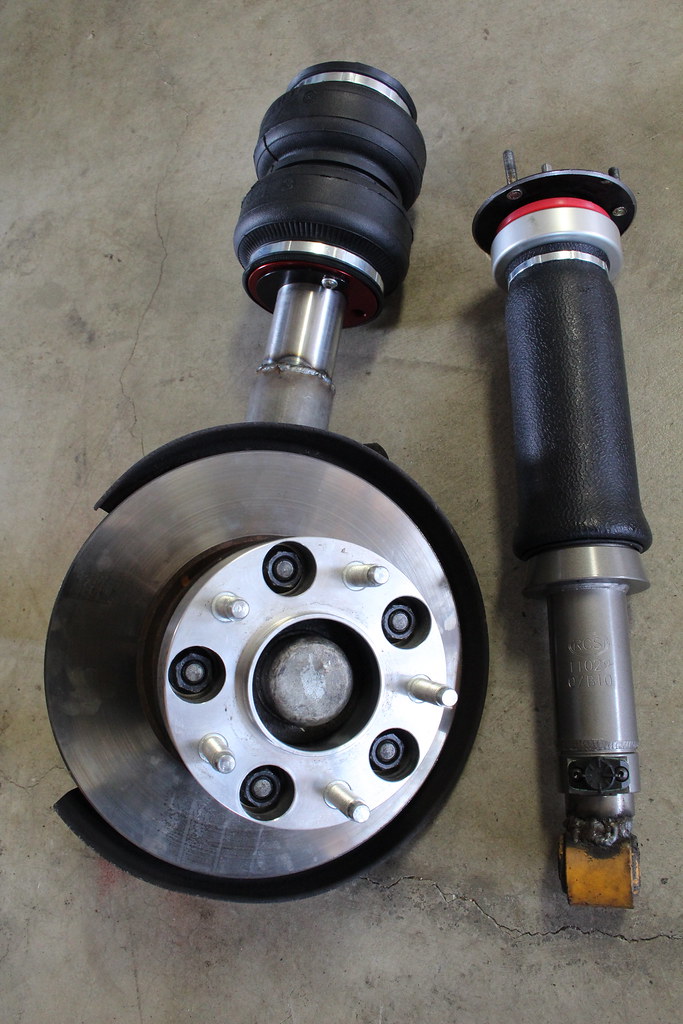
The fronts are a bit more complicated. Here the angle of the strut plays a significant role on the camber of the vehicle. The universal strut is provided with a sleeve that slips over the strut body. This sleeve gets welded to both the stub axle and the universal strut in our particular application.

The sleeve has a notch in it for the damper adjustor to protrude through. This had to be kept in mind before welding because the adjuster needs to be bolted on after all is said and done.
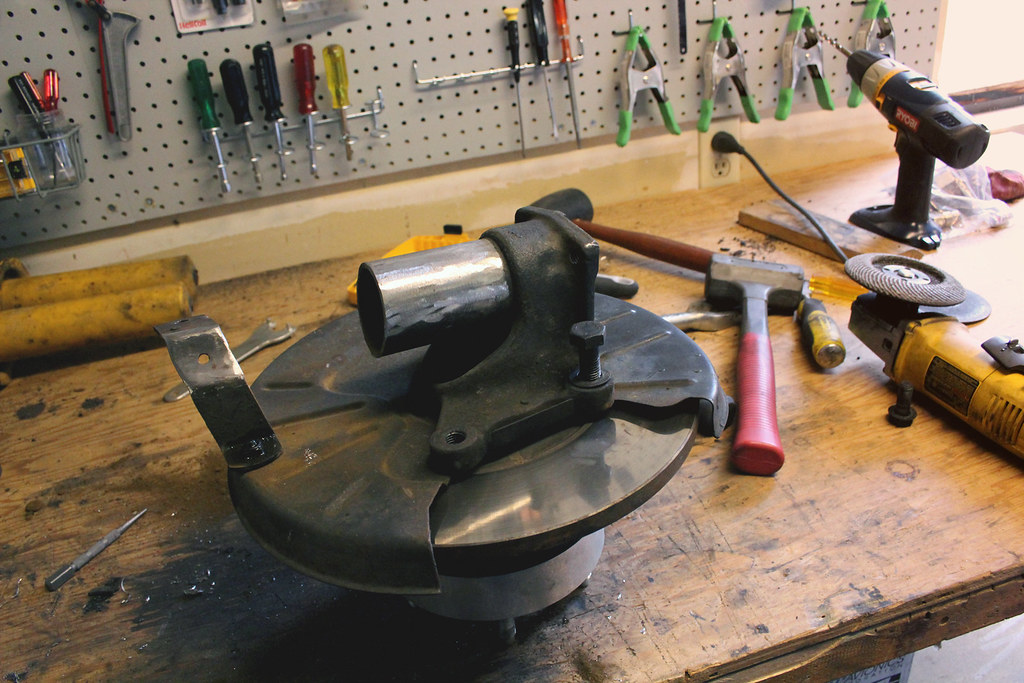
Removed the old struts and started working on the old tube. This bracket is for the brake lines. I decided it would be best to just sepearte it from the old tube, leave it attached to the brake backing plate and weld it onto the sleeve that AirLift provided. Save us from having to fab something new, or just use zipties or something.
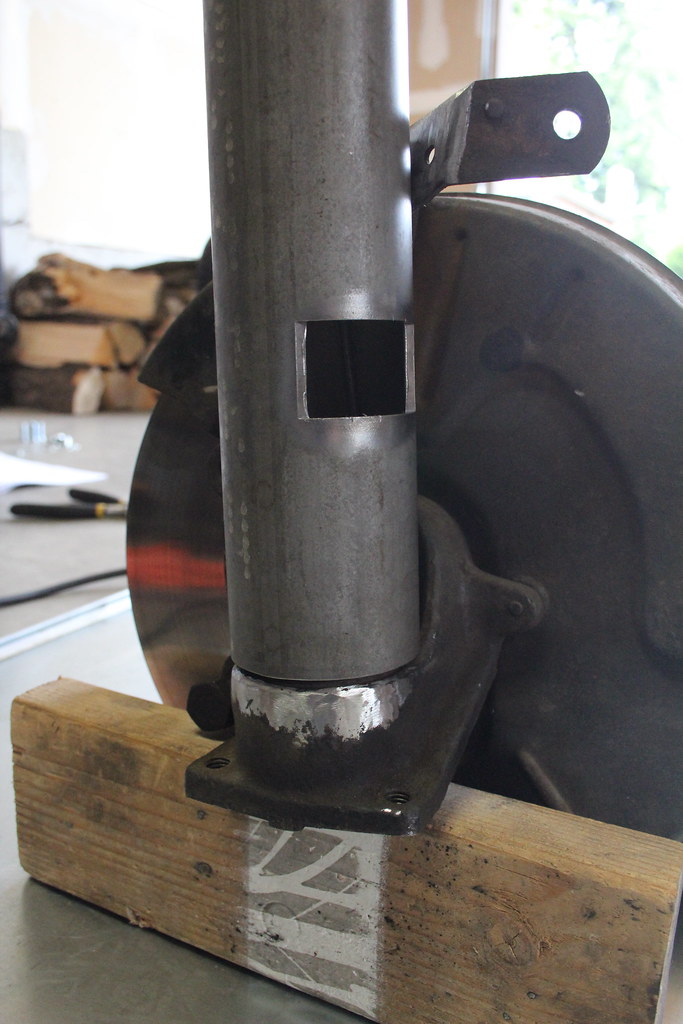
Trimmed down the original strut tube but didn't take it clean off. The AirLift sleeve is too wide to fit in the original stub axle position, but we could use the original strut tube to help align the new sleeve. Cleaned up the metal for welding.
AirLift provided some plate for the top hats. I marked the holes as they suggested and tossed a smidge of camber in there. Bolted them up after tacking in the studs for attaching them to the car.
Propped the stub axle up on a 2x4 to keep it flat. Using a screw driver, bubble level, eye ball, and many other calibrated pieces of equipment, the tube was lined up and tack welded. The tack weld was still some what flexible so it wasn't permenant until I got it in the car and tacked some more.
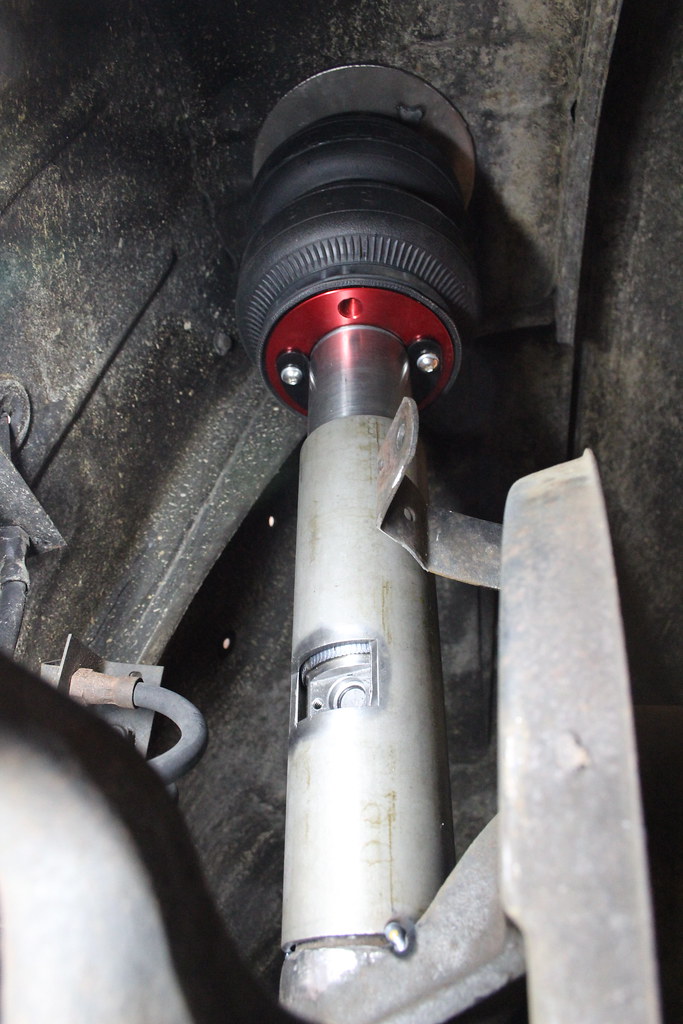
Hanging the strut cartride from the strut tower and bringing in the now tacked stub axle in from the bottom, I could mate the two sections. The stub axle was jacked up into the car until the measurement I had taken earlier was achieved. Checked the camber, made sure my adjuster would fit through the notch in the sleeve and then put some more permenant tack welds on both the stub axle - sleeve interface and the strut cartridge - sleeve connection.
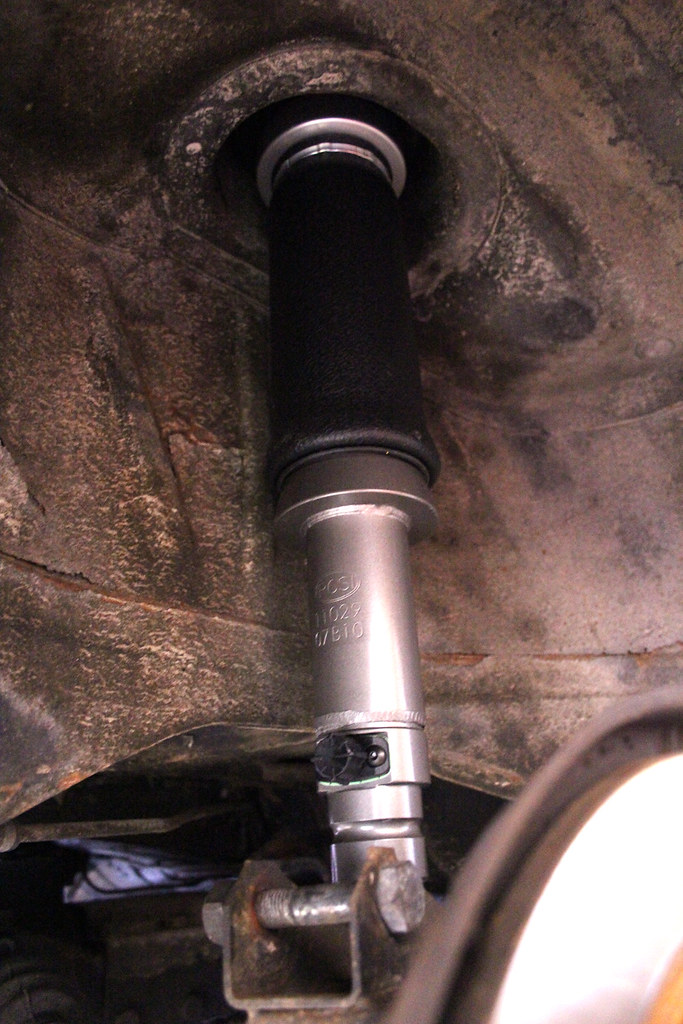
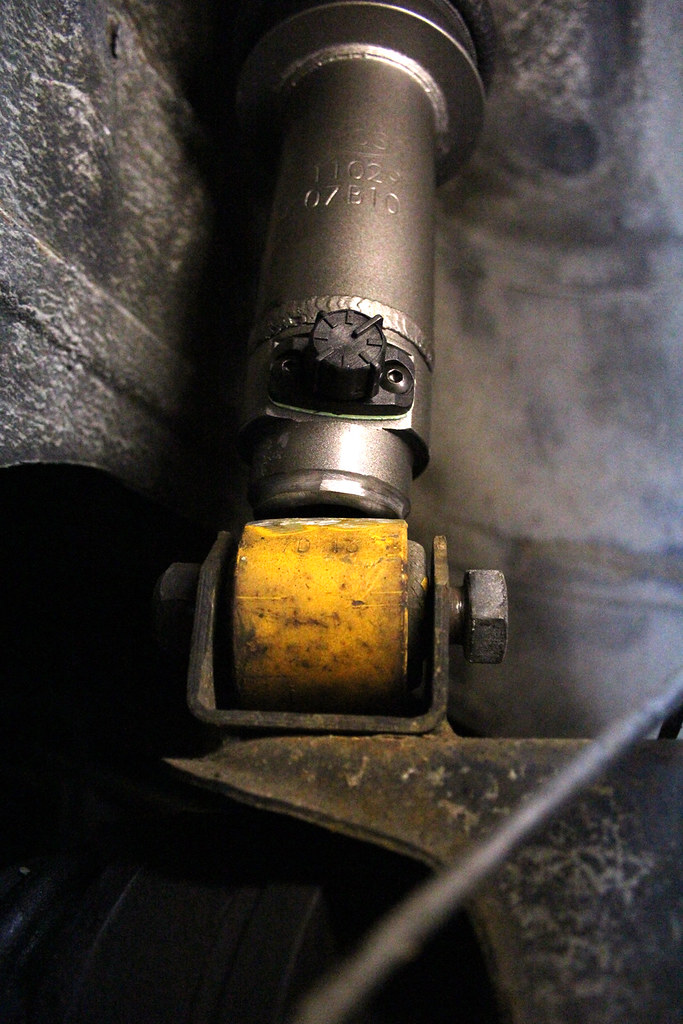
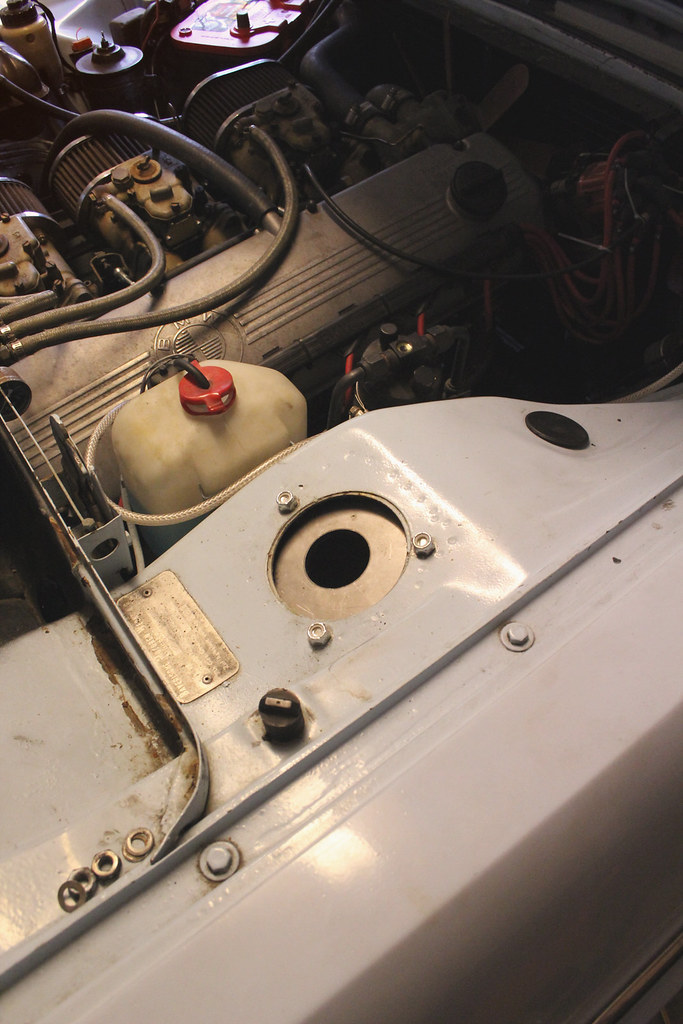
The only thing left was finish welding. There ya have it. Air struts for a 1972 BMW Bavaria. Don't be affraid to build what you can't buy. You can see the adjustor on the rear strut right there. It really is a quality ride so far.
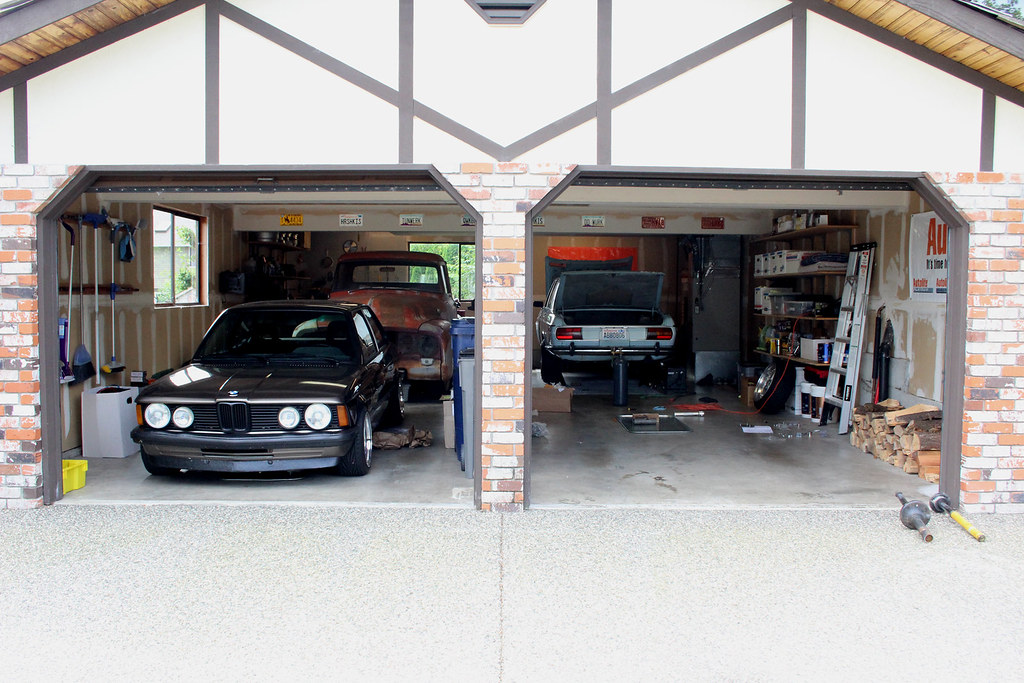
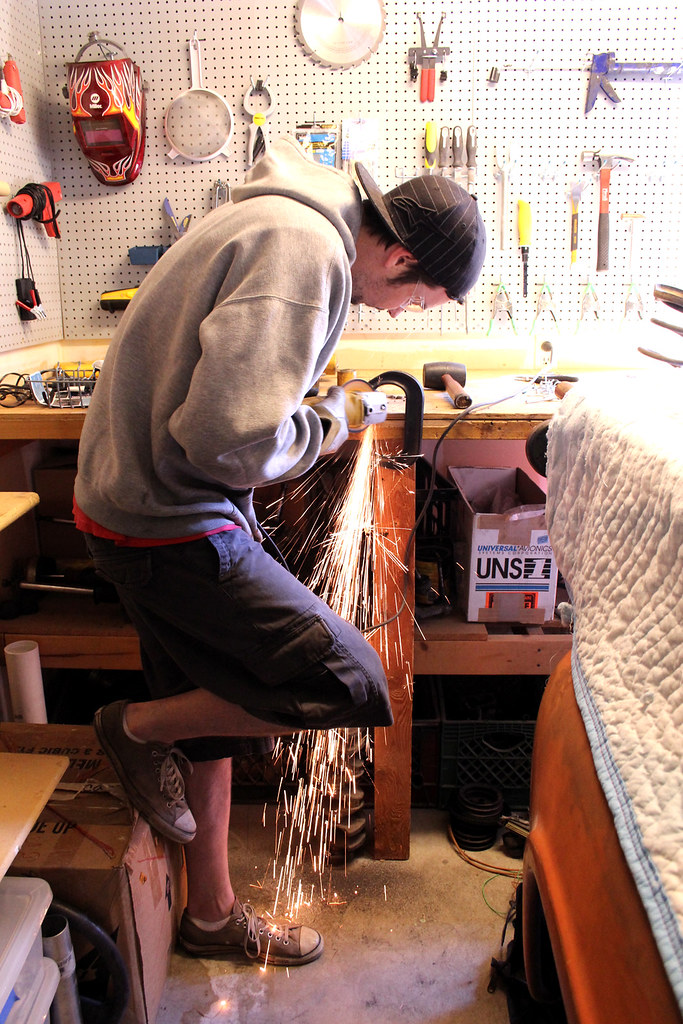
My garage doesn't have a hoist, mill, lathe, or secret machinest lurking in the shadows. Just the wife, me, the trusty 4.5" angle grinder, 110v welder and other assorted essentials.
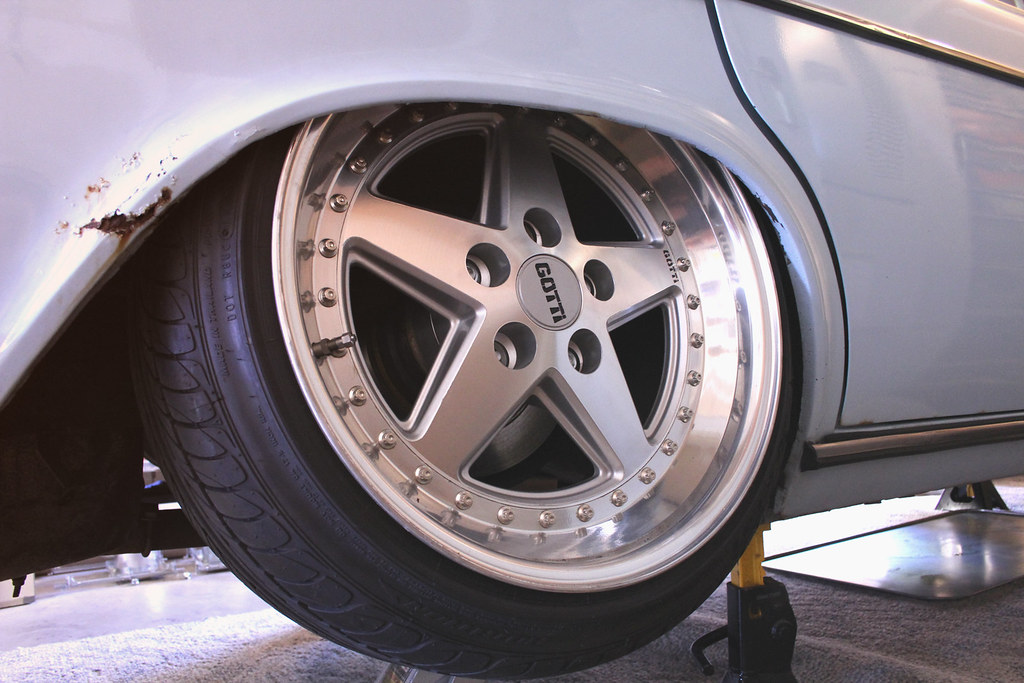
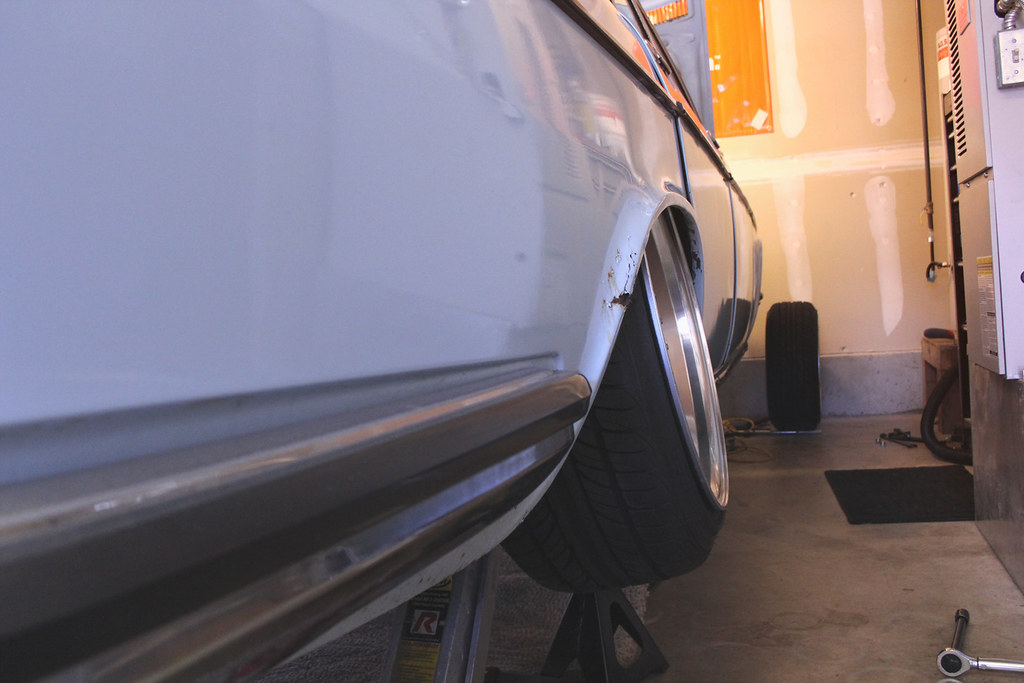
Mission Accomplished:
Nothing less then laying the car out was acceptable.
First things first, I had to pull the springs on the the car to check the fitment.
This looks awesome, but it actually poses a bit of a problem. The car, with bags would have to go 3 to 4 inches lower than this to put the frame rails on the ground. Easily fixed, we'll just have to remove the spacers for now.
That'll do for the rear.
I started in the back with the struts. I hung the universal sleeve strut from the rear strut tower and raised the suspension up to the meet it. This would be the fully aired up ride height.
Measuring from here it was evident that with the rubber bushing on the bottom, the car wouldn't get as low as we wanted. So what does StanceWorks do when it's not low enough?
Cut an inch off the bottom of the strut obviously. The bottom of the sleeve struts are threaded for use with an ACME bolt. That way you can adjust the height of the car at full up by threading in and out. We won't have that option. There was a seam on the strut that was for welding, I cut the strut up to this seam because I would be doing something different for the bottom mount than the clevis mount that was standard for most cars.
The rubber bushing and housing was cut off the bottom of the stock rear strut. We wrapped them in wet towels to limit the amount of rubber we melted. There were still a few small fires that smelled like Stewart Little was doing burn outs on my work bench, but everything worked out. We will most likely make some new bushings from stock material.
Mocked up. The real trailing arm was lifted, with the cut bushing, in place to meet the strut assembly. This measured out much better with the shortened strut. Cleaned up the paint around the bushing housing and the strut and tacked these pieces together.
The fronts are a bit more complicated. Here the angle of the strut plays a significant role on the camber of the vehicle. The universal strut is provided with a sleeve that slips over the strut body. This sleeve gets welded to both the stub axle and the universal strut in our particular application.
The sleeve has a notch in it for the damper adjustor to protrude through. This had to be kept in mind before welding because the adjuster needs to be bolted on after all is said and done.
Removed the old struts and started working on the old tube. This bracket is for the brake lines. I decided it would be best to just sepearte it from the old tube, leave it attached to the brake backing plate and weld it onto the sleeve that AirLift provided. Save us from having to fab something new, or just use zipties or something.
Trimmed down the original strut tube but didn't take it clean off. The AirLift sleeve is too wide to fit in the original stub axle position, but we could use the original strut tube to help align the new sleeve. Cleaned up the metal for welding.
AirLift provided some plate for the top hats. I marked the holes as they suggested and tossed a smidge of camber in there. Bolted them up after tacking in the studs for attaching them to the car.
Propped the stub axle up on a 2x4 to keep it flat. Using a screw driver, bubble level, eye ball, and many other calibrated pieces of equipment, the tube was lined up and tack welded. The tack weld was still some what flexible so it wasn't permenant until I got it in the car and tacked some more.
Hanging the strut cartride from the strut tower and bringing in the now tacked stub axle in from the bottom, I could mate the two sections. The stub axle was jacked up into the car until the measurement I had taken earlier was achieved. Checked the camber, made sure my adjuster would fit through the notch in the sleeve and then put some more permenant tack welds on both the stub axle - sleeve interface and the strut cartridge - sleeve connection.
The only thing left was finish welding. There ya have it. Air struts for a 1972 BMW Bavaria. Don't be affraid to build what you can't buy. You can see the adjustor on the rear strut right there. It really is a quality ride so far.
My garage doesn't have a hoist, mill, lathe, or secret machinest lurking in the shadows. Just the wife, me, the trusty 4.5" angle grinder, 110v welder and other assorted essentials.
Mission Accomplished:


Comment