Let’s face it: If you’re unfamiliar with air suspension, the thought of bagging a car is a daunting one. Between struts, bags, fittings, compressors, lines, and management, it’s difficult to establish your bearings. A solid portion of the market is catered to with bolt-in kits, meaning most of what you need, if not everything, comes in a box and simply awaits installation. However, many cars aren’t so lucky. For the sake of this article, we’ll use older BMWs as our example: few “bolt in” suspension solutions exist due to the fact that the spindle is attached to the strut housing itself, making it expensive for aftermarket companies to produce.
This means that almost any suspension system, whether it is static or air based, requires some work and fabrication to fit the car. The word that scares off most weekend hobbyists is “welding”. It’s the one thing most people can’t do in their own garage without expensive equipment, however, we’re here to share what is really required in making it work.
The thought of bagging your vintage BMW (or any car for that matter) no longer has to be confusing. For those of us unlucky enough to be stuck with the “Do it yourself” side of the automotive aftermarket, Air Lift has decided to save the day. Their Universal Crafter Packages cater to most suspension designs and allow you to apply a little legwork to get your car sitting flat on the ground.
“Universal” is another scary word. As I am sure most readers of the site are familiar with, the term “universal” rarely ever means what it implies. After all, how can a “universal kit” really work for your car and others at the same time? Will the kit really come with all of the fittings and such needed for your specific car? Well, the answer, in this case, is yes. And that involves explaining the basics of air suspension.
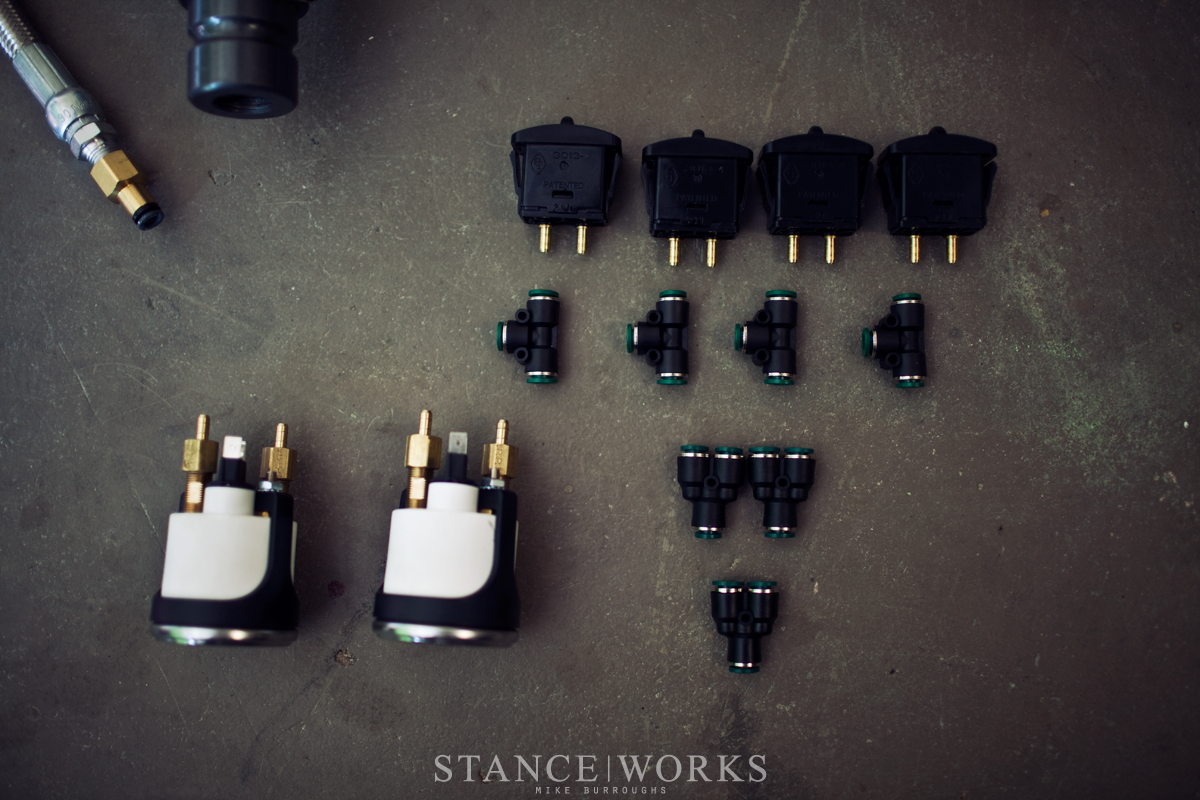
Air suspension is a bit simpler than what it’s made out to be. There are rarely “unique” fittings to any specific build, assuming you’re keeping things simple (such as manual controls). Fittings are what connect airline to the other components of the air system, which means every system built with the Air Lift Crafter Packages use the exact same pieces. The only variable left up to you is how to route it in or under your car, and where you want to place the controls for the system.
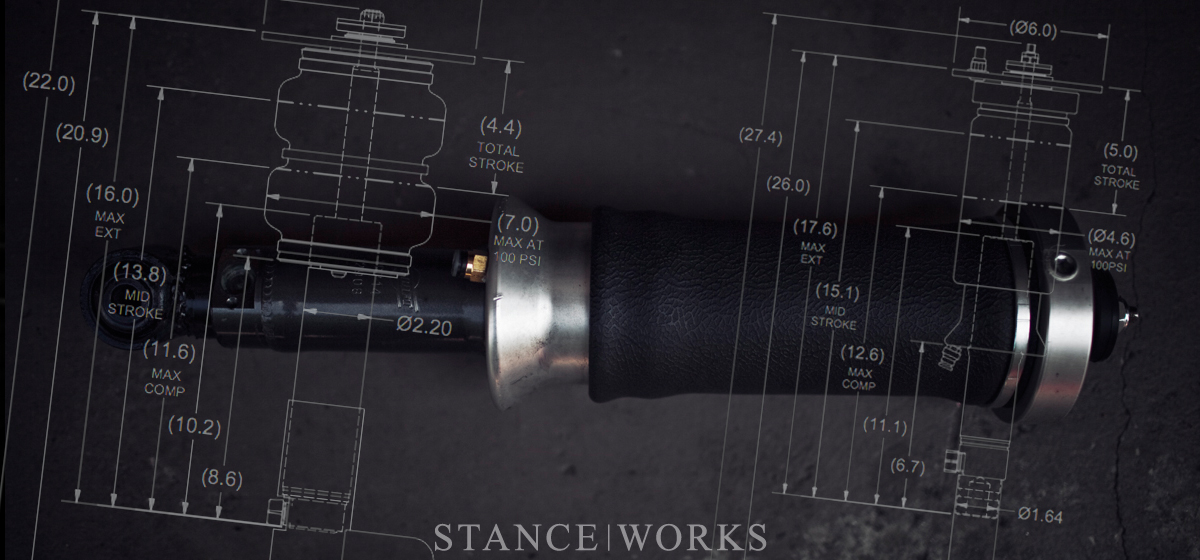
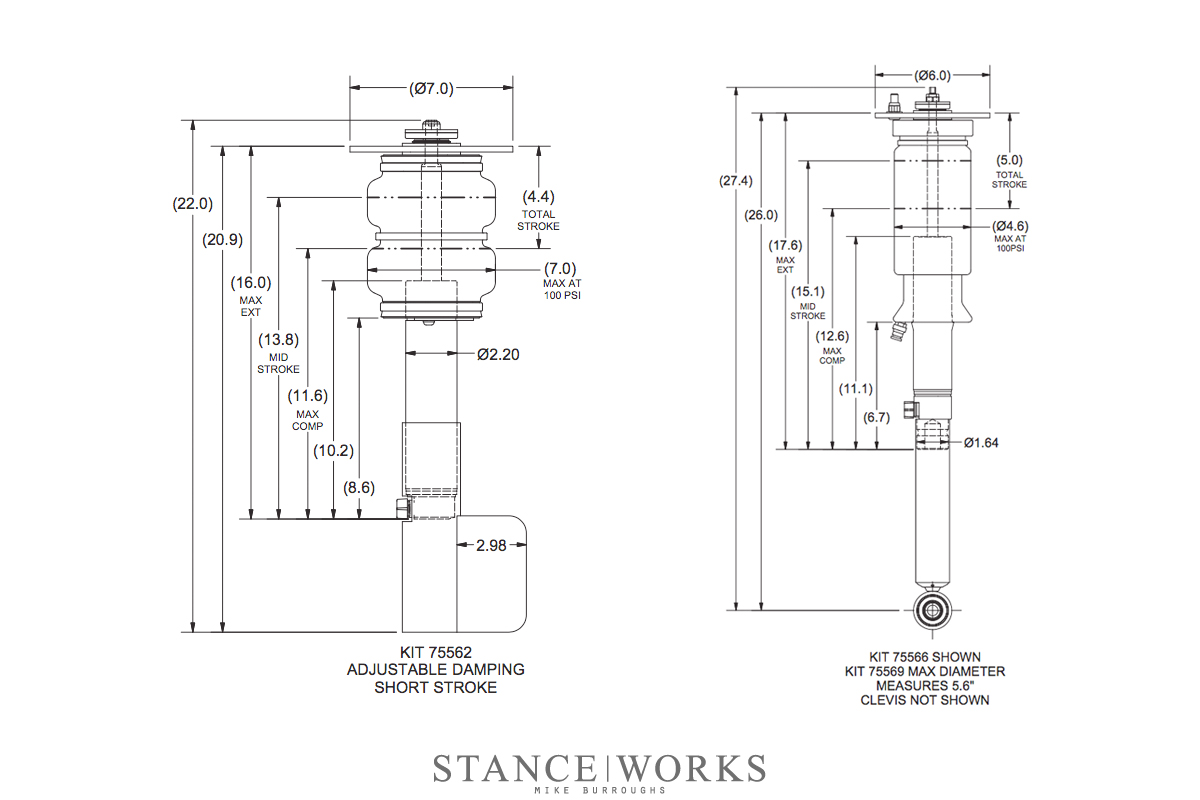
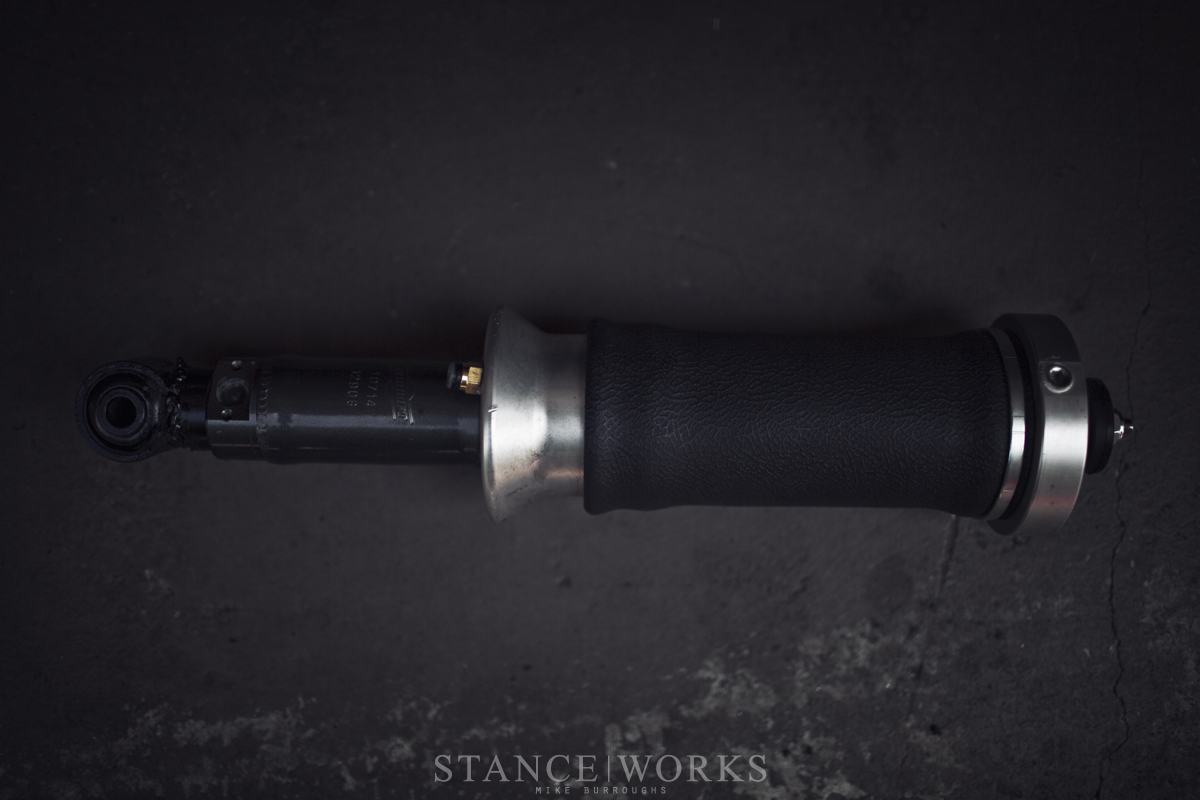
So, with the “plumbing” side solved with the help of experts from electrician perth, you’re tasked with making the struts fit the car itself. For Jeremy’s E28, we used the 75562 front strut and the 75566 rear. These aren’t the only option, but they were best suited for what we wanted to accomplish with his car. Detailed in the blue prints above, Air Lift offers full schematics for every component offered in the Crafter Packages, so with some simple measurements, you can figure out whats best for your car. Don’t be turned away by all of the lines and numbers- it’s very simple to understand! Overall height and diameter are the two main concerns in regards to “will this fit under my car”. You want to ensure that you have enough travel to suit your needs and you want to determine if they’ll fit in your strut tower away from your wheels. The rest of the numbers simply give you a little insight into the lift and drop that can be achieved with each strut design.
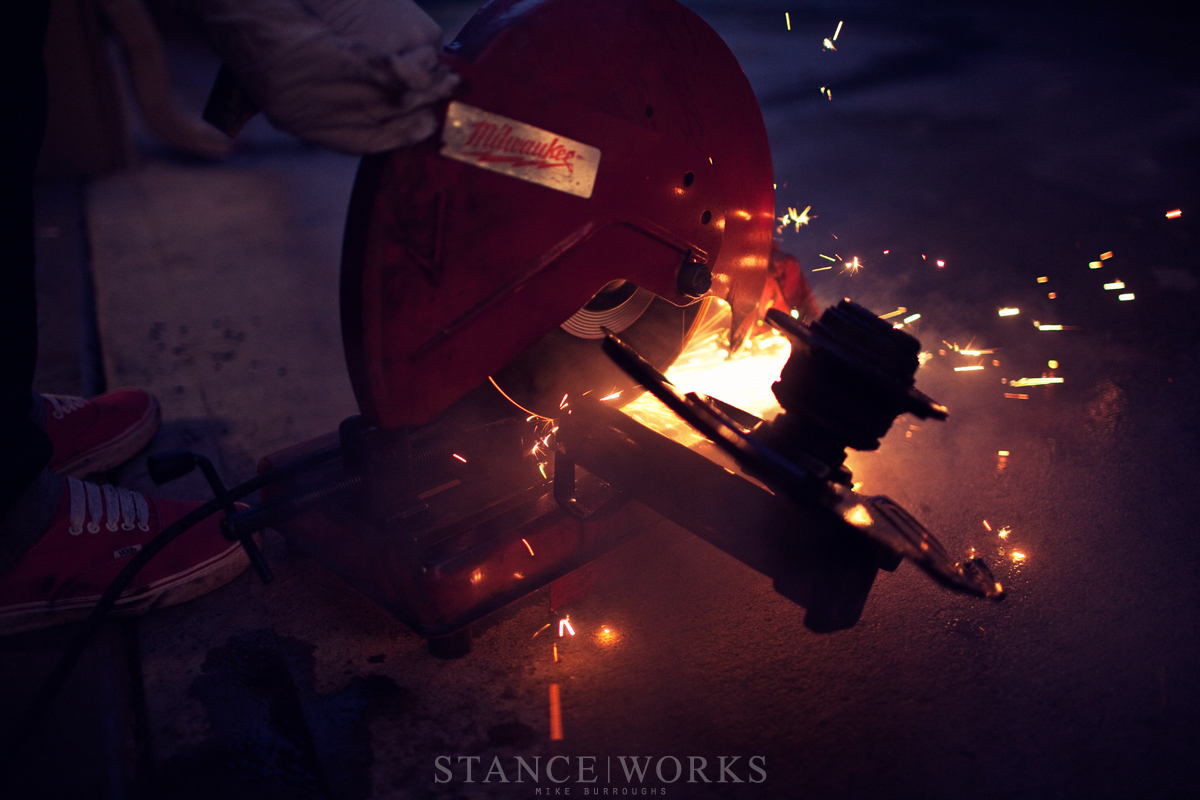
As explained, BMW’s spindles and hubs are attached to their strut housings, so in order to build the suspension, you will have to cut up the factory housings. But don’t worry, this sounds scarier than it really is. Our suggestion is to head to the junk yard and snag an extra pair of front strut housings so you don’t have to cut up your only suspension.
“So where do I cut it? Why am I cutting it? What is this madness?!” It’s important to decide one thing: Do you want your car to air out flat on the ground? or do you want it to sit on top of your wheels? Do you know what you want your ride height to be? Do you know where you want your max height to be? And how stiff do you want the ride to be?
There are 100 different questions to ask, and they each play their own role in deciding how tall your strut should be. We’ll write a future article on measuring for each variable, however, for Jeremy’s car, it was quite simple. Jeremy knew he wanted the max lift to be an inch higher than his car sat previously. So, we simply measured his old strut, added an inch to determine the desired length for the air struts at full lift.
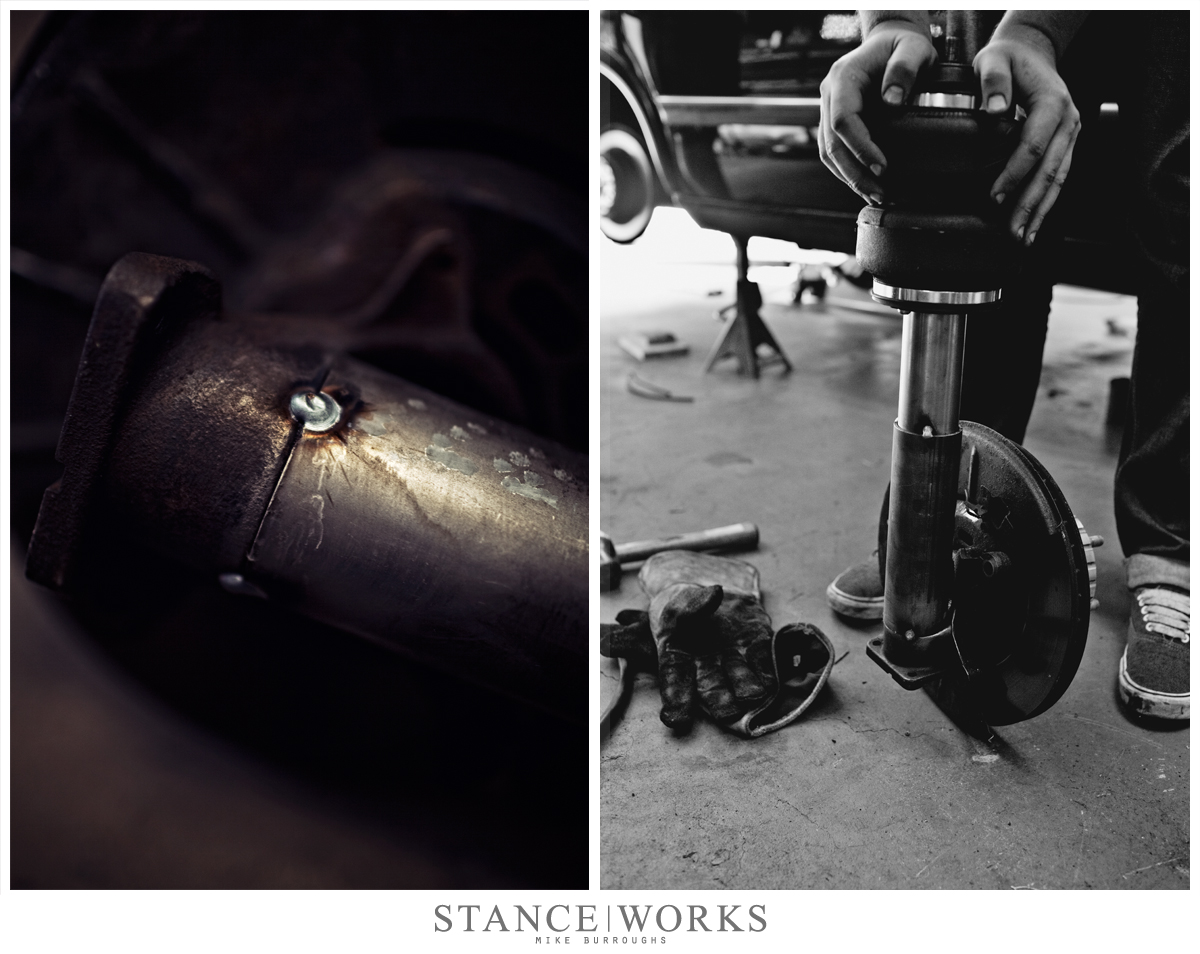
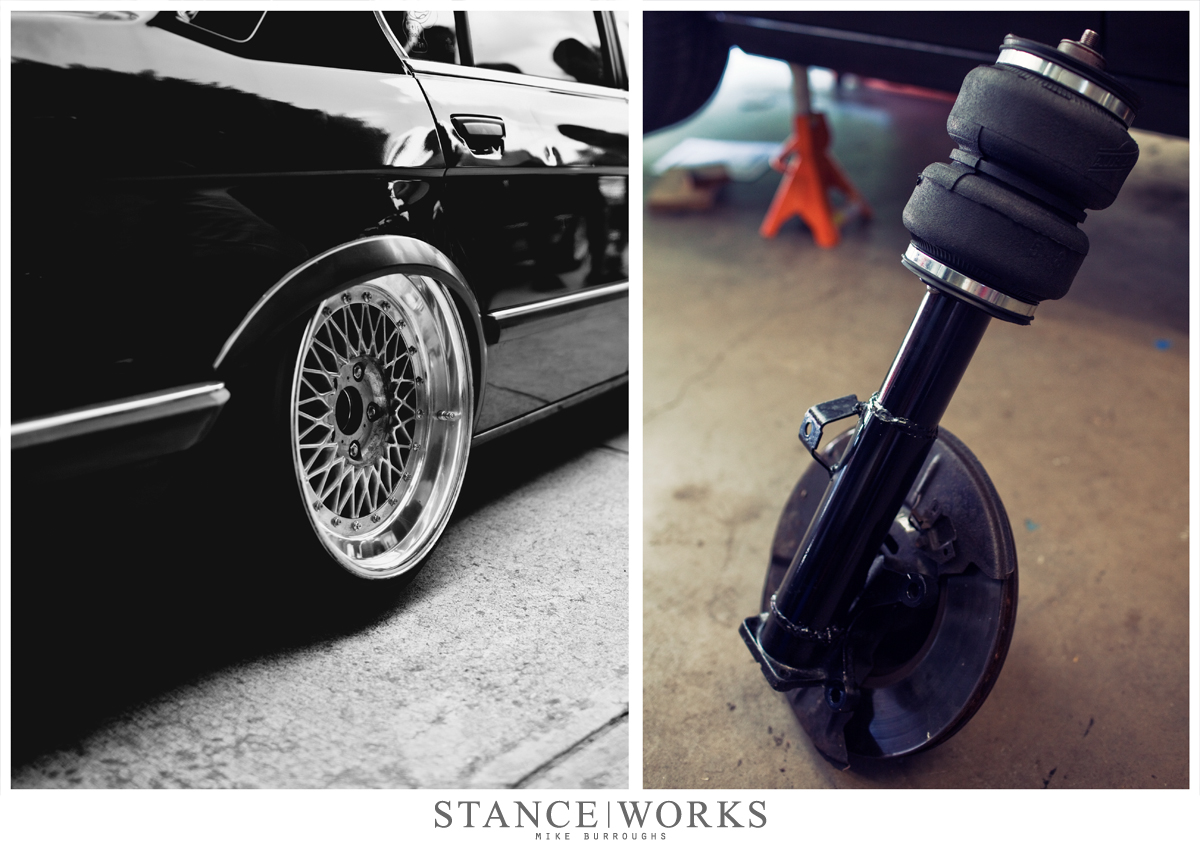
The front struts are simple: they come with an “adapter tube” that slides over the original strut housing. The air strut then slides in to the tube. We cut the original strut housing so that there was room for the air strut to slide in far enough to reach the desired overall height (which was the height we got in comparison to his old strut plus one inch.) Everything is then temporarily tack welded in place in order to test it all on the car and ensure that it all works. Once we were sure that the struts were sitting right where we needed them, we completed the welds.
The rear struts are as simple as can be. In order to measure it out, we removed the rear strut from the car, and with the wheel still bolted on, jacked up the trailing arm until it reached our desired height. We took our measurement, from top hat to eyelet, and then cut our strut to length. With the measurements determined, all that was left to do was weld the eyelet to the bottom of the strut!
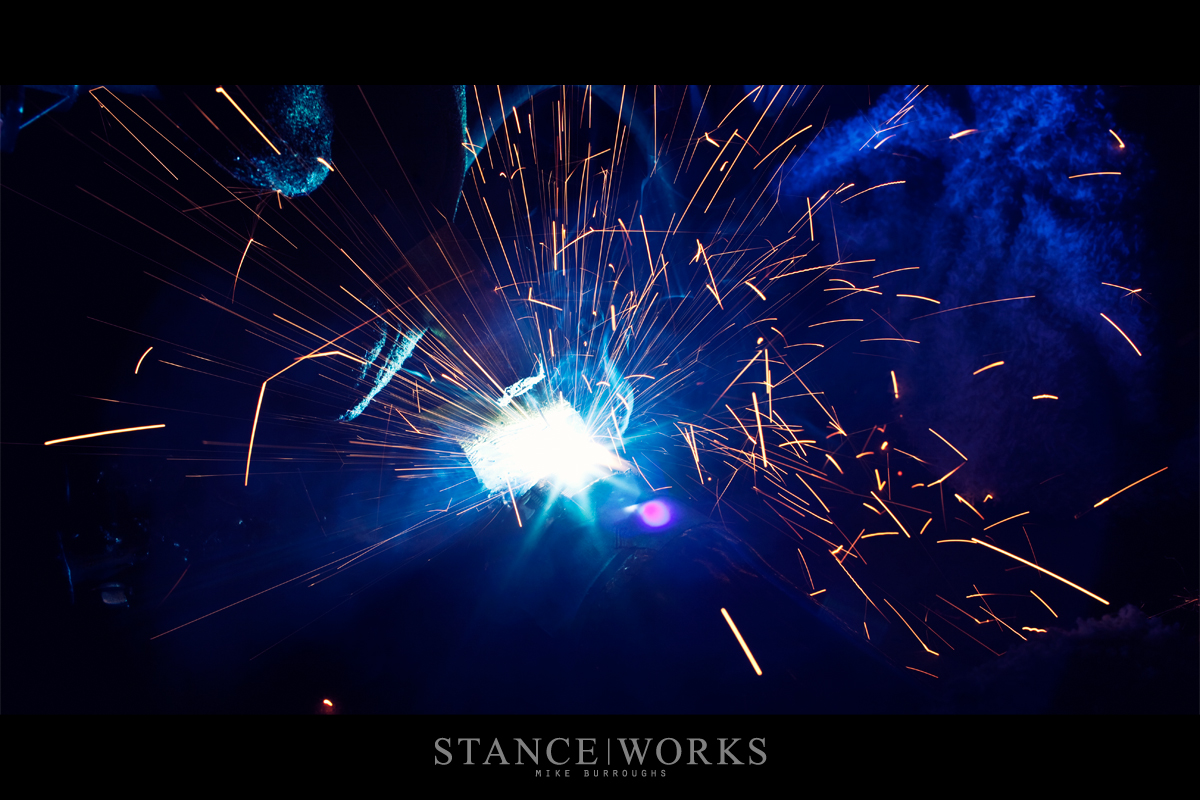
The welding involved in the front and rear strut fabrication is simple. If you don’t have a welder, all you have to do is gather your measurements and take them to a local welder where they will assemble them for you. If you do have a welder, it’s a mere two welds per side up front (the base of the adapter tube to the original strut housing and the air strut to the adapter tube) and a single weld per side out back (the eyelet to the base of the air strut). With the welds complete, you’re only left with a few finishing touches.
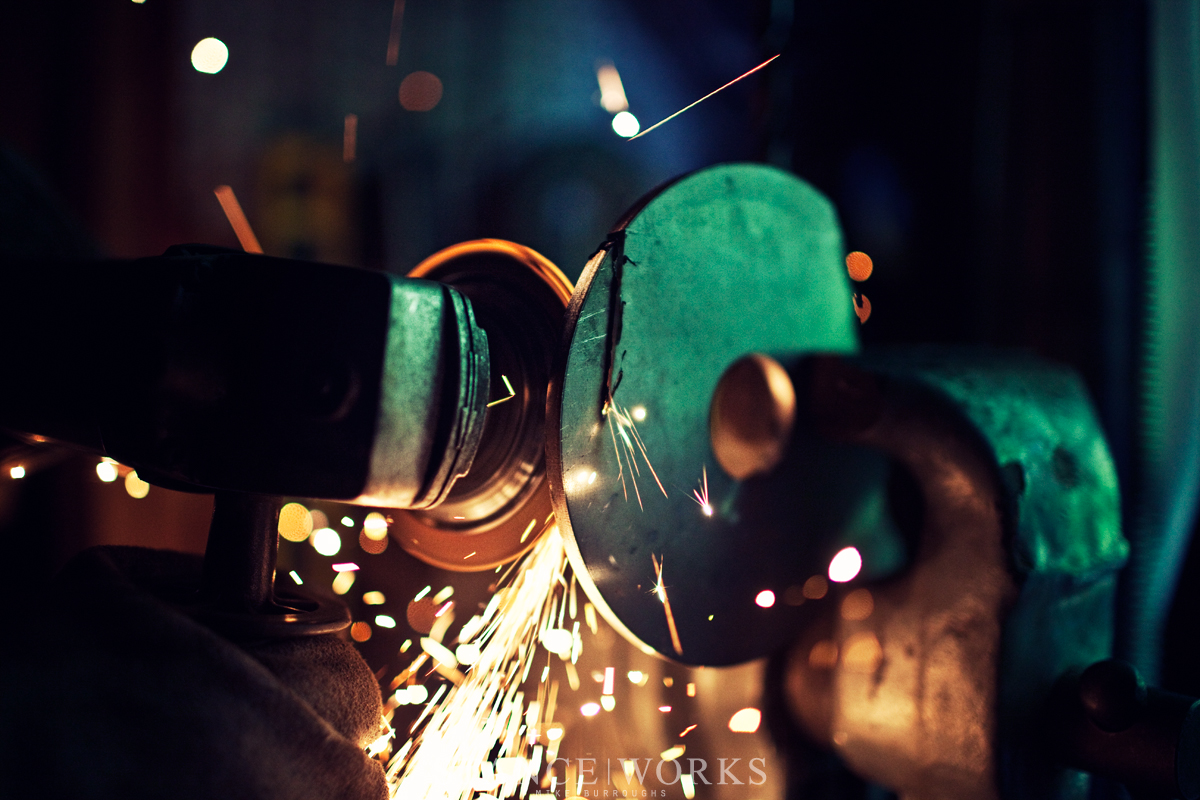
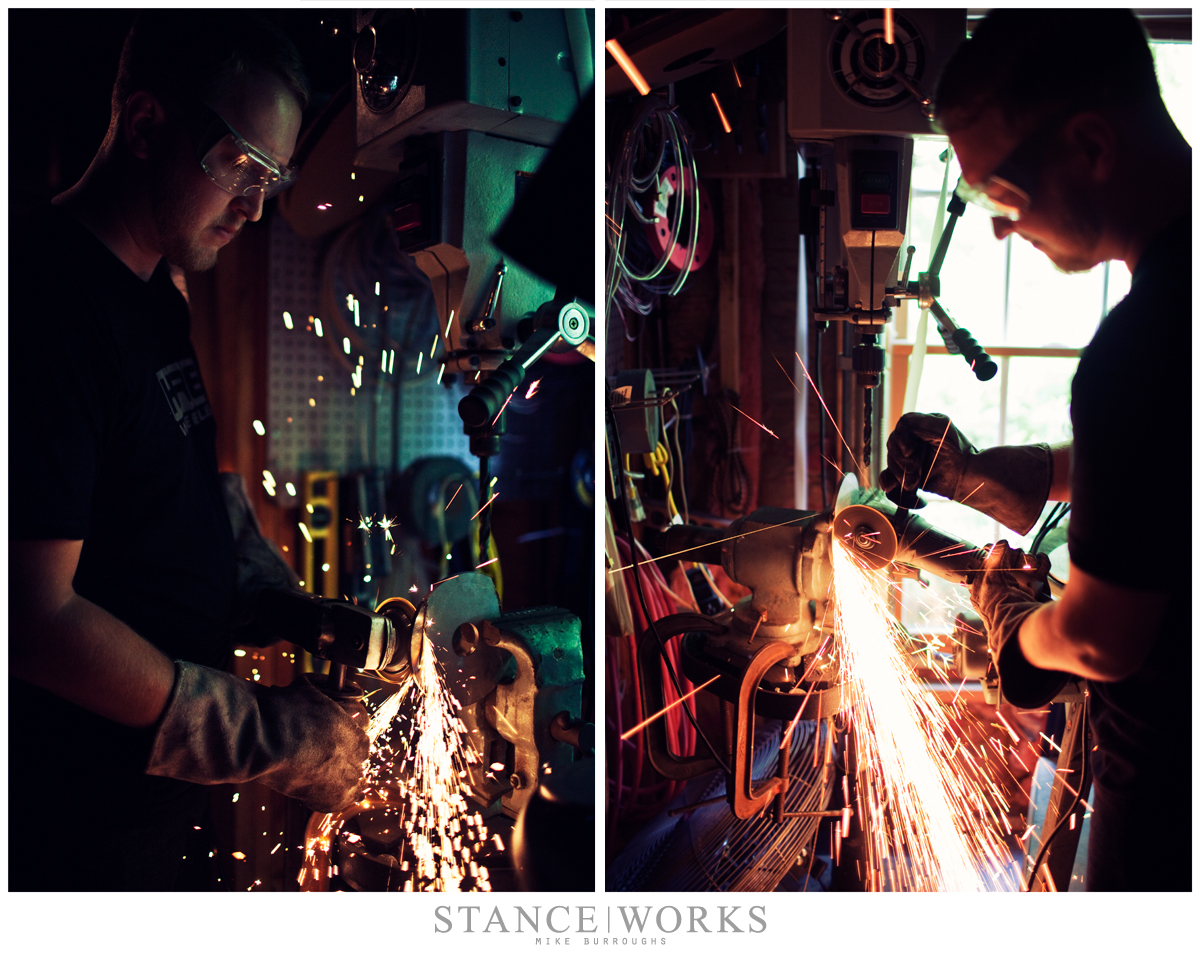
The top-hat plates included in the kit were slightly too big for Jeremy’s E28, so we cut them down with an angle grinder and smoothed them out on the bench grinder to ensure a nice-looking finished product. We took a couple of measurements to figure out where the bolt holes needed to be, and then busted out the drill. They worked like a charm and it meant that the whole kit could now be installed in the vehicle.
With the struts bolted in and ready to go, it comes time to route your airlines under the car to each corner to supply the struts with the air they’ll need to lift your car to life. We located Jeremy’s valve switches next to his headlight controls to provide control within reach. With the airline in place and the switches ready, it was time to take a step back and admire our work.
The finished product worked flawlessly and the car sat down over the HREs better than it ever has. With a nice coat of paint on the struts, they looked as good as we could have hoped. And like that, Air Lift’s Crafter Pack set yet another classic BMW down on the ground, adding to the list of StanceWorks project cars that drive on the Air Lift struts every day.
As a project, it’s one that requires a step into the realm of fabrication, but it’s a great way for any diehard weekend warrior to get their hands dirty and to walk away saying they truly built something for their car.
So don’t be daunted by the idea of cutting, welding, and creating. If the group of StanceWorks hooligans can knock it out in a weekend build, we know anyone can!

